
Theory · C1+E Licence - Light Truck with Trailer · Module 11 of 13
Maintenance and inspection of the vehicle combination
You learn to inspect the towing and towed vehicles, detect defects in tyres, brakes, connections and visibility equipment, and decide when you must immobilise the combination. You distinguish maintenance checks from ITV (vehicle roadworthiness test) requirements and answer breakdown questions without applying passenger-car rules to a lorry.
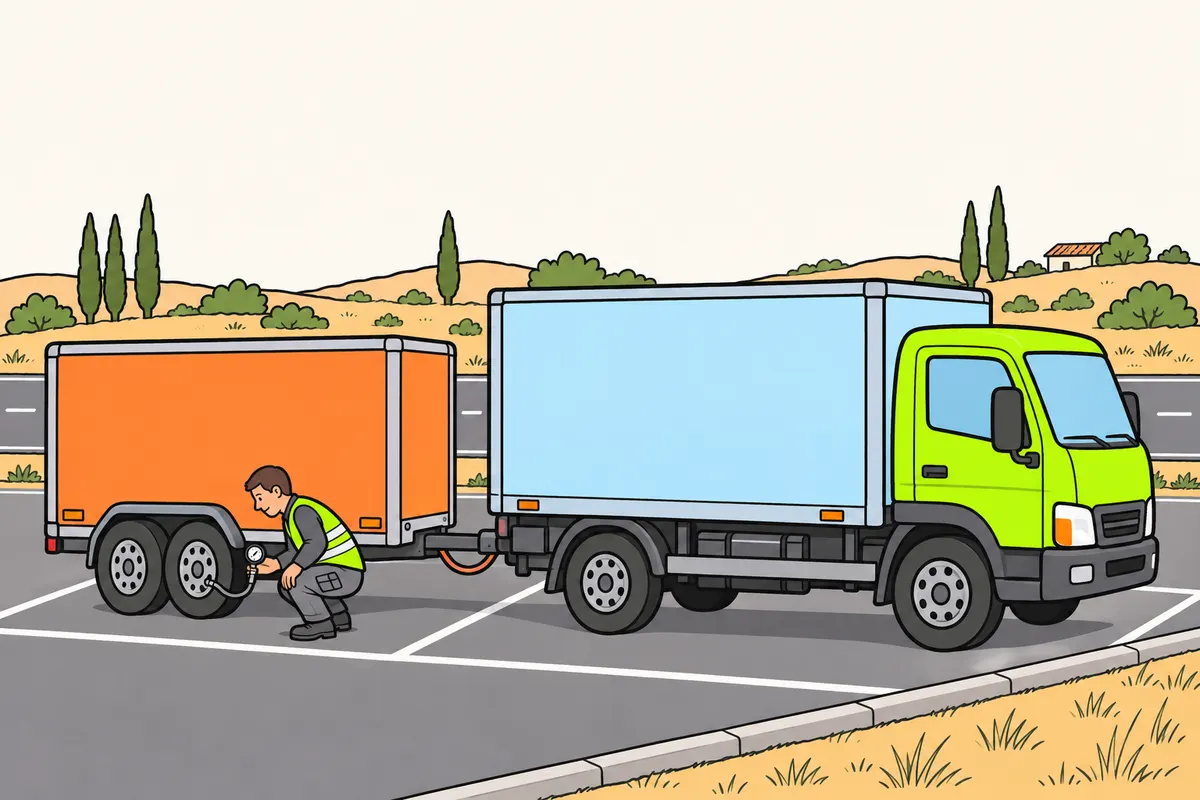
1Inspect both parts of the combination
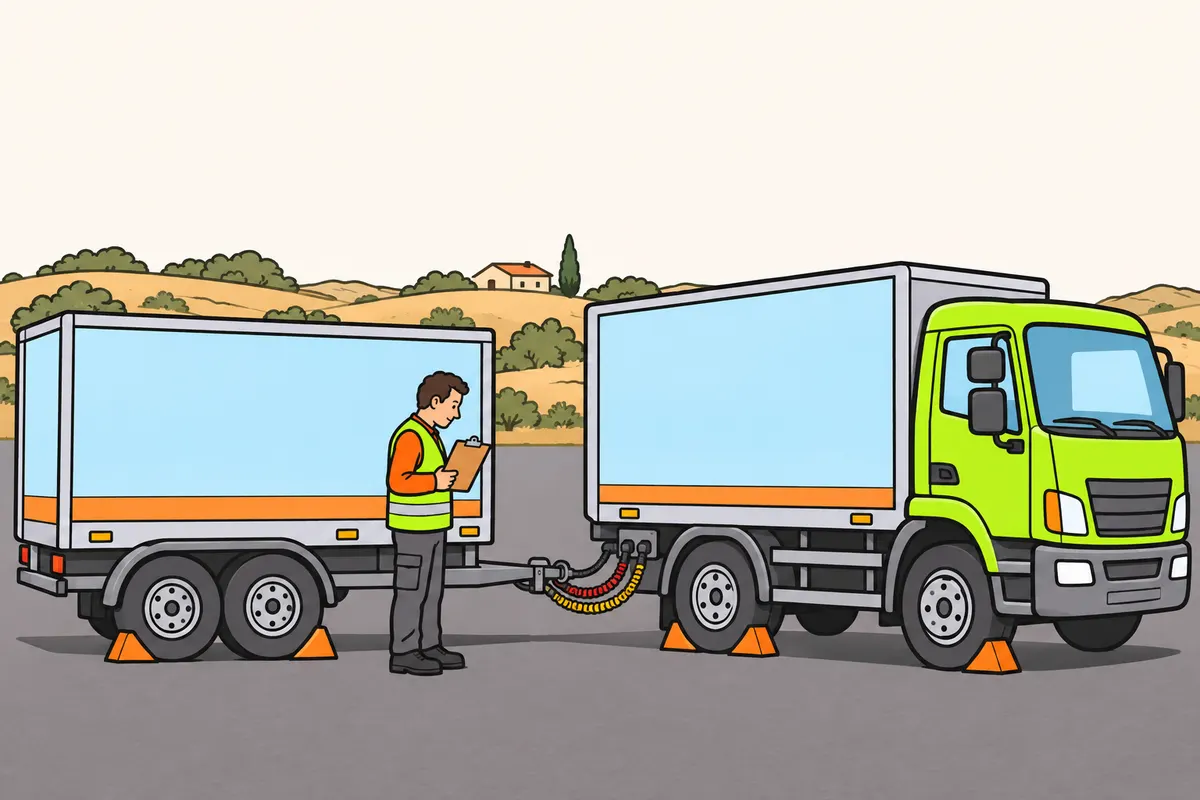
Check your lorry and towed vehicle before moving off.
Remember
- Always follow the same inspection order.
- Check any towed vehicle you have just collected.
- Keep the combination immobilised during checks.
- Identify the brakes and coupling fitted to your vehicle.
- Resolve every dangerous defect before driving.
- Never go beneath a semi-trailer supported only by suspension that can lower.
Exam trap: Wrong: checking the lorry is enough. Right: check the towed vehicle too.
Read the full explanation
- Before setting off, you must carry out a visual walk-round check of the C1 lorry and its trailer or semi-trailer. Always follow a set order so that you include inner wheels, side lights and connections; when you change the towed vehicle, you must also inspect the one you have just collected. Preliminary checks of the coupling and safety systems form part of preparing to drive the combination. [RGCond, annex V.B.3.8](https://www.boe.es/buscar/act.php?id=BOE-A-2009-9481#anv).
- Organise your inspection into three stages: surroundings and exterior, driving position, and a functional check before joining traffic. Check the tyres, steering, brakes, coupling and the towed vehicle's service connections and systems.
- Keep the combination immobilised during the checks. Before going near a wheel, the supports or the articulation point, make sure nobody can move it or operate its mechanisms; never go underneath a semi-trailer supported only by suspension that can lower.
- Distinguish between observations you can make as a driver and specialist repairs. If you find a defect that compromises safety, you must have it resolved before driving; a short route, a dry carriageway or an unladen towing vehicle does not make a defective towed vehicle safe.
- Identify the equipment actually fitted: a C1 lorry may use hydraulic brakes, air brakes or a combination of systems. Compressor and reservoir checks apply when it has compressed air; the licence category does not mean that all combinations have a fifth wheel or the same type of brake.
2Exterior and cab inspection
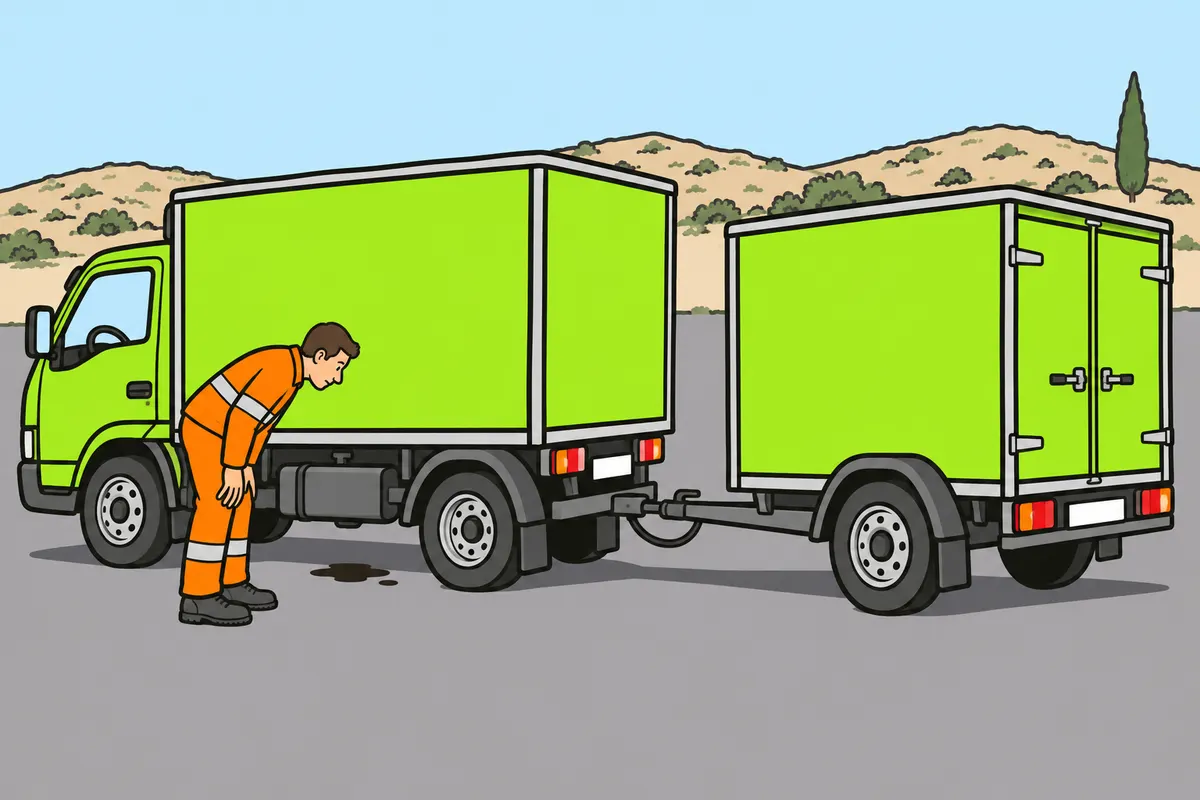
Check the outside and prepare your cab for driving.
Remember
- Look for fresh stains on the ground and find their source.
- Never touch hot parts or taste fluids.
- Check both sides, the rear and the doors.
- Check that supports are in their transport position.
- Stow tools and keep the pedals clear.
- Check that nothing blocks lights, plates or your view.
Exam trap: Wrong: checking the front is enough. Right: walk around the whole combination.
Read the full explanation
- Start by looking at the ground: a fresh patch may reveal a leak of oil, fuel, coolant or fluid from another circuit. Locate its source without touching hot parts or tasting the fluid; distinguish condensation water from the air conditioning from a mechanical leak.
- Walk along both sides and around the rear. Look for loose parts, improperly closed doors and damage to bumpers, mudflaps or guards, and check that the landing legs and moving components are in their transport position; an inspection limited to the front leaves much of the combination unchecked.
- From the cab, check that you can reach the controls properly and see the instruments. Store tools and objects in their designated places and keep the pedal area clear.
- When you inspect the load body, check for detached components or accessories that obscure lights, plates or your view. You study load distribution and securing in «Safe, well-distributed loads»; here you must detect their visible effects on the vehicle and request that any problems are corrected before setting off.
3Tyre pressure
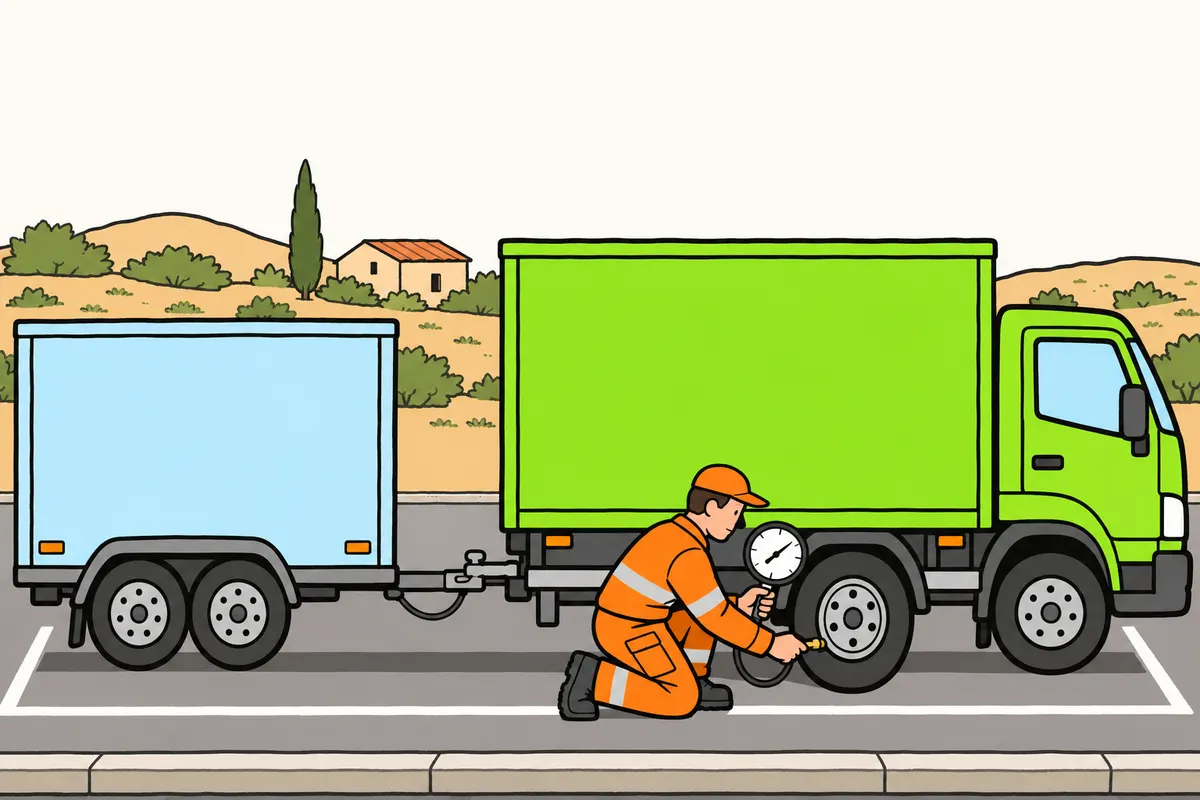
Measure tyre pressure when cold and follow the manufacturer’s instructions.
Remember
- Use a suitable pressure gauge.
- Check the pressure specified for your load and each axle.
- Never release hot air to reach the specified cold pressure.
- Check valves, caps and inner wheels.
- Check your spare wheel if you carry one.
- Even with automatic pressure monitoring, inspect for cuts and bulges.
Exam trap: Wrong: you can judge pressure by looking. Right: measure it with a pressure gauge.
Read the full explanation
- Check the pressure regularly with a suitable pressure gauge; you cannot determine it accurately by looking at the sidewall bulge or striking the tyre. The statutory pressure check is set out in [RGV, annex VII.6](https://www.boe.es/buscar/act.php?id=BOE-A-1999-1826#anvii).
- Measure it when the tyres are cold and use the pressure specified by the manufacturer for the load and wheel arrangement on each axle. There is no universal pressure suitable for all lorries, semi-trailers or twin wheels; consult the vehicle and tyre data, including after changes to loading conditions.
- As you drive, the temperature rises and the pressure may rise too. Do not let air out of a hot tyre to bring it down to the specified cold pressure: it may be underinflated when it cools; if you suspect a problem, carry out the check according to the manufacturer's procedure.
- Also check valves, valve caps and extensions for the inner wheels, and the spare wheel if you carry one. A tyre pressure monitoring system helps you detect pressure loss, but does not replace inspections for cuts and deformation or manual checks when the maintenance schedule requires them.
4Incorrect pressure and wear
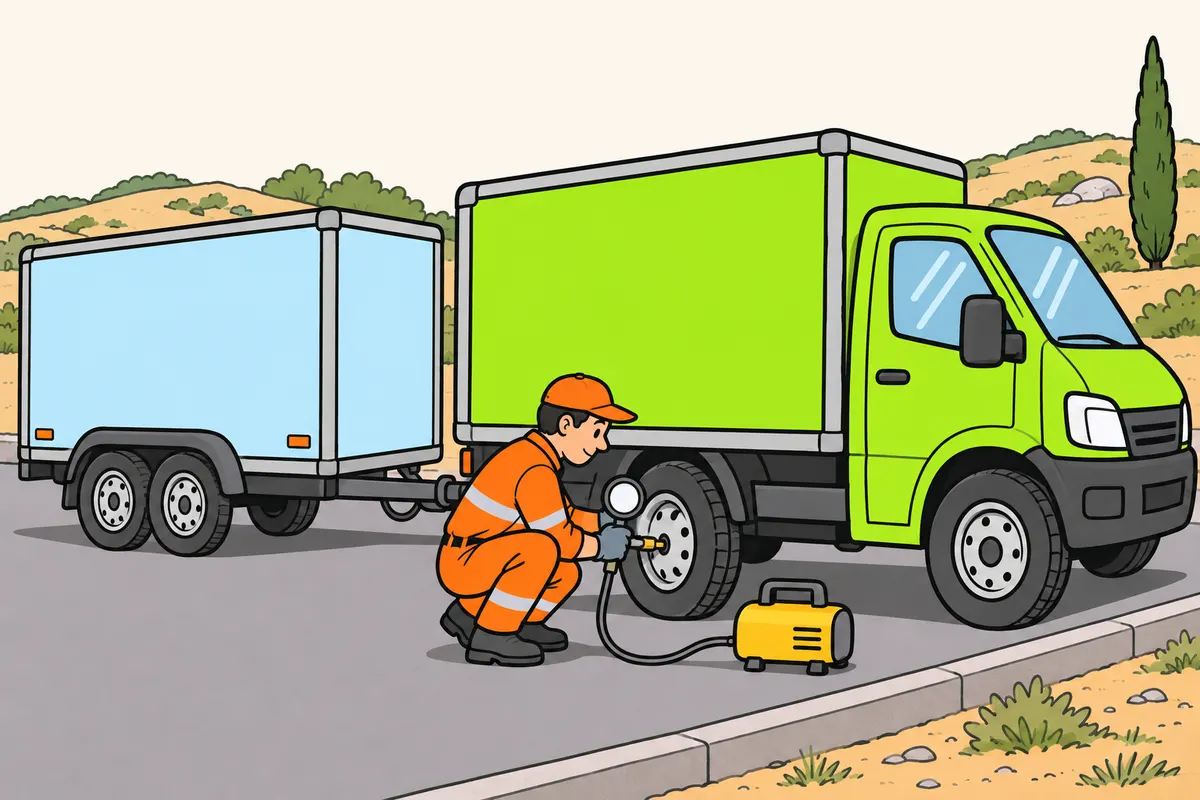
Keep the correct tyre pressure and investigate unusual wear.
| Tyre pressure | Risk you must recognise |
|---|---|
| Too low | More heat, fuel use and risk of failure |
| Too high | Changed road contact and unusual wear |
Remember
- Low pressure increases heat and fuel use.
- Excessive pressure can also cause unusual wear.
- Check the cause of wear before deciding what caused it.
- If pressure drops again, ask for a leak check.
Exam trap: Wrong: lower pressure prevents blowouts. Right: use the correct pressure.
Read the full explanation
- If you drive with insufficient pressure, the tyre deforms more, heats up more and has a greater risk of failure. Rolling resistance and fuel consumption also increase; reducing the pressure is neither a way to save fuel nor protection against a blowout.
- Excessive pressure does not automatically improve safety either. It can alter the contact patch and encourage abnormal wear; you must use the correct value for your wheel arrangement and load, rather than the highest pressure the inflation equipment allows or the pressure another driver uses on a different vehicle.
- Observe how wear is distributed across the whole tread. Pronounced wear on the shoulders, in the centre or on one side helps guide your inspection, but does not by itself establish a definite cause: pressure, alignment, suspension or operating conditions may be involved.
- Do not wait until a long journey to correct an incorrect pressure. If pressure loss recurs after inflation, ask for the leak to be located; repeatedly adding air without checking the valve, rim and tyre leaves the problem unresolved and may conceal internal damage.
5Minimum tread depth by category
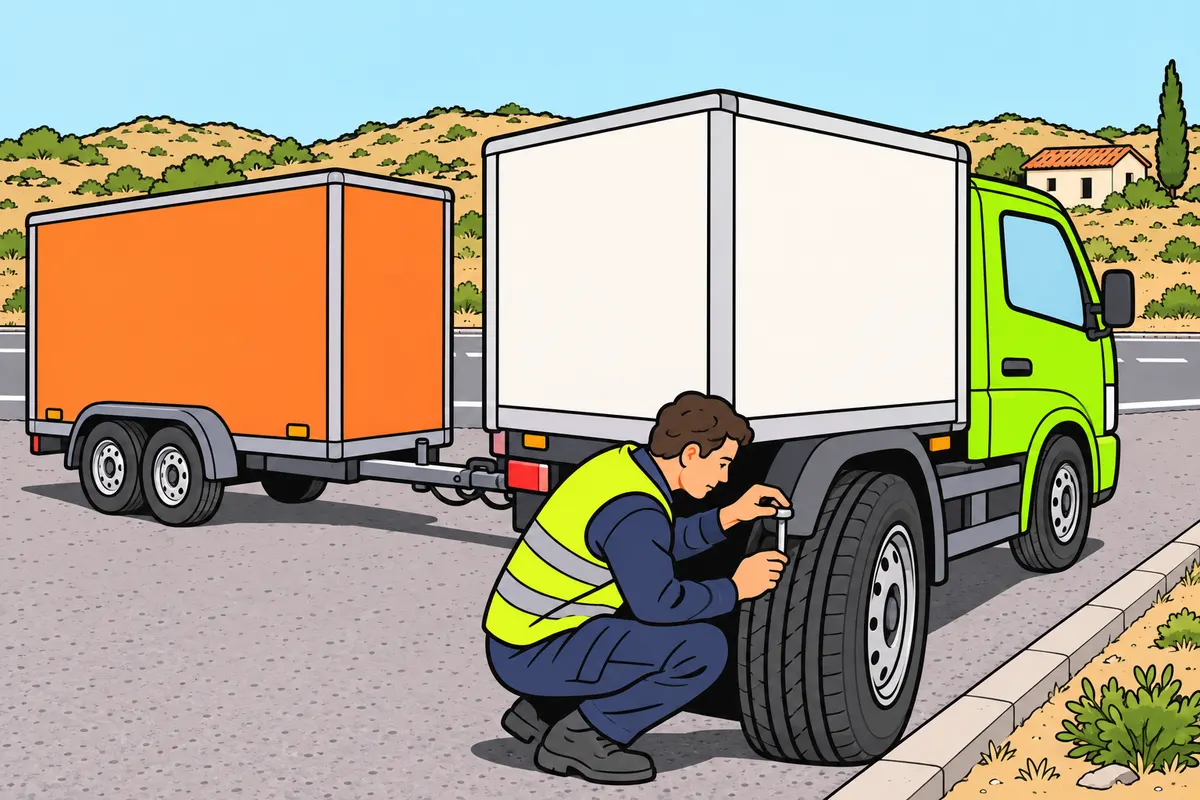
Check each vehicle’s category to find its minimum tread depth.
| Vehicle in your combination | Minimum tread depth |
|---|---|
| N2 lorry | 1.0 mm |
| O3 towed vehicle | 1.0 mm |
| O2 trailer | 1.6 mm |
| M1 or N1 towing vehicle covered by B | 1.6 mm |
Remember
- Check the categories on the technical data sheets.
- Measure the main grooves in different places.
- Deeper tread elsewhere cannot make up for a worn area.
- The legal minimum does not guarantee grip in all rain.
Exam trap: Wrong: the whole combination needs 1.6 mm. Right: apply each category’s minimum.
Read the full explanation
- On a category N2 C1 lorry and a category O3 towed vehicle, you must maintain at least 1.0 mm in the main tread grooves. The minimum depends on each vehicle's category, regardless of the mass it carries that day. [RGV, annex VII.2](https://www.boe.es/buscar/act.php?id=BOE-A-1999-1826#anvii).
- If your lorry tows an O2 trailer, the trailer's minimum is 1.6 mm. For a C1+E combination with a towing vehicle you are authorised to drive with a B licence and a towed vehicle over 3,500 kg, apply 1.6 mm to the M1 or N1 towing vehicle and 1.0 mm to the O3 towed vehicle: check their categories in the technical data sheets. [RGV, annex VII.2](https://www.boe.es/buscar/act.php?id=BOE-A-1999-1826#anvii); [RGCond, art. 4.2](https://www.boe.es/buscar/act.php?id=BOE-A-2009-9481#a4).
- Measure the tread depth in the main grooves and examine different areas around the circumference. Greater tread depth elsewhere does not compensate for the most worn area; a quick look at the outside can miss wear on the inner shoulder or localised damage.
- Do not interpret the legal minimum as a guarantee of sufficient grip in all rainy conditions. You must assess the water, tyre condition and the combination's behaviour; a deteriorated tyre impairs steering and braking, and its properties do not improve because it is fitted to a heavy vehicle.
6Tyres, rims and fastenings
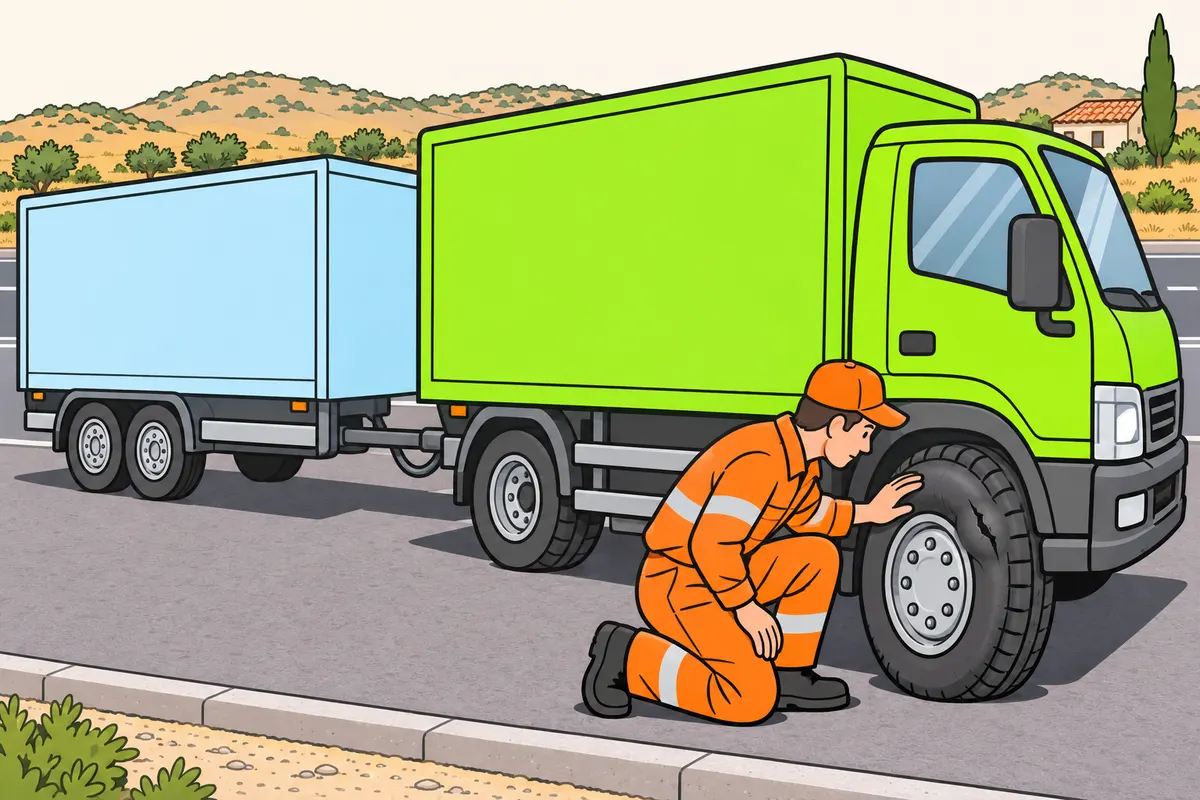
Check that tyres, rims and fastenings are sound and suitable.
| Tyre operation | What changes |
|---|---|
| Retreading | Renews the tread |
| Regrooving | Deepens tread designed for this |
Remember
- Never drive with bulges, exposed cords or structural tyre damage.
- Request inspection if a nut is missing or you see a crack.
- Use approved tyres or permitted equivalents.
- Follow the marked rotation direction and fitting position.
- Have specialists regroove tyres, and only when permitted.
Exam trap: Wrong: a combination over 3.5 t allows regrooving. Right: the vehicle’s MMA must exceed 3.5 t, and the tyre must carry Regroovable or the statutory symbol.
Read the full explanation
- Examine the tread and sidewalls for bulges, cuts, deep cracks, separation or exposed cords. You must not drive with abnormal deformation or structural damage of the kinds covered by [RGV, annex VII.4](https://www.boe.es/buscar/act.php?id=BOE-A-1999-1826#anvii); maintaining tread depth does not compensate for a damaged carcass.
- Visually check rims and fastenings: a missing nut, a crack or signs of movement require inspection. After removing a wheel, follow the tightening torque, sequence and subsequent check specified by the manufacturer.
- You must fit tyres with sizes and specifications approved for the vehicle, or permitted equivalents. Check the load index, suitability for single or twin fitment and speed rating; a tyre fitting physically onto the rim does not prove that it is suitable. [RGV, annex VII.1](https://www.boe.es/buscar/act.php?id=BOE-A-1999-1826#anvii).
- Distinguish retreading from regrooving: one renews the tread and the other deepens tread designed for that purpose. You may only regroove tyres on vehicles with an MMA (maximum authorised mass) over 3.5 t that are marked Regroovable or bear the regulatory symbol; adding together the masses of the combination does not permit you to regroove tyres on a towing vehicle of up to 3.5 t. Have specialists carry out the operation. [RGV, annex VII.4](https://www.boe.es/buscar/act.php?id=BOE-A-1999-1826#anvii).
- The wheel consists of the rim and tyre; on the tyre, the tread contacts the road, the sidewalls protect the sides and the beads ensure that it seats securely on the rim. Follow the direction of rotation and inner or outer position marked on the sidewall; fit compatible tyres on each axle according to the type approval and the manufacturer's instructions. A tubeless tyre needs an airtight seal at the rim, beads and valve to retain air.
7Check twin wheels
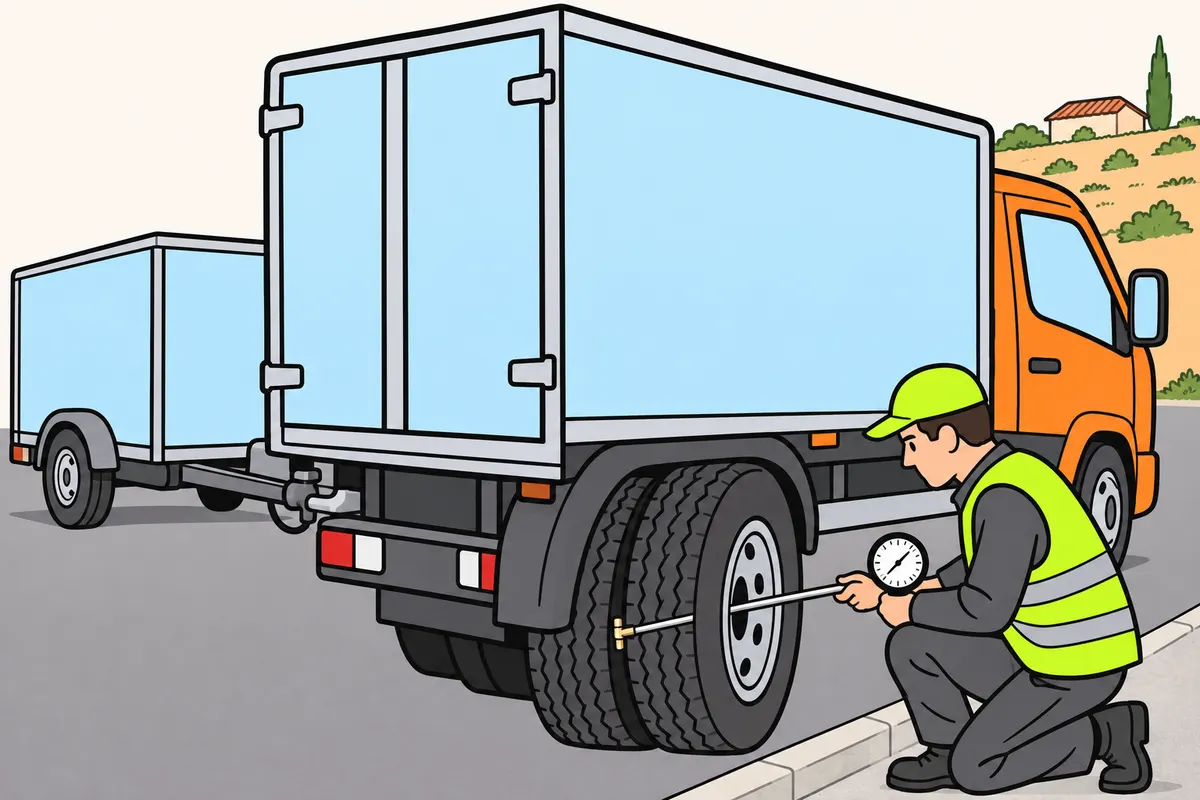
Check the inner tyre in every pair of twin wheels too.
Remember
- Check the pressure in both tyres.
- Use compatible tyres and the pressure specified for that fitment.
- Avoid large differences in wear or diameter.
- Look for trapped stones and check that sidewalls do not touch.
- Request safe help for damage or wedged objects.
Exam trap: Wrong: you can continue because one tyre is sound. Right: its deflated twin can overload it.
Read the full explanation
- With twin wheels, you must inspect both tyres, including the inner one. The outer tyre may still look normal while the other loses air; the sound tyre then bears extra strain and does not allow you to continue indefinitely with its twin deflated.
- Check that the paired tyres are compatible in size and maintain the same pressure specified for that arrangement. Avoid significant differences in wear or effective diameter: if they do not work in a similar way, the load is shared unevenly between them and their deterioration increases.
- Look at the space between the wheels and check for trapped stones or other objects. The intended gap must remain clear, without the sidewalls rubbing against each other; low pressure or overloading can encourage this contact and hinder heat dissipation, even though you can only see one of the tyres from the outside.
- Use suitable means of access to measure the inner tyre pressure and check the valve. If you find a wedged stone, deformation or a tyre that has been driven on while deflated, arrange for safe work to be carried out: do not strike or dismantle the assembly while it is under load as part of a routine inspection.
8Remove and fit wheels safely
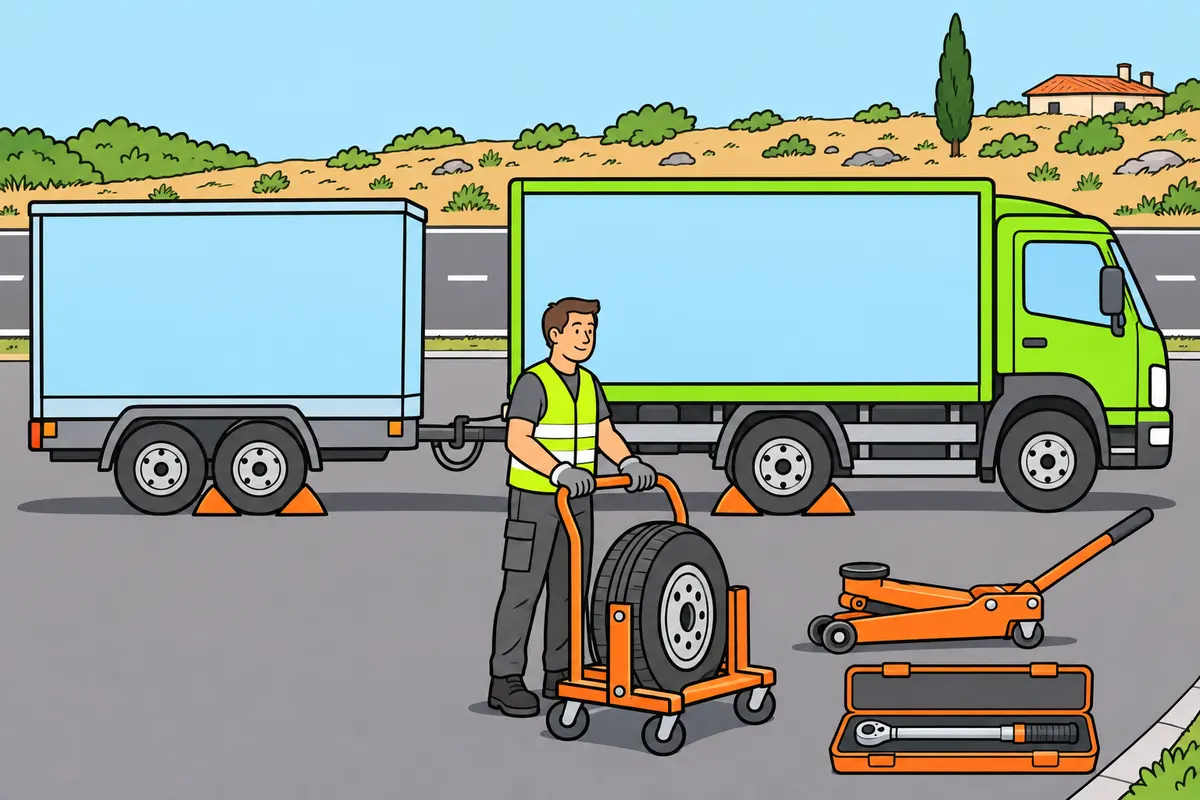
Change a wheel only with suitable equipment and the skills to work safely.
Remember
- Ask for assistance if you cannot work safely.
- Use firm, level ground; immobilise the combination and fit the specified chocks.
- Check the jack’s capacity and the specified lifting points.
- Never go beneath a vehicle supported only by a jack.
- Use a torque wrench and the manufacturer’s specified tightening torque.
- Check pressure and fastenings; stow the removed wheel and tools.
Exam trap: Wrong: any jack will do. Right: check its capacity for your vehicle and load.
Read the full explanation
- Before changing a wheel, assess whether you have a protected location, suitable equipment and the training needed for that assembly. On a lorry, the weight of the wheel and the load on the axle may exceed what the usual equipment for a car can handle; if you cannot carry out the work safely, request assistance. Precautions for removing and fitting wheels form part of the C1 syllabus. [RGCond, Annex V.B.2.4.º e)](https://www.boe.es/buscar/act.php?id=BOE-A-2009-9481#anv).
- Choose level, firm ground with adequate load-bearing capacity; immobilise the towing and towed vehicles and chock the wheels specified by the manufacturer. Check the jack's capacity and the lifting points provided for that vehicle, including when it is loaded; a bodywork component, a pipe or an improvised support may give way as you lift it.
- Prepare the compatible wheel and the correct size of wheel brace before lifting. If the procedure requires you to loosen the fastenings first with the wheel on the ground, loosen them only as much as necessary, without removing them; then position the jack at its lifting point and raise the vehicle only as far as necessary for the change. Keep your hands and feet out of the area where it could fall, and do not go underneath a vehicle supported only by a jack.
- To fit the wheel, check the mating surfaces and start the fastenings without forcing them. Tighten progressively in the prescribed order, lower the vehicle according to the procedure and finish with a torque wrench to the specified torque; there is no universal torque setting for all C1 vehicles.
- With twin wheels, observe the position and fastening system of each component; use equipment that allows you to handle the wheel without trapping yourself. Do not remove rings from a multi-piece rim or work on an inflated tyre of this type: dismantling and inflating it require specialist personnel and appropriate protective equipment.
- Check the pressure, seating and fastening of the fitted wheel, and recheck the tightness when the manufacturer specifies. Stow the removed wheel, jack and tools in their holders and remove the chocks at the prescribed stage; a repaired wheel must not be left loose in the load compartment.
9Snow chains and winter equipment
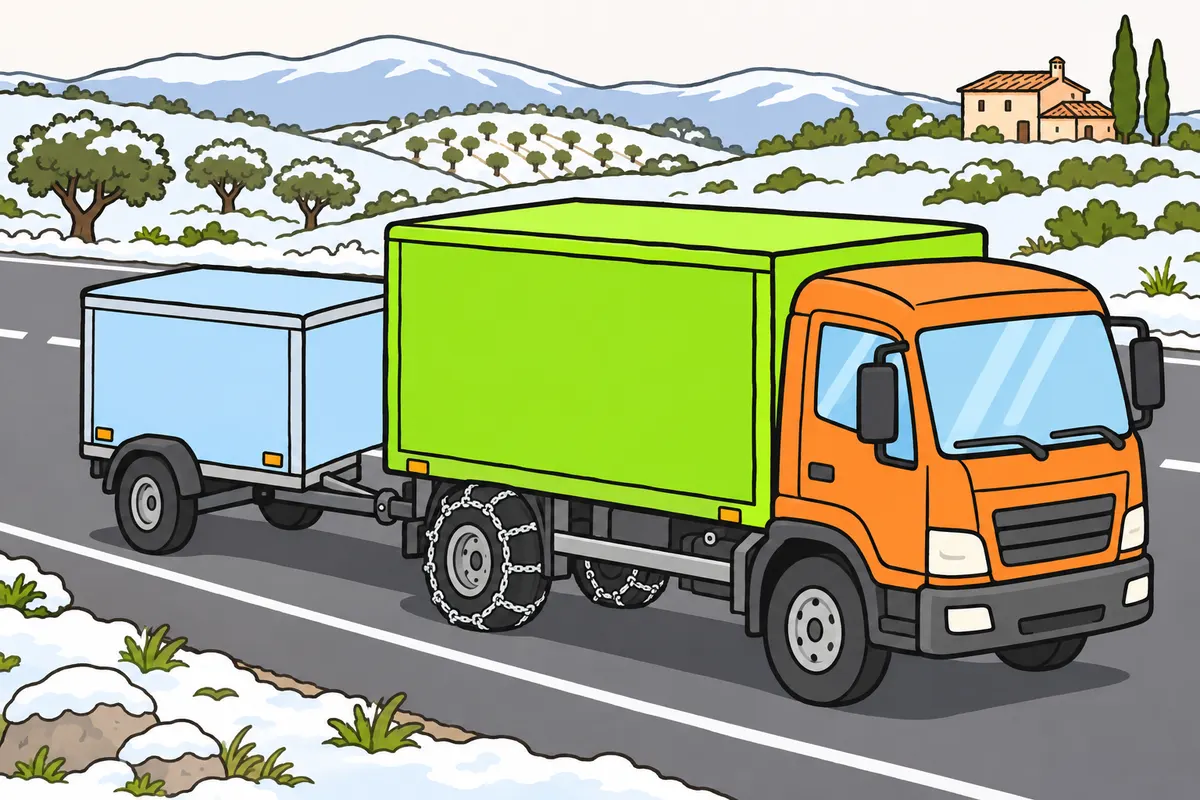
Choose winter equipment for the towing vehicle’s axles and maximum authorised mass.
| Towing vehicle MMA: winter restrictions | Required tyre certification | Minimum axles to equip |
|---|---|---|
| Over 3,500 kg | 3PMSF or POR | Steering and driven axles |
| Up to 3,500 kg | 3PMSF | All axles |
Remember
- When chains are required, fit at least one driven wheel on each side.
- You can use special tyres if they meet the regulations.
- Do not mistake semi-trailer wheels for driven wheels.
- Before travelling, check chain size, condition and fitting instructions.
- Respect road closures even when you carry chains.
Exam trap: Wrong: M+S alone meets every winter restriction. Right: check the required certification and equipped axles.
Read the full explanation
- When using chains or other authorised anti-skid devices is compulsory or recommended, you must fit them to at least one driven wheel on each side, or use special tyres in accordance with the regulations. Identify the axles that transmit driving force: the semi-trailer's wheels are not driven wheels simply because they carry a load. [RGV, art. 12.5.2](https://www.boe.es/buscar/act.php?id=BOE-A-1999-1826#a12).
- To comply with winter travel restrictions by using special tyres, your lorry with an MMA (maximum authorised mass) over 3,500 kg must have 3PMSF- or POR-certified tyres fitted at least to the steering axle and the driven axles. If the towing vehicle has an MMA of up to 3,500 kg, you must use 3PMSF tyres on all its axles; use the vehicle's MMA, rather than the combined total with the trailer, to determine which rule applies. [RGV, Annex VII.5](https://www.boe.es/buscar/act.php?id=BOE-A-1999-1826#anvii).
- Special snow tyres carry the marking M+S, M&S or M.S together with 3PMSF; tyres for professional off-road use carry that marking together with POR. [RGV, Annex VII.5](https://www.boe.es/buscar/act.php?id=BOE-A-1999-1826#anvii).
- Before your journey, check that the devices match the wheel size, are not broken and that you can fit them according to their instructions. Practise in a safe place, check their tension when the manufacturer specifies and observe their conditions of use; having chains does not authorise you to proceed beyond a road closure.
10Engine oil and lubrication
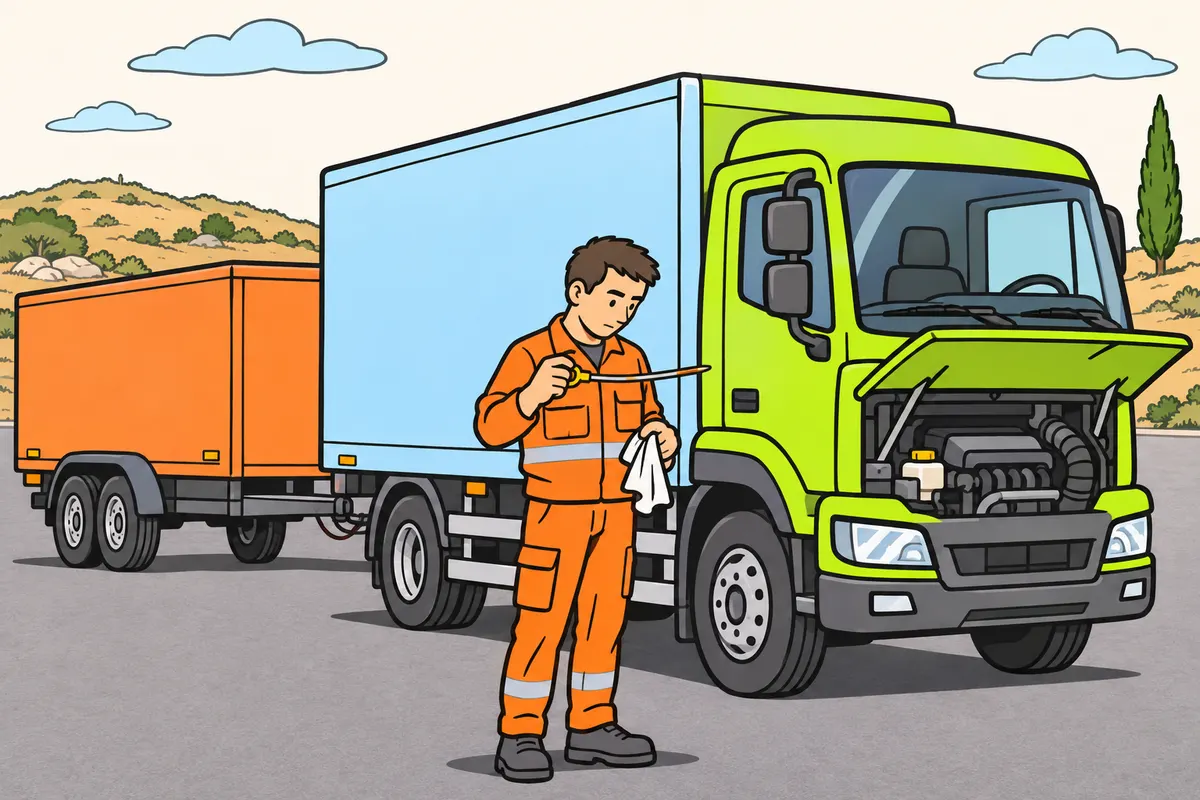
Check the oil level and act on oil pressure warnings.
| Oil check | What it tells you |
|---|---|
| Level | Quantity available |
| Pressure | Lubricant circulation |
Remember
- Check the level on level ground with the engine stopped.
- Follow the manufacturer’s temperature and waiting-time instructions.
- Never exceed the maximum level mark.
- If oil pressure warns with the engine running, stop safely and switch off.
- Use the specified oil and investigate repeated losses.
- Follow the oil and filter replacement schedule.
Exam trap: Wrong: topping up replaces oil changes. Right: change oil and filter as scheduled.
Read the full explanation
- Check the oil level with the combination on level ground and the engine switched off, observing the temperature and waiting time specified by the manufacturer. Use the dipstick or the electronic checking system provided and check that the reading is within the level marks, without exceeding the maximum.
- The level indicates the quantity available; the pressure warning concerns the circulation of the lubricant. You can have oil in the sump and still suffer a loss of pressure: if this warning appears while the engine is running, you must stop safely and switch off the engine to prevent damage.
- To top up, use oil that meets the required specifications and add measured amounts. Do not mix products simply because they share a colour or a trade name; if you need to top up frequently or notice stains, abnormal consumption or oil contamination, arrange for the cause to be diagnosed.
- Follow the manufacturer's oil and filter change schedule, adapted to the work your lorry does. Topping up the level does not replace changing degraded lubricant or a clogged filter; record the work so that you do not confuse a top-up with a full service.
11Cooling and temperature
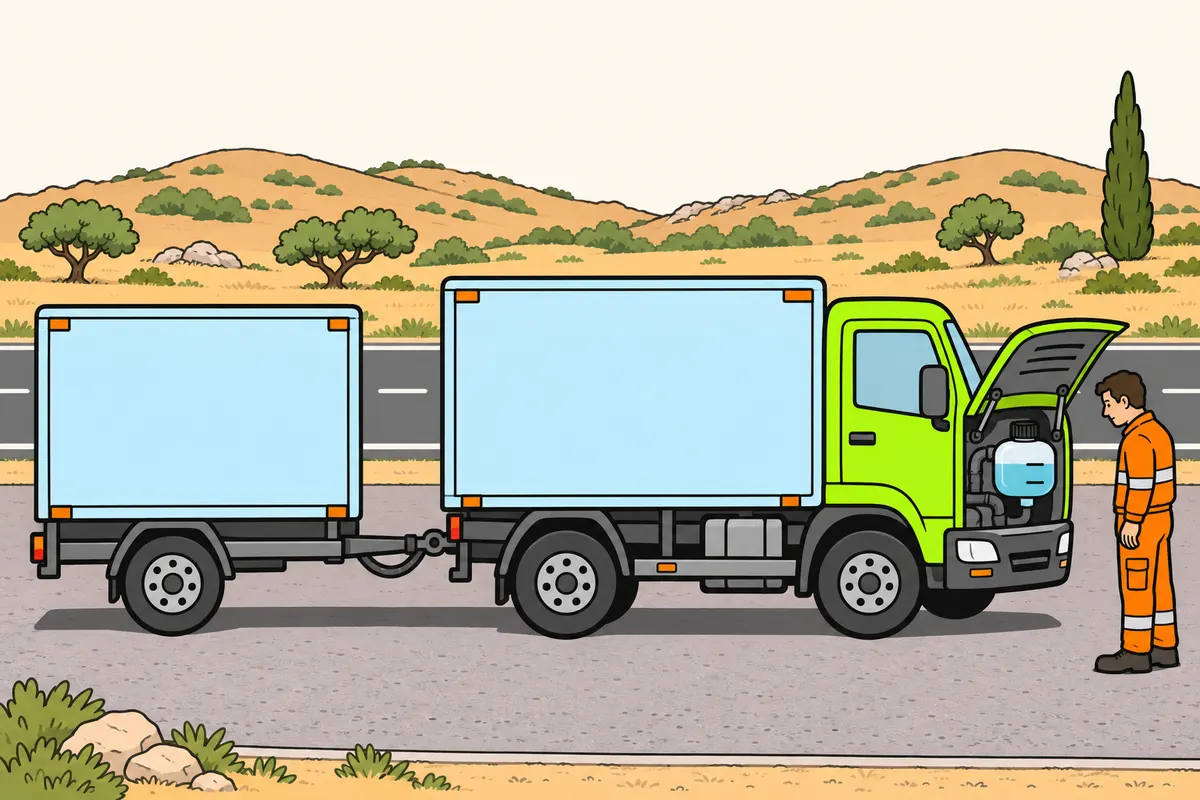
Check coolant when cold and avoid burns from a hot cooling system.
Remember
- Check the level and look for leaks.
- Never open the cap of a hot cooling system.
- Keep your hands away from a fan that can start automatically.
- Use the specified coolant and concentration.
- For abnormal temperature or a serious alarm, stop safely and follow the manual.
Exam trap: Wrong: open the cap to cool a hot engine. Right: wait until it cools.
Read the full explanation
- Check the coolant with the engine cold and check the level in the expansion tank. Inspect hoses, joints and the radiator for leaks or deterioration; a repeated drop requires you to investigate the cause, even if you can temporarily restore the level by adding the correct product.
- Do not open the cooling system cap when the system is hot: pressurised liquid can escape suddenly and burn you. Wait for it to cool and follow the safety instructions; also keep your hands away from a fan that can start automatically, even with the vehicle stationary.
- Use the specified coolant and observe its concentration and replacement requirements. Its functions include controlling temperature and protecting the system; do not treat it as a tank to which you can add any water or product without checking compatibility, especially when preparing your lorry for severe cold.
- If the temperature rises beyond its normal range or a serious alarm appears, find a safe place to stop and follow the manufacturer's procedure. Continuing to demand power can worsen the damage; the warning light alone does not tell you whether the fault concerns the level, ventilation, pump or any other component.
12Other fluid levels, tanks and filters
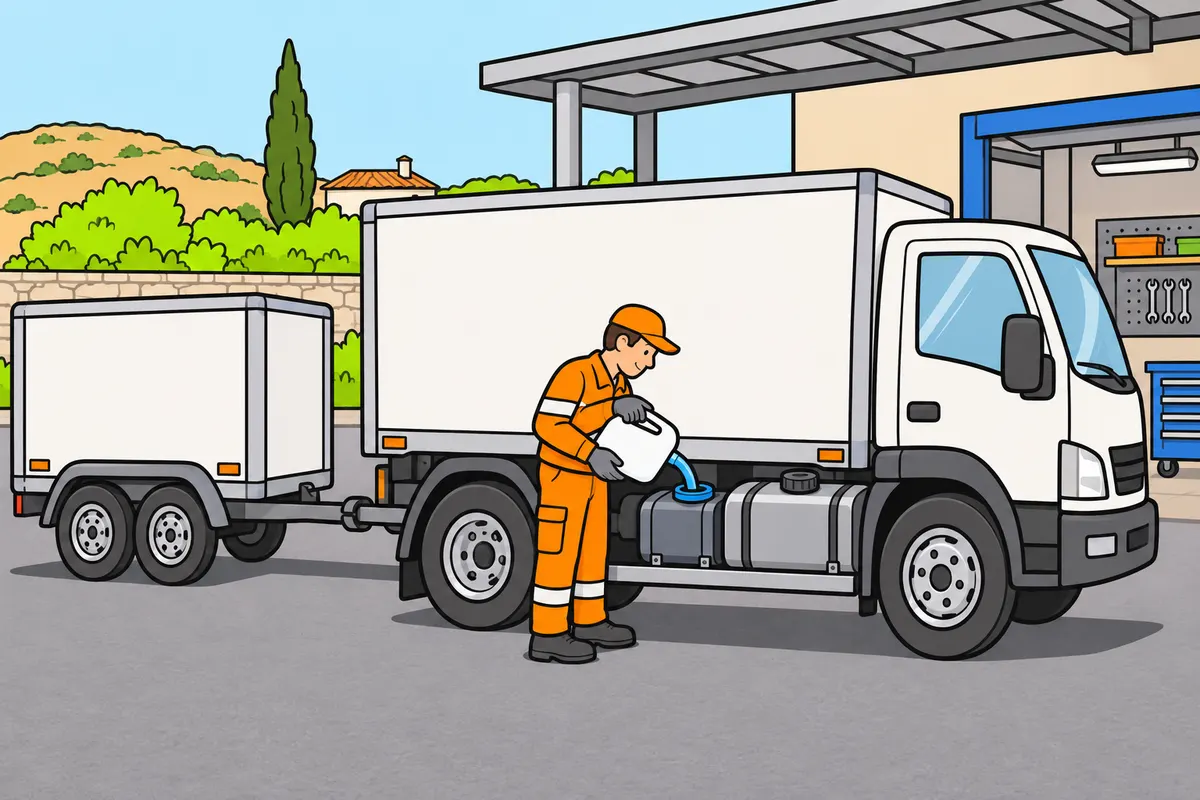
Identify each tank and follow the maintenance instructions for fluids, filters and connections.
| System | Function you must recognise |
|---|---|
| Intake | Supplies air |
| Fuel system | Supplies fuel |
| Exhaust | Removes gases |
| Lubrication | Reduces friction |
| Cooling | Removes heat |
| Battery | Provides starting energy |
| Alternator | Powers equipment and charges the battery with the engine running |
| Drivetrain | Transmits movement to driven wheels |
Remember
- If you use AdBlue, top up only through its correct filler.
- Never put AdBlue in diesel or replace it with water.
- If you have hydraulic brakes, investigate fluid loss before driving.
- Use the specified fluid in each circuit.
- Never bypass filters or bridge fuses.
- Check fastenings, leaks and connections without improvised repairs.
Exam trap: Wrong: every symptom means no fuel. Right: identify the affected circuit.
Read the full explanation
- Check that you have enough fuel and that the fuel tanks are closed. If your lorry uses AdBlue, check its level and top up only through the correct filler opening: it is an exhaust treatment product and you must not put it in the diesel tank or replace it with water.
- If the brakes are hydraulic, check their reservoir according to the manual: an abnormal drop in level or a pedal that sinks may indicate a leak or fault and requires inspection before you drive. Use only the specified fluid and observe its replacement requirements; topping it up without investigating the loss leaves the defect unresolved. For power steering or other hydraulic systems, identify each reservoir to avoid using incompatible products.
- Check air filters, fuel filters and other components according to the maintenance schedule and the vehicle's indicators. If there is a restriction or contamination warning, arrange for the specified action; do not remove or bypass a filter to make the symptom disappear so that you can finish the journey.
- Check that tanks, batteries and covers are securely fastened and have no leaks or visible damage. Follow the manufacturer's electrical procedure and do not bypass fuses or handle terminals without the necessary training; an improvised repair may cut the power to the lights, brake control units or other essential systems.
- To guide your checks, relate each system to its function: in a diesel engine, compression heats the air and allows the injected fuel to ignite. The intake supplies air, the fuel system supplies fuel and the exhaust removes gases; lubrication reduces friction and cooling removes heat. A blockage or leak requires you to locate the affected system, rather than attributing every symptom to a lack of fuel. [RGCond, Annex V.B.2.4.º l) and m)](https://www.boe.es/buscar/act.php?id=BOE-A-2009-9481#anv).
- In a conventional electrical system, the battery supplies energy for starting and the alternator powers the vehicle's systems and recharges the battery while the engine is running. Check its mounting, connections and visible deterioration without bridging terminals. In the transmission, the clutch, gearbox and final drive components transmit motion to the driven wheels; inspect for leaks and abnormal symptoms according to the equipment fitted.
13Lights on the towing and towed vehicles
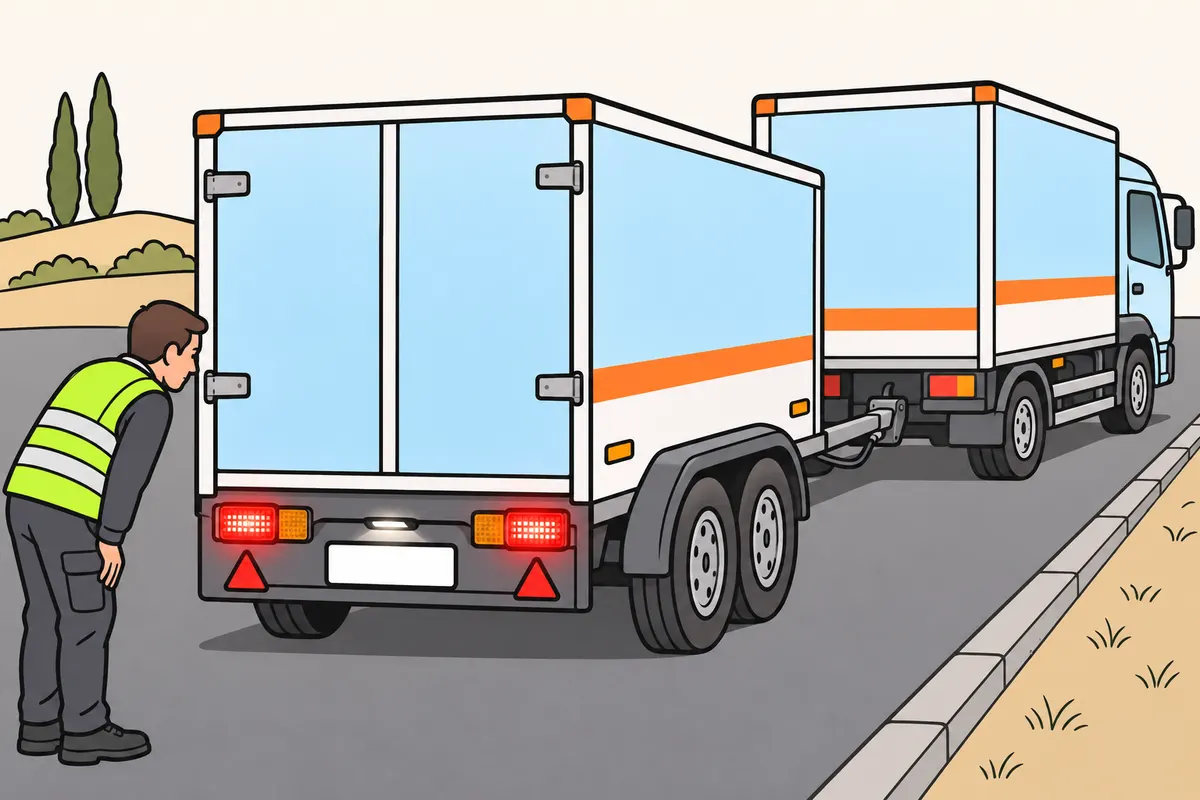
Check from outside that your lorry’s and towed vehicle’s lights work.
Remember
- A dashboard light alone cannot confirm that your towed vehicle’s lights work.
- Check compulsory lights in «Safety devices for the vehicle combination».
- Check side lights and reflective surfaces too.
- Keep lights clean, secure and unobstructed.
- If several towed-vehicle lights fail, check the connector safely.
Exam trap: Wrong: the interior light confirms the towed vehicle’s lights. Right: check their actual operation.
Read the full explanation
- You must check from outside that the lights actually work, with help or using the checking system fitted to the lorry. A warning lamp lighting up on the towing vehicle's dashboard does not, on its own, prove that the lights on the last vehicle in the combination work.
- To identify the compulsory lights on the towing and towed vehicles that you must include in your inspection, consult «Safety devices for the vehicle combination». [RGV, art. 16](https://www.boe.es/buscar/act.php?id=BOE-A-1999-1826#a16).
- Also check light units, reflectors and reflective surfaces: they must be clean, secure and free from damage that reduces their effectiveness. When inspecting a long vehicle, walk along both sides; a light that is dirty or covered by an accessory may fail to serve its purpose even though its bulb remains lit.
- If several lights on the towed vehicle fail at the same time, check the connector safely and report the fault. Do not replace this check with switching on the interior light or disconnect warnings to hide the fault; the compulsory equipment is covered in detail in «Safety devices for the vehicle combination».
14Mirrors, windows and windscreen wipers
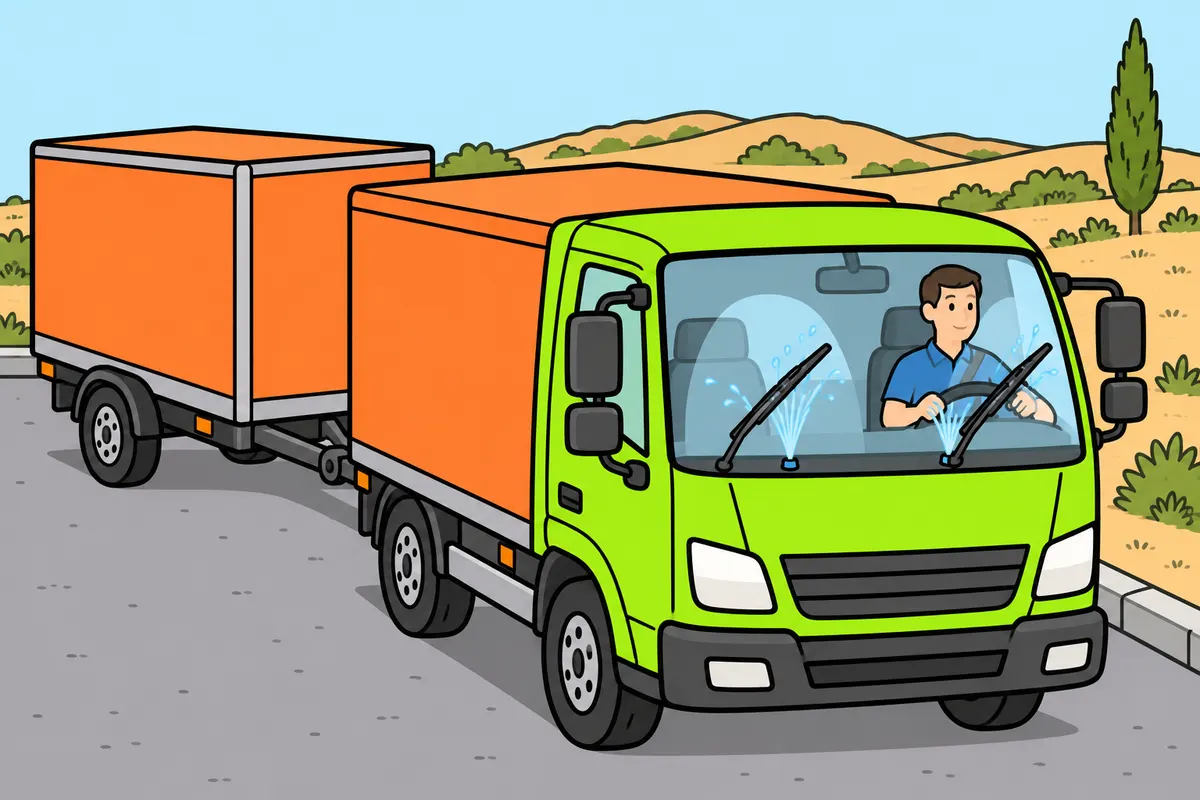
Keep the equipment you use to see clean and correctly adjusted.
Remember
- Adjust your seat before your mirrors, with the vehicle stationary.
- Check cameras and screens if fitted.
- Test washer jets and inspect wiper blades.
- Never operate wipers stuck to ice.
- If you lose visibility, stop safely and restore it.
Exam trap: Wrong: washer fluid guarantees good vision. Right: you also need sound wiper blades.
Read the full explanation
- Adjust your seat and then your mirrors while the vehicle is stationary. Check their mountings, cleanliness and field of view, including the devices that let you monitor areas close to the cab and along the sides; a poorly adjusted mirror does not improve your control of the trailer on bends.
- You must maintain an adequate view through the windows and using indirect vision devices. The technical requirements for glazing, mirrors, windscreen wipers and washers are set out in [RGV, art. 11](https://www.boe.es/buscar/act.php?id=BOE-A-1999-1826#a11); also check cameras and screens where fitted.
- Operate the windscreen washers and check that the jets reach the area swept by the wipers. Check the fluid level, pipes and wiper blades: if they leave streaks, judder or spread dirt, they need cleaning or replacing; having washer fluid does not guarantee visibility if the rubber blades are worn.
- Check demisting and remove ice or dirt without damaging the glass or rubber seals. Use fluid suitable for the ambient temperature and avoid operating wiper blades frozen to the glass; if you lose visibility while driving, you must find somewhere safe to stop and restore it before continuing.
15Steering, suspension and chassis
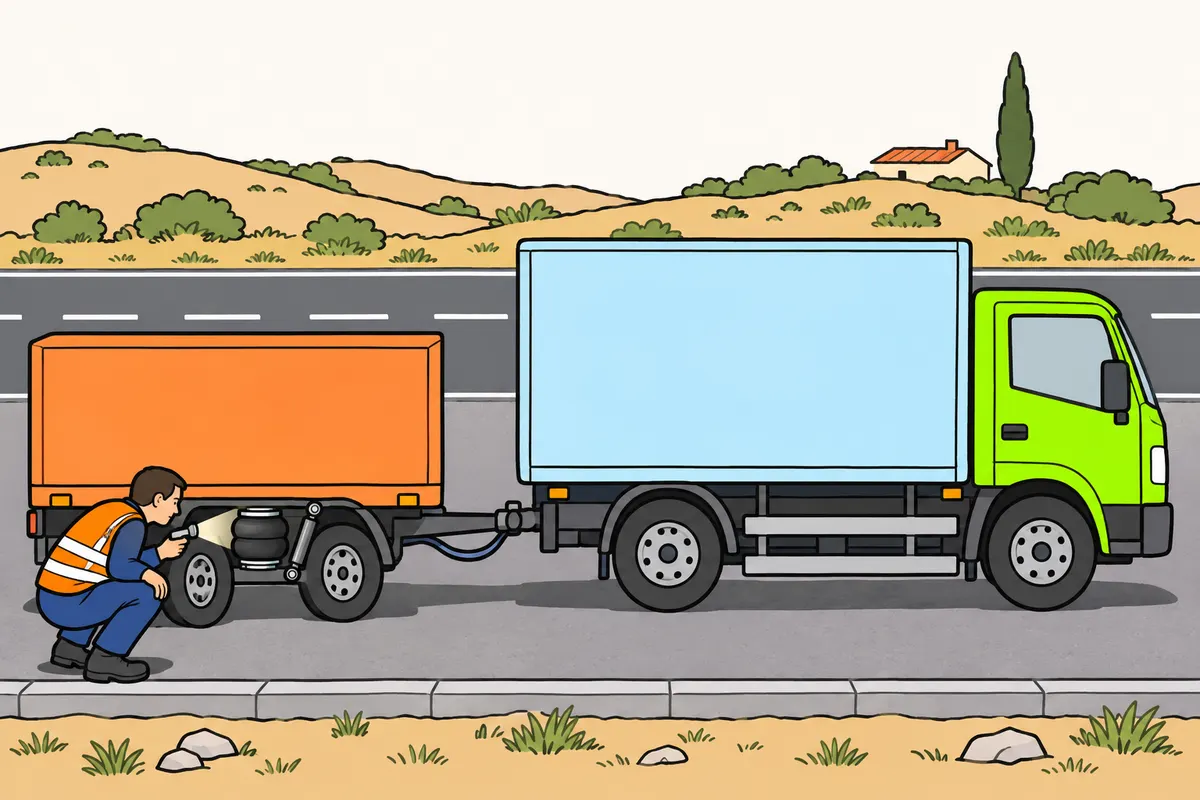
Check steering, suspension and structure before driving.
Remember
- Investigate pulling, vibration or unusual steering movement.
- Look for leaning, broken parts and suspension air leaks.
- Check that suspension reaches its specified driving height.
- Stop using the vehicle and seek assessment for a potentially dangerous structural crack.
Exam trap: Wrong: sound tyres compensate for damaged suspension. Right: you must repair the suspension too.
Read the full explanation
- Check for play, abnormal resistance, pulling or vibration in the steering. You must not treat these as mere discomfort: the steering keeps the vehicle on course, and a failure can compromise your control even when you drive slowly or on a road you know well.
- Look for leaning of the combination, broken suspension components or air leaking from an air spring bellows. Before moving off, check that the air suspension reaches the specified driving height; the position used for loading or coupling may not be suitable for driving.
- The suspension and shock absorbers help keep the wheels in contact with the road. Deterioration can impair stability and braking; a tyre at the correct pressure does not compensate for damaged suspension, just as a towing vehicle in good condition does not correct faults in the semi-trailer.
- Look for visible damage to the chassis, cross-members and coupling mountings, especially after an impact or a manoeuvre involving contact. Do not try to assess a structural crack by its apparent size; stop using the vehicle and request a technical assessment if it may affect strength or the coupling.
16Coupling and supports: mechanical inspection
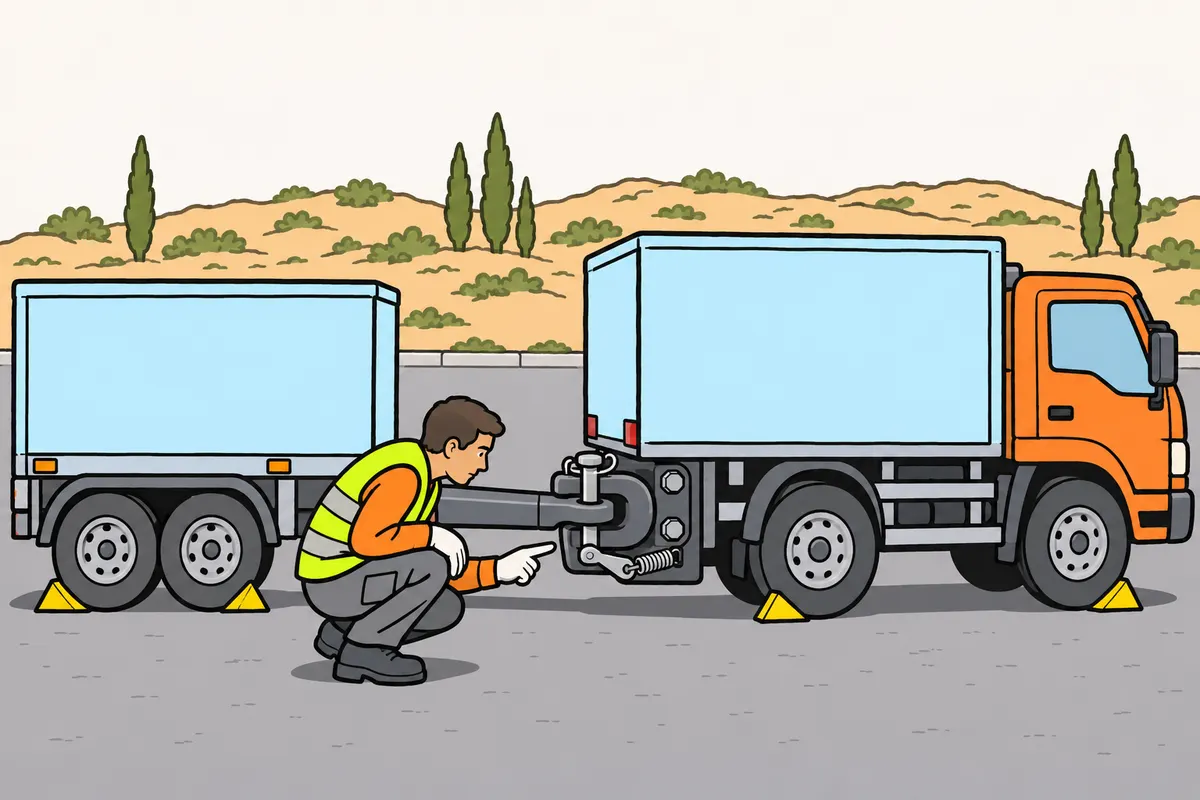
Check the coupling lock and the condition of the supports.
Remember
- Check compatibility and the safety device against unintended opening.
- If you have a fifth wheel, visually check its lock.
- If a tug test is required, follow the specified procedure.
- Lubricate only the points specified for your model.
- Before detaching a semi-trailer, immobilise it and secure its supports on suitable ground.
Exam trap: Wrong: grease every coupling surface. Right: follow the manual; some friction surfaces must stay grease-free.
Read the full explanation
- Check that the connections are compatible and the coupling is properly closed. The coupling must have a device that prevents it from opening unintentionally; bringing the parts together or assuming that the mechanism is closed because you hear them make contact is not enough. [RGV, art. 13.1 and 13.3](https://www.boe.es/buscar/act.php?id=BOE-A-1999-1826#a13).
- With a fifth wheel, inspect the fastenings, closing mechanism, safety lock and connection to the kingpin, using the inspection points specified by the manufacturer. If a tug test is required, carry it out according to the procedure for the combination and visually check that the coupling is closed; the test does not replace this visual check.
- Clean and lubricate only the points specified for your model. There is no universal greasing interval for every coupling head: some friction stabiliser surfaces must remain free from grease, while other couplings need lubrication; always follow the instructions for the mechanism actually fitted.
- Check the landing legs, crank handle, locks and supports before uncoupling a semi-trailer. You must immobilise it and ensure that it is supported on suitable ground before releasing the coupling; a centred load does not, on its own, prevent it from falling or moving when you withdraw the towing vehicle.
17Connections and separation safety devices
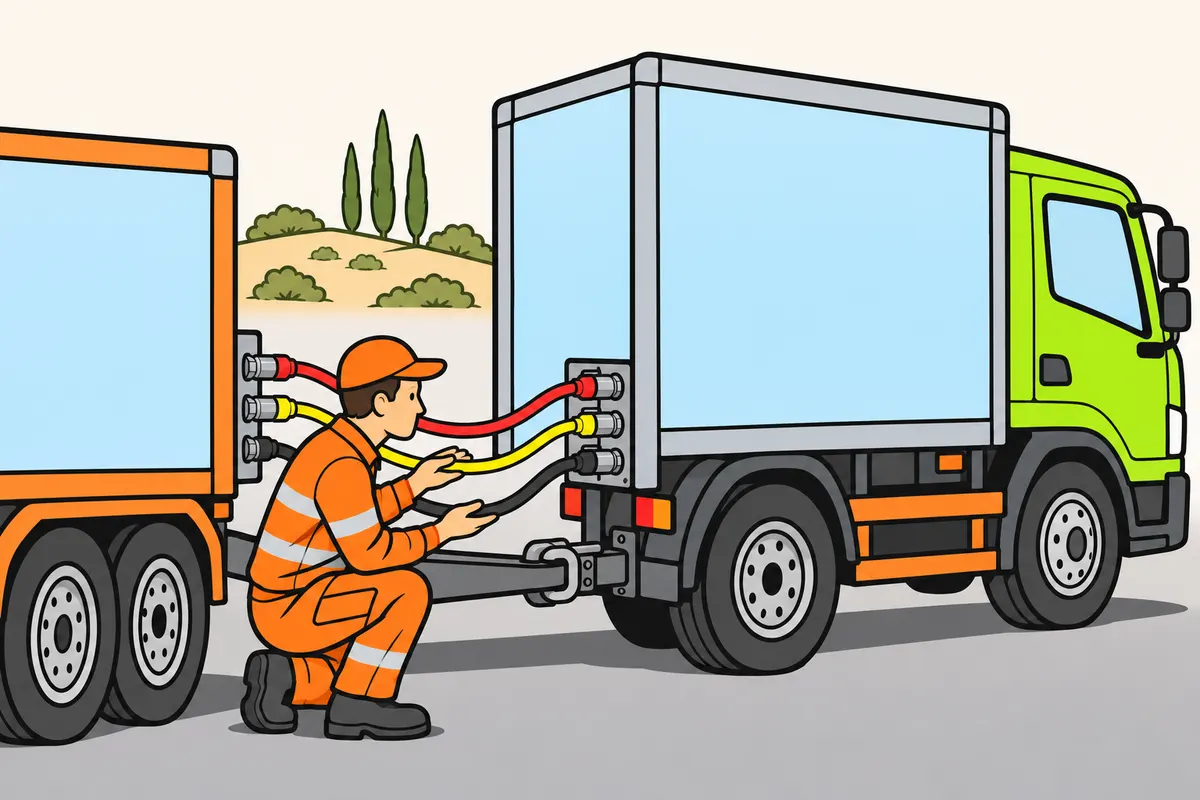
Check your towed vehicle’s connections and safety devices.
Remember
- Look for cracks, chafing and insecure connectors.
- Allow enough movement for turns without dragging or stretching cables.
- For air lines, see «Braking the trailer and the vehicle combination».
- For required devices, see «Safety devices for the vehicle combination».
- Never swap devices because they look like cables or chains.
- Look for damage, incompatible connections and insecure locks.
Exam trap: Wrong: any cable or chain will do. Right: check the device your towed vehicle requires.
Read the full explanation
- Inspect the air hoses and electrical cables throughout the accessible area. Look for chafing, cracks, insecure joints and poorly secured connectors; they must have enough freedom of movement for the combination to articulate without becoming taut, dragging or catching on parts of the towing or towed vehicle.
- To identify the function of each air line before checking its connections, consult «Braking the trailer and the vehicle combination».
- To identify the safety device required for your towed vehicle and check its condition, consult «Safety devices for the vehicle combination». [RGV, art. 13.4](https://www.boe.es/buscar/act.php?id=BOE-A-1999-1826#a13).
- Check the devices required for the particular towed vehicle and do not substitute one for another because they look like a cable or chain. You study the complete connection and disconnection sequence in «Safe coupling and uncoupling»; during maintenance, you must detect damage, incompatibility and insecure locking.
18What you must check on the brakes
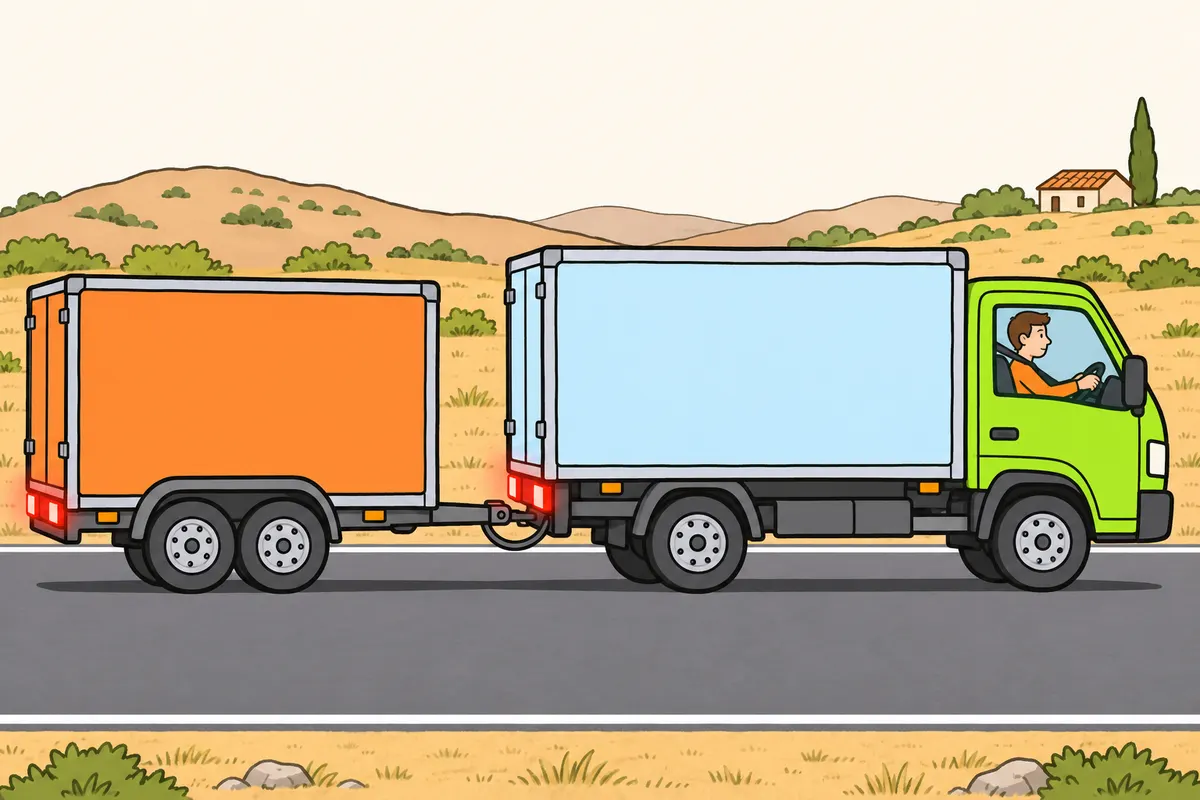
Check that the whole combination brakes properly before joining traffic.
| Combination brake | Function you must check |
|---|---|
| Service | Slows or stops you while driving |
| Parking | Keeps the vehicle stationary |
| Secondary | Stops you if the service brake fails |
Remember
- Test braking at very low speed in a safe, clear area.
- Request inspection for delays, pulling, new noises or wheels that remain braked.
- Check the towed vehicle’s brakes too.
- If you have overrun brakes, inspect the mechanism and cable as instructed.
- Keep pedals clear and check that the accelerator returns to its position.
- If the accelerator sticks, stop in a controlled way and request inspection.
Exam trap: Wrong: only the towing vehicle needs to brake. Right: check the towed vehicle too.
Read the full explanation
- Check the response of the service brake and that the parking brake immobilises the vehicle, including the towed vehicle. The secondary brake allows you to stop the vehicle if the service brake fails; do not confuse these functions with the retarder. [RGV, annex VIII.1.2](https://www.boe.es/buscar/act.php?id=BOE-A-1999-1826#anviii).
- Check accessible parts for wear, inspect the lines and look for possible contamination of friction components. Adjustments and repairs to discs, drums, pads, shoes or brake chambers require the appropriate technical procedure; you must not compensate for a fault by increasing tyre pressure or tightening parts by guesswork.
- In a safe area with clear space, check at very low speed that the combination brakes progressively without pulling abnormally to either side. A delayed response, a wheel that remains braked, a new noise or an imbalance requires inspection before you join traffic.
- The brakes must also work on level, dry ground. Do not leave your brake checks until a descent: with a high mass, even a partial failure can affect stability and increase the distance you need to stop, even though you can still feel braking from the towing vehicle.
- If the towed vehicle has an overrun brake, check the condition of the sliding mechanism, bellows, linkage and safety cable according to its instructions. Sticking movement, deformed parts or damaged cables require correction; pneumatic checks cannot assess this system. Its operation is covered in «Braking the trailer and the vehicle combination». [RGV, art. 12.8.2](https://www.boe.es/buscar/act.php?id=BOE-A-1999-1826#a12).
- Check that the accelerator moves freely and returns to its position as intended. If it sticks or the engine maintains an abnormal speed, stop in a controlled way and request an inspection; avoid continuing to test it in traffic. Keep the pedal area clear and check accessible pedal mechanisms without altering electronic or mechanical settings.
19Building up and monitoring compressed air
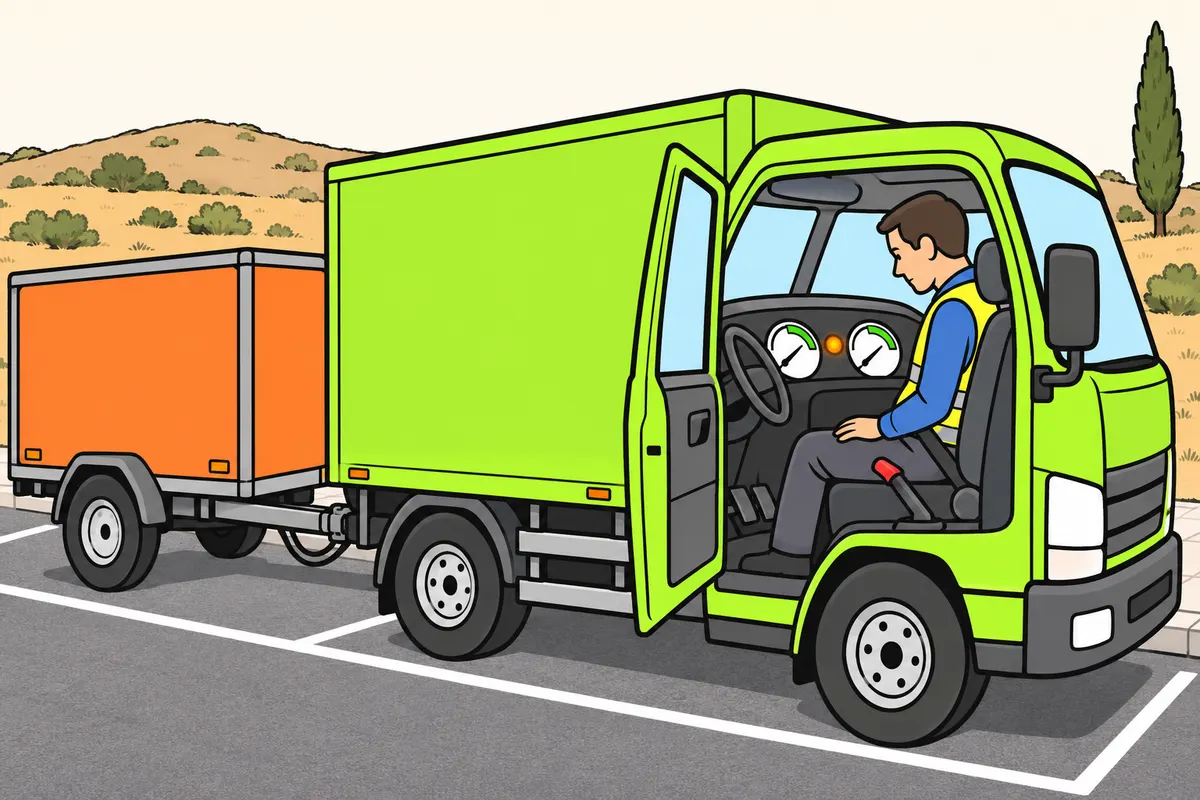
With air brakes, wait for the correct pressure before moving off.
Remember
- Watch the air-circuit gauges.
- Use the operating range specified for your system.
- Check that low-pressure warnings disappear as the manual specifies.
- Listen for leaks with the combination secured.
- If pressure drops and the warning appears, find a safe stopping place.
- Never try to repair a leak by pumping the pedal.
Exam trap: Wrong: pumping the pedal restores air. Right: it uses air and cannot repair the fault.
Read the full explanation
- In the pneumatic system, the compressor supplies air and the reservoirs store the energy needed to operate the brakes. You must monitor the circuit gauges and wait until they reach the specified operating range before releasing the brakes that hold the combination stationary and moving off.
- Check that the low-pressure warnings clear as specified by the manufacturer. There is no single pressure at which all lorries are ready to move off: use the reference values for the system fitted and do not assume that another vehicle's reading is normal for yours.
- Listen for leaks with the combination secured and watch for any abnormal drop in pressure. Insufficient pressure, audible leaks and poor pressure recovery are among the items inspected on commercial vehicles; silencing the warning device does not correct them. [RD 563/2017, Annex II, 1.1.3 a), b) and d)](https://www.boe.es/buscar/act.php?id=BOE-A-2017-6512).
- If the pressure drops during the journey and the warning activates, find somewhere to stop safely before you lose braking ability. Pumping the pedal uses air and does not repair a leak; you must also not assume that revving the engine makes it acceptable to continue with a faulty circuit.
20Reservoirs, air dryer and spring brakes
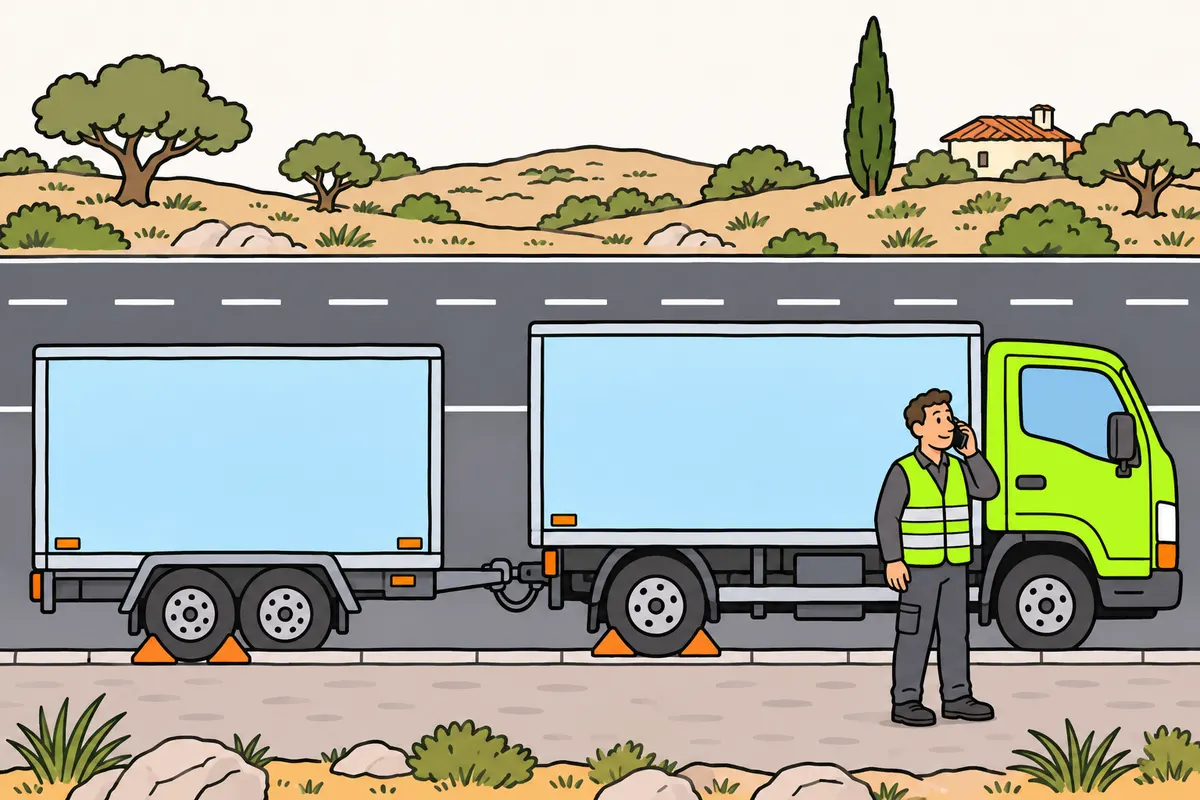
Maintain reservoirs and the air dryer without tampering with spring brakes.
Remember
- Check the dryer and drains according to your equipment’s instructions.
- If draining is automatic, check that it works.
- For manual draining, immobilise the combination and follow its instructions.
- Request inspection if you find abnormal amounts of water or oil.
- Never dismantle spring-brake chambers: they can store dangerous energy without air.
- If lack of air leaves the brakes applied, request specialist assistance.
Exam trap: Wrong: no pressure makes a spring-brake chamber safe to dismantle. Right: dangerous energy can remain.
Read the full explanation
- Moisture in the air can condense in the reservoirs and harm the system. Check the maintenance of the air dryer and drain valves according to the equipment fitted; if drainage is automatic, check that it works rather than assuming that it removes all need for inspection.
- If the system requires manual draining, carry out the operation with the combination immobilised and follow its instructions. Do not set a universal interval regardless of the climate, air dryer or manufacturer; if you find abnormal amounts of water or oil when draining, you must investigate the cause.
- In spring brake actuators, mechanical energy holds or applies the brake and air pressure allows it to be released, depending on the design. If there is insufficient air, you may find that the vehicle's brakes remain applied; you must not drag it or disable its mechanisms to finish the job, but request assistance equipped for heavy vehicles.
- Do not dismantle spring brake chambers or tamper with their release mechanisms as part of a daily inspection. They can retain dangerous energy even without air pressure; recovery work requires competent personnel and measures to ensure that neither the towing vehicle nor the towed vehicle can move.
21ABS, EBS and electronic control
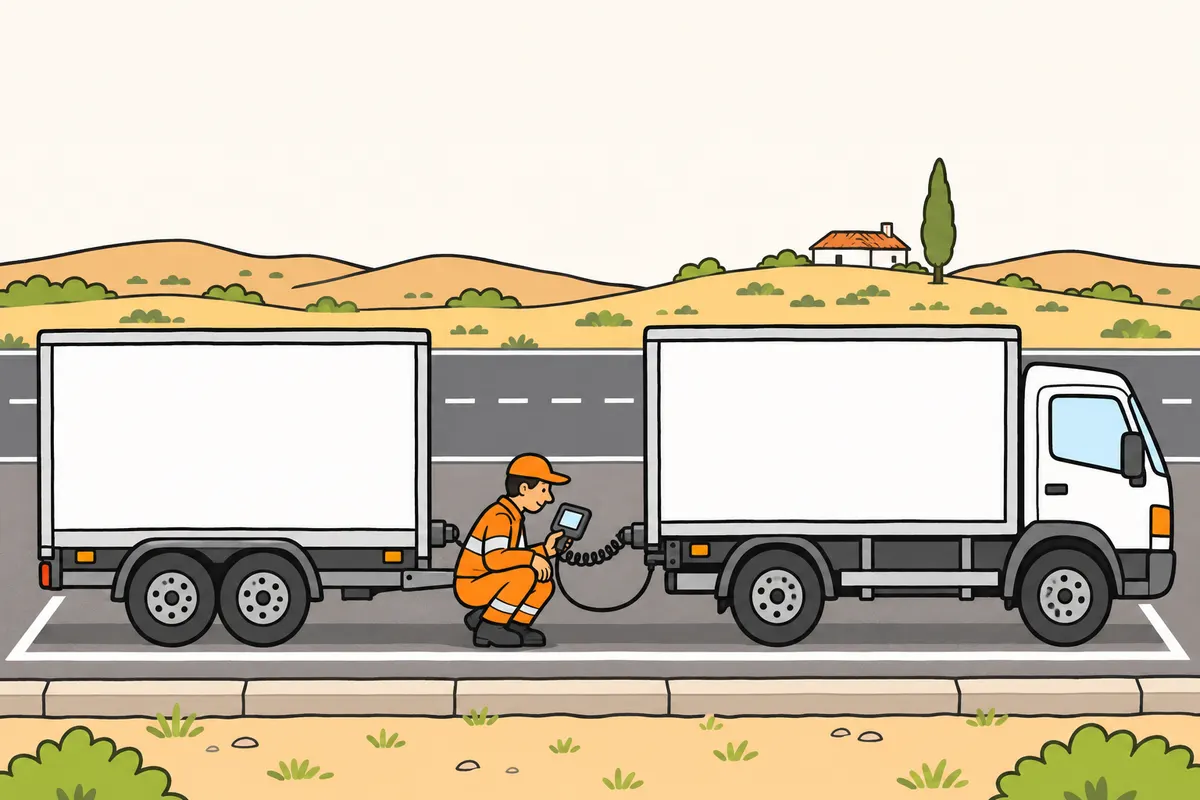
Check electronic warnings and keep braking components in good condition.
Remember
- Check the manual for the intended warning-light sequence.
- Keep tyres, sensors, cables and connections in good condition.
- Never expect ABS to create grip where none exists.
- When warned, check the message and other symptoms.
- For stop instructions, insufficient pressure or lost response, immobilise safely and request assistance.
- Never disconnect the towed vehicle’s plug to silence a warning.
Exam trap: Wrong: an ABS warning always means losing all brakes. Right: check the fault and instructions before deciding whether you can continue.
Read the full explanation
- Check the self-diagnostic cycle of the warning lights for the combination's ABS and electronic systems. Their behaviour depends on the model and may include checks as you move off; consult the manual before treating an expected sequence as a fault or assuming that a persistent warning is normal.
- ABS helps prevent wheel locking during braking; electronic control does not create grip or correct a damaged tyre. You must keep tyres, sensors, wiring and connections in good condition, and maintain a safety margin even if the lorry has advanced braking and stability aids.
- An ABS warning does not necessarily mean that all service braking is lost, but it means you must check the fault. If it is accompanied by an instruction to stop, insufficient pressure or a loss of response, you must immobilise the combination safely and request assistance before continuing.
- Do not disconnect the towed vehicle's electronic system plug to turn off a warning. You must record the message, identify whether it relates to the towing vehicle or the trailer and report it to the workshop; diagnosis must include checking the affected combination, rather than simply clearing the fault code.
22Interpret dashboard warnings
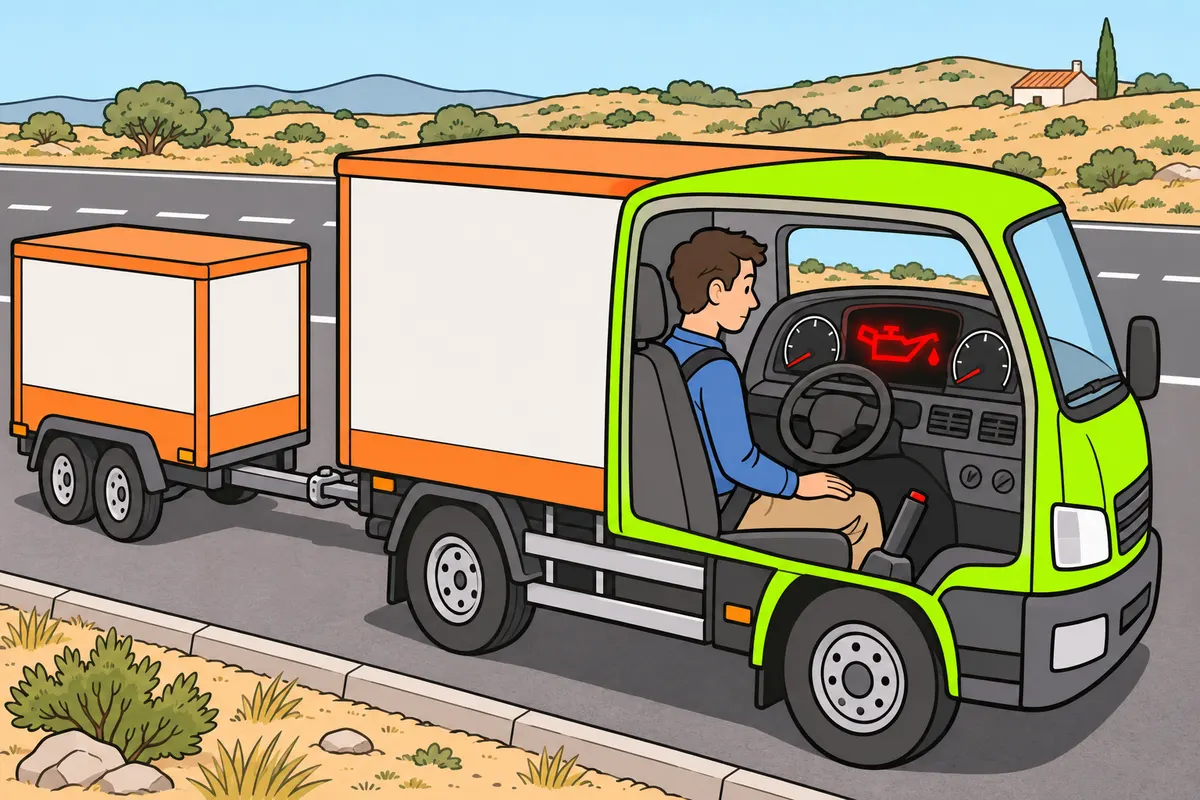
Read each warning and act on its specific meaning.
Remember
- Check warning-light operation when you switch on the ignition.
- Read screen messages too.
- For a serious alarm, stop safely and follow its instructions.
- For low oil pressure, switch off the engine after stopping.
- For low brake air pressure, secure the combination against movement.
- Act on charging warnings even if the engine keeps running.
Exam trap: Wrong: every yellow warning lets you finish your route. Right: check its meaning, symptoms and manual.
Read the full explanation
- When you switch on the ignition, check that the warning lights carry out the expected check and that the relevant warnings go out when the system is ready. Read the display messages too: the colour gives an indication of urgency, but the specific warning determines its meaning and the action you must take.
- A serious oil, temperature or brake warning requires you to stop safely and follow the relevant instruction. If the warning indicates insufficient lubricating oil pressure, you must switch off the engine after stopping the vehicle; if it concerns braking air pressure, you must also secure the combination against movement.
- If the charging warning light stays on while the engine is running, it may indicate a problem with electrical generation or supply. You must act on it and arrange an inspection: an engine that keeps running does not guarantee that you can keep the combination's lights, control units and other electrical systems working indefinitely.
- Do not treat every yellow warning as permission to finish the route. Check its meaning, the symptoms and the manufacturer's instructions; note when it appears, whether it changes as you drive and which other warnings accompany it, without operating displays or carrying out distracting tests while driving.
23Locate the fault and limit the repair
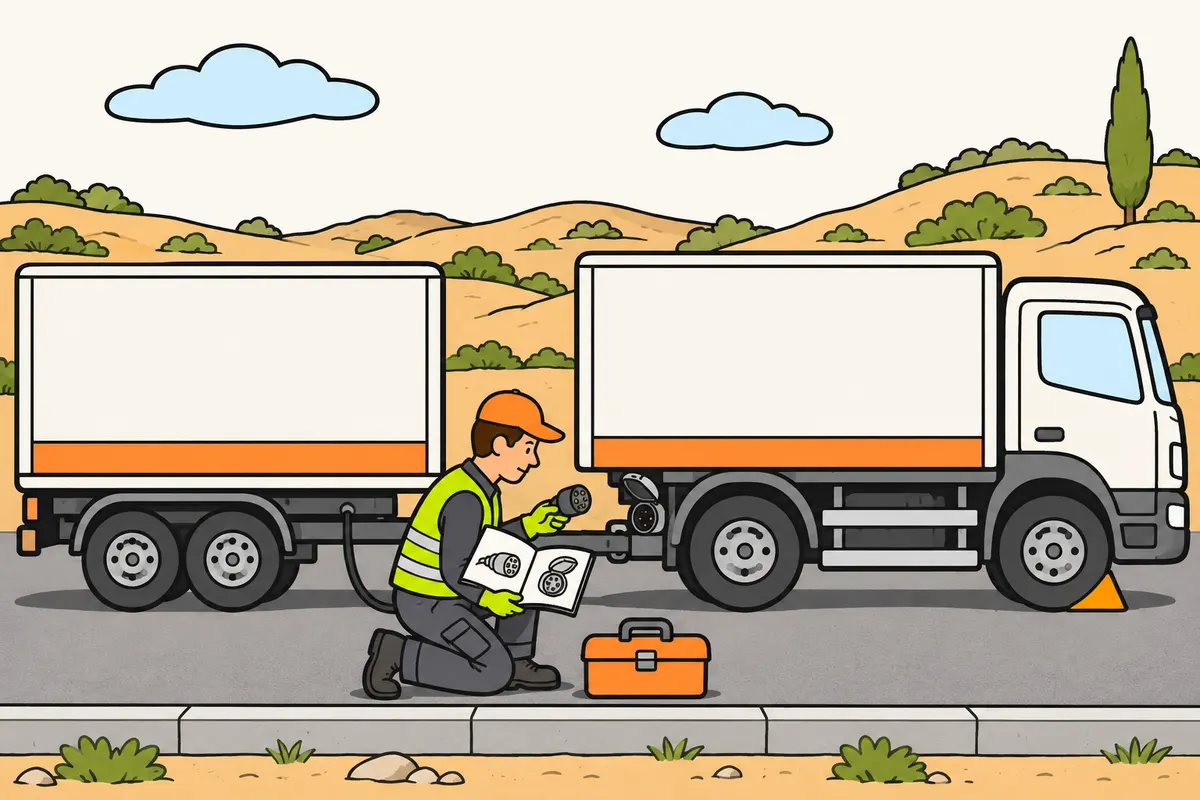
Describe the fault and attempt only repairs you can check safely.
| Trailer lighting fault | What you can check safely |
|---|---|
| Several lights | Shared supply or earth |
| One light | Bulb, bulb holder and connection |
Remember
- Note what happens and whether it affects the lorry, towed vehicle or both.
- Consult the manual and check accessible parts first.
- Never replace parts at random or short-circuit contacts.
- Never keep trying indefinitely if the engine will not start.
- Replace a fuse only with the specified type and rating.
- Check operation afterwards; use a workshop if you cannot verify the result.
Exam trap: Wrong: fit a higher-rated fuse if it blows again. Right: find the cause; never bridge it.
Read the full explanation
- Start by describing the symptom: what happens, when it began and whether it affects the towing vehicle, the towed vehicle or both. Note warnings, sounds, smells and the conditions in which it occurs; a fault warning light indicates which system to check, but does not by itself identify the part you must replace. Finding causes and carrying out minor repairs with suitable tools are part of the syllabus. [RGCond, Annex V.B.2.4.º o)](https://www.boe.es/buscar/act.php?id=BOE-A-2009-9481#anv).
- With the vehicle secured, first inspect accessible components and consult the manual: a fluid level, connection, fastening or fuse, depending on the symptom. If several trailer lights fail, a shared power supply or earth connection may explain all the faults; if only one fails, examine its bulb, bulb holder and connection. Do not replace parts at random or carry out electrical checks by short-circuiting contacts.
- If the engine does not start, distinguish between a starter motor that does not turn and an engine that turns over but does not run. Check the specified starting conditions, messages and available fuel without repeatedly trying indefinitely; observe the equipment's operating and rest times. Only jump-start the vehicle in accordance with the manual, using compatible voltage and connections.
- You may top up with the correct fluid, replace a wiper blade or replace an accessible bulb when the manufacturer allows it and you have the necessary knowledge. Use suitable tools, gloves and eye protection when the operation requires them, and work with the power supply disconnected and the components cooled down as instructed. A sealed lamp unit or a high-voltage circuit requires specialist work.
- If you replace an accessible fuse, use the specified type and amperage and first disconnect the circuit as instructed in the manual. If it blows again, the cause remains unresolved: do not fit a higher-rated fuse or bypass it. Do not open pressurised fuel lines or braking systems to locate a fault during a routine inspection.
- After the work, check that everything functions correctly and that there are no leaks, tools left behind or loose connections. A simple repair is only valid if it restores safe conditions; refer the fault to a workshop when you cannot identify its cause or verify the result. Do not clear codes as a substitute for diagnosis.
24Noise, overheating and blowouts
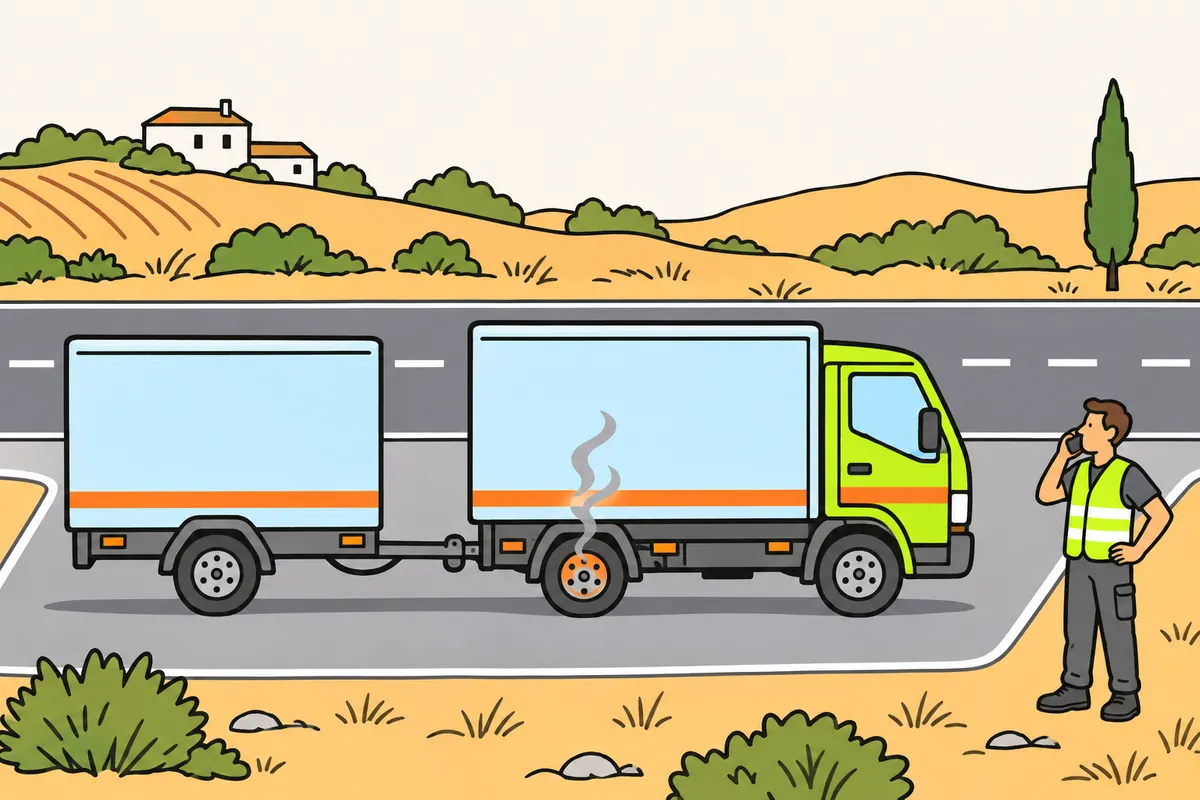
For vibration, abnormal heat or a blowout, keep control and stop safely.
Remember
- Investigate unusual noises and vibrations.
- Never keep driving to cool a hot wheel.
- Avoid touching hot parts and request inspection.
- During a blowout, hold the steering firmly and slow down in control.
- Avoid sudden turns and harsh braking.
- If heat reduces braking effectiveness, find a safe place to stop.
Exam trap: Wrong: cooling the brakes fixes the fault. Right: also find out why they overheated.
Read the full explanation
- If abnormal noises or vibrations occur, you must investigate their cause as soon as possible. Reduce the demands on the vehicle and find somewhere to stop safely if they may affect control; accelerating through the speed range where vibration occurs or waiting for it to disappear by itself leaves the fault unresolved.
- A strong smell from the brakes, smoke or abnormal heat from a wheel may indicate a binding brake, a bearing problem or another fault. Do not touch hot parts or keep driving to cool them down; arrange an inspection and keep people away if there is a risk of fire or tyre failure.
- If a tyre blows out, hold the steering wheel firmly, avoid abrupt corrections and reduce speed in a controlled way until you can stop somewhere safe. Harsh braking or a sudden turn can destabilise the combination; also check for possible damage to twin tyres, pipes and hoses, bodywork and fastenings.
- If the brakes lose effectiveness because of heat, you must treat this as a safety problem and stop where you can do so without creating a greater risk. You study the use of gear ratios and auxiliary braking on descents in «Driving techniques for vehicle combinations»; cooling the system does not replace finding out why it has overheated.
25On-board equipment and roadside breakdowns
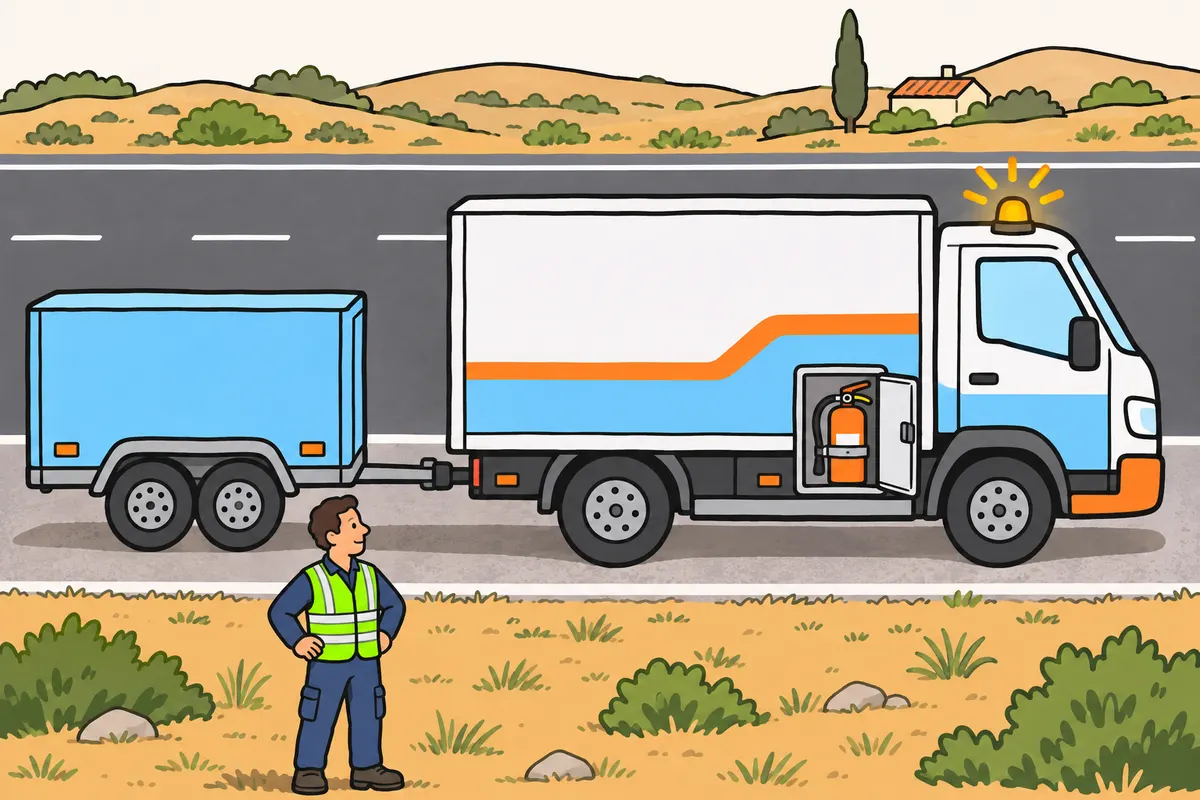
Check your compulsory equipment and warn others when a breakdown creates danger.
Remember
- Check compulsory equipment in «Safety devices for the vehicle combination».
- Check that V-16, vest and extinguisher are present and sound, as required.
- If immobilised on the road creating danger, you must use the regulatory V-16.
- Protect occupants and wear your vest when required.
- Check that all tools are present, secured and protected.
- If you carry a tyre repair system, check its condition and instructions.
Exam trap: Wrong: you can use damaged tools. Right: replace or inspect a damaged spanner or leaking jack before use.
Read the full explanation
- Check that the compulsory V-16, high-visibility vest and fire extinguisher are present and in good condition, as set out in «Safety devices for the vehicle combination». [RGV, Annex XII](https://www.boe.es/buscar/act.php?id=BOE-A-1999-1826#anxii).
- If you break down, you must warn others that your vehicle is immobilised and protect the occupants in accordance with [RGC, art. 130.2-4](https://www.boe.es/buscar/act.php?id=BOE-A-2003-23514#a130), and use the high-visibility vest in the circumstances specified in [RGC, art. 118.4](https://www.boe.es/buscar/act.php?id=BOE-A-2003-23514#a118). Consult «Dealing with accidents and breakdowns» for roadside procedures and «Safety devices for the vehicle combination» for the use of the V-16 and protective equipment.
- When checking your repair equipment, check that all tools are present, secured and protected from moisture and impacts. Identify which tasks they allow you to carry out on your combination and what equipment you must request from the breakdown assistance service; a damaged spanner or a leaking jack requires replacement or inspection before use. If you carry a tyre repair system, check its condition and instructions to find out which types of damage it can repair and its conditions of use.
26When you can resume driving
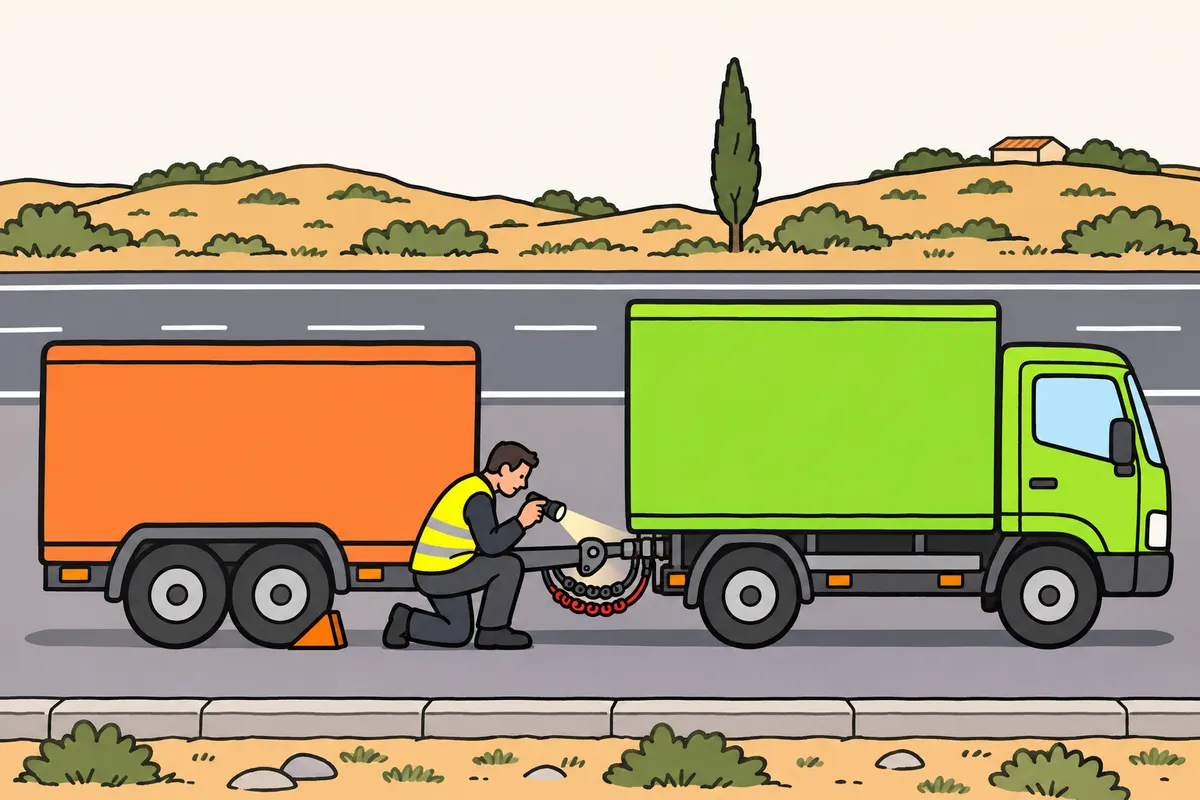
Continue only when safe conditions have been restored.
| Combination’s situation | What you must do |
|---|---|
| Fault unrepairable en route forces lower-intensity lighting | Slow enough to stop within the lit area; safe conditions remain essential |
| Serious safety defects | Keep immobilised and request assistance |
Remember
- Check that the cause is resolved and no related damage remains.
- Recheck the parts affected by the work.
- Keep immobilised for serious brake, steering, tyre or coupling defects.
- Request suitable assistance; avoid improvised recovery with cables or chains.
- Record what happened and any further checks needed.
Exam trap: Wrong: restart and continue if the warning disappears. Right: check that the fault is resolved.
Read the full explanation
- Before continuing, you must check that the cause has been resolved and that no associated damage remains. Check the wheels, locking mechanism, connections, supports and warnings again if the work has affected them; a warning lamp going out after you switch the ignition back on does not in itself prove that a repair is successful.
- If a fault that cannot be repaired en route forces you to use lower-intensity lighting, you must reduce your speed so that you can stop within the illuminated area. This rule does not authorise you to drive without visibility or without safe conditions. [RGC, art. 107](https://www.boe.es/buscar/act.php?id=BOE-A-2003-23514#a107).
- With serious defects in the brakes, steering, tyres or mechanical coupling, you must keep the vehicle immobilised and seek suitable assistance. A towed vehicle without effective braking does not become safe just because the towing vehicle can pull it; you must not improvise recovery using makeshift chains or cables either.
- Report and record what has happened so that follow-up action can be taken. A temporary repair may require a subsequent inspection, replacement of parts or a technical check before another job; keep the workshop information and distinguish between resolving the symptom and restoring the combination to a safe condition.
27Schedule preventive maintenance
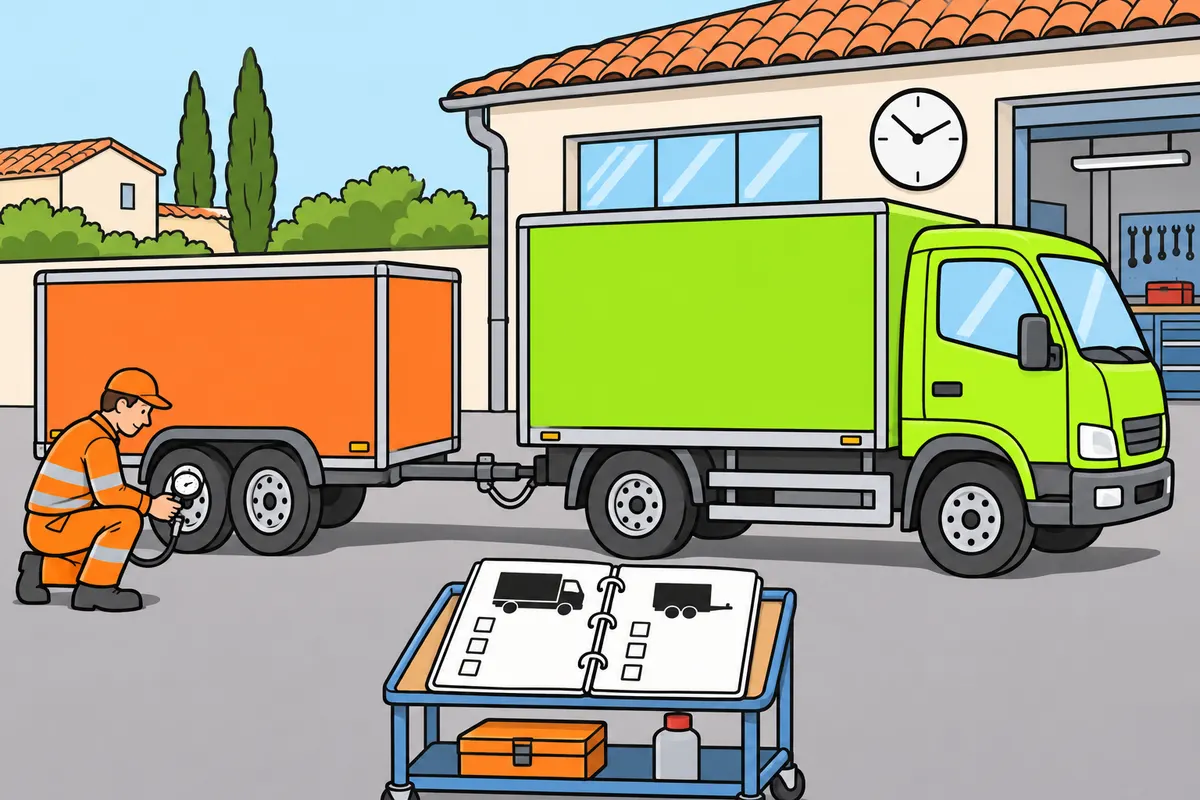
Follow the manufacturer’s schedule and keep separate records for each vehicle.
Remember
- Follow the time, mileage or operating-hour intervals appropriate to your work.
- Record defects, work and next checks for the lorry and each towed vehicle.
- Report faults in writing.
- Include coupling, supports, filters, fluids and drivetrain as the manual specifies.
- Never disable filters or emission-control systems.
- For particulate-filter regeneration, follow the procedure in a suitable place.
Exam trap: Wrong: servicing the lorry proves the collected trailer is maintained. Right: check each vehicle’s records.
Read the full explanation
- Plan maintenance work to keep everything functioning before a breakdown occurs. Follow the manufacturer's intervals based on time, mileage or operating hours and apply the one appropriate to actual use; short journeys, dust or demanding work may require specific schedules. This maintenance and routine work are included in the knowledge syllabus. [RGCond, Annex V.B.2.4.º p)](https://www.boe.es/buscar/act.php?id=BOE-A-2009-9481#anv).
- Keep separate records for the towing vehicle and each towed vehicle: date, mileage where applicable, defect, work carried out and next scheduled work. In a fleet with interchangeable trailers, an inspection of the lorry does not prove that the trailer you collect is up to date with lubrication, brake or tyre maintenance. Report any faults you find in writing so that the person managing maintenance can resolve them.
- Include belts and hoses, fastenings, filters, lubricants, cooling, transmission and auxiliary equipment as specified in the manual. A slipping clutch, unusual difficulty selecting gears or a transmission leak requires diagnosis; do not adjust these mechanisms by trial and error. Also follow the maintenance requirements for the coupling points and support mechanisms.
- Check the exhaust and exhaust-gas treatment systems: loose parts, leaks or warnings may indicate faults. If the equipment requests particulate filter regeneration, follow its procedure in an environment suitable for the heat it produces; do not disable filters or emission control systems. The vehicle must meet its emissions and noise requirements. [RGV, art. 11.19](https://www.boe.es/buscar/act.php?id=BOE-A-1999-1826#a11).
- Check the seat belt, anchorages, seat, horn and latches as part of scheduled inspections. Take defective components that compromise safety out of service and arrange the necessary repairs; keeping equipment clean helps you spot damage, but does not replace the measurements and replacements required by the technical maintenance plan.
28ITV (vehicle roadworthiness test) and upkeep between inspections
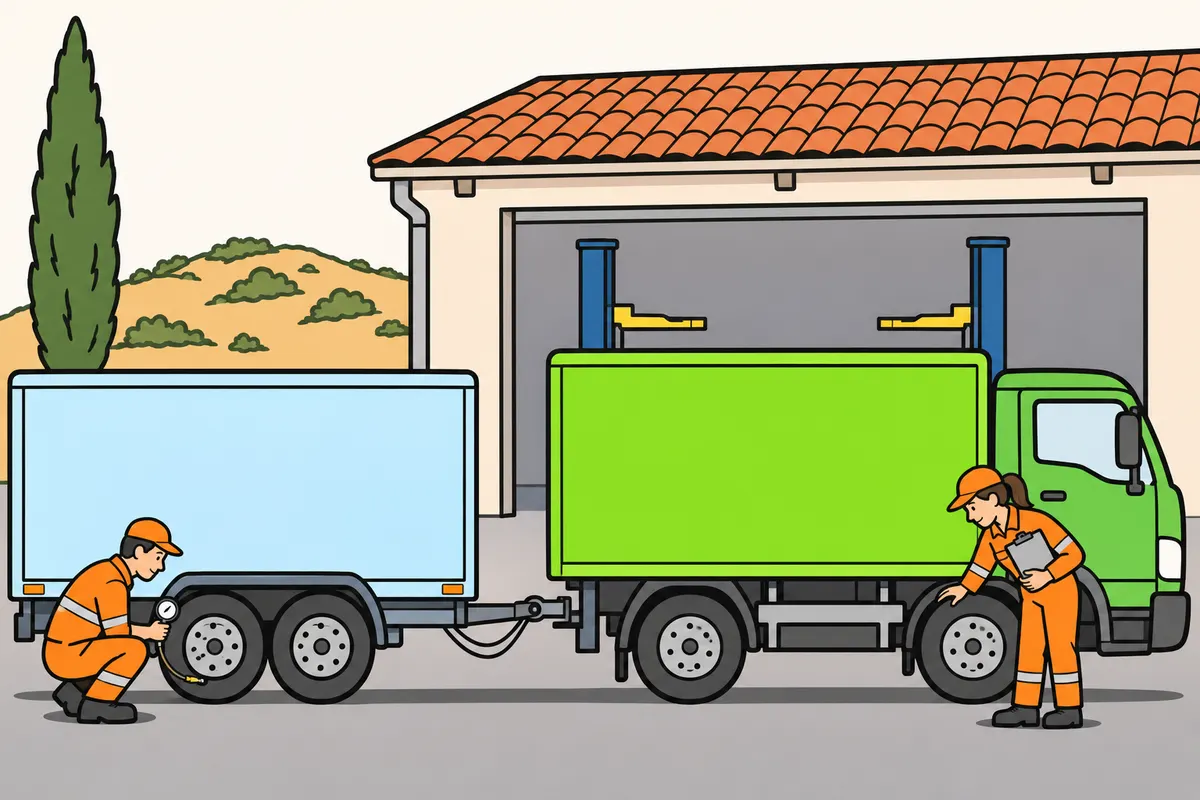
Prepare both vehicles for ITV and keep checking them between inspections.
Remember
- For ITV rules, see «Driver and vehicle combination documentation».
- List known defects and repairs for each vehicle.
- Keep the report with the relevant vehicle’s maintenance history.
- Check lights and brakes; report faults to the workshop.
- Clean to help inspection; repair leaks.
- Add defects to your maintenance plan and check each repair.
Exam trap: Wrong: a valid ITV lets you ignore later faults. Right: continue daily and scheduled checks between inspections.
Read the full explanation
- Consult «Driver and vehicle combination documentation» for each vehicle's ITV frequency, the effects of its results and the placement of the V-19 sticker. [RD 920/2017, arts. 6 and 11](https://www.boe.es/buscar/act.php?id=BOE-A-2017-12841); [RGV, Annex XI, V-19](https://www.boe.es/buscar/act.php?id=BOE-A-1999-1826#v-19).
- Prepare for the visit with a list of known defects in the towing and towed vehicles and repairs carried out since the previous inspection. Tell the workshop about intermittent symptoms, such as a light that fails when turning or an air leak at a particular articulation angle; a stationary check may not reproduce them. Keep the inspection report with the maintenance history of the relevant vehicle.
- Before presenting the combination for inspection, arrange a functional check of the lights and brakes following the checks in this module. Arrange for someone to observe the rear lights while you operate the controls, and report any irregular brake response for the workshop to investigate. Present the pneumatic system, if fitted, in its normal operating condition and follow the staff's instructions during testing; avoid operating controls while someone is working beside the wheels.
- Ensure that couplings, connections and tyres are visible: remove dirt that hides their markings or possible damage and make sure the inner wheels can also be seen. Check that number plates and marking plates are legible and securely attached. Cleaning must help inspection of the actual condition; a leak requires repair and investigation of its source. Secure the supports and accessories for the journey to the test centre.
- Add the defects in the report to the work plan and then check the result of each repair using suitable equipment. Between inspections, continue daily and scheduled checks: technical roadside inspections apply to the N2 commercial lorry and the O3 towed vehicle even if their ITV is valid, in accordance with the scope of [RD 563/2017, art. 2](https://www.boe.es/buscar/act.php?id=BOE-A-2017-6512#a2).
Daily walk-round before moving off
Walk around the combination in a consistent order and finish with a functional check.
- Immobilise the combination and check the ground, surroundings and any possible leaks.
- Walk along both sides and around the rear: check tyres, inner twin tyres, wheel rims, lights, reflectors and loose parts.
- Check that the coupling is locked, the hoses and connectors are in good condition and the supports are in their transport position.
- Check fluid levels as specified by the manufacturer, and clean windows, mirrors and lamp lenses.
- Adjust your seat and mirrors; check the windscreen wipers, washers and dashboard warnings.
- Check the lights and brake response in a safe area; if you have an air brake system, first wait until it reaches operating pressure.
- Rectify safety defects before joining traffic and report those that require workshop attention.
Changing a wheel in a protected location
Only carry out the work if you have the training, equipment and a safe working environment.
- Identify a compatible wheel, the tools and the manufacturer’s procedure; request assistance if your equipment is insufficient.
- Position the combination on firm, level ground, immobilise both vehicles and fit the specified chocks.
- Prepare the wheel and partially loosen the fastenings with the wheel on the ground when the procedure requires this.
- Place a jack with sufficient capacity at the specified lifting point and raise the vehicle only as far as necessary, without going underneath.
- Remove the fastenings and replace the wheel using equipment suitable for its weight; fit the fastenings and tighten them progressively in the specified sequence.
- Lower the vehicle as instructed, finish tightening to the specified torque and check the pressure and fitting.
- Stow the wheel and tools, remove the chocks when appropriate and carry out the subsequent tightness check specified by the manufacturer.
Low air pressure warning
If your vehicle has air brakes, maintain control and ensure that the combination is securely immobilised.
- Before moving off, keep the combination immobilised until the system is within its operating range and completes its checks.
- If the warning appears while you are driving, find a safe place to stop without continuing to use up air through unnecessary brake applications.
- Immobilise the towing and towed vehicles and request assistance if there is a leak, pressure fails to recover or the warning persists.
- Do not disable warning devices, spring brake chambers or connections in order to continue.
- Resume driving only when the fault is rectified and the response of the whole combination is checked.
Check what you know
Real questions from the bank on this topic. Pick an answer to see the explanation.
Finished this module?
Mark it as read and you will see your progress on the theory list.