
Theory · D+E Licence - Bus with Trailer · Module 7 of 13
Safe luggage and loads
You learn to distribute and secure luggage in the bus and its trailer, control the centre of gravity and assess moving loads and liquids. You practise checking lashings, making partial deliveries, and loading and unloading without endangering passengers or dirtying the road.
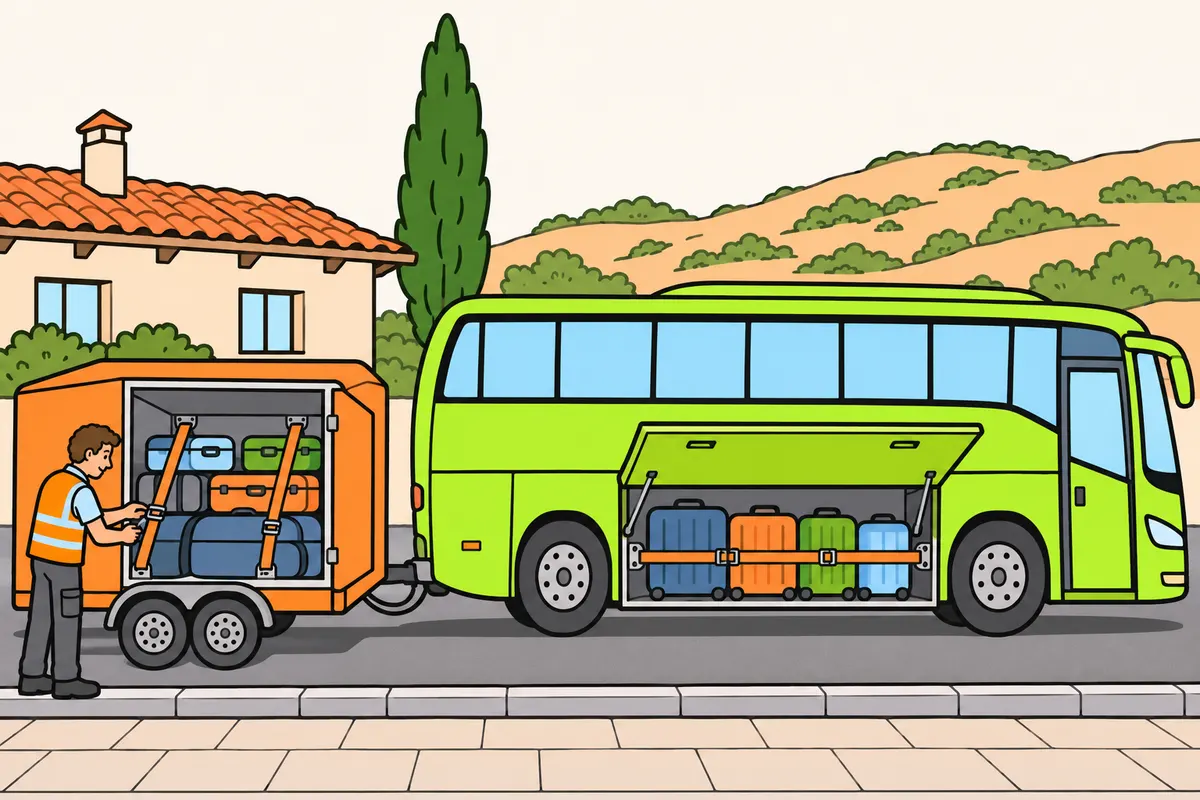
1A safe load throughout the combination
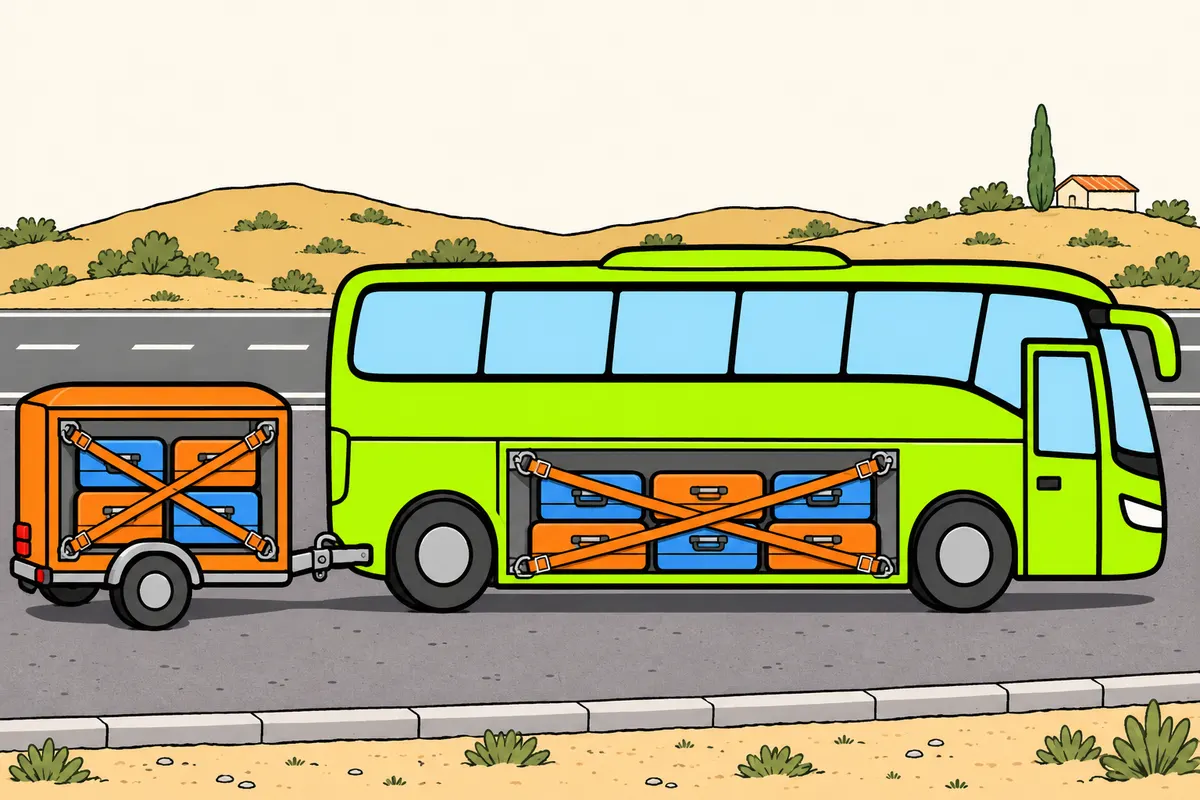
Secure luggage and its accessories in both the bus and trailer.
Remember
- Secure your load against dangerous movement when moving off, braking and turning.
- Prevent your load from dragging, falling or causing avoidable nuisance.
- Keep lights, registration plates and compulsory signs visible.
- Keep your arm signals visible.
- Check load distribution, lashings and the coupling separately.
Exam trap: Wrong: stationary suitcases are securely loaded. Right: check their restraint during travel too.
Read the full explanation
- You must prepare the bus and its trailer as a combination: luggage changes the balance of each vehicle and the forces transmitted through the coupling. The load must remain in a safe position when you move off, brake and turn. Suitcases remaining still while the vehicle is parked does not prove that they are secured.
- You must prevent the load and its accessories from dragging, coming loose or moving dangerously, impairing stability or causing avoidable noise, dust and nuisance. This duty also covers chocks, tarpaulins, bars and other items used to arrange or protect the load. [RGC, art. 14](https://www.boe.es/buscar/act.php?id=BOE-A-2003-23514#a14).
- You must keep lights, signs, plates and compulsory markings visible, including when the cover is fitted. On the trailer, luggage must not obscure its own registration plate or the plate displaying the bus's registration number; nor may it obscure the V-6 long vehicle sign where required. You must ensure that the driver's hand signals remain visible. [RGC, art. 14.1.d](https://www.boe.es/buscar/act.php?id=BOE-A-2003-23514#a14); [RGV, Annex XVIII, III.4 and Annex XI](https://www.boe.es/buscar/act.php?id=BOE-A-1999-1826).
- You must check luggage distribution, its restraint and coupling security separately. Placing suitcases in the centre does not prove that the coupling is closed, and checking the coupling does not prove that the luggage is secured. The mechanical sequence is explained in «Safe coupling and uncoupling».
2Plan stowage before loading
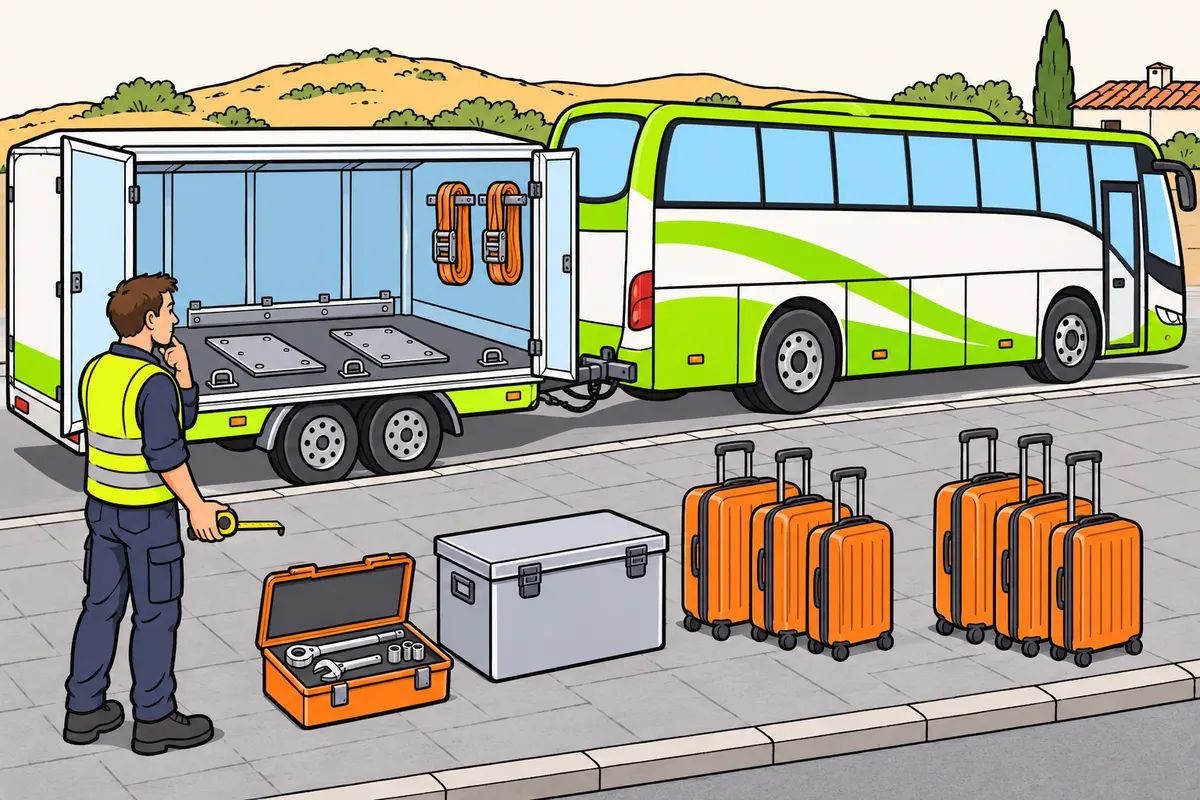
Plan where to place and how to secure each item before loading.
Remember
- Check each item’s weight, size, shape and fragility.
- Check the strength of the floor, supports and lashing points.
- Provide supports to spread weight where needed.
- Arrange luggage according to your delivery stops.
- Prevent deliveries from leaving dangerous gaps or uneven weight.
Exam trap: Wrong: extra straps correct any placement. Right: plan placement and lashings together.
Read the full explanation
- Before loading, you must know the mass, dimensions, shape and fragility of the items. For bicycles, sports equipment and the group's equipment, identify suitable support points and parts that can move. A large, lightweight trunk does not need the same placement as a small box of heavy tools.
- You must check that the floor, supports and lashing points are suitable for the goods. A concentrated load can exceed the floor's local strength even if the total mass is permissible. Plan to use load-spreading plates or supports where the design of the platform and the load itself requires them.
- You must plan placement according to the stops where you deliver luggage. Removing the first suitcases must not leave heavy items isolated at one end or remove the blocking that holds the remaining items in place. Also plan how to reach each group of items without unnecessarily dismantling the entire stowage arrangement.
- You must choose placement and restraint together: where each item rests, which spaces remain empty and which components prevent movement. Annex III requires you to consider axle load distribution and the strength of the components used for securing the load; adding straps at the end does not correct every stowage error. [RD 563/2017, Annex III](https://www.boe.es/buscar/act.php?id=BOE-A-2017-6512#ai-3).
3Keep the centre of gravity low and central
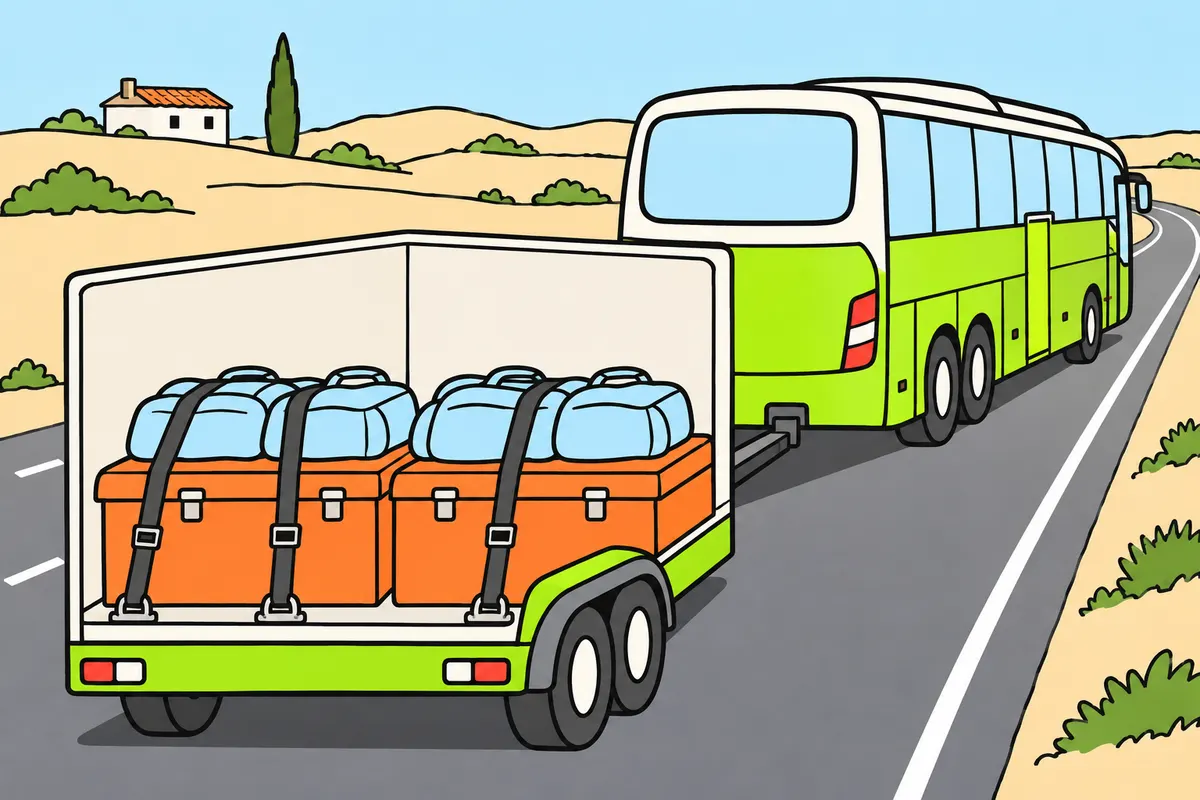
Keep heavy items low and balance both sides to reduce overturning risk.
Remember
- Place heavy items below lighter ones.
- Check that packaging can support the items above it.
- Prevent your load from sliding or tipping.
- Limit swinging when carrying equipment on supports designed for suspension.
- Do not hang heavy equipment from passenger grab handles.
Exam trap: Wrong: good lashings prevent every overturn. Right: also keep weight low and balanced.
Read the full explanation
- You must place heavy items at the bottom: a high centre of gravity reduces the lateral acceleration the bus or trailer can withstand before overturning. On bends and roundabouts, you can reach this threshold even with the luggage securely lashed. This precaution fulfils the duty to maintain stability. [RGC, art. 14.1.b](https://www.boe.es/buscar/act.php?id=BOE-A-2003-23514#a14).
- You must balance the load between both sides. A centre of gravity offset towards one side reduces the margin against overturning towards that side, especially when it is on the outside of a bend or roundabout. The suspension can keep the body apparently level without correcting this distribution. [RGC, art. 14.1.b](https://www.boe.es/buscar/act.php?id=BOE-A-2003-23514#a14).
- When stacking, you must respect the strength of the packaging and give the upper items a stable base. As a stowage guideline, place heavy items below light ones and avoid small or uneven support surfaces. Crushed packaging can loosen the top-over lashing and allow the whole stack to move.
- You must prevent the goods themselves from both sliding and tipping. A tall piece of sports equipment can tilt even if its base does not slide along the floor; you need a system suited to its shape. The requirement to prevent longitudinal and transverse tipping forms part of the load-securing principles. [RD 563/2017, Annex III](https://www.boe.es/buscar/act.php?id=BOE-A-2017-6512#ai-3).
- If you carry equipment suspended from supports designed for that purpose, you must limit its swinging: when you brake or turn, it can shift the centre of gravity and transmit repeated forces, as a moving liquid does. Securing the suspension point does not immobilise the object. Do not hang heavy equipment from grab handles in the passenger compartment. [RGC, art. 14](https://www.boe.es/buscar/act.php?id=BOE-A-2003-23514#a14).
4Distribute mass between the axles
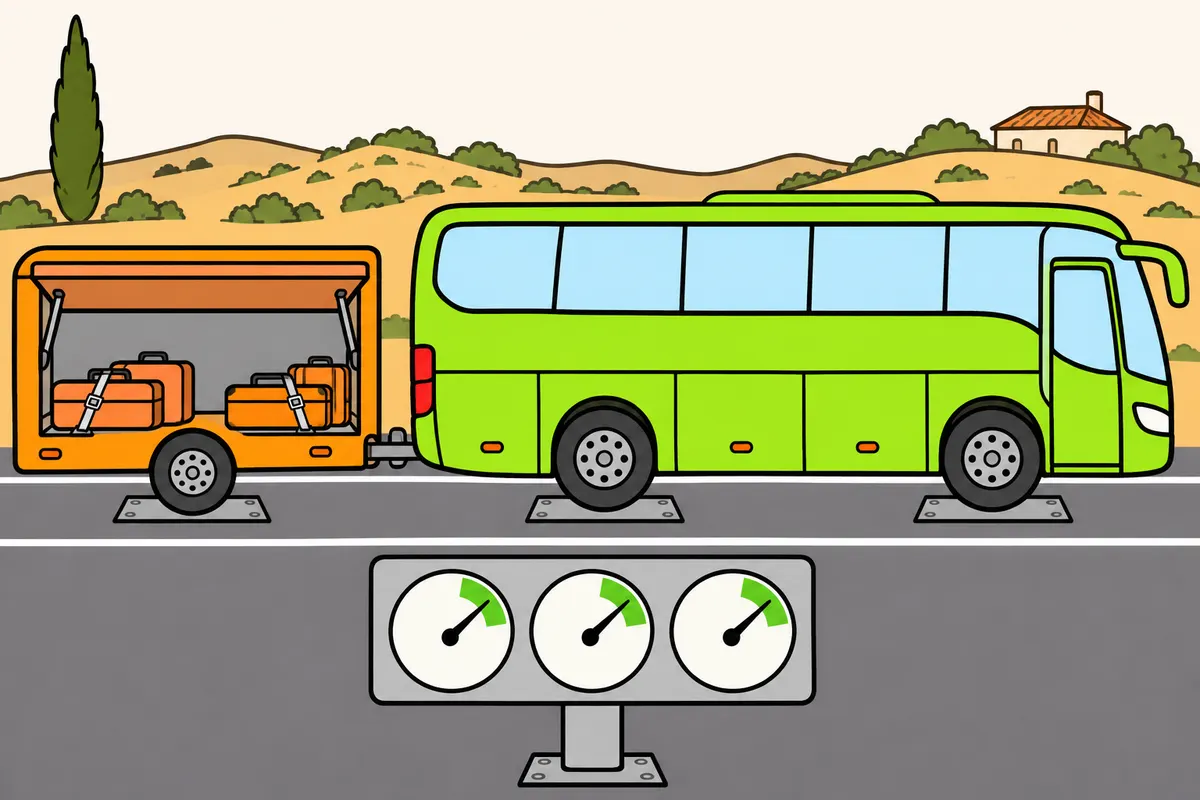
Respect the weight limits for the combination, each vehicle and its axles.
Remember
- Use the manufacturer’s load distribution diagram when available.
- Respect maximum axle weights and the minimum weights needed.
- With centre-axle trailers, check the weight carried by the coupling.
- Respect the limits of your trailer, bus and coupling device.
- If distribution is unknown, weigh individual axles or axle groups before leaving.
- Recheck distribution when you change vehicles or rearrange the load.
Exam trap: Wrong: a legal total weight rules out overloads. Right: check each axle or axle group too.
Read the full explanation
- You must comply simultaneously with the authorised mass of the combination, of each vehicle and of each axle or axle group, as well as the applicable technical limits. The total can be legal while an axle is overloaded. To choose the values for your configuration, consult «Dimensions, masses and speed limiters». [RGV, Annex IX](https://www.boe.es/buscar/act.php?id=BOE-A-1999-1826).
- You must use the manufacturer's load distribution diagram when available. It shows where the load's centre of gravity may be located according to its mass. You must not replace it with the vague rule of putting everything in the centre of the load space: that centre does not guarantee correct axle load distribution.
- On a centre-axle trailer, the position of the luggage changes the vertical load transmitted to the bus's coupling. Respect the permissible value specified for the trailer, the towing vehicle and the coupling device. Concentrating suitcases at the front or rear can alter the load on the coupling and the distribution between the combination's axles.
- You must maintain the necessary minimum axle loads as well as keeping within their maximum limits. A distribution that removes too much load from the steering or driven axles impairs control and the ability to transmit forces to the ground. Annex III requires you to observe maximum and minimum loads within the MMA (maximum authorised mass). [RD 563/2017, Annex III](https://www.boe.es/buscar/act.php?id=BOE-A-2017-6512#ai-3).
- If you do not know the actual distribution, you must check it by appropriately weighing individual axles or axle groups and correct the placement before setting off. Weighing only the whole combination does not allow you to detect each local overload. Reassess the distribution whenever you change the bus, trailer or load arrangement.
5Split the load without causing overloads
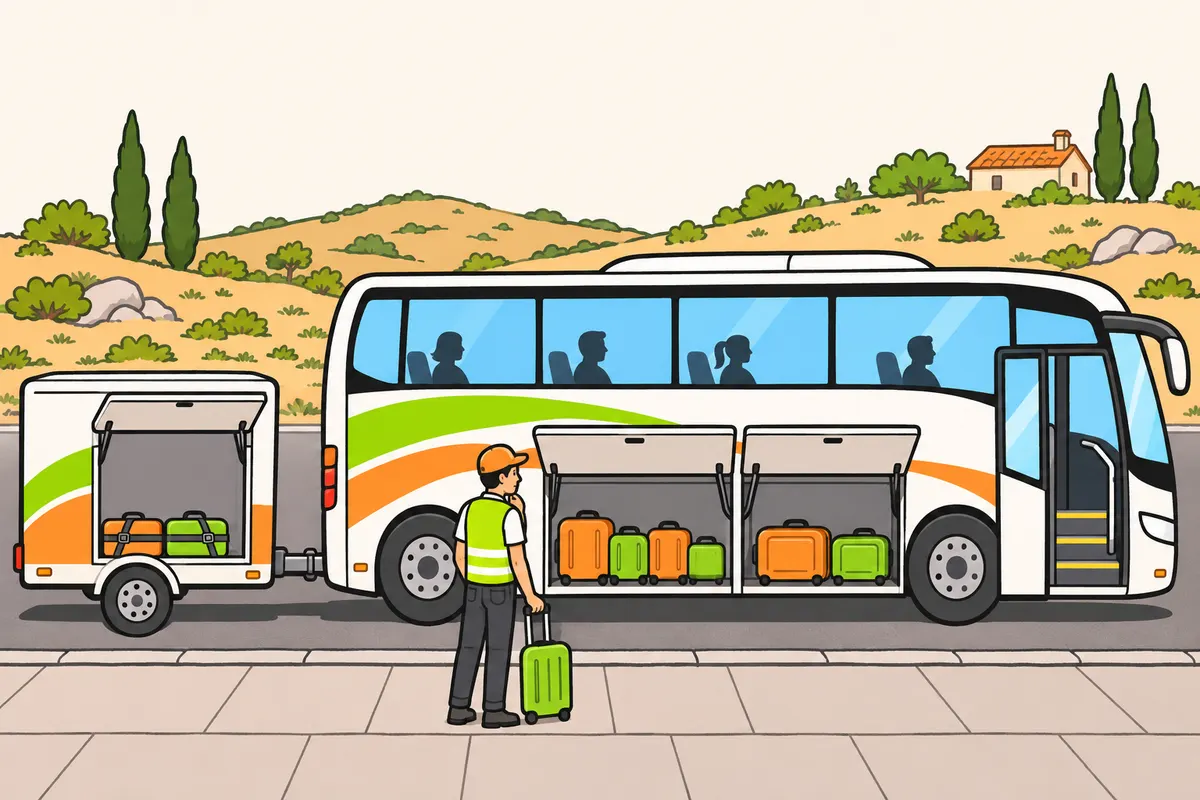
Share luggage between spaces according to their capacities, within all weight limits.
| Case | What you must do |
|---|---|
| Incorrect distribution | Redistribute only if you meet every limit. |
| Excess total weight | Remove cargo or use other suitable transport. |
Remember
- Count passengers and luggage together when checking your bus’s weight.
- Do not confuse spare space with capacity for more weight.
- Recheck balance when passengers or luggage change.
Exam trap: Wrong: moving suitcases always removes an overload. Right: excess total weight requires removing cargo or using other suitable transport.
Read the full explanation
- You must distribute items between the bus's luggage holds and the trailer according to their capacities. Splitting the load does not mean allocating the same mass to each compartment: their volumes, supports and limits can differ. A trailer with space to spare may already have reached its mass capacity.
- You must count passengers and luggage together when checking the bus's maximum authorised mass. Using only the permitted passenger places does not guarantee that you can add any amount of luggage. The capacity of the luggage holds does not replace the mass limit either. [RGC, art. 9](https://www.boe.es/buscar/act.php?id=BOE-A-2003-23514#a9).
- You must correct an overload by redistribution only when the new distribution complies with all limits. If the total mass is excessive, you must remove part of the load or use other suitable transport; moving suitcases from one axle to another does not reduce the total mass. Lashings do not increase the authorised capacity either.
- After changes in passenger numbers and luggage, you must reassess the balance of the bus and trailer. Avoid keeping all the heavy equipment in one area for convenience. If you need to check the numerical limits for axles and configurations, consult «Dimensions, masses and speed limiters».
6Forces the restraint must withstand
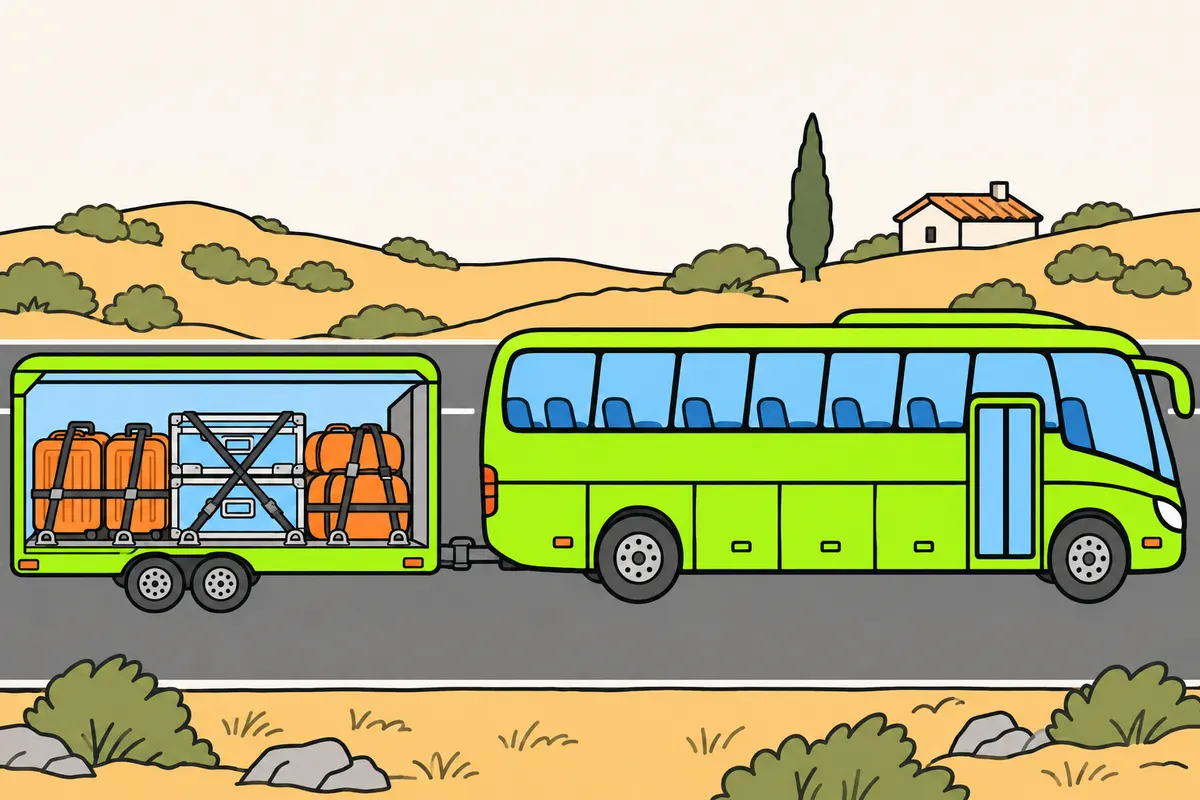
Prepare restraints to withstand braking, turning and emergencies.
| Force direction | Force your restraints must withstand |
|---|---|
| Forward | Load weight multiplied by 0.8 |
| Towards each side | Load weight multiplied by 0.5 |
| Rearward | Load weight multiplied by 0.5 |
Remember
- Calculate lashings using weight, friction and angles.
- Consider the risk of tipping too.
- No single number of straps suits every load.
- Check restraint for moving off uphill too.
- For your trailer, consider its category and the manufacturer’s instructions.
Exam trap: Wrong: the factors show how much cargo you can leave loose. Right: they show the force your restraints must withstand.
Read the full explanation
- You must allow for inertia, which makes the load tend to keep moving when you brake and tend to move sideways when you change direction. Preventing it from falling off while travelling straight at a constant speed is not enough: the restraint must also work during demanding manoeuvres.
- The system must withstand a forward force equivalent to the weight of the load multiplied by 0.8, a force towards each side equivalent to its weight multiplied by 0.5, and a rearward force equivalent to its weight multiplied by 0.5. You must understand these factors as strength requirements for the restraint, rather than as percentages of mass that you can leave unsecured. [RD 563/2017, Annex III](https://www.boe.es/buscar/act.php?id=BOE-A-2017-6512#ai-3).
- You must design the system to account for all the forces, supports and strengths involved. There is no universal number of straps suitable for every item or every piece of equipment. Mass, friction, angles and the possibility of tipping determine which securing equipment you need and how much of it.
- You must maintain restraint during emergencies and when moving off uphill too. An inspection can check that changes in position are minimal and that the load cannot leave its allocated space. Driving slowly is no excuse for failing to meet this requirement. [RD 563/2017, art. 11](https://www.boe.es/buscar/act.php?id=BOE-A-2017-6512#a1-3).
- RD 563/2017 includes commercial buses within the scope of its inspections. You use its load-securing principles to prepare the luggage and equipment you carry; for a trailer, you must also consider its category and its manufacturer's instructions. The general duty to prevent dangerous load movements applies regardless of the load's volume. [RD 563/2017, art. 2](https://www.boe.es/buscar/act.php?id=BOE-A-2017-6512#a2).
7EN standards and choosing a method
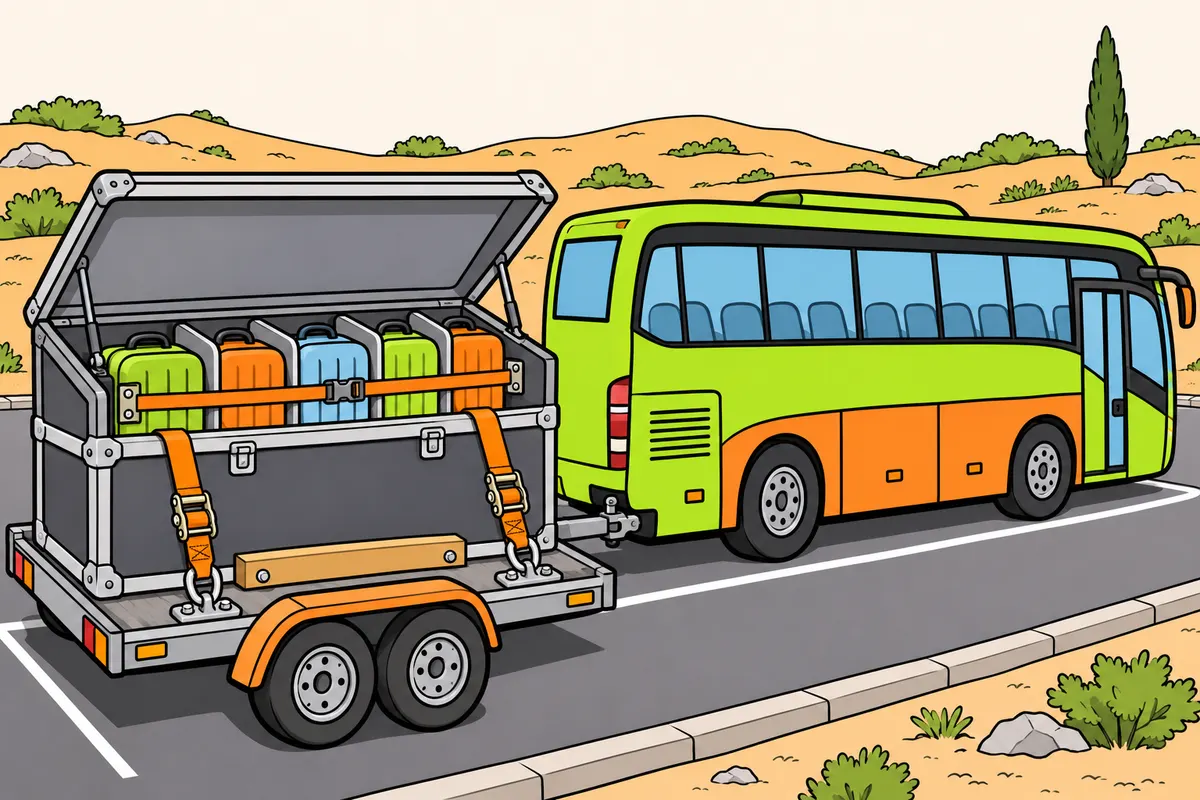
Choose suitable equipment and methods to secure the whole load and its contents.
| EN standard | What it covers |
|---|---|
| EN 12195-1 | Calculating lashing forces |
| EN 12195-2 | Synthetic-fibre straps |
| EN 12195-3 | Chains |
| EN 12195-4 | Steel wire ropes |
| EN 12640 | Lashing points |
| EN 12642 | Bodywork strength |
Remember
- Check the strength of the points where you attach lashings.
- You can combine locking, blocking, direct lashing and top-over lashing.
- Follow your securing plan and equipment instructions.
- Secure objects inside containers and containers on their supports.
- Also check how each support attaches to your vehicle.
Exam trap: Wrong: fixing a trunk secures its contents. Right: secure the objects inside too.
Read the full explanation
- EN 12195-1 is the standard for calculating lashing forces cited in Annex III. Parts EN 12195-2, EN 12195-3 and EN 12195-4 cover synthetic fibre straps, chains and steel wire ropes, respectively. Each securing device must be suitable for the load and its use. [RD 563/2017, Annex III](https://www.boe.es/buscar/act.php?id=BOE-A-2017-6512#ai-3).
- You must also check the strength of the structure that takes the lashing forces. The same annex cites EN 12640 for lashing points and EN 12642 for vehicle body strength. A strong strap is insufficient if you attach it to a component that cannot withstand the force transmitted. [RD 563/2017, Annex III](https://www.boe.es/buscar/act.php?id=BOE-A-2017-6512#ai-3).
- You can combine methods: locking, blocking, direct lashing and top-over lashing. You must choose a combination whose effectiveness can be justified for the particular load. A container lock works differently from a strap that presses a grouped package against the floor. [RD 563/2017, Annex III](https://www.boe.es/buscar/act.php?id=BOE-A-2017-6512#ai-3).
- You must follow the load securing plan and the equipment instructions, without improvising equivalences between systems. Securing a storage box to the trailer does not establish that its contents are immobilised. You must secure each level: objects inside the container, the container on its support and the support attached to the vehicle.
8Block movement with strong supports
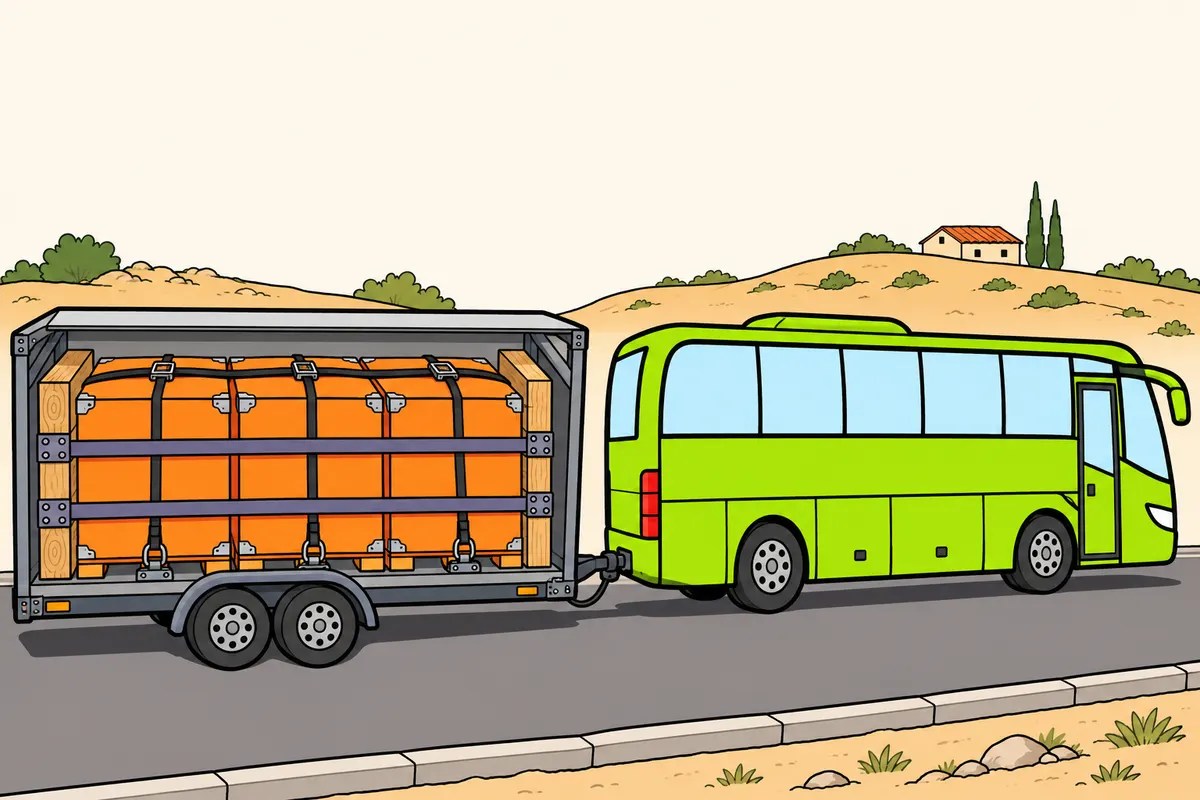
Block your load with supports strong enough to resist its movement.
Remember
- Avoid gaps that let items gain momentum.
- Use fillers strong enough for the expected forces.
- Check the strength of walls, doors and partitions.
- Secure supports and chocks for objects that can roll.
- Secure their moving parts too.
- Add lashings if supports do not prevent bouncing or falling.
Exam trap: Wrong: any side curtain restrains your load. Right: check the strength of components used for blocking.
Read the full explanation
- When blocking the load, you must prevent it from moving by using strong components: headboards, dividers, bars, stanchions, wedges or suitable recesses. Position the load and supports so that the force is transmitted to a structure capable of taking it, without relying on substantial movement beforehand.
- You must reduce gaps that are incompatible with the blocking system. A free space allows a package to build up movement before hitting the next one or the wall. Use filling materials suitable for the expected forces; a soft material used to protect surfaces does not automatically serve as a strong stop.
- You must check the forces for which the headboard, walls and doors are certified. Do not assume that every enclosed vehicle body restrains the entire load or that a side curtain acts as a structural wall. Annex III requires you to take account of the strength of the components used for securing. [RD 563/2017, Annex III](https://www.boe.es/buscar/act.php?id=BOE-A-2017-6512#ai-3).
- For bicycles, permitted gas cylinders or other objects that can roll or tilt, you must provide suitable supports, cradles or chocks and secure them. You must also secure moving parts, such as wheels or handlebars, according to the system used. A support that prevents rolling may need an additional lashing to prevent bouncing or falling.
9Use friction in a controlled way
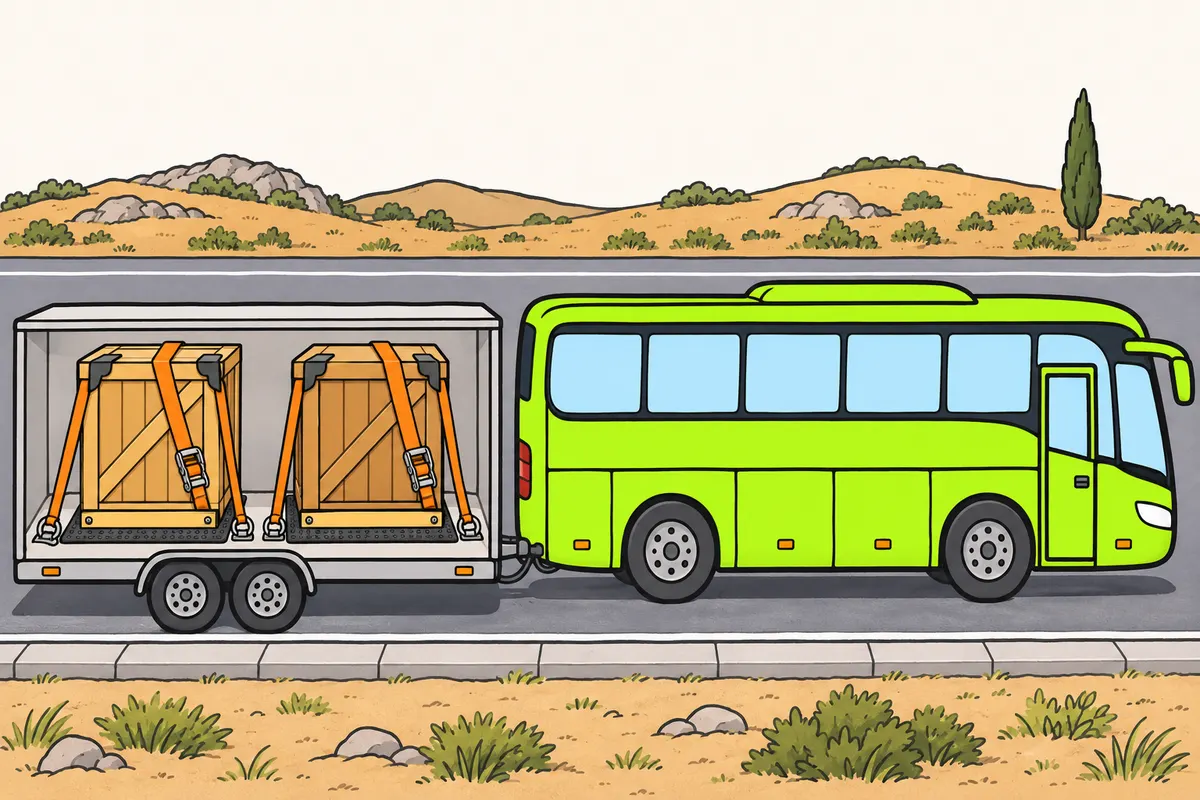
Check the actual grip between your load and its supports.
Remember
- Check for dust, oil, water or debris between surfaces.
- Place suitable anti-slip material under the load’s contact points.
- Check its condition and follow your securing plan.
- Do not calculate friction from the floor’s appearance alone.
- Review your solution if contact between materials changes.
- Combine anti-slip material with blocking or lashings where needed.
Exam trap: Wrong: better grip prevents every overturn. Right: check sliding and tipping separately.
Read the full explanation
- With friction, you use the resistance to sliding between surfaces in contact. You must assess the materials and their actual condition: dust, oil, water or packaging remnants can affect grip. The weight of the load alone does not guarantee that it remains stationary during braking.
- You can use suitable anti-slip material between the load and the floor or between layers, in accordance with the load securing plan. You must place it at the points where the load is supported and check its condition. You cannot assume that a mat is effective if it is damaged, incorrectly positioned or subjected to unsuitable pressure.
- You must use a justifiable coefficient of friction to calculate the lashings; do not choose one based on the appearance of the surface. Top-over lashing uses additional pressure to increase friction. If the actual contact between materials changes, you must review the calculation and the planned solution.
- Improving friction can prevent the base from moving forwards, but a tall or narrow load unit still needs stability against tipping. Combine anti-slip material with blocking or lashing where appropriate.
10Top-over lashing and direct lashing
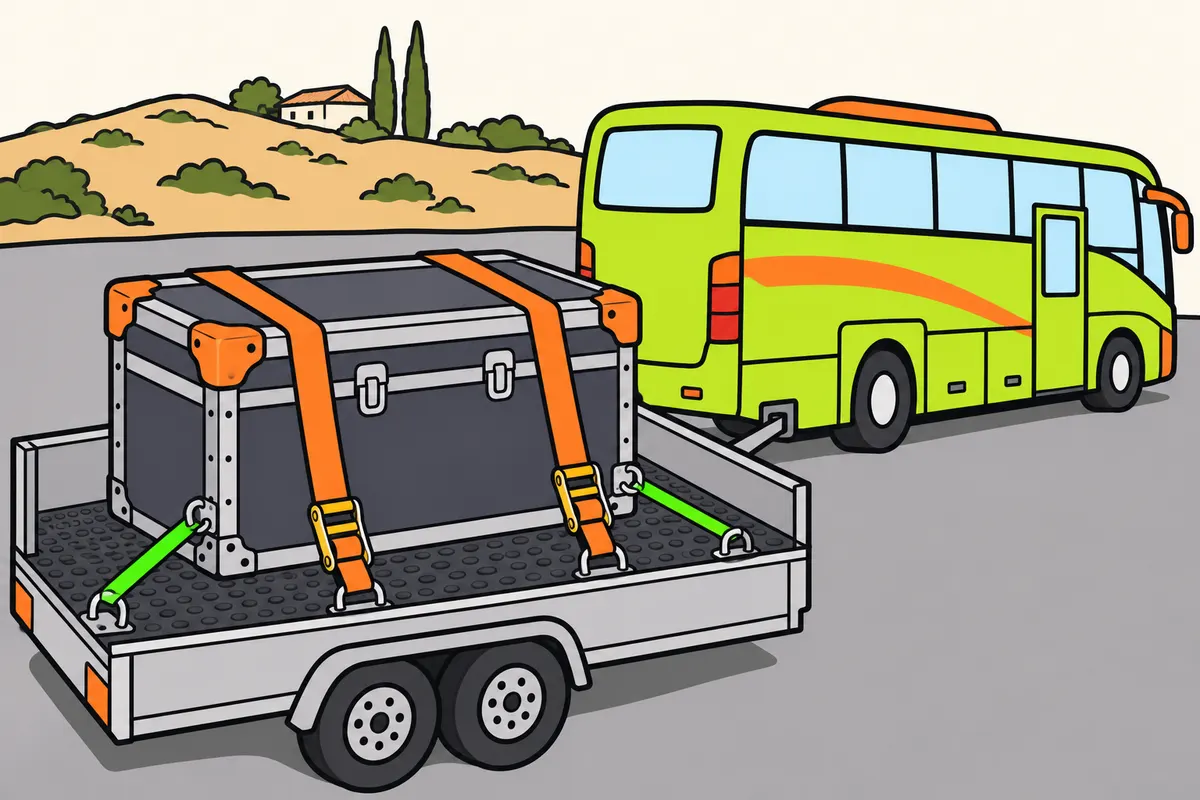
Choose lashings according to how they must prevent your load from moving.
| Method | How you use it |
|---|---|
| Top-over lashing | Pass it over your load to press down and increase friction. |
| Direct lashing | Connect suitable load and vehicle points to resist movement. |
Remember
- Read your equipment’s identification and instructions.
- Distinguish lashing capacity from the tension applied by the tensioner.
- Follow the angles specified in your plan.
- Do not tighten straps until you crush luggage.
- Check restraint in every necessary direction.
Exam trap: Wrong: counting straps proves your load is secure. Right: check capacity, tension, angles and positioning.
Read the full explanation
- For top-over lashing, you must pass the securing device over the load and tension it towards the anchor points to press the load against its support. Its main function is to increase friction. You need to consider the transmitted pre-tension, the angle and the strength of the packaging, as well as the number of lashings.
- For direct lashing, you must connect suitable points on the load to those on the vehicle so that the securing devices resist movement in the intended directions. Their effectiveness depends on their capacity and orientation. An arrangement that restrains forward movement may need additional devices to restrain movement sideways or backwards.
- You must read the equipment identification and instructions to find out its lashing capacity and the tension its tensioner can apply. The strength of the webbing is not the same as the pressure you achieve when tensioning it over luggage. Use the data required by the calculation method and avoid tightening a strap until it crushes a suitcase.
- You must keep to the angles specified in the lashing plan. If a top-over lashing lies at too shallow an angle, the force component pressing the load against the floor decreases; with a direct lashing, what matters is the part of the force that opposes movement. Do not replace a calculation by counting the straps visible from outside.
11Look after straps, anchor points and packaging
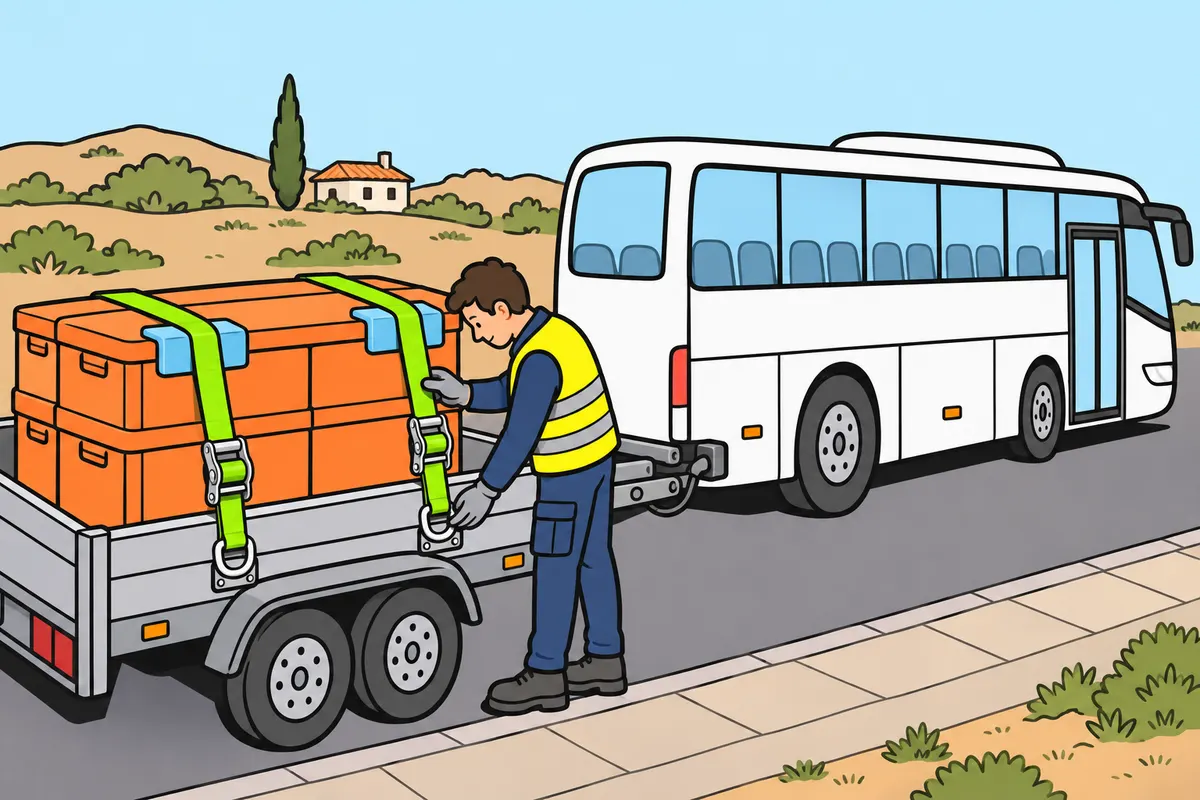
Check your lashings and protect their components and the packaging.
Remember
- Set aside damaged equipment or equipment without sufficient identification.
- Follow the manufacturer’s rules for taking equipment out of use.
- Do not repair cuts with knots or improvise repairs.
- Protect straps from sharp edges.
- Use suitable anchor points and properly seated hooks.
- Check connections between items and their attachment to your vehicle.
Exam trap: Wrong: wrapping suitcases in film secures them to your vehicle. Right: check their attachment to the floor too.
Read the full explanation
- You must check straps, stitching, chains, wire ropes, hooks and tensioners before use. Set aside any damaged items or items whose identification does not allow you to check their performance, and follow the manufacturer's withdrawal criteria. Do not repair a cut with a knot or deal with deformed parts by improvising an adjustment.
- You must protect lashing devices from edges that could cut them and protect the load from pressure where necessary. Edge protectors help distribute forces, but they must be compatible with the system. A protector must remain in place while you drive.
- You must attach hooks to points designed to take the force, without seating a hook insecurely or forcing catches and ratchets. The strength of the securing assembly is limited by its components and their connections; you cannot determine it solely from the strap's label.
- Wrapping film or strapping used to group packages together does not, on its own, secure them to the vehicle. You must check both how the packages are held together and how the whole group is secured to the floor. If the packaging breaks, objects can escape even if the base remains secured.
12Check the load during the service
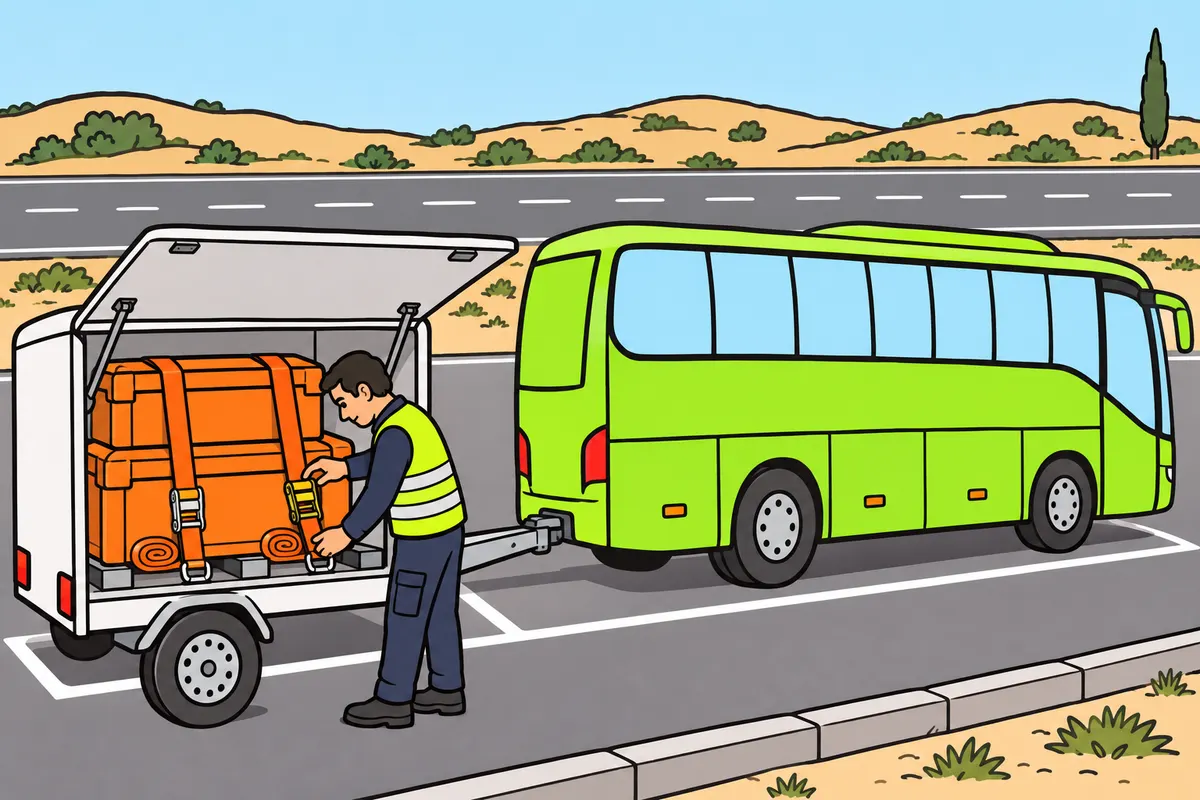
Check your load before leaving and during the service.
Remember
- Check supports, gaps, tensioners and strap ends on both vehicles.
- Secure doors, covers and tools before leaving.
- Recheck lashings after the load settles and at suitable stops.
- No single checking distance suits every load.
- After heavy braking or an incident, check in a safe place.
- Resolve tilting, unusual noise or loose tensioners before continuing.
Exam trap: Wrong: tightening a loose tensioner is enough. Right: inspect and correct the cause before continuing.
Read the full explanation
- You must inspect the result before moving off: no dangerous gaps, stable supports, closed tensioners and loose strap ends secured. Check that there are no loose tools and that doors, tailgates and covers are secured. Your inspection must cover both units of the combination.
- As a safety guideline, you must check the lashings again once the load has settled and at suitable stops during the service, in accordance with the transport plan. Some loads compress or vibrate and lose pre-tension. There is no single inspection distance that is valid for every type of goods and equipment.
- You must check the restraints after heavy braking, any movement you notice or an incident that may have affected the stowage, stopping in a safe place. If you detect tilting, an unusual noise or a loose tensioner, you must resolve the cause before continuing; tightening without inspecting can conceal a broken support.
- You must take a deficiency seriously even if the load is still inside. Annex III distinguishes between securing that needs improvement, inadequate securing with a possibility of significant movement or tipping, and a direct danger to traffic or people. An inspection can assess tensions, calculations and certificates as well as examining the load. [RD 563/2017, Annex III](https://www.boe.es/buscar/act.php?id=BOE-A-2017-6512#ai-3).
13Partial deliveries and opening doors
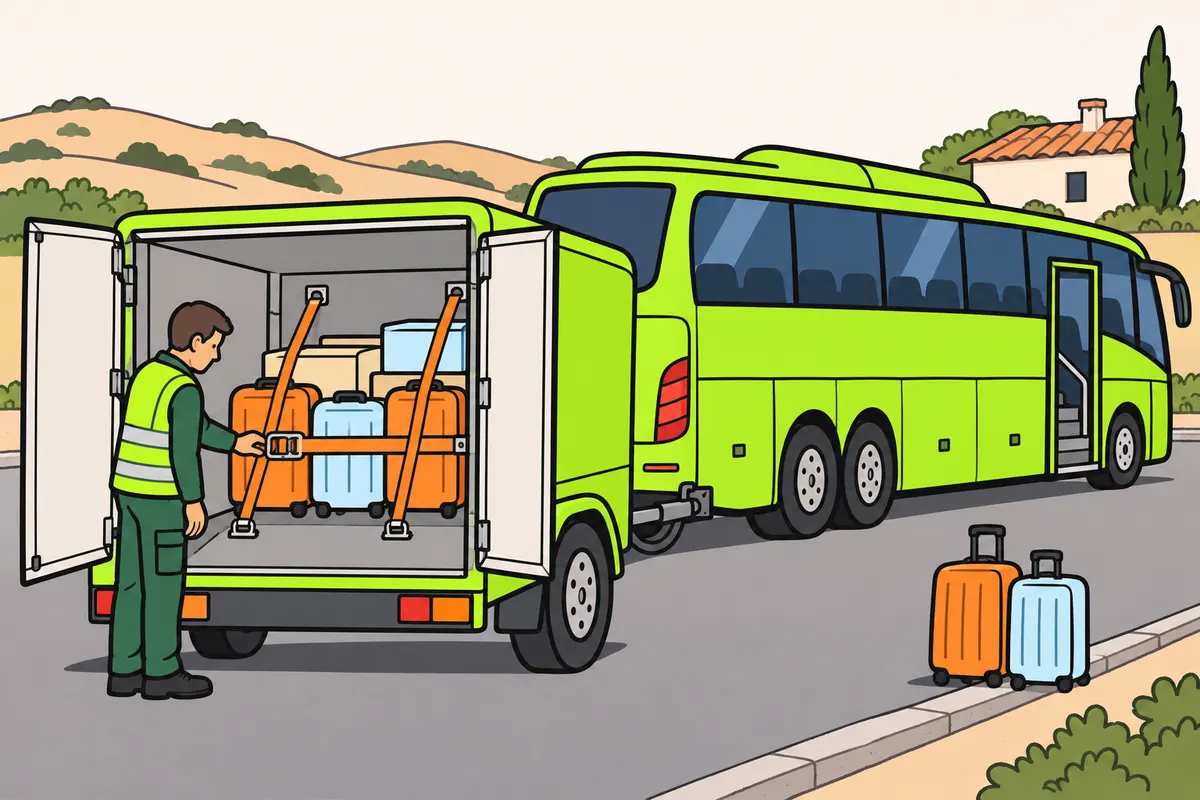
Secure the remaining load again after each delivery.
Remember
- Recheck weight distribution and gaps after removing items.
- Replace supports and close tensioners before continuing.
- Before opening doors, check whether your load is pressing against them.
- Stand clear of the possible falling path.
- Do not use your body to stop a door under pressure.
- When loading a detached trailer, check ground, supports and balance throughout the operation.
Exam trap: Wrong: less cargo always means greater safety. Right: recheck distribution and lashings after unloading.
Read the full explanation
- After removing items, you must check the mass distribution and blocking again. You may leave a gap between units that previously supported one another or concentrate the remaining mass at one end. Driving with less weight does not guarantee a safer distribution.
- You must reinstate any lashings and supports removed for unloading, following a plan suited to what remains. Also assess any items moved temporarily to reach others.
- Before opening doors or releasing restraints, you must consider whether the load is resting against them or has shifted. Stand clear of the path of anything that could fall and follow the equipment's safe procedure. Do not use your body to stop a door under pressure.
- If you load or unload the trailer while it is detached from the bus, you must check that the ground, supports and load distribution keep it stable throughout the operation. Moving a heavy item towards one end changes the forces even when stationary. Use the supports specified by the manufacturer; the jockey wheel alone does not establish that it can support any given load.
14Liquids and the surge effect
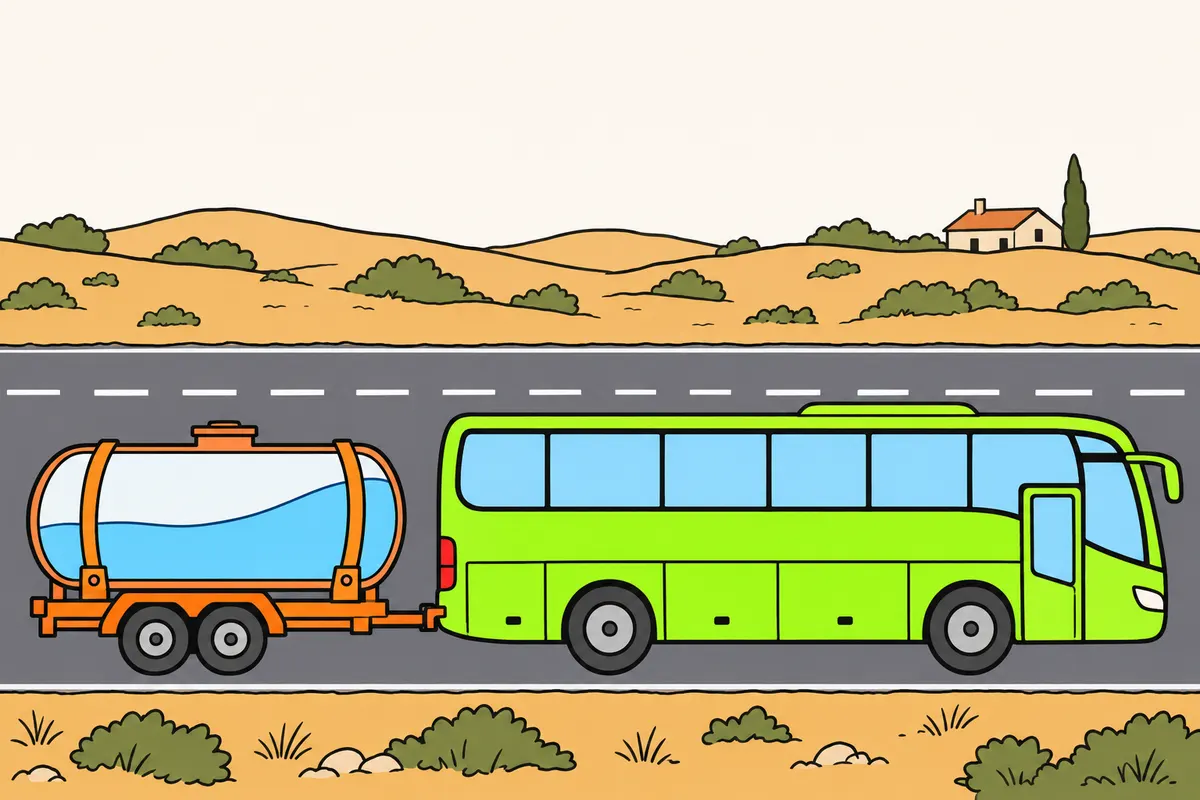
Anticipate forces from moving liquid and drive smoothly.
Remember
- Take extra care with tall or partially filled tanks.
- Avoid abrupt corrections that cause further liquid movement.
- Remember that surge can continue after you brake or turn.
- Know your tank’s compartments and internal devices.
- Do not assume compartments or baffles remove all forces.
- Assess how each compartment affects axle weight distribution.
Exam trap: Wrong: securing your tank stops liquid movement. Right: anticipate internal movement even when the tank is secured.
Read the full explanation
- If you carry liquids in containers or in a tank intended for the service, you must anticipate their internal movement. When you brake, accelerate or turn, the liquid can shift and exert forces on the container and the vehicle. This principle explains surge in tankers and also applies to partially filled tanks carried on a trailer.
- With a partially filled tank, you must pay particular attention to the space available for the liquid to move. Surging can continue after your first input to the controls and exert successive forces. You must not respond with abrupt corrections that cause further oscillations.
- You must know the tank's compartment layout and internal devices. Compartments and baffles can limit movement depending on their design, but they do not eliminate all forces or turn the tanker into a rigid load. Distribution between compartments also affects the mass distribution across the axles.
- You must anticipate changes in speed and direction and drive smoothly with tall or partially filled tanks. Securing the tank to the vehicle does not prevent the liquid from moving inside. Detailed guidance on driving the combination is covered in «Driving techniques with a bus and trailer».
15Containers and tanks used in the service
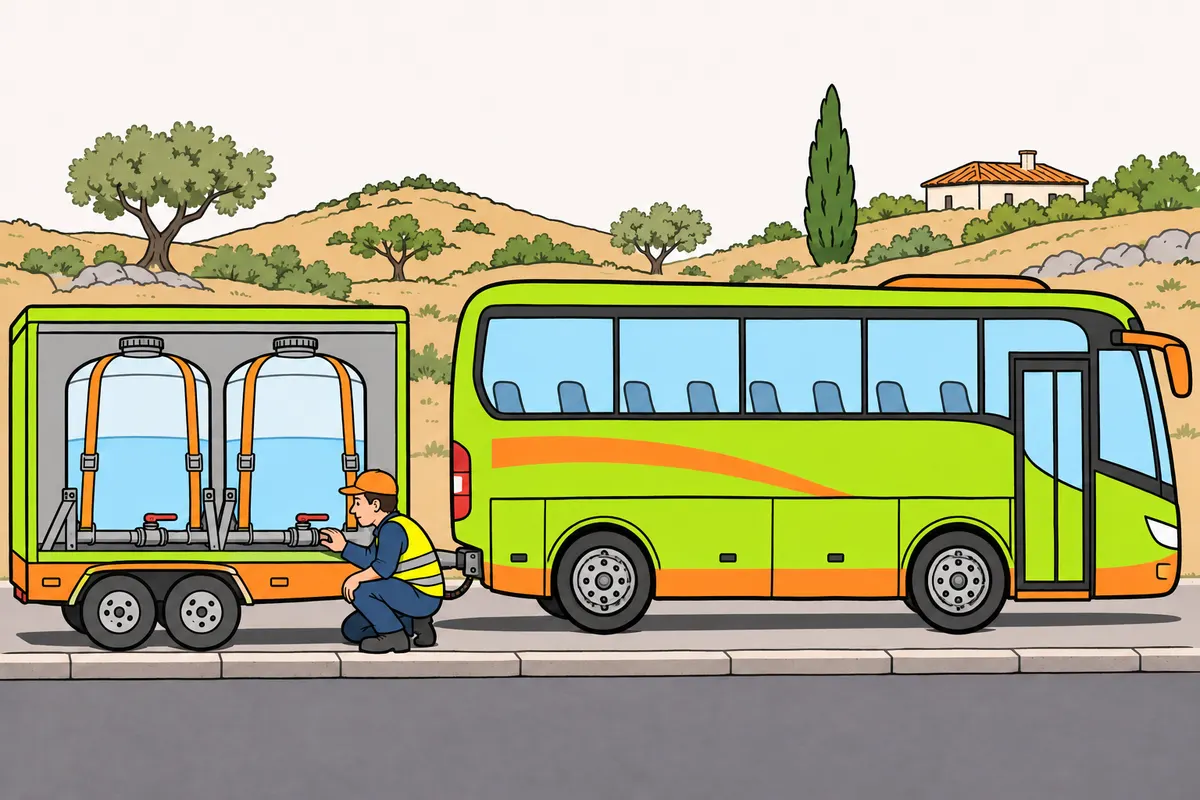
Fill and empty tanks within the product, equipment and weight limits.
Remember
- Check usable capacity, density, temperature and filling limits.
- Do not judge weight from the visible level alone.
- Leave the space required for liquid expansion.
- Plan filling and emptying order to maintain balance.
- Check lids, valves and closures; prevent leaks and external residue.
- If you carry dangerous goods, meet their specific requirements too.
Exam trap: Wrong: filling to the brim safely prevents surge. Right: respect the applicable filling level and weight limit.
Read the full explanation
- You must determine the quantity to load using the product and tank data: usable capacity, density, temperature, filling limits and permissible mass. The same volume can represent different masses depending on the liquid. You must not infer the mass from the visible level without knowing these conditions.
- You must observe the filling level applicable to the product and equipment and allow the space needed for expansion. You must not fill to the brim as a solution to surging or apply a universal percentage to all tanks. If you carry dangerous goods, you must also comply with their specific regulations. [RGC (General Traffic Regulations), art. 14](https://www.boe.es/buscar/act.php?id=BOE-A-2003-23514#a14).
- You must plan the order in which you fill or empty the compartments to maintain a safe distribution. After partial unloading, you must assess the mass on each axle and the behaviour of the remaining liquid. One empty compartment and one loaded compartment do not automatically mean that the tank is balanced.
- Before driving, you must check lids, valves, pipework and closures according to the equipment instructions, and check that there are no leaks or external residues. Carry containers in their intended orientation and secure them against overturning. Your D+E licence does not replace any specific requirements that may apply to a dangerous product.
16Choose the loading and unloading location
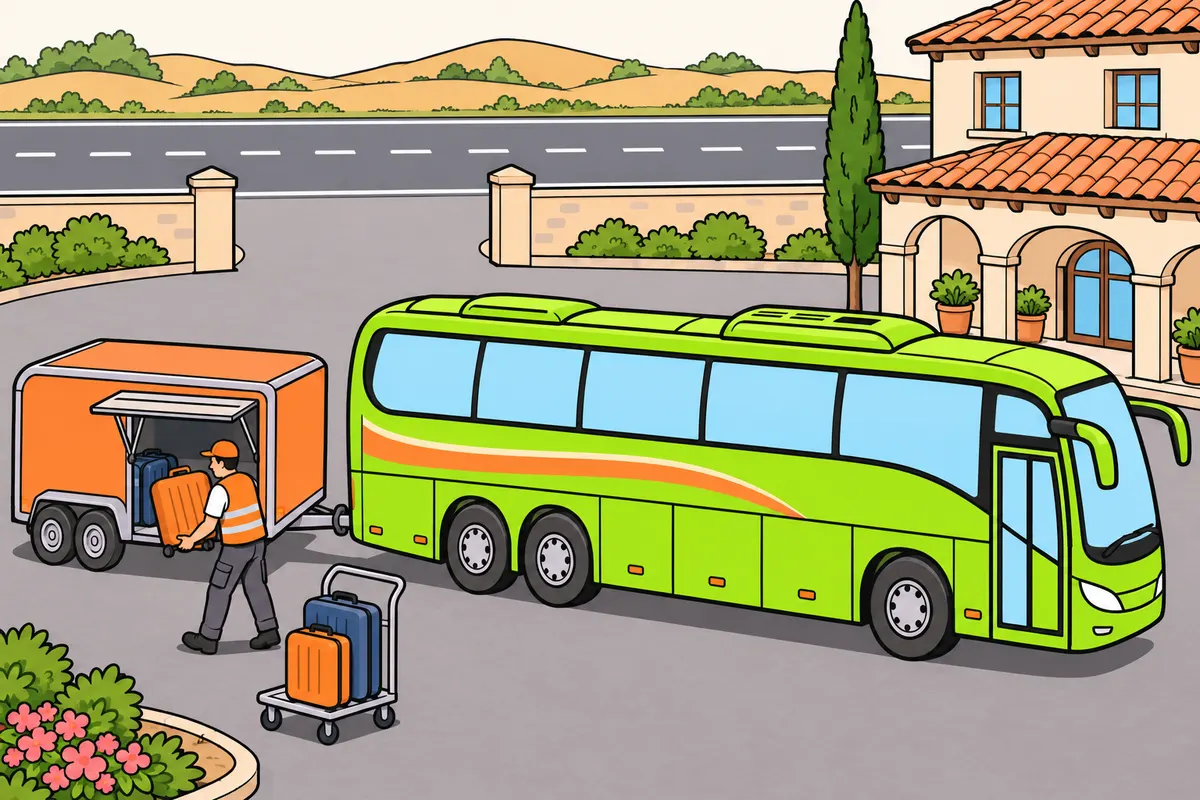
Load and unload off the road unless using the road is unavoidable.
| Location | Conditions for loading and unloading |
|---|---|
| Off the road | Carry out your operation here. |
| On the road | Only when unavoidable; avoid danger or serious disruption. Follow stopping and parking rules. |
| On the road in built-up areas | Also follow municipal rules on times and locations. |
Remember
- On the road, avoid danger and serious disruption to other users.
- Follow stopping and parking rules.
- In built-up areas, also follow municipal rules on times and locations.
- Where possible, work on the side nearest the carriageway edge.
- Provide enough equipment to work quickly without unnecessary noise.
- Do not place goods on the carriageway, hard shoulder or pedestrian areas.
Exam trap: Wrong: a brief operation allows luggage on the hard shoulder. Right: you must not place goods there.
Read the full explanation
- You must load and unload off the road. Only when it is unavoidable may you do so on the road, without causing danger or serious disruption to other road users. The convenience of stopping beside the customer does not make any point on the road a suitable location. [RGC, art. 16](https://www.boe.es/buscar/act.php?id=BOE-A-2003-23514#a16).
- If you exceptionally have to work on the road, you must comply with stopping and parking rules. In built-up areas, you must also comply with municipal rules on times and locations. A designated loading and unloading bay does not remove its conditions of use or authorise you to occupy any nearby space. [RGC, art. 16](https://www.boe.es/buscar/act.php?id=BOE-A-2003-23514#a16).
- You must carry out the operations, wherever possible, on the side of the vehicle closest to the edge of the carriageway. With traffic driving on the right, this is usually the right-hand side; you must take account of the actual vehicle position and the authorised location, without encroaching on the traffic area out of habit. [RGC, art. 16](https://www.boe.es/buscar/act.php?id=BOE-A-2003-23514#a16).
- You must have sufficient resources to carry out the operation as quickly as possible and avoid unnecessary noise and disturbance. You must not place goods on the carriageway, arcén (hard shoulder) or pedestrian areas. Leaving items there only briefly does not allow you to use these areas as temporary storage. [RGC, art. 16](https://www.boe.es/buscar/act.php?id=BOE-A-2003-23514#a16).
17Prepare the loading bay and the operation
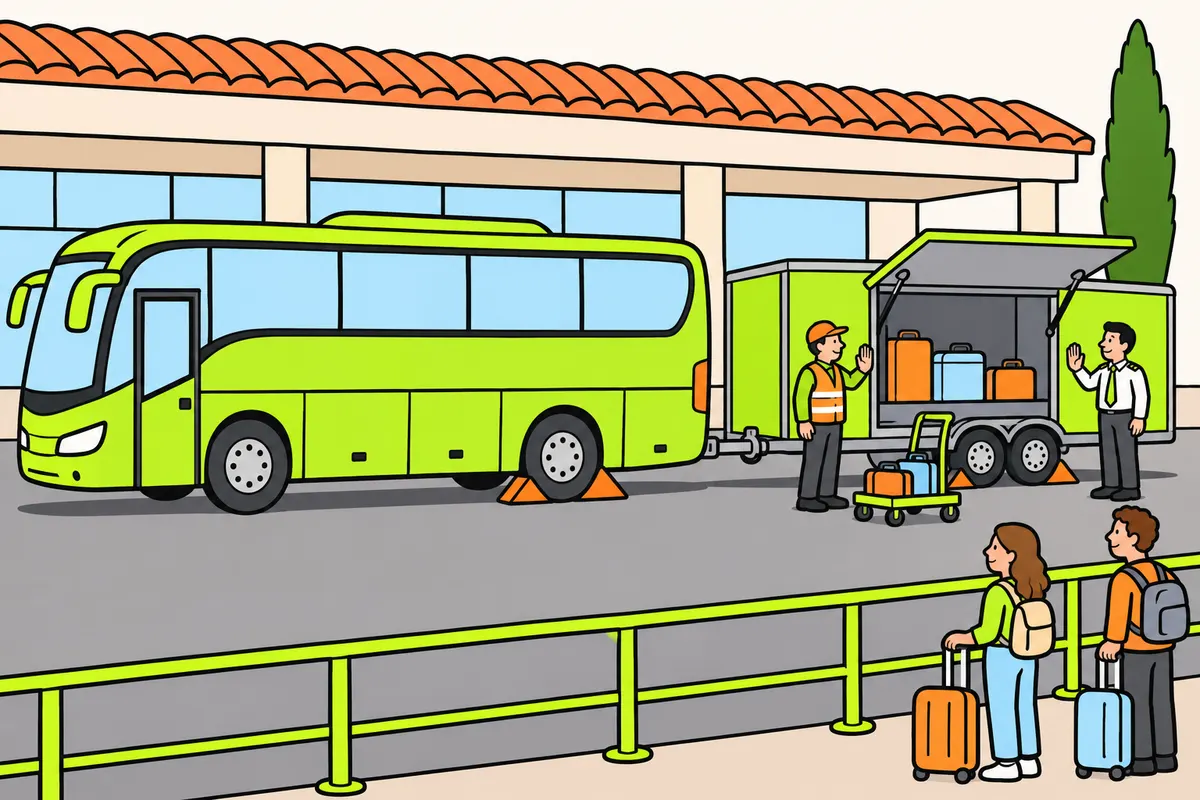
Prepare the space and coordinate the operation before moving your combination.
Remember
- Check ground, space and compatibility of ramps and platforms.
- Immobilise your combination and coordinate with staff.
- Keep passengers away from loads, tailgates and trapping points.
- Follow your tail lift’s capacity limits and instructions.
- Stop the operation if you lose communication with your helper.
- Before leaving, check clear surroundings, equipment removed, doors closed and load secured.
Exam trap: Wrong: warehouse permission is enough to leave. Right: check your load, lights and accessories too.
Read the full explanation
- Before loading at a terminal, loading bay or luggage area, you must check the strength and levelness of the ground, the working space and the compatibility of the ramp or platform you use. Plan for the movement of passengers, trolleys and staff. A facility suitable for another vehicle may not accommodate your combination's position and equipment.
- You must immobilise the combination and coordinate the start with the facility's staff. As an operating guideline, use the devices provided to prevent accidental movement or departure while people or equipment are inside. Do not start moving until you receive confirmation that the area is clear.
- You must keep passengers out of the path of trolleys, suspended loads and tailgates, and away from trapping points. If you use a tail lift, observe its capacity and the manufacturer's instructions. Agree clear signals with anyone helping you and stop the operation if you lose communication.
- Before leaving, you must confirm that ramps and equipment have been removed, doors and tailgates are closed and all remaining cargo is secure. Also check that the surrounding area is clear. The warehouse's permission to leave does not replace your own check of the load, lights and accessories.
18Keep luggage separate from passengers
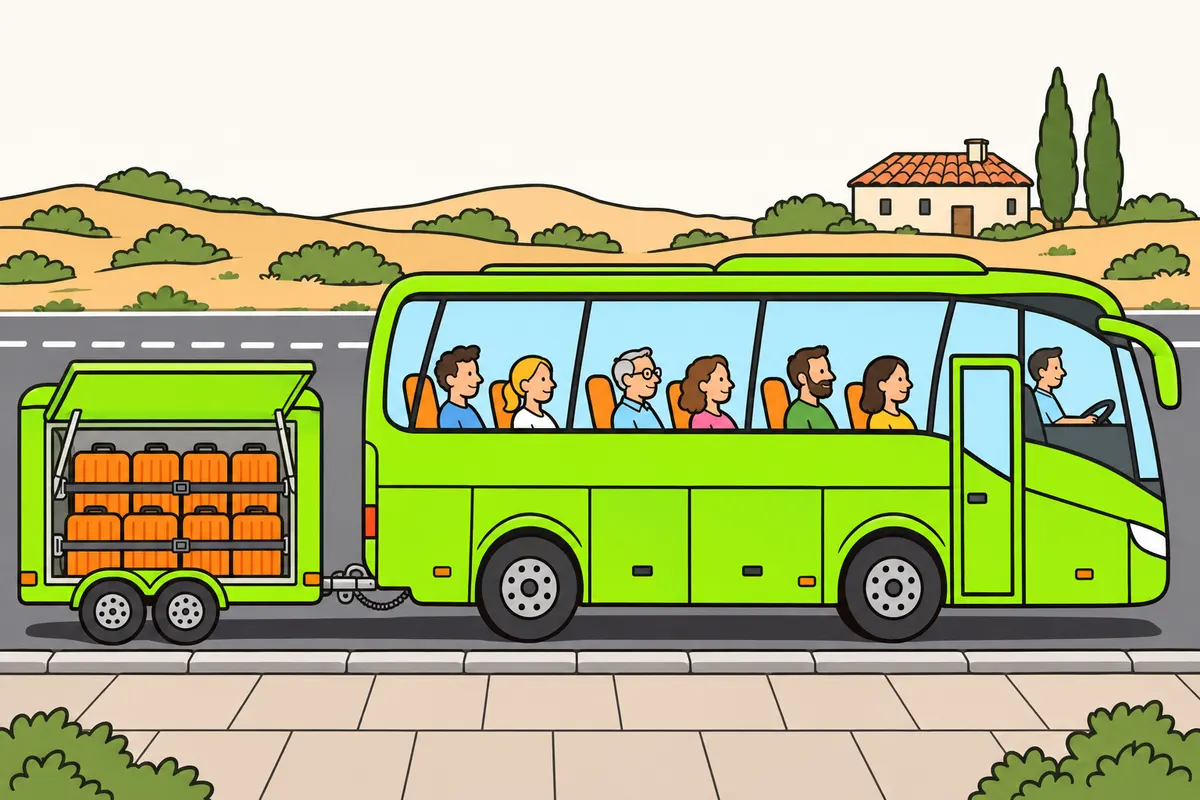
Keep luggage secured and clear of spaces passengers need.
Remember
- Carry people only in places intended and equipped for them.
- Do not carry passengers in a luggage trailer without authorised passenger places.
- Use designated spaces and provided restraints for hand luggage.
- Prevent luggage from reaching occupants or your controls.
- Keep your view and driving movements clear.
- Keep passageways, doors and access to emergency exits and equipment clear.
Exam trap: Wrong: your licence allows passengers among trailer luggage. Right: the trailer needs authorised passenger places.
Read the full explanation
- You must place people in the areas intended and equipped for them. You must not use a luggage trailer without authorised passenger places to carry passengers, even if you have spare portable seats or space between suitcases. Your entitlement to drive the combination does not turn its load area into a passenger compartment. [RGC, art. 10](https://www.boe.es/buscar/act.php?id=BOE-A-2003-23514#a10).
- You must place hand luggage in the storage spaces provided and in a way that prevents it from striking occupants if it moves. Use the protective devices and restraints provided for carrying people and cargo together; even an apparently light bag can be thrown through the air. [RGC, art. 10](https://www.boe.es/buscar/act.php?id=BOE-A-2003-23514#a10).
- You must not let items restrict your field of vision, freedom of movement or attention to driving. Check objects near the driving position and prevent any suitcase from reaching the controls. [RGC, art. 18](https://www.boe.es/buscar/act.php?id=BOE-A-2003-23514#a18).
- You must keep passenger passageways, doors and access to exits and emergency equipment clear. On public passenger transport services, passengers must not unnecessarily obstruct passage in areas intended for people to move through. Organise luggage reception to prevent it from accumulating in these areas. [RGC, art. 11](https://www.boe.es/buscar/act.php?id=BOE-A-2003-23514#a11).
19Loads that move inside their enclosures
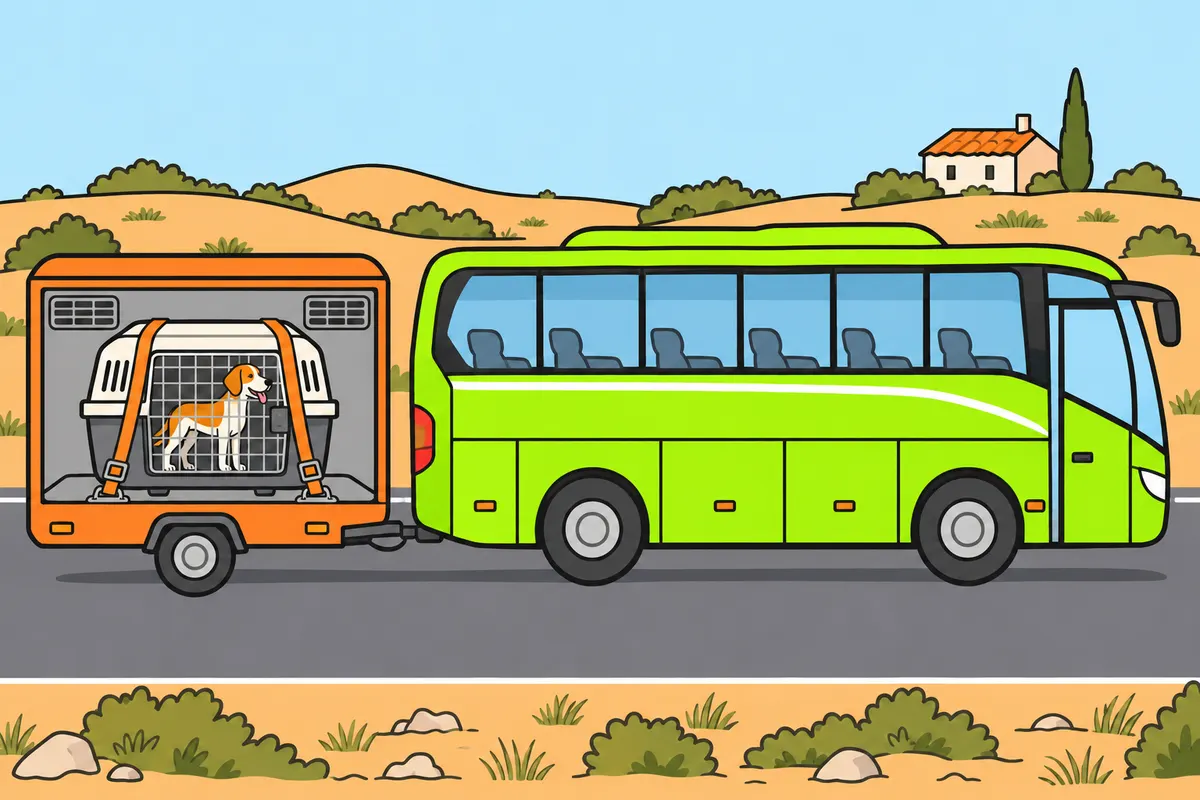
When carrying permitted animals, allow for their movements and secure their suitable enclosure.
Remember
- Check that your service permits the animal.
- Use a suitable enclosure and follow the required transport conditions.
- If using an authorised carrier, secure it according to its instructions.
- Prevent the animal or its enclosure from interfering with your driving.
- Do not put luggage straps directly on the animal.
Exam trap: Wrong: securing a carrier stops the animal moving inside. Right: allow for its changes of posture.
Read the full explanation
- You must anticipate the movements of live animals when their transport is permitted on the service and they are in suitable accommodation. They can change posture and shift their mass within the enclosure: like liquids or suspended objects, they do not behave like a rigid package. The strength of the effect depends on their mass and the space available for movement.
- If you use an animal carrier approved for the service, you must secure it according to its instructions and keep the animal in the conditions specified for its transport. You must position it so that it does not interfere with your driving. Do not use luggage straps directly on the animal. [RGC, art. 18.1](https://www.boe.es/buscar/act.php?id=BOE-A-2003-23514#a18).
20Projections and marking
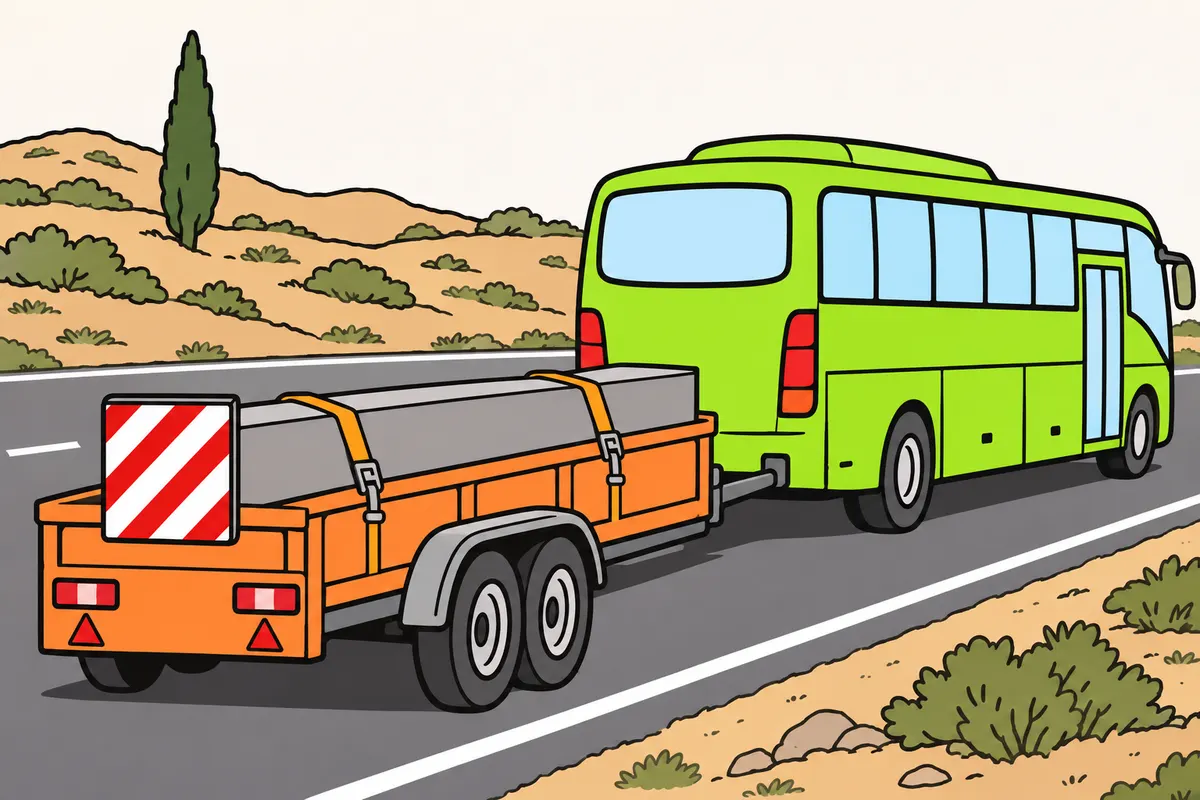
Check permitted projections for each vehicle and mark them according to position and visibility.
| Vehicle or case | What you must check |
|---|---|
| Bus | Rear only: up to 10 % of its length; 15 % for an indivisible load. |
| Goods-only trailer, items of indivisible length, vehicle longer than 5 m | Up to 2 m forwards and 3 m rearwards. Keep your load properly placed and secured. |
| Goods-only trailer, items of indivisible length, vehicle 5 m or shorter | Up to one third of its length at each end. Keep your load properly placed and secured. |
| Goods-only trailer: indivisible load’s smaller dimension exceeds trailer width | Up to 0.40 m per side, without exceeding 2.55 m overall width. |
| Side end more than 0.40 m from the position light’s outer edge | At night or significantly reduced visibility: white light and reflector forwards; red light and reflector rearwards. |
Remember
- Protect projecting ends; avoid harm when turning or approaching people.
- Place the V-20 panel behind, perpendicular to the vehicle’s axis.
- Across the full rear width, use two panels with stripes forming an inverted V.
- At night or significantly reduced visibility, add red rear lights or white front lights.
- Check the width condition before allowing side projections on your trailer.
- Also respect maximum dimensions and road restrictions.
Exam trap: Wrong: apply goods-trailer projection limits to your bus. Right: check each vehicle separately; measure limits using the vehicle carrying the load.
Read the full explanation
- You must keep the load within the vehicle's outline as seen from above, except where the law allows otherwise. On the bus, which is intended for passengers, you may carry a load projecting only at the rear by up to 10 % of its length, or 15 % if the load is indivisible. Assess the bus and trailer separately: holding a D+E licence does not make the bus a vehicle intended exclusively for goods. [RGC, art. 15](https://www.boe.es/buscar/act.php?id=BOE-A-2003-23514#a15).
- On a trailer intended exclusively for carrying goods, you may apply the exception for items of indivisible length, such as sports equipment that you cannot split into parts: if the vehicle is more than 5 m long, up to 2 m at the front and 3 m at the rear; if it is 5 m long or less, up to one third of its length at each end. You must maintain the required stowage and load protection conditions. These figures apply to the vehicle carrying the load, not to the total length of the combination. [RGC, art. 15](https://www.boe.es/buscar/act.php?id=BOE-A-2003-23514#a15).
- On that trailer, if the smallest dimension of the indivisible load exceeds the trailer's width, you may allow it to project by up to 0.40 m on each side, with a maximum overall width of 2.55 m. This exception does not allow luggage to project sideways from the bus. [RGC, art. 15](https://www.boe.es/buscar/act.php?id=BOE-A-2003-23514#a15).
- You must protect the projecting end to reduce the consequences of a scrape or collision and take the necessary precautions to avoid damage or danger to other road users. Allow for the space it occupies when turning and when approaching people, obstacles or terminal facilities. [RGC, art. 15](https://www.boe.es/buscar/act.php?id=BOE-A-2003-23514#a15).
- You must mark any permitted rear projection with a V-20 panel at its end, keeping the panel perpendicular to the vehicle's longitudinal axis. If the load projects across the full rear width, fit two panels, one at each side, with their stripes forming an inverted V. [RGC, art. 15.6](https://www.boe.es/buscar/act.php?id=BOE-A-2003-23514#a15); [RGV, Annex XI, V-20](https://www.boe.es/buscar/act.php?id=BOE-A-1999-1826).
- Between sunset and sunrise, or when weather or environmental conditions significantly reduce visibility, you must add a red light to the rear projection. If the permitted projection is at the front, you must mark it with a white light in those conditions. [RGC, art. 15](https://www.boe.es/buscar/act.php?id=BOE-A-2003-23514#a15).
- If the end of a side projection is more than 0.40 m from the outer edge of the front or rear position light, you must mark each projecting side end at night or when visibility is significantly reduced: a white light and reflector facing forwards; a red light and reflector facing backwards. You measure this distance from the position lights, not from the side of the trailer. [RGC, art. 15](https://www.boe.es/buscar/act.php?id=BOE-A-2003-23514#a15).
- With any permitted projections, you must also comply with the maximum dimensions for the vehicle and its load and with road restrictions. For these limits and supplementary authorisations, see «Dimensions, masses and speed limiters». [RGC, arts. 13 and 15](https://www.boe.es/buscar/act.php?id=BOE-A-2003-23514).
21Covers and bulk goods
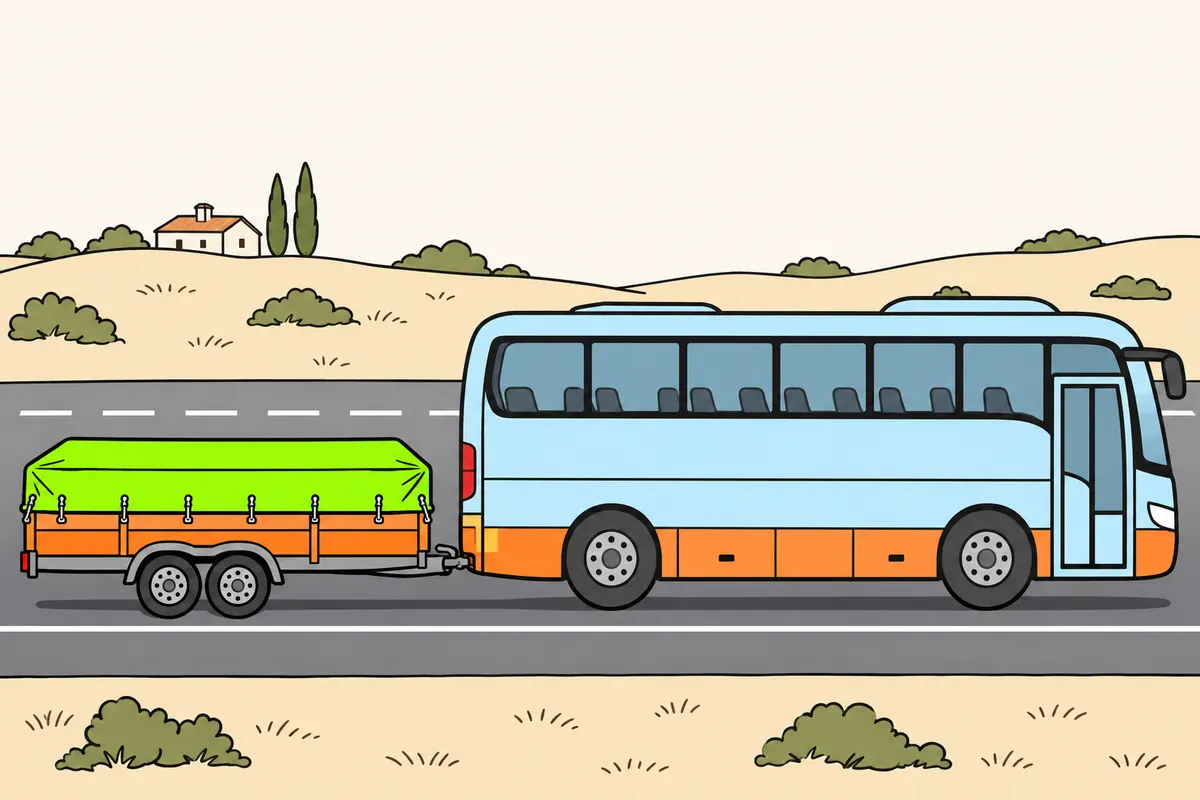
Cover material completely and effectively if it produces dust or could fall off.
Remember
- Check your cover for tears or openings that let material escape.
- Spread loose material without high heaps or excessive weight on any axle.
- Secure your cover and stow ropes and tensioners.
- Prevent accessories from striking anything, dragging or coming loose.
- Keep lights, signs and registration plates visible.
- Before leaving, remove external debris and collect packaging.
Exam trap: Wrong: a tarpaulin lets you carry more weight. Right: it neither increases authorised weight nor replaces restraint.
Read the full explanation
- If you carry materials that produce dust or may fall off, you must cover them completely and effectively. A torn or open cover, or one that cannot retain the material, does not fulfil this function. On a passenger service, apply this rule to loose material you lawfully carry, and do not confuse a luggage cover with a structural means of restraint. [RGC, art. 14](https://www.boe.es/buscar/act.php?id=BOE-A-2003-23514#a14).
- You must distribute bulk goods without forming heaps that unnecessarily raise the centre of gravity or concentrate mass on one axle. You must not load beyond the vehicle's capacity or deal with an excess by compressing it under a cover. A tarpaulin retains loose material but does not increase the authorised mass.
- You must secure the cover and gather up tensioners, ropes and loose ends so that they do not strike anything, drag or come loose. You must arrange protective accessories just as safely as the load itself. Check that they do not obscure lights, marking panels or the number plate. [RGC, art. 14](https://www.boe.es/buscar/act.php?id=BOE-A-2003-23514#a14).
- Before leaving the loading area, you must check tailgates, edges, the floor and exterior surfaces where debris or small objects may remain. Remove them in a suitable place. Collect packaging and load protection materials to prevent anything from falling onto the road after the operation is complete.
22Keep the road clean and safe
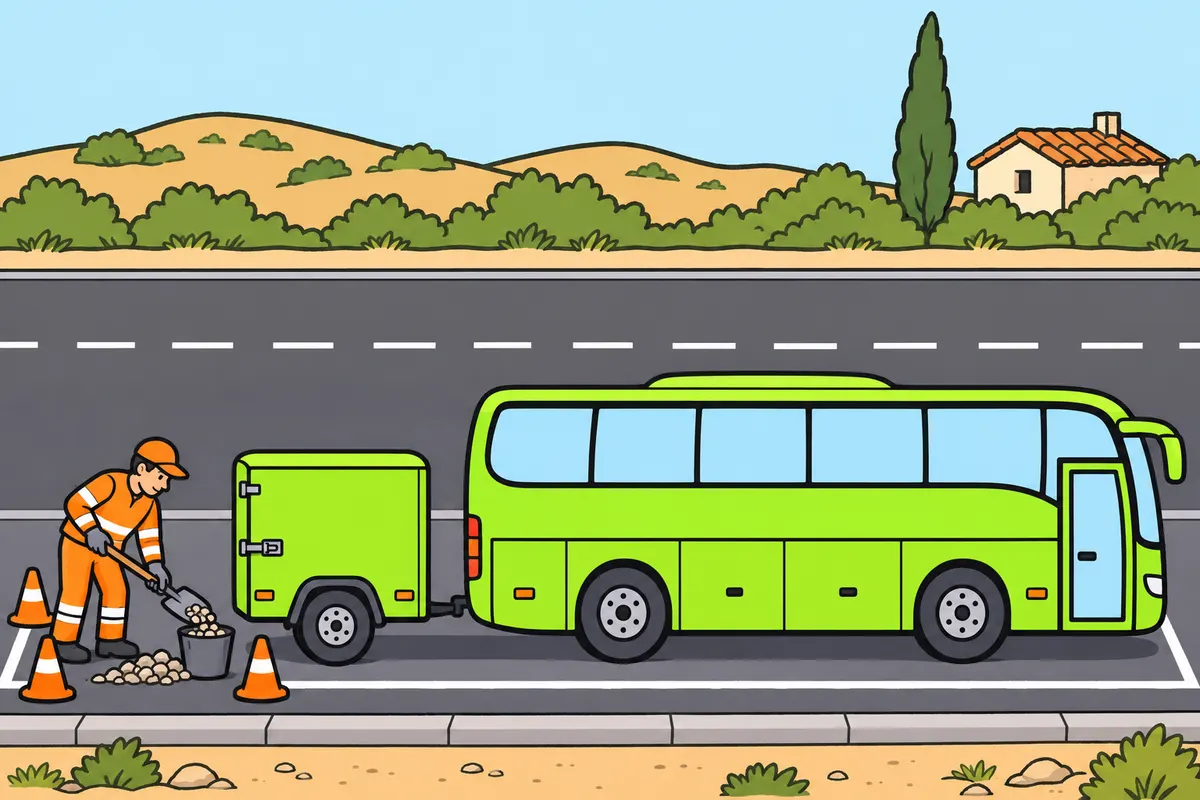
Prevent material escaping and remove road hazards you cause.
Remember
- Do not abandon material that damages the road or obstructs traffic.
- If you cause a hazard, remove it quickly; meanwhile, make others aware.
- After a spill, stop safely and prevent further material escaping.
- Request suitable equipment to remove it.
- Do not spread slippery substances with water or push debris towards others.
- Find and correct the cause of the lost material before continuing.
Exam trap: Wrong: cleaning the spill is enough to continue. Right: also correct its cause before resuming your journey.
Read the full explanation
- You must not throw, deposit or abandon materials that obstruct traffic, make it dangerous or damage the road. The risk includes large packages as well as aggregates, mud or liquids that affect grip. You must prevent it through proper loading, secure closures and vehicle cleaning. [RGC, art. 4](https://www.boe.es/buscar/act.php?id=BOE-A-2003-23514#a4).
- If you create an obstruction or hazard, you must remove it as soon as possible and, in the meantime, take measures to make others aware of it and avoid obstructing traffic. You must not continue the service leaving a lost load behind without dealing with its consequences. [RGC, art. 5](https://www.boe.es/buscar/act.php?id=BOE-A-2003-23514#a5).
- If a spill occurs, you must stop the operation or bring the vehicle to a halt safely, prevent any further material from escaping and request suitable resources to remove it. You must not spread a slippery substance with water or push debris into the path of other road users as an improvised solution.
- You must check what caused the material to fall off before resuming the journey: a faulty tailgate, a poorly secured cover, damaged packaging or inadequate restraint. Cleaning the affected area does not resolve the cause. For protecting an immobilised vehicle and alerting the emergency services, see «Responding to accidents and breakdowns».
Plan, distribute and secure
Prepare the luggage and the combination before driving.
- Identify the mass, dimensions, supports and delivery order of the luggage.
- Check the capacities of the vehicles, axles, floor and anchor points.
- Distribute the load low down and evenly according to the loading plan.
- Eliminate dangerous movement through blocking, friction and calculated lashings.
- Check supports, equipment, closures, covers and the visibility of lights and plates.
- Check the distribution by weighing if you cannot substantiate it, and correct it before setting off.
Carry out a partial unloading
The remaining luggage must stay stable and restrained.
- Check that the location allows loading and unloading without endangering passengers or traffic.
- Immobilise the combination and coordinate the operation with the staff responsible.
- Assess whether the load has shifted before opening doors or removing lashings.
- Remove the intended items without destabilising those remaining.
- Reassess the axle load distribution and restore blocking and lashings.
- Close up, remove equipment and debris, and check the surroundings before resuming your journey.
Finished this module?
Mark it as read and you will see your progress on the theory list.