
Theory · B+E Licence - Car with Trailer · Module 11 of 13
Maintenance and checks for your vehicle combination
You learn to check the towing vehicle and trailer, recognise defects in their tyres, brakes, coupling and visibility equipment, and deal with a breakdown. For the exam, you distinguish legal obligations from maintenance recommendations and know when a fault or an ITV (vehicle roadworthiness test) result prevents you from continuing.
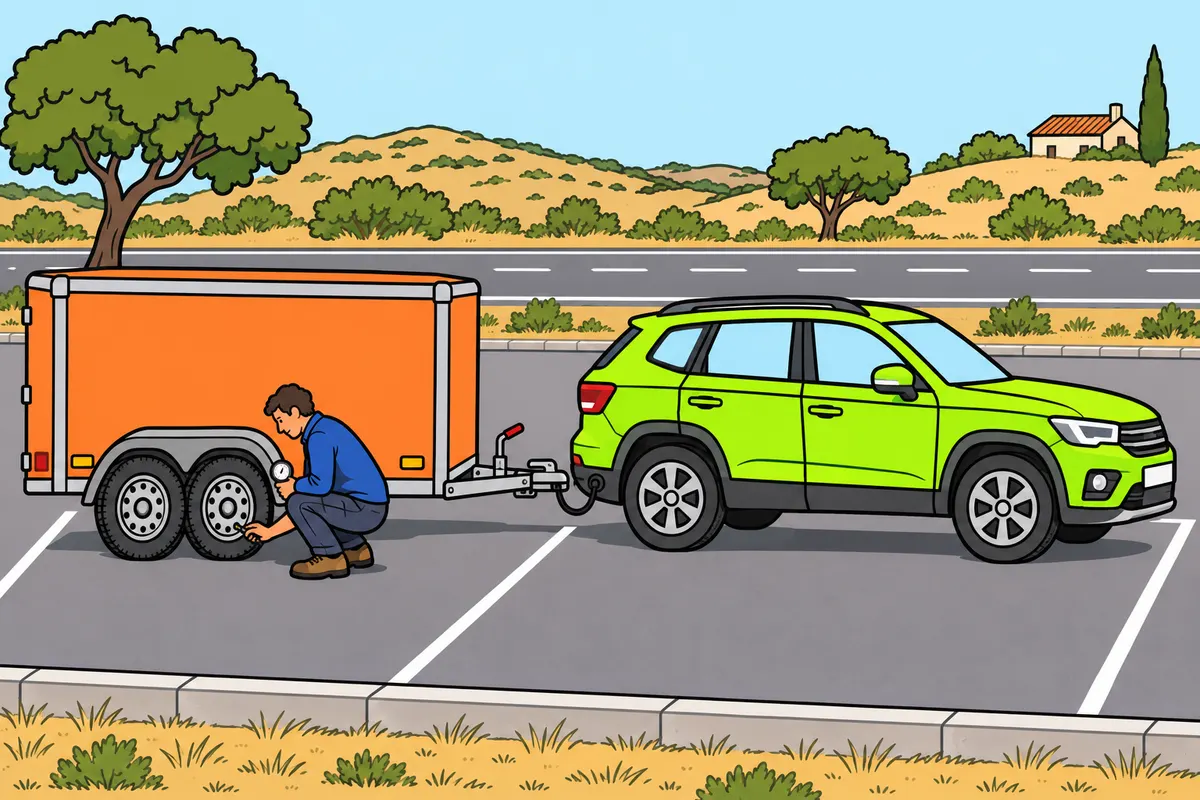
1Two vehicles you must check
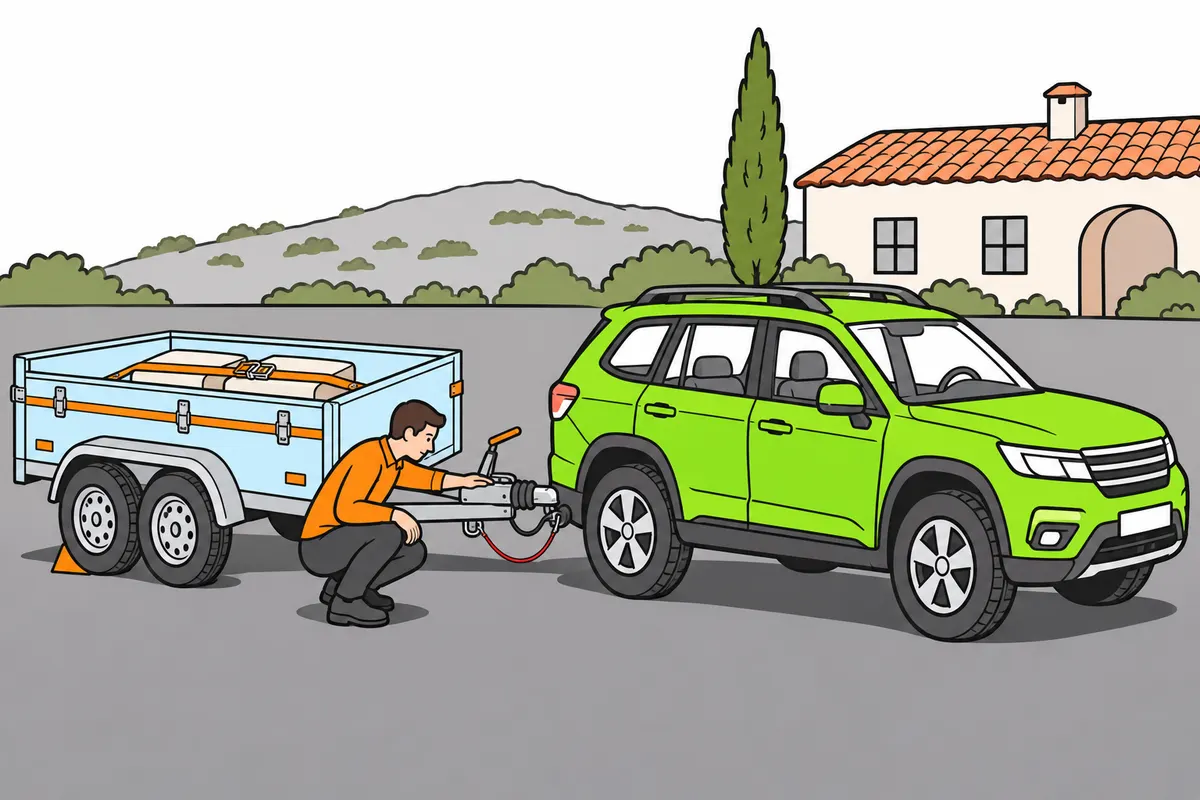
Before setting off, check both your car and your trailer.
Remember
- Check your trailer even after a long time parked.
- Check the load, closures, coupling, brakes and electrical connections.
- Walk around your combination while it is safely secured in a safe place.
- Correct dangerous faults or request assistance before driving.
Exam trap: Wrong: you check only your car. Right: check your trailer too.
Read the full explanation
- Before setting off, you must assess the condition of the whole combination: a towing vehicle in good condition does not compensate for a trailer with a damaged wheel or an unsafe coupling. Check the trailer after a period of parking too, even if you use the car frequently. A lack of recent mileage does not guarantee that tyre pressures remain correct, connections stay clean and mechanisms move freely.
- When preparing for B+E, you must know how to check the load compartment, its fastenings, the positioning and securing of the load, and the coupling mechanisms, brakes and electrical connections. These checks are expressly included in the test, alongside those for the towing vehicle. [RGCond, Annex V.B.3.7](https://www.boe.es/buscar/act.php?id=BOE-A-2009-9481#anv).
- Carry out a walk-round check with the combination secured against movement and in a safe place. Look at the ground, the wheels, the sides, the rear and the coupling area; then check the controls from the driving seat.
- Distinguish between a check you can carry out yourself and a specialist repair. You can detect a fluid leak, a chafed cable or a fastening that does not lock without yet knowing its exact cause. When a defect compromises safety, you must correct it or request assistance before driving.
2The daily walk-round
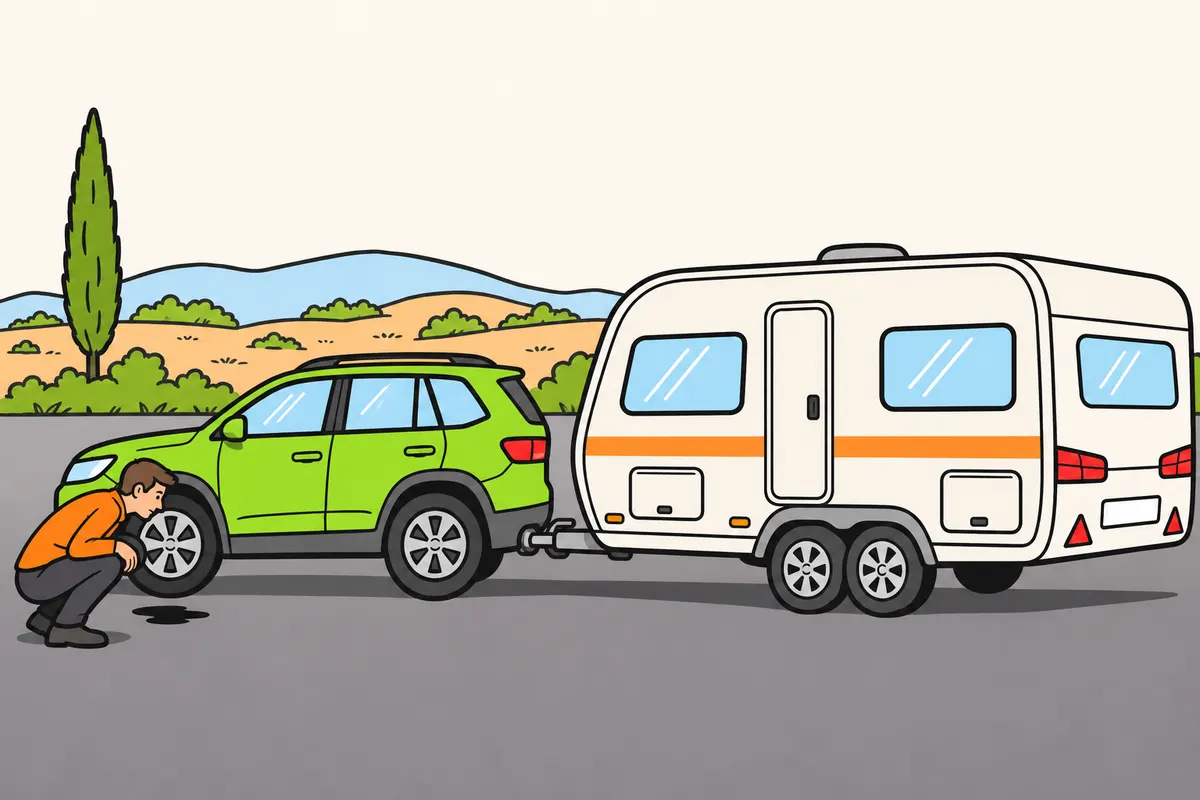
Walk around your combination to find problems before moving off.
Remember
- Look for stains, loose parts and objects beneath both vehicles.
- Check wheels, doors, ramps and supports stowed for travel.
- Check that the load has not moved; inspect restraints and closures.
- Check that lights, reflectors and plates are clean and visible.
- Repeat affected checks after loading, repairs or reconnecting.
Exam trap: Wrong: every stain is normal. Right: find its source before setting off.
Read the full explanation
- Start by looking for fresh stains beneath the towing vehicle and trailer, detached parts and objects that could become trapped when you move off. A stain requires you to identify its source: you must not automatically assume that any fluid comes from normal vehicle operation. Check from a safe position, without going underneath a combination that could move.
- Walk along both sides and inspect the tyres, wheel rims, mudguards, doors and supports. On a caravan, also check the external fastenings and make sure that equipment used when parked is stowed for travel. On a trailer for animals or equipment, check that ramps and doors are secured and that no accessory can strike a wheel or a light.
- Visually check that the load remains in position and that its restraints and fastenings are intact; correct any movement or damage before setting off. Load distribution and securing methods are covered in Safe loading of your vehicle combination.
- Finish the walk-round by checking that lights, reflectors and plates are clean and visible. If the trailer body hides the rear of the towing vehicle, check the trailer's own devices, without trying to see the car's lights through it. Repeat the relevant checks after repairs, loading, unloading or reconnecting the combination.
3Pressure in every tyre
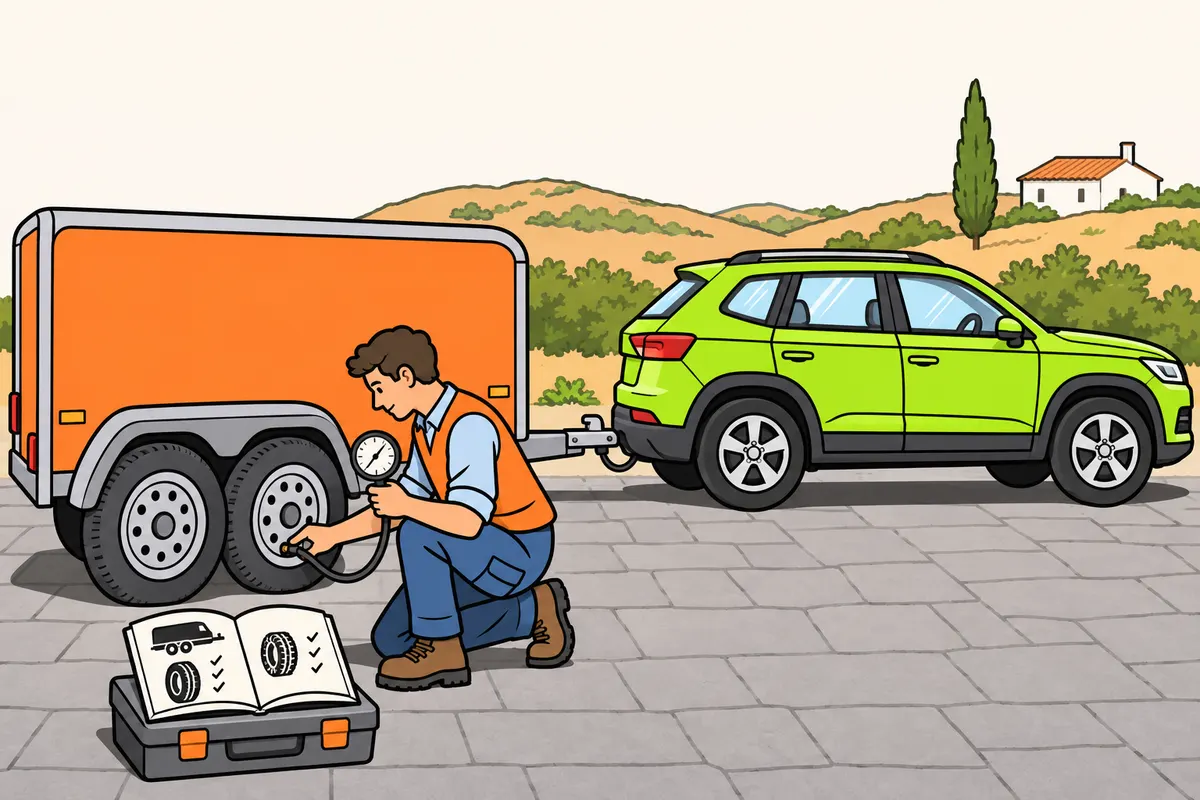
Measure cold tyre pressures using the settings for each wheel and load.
Remember
- Use a pressure gauge: looking at a tyre is not enough.
- Follow the instructions from each vehicle’s manufacturer.
- Do not copy your car’s tyre pressure to your trailer.
- Carry a spare wheel and tools, or an alternative mobility system.
- Check your spare too, if you carry one; follow its limits.
- If a tyre keeps losing pressure, have it checked.
Exam trap: Wrong: always inflate to the maximum marked on the tyre. Right: use the specified operating pressure.
Read the full explanation
- Check tyre pressures when cold with a pressure gauge and follow the manufacturer's instructions for each vehicle, axle and loading condition. The towing vehicle's required pressure may change when laden or towing; the trailer has its own pressure specification. Do not apply the value shown on the car's door to the trailer. [DGT, tyre checks](https://revista.dgt.es/es/motor/noticias/2020/07JULIO/0710-Revision-Neumaticos.shtml).
- There is no single pressure in bar that applies to every B+E combination. You must consult the manual or the manufacturer's information and compare the reading with the stated conditions, without choosing the maximum marked on a tyre as its normal operating pressure. Adjust each tyre according to its role; do not assume that every axle uses the same pressure.
- Insufficient pressure encourages deformation and overheating; excessive pressure also affects handling and wear. In either case, you can impair the combination's stability and braking. Correct pressure helps avoid unnecessary rolling resistance and additional fuel consumption: you must maintain it on short journeys too. [DGT, tyre pressure](https://revista.dgt.es/es/motor/noticias/2019/09SEPTIEMBRE/0930-Presion-Neumaticos.shtml).
- Include the spare wheel or temporary-use spare; your towing vehicle must carry one with the tools needed to use it, or an alternative system that ensures continued mobility. Observe the usage restrictions of the solution fitted. Use the pressure gauge to check less accessible tyres too. If a tyre repeatedly loses pressure, have the tyre, valve and wheel rim checked. [RGV, Annex XII.1.c](https://www.boe.es/buscar/act.php?id=BOE-A-1999-1826#anxii).
4Tyre tread and damage
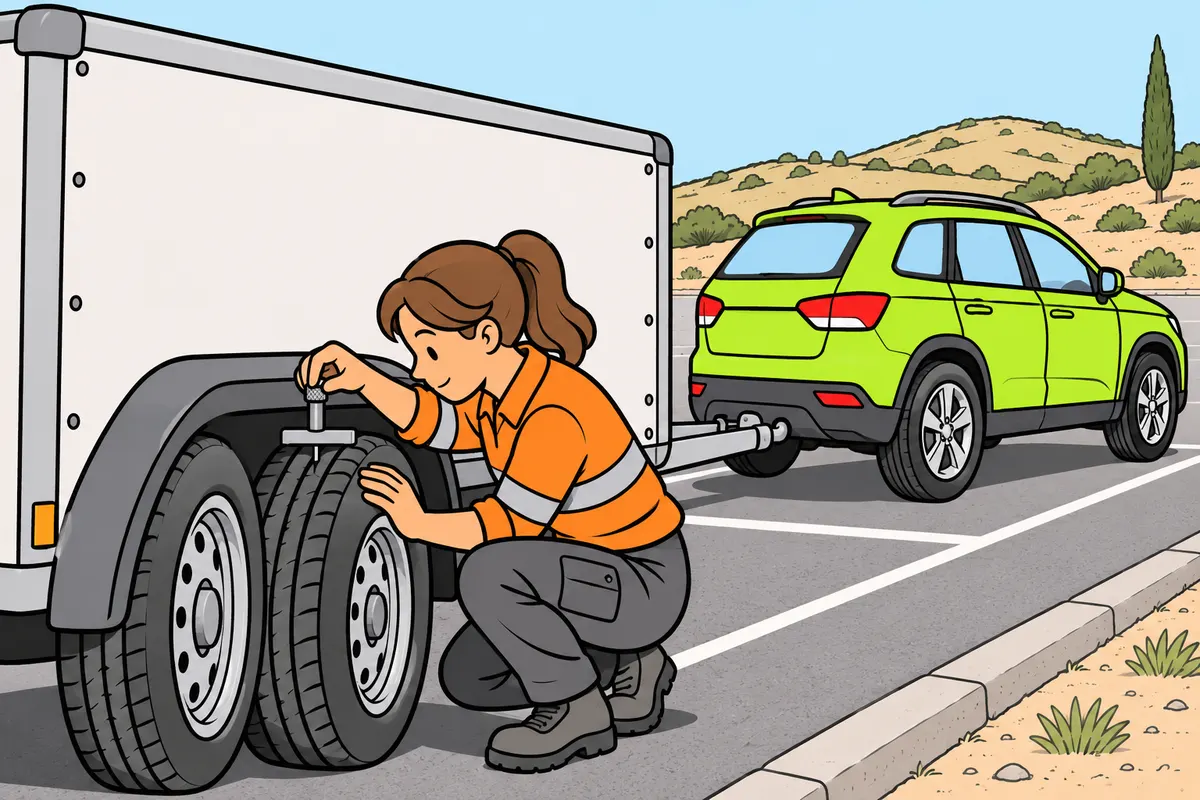
Check tyre tread and damage on both your car and your trailer.
| Vehicles on public roads | Minimum main groove depth |
|---|---|
| M1 and N1 towing vehicles | 1.6 mm |
| O1 and O2 trailers | 1.6 mm |
Remember
- Measure the main grooves at several points, including the inner areas.
- Look for cracks, cuts, bulges and exposed cords.
- Use approved or equivalent tyres without dangerous damage.
- Do not expect minimum legal tread to grip through every puddle.
Exam trap: Wrong: your O2 trailer needs no minimum tread. Right: it also needs at least 1.6 mm.
Read the full explanation
- For towing vehicles in categories M1 and N1 and trailers in categories O1 and O2, the minimum depth of the main tread grooves is 1.6 mm during use on public roads. This minimum also applies to the O2 trailer in your combination. [RGV, Annex VII.2](https://www.boe.es/buscar/act.php?id=BOE-A-1999-1826#anvii).
- Measure in the main grooves and check at different points, including inner areas that are difficult to see. Tread wear indicators help you recognise the limit, but they do not make a damaged tyre acceptable. A tread that retains sufficient depth in the centre may have uneven wear or defects that require replacement.
- Look for cuts, bulges, cracks, deformation and exposed cords. You must keep tyres with approved or equivalent specifications and without damage that makes them unfit for use. Check that the markings are legible when choosing or inspecting a tyre. [RGV, Annex VII.1 and 4](https://www.boe.es/buscar/act.php?id=BOE-A-1999-1826#anvii).
- In rain, tyre tread and condition affect water dispersal and grip. Do not interpret the legal minimum as a guarantee of grip through every puddle and at any speed. A trailer with deteriorated tyres can also lose grip even if the towing vehicle stays on course. [DGT, driving in rain](https://www.dgt.es/comunicacion/noticias/todo-lo-que-necesitas-saber-para-circular-bajo-la-lluvia/).
5Wear, wheel rims and fastenings
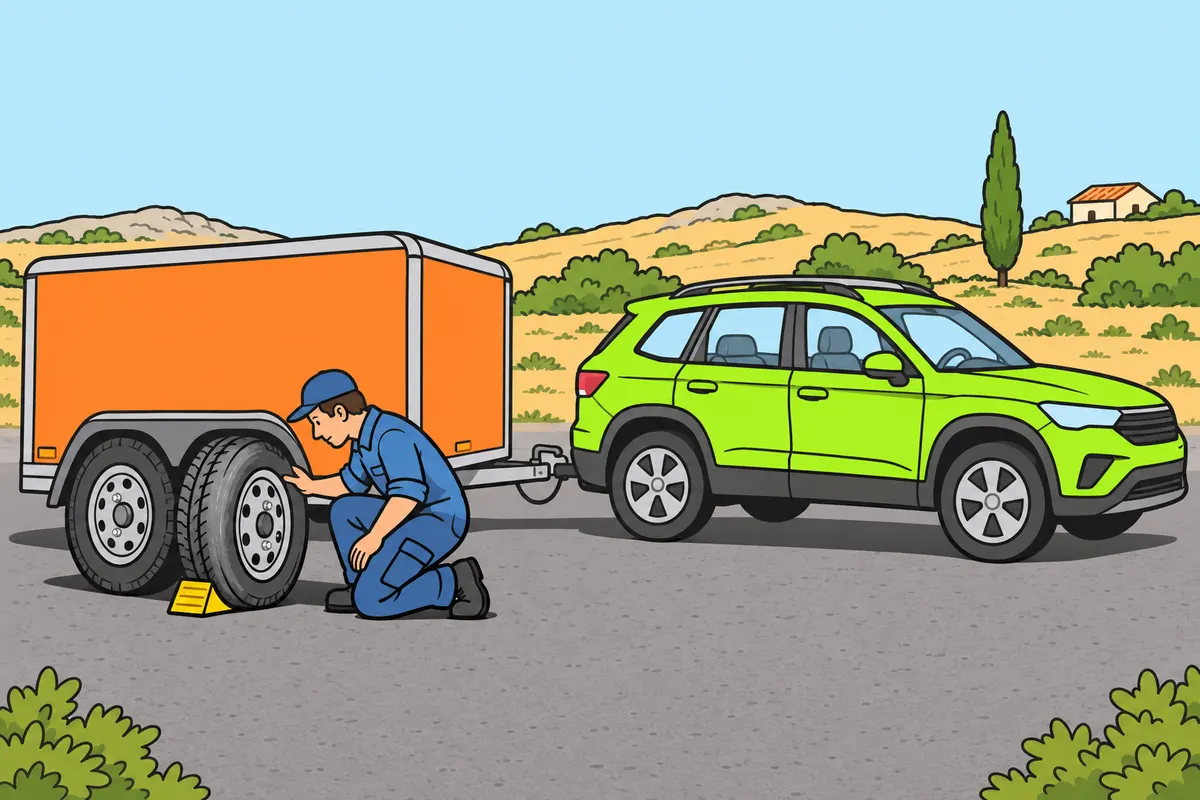
Check wear, wheel rims and fastenings, even if your trailer travels few miles.
Remember
- Request an inspection if you feel vibrations or pulling to one side.
- Check deformed rims and missing fastenings before driving.
- Tighten fastenings using the procedure and force specified for that equipment.
- Choose tyres permitted for your vehicle.
- Check for ageing even when the tread looks deep.
Exam trap: Wrong: a rarely used tyre is always sound. Right: check ageing and deformation too.
Read the full explanation
- Treat uneven wear as a possible sign of a pressure, alignment or suspension problem, but avoid diagnosing a single cause from the tyre's appearance. If the steering wheel vibrates or the vehicle pulls to one side, have the wheel assembly and steering checked. Accelerating through the speed range where vibration occurs does not resolve the defect. [DGT, tyre checks](https://revista.dgt.es/es/motor/noticias/2020/07JULIO/0710-Revision-Neumaticos.shtml).
- Visually check wheel rims and fastenings, especially after work on the wheels. Deformation, a missing fastening or a wheel that appears out of position requires attention before driving. Tightening must follow the procedure and torque specified for that equipment; do not invent a common tightening force for the towing vehicle and trailer.
- If you need to replace a tyre, use dimensions and specifications permitted for that vehicle. Do not choose solely by its overall diameter or because it fits the wheel rim: its capacity and compatibility with the fitting also matter. Consult the ficha técnica (vehicle technical data sheet) and a professional when you need to establish equivalence.
- Check the tyres of a trailer that spends long periods parked, even if its tread appears deep. You cannot assess ageing, exposure and deformation solely from the mileage. Follow the manufacturer's inspection and replacement instructions, without turning an indicative age into a universal legal expiry date.
6Twin wheels and multiple axles
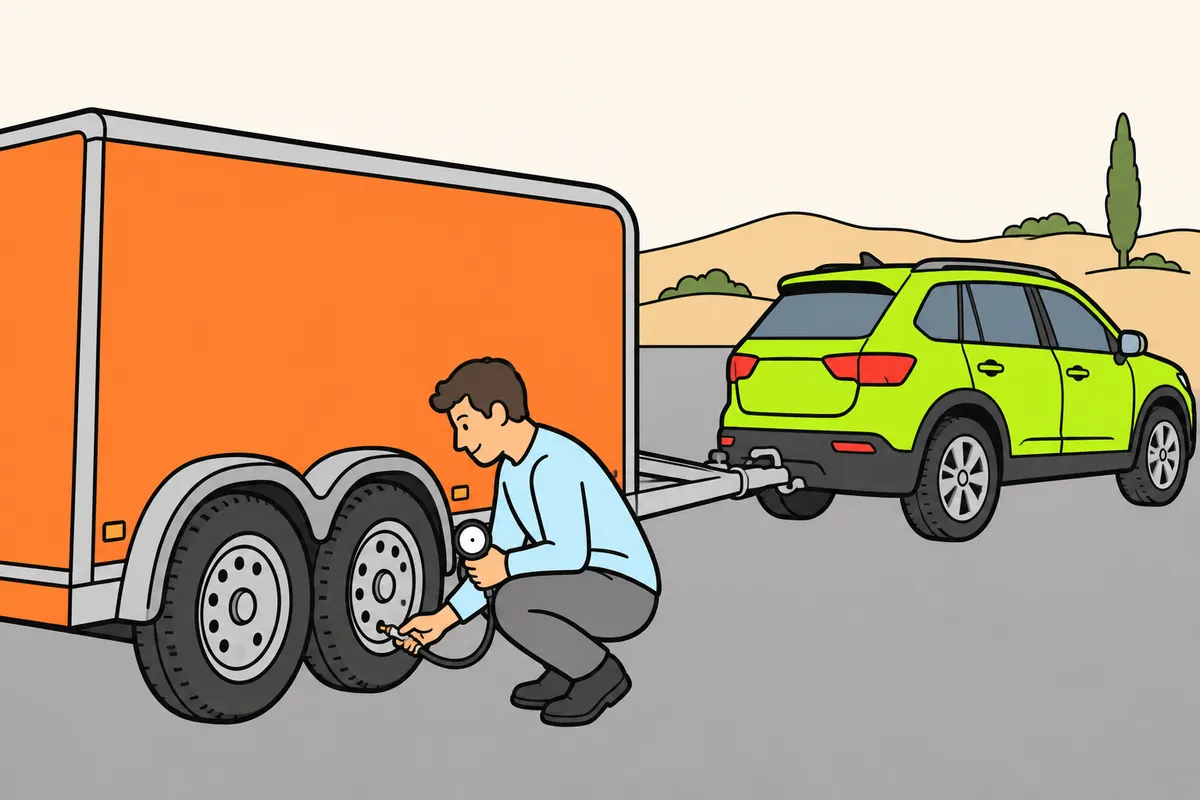
Check every wheel, including the inner tyres of twin wheels.
| Wheel arrangement on towing vehicle or trailer | How you recognise it |
|---|---|
| Twin wheels | Together at the same end of an axle |
| Multiple axles | Wheels positioned behind each other |
Remember
- With twin wheels, measure both pressures; keep them equal as specified.
- Look safely for trapped objects and rubbing between twin wheels.
- With multiple axles, check every wheel on both sides.
- Do not drive with a faulty wheel because others remain sound.
Exam trap: Wrong: you check only the outer twin tyre. Right: check the inner tyre too.
Read the full explanation
- Distinguish twin wheels from a trailer with multiple axles: twin wheels are fitted side by side at the same end of an axle; two wheels positioned one behind the other belong to different axles. If your towing vehicle or trailer has twin wheels, you must check the inner wheel as well as the outer one. A visible wheel in good condition does not prove that its partner is in good condition too.
- With twin wheels, you must check that both tyres have equal pressure in accordance with the equipment specifications. Do not allow one to take the load of another that is underinflated. Check at the respective valves rather than inferring the inner tyre's condition from the outer tyre's appearance. [DGT, mechanics manual, twin wheel fitment](https://sede.dgt.gob.es/.galleries/permisos-de-conducir/certificacion-aptitud-profesores-formacion-vial/2023/Manual-VIII-Mecanica-2023.pdf).
- Inspect the space between the twin wheels and look for trapped objects or signs of rubbing. If you cannot inspect it safely or you detect abnormal contact between tyres, request an inspection. Do not put your hands into an area where a trapped stone, vehicle movement or a damaged tyre could injure you.
- With multiple axles, check every wheel on each side: the number of points of support does not permit you to drive with a defective wheel. Also check for visible differences in position, angle or wear that suggest damage. Consult the trailer manual for the particular requirements of its wheel arrangement, without automatically applying instructions for a heavy lorry.
7Snow chains and preparation
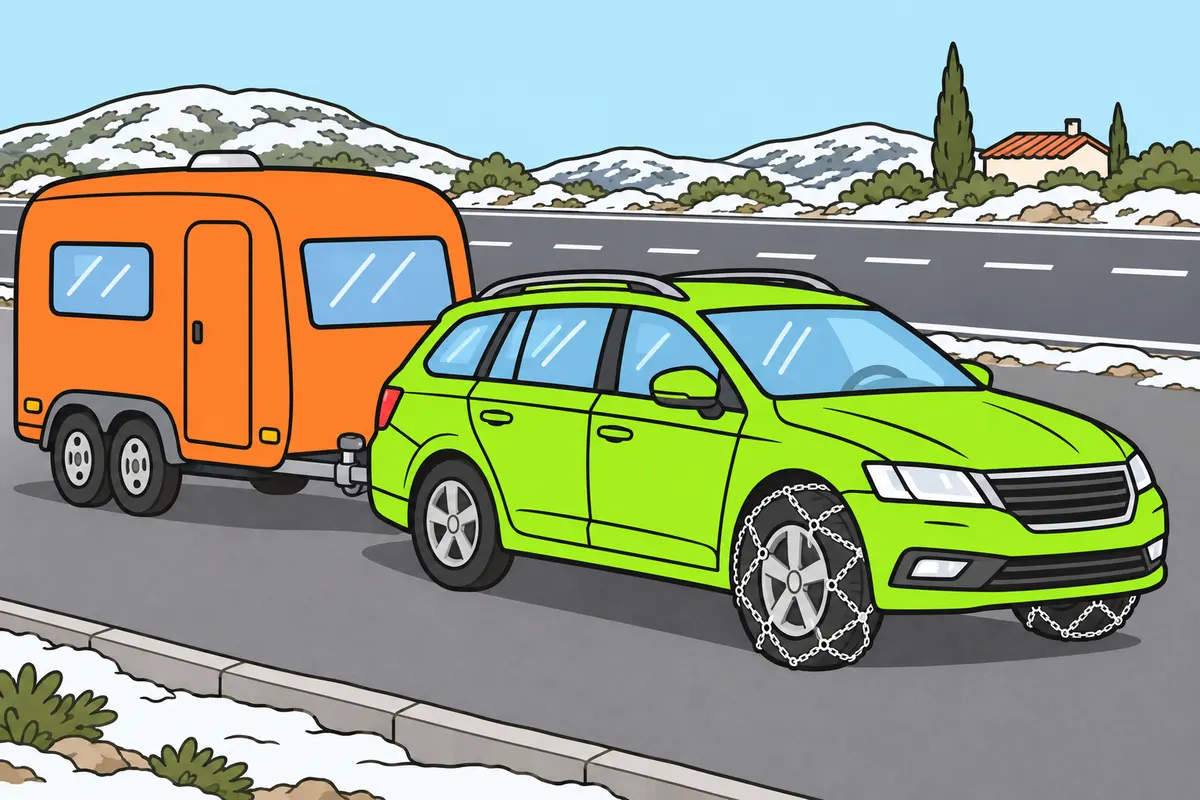
Prepare compatible chains and learn which wheels need them.
Remember
- Check your tyre size and the available clearance.
- When required, fit devices on at least one driven wheel on each side.
- You may use special tyres that meet the regulatory alternative.
- With all-wheel drive, follow the manufacturer’s fitting arrangement.
- Fit devices in a safe place.
Exam trap: Wrong: fit chains only to your trailer. Right: when required, fit them to at least one driven wheel on each side of your towing vehicle, unless you use the regulatory alternative of special tyres.
Read the full explanation
- Before your journey, check that your anti-skid devices are compatible with the tyre size and the available clearance. You must know how to fit them and what limitations their manufacturer specifies. Carrying a bag of chains that do not fit, or not knowing how to fit them, does not prepare your combination for a requirement to use them.
- When chains or approved devices are required, the fitting rule requires them on at least one driven wheel on each side of the vehicle, with special tyres as the alternative provided for in the regulations. On a front-wheel-drive towing vehicle, the driven wheels are the front wheels; you do not choose the trailer wheels because they are the last wheels in the combination. [RGV, art. 12.5.2](https://www.boe.es/buscar/act.php?id=BOE-A-1999-1826#a12).
- On an all-wheel-drive vehicle, check the fitting arrangement specified by its manufacturer and follow the authorities' instructions for that stretch of road. Do not assume that any tyre marketed as an all-weather tyre meets every applicable requirement. Check its markings and type approval, and the regulations applicable to special tyres.
- Fit and check the devices in a safe place, following their fitting procedure, without waiting until your combination is stranded across the carriageway. Do not work beside traffic if you cannot protect yourself. Route choice and snow restrictions are covered in «Safe driving with a trailer» and «Signs and priority when towing a trailer»; for maintenance, you must ensure compatibility, good condition and the practical ability to use the devices.
8Towing vehicle oil and lubrication
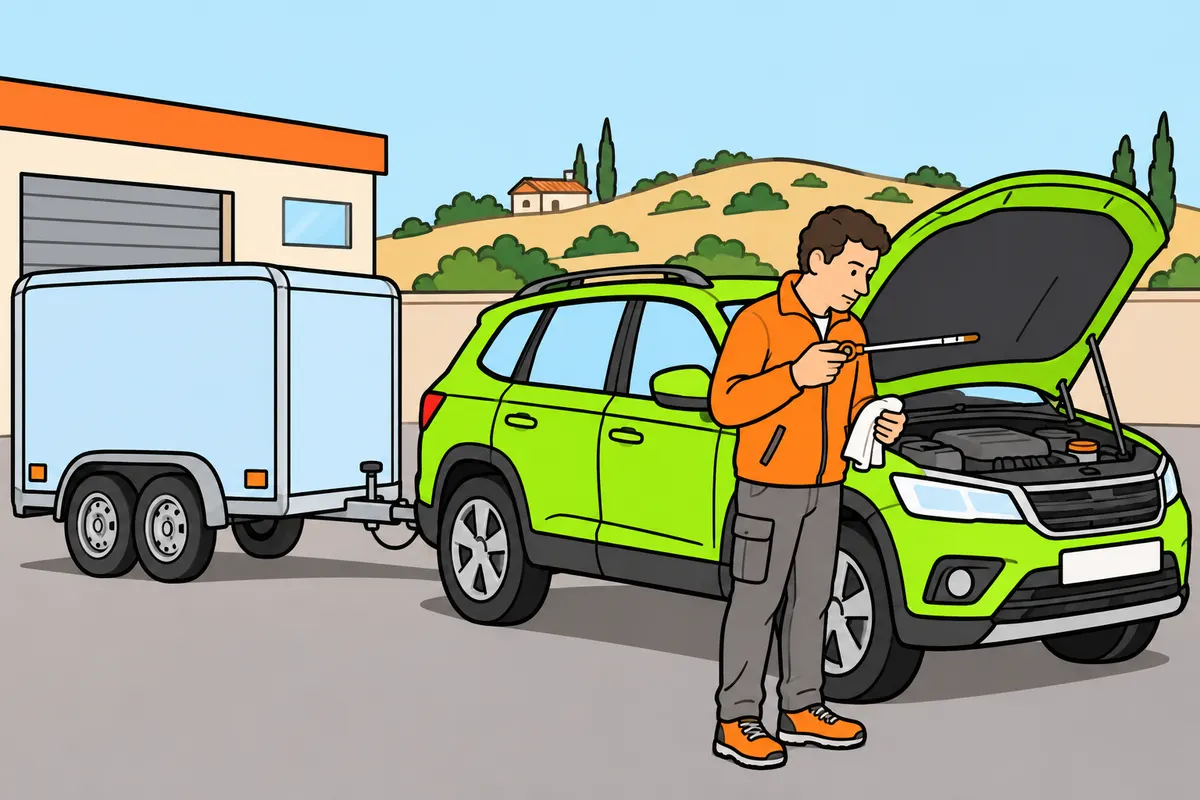
Check your engine oil as instructed and investigate leaks.
Remember
- With a combustion engine, check the level on level ground.
- Follow your model’s measuring method and conditions.
- Use the specified oil without exceeding the maximum.
- For a serious warning, stop safely and consult the instructions.
- Follow the specified oil and filter change schedule.
- With an electric vehicle, follow its specific checks.
Exam trap: Wrong: topping up repairs a leak. Right: investigate the cause and check lubrication.
Read the full explanation
- In a towing vehicle with an internal combustion engine, oil reduces friction and wear on its components. You must check its level with the vehicle on level ground and under the conditions specified in the manual. Use the dipstick or the electronic system fitted to your model, without treating the two procedures as interchangeable. [DGT, engine oil](https://revista.dgt.es/es/motor/noticias/2017/1009Mantenimiento-coche.shtml).
- Keep the level within the specified marks and use the specified lubricant. Filling above the maximum does not provide a safety reserve. If you need to top up, identify the correct reservoir and follow the manufacturer's procedure, avoiding spills onto hot components.
- An abnormal drop in the level or a leak requires you to find the cause. Topping up can restore the quantity, but it does not repair a leak or establish that lubrication pressure is sufficient. If a serious warning appears while driving, you must stop safely and consult the instructions before using the engine again.
- Follow the manufacturer's oil and filter change schedule according to time, use and mileage. Towing a trailer does not justify choosing a different lubricant on your own initiative or extending the intervals. If your towing vehicle is electric, carry out its specific checks: do not look for an internal combustion engine oil dipstick in a vehicle that does not have one.
9Cooling system and fluid leaks
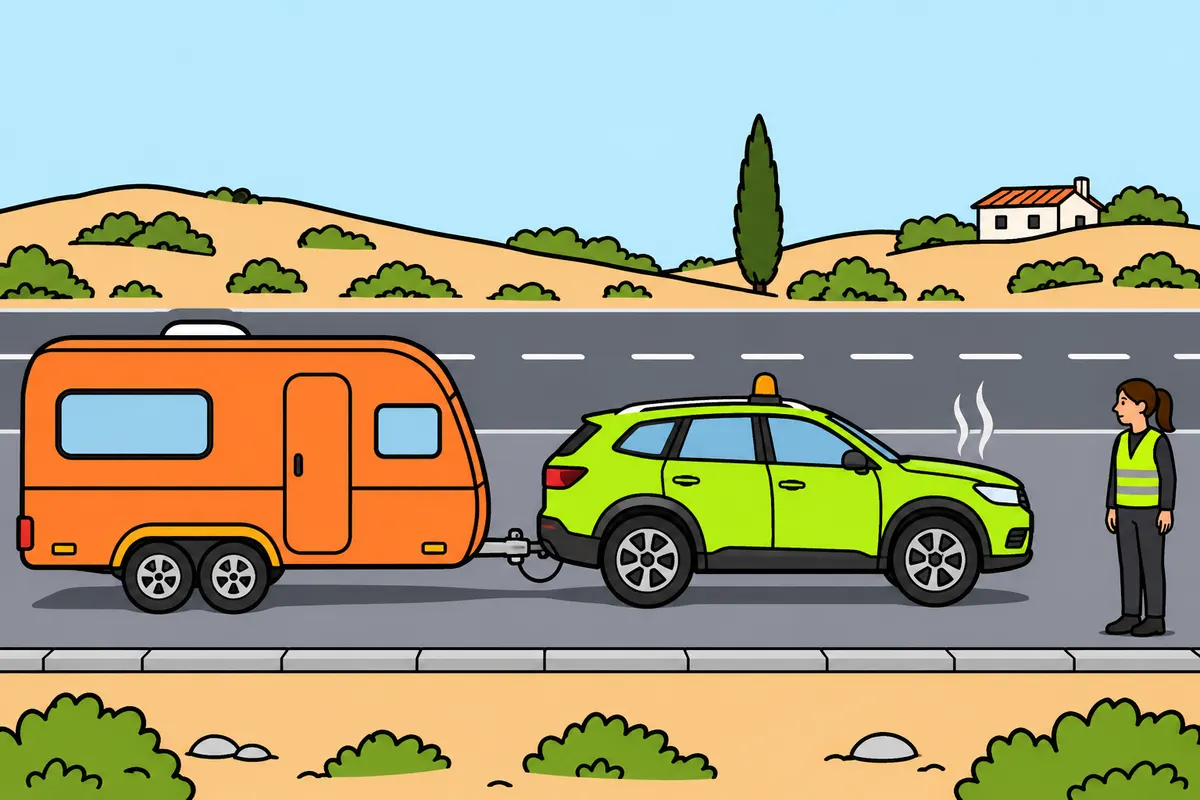
Check your coolant and stop safely if your engine overheats.
Remember
- Check the level using the manufacturer’s marks and conditions.
- Only work on the system when cold, following the manual.
- Do not open a hot, pressurised system: you could burn yourself.
- Use the specified product; do not choose by colour.
- For steam or major leaks, stop and follow the instructions.
Exam trap: Wrong: accelerate to cool your engine. Right: stop safely and follow your vehicle’s instructions.
Read the full explanation
- Check the coolant level in its reservoir under the conditions specified by the manufacturer, using its minimum and maximum marks. Its purpose is to control engine temperature; you must not confuse its reservoir with the windscreen washer reservoir. When inspecting the level, also look for possible leaks. [DGT, cooling system checks](https://revista.dgt.es/es/motor/noticias/2022/09SEPTIEMBRE/0906-Revision-postvacaciones.shtml).
- Carry out permitted work with the system cold and in accordance with the manual. Do not open a hot, pressurised cooling system: you can suffer burns. Use the product and mixture ratio specified for the model, without mixing fluids based on their colour or deciding that any water can replace the specified coolant.
- If overheating, steam or a major leak occurs, find a safe place to stop and follow the vehicle's instructions. Do not rev the engine to try to cool it, or continue to your destination trusting that the airflow while driving resolves the fault. Whether you need assistance depends on the cause and whether you can restore safe conditions.
- Also check the other systems fitted to the towing vehicle, such as hydraulic power steering. Vehicles do not all have the same reservoirs or require the same topping-up procedures. Identify each fluid in the manual and leave operations that require dismantling, bleeding or working under pressure to qualified personnel.
10Brake fluid and pedal response
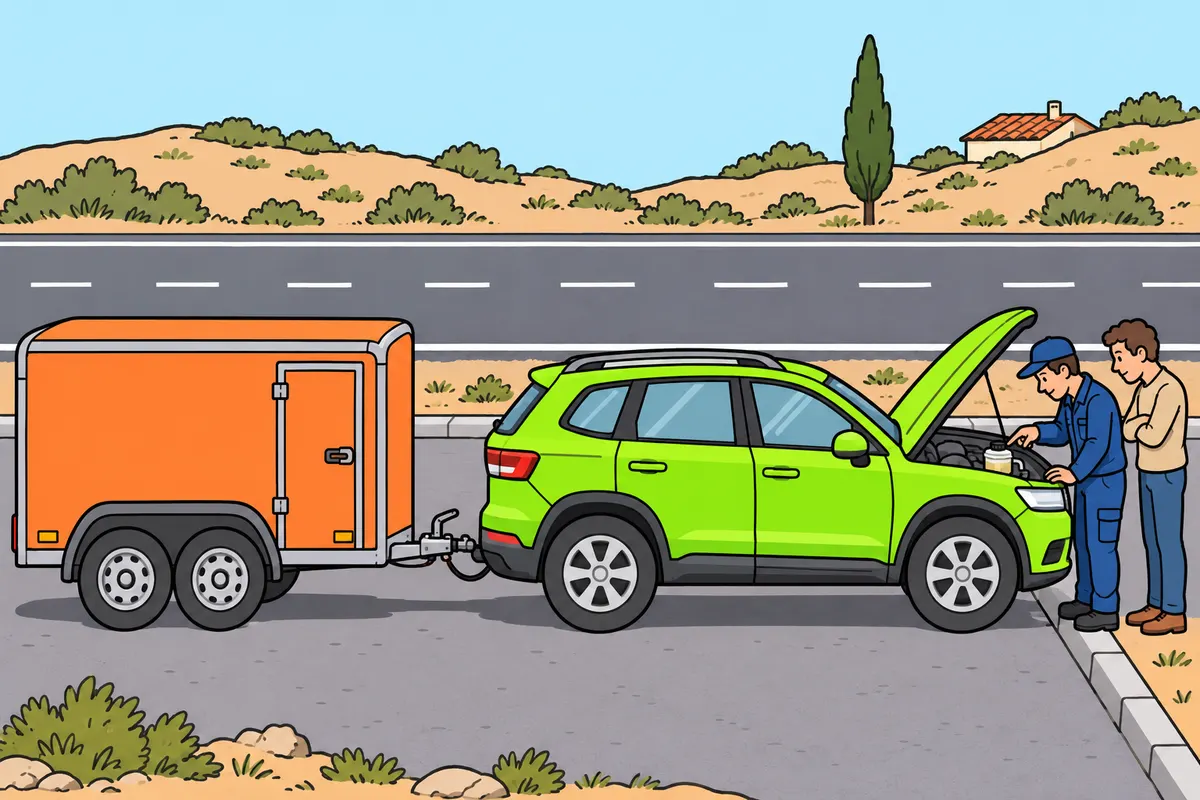
Check brake fluid and braking response before continuing.
Remember
- Investigate any low level or possible leak.
- Investigate a pedal that feels too soft, stiff or sinks abnormally.
- Use the specified fluid and follow its replacement schedule.
- Test your brakes only safely and at a suitable speed.
- Check your trailer’s braking too.
- For a serious fault, secure your combination and repair it before continuing.
Exam trap: Wrong: topping up fluid repairs your brakes. Right: investigate the cause and check their operation.
Read the full explanation
- Check the brake fluid level and look for signs of leaks in the towing vehicle's hydraulic system. A low level can accompany wear or a fault; you must investigate the cause. Topping up the reservoir does not establish that the brakes work correctly or remove any air in the system. [DGT, brake checks](https://revista.dgt.es/es/motor/tecnologia-seguridad/2025/1015-N275-vehiculo-al-dia-frenos.shtml).
- An excessively soft pedal, a pedal that sinks abnormally, or unusual stiffness are symptoms you must address. So are uneven braking, vibration when braking or a weaker response than expected. Do not continue driving with a significant loss of braking effectiveness, even if you increase your distance from the vehicle ahead.
- Use the prescribed fluid and replace it according to the manufacturer's schedule. Do not mix products based on guesswork or open the system to carry out improvised tests. Your everyday check consists of recognising levels and symptoms; diagnosing the master cylinder, flexible brake hoses, pads, discs or drums requires a technical inspection.
- Test the brake response as you set off only where you can do so safely and at a suitable speed for the check. You must assess the combination and not consider the trailer checked simply because the car brakes. A serious braking fault requires you to immobilise the combination safely and have it repaired before continuing.
11Trailer brakes and parking
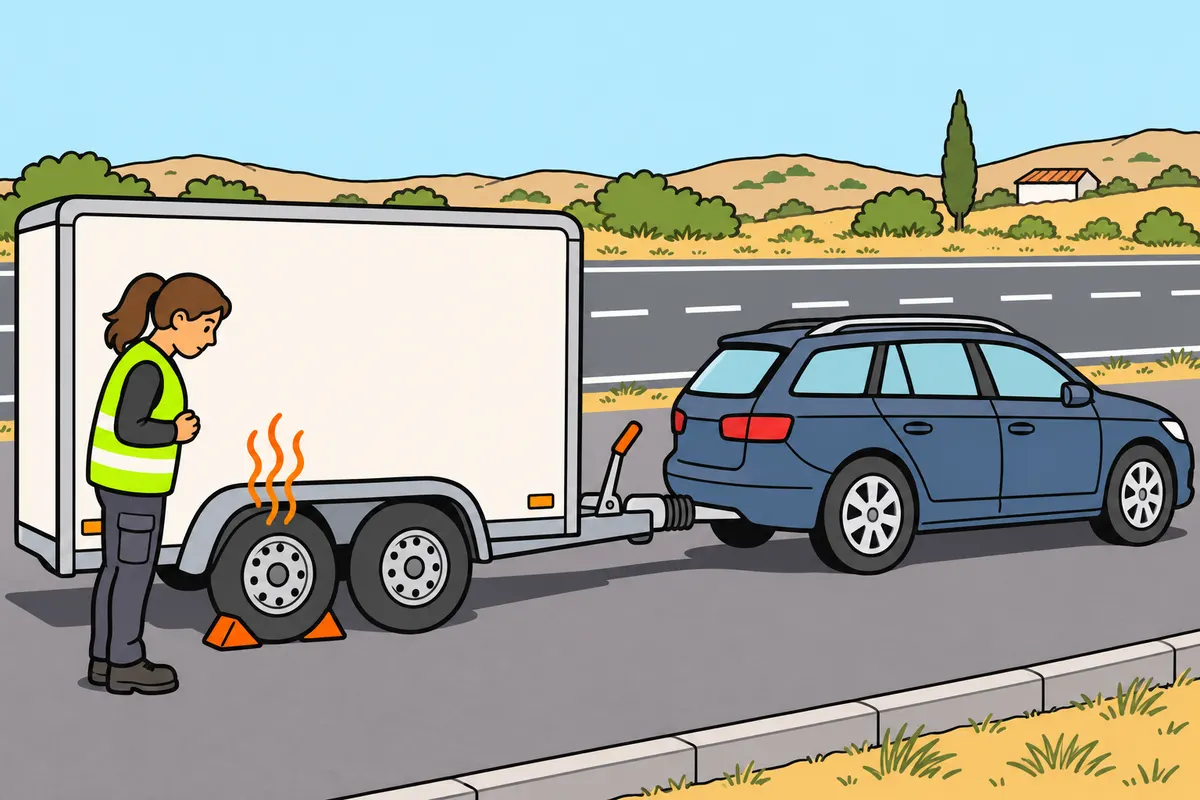
Check that your trailer brakes apply and release correctly.
Remember
- Check accessible parts as instructed for your braking system.
- Check the parking brake and equipment to prevent movement.
- Check the appropriate safety cable or separation device.
- For knocks, jerks or hot-brake smells, stop and check.
- Do not touch brakes to check their temperature.
Exam trap: Wrong: a lowered control guarantees released brakes. Right: check that they release correctly.
Read the full explanation
- Identify the system fitted to your trailer and inspect its accessible components in accordance with its instructions. On an overrun braking system, inspect the coupling head, sliding mechanism, bellows and visible linkages. If you find deformation, seizure or damage, do not try to correct it with an improvised adjustment before setting off.
- Check that the trailer parking brake applies and releases correctly and that the means of preventing movement are available when you need them. Do not confuse a lowered lever with a guarantee that the brake is fully released. A wheel whose brake remains applied can overheat and impair control of the combination.
- Check the appropriate safety cable or breakaway device, its condition and its positioning. Its function depends on the system: you must not treat every cable as a simple rope that keeps the trailer attached. Details of its connection and operation are covered in Safe coupling and uncoupling and Trailer braking.
- Abnormal knocks when braking, a tendency for the trailer to push unevenly, jerking and the smell of hot brakes are reasons to stop and check. Do not touch discs, drums or hubs to check their temperature by hand. Maintenance of adjustments and wearing components must follow the equipment specifications.
12Air system where fitted
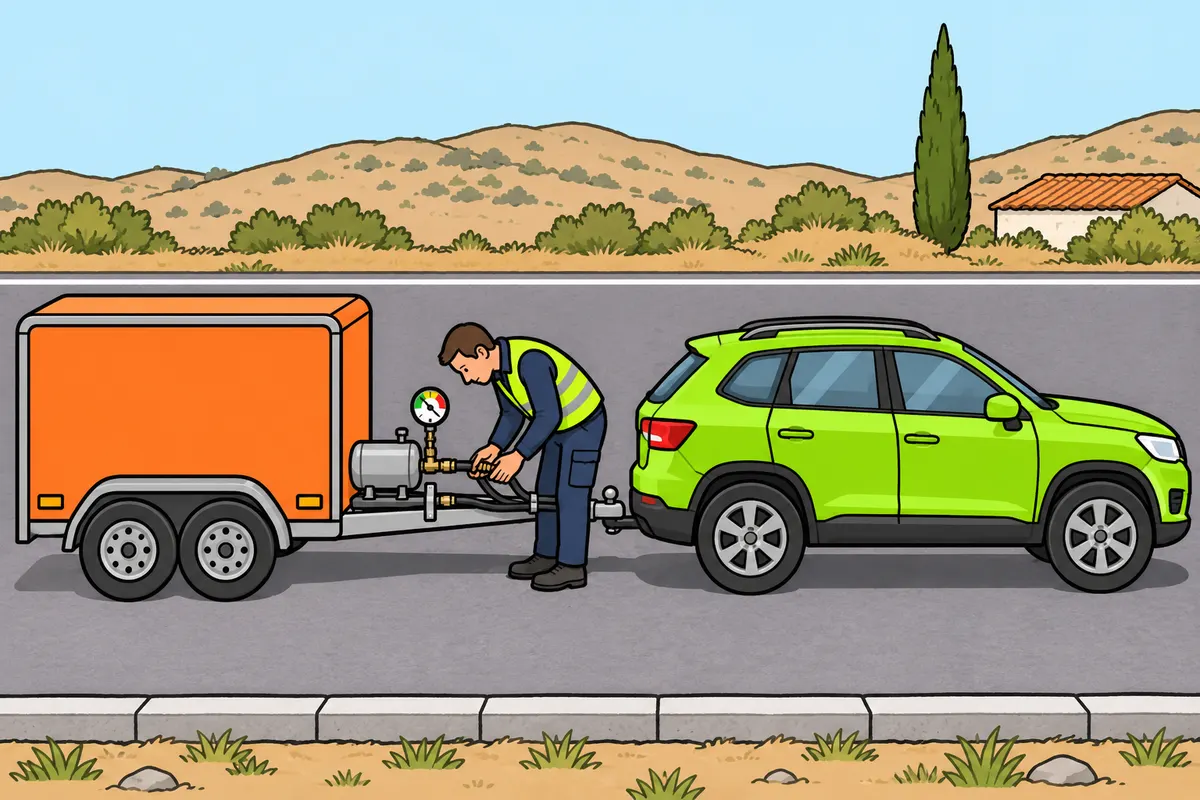
If you have air brakes, check pressure and connections as instructed.
Remember
- First identify whether your equipment has an air system.
- Do not set off while a low-pressure warning remains.
- Check for leaks, damaged pipes and faulty connections.
- Keep pipes from dragging, rubbing or becoming trapped.
- Follow the specific maintenance instructions; never disable safety warnings.
Exam trap: Wrong: every combination uses air at the same pressure. Right: check your equipment’s system and specifications.
Read the full explanation
- Do not assume that every B+E combination has an air system. If your equipment includes one, you must know its indicators, connections and specific checks before using it. Instructions for a heavy vehicle do not automatically apply to a car towing a trailer with overrun brakes.
- Check that the system reaches the prescribed operating pressure and that its warning indicators allow you to set off. If a low-pressure warning remains on, do not set off trusting that the pressure recovers while driving. Check the connections and request assistance if you find leaks or an abnormal loss of pressure. [DGT, mechanics manual, air brake maintenance](https://sede.dgt.gob.es/.galleries/permisos-de-conducir/certificacion-aptitud-profesores-formacion-vial/2023/Manual-VIII-Mecanica-2023.pdf).
- Inspect flexible hoses and connections: they must not be pinched, damaged or dragging. Check their routing throughout the combination's intended range of articulation and ensure there is no dangerous chafing. Identify each connection by its function and the manufacturer's instructions, without experimenting by swapping lines.
- Maintenance of reservoirs, the dryer and drains depends on the equipment. Follow its instructions, without assuming a universal pressure or mandatory manual draining for every model. Do not disable a warning or mechanically release a safety brake to continue on the road with a faulty system.
13Coupling, play and connections
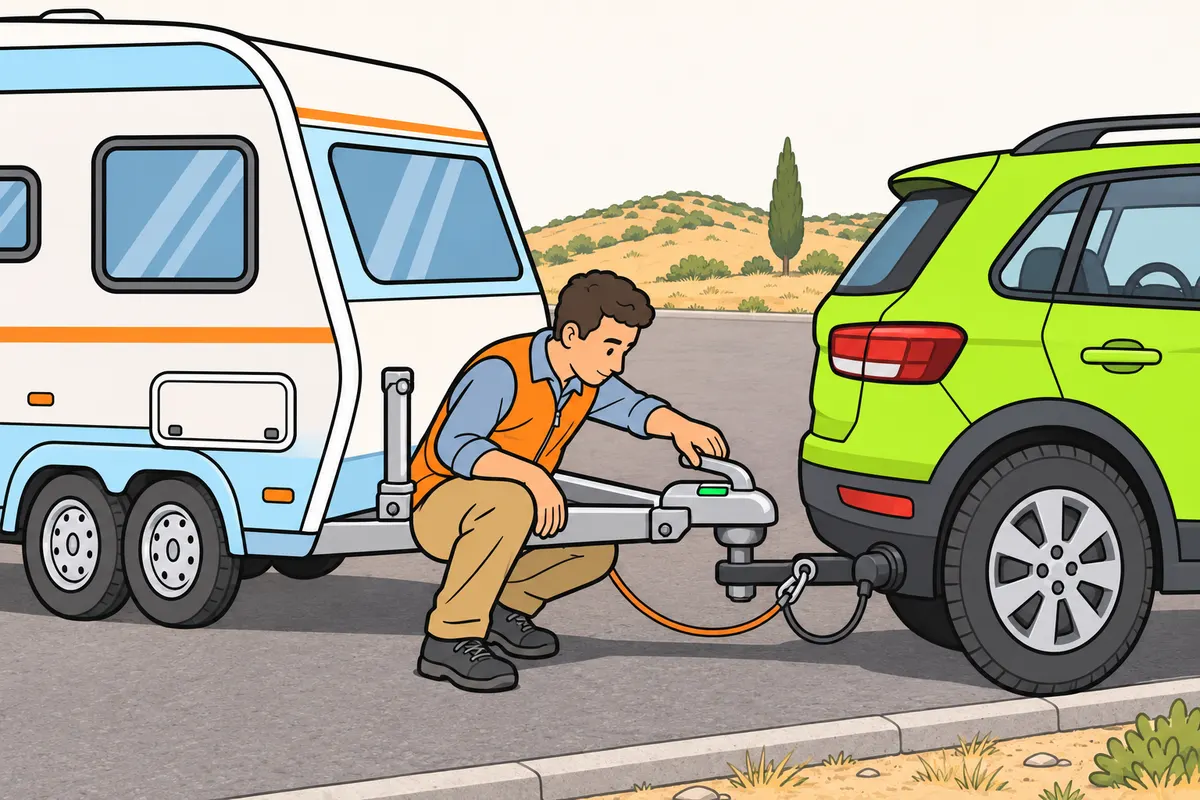
Check that your coupling is closed, locked and secured before travelling.
Remember
- Use the checks specified for your model.
- Check for damage, loose fastenings and excessive movement.
- Do not grease stabiliser friction surfaces without following the manual.
- Attach the appropriate breakaway cable or secondary coupling to the specified point.
- Check its closure and stow the supports.
- Leave cables room for turns without dragging or becoming dangerously tight.
Exam trap: Wrong: turning movement excuses excessive play. Right: investigate abnormal looseness before driving.
Read the full explanation
- Check that the mechanism is closed, locked and secured as specified by the manufacturer. Use the indicators and checks appropriate to that model; do not be satisfied simply because the coupling head appears to rest on the towball. A coupling that appears to be in place may not be securely retained.
- Check the coupling and its mounting for wear, secure fastenings and abnormal play. The articulation needed for turning allows controlled movement, but does not justify knocking or excessive play. If the towball, coupling head or mounting is damaged, you must resolve this before driving.
- Clean and lubricate according to the type of coupling. Do not indiscriminately grease the friction surfaces of a stabiliser; a product suitable for another component may impair its operation. Consult the manual to find out what must remain clean, what needs lubrication and what wear requires replacement.
- Before every journey, check that the breakaway cable or secondary coupling appropriate to your trailer is attached to the towing vehicle at the point specified by the manufacturer and that its fastening is secured. Also check the plug, wiring and retracted supports; cables must allow turning without dragging or becoming dangerously taut. The connection procedure is covered in Safe coupling and uncoupling. [RGCond, annex V.B.2.6.º c](https://www.boe.es/buscar/act.php?id=BOE-A-2009-9481#anv).
14Towing vehicle and trailer lights
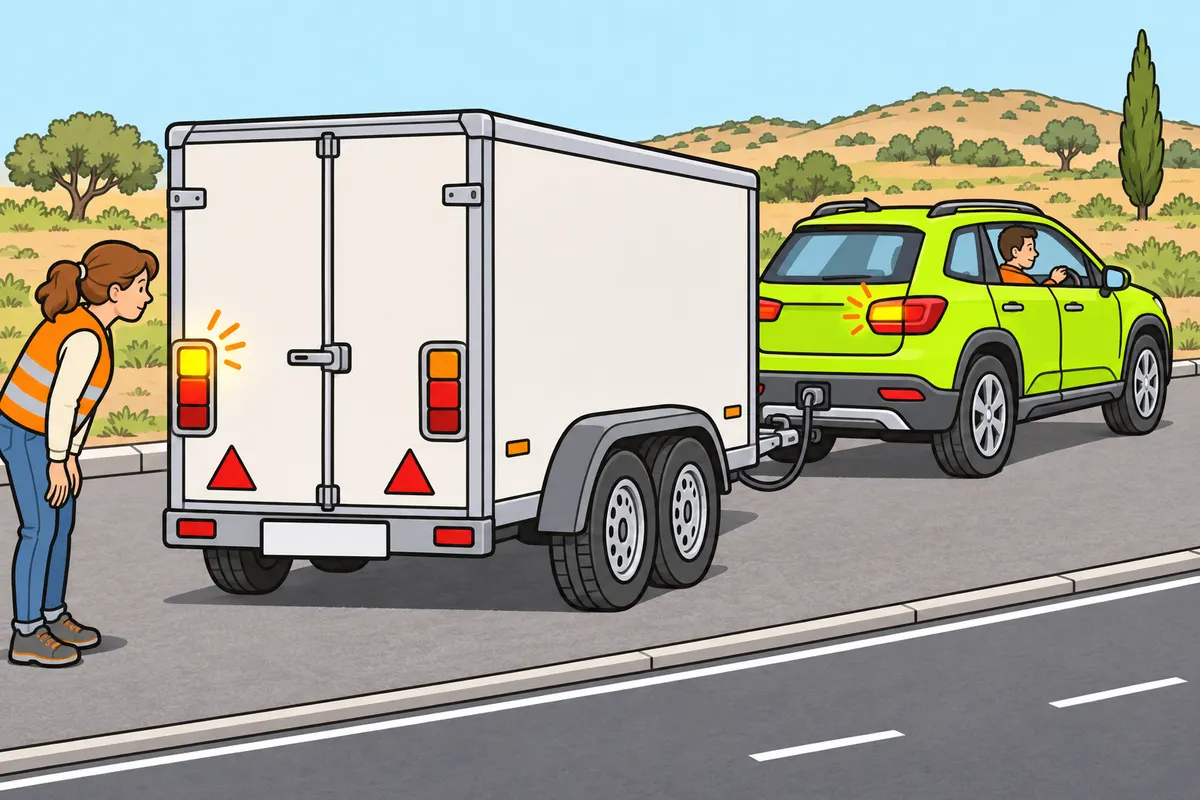
Test both vehicles’ lights after connecting your trailer.
| Part on towing vehicle or trailer | What you check |
|---|---|
| Lights | That they illuminate and work correctly |
| Reflectors | That they reflect light and remain in good condition |
Remember
- Check position lights, brake lights, indicators and other fitted lights.
- Check the wiring if the wrong light flashes.
- Keep lights and reflectors clean, intact and securely attached.
- Keep your load from covering these devices.
- Adjust your car’s headlights for the travelling load to avoid dazzling others.
Exam trap: Wrong: connecting the plug guarantees working lights. Right: test every function.
Read the full explanation
- Test the lights and indicators on both vehicles, including the position lights, brake lights and direction indicators. Also check any other lights fitted to the trailer according to its configuration. You can ask another person to help from a safe position; an illuminated lamp alone does not prove that all its functions work.
- Pay particular attention to the connections after coupling. If operating a direction indicator makes another light flash or its brightness change abnormally, you must check the installation rather than accept this as a normal feature of the trailer. A plug that is physically connected may have dirty, damaged or non-conducting contacts.
- Keep lamp lenses and reflectors clean, intact and securely attached. A reflector reflects light and is not checked in the same way as a bulb; you must inspect its surface and condition. The load, a cover or a luggage carrier must not obscure the devices that make the trailer's presence and width identifiable.
- Check the towing vehicle's headlamp alignment with the load you carry for the journey. If its rear drops and the beam rises, you need to use the adjustment provided or review the load distribution and suspension. Providing enough light and avoiding dazzling others requires maintenance and adjustment, as well as replacing blown bulbs. [DGT, lighting and mechanical checks](https://revista.dgt.es/es/reportajes/2019/04ABRIL/0417-Mecanica.shtml).
15Mirrors and field of vision
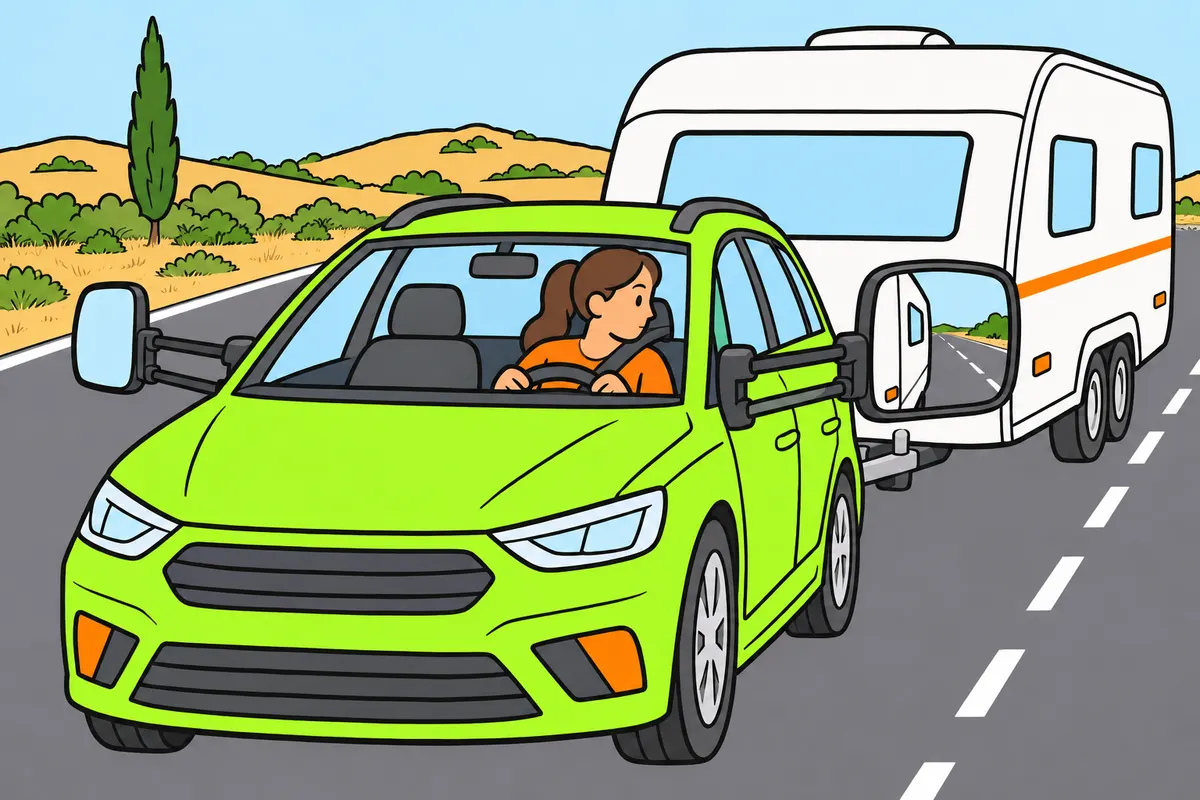
Adjust your mirrors to watch the sides of your combination and surrounding traffic.
Remember
- Adjust your seat before adjusting your mirrors.
- Use suitable mirrors or compatible extra mirrors when needed.
- Check cleanliness, supports and fastenings.
- Remember that mirrors leave blind spots.
- Stop manoeuvring if you cannot confirm that the space is clear.
- Secure luggage so it cannot block your view or controls.
Exam trap: Wrong: seeing your trailer wheel is enough. Right: you need a useful view of traffic.
Read the full explanation
- Adjust your seat first, then the mirrors to suit your actual driving position. Check that you can see along the sides of the combination using suitable mirrors; if the trailer restricts the necessary view, use suitable or supplementary devices that are compatible. A mirror that vibrates or moves in the airflow gives an unstable image that makes it harder to observe traffic. [RGV, art. 11.2](https://www.boe.es/buscar/act.php?id=BOE-A-1999-1826#a11).
- Inspect mirror surfaces, supports and fastenings before setting off. Remove dirt, water or ice and rectify any damage that prevents you from observing properly. Do not adjust an extension mirror solely to see the trailer wheel: you need a useful field of vision to monitor traffic and carry out manoeuvres.
- If a caravan blocks your direct view to the rear, you still have to maintain the legally required indirect view. Mirrors do not eliminate every blind spot either. You must combine their use with the necessary observation and stop a manoeuvre when you cannot confirm that the space is clear.
- Also secure luggage in the passenger compartment so that it does not restrict your view or the movement of the controls. Keeping objects secured is part of maintaining a safe driving position, as well as protecting the trailer's load. The requirement for visibility and freedom of movement applies throughout the journey. [RGC, art. 18](https://www.boe.es/buscar/act.php?id=BOE-A-2003-23514#a18).
16Windows, wipers and washers
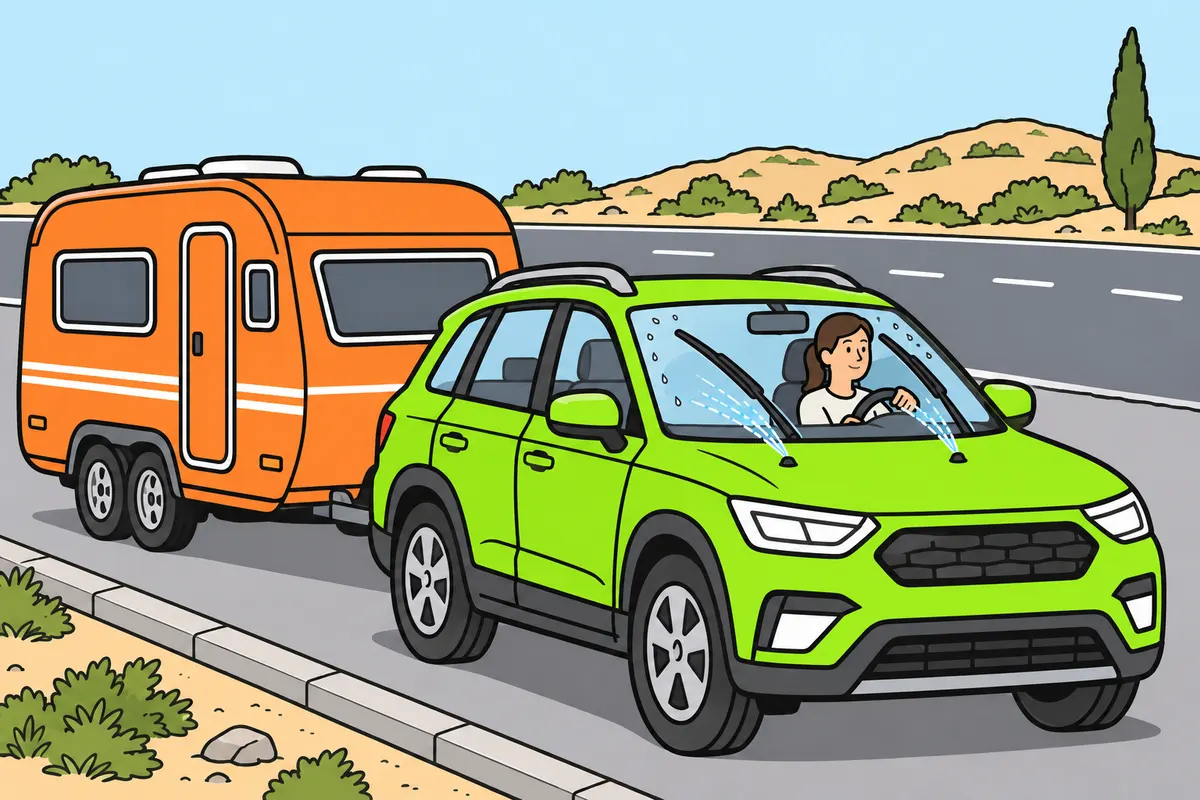
Prepare your glass, wipers and demisting equipment to keep a clear view.
Remember
- Clean your windscreen inside and out.
- Check the windows you need for observation too.
- Replace or repair wiper blades that clean poorly.
- Test that your washers deliver fluid onto the glass.
- Use a product suited to your vehicle and expected weather.
- Check your demisting and de-icing equipment.
Exam trap: Wrong: fluid in the reservoir guarantees working washers. Right: test delivery onto the glass too.
Read the full explanation
- Check that the windscreen is clean inside and out, along with the windows you need for observation. Dirt and reflections make obstacles harder to distinguish even when the wipers work. You must maintain the glazed surfaces so that they provide a clear view. [RGC, art. 19](https://www.boe.es/buscar/act.php?id=BOE-A-2003-23514#a19).
- Check that the wiper blades clear the glass without leaving substantial areas of water or streaks that impair your view. If the rubber is damaged or the wiping action is ineffective, you must replace or repair the affected component. Do not wait for heavy rain to discover that an arm is loose or a blade does not make contact with the glass.
- Test the windscreen washers and check the reservoir, pump operation and jet alignment. Use a product suitable for the vehicle and the expected conditions. Fluid in the reservoir does not guarantee that water reaches the glass if a pipe is broken or a jet is blocked.
- Also check the demisting and de-icing equipment fitted to the towing vehicle. You must be able to maintain the necessary view when the temperature or humidity changes. Maintaining the wiper blades and fluid is part of this preparation even if you start the journey in dry weather. [DGT, windscreen wiper checks](https://revista.dgt.es/es/reportajes/2019/04ABRIL/0417-Mecanica.shtml).
17Steering, suspension and noises
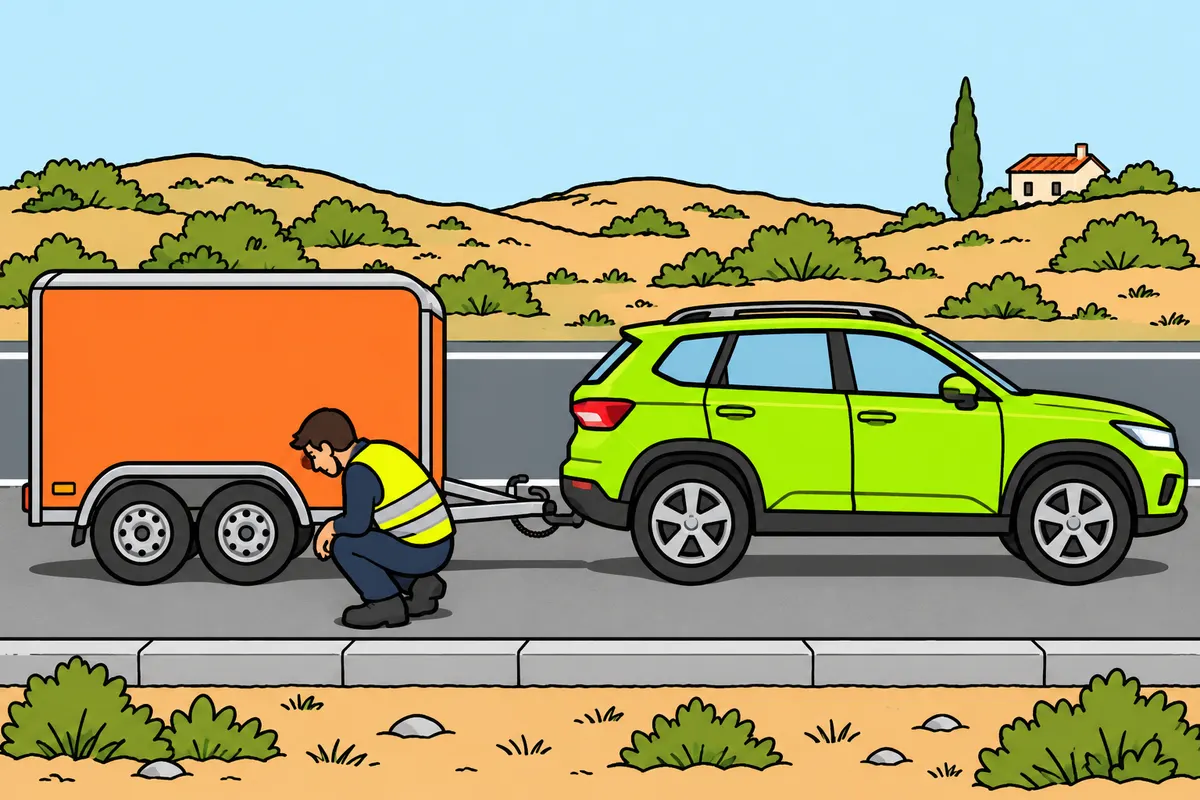
Investigate noises and vibrations that could mean steering or suspension damage.
Remember
- Check steering for excessive play, stiffness and noises.
- Look for leaking shock absorbers and damaged parts.
- If a new vibration appears, stop somewhere safe.
- After a hard impact, check both vehicles; if unsure, arrange an inspection.
- Check the exhaust; arrange an inspection if you smell fumes inside your car.
- Check belt webbing, buckles, retraction and locking; test your horn without disturbing others.
Exam trap: Wrong: accelerate to get past a vibration. Right: stop safely and investigate the cause.
Read the full explanation
- Pay attention to play, unusual stiffness, noises and vibrations in the steering. Its function is to control your course: a serious fault compromises safety even at low speed.
- Check for visible signs of suspension deterioration, such as leaking shock absorbers, an abnormal position or damaged parts. Suspension affects stability, wheel contact with the ground and braking ability. Poor suspension condition can also contribute to uneven tyre wear. [DGT, suspension and mechanical checks](https://revista.dgt.es/es/reportajes/2019/04ABRIL/0417-Mecanica.shtml).
- If a new vibration, knocking at the coupling or noise from a wheel appears, reduce the strain on the combination and stop somewhere safe to assess the problem. Your inspection must cover both the towing vehicle and the trailer.
- After hitting a kerb or a severe pothole, pay attention to changes in your course, vibrations and visible damage. A wheel that retains air may still have other damage. If you cannot confirm that the component remains roadworthy, arrange an inspection before continuing your journey.
- Also check the towing vehicle's exhaust, seat belts and audible warning devices. Check the exhaust for loose mountings, breaks, abnormal noise or signs of leaks; an exhaust smell in the passenger compartment requires inspection. Check that the seat belt webbing is intact, that the buckles fasten and release, and that the retractors take up slack and lock as intended. Verify that the horn works by testing it in a suitable setting without causing a nuisance. Arrange repairs if you detect a fault: these components form part of the mechanical safety checks you must know. [RGCond, annex V.B.1.14.ª](https://www.boe.es/buscar/act.php?id=BOE-A-2009-9481#anv).
18Dashboard and warnings
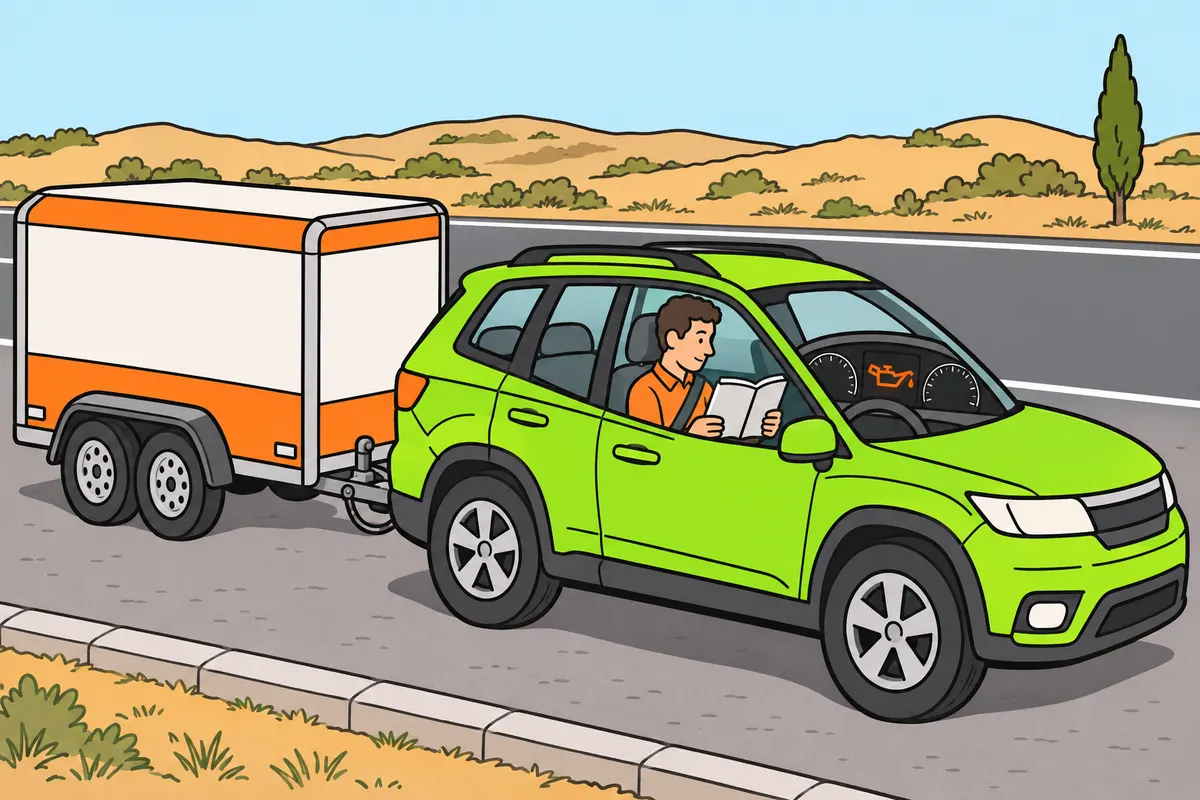
Learn your dashboard warnings and follow the vehicle manual.
| Towing vehicle oil indication | What it shows |
|---|---|
| Level | Amount of oil |
| Pressure | Pressure at which oil circulates |
Remember
- Learn which warning lights should go out after the ignition self-test.
- Stop safely for an oil pressure warning and follow the manual.
- Read the symbol and message; colour alone is not enough.
- If an ABS warning stays on, follow the manual and arrange an inspection.
- Do not clear a warning and assume the fault is repaired.
Exam trap: Wrong: enough oil guarantees correct pressure. Right: level and pressure tell you different things.
Read the full explanation
- Familiarise yourself with the towing vehicle's symbols and messages before travelling with a trailer. When you switch on the ignition, check the manufacturer's specified self-test sequence and note which warning lights must go out. Do not confuse a warning light that comes on during this check with one that remains on while driving.
- Distinguish an oil pressure warning from an oil level indication: they may signal different problems. If a lubrication alarm appears, you must stop safely and follow the manual before running the engine again. Having enough oil does not guarantee that it circulates at the correct pressure.
- Warnings about brakes, temperature, electrical charging, tyres or electronic systems require you to interpret the specific symbol and message. Colour provides guidance, but does not replace the vehicle's instructions. A brake warning light may mean that the parking brake is applied or that there is a fault; you must identify which applies before setting off.
- If an ABS or other assistance system warning remains on, consult the information on how this affects your vehicle and arrange an inspection. Do not assume that the system works because normal braking seems unaffected. Do not clear a warning and consider the fault repaired either: you must resolve its cause and confirm that the combination remains safe.
19Breakdown during the journey
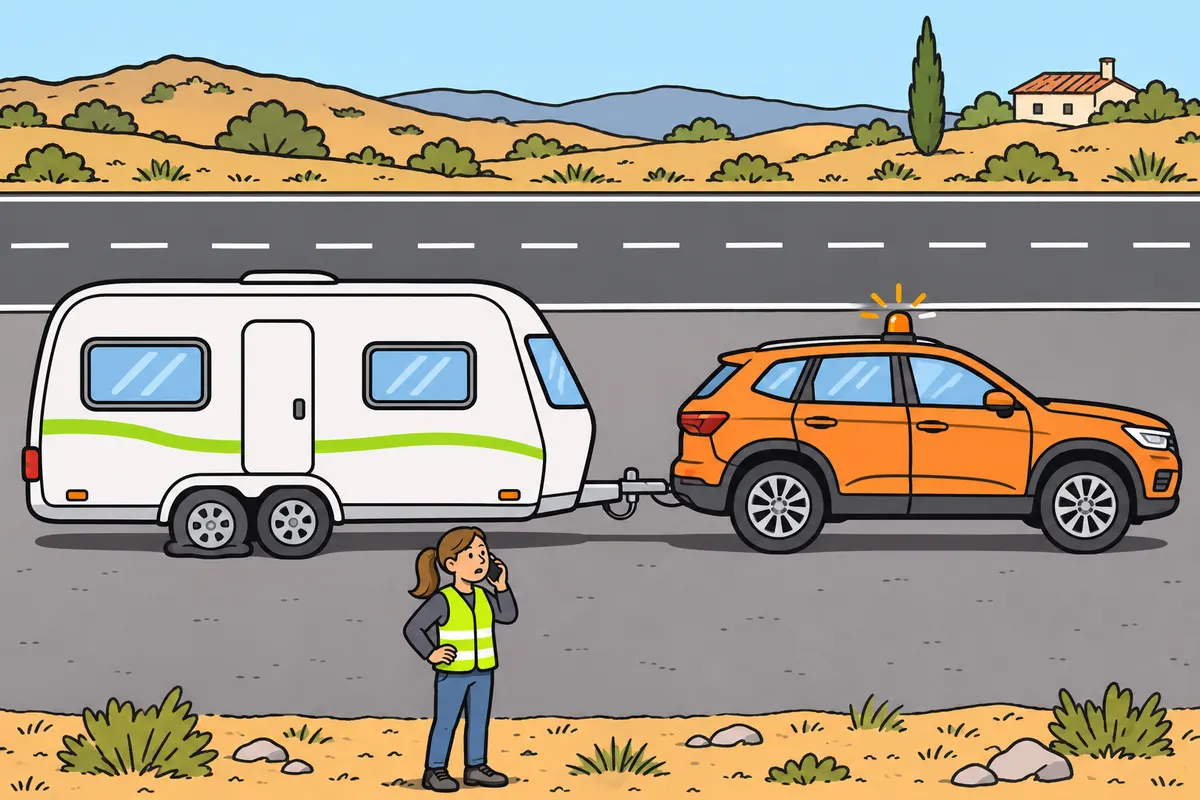
After a breakdown, stop safely and decide if you can continue.
Remember
- Do not continue with faults that stop you controlling or stopping the combination.
- If safe, take the first exit by the right hard shoulder for help.
- Otherwise, stop on the right hard shoulder or where you obstruct least.
- With reduced lighting, drive slowly enough to stop within the lit area.
- Change wheels away from traffic, on firm, level ground; secure and chock the combination.
- Use the specified jack point; never go underneath if supported only by the jack.
Exam trap: Wrong: lift your caravan using its parking steadies. Right: use a suitable jack at the specified point; follow the manual for fitting, tightening and later rechecking wheel fastenings.
Read the full explanation
- If you lose braking power, notice abnormal steering, have a damaged wheel or an unsafe coupling, you must control the combination and stop safely. Consider the trailer's length and position when choosing where to stop.
- If you can continue safely and need assistance, you must leave the traffic lanes and head towards the first available exit along the right-hand arcén (hard shoulder); if this is not possible, stop on the right-hand hard shoulder or wherever you cause the least obstruction. [RGC, art. 130.1 and 2](https://www.boe.es/buscar/act.php?id=BOE-A-2003-23514#a130).
- If part of your lighting fails and you have to drive with reduced illumination, adjust your speed to the range of the available light so that you can stop within the illuminated area. This rule does not mean that every lighting fault allows you to complete the whole journey. Find a safe solution and seek assistance when you cannot maintain the necessary conditions. [RGC, art. 107](https://www.boe.es/buscar/act.php?id=BOE-A-2003-23514#a107).
- Do not change a wheel or repair a connection beside traffic if doing so exposes you to being hit or allows the combination to move. Before starting work, you must assess the location, stability, equipment and your knowledge. A fault that you could repair in a workshop may require assistance because of the road conditions.
- To change a trailer wheel in a place protected from traffic, use firm, level ground, secure the towing vehicle and trailer against movement and chock the wheels that remain on the ground. Follow the trailer manual to position a suitable jack at the designated point; a caravan's parking supports are not suitable for lifting it. Do not go underneath it if it is supported only by the jack. Fit the wheel and tighten its fastenings in the prescribed sequence and to the prescribed torque; after the first few kilometres, check the tightness again at the interval specified by the manufacturer. These are technical maintenance precautions, with no universal distance or torque. [Manufacturer, caravan manual, chapter 15.5](https://www.dethleffs.es/dethleffs/00_global/02_pdfs/bedienungsanleitungen/2026/x1513.08.224_caravan_2026_es_web.pdf).
20Warning others and requesting assistance
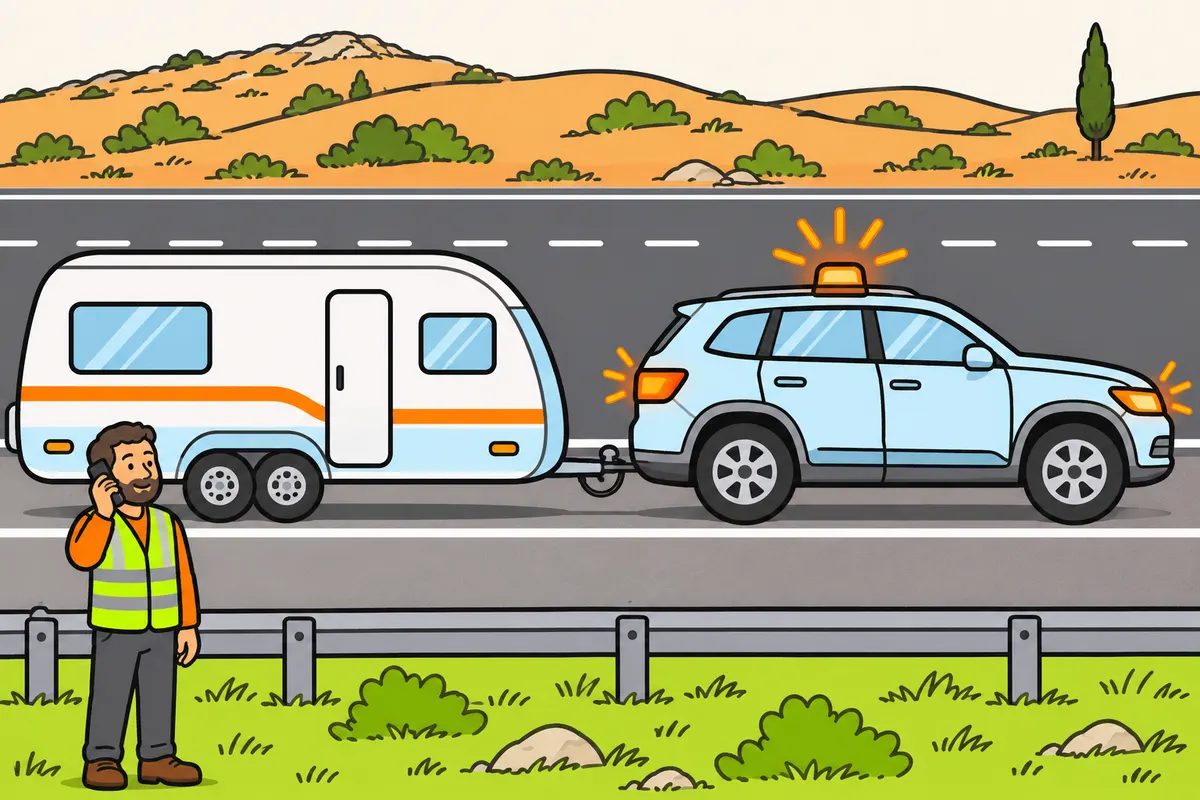
Warn others about your stranded combination without exposing yourself to traffic, and request assistance.
| If you are stranded and cannot continue | What you do |
|---|---|
| You can safely reach a place away from the carriageway and hard shoulders | Leave on the side away from traffic; do not walk or stay in lanes or hard shoulders |
| You cannot leave safely | Stay inside with your seat belt fastened |
Remember
- Check that the connected V-16, vest and fire extinguisher are present, accessible and working.
- See “Safety equipment for your vehicle combination” for their requirements.
- If stranded dangerously on the road, use the V-16 and the lights you need.
- Place the V-16 as high as possible, visible and safe to reach.
- See “Safety equipment for your vehicle combination” for when to use your vest.
- Ask for help; say you are towing. The V-16 cannot call for help.
Exam trap: Wrong: triangles replace the regulatory device. Right: use the regulatory connected V-16.
Read the full explanation
- Check that the connected V-16, high-visibility vest and fire extinguisher are present, accessible and in working order; their requirements are explained in «Safety equipment for your vehicle combination». [RGV, annex XII.1.a and b and 2](https://www.boe.es/buscar/act.php?id=BOE-A-1999-1826#anxii).
- Switch on your hazard warning lights and any other appropriate lights, and use the V-16 in the highest possible position that ensures visibility, without exposing yourself to traffic. Before travelling, check how to position it with your vehicle and trailer. [RGC, art. 130.4](https://www.boe.es/buscar/act.php?id=BOE-A-2003-23514#a130); [RGV, annex XI, V-16](https://www.boe.es/buscar/act.php?id=BOE-A-1999-1826#anxi).
- If your vehicle is immobilised and you cannot resume your journey, and there is a safe place away from the carriageway and hard shoulders, you must leave the vehicle on the side away from traffic without walking or remaining in traffic lanes or on hard shoulders. If you cannot get out safely, stay inside with your seat belt fastened. See «Safety equipment for your vehicle combination» for the use of the high-visibility vest. [RGC, art. 130.3](https://www.boe.es/buscar/act.php?id=BOE-A-2003-23514#a130).
- Request assistance, explaining that you are towing a trailer, which vehicles are affected and where they are positioned. The V-16's transmission of your location does not replace your request for help or make an emergency call by itself. Protection, alerting the emergency services and helping injured people are covered in Accidents, breakdowns and first aid. [DGT, how the V-16 works](https://www.dgt.es/muevete-con-seguridad/tecnologia-e-innovacion-en-carretera/Dispositivos-de-presenalizacion-V16/).
21ITV (vehicle roadworthiness test) and vehicle combination maintenance
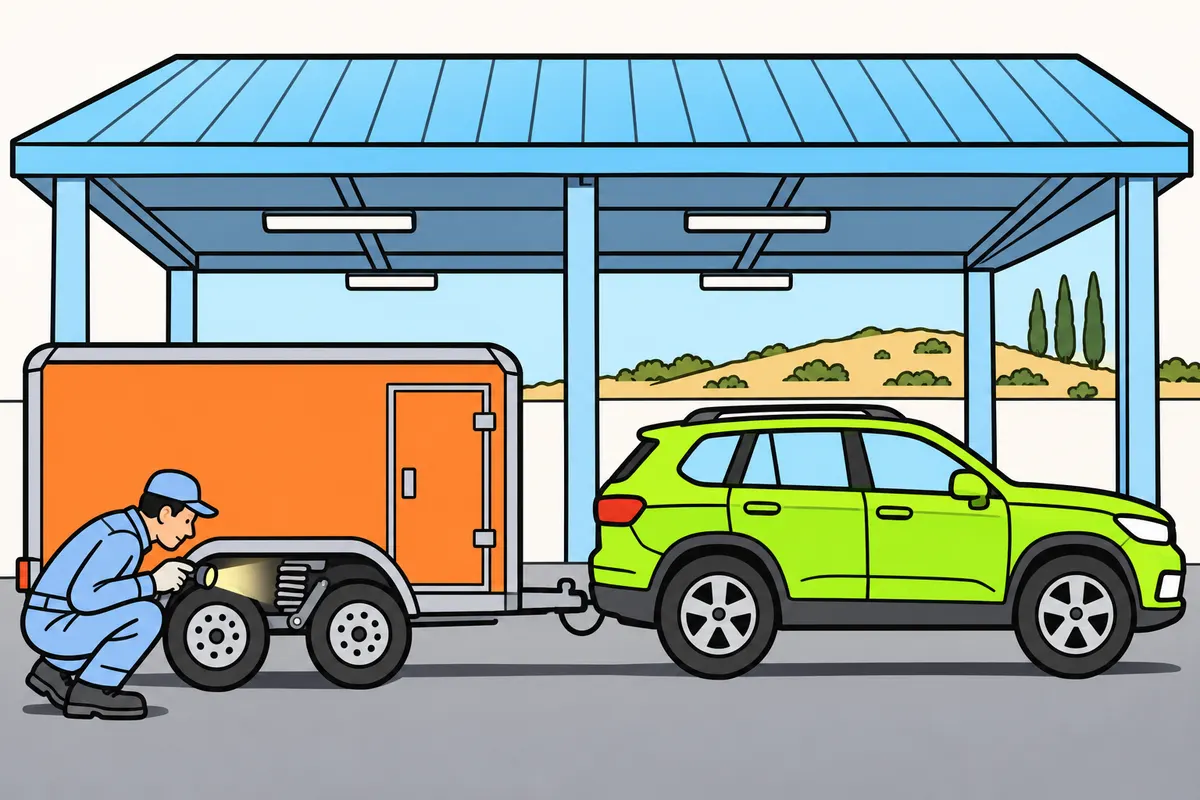
Check each vehicle’s ITV (vehicle roadworthiness test) and maintain your combination between inspections.
Remember
- Check your car’s ITV validity and your trailer’s if periodic inspection applies.
- Check category and use in the documentation.
- Correct faults; do not hide warnings.
- Deal with faults even while your favourable ITV remains valid.
- Keep the report and check its defects and conditions.
Exam trap: Wrong: a workshop service extends your ITV. Right: respect its expiry date.
Read the full explanation
- Check that the towing vehicle's ITV and the trailer's ITV, when it is subject to periodic inspection, are valid. They are separate vehicles: a pass for the car does not automatically mean the trailer has been inspected. Check their category and use in the documents; the B+E licence alone does not determine their inspection schedule.
- The inspection assesses items such as brakes, steering, visibility, lighting, axles, wheels, suspension, chassis and couplings. Prepare the combination by correcting any faults you identify and making its components accessible. [RD 920/2017, annex I](https://www.boe.es/buscar/act.php?id=BOE-A-2017-12841).
- An ITV pass confirms the inspection result, but does not replace maintenance between inspections. If a fault develops afterwards, you must deal with it even if the expiry date is a long way off. Similarly, a workshop service does not extend the validity of the ITV.
- Keep and consult the report to understand the defects and the conditions attached to the result. Check that repairs address the cause and request the appropriate follow-up check. The documents you must carry and the full schedule for different uses are covered in Driver and vehicle combination documents; here you need to recognise which result allows you to drive and under what conditions.
22Inspection frequency by vehicle
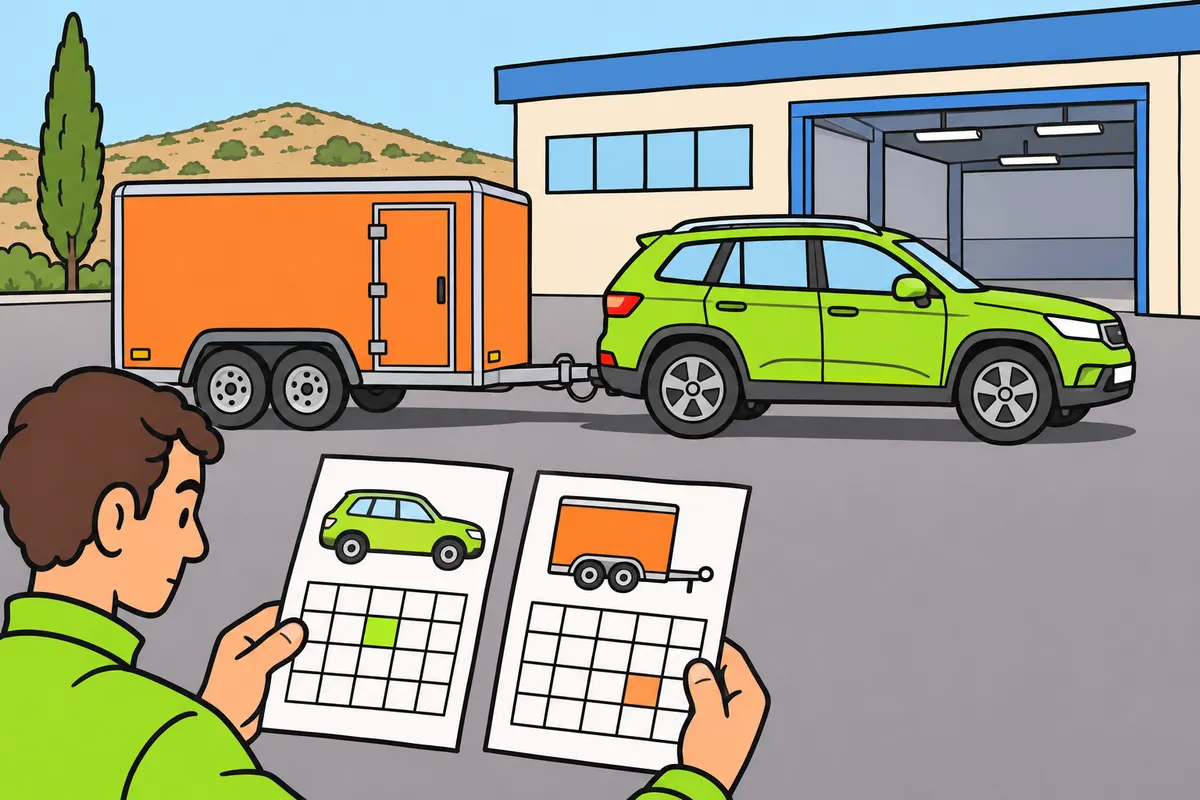
Use the ITV schedule for your vehicle category, use and age.
| Vehicle and use: general schedule | Age | ITV frequency |
|---|---|---|
| M1 towing vehicle in ordinary use | Up to four years | Exempt |
| M1 towing vehicle in ordinary use | Over four, up to ten years | Every two years |
| M1 towing vehicle in ordinary use | Over ten years | Every year |
| N1 van | Up to two years | Exempt |
| N1 van | Two to six years | Every two years |
| N1 van | Six to ten years | Every year |
| N1 van | Over ten years | Every six months |
Remember
- Check the category and date in your vehicle documents.
- Distinguish goods trailers from towed caravans.
- Check whether your use requires special inspection arrangements.
- For trailer and caravan schedules, see “Driver and vehicle combination documents”.
- Booking an appointment does not allow you to drive with an expired ITV.
Exam trap: Wrong: apply the caravan exemption to every O2 trailer. Right: distinguish the category and use.
Read the full explanation
- For an M1 towing vehicle in ordinary use, the general inspection frequency is: exempt up to four years old, every two years when over four and annually when over ten. If you use an N1 van, the general schedule is: exempt up to two years old, every two years from two to six, annually from six to ten and every six months when over ten. You must apply the vehicle's actual category and service. [RD 920/2017, art. 6.1](https://www.boe.es/buscar/act.php?id=BOE-A-2017-12841#a6).
- To schedule the inspection of an O2 goods trailer, consult its specific schedule in «Driver and vehicle combination documents». [RD 920/2017, art. 6.1](https://www.boe.es/buscar/act.php?id=BOE-A-2017-12841#a6).
- If you tow an O2 caravan, consult the schedule for that classification in «Driver and vehicle combination documents». [RD 920/2017, art. 6.1](https://www.boe.es/buscar/act.php?id=BOE-A-2017-12841#a6).
- Use the applicable date in the documents and take special arrangements into account when the service differs from ordinary use. Booking an appointment is not the same as obtaining a pass and does not in itself authorise you to drive with an expired inspection. Do not wait until the day of your journey to discover that the towing vehicle and trailer have different expiry dates.
23ITV results and defects
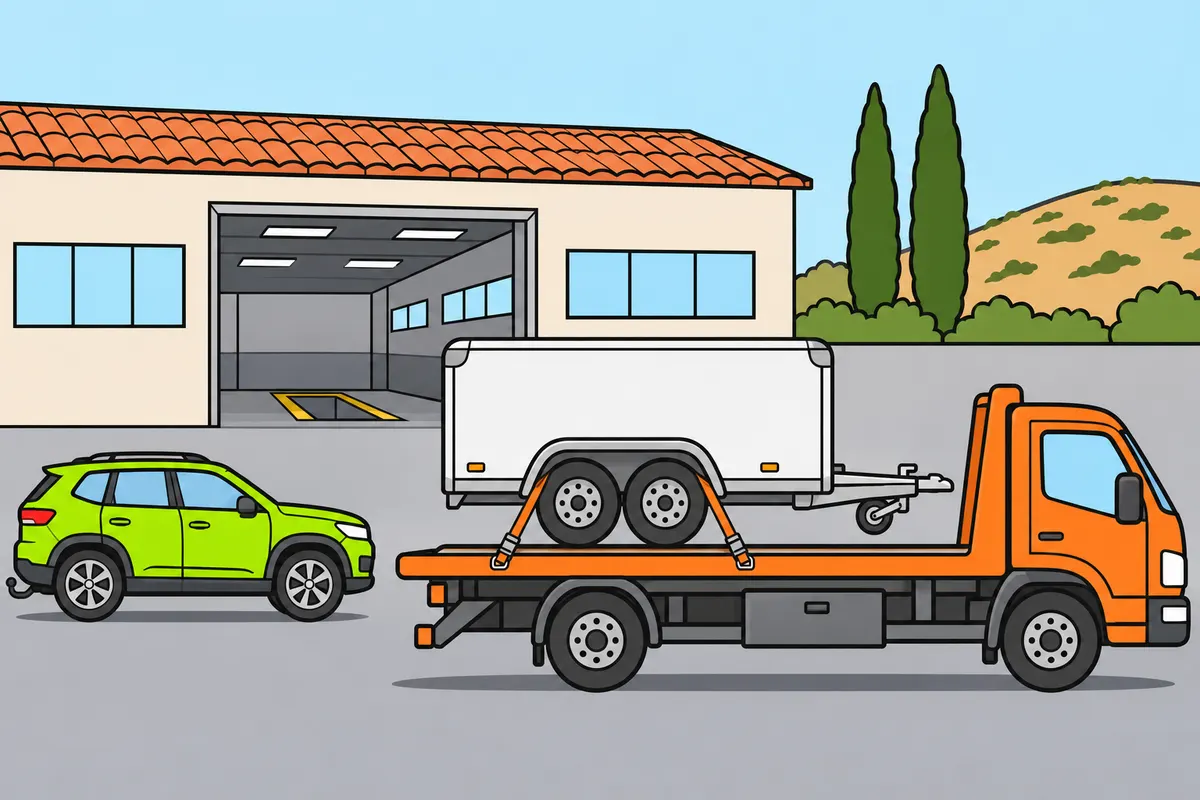
Your ITV result determines whether you may drive and how your vehicle must move.
| Defects in the inspected vehicle | Result | What you may do |
|---|---|---|
| None or minor | Favourable | Drive; repair minor defects |
| Serious | Unfavourable | Only drive for workshop repairs, compliance work and returning to ITV |
| Very serious | Negative | Transport by means external to the vehicle |
Remember
- Repair minor defects even with a favourable result.
- Minor defects alone do not require another inspection.
- With an unfavourable result, drive only for repairs, compliance work and returning to ITV.
- With a negative result, arrange transport by means external to your vehicle.
- After unfavourable or negative results, repair and return within the granted deadline.
Exam trap: Wrong: you drive a vehicle with a negative result to the workshop. Right: arrange transport by means external to the vehicle.
Read the full explanation
- With no defects or only minor defects, the result is favourable (a pass); with serious defects, it is unfavourable; with very serious defects, it is negative. [RD 920/2017, art. 9](https://www.boe.es/buscar/act.php?id=BOE-A-2017-12841#a9).
- You must have minor defects repaired within a maximum of two months; on their own, they do not require another inspection. If you must return following an unfavourable or negative result, their rectification is also checked. [RD 920/2017, art. 11.1](https://www.boe.es/buscar/act.php?id=BOE-A-2017-12841#a1-3).
- With an unfavourable result, you may drive only to a workshop or to bring the vehicle into compliance, and back to the ITV station. You must have the vehicle repaired and present it for inspection within the time allowed, which cannot exceed two months. [RD 920/2017, art. 11.2](https://www.boe.es/buscar/act.php?id=BOE-A-2017-12841#a1-3).
- With a negative result, you must have the vehicle transported by external means; you cannot drive it to the workshop under its own power. You must have the defects rectified and return for inspection within the time allowed, which is also limited to two months. If the trailer is affected, tell the recovery service about the result so that its transport can be arranged correctly. [RD 920/2017, art. 11.3](https://www.boe.es/buscar/act.php?id=BOE-A-2017-12841#a1-3).
Walk-round check before setting off
Check both vehicles and finish with a functional check.
- Immobilise the combination in a safe place and look for leaks, obstacles and damaged parts.
- Check all wheels, cold tyre pressures, tread, wheel rims and fastenings.
- Check that the coupling is locked, the connections and safety device are secure, and the supports are retracted.
- Check that the load remains in position and that doors and ramps are closed.
- Test the towing vehicle and trailer lights; check mirrors, windows and windscreen wipers.
- Check fluid levels and the dashboard as instructed in the manual, and test the brake response where you can do so safely.
- Correct safety defects before starting your journey.
Checking a tyre
Combine measurement with visual inspection; correct pressure does not rule out damage.
- Consult the vehicle specifications and take account of the planned load.
- Use a pressure gauge to measure each tyre when cold, including the inner tyre if twin wheels are fitted.
- Check the depth in the main tread grooves at several points.
- Look for cracks, bulges, cuts and uneven wear on the tread and sidewalls.
- Check the valve, wheel rim and fastenings, and arrange an inspection if there are leaks or damage.
Dealing with a major breakdown
Base your decision on the safety of the combination and protect its occupants.
- Identify the symptom and maintain control without sudden acceleration or steering corrections.
- Move out of the traffic lanes if you can do so safely, or stop where you cause the least obstruction.
- Immobilise the combination, activate the necessary warnings and use the connected V-16.
- Leave for a safe place only if you can do so without walking along traffic lanes or the arcén (hard shoulder); otherwise, remain inside with your seat belt fastened.
- Request assistance, explaining that you are towing a trailer and which component has failed.
- Resume driving only when the defect is resolved and conditions remain safe.
Check what you know
Real questions from the bank on this topic. Pick an answer to see the explanation.
Finished this module?
Mark it as read and you will see your progress on the theory list.