
Theory · D1 Licence - Minibus · Module 16 of 18
Minibus maintenance and checks
You learn to inspect the minibus before service, identify defects affecting tyres, fluids, visibility and brakes, and decide when you must immobilise it. You distinguish technical checks from ITV (vehicle roadworthiness test) obligations and answer questions about pressure, warnings and breakdowns without applying passenger car rules to the minibus.
1Pre-service inspection
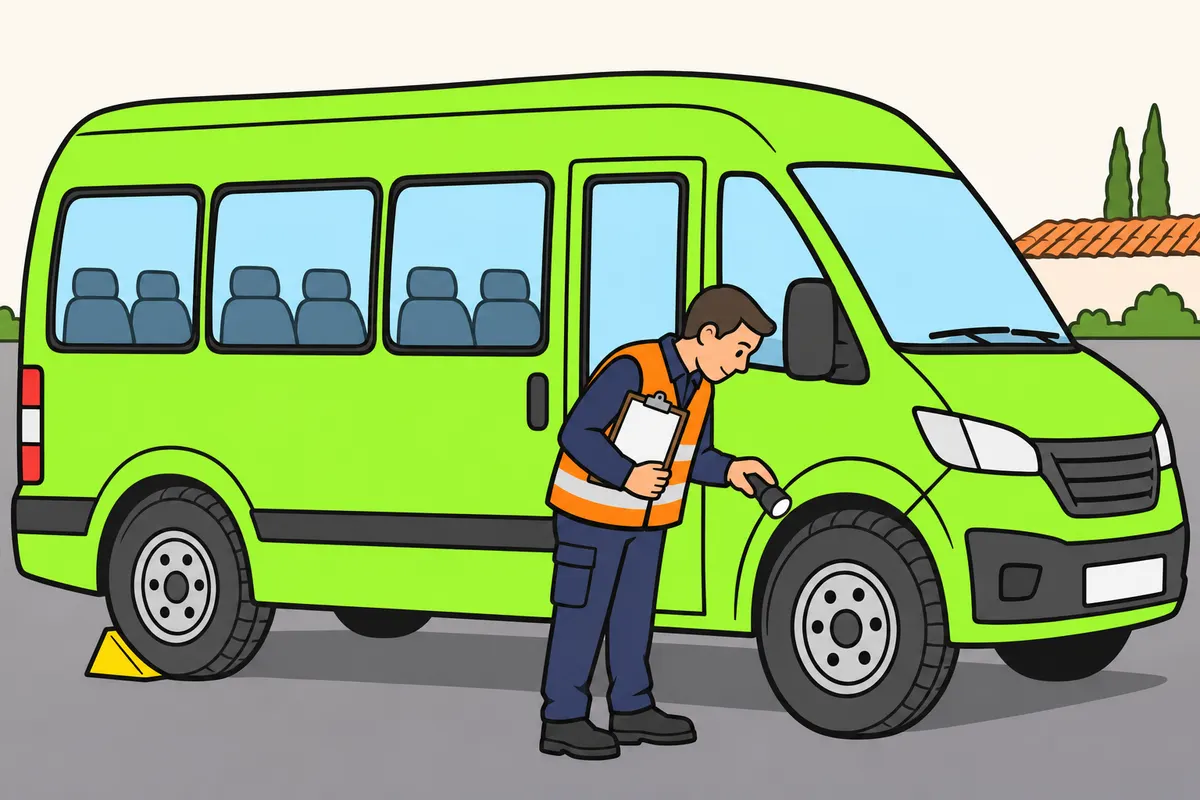
Before service, know your minibus and check that you can use it safely.
| Task | How it helps you |
|---|---|
| Preventive maintenance | Prevents deterioration |
| Daily inspection | Finds faults |
| Repair | Removes the cause of a fault |
Remember
- Read the manual and your company’s checklist.
- Check previous reports and confirm that dangerous faults have been resolved.
- Check the outside, driving position and operation.
- Secure the vehicle and protect passengers during checks.
- Never go under air suspension without the specified safety supports.
Exam trap: Wrong: Trust the ITV after a breakdown. Right: Check that your vehicle remains safe.
Read the full explanation
- You must familiarise yourself with your assigned minibus: locate the tanks, emergency controls and inspection points, and check what the warnings mean. Follow the manual and the company's checklist; two minibuses that look similar may have different systems.
- Before starting the engine, check the faults reported during the previous service and make sure that any outstanding repairs allow you to use the vehicle safely. A recorded brake or steering fault requires clarification and a solution; you must not assume it is resolved because the vehicle is parked in the departure area.
- Plan a complete walk-round of the minibus, an inspection of the driving position and a functional check. Carry these out in a safe area, with the vehicle secured and no passengers exposed to unexpected movements. Do not position yourself beneath air suspension without the specified safety supports.
- Preventive maintenance, daily inspection and repairs serve different purposes. Changing filters and fluids prevents deterioration; inspection reveals signs of faults; repairs eliminate the cause. Passing the ITV (vehicle roadworthiness test) does not guarantee that the vehicle remains fully roadworthy after an impact or a breakdown.
- Identify the equipment actually fitted to your vehicle: single or twin wheels, hydraulic or air brakes, power steering and type of propulsion. D1 sets limits on seating capacity and length, but does not require a single mechanical design. D1-specific checks include tyres, lights, fluids and safety systems. [RGCond, Annex V](https://www.boe.es/buscar/act.php?id=BOE-A-2009-9481).
2Systematic exterior walk-round
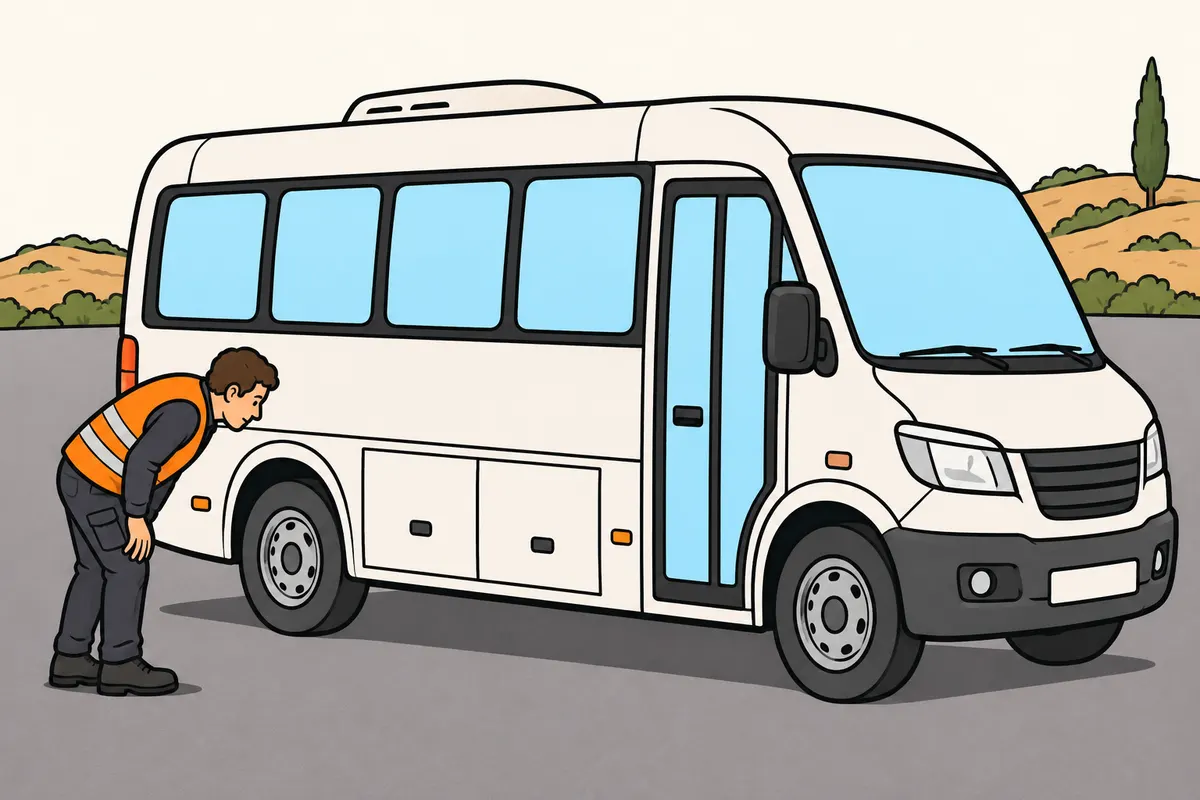
Walk all around your minibus to find damage and obstacles.
Remember
- Always follow the same route and check the opposite side too.
- Look for loose parts, damaged windows and open catches.
- Identify fresh ground stains without touching hot fluids or tasting them.
- Check the usual height and look for an unusual lean.
- Clean lights, number plates and reflectors.
- Resolve problems and look around again before moving.
Exam trap: Wrong: Ignore a fresh stain. Right: Identify its source; it could be leakage or condensation water.
Read the full explanation
- Always follow the same route so that you do not miss the opposite side or the inner wheels. Check the bodywork, bumpers, windows, service covers, access doors and luggage compartments. Look for loose parts, dangerous edges and catches that could open while driving.
- Look at the ground beneath the engine and any accessible systems without putting yourself at risk. If you find a new patch of fluid, you must identify whether it comes from the fuel, oil, coolant or another system; condensation water may have a normal source. Do not test fluids by touching hot components or tasting them.
- Check that the wheel arches are clear, that no parts rub against the tyres and that the body remains at its normal height. An abnormal lean or an apparently deflated suspension air spring requires inspection. The suspension affects wheel contact with the road and stability.
- Check that number plates, lights and reflectors are secure and clean. A lamp that is fitted but covered in mud does not perform its practical function. If you see an open cover or an object next to a wheel, resolve the problem and check the surroundings again before moving the minibus.
3Wheels, rims and tyres
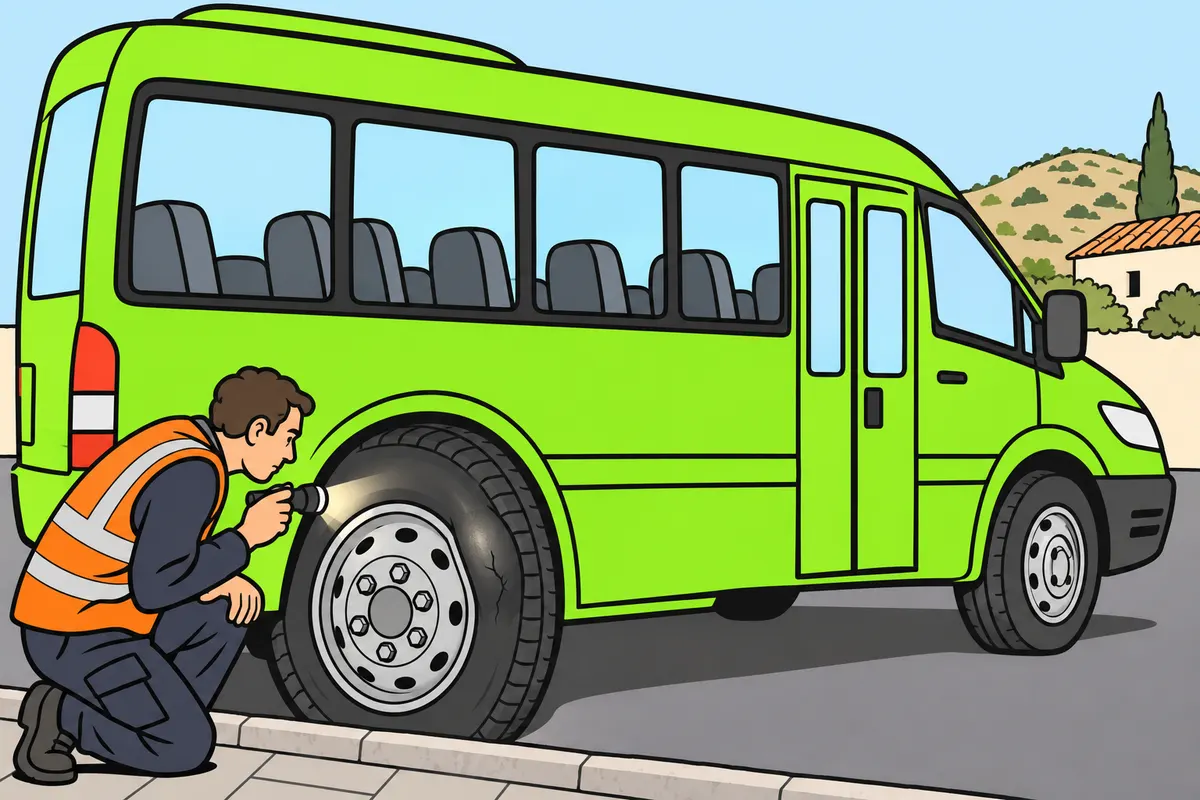
Check the whole tyre, rim and nuts before accepting a wheel as safe.
Remember
- Look for cuts, bulges, cracks and exposed cords.
- Check tyre sidewalls as well as the surface touching the road.
- Check for missing nuts and cracked rims.
- Use compatible tyres approved for your vehicle.
- Remember: TUBELESS means the tyre has no separate inner tube.
- Leave repairs to trained people with suitable tools.
Exam trap: Wrong: Accept a damaged tyre because it holds air. Right: Damage can make it unsafe.
Read the full explanation
- On each tyre, you can examine the tread, shoulders, sidewalls and beads. The tread contacts the ground; the sidewall forms the tyre's side and the bead seats on the rim. Examining only the surface that touches the road leaves areas unchecked where cuts, impact damage or deformation may occur.
- Look for bulges, cuts, cracks, ply separation and exposed cords. Also check the rim and its fixings: a crack, a missing nut or signs of movement require action. Do not consider a damaged tyre safe because it still holds air or has tread remaining.
- The dimensions and performance ratings must match the type approval or an acceptable equivalent; keep the markings legible and avoid tyres with structural damage. [RGV, Annex VII](https://www.boe.es/buscar/act.php?id=BOE-A-1999-1826#anvii). For a detailed explanation of sizes and codes, see «Minibus mechanics».
- TUBELESS identifies a tyre without a separate inner tube; it does not indicate a maximum speed. When replacing it, you must maintain compatibility between the tyre, valve and rim. Do not improvise repairs, removal or retightening: minibus wheels require suitable equipment, procedures and personnel.
4Correct cold tyre pressure
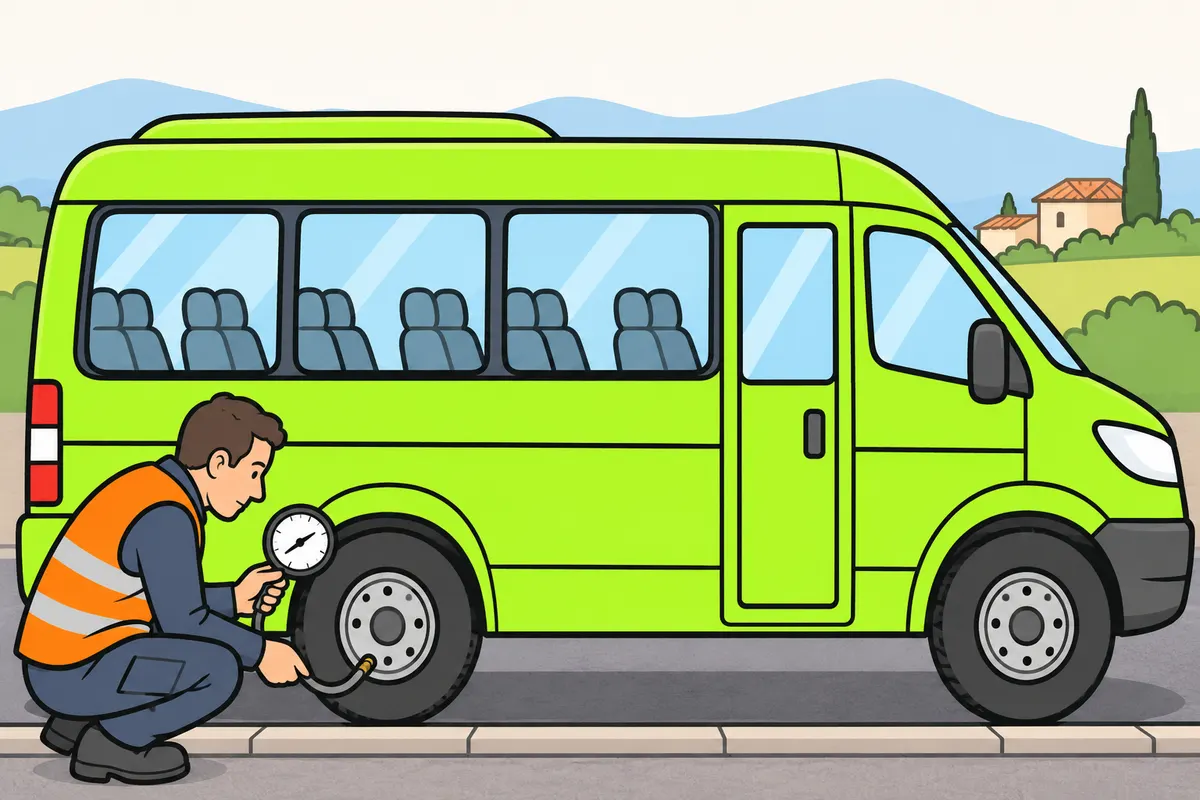
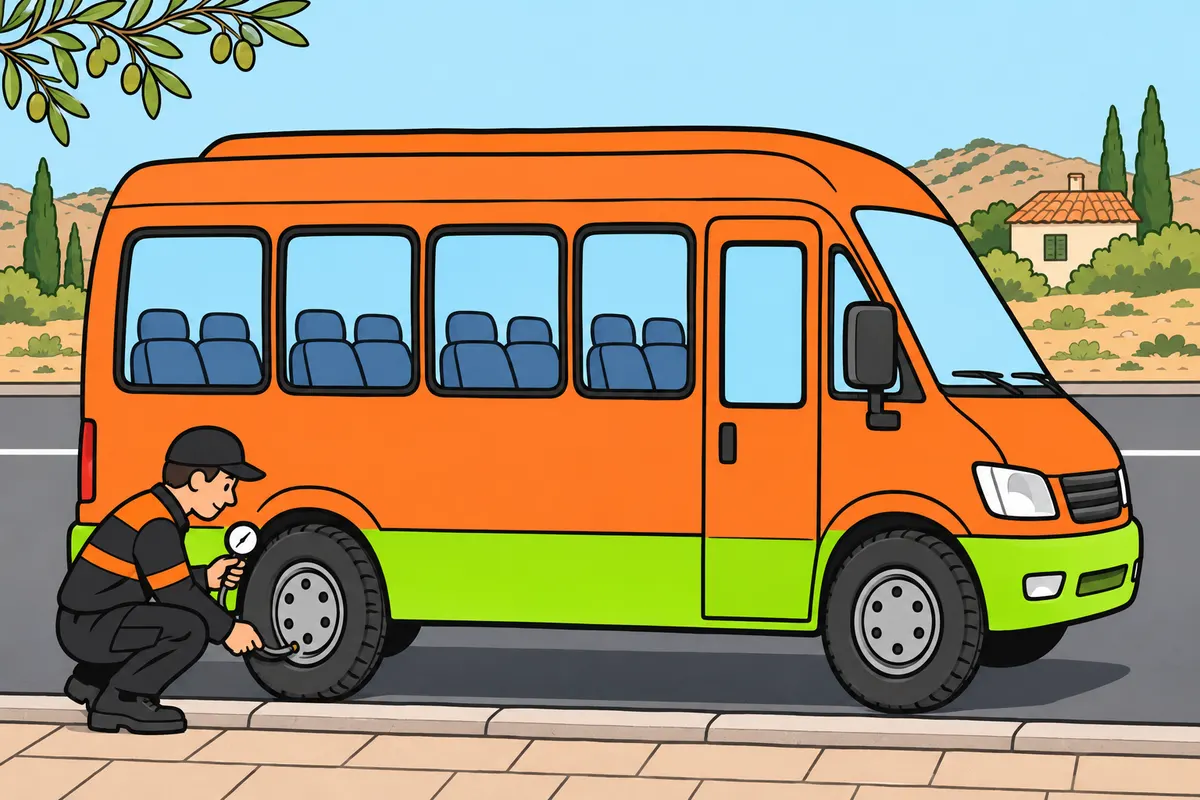
Measure every tyre’s pressure and follow the values specified for your minibus.
| Tyre pressure | Damage to remember |
|---|---|
| Too low | Overheating and shoulder wear |
| Too high | May encourage centre wear |
Remember
- Check the pressure specified for the axle, fitment and load.
- Use an approved, verified pressure gauge; do not trust appearance.
- Measure inner tyres too if you have twin wheels.
- Follow the cold reference when the manufacturer specifies it.
- Investigate repeated pressure losses.
- Inspect for damage even with electronic pressure monitoring.
Exam trap: Wrong: Release hot air to reach the cold value. Right: Avoid this if you set pressures correctly when cold.
Read the full explanation
- You must check the recommended pressure for the model, axle, wheel arrangement and expected load. There is no single pressure in bar that is valid for all minibuses. Use a suitable pressure gauge and check every wheel, including the inner wheel of each twin pair; appearance is no substitute for measurement. You must check the pressure regularly with an approved and verified pressure gauge. [RGV, Annex VII, section 6](https://www.boe.es/buscar/act.php?id=BOE-A-1999-1826#anvii).
- Compare the reading with the cold pressure specification when that is the manufacturer's reference. Temperature and pressure normally rise as you drive. If the pressures are correctly set when cold, do not release air to bring a hot reading down to the reference value: the tyres become underinflated as they cool.
- Underinflation makes the sidewalls flex more and promotes heat build-up, damage, shoulder wear and rolling resistance. Excessive pressure also alters road contact and can promote wear in the centre. You must not deflate tyres to improve urban grip or overinflate them to try to save fuel.
- If the pressure drops repeatedly, you must investigate the valve, rim and tyre, rather than simply inflating it every morning. Electronic monitoring helps detect problems, but does not remove the need to inspect for damage. After correcting a fault, follow the checking or reset procedure specified for the system fitted.
5Bus tyre tread and wear
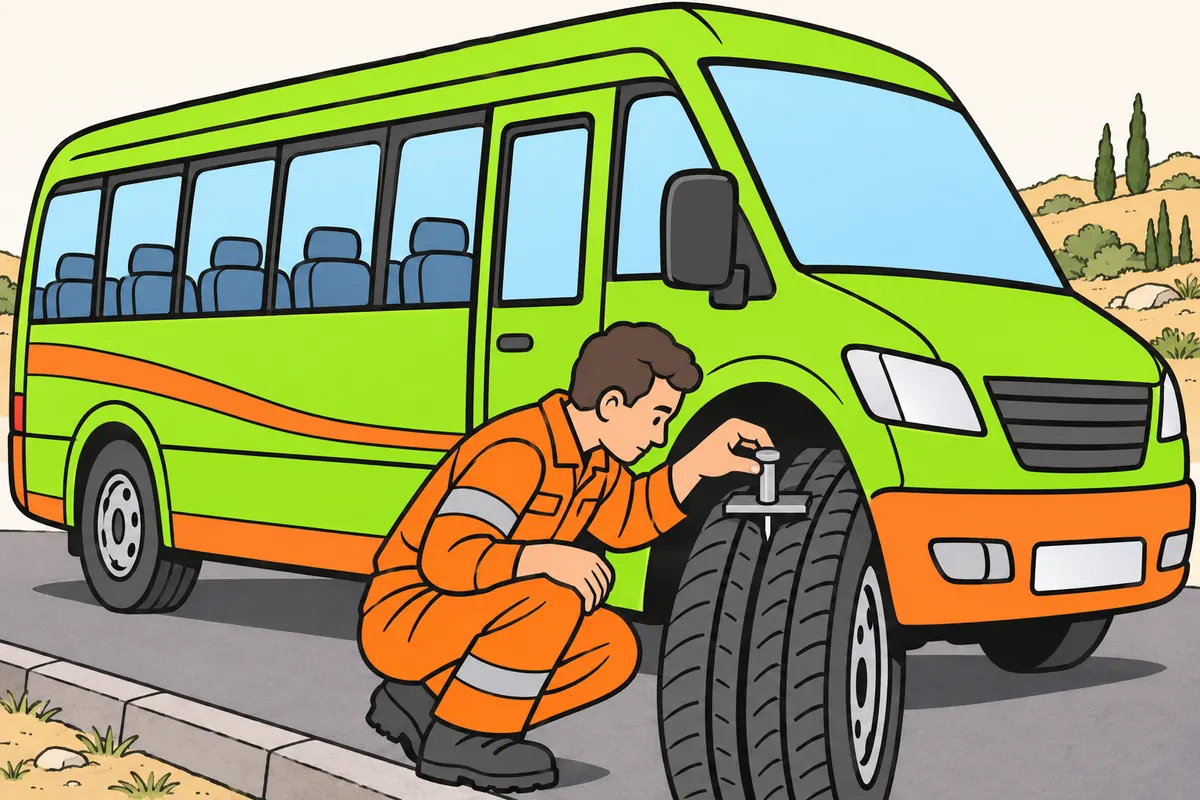
Check tread for your minibus category and investigate any uneven wear.
| Vehicle category | Minimum main-groove depth |
|---|---|
| M2 or M3 | 1.0 mm |
| M1, N1, O1 or O2 | 1.6 mm |
Remember
- Check your vehicle’s category; do not judge by appearance.
- Measure main grooves in different areas of the tyre.
- Do not always wait for the legal minimum before replacement.
- Have a workshop investigate uneven wear.
- Only allow regrooving above 3.5 t with the approved tyre marking.
- Look for Regroovable or the prescribed symbol; never deepen the tread yourself.
Exam trap: Wrong: Apply 1.6 mm to an M2 or M3 minibus. Right: Its minimum is 1.0 mm.
Read the full explanation
- For your category M2 or M3 minibus, you must remember the minimum depth of 1.0 mm in the main grooves. The 1.6 mm limit applies to M1, N1, O1 and O2: do not decide which limit applies based on the vehicle's outward resemblance to a van. Check the vehicle's type-approval category. [RGV, Annex VII, section 2](https://www.boe.es/buscar/act.php?id=BOE-A-1999-1826#anvii).
- You must measure with a suitable instrument at different points across the tread and around the tyre, applying the main-groove criterion. A sufficient reading in the centre does not rule out dangerous localised wear. Do not confuse the depth of a secondary cut with that of the main tread grooves that the regulations require you to check.
- The legal minimum is not a maintenance target that you should always wear tyres down to. When deciding on replacement, consider rain, general condition and the manufacturer's guidance. Worn tread reduces the ability to disperse water and may impair road contact; sufficient tread depth does not compensate for incorrect pressure.
- Uneven wear may point to incorrect pressure, misalignment, imbalance or suspension problems, but you must have the cause confirmed at a workshop. Do not fit another tyre without investigating the defect that damages it.
- Regrooving is permitted only on tyres fitted to vehicles with a maximum authorised weight of more than 3.5 t and marked Regroovable or with the regulatory symbol. [RGV, Annex VII, section 4](https://www.boe.es/buscar/act.php?id=BOE-A-1999-1826#anvii). You must not deepen the tread of any worn tyre yourself.
6Twin wheels
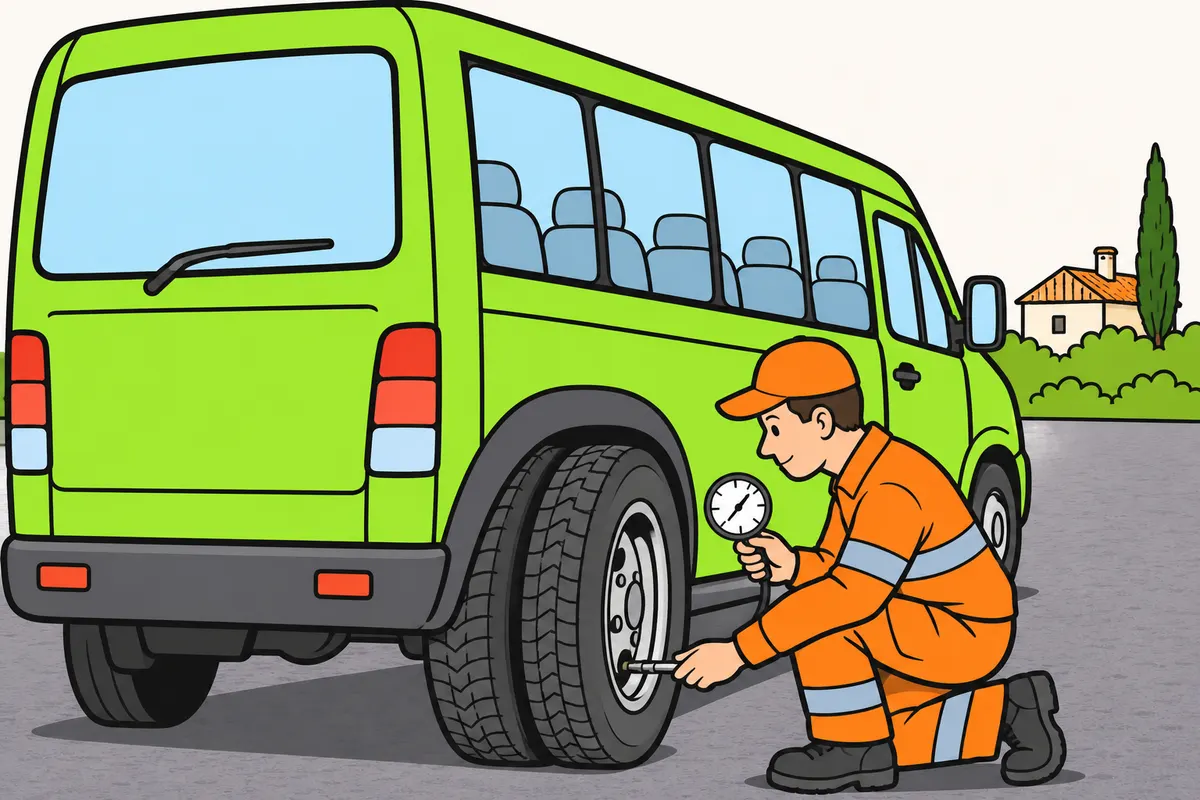
If you have twin wheels, check each tyre and the gap between them.
Remember
- Measure pressure in both inner and outer tyres.
- Check compatibility in size, construction and wear.
- Look for stones and signs of rubbing between tyres.
- Remove objects only safely, with the vehicle stationary.
- Respect the capacity specified for twin-wheel fitment.
- Report any damaged tyre before service.
Exam trap: Wrong: Rely on the outer twin tyre when the inner fails. Right: Check both.
Read the full explanation
- If your minibus has twin wheels, inspect each tyre, including the inner one. The outer tyre can conceal a loss of pressure in its partner and carry an excessive load. You must not assume the pair is fit for use because the vehicle maintains its height; if it has single wheels, check each wheel in that arrangement.
- Check that the paired tyres are compatible in size, construction and wear, and that their pressures match the wheel arrangement. Significant differences in effective diameter or inflation distribute the load unevenly and promote heat build-up. The check requires proper access to both valves, without loosening or damaging them during measurement. [DGT, Manual VIII, twin-wheel arrangement](https://sede.dgt.gob.es/export/sites/dgt/.galleries/permisos-de-conducir/certificacion-aptitud-profesores-formacion-vial/2024/Manual-VIII-Mecanica-2024.pdf).
- Inspect the space between the twin tyres: remove foreign objects using a safe procedure and look for signs of rubbing between the sidewalls. A trapped stone can damage the tyres or be thrown out. Do not put your hands in while the minibus is moving or position yourself where you could become trapped.
- Do not work out the capacity of the arrangement simply by adding together the ratings for single wheels. You must observe the ratings for twin-wheel use and the vehicle's specifications. If you find a mismatched pair or a damaged tyre, report the defect and request the specified action before starting service.
7Precautions when removing and fitting wheels
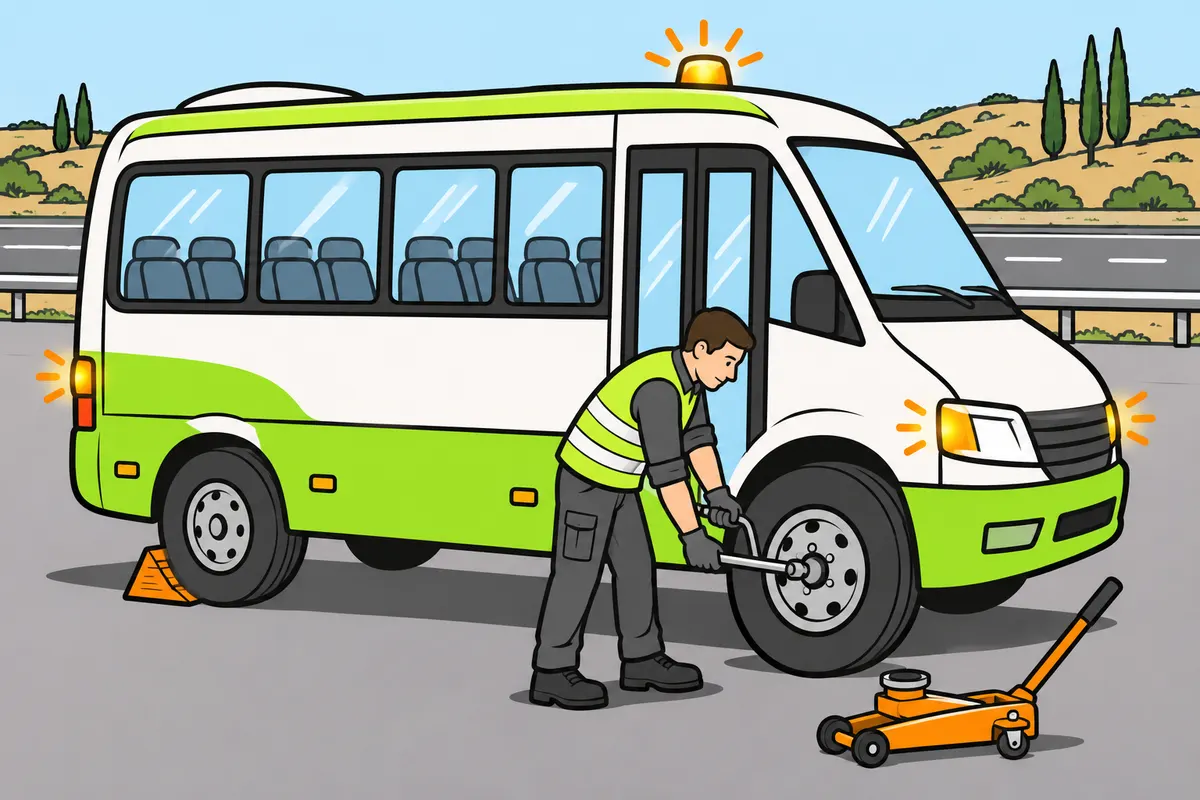
Change a wheel only with training, suitable tools and safe conditions.
Remember
- Move away from traffic onto firm, level ground; warn others.
- Request assistance if you cannot work in a protected area.
- Apply the parking brake, chock the diagonally opposite wheel and protect passengers.
- Loosen nuts slightly with the wheel grounded; remove them after lifting.
- Use the specified lifting point; never get underneath with only a jack supporting it.
- Tighten crosswise with a torque wrench; follow and recheck the specified torque.
Exam trap: Wrong: Dismantle a pressurised split rim. Right: Never loosen its components while pressurised; request suitable help.
Read the full explanation
- Removing and fitting wheels forms part of the specific knowledge required for D1. You must do this only if you have the training, tools and safe conditions, following the minibus manual. [RGCond, annex V.B.2, points 4.º e and 5.º a](https://www.boe.es/buscar/act.php?id=BOE-A-2009-9481#anv).
- Before working on a breakdown, position the minibus away from traffic on firm, level ground and give warning of the breakdown (see ‘Accidents and assistance’). [RGC, art. 130](https://www.boe.es/buscar/act.php?id=BOE-A-2003-23514#a130). If you cannot work protected from traffic, request assistance. Giving warning does not make the arcén (hard shoulder) a safe repair area.
- Apply the parking brake and chock the wheel diagonally opposite the one you are changing. Keep passengers safe outside the work area in accordance with the procedure in ‘Passenger safety and emergencies’; no one must remain in a position that compromises the vehicle’s stability.
- Slightly loosen the nuts with the correct wheel brace while the wheel is on the ground, without removing them. Place the jack only at the lifting point specified by the manufacturer and finish removing the nuts after raising the vehicle. [DGT, changing a wheel](https://revista.dgt.es/revista/num217/files/basic-html/page49.html).
- Use a jack with sufficient capacity for the load at the point you need to lift, and never go underneath a minibus supported only by a jack. Raise it only as far as necessary for the change and use assistance or a handling device for the heavy wheel, without placing your hands or feet underneath it.
- When fitting the wheel, seat it correctly and start the nuts by hand. Tighten them in a cross pattern and complete tightening with a torque wrench to the torque and with the vehicle supported as specified by the manufacturer. Check the torque again after the first few kilometres according to the manufacturer’s instructions; do not judge tightness by the effort you apply with an extension bar.
- With twin wheels, check that the valves are aligned and accessible as required by the intended arrangement. These assemblies, or wheels with split rims, must be inflated in a safety cage or by a specialist with suitable equipment. Do not remove rings or loosen split-rim components while the tyre remains pressurised.
8Snow chains and winter equipment
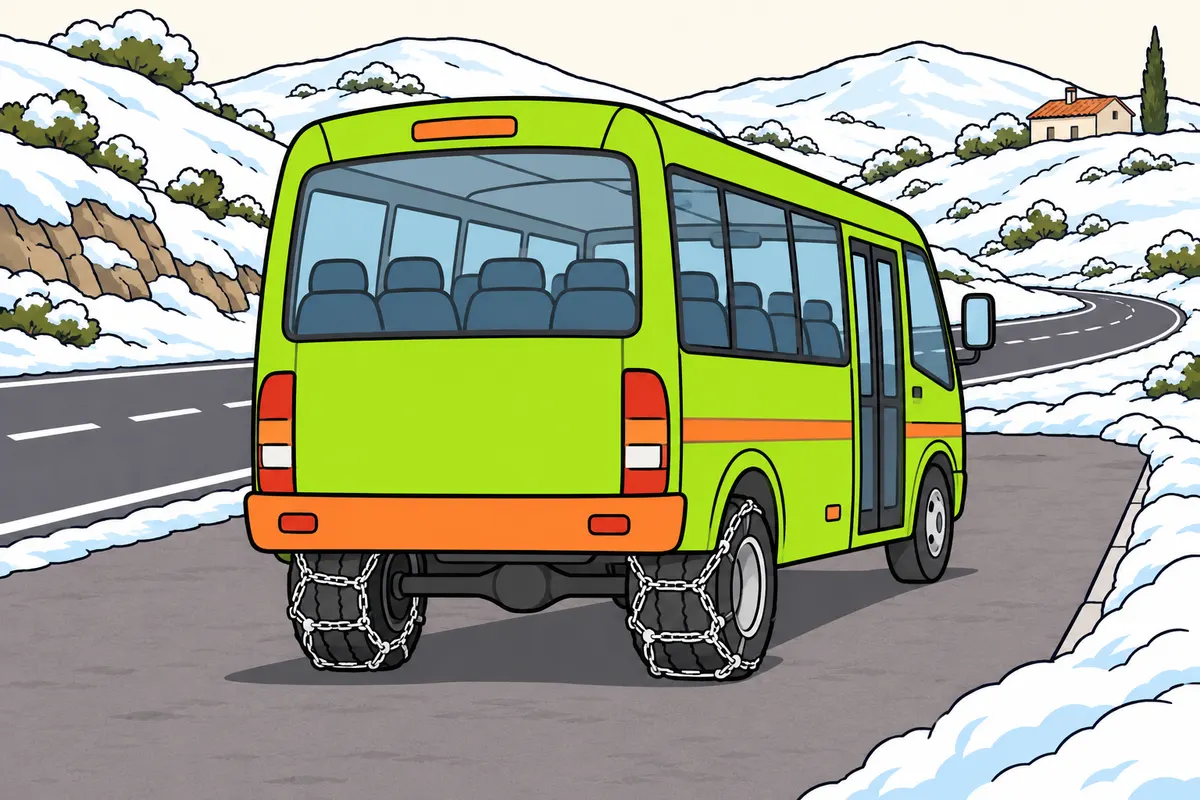
Prepare winter equipment for your driven wheels, vehicle weight and restrictions.
| Minibus: maximum authorised mass and situation | Tyres you must fit |
|---|---|
| Up to and including 3,500 kg; winter restrictions | 3PMSF on all axles |
| Above 3,500 kg; winter restrictions | 3PMSF or POR, at least on steering and driven axles |
| Exceptional red-level travel | Winter tyres on all wheels; minimum 4 mm, plus all other requirements |
Remember
- If choosing chains when compulsory or recommended, identify your driven wheels.
- Fit them to at least one driven wheel on each side.
- Check size, compatibility and fitting in a safe place.
- For special snow tyres, check M+S, M&S or M.S together with 3PMSF.
- For exceptional red-level travel, check every requirement and give advance notification.
- Check seat belts, visible sign and geolocation when the instructions require them.
Exam trap: Wrong: Carrying chains lets you enter under red-level restrictions. Right: Meet all exceptional conditions and the authority’s instructions.
Read the full explanation
- When their use is compulsory or recommended and you choose chains or approved anti-slip devices, the general minimum is one driven wheel on each side. You may use special tyres that meet the regulations as an alternative where applicable. [RGV, art. 12.5.2](https://www.boe.es/buscar/act.php?id=BOE-A-1999-1826#a12). Identify the axle that receives power from the engine.
- Check compatibility, condition, size and available clearance for the chains in advance. Practise fitting them in a safe area and follow the instructions on tension, speed and removal. Do not fit them beside traffic if you cannot work protected from it, or assume that they are suitable for every twin-wheel arrangement.
- To identify a special snow tyre under annex VII, you must check for the M+S, M&S or M.S marking together with the 3PMSF pictogram. [RGV, annex VII, point 5](https://www.boe.es/buscar/act.php?id=BOE-A-1999-1826#anvii). Do not rely simply on the appearance of the tread blocks instead of checking these markings.
- To comply with winter travel restrictions, if your minibus has an MMA (maximum authorised mass) of up to and including 3,500 kg, it must have 3PMSF-certified tyres on all its axles; if it exceeds that MMA, it must have 3PMSF- or POR-certified tyres on at least the steering and driven axles. You must check your vehicle’s MMA rather than infer it from the D1 licence. [RGV, annex VII, point 5](https://www.boe.es/buscar/act.php?id=BOE-A-1999-1826#anvii).
- Specific conditions apply to exceptional travel under red-level snow restrictions. The DGT requires additional conditions to be met and prior notification; its procedure specifies winter tyres on all wheels with at least 4 mm of tread. It also requires seat belts on all seats, the specified 16 × 16 cm identifying sign visible from outside, and geolocation when its instructions require it. Carrying chains on board is not enough to enter a road closed to buses. Check all the conditions and the authority’s instructions before planning that service. [DGT, exceptional travel under red-level restrictions](https://www.dgt.es/nuestros-servicios/autorizaciones-obras-y-usos-excepcionales-de-la-via/autorizaciones-especiales-de-circulacion/comunicaciones-para-circulacion-excepcional-con-nivel-rojo/).
9Oil: checking and topping up
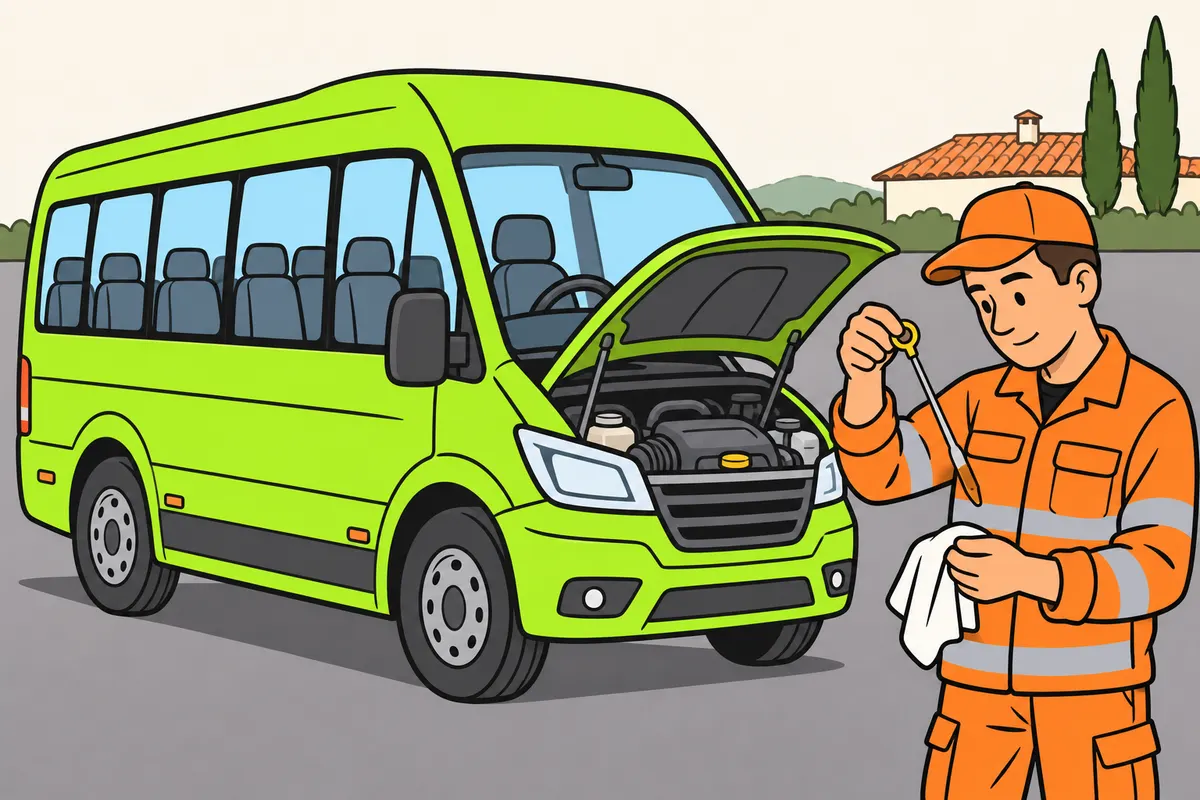
Measure and top up oil following the manual, without exceeding the maximum.
Remember
- Park your minibus on level ground.
- Follow the specified engine temperature and waiting time.
- If using a dipstick, wipe and fully reinsert it before reading again.
- Keep the level between marks; add small amounts if needed.
- Use the specified oil and keep dirt out.
- Record top-ups and investigate leaks or unusual consumption.
Exam trap: Wrong: Always measure with a cold engine. Right: Follow your model’s procedure.
Read the full explanation
- You must measure the level on level ground; a slope can give a false reading. If you use a dipstick, follow the specified engine conditions and waiting time to allow the oil to drain back. Do not insist on a cold engine in every case: some procedures require you to warm it up and wait, while others use electronic measurement.
- With a dipstick, wipe it clean, insert it fully into the correct position and read it again as the manual instructs. Keep the level between the marks and add small quantities of the specified product if necessary. Do not fill above the maximum or add oil simply because a warning has come on without identifying it.
- Also check for leaks and abnormal consumption, and record top-ups. Topping up maintains the quantity but does not replace oil and filter changes or repair a leak. The filter traps impurities; a new filter does not correct a faulty pump or insufficient pressure.
- You must choose oil with the viscosity and approvals specified for your engine, identifying it by its specifications. Similar packaging colour or suitability for another company vehicle is not enough. Keep the cap and filler area clean to avoid introducing dirt, and close the cap correctly when you finish.
10Coolant and temperature
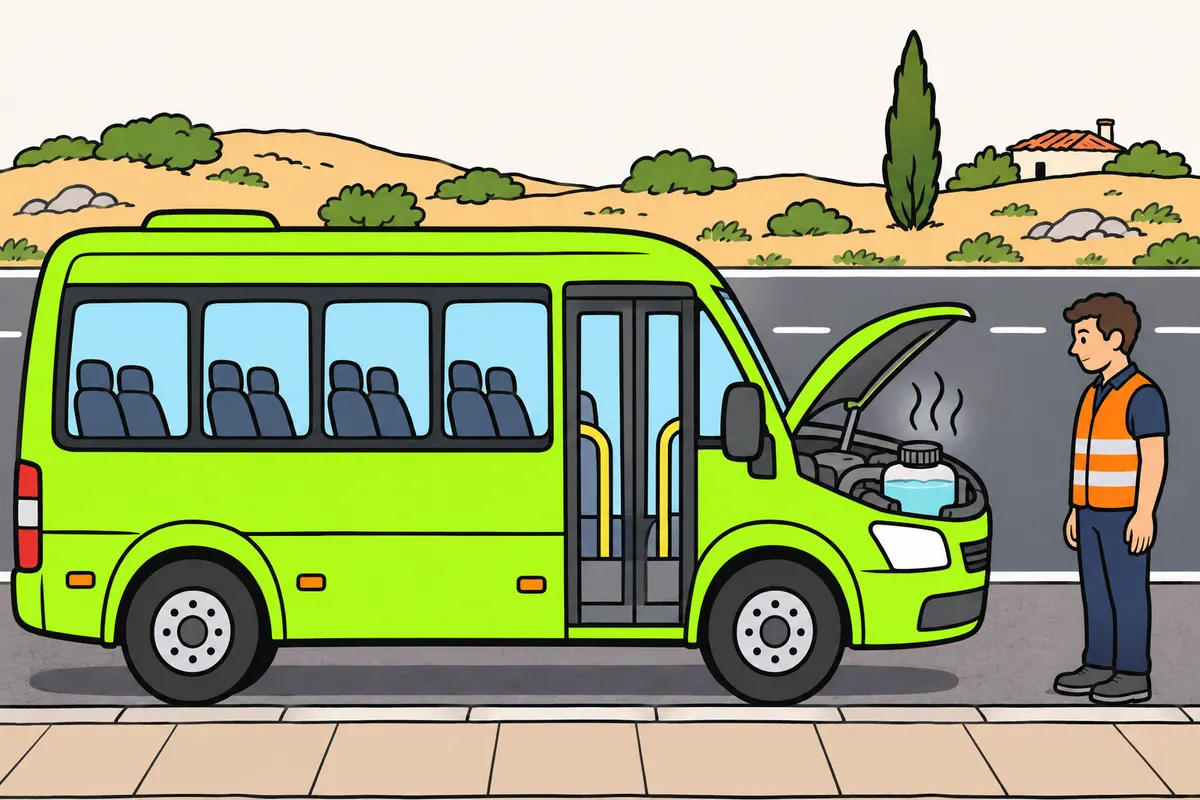
Check coolant and stop safely if your engine overheats.
Remember
- Check the level under the manual’s conditions, usually with the system cold.
- Look for leaks at accessible hoses and clips.
- Never open the cap of a hot, pressurised circuit.
- Use the specified coolant and concentration; do not choose by colour alone.
- Never permanently replace coolant with water.
- If overheating occurs, stop safely and follow the manual.
Exam trap: Wrong: Open the hot cap to top up. Right: Let it cool as instructed to avoid burns.
Read the full explanation
- You must check the level in the expansion tank, where fitted, under the specified conditions, usually with the system cold. Keep the level within the marked range and check accessible hoses, clips and signs of leakage. A closed circuit also needs monitoring: closed does not mean it can never lose fluid.
- Do not open the cap of a hot pressurised system: steam and fluid can scald you. Let it cool according to the procedure and do not improvise by pouring cold fluid over an overheated engine. Keep clear of fans and belts, which can start moving unexpectedly.
- Use coolant of the correct specification and concentration, including protection against temperatures below zero. Colour does not guarantee that two products are compatible. Do not permanently replace the specified mixture with water or assume that antifreeze is useful only during snowfall.
- An abnormal rise in temperature can result from a low level, leaks, the pump, thermostat, fan or pump drive, depending on the design. You must stop safely and follow the manual if the engine overheats. Do not decide that simply revving the engine or removing the thermostat lets you continue carrying passengers.
11Other fluids and consumables
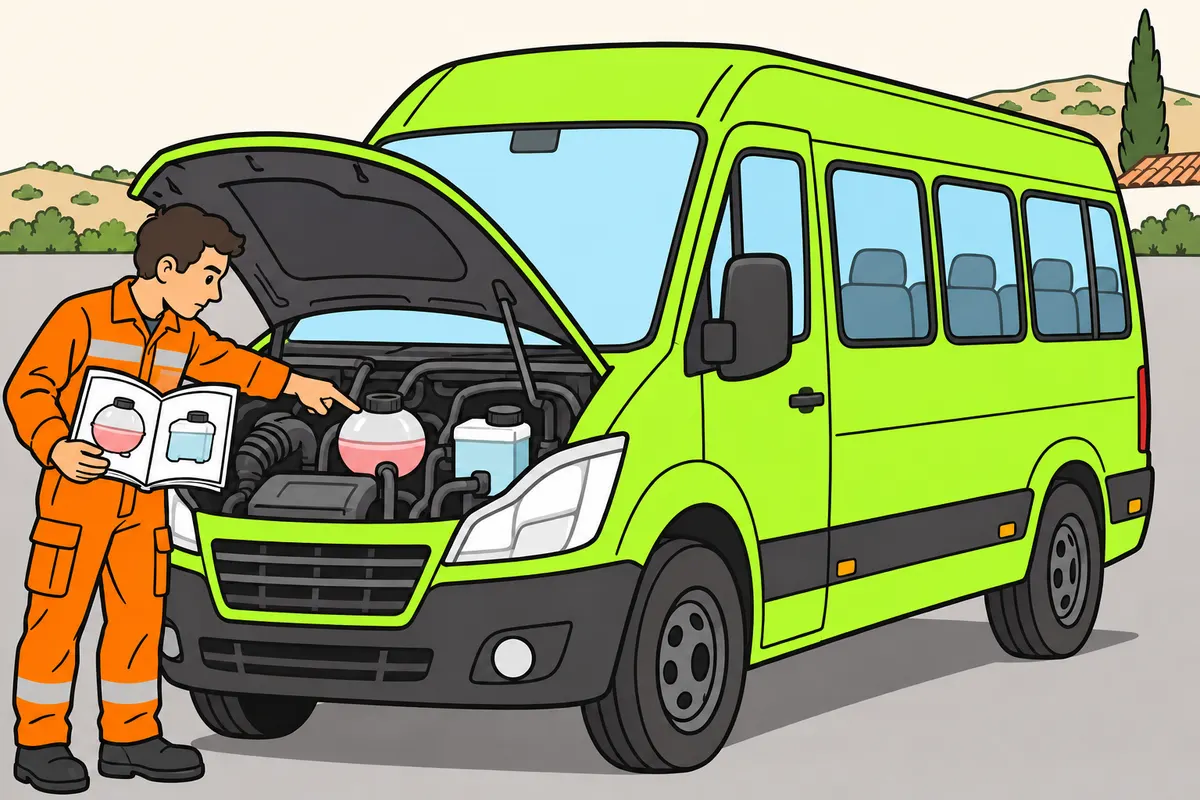
Identify each reservoir and use only the product specified for that system.
| System fitted to your minibus | What you must check |
|---|---|
| Hydraulic steering | Level and possible leaks |
| Fully electric steering | May have no hydraulic reservoir |
| Hydraulic brakes | Fluid level, leaks and replacement |
| Air brakes | Air reserve |
Remember
- Check which systems your minibus actually has.
- With a hydraulic clutch, use its filler cap; never the bleed screw.
- Investigate any repeated drop in level.
- Plan fuel and emissions reagent supplies, if your vehicle uses it.
- Never confuse filler openings.
- Check filters according to use and the manufacturer’s instructions.
Exam trap: Wrong: Look for brake fluid in every minibus. Right: Identify whether your brakes use fluid or air.
Read the full explanation
- Identify the reservoir by its markings and the manual before opening it. With hydraulic power steering, check the level and possible leaks under the conditions specified in the manual; do not confuse its fluid with coolant or brake fluid. A purely electric steering system may have no such reservoir, so not every check applies to every model.
- If the clutch is hydraulically operated, check its reservoir where applicable and use the specified fluid, adding it through its filler opening. The bleed screw is not a top-up point. A repeated drop in level or difficulty selecting gears requires diagnosis; topping up does not prove that the cause is repaired.
- In systems that use brake fluid, you must check the level, leaks and specified replacement schedule. Do not add an incompatible product or open the circuit unnecessarily. With air brakes, however, you must monitor the air reserve: do not look for a hydraulic reservoir that the system does not have.
- Plan your fuel supply and, if the vehicle uses it, the emissions system reagent. Do not mix up their filler openings or ignore remaining-range warnings. Check filters according to use and the manufacturer’s instructions; a blocked air intake filter can contribute to power loss or smoke, but do not diagnose the fault from its colour alone.
12Keeping lights clean and checked
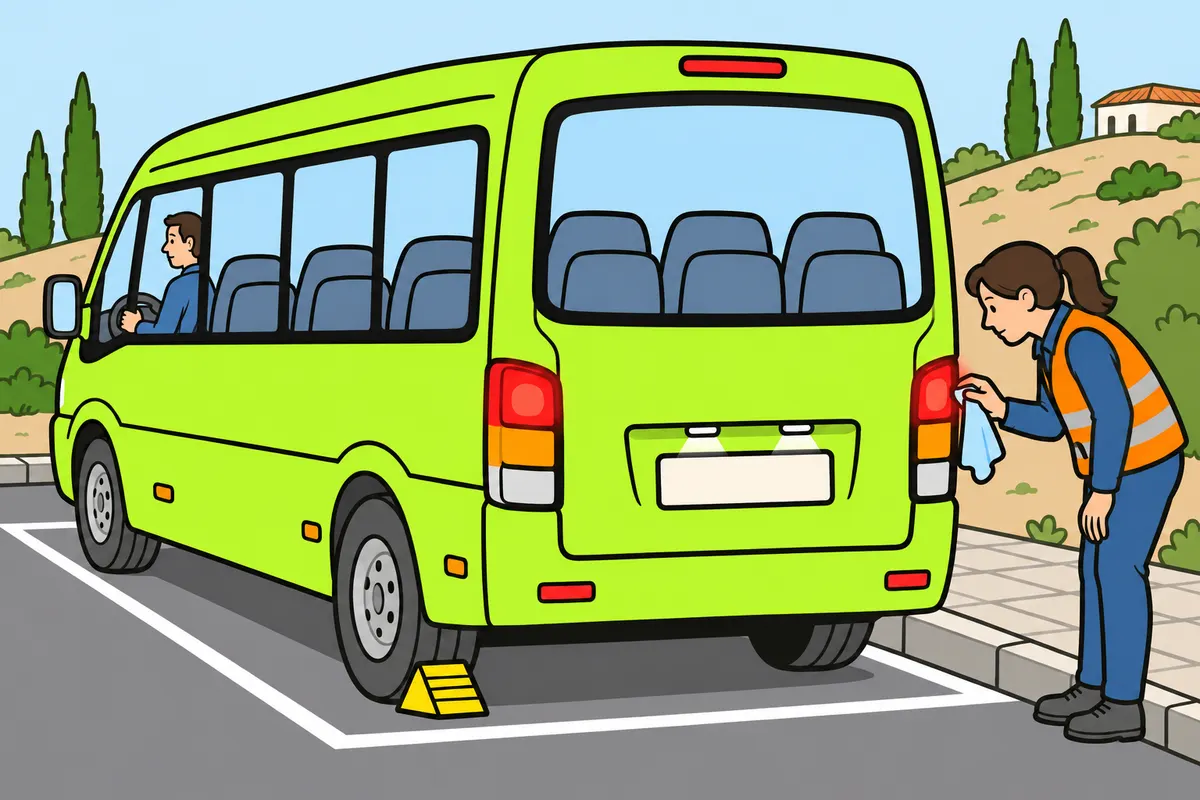
Check that all fitted lights work, are clean and point correctly.
| Minibus lamp | What it shows |
|---|---|
| End-outline marker | Width from high positions |
| Side marker | Presence of the vehicle’s side |
Remember
- Secure your vehicle before checking lights from outside.
- Use help or a safe method to check rear lights.
- Look for broken lenses, moisture and loose parts.
- Check end-outline and side marker lamps where applicable.
- Keep headlights adjusted so you can see without dazzling.
- With irreparable dimmer lighting, slow enough to stop within the lit distance.
Exam trap: Wrong: Assume changing a bulb fixes the fault. Right: Check that it works too.
Read the full explanation
- You must check the operation and cleanliness of the headlights, position lights, direction indicators, hazard warning lights, brake lights, reversing lights and number plate lights, as well as all other fitted devices. Use a helper or a safe method to check the rear. Do not leave a vehicle unsecured to observe its lights from outside.
- Look at the light units from different sides and check for broken lenses, moisture or loose parts. Check that a repair does not alter the colour or cover the surface. A faulty connection can cause several lights to come on incorrectly; replacing a bulb does not always solve the problem.
- Also check the end-outline marker lamps and side marker lamps where applicable to the minibus. End-outline marker lamps show the width from high positions; side marker lamps make the side visible. You study the requirements for fitting and using them in ‘Minibus lighting and signalling’; here you must check that the devices fitted work correctly.
- You must maintain correct beam alignment: if the beam points too low, you lose range, and if it points too high, you can dazzle others. If a fault that cannot be repaired en route forces you to drive with lower-intensity lighting, reduce your speed so that you can stop within the illuminated area. [RGC, art. 107](https://www.boe.es/buscar/act.php?id=BOE-A-2003-23514#a107). Find a safe solution; the size of the minibus does not compensate for insufficient lighting.
13Mirrors and field of vision
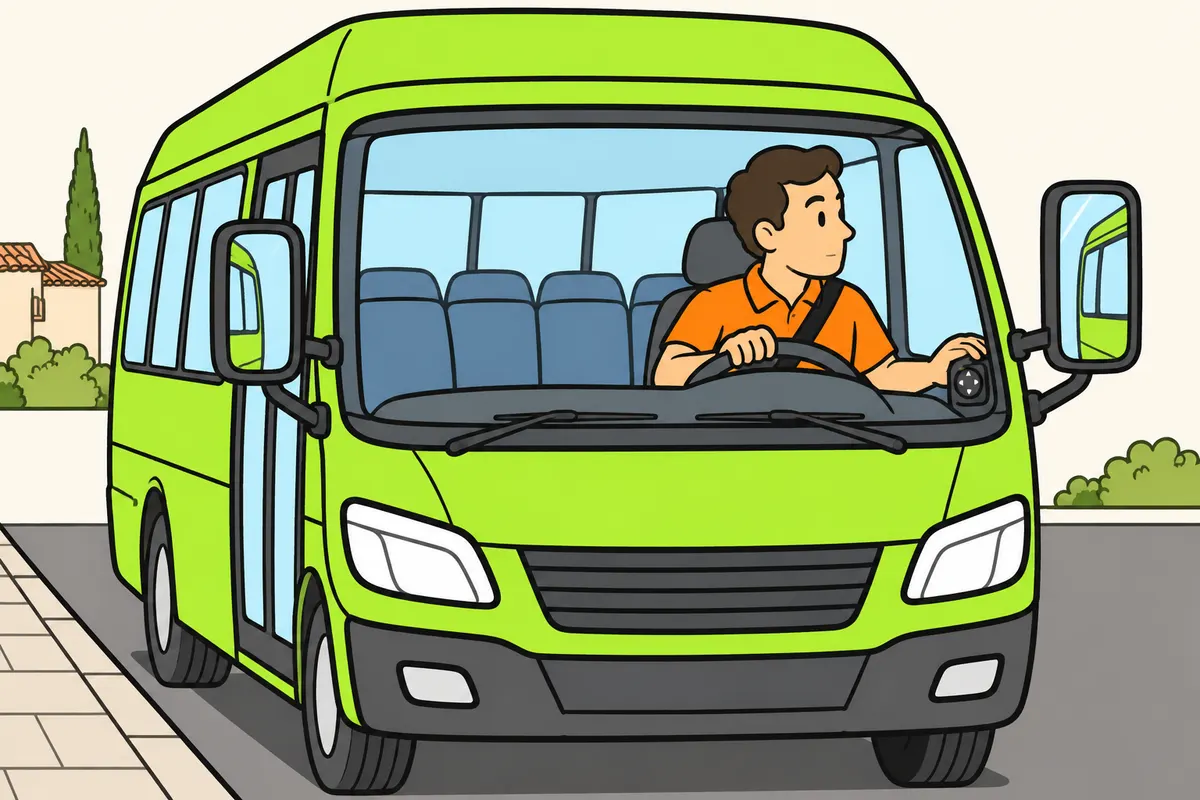
Adjust and check mirrors and cameras without forgetting blind spots.
| Mirror on an M2 or M3 minibus | Installation you must know |
|---|---|
| Main, class II | Compulsory on left and right |
| Wide-angle, class IV | Optional under the regulatory table |
| Close-proximity, class V | Optional under the regulatory table |
Remember
- Adjust your seat and mirrors before service.
- Clean mirrors and check their mountings and adjustment.
- Report any mirror that vibrates or folds by itself.
- Check that cameras show current images and have clean lenses.
- Remove objects or curtains blocking your view.
- Keep watching your surroundings: mirrors do not remove blind spots.
Exam trap: Wrong: Replace a main mirror with the interior mirror. Right: Keep mandatory exterior mirrors as type-approved.
Read the full explanation
- Your M2 or M3 minibus must have two class II main exterior mirrors, one on the left and one on the right. Class IV wide-angle mirrors and class V close-proximity mirrors are optional according to the table; check the devices fitted against their type approval. [RGV, annex III, sections 1 and 2](https://www.boe.es/buscar/act.php?id=BOE-A-1999-1826#aniii).
- You must adjust your seat and mirrors before starting the service. Clean the surfaces and check the mountings, adjustment and demisting function where fitted. A mirror that vibrates or folds in unintentionally reduces the information available to you, even if the glass is not broken; report the defect and restore its operation.
- Check any assistance cameras and screens fitted to your vehicle and understand which areas they cover. A frozen image or dirty lens can lead you to believe that the area beside the vehicle is clear. Use the system in accordance with its type approval and manual, without improvising replacements for compulsory components.
- From your actual driving position, check that accessories, curtains and objects do not obstruct your field of vision. You must keep checking your surroundings while driving: correctly adjusted mirrors do not eliminate blind spots. Observation techniques when turning or approaching a stop are covered in «Safe minibus driving».
14Windscreen, wiper blades and washers
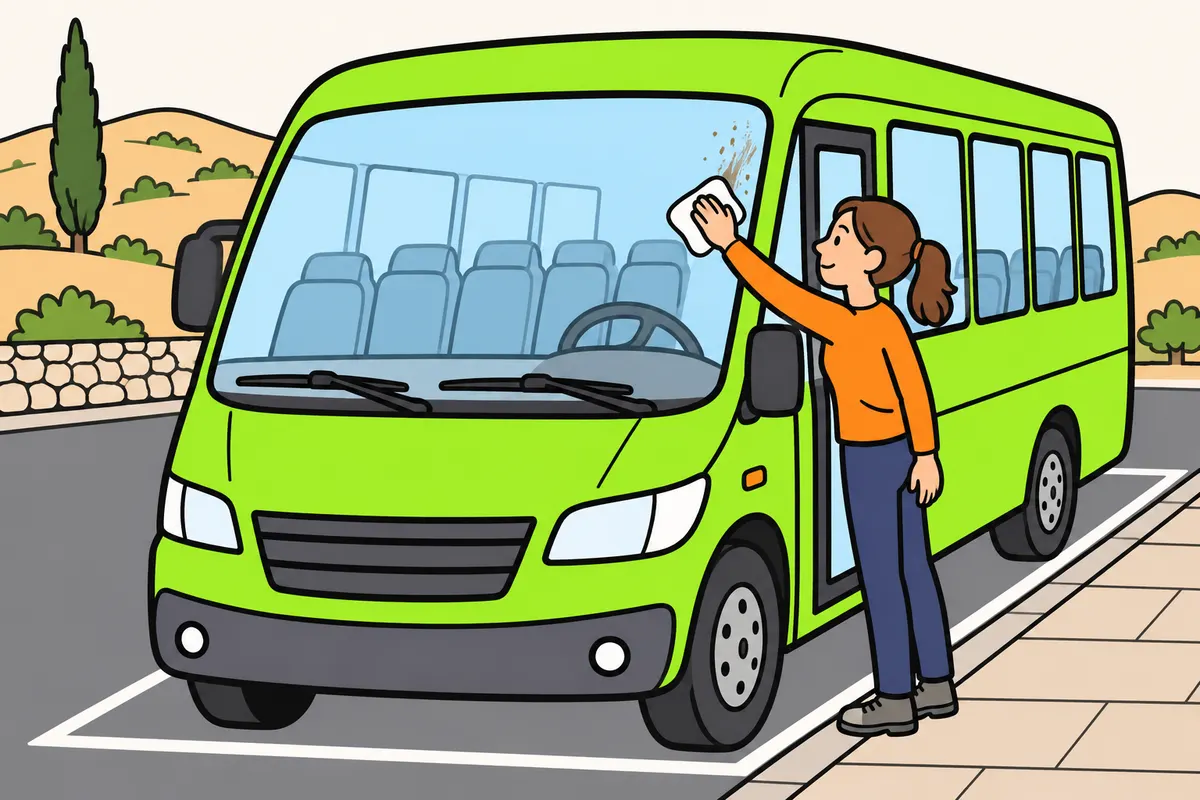
Keep your windscreen clean and check that you can see throughout your journey.
Remember
- Clean the glass inside and outside.
- Check ventilation, heating and demisting outlets.
- Replace blades if they leave streaks or have damaged rubber.
- Use suitable washer fluid and check the jets.
- Free stuck blades; avoid using them on dry or frozen glass.
- If you lose a clear enough view, find somewhere safe to stop.
Exam trap: Wrong: Wait for wiper blades to break. Right: Check their condition and replace them when they clean poorly.
Read the full explanation
- You must check the windscreen inside and out: dirt, mist, reflections and damage can prevent you from seeing even when the wipers work. Keep demister outlets clear and check the ventilation and heating. Do not try to overcome poor visibility by moving closer to the vehicle ahead to follow its lights. You must maintain visibility and the required cleaning devices. [RGV, art. 11](https://www.boe.es/buscar/act.php?id=BOE-A-1999-1826#a11).
- Check that the wiper blades wipe correctly and that the rubber remains flexible. If it is hardened, cracked or leaves streaks, replace the appropriate part; if the support is damaged, repair it too. Do not wait for it to break or adopt a universal six-month replacement interval regardless of its condition and the manufacturer's instructions. [DGT, winter quiz](https://revista.dgt.es/es/test/test-especial-invierno-n223.shtml).
- Fill the windscreen washer reservoir with a product suitable for the system and the expected temperatures, and check the jets. Do not confuse this reservoir with the expansion tank. Avoid repeatedly operating the wipers on dry or frozen glass, and free any blades stuck to the glass before operating them.
- Test the system in conditions that do not damage the glass or rubber, and check its sweep. If it stops or cleans poorly during the journey and you cannot maintain sufficient visibility, find a safe place to stop. Do not continue the service on the basis that you can still see through a narrow strip.
15Doors and interior fittings
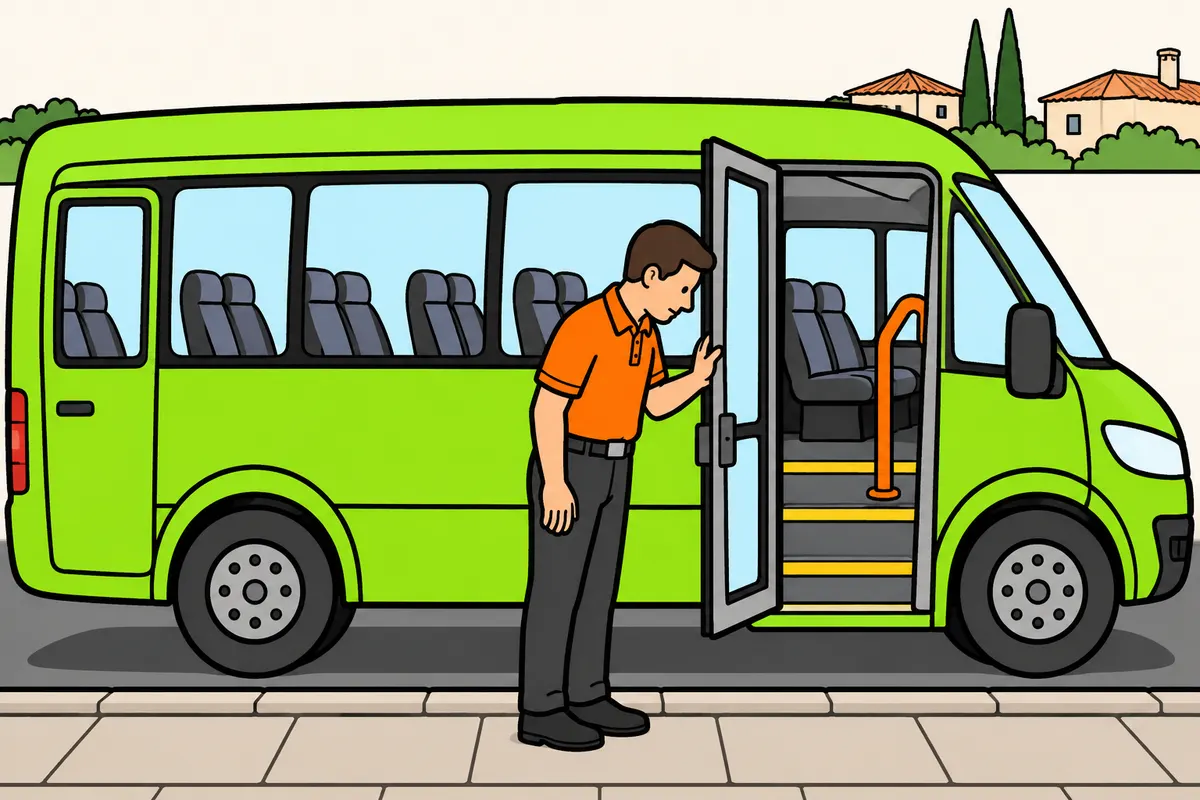
Check doors, seats and emergency equipment before carrying passengers.
Remember
- Test every door with the area clear.
- If a warning appears, check actual closure; never bypass the system.
- Never move off while someone is boarding.
- Check seat belts, seats, covers and access points.
- Check the beacon’s power supply, the vest’s condition and the extinguisher’s maintenance.
- Check access to emergency equipment; you need not carry a spare wheel.
Exam trap: Wrong: Drive with doors open when air conditioning fails. Right: Resolve the problem or reorganise the service safely.
Read the full explanation
- You must check that the doors open and close and that their warnings work, following the vehicle's procedure and keeping the area clear. Check that there are no objects in the mechanisms or on the steps. An open-door warning requires you to check that the door is actually closed, rather than covering the warning light or bypassing the system. Check every door, not just the front one, and do not move off while anyone is still boarding.
- Check the position and fastening of interior covers and compartments, and the condition of any fittings that could come loose. Check the seat belts fitted, seats and access routes without turning this inspection into an improvised repair. Cleaning also helps you discover damage and objects obstructing passage.
- Check that emergency equipment is accessible, secured and ready for use: check the beacon's power supply, the condition of the high-visibility vest and the fire extinguisher's maintenance in accordance with its instructions. The equipment required on buses does not include a spare wheel. [RGV, annex XII.2](https://www.boe.es/buscar/act.php?id=BOE-A-1999-1826#anxii). Use of the equipment and evacuation are covered in «Passenger safety and emergencies».
- If the air conditioning breaks down, you must assess and resolve the fault or reorganise the service safely. Do not compensate for the heat by driving with the doors open. A comfort-related fault does not authorise you to disable door closures or safeguards, and may require you to stop the service depending on the passengers' condition.
16Coupling the trailer
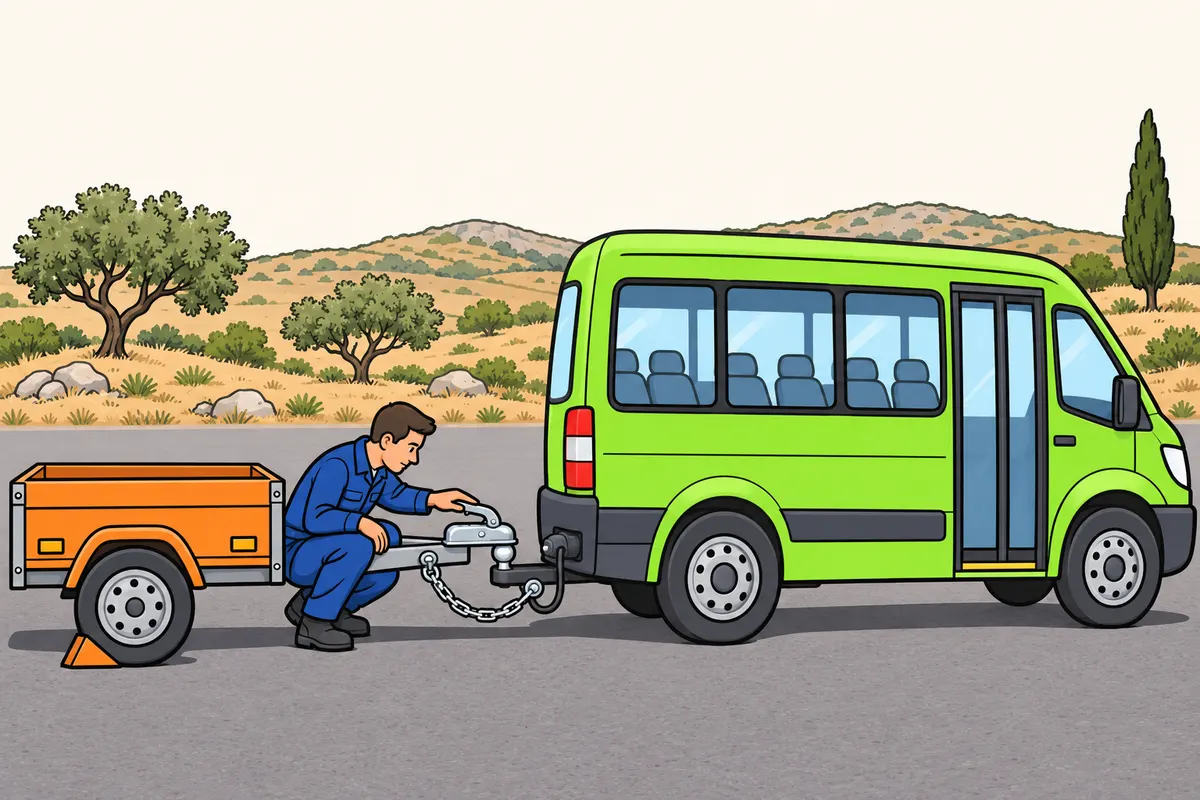
Check your trailer coupling and connections before setting off.
Remember
- Respect your minibus’s technical towing capacity too.
- Check fastenings and locking as the manufacturer specifies.
- Check cables and brake connections where fitted.
- Avoid cables stretching, becoming trapped or dragging when turning.
- Secure both vehicles before uncoupling and use the specified supports.
- Then check trailer lights and brakes where fitted.
Exam trap: Wrong: Skip the secondary coupling on a D1 trailer up to 750 kg. Right: Check it if automatic braking on coupling breakage is absent.
Read the full explanation
- With D1 you can tow a trailer with an MMA (maximum authorised mass) of up to 750 kg, within the minibus's technical towing capacity. Before setting off, check the coupling, fastenings and locking mechanism following the manufacturer's procedure; the apparent position of the drawbar does not guarantee that the coupling is locked. [RGCond, art. 4](https://www.boe.es/buscar/act.php?id=BOE-A-2009-9481#a4).
- Connect and check the electrical connections and, where fitted, the brake connections, following their identification markings. Make sure hoses and cables do not become taut, trapped or drag on the ground when turning. Do not assume that all light trailers have pneumatic connections like those on a heavy vehicle.
- Before uncoupling, secure each vehicle separately and use the specified supports and wheel chocks to prevent movement. Keep the area where you could be trapped clear. The subsequent functional check includes the trailer's lights and brakes where fitted; mechanically coupling the trailer does not check the other systems.
- On a trailer of up to 750 kg that you can tow with D1, check the secondary coupling if it has no automatic braking in the event of coupling failure. The chain or cable must prevent the drawbar from touching the ground and retain some steering control of the trailer if the main coupling separates. Do not improvise its attachment. [RGV, art. 13.4](https://www.boe.es/buscar/act.php?id=BOE-A-1999-1826#a13).
17Checking the brakes
Check your brakes and never set off if their effectiveness is impaired.
| Brake concept | What you must distinguish |
|---|---|
| Disc or drum | Friction mechanism |
| Hydraulic or air | Operating system |
| Hydraulic bleeding | Removes air from fluid |
| Air tank draining | Removes condensation |
Remember
- Check service and parking brakes, and warnings.
- Test in a controlled area without endangering anyone.
- Watch for delays, pulling, unusual noises, vibrations and smells.
- Never touch hot discs or drums.
- With hydraulic brakes, check level, warnings and pedal response.
- Request checks for a spongy pedal, changed travel or fluid leaks.
Exam trap: Wrong: Finish your route slowly with faulty brakes. Right: Never set off with impaired braking effectiveness.
Read the full explanation
- You must check the service brake, parking brake and warnings before starting the service, in accordance with the manual. If you carry out a moving test, use a controlled area at an appropriate speed without endangering anyone. Do not brake hard with passengers on board to find out whether the system works.
- Check the response, control travel and any tendency to pull to one side, as well as unusual noises, vibrations or smells. A brake that responds late or an excessively hot wheel requires investigation. Avoid touching discs or drums: they can cause burns even after the vehicle has been stationary for a while.
- Disc and drum describe the friction mechanism; hydraulic and pneumatic describe how it is operated. You may encounter air-operated disc brakes. The bleed valve in a hydraulic circuit removes air from the fluid; draining an air reservoir removes condensate from the pneumatic circuit.
- Do not set off with impaired braking performance or try to compensate by driving more slowly until you finish the route. The daily test does not replace checks for wear, adjustment and leaks. The detailed operation of auxiliary brakes and downhill driving techniques are covered in «Minibus brakes and retarders».
- If your minibus has a hydraulic circuit, check the specified fluid level, warnings and pedal behaviour according to the manual. A spongy pedal, changing pedal travel or a fluid leak requires inspection; do not test the system by driving with passengers. With a pneumatic system, also carry out the air reserve and leak checks explained below.
18Air reserve and leak checks
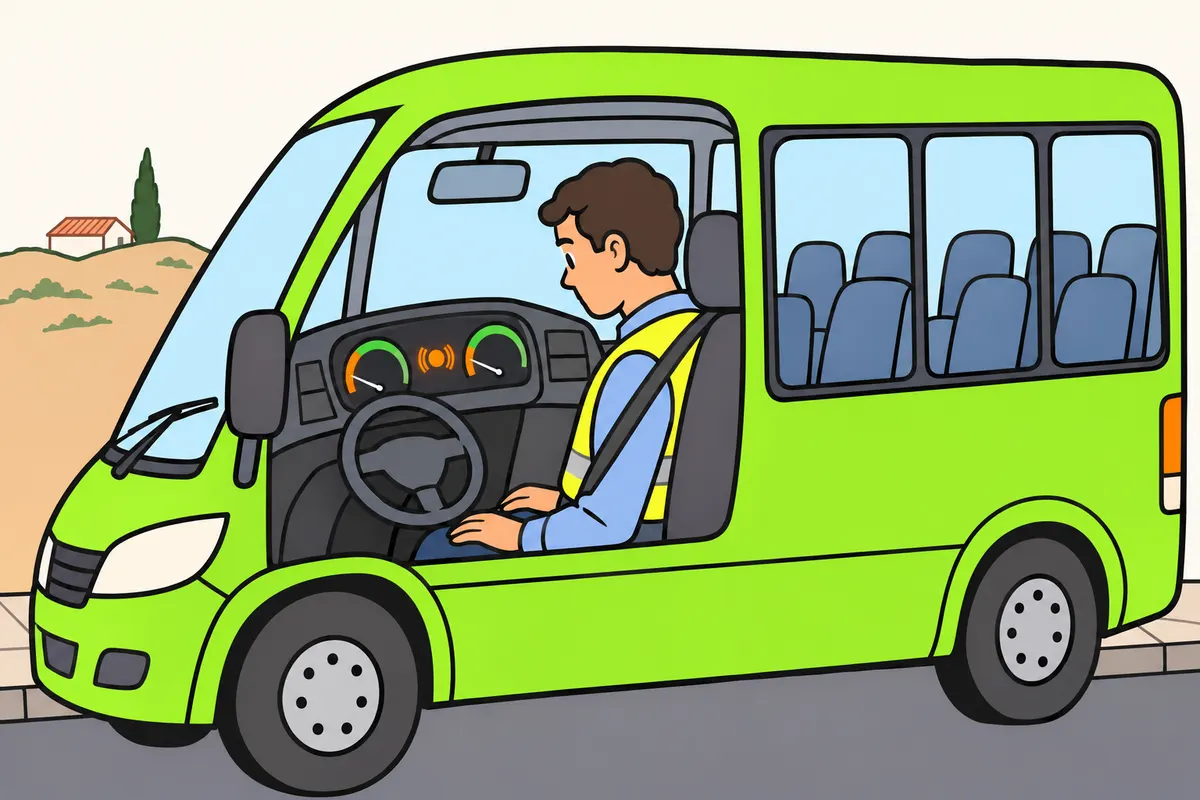
If you have air brakes, check the air reserve and look for leaks.
| Air brake component | Function you must know |
|---|---|
| Compressor | Produces air |
| Tanks | Store air |
| Dryer | Reduces air moisture |
Remember
- Check your model’s specified pressure for setting off.
- Never move off with insufficient pressure.
- Check the circuits and that warnings clear normally.
- Listen for leaks without approaching moving parts.
- Require repair for persistent leaks or unusual pressure drops.
- Follow maintenance instructions; never add alcohol or antifreeze without manufacturer approval.
Exam trap: Wrong: Empty air reserves to silence an alarm. Right: Investigate the fault; never force brake release to drive.
Read the full explanation
- If your minibus has air brakes, you must check the air reserve and that warnings clear normally according to the procedure. There is no single pressure for setting off that applies to every model: identify the manufacturer's marked ranges and indications, and do not move off with insufficient pressure.
- Check the indications for the available circuits and listen for possible leaks without approaching moving parts. A persistent leak or abnormal pressure drop requires repair. One pressure gauge showing sufficient pressure does not, on its own, prove that all circuits and warning devices work correctly.
- The compressor produces the air and the reservoirs store it; the dryer reduces its moisture content. Follow the specified maintenance procedure for the dryer and the manual or automatic drains. Do not add alcohol or antifreeze without the manufacturer's authorisation, as some systems can be damaged.
- The safety valve limits excess pressure, the quick-release valve helps release the air used to apply the brakes, and the drain removes condensate from the reservoir. Do not empty air reserves as a way to clear an alarm or force spring brakes to release so that you can drive with a fault. Work on pressurised circuits requires the appropriate procedure and personnel.
19Warning lights and self-checks
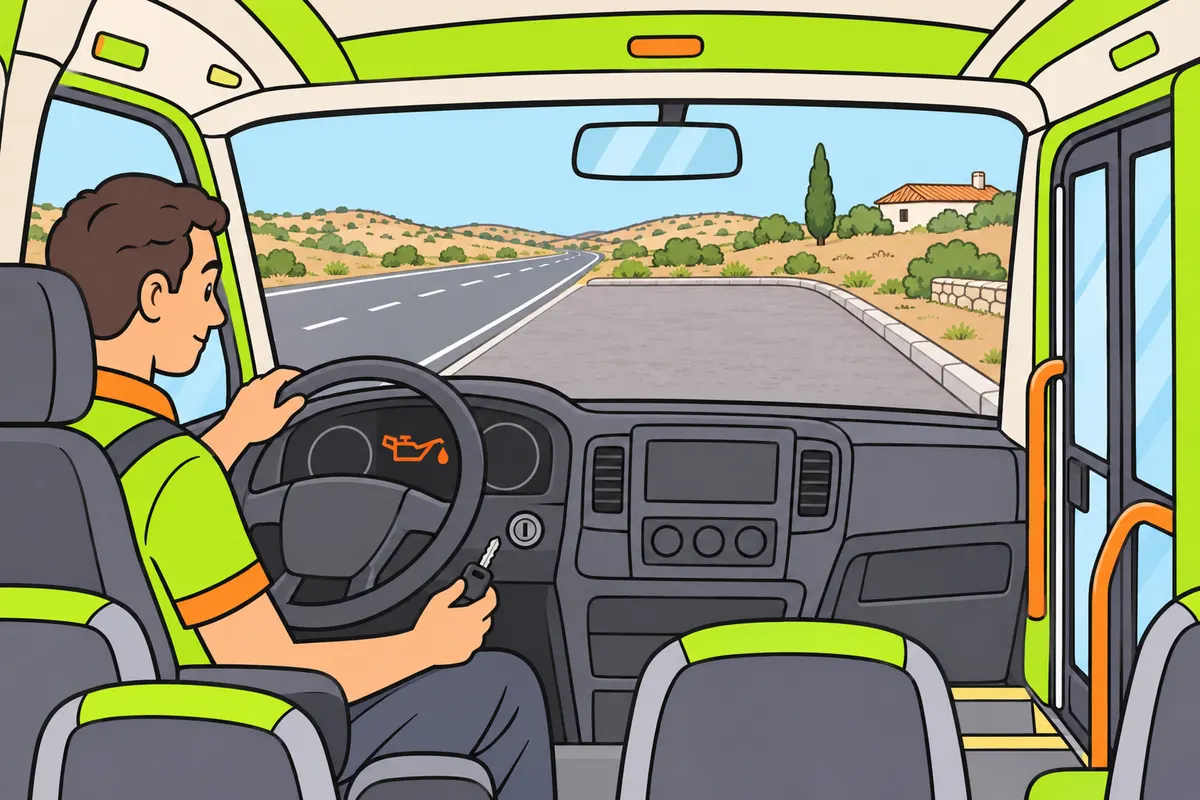
Learn your model’s warnings and act according to the message and manual.
| Warning with engine running | What you must remember |
|---|---|
| Minimum oil pressure | Stop safely and switch off the engine |
| Electrical charging | Generation or circuit may fail; does not necessarily mean an empty battery |
Remember
- Watch the ignition self-check and warnings when starting.
- Never decide by warning-light colour alone.
- With minimum oil pressure warning and engine running, stop safely and switch it off.
- Never keep the engine running to investigate that warning.
- Attend to warnings that appear and disappear too.
- For cooling, brake or steering alarms, follow the manual and consider your surroundings.
Exam trap: Wrong: Dismiss low oil pressure because the level is correct. Right: These are different checks.
Read the full explanation
- You must observe the self-check sequence when you switch on the ignition and check which warnings remain when you start the engine. An unlit warning light only tells you anything if its circuit works. Learn your model's symbols: the colour indicates priority, but the exact action depends on the message and the manual.
- If the minimum oil pressure warning remains on or appears while the engine is running, you must stop safely and switch off the engine. Pressure and level are different concepts: a correct level reading does not rule out a lubrication fault. Do not keep the engine running to investigate the warning.
- If the cooling system, brake pressure or serious steering fault alarm comes on, act according to the manual and the safety of your surroundings. Simply clearing the message or switching the ignition off and on again is not enough. An intermittent warning also requires attention; its disappearance when you accelerate does not prove that the fault is fixed.
- A charging warning light that is on while the engine is running may indicate a fault in electrical generation or the circuit. It does not automatically mean that the battery is flat or allow you to identify a particular component as the cause. If it occurs alongside other symptoms, assess them together and request assistance when appropriate.
20ABS, electrics and recurring faults
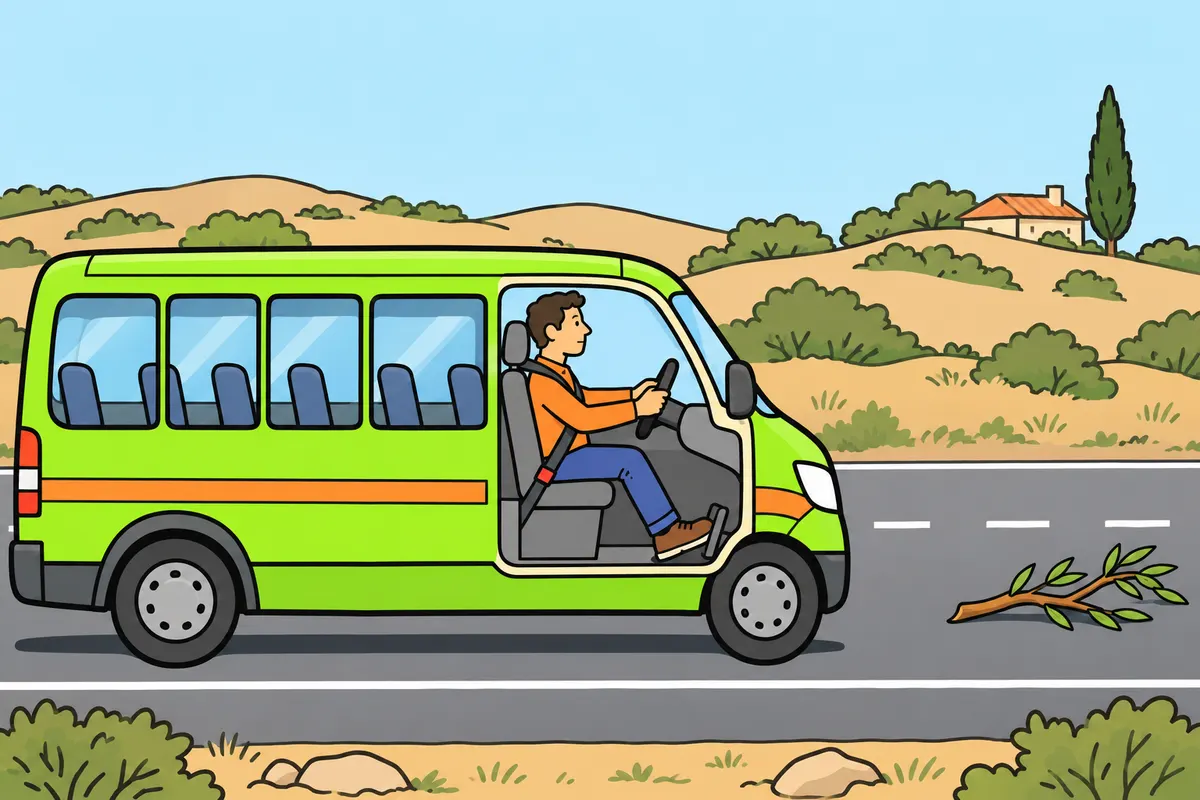
Check braking aids and leave dangerous electrical work to trained people.
Remember
- Check ABS warnings against the expected sequence.
- If ABS fails, request diagnosis and follow instructions.
- In emergencies with working ABS, maintain necessary pressure despite normal pulsations.
- Only check batteries using the specified procedure and protection.
- Avoid sparks and short circuits; never disconnect systems to clear warnings.
- In electric or hybrid minibuses, never handle high-voltage parts.
Exam trap: Wrong: Pump the pedal because of normal working ABS pulsations. Right: Maintain necessary pressure and follow the manufacturer’s procedure.
Read the full explanation
- You must check the warnings for ABS and other assistance systems against their expected sequence. An ABS fault does not always mean a total loss of the service brake, but it requires diagnosis and the specified action. Do not assume that the assistance systems still work because the pedal still applies the brakes.
- In an emergency with working ABS, maintain the necessary pressure on the pedal even if you feel normal pulsations, and follow the manufacturer's procedure. Do not pump the pedal because of this vibration. Assistance systems do not compensate for a damaged tyre, incorrect pressure or a speed unsuitable for the available grip.
- Check accessible batteries only using the specified procedure and protective equipment; avoid sparks and short circuits. Do not improvise jump-starts or disconnections to clear warnings. In electric or hybrid minibuses, do not handle high-voltage components: keep your intervention within the limits set for the driver and request qualified personnel.
21Finding faults and carrying out minor repairs
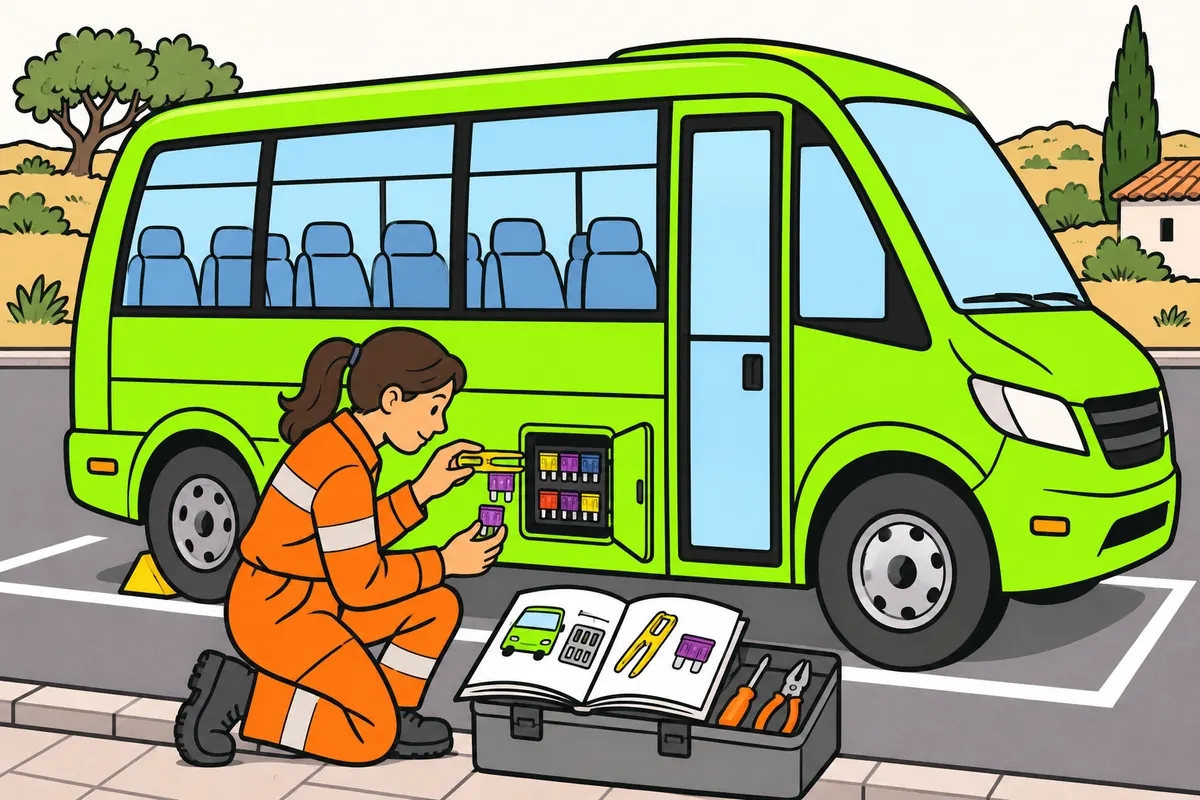
Identify symptoms and carry out only the minor repairs you are allowed to perform.
Remember
- Record the symptom, message and when it appears.
- Stop and secure your minibus before checking accessible causes.
- Follow the manual and isolate the circuit when required.
- Replace fuses only with the same type and amperage.
- Change accessible bulbs only with the circuit off and the part cold.
- Request help for recurring faults, dangerous systems, or insufficient training or tools.
Exam trap: Wrong: Increase amperage or bypass a fuse that blows again. Right: Request assistance to resolve the cause.
Read the full explanation
- To investigate a fault, note the symptom, the warning light or message, and when it appears. Use the manual to identify the affected system: starting, electrical supply, cooling or brakes, for example. Investigating causes and carrying out minor repairs with suitable tools form part of the D1 syllabus. [RGCond, annex V.B.2, points 4.º o and 5.º a](https://www.boe.es/buscar/act.php?id=BOE-A-2009-9481#anv).
- With the minibus stationary and secured, first check simple, accessible causes: the position of the battery master switch, fuses, visible connections, fluid levels and air pressure if it has a pneumatic system. Isolate the circuit's power supply before working on it when the manual requires this; do not disconnect systems indiscriminately or open pressurised circuits.
- Use the vehicle's tool kit and suitable replacement parts for operations authorised by the manual: remove a fuse with its puller and replace it with one of the same type and amperage, or change an accessible bulb with the circuit switched off and the component cold. Check that it works when you finish. Do not open a sealed lamp unit or work on high-voltage lighting. A fuse protects against excessive current; it does not regulate voltage, and you must not bypass it with wire.
- You may visually inspect an accessible belt with the engine stopped and secured against unexpected starting, without approaching fans that may switch on. A damaged belt requires the action specified by the manufacturer; do not improvise its tensioning or replacement.
- Request assistance if the fault recurs, you lack tools or knowledge, or it affects brakes, steering, high voltage, fuel or components that require the minibus to be raised on workshop supports. A fuse that blows again indicates an unresolved cause; do not increase its amperage or continue with a compromised safety system.
22Signs of a fault during a journey
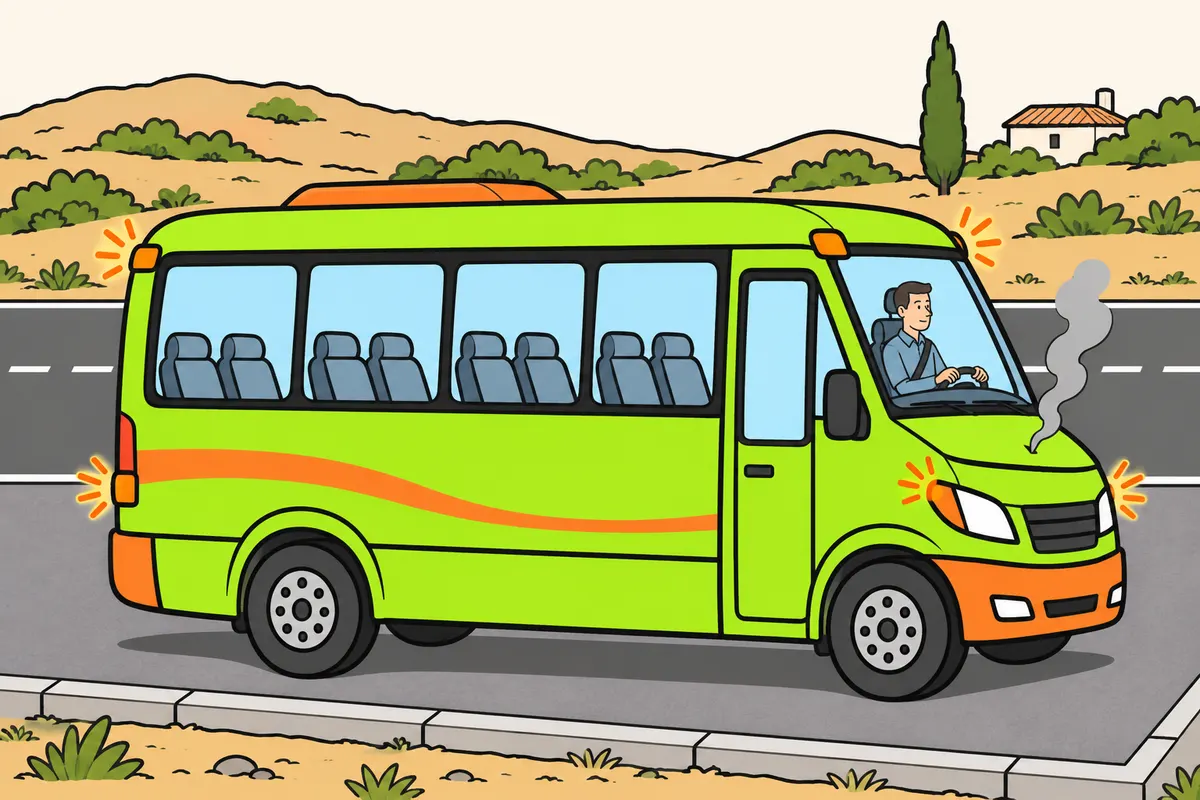
If symptoms threaten safety, stop carefully and report what you noticed.
Remember
- Notice new noises, vibrations, smells and temperature or pressure changes.
- If you suspect tyre damage, slow smoothly until somewhere safe.
- Never continue by relying on the other twin tyre.
- For fuel leaks or signs of fire, stop and protect people.
- Report symptoms and circumstances; record faults without distracting yourself while driving.
- Avoid roadside dismantling that requires a workshop.
Exam trap: Wrong: Diagnose a fault only by smoke colour. Right: Assess other symptoms and confirm the cause.
Read the full explanation
- You must pay attention to new noises, vibrations, loss of power, smells of fuel or burning, and changes in temperature or pressure. The combination of symptoms provides clues but does not replace a diagnosis. Stop safely if the fault could compromise control or cause serious damage.
- A vibration associated with the wheels can have various causes, and you must not automatically attribute it to the road surface. If you suspect a puncture or tyre damage, avoid sudden manoeuvres and slow down in a controlled manner until you reach a safe place. Do not continue driving on the other tyre in the twin-wheel assembly as an emergency solution.
- If you see abnormal smoke, do not identify a particular fault solely by its colour. Black diesel smoke can indicate poor combustion due to insufficient air or incorrect fuel metering, among other causes. A fuel leak or signs of fire require you to stop and protect people; consult «Passenger safety and emergencies» for evacuation procedures.
- Report symptoms, messages and circumstances to the person responsible and the assistance service. Record the incident without distracting yourself while driving, and avoid dismantling components at the roadside. Limit checks to those permitted by the manual; leave work requiring tools or mechanical support equipment you do not have to the workshop.
23Immobilised by a breakdown
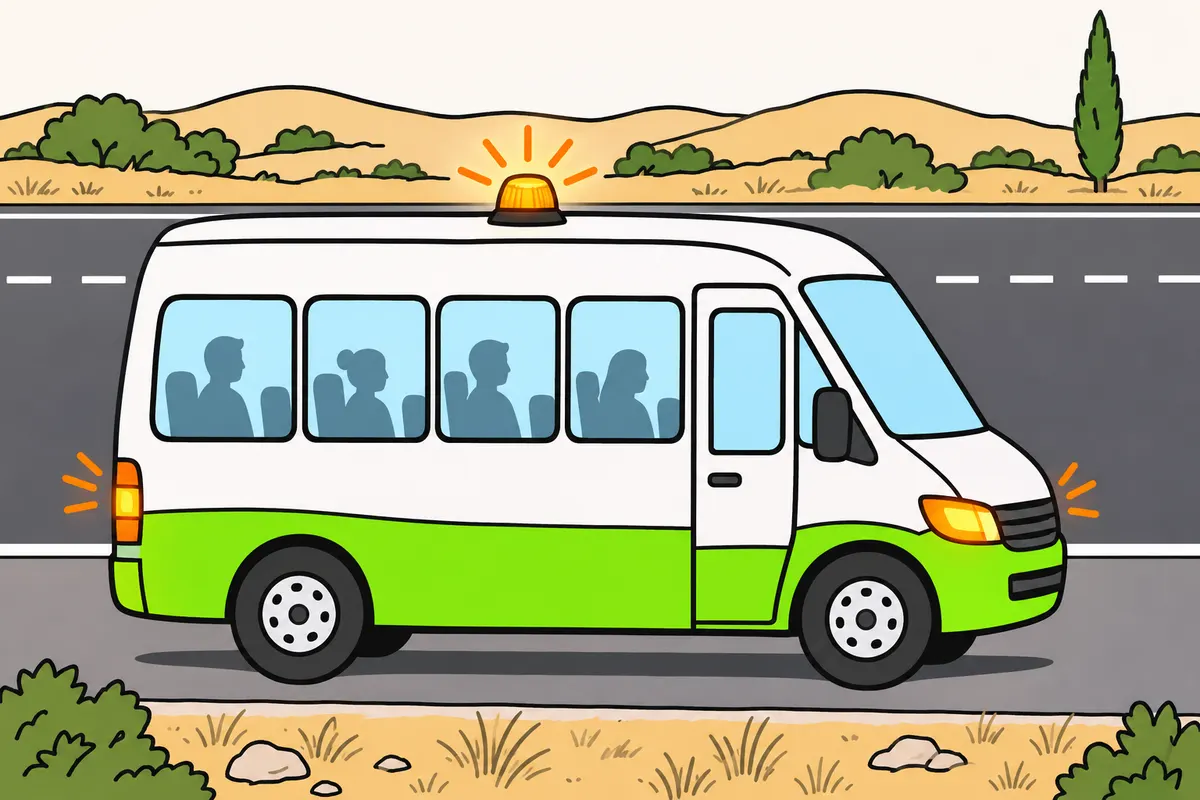
If a breakdown stops you, warn others, protect passengers and request assistance.
| When it is safe to leave | What passengers must do |
|---|---|
| A safe refuge exists beyond the road and hard shoulders | Leave away from traffic; do not walk or stay in lanes or hard shoulders |
| Leaving is unsafe | Stay inside with seat belts fastened |
Remember
- Pull over if safe and switch on hazard lights.
- Use position lights and end-outline marker lamps when required.
- To use the beacon, see «Accidents and assistance».
- Remove the obstruction promptly; do not force a seriously faulty vehicle to continue.
- Wear your vest if you leave and occupy an interurban carriageway or hard shoulder.
- Request assistance; give your location and passengers’ support needs.
Exam trap: Wrong: Believe the V-16 calls for help. Right: It warns of danger; you must request assistance.
Read the full explanation
- If you can pull out of the traffic safely, reduce your exposure to traffic and warn other road users. Use the hazard warning lights and, when required, the position lights and end-outline marker lamps. You must remove the obstruction as soon as possible. Do not force a vehicle with a serious fault to continue to your destination. [RGC, art. 130.1](https://www.boe.es/buscar/act.php?id=BOE-A-2003-23514#a130).
- For use of the warning beacon, consult «Accidents and assistance».
- You must put on your high-visibility vest if you get out and enter the carriageway or arcén (hard shoulder) on an interurban road. Occupants must get out on the side away from traffic if there is a safe refuge beyond the roadway and hard shoulders, without walking or remaining in lanes or on hard shoulders; if getting out is unsafe, they must remain inside with their seat belts fastened. [RGC, arts. 118 and 130](https://www.boe.es/buscar/act.php?id=BOE-A-2003-23514#a130).
- Request assistance and state that the vehicle is a minibus, give its location and say whether you are carrying passengers who need support. The beacon warns other road users; it does not replace calling for help. Do not organise transfers between vehicles beside open traffic lanes without safe conditions; consult passenger protection in «Passenger safety and emergencies».
24ITV (vehicle roadworthiness test): bus inspection schedule
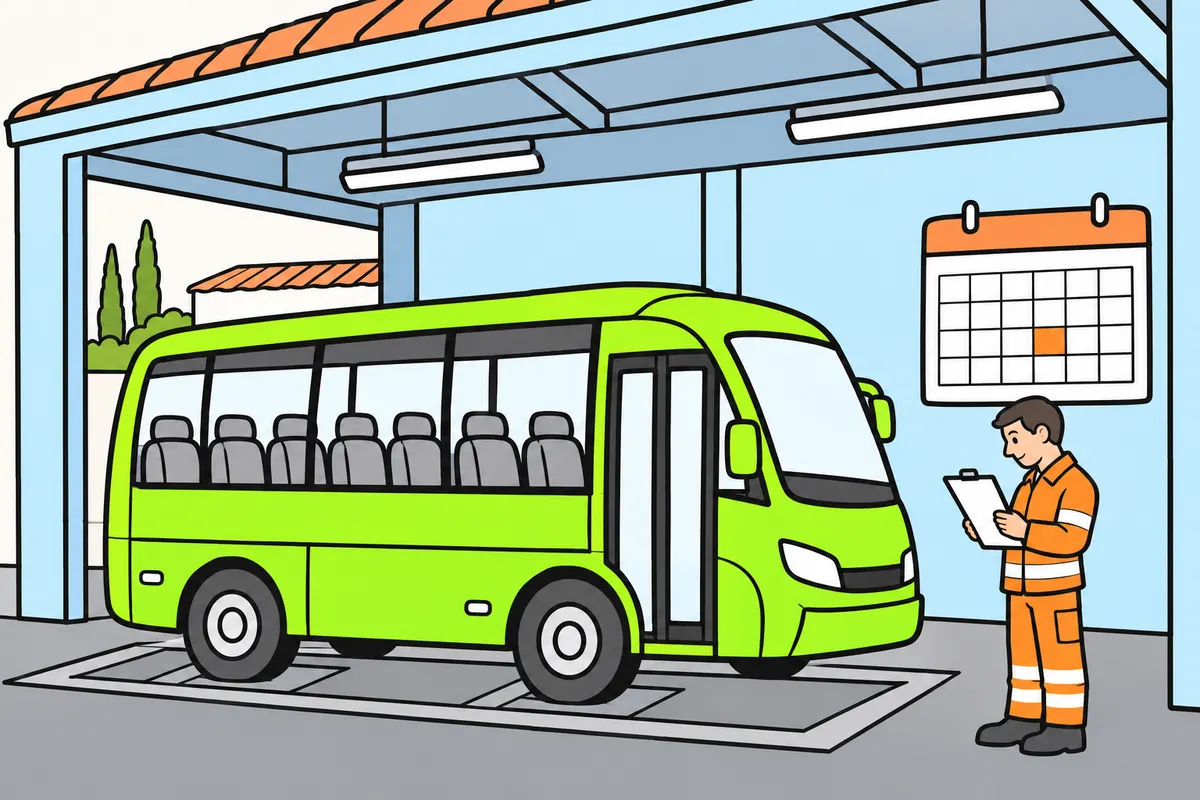
Track your minibus’s age and expiry date to pass the ITV on time.
| Age: ordinary M2 or M3 minibus | How often to have an ITV |
|---|---|
| Up to and including five years | Every year |
| Over five years | Every six months |
Remember
- Count age from first registration or recorded entry into service.
- Buying it second-hand does not reset its age.
- Prepare the ITV card and vehicle details; show proof of insurance.
- Keep the inspection report.
- Place V-19 inside the windscreen, in its upper right-hand corner.
- Booking an appointment does not mean you pass the inspection.
Exam trap: Wrong: Apply a passenger car’s initial exemption. Right: Your ordinary M2 or M3 minibus has no such exemption.
Read the full explanation
- For an ordinary M2 or M3 minibus, inspections are annual up to and including five years of age and every six months once it is over five years old. [RD 920/2017, art. 6](https://www.boe.es/buscar/act.php?id=BOE-A-2017-12841#a6). It does not have the initial exemption that applies to a passenger car.
- You must count from the first registration or recorded entry into service. Buying second-hand does not reset the vehicle's age. At four years, the inspection frequency is annual; at six, it is every six months, including in the example of a school minibus. Always check the specific expiry date. [RD 920/2017, art. 6.1](https://www.boe.es/buscar/act.php?id=BOE-A-2017-12841#a6).
- You must prepare the tarjeta ITV (vehicle technical inspection card) and vehicle details as required by the procedure; proof of insurance is a prerequisite. [RD 920/2017, art. 8](https://www.boe.es/buscar/act.php?id=BOE-A-2017-12841). Tax and sale documents do not replace these documents.
- Keep the inspection report, which officers may ask you to produce. [RD 920/2017, art. 10](https://www.boe.es/buscar/act.php?id=BOE-A-2017-12841). You must display the V-19 sticker on the inside of the upper right-hand corner of the windscreen. [RGV, annex XI, V-19](https://www.boe.es/buscar/act.php?id=BOE-A-1999-1826#v-19).
- You may have the inspection within the 30 calendar days before expiry without losing that expiry date as the reference for calculating the next period of validity. You must monitor the specific expiry date; booking an appointment does not amount to passing the inspection. [RD 920/2017, art. 6.5](https://www.boe.es/buscar/act.php?id=BOE-A-2017-12841#a6).
25ITV (vehicle roadworthiness test): results and repairs
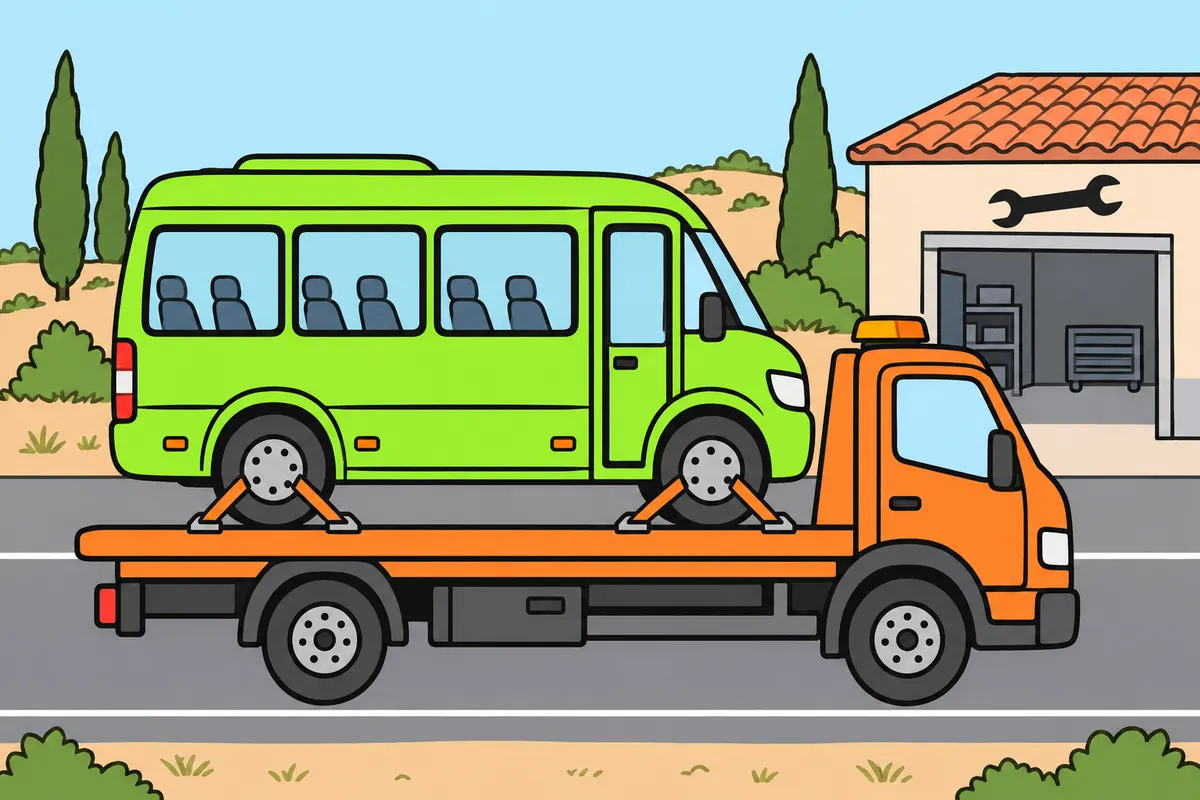
Read your ITV result and follow its repair and driving limits.
| ITV result | Defects | What you may do |
|---|---|---|
| Favourable | None or only minor | Repair minor defects within two months at most |
| Unfavourable | At least one serious | Only permitted journeys to a workshop, to fix faults and back to ITV |
| Negative | At least one very serious | Use other transport; repair and return within the deadline |
Remember
- Repair minor defects even if your ITV result is favourable.
- Minor defects alone do not require another inspection.
- With an unfavourable result, you cannot provide a service during the repair period.
- With a negative result, have the vehicle transported by other means.
- Returning after the deadline requires a full inspection.
- You may choose another station in Spain for the second inspection.
Exam trap: Wrong: Use the repair period to work. Right: With an unfavourable result, make only permitted journeys; with a negative result, use other transport.
Read the full explanation
- The ITV results favorable (pass), desfavorable (fail) and negativa (negative) mean, respectively, no defects or only minor defects, at least one serious defect and at least one very serious defect. [RD 920/2017, art. 9](https://www.boe.es/buscar/act.php?id=BOE-A-2017-12841). Read the specific defects listed in the report.
- You must repair minor defects within a maximum of two months, and these alone do not require a reinspection. [RD 920/2017, art. 11.1](https://www.boe.es/buscar/act.php?id=BOE-A-2017-12841#a1-3). An ITV pass with defects does not mean you can forget about them.
- With a desfavorable result, you may only make the permitted journeys to the repair workshop or to bring the vehicle into compliance and return for an ITV; the time limit is no more than two months. You cannot use the vehicle for work during this period. [RD 920/2017, art. 11.2](https://www.boe.es/buscar/act.php?id=BOE-A-2017-12841#a1-3).
- With a negativa result, you must have the vehicle transported by external means; you must have it repaired and present it for inspection within the time allowed, which is a maximum of two months. If you return after the time allowed, you must undergo a full inspection. [RD 920/2017, art. 11.3 and 4](https://www.boe.es/buscar/act.php?id=BOE-A-2017-12841#a1-3).
- You can choose an ITV station anywhere in Spain, including for the second inspection after you have the defects repaired. [RD 920/2017, arts. 11.8 and 17](https://www.boe.es/buscar/act.php?id=BOE-A-2017-12841#a1-3).
Pre-departure walk-round
Follow the same sequence and do not set off with a defect that compromises safety.
- Check reported faults and secure the minibus in the inspection area.
- Walk around the front, one side, the rear and the opposite side: check bodywork, wheels, leaks, lights and fastenings.
- Check fluid levels under the measuring conditions specified by the manufacturer.
- Adjust your driving position and check mirrors, windows, washers and doors.
- Observe the self-check, air pressure and brake operation as instructed in the manual.
- Record and report defects; confirm that they are resolved before entering service.
Check tyre pressures and wheel condition
Examine every tyre, including the inner tyres in twin-wheel assemblies.
- Find the specification for each axle, load and wheel configuration.
- Inspect the tyre, rim and fastenings, and measure tread depth in several places.
- Measure tyre pressures when cold with suitable equipment, accessing every valve.
- Adjust pressures to the specification; do not deflate a hot tyre to match the cold-pressure reference.
- Investigate pressure loss, unevenness and damage before considering the wheel fit for use.
Serious warning during service
Protect people and avoid worsening the fault.
- Identify the warning while keeping your attention on traffic and prepare to stop safely.
- Pull over and secure the minibus if you can do so safely; if oil pressure is insufficient, switch off the engine.
- Warn other traffic using the hazard warning lights, any other appropriate lights and the connected V-16.
- Arrange protection for your passengers according to whether a safe exit and place of shelter are available.
- Request assistance, report the symptoms and do not resume your journey while the safety defect remains unresolved.
Finished this module?
Mark it as read and you will see your progress on the theory list.