
Theory · LVA Licence - Agricultural Vehicle · Module 16 of 16
Agricultural mechanics and maintenance
You learn how the main systems of an agricultural vehicle work, what you must check before setting off and how to recognise a fault that requires you to stop. You distinguish tractor maintenance from car maintenance and review the ITV (vehicle roadworthiness test) schedules and results that may appear in the exam.
1Maintenance to retain control
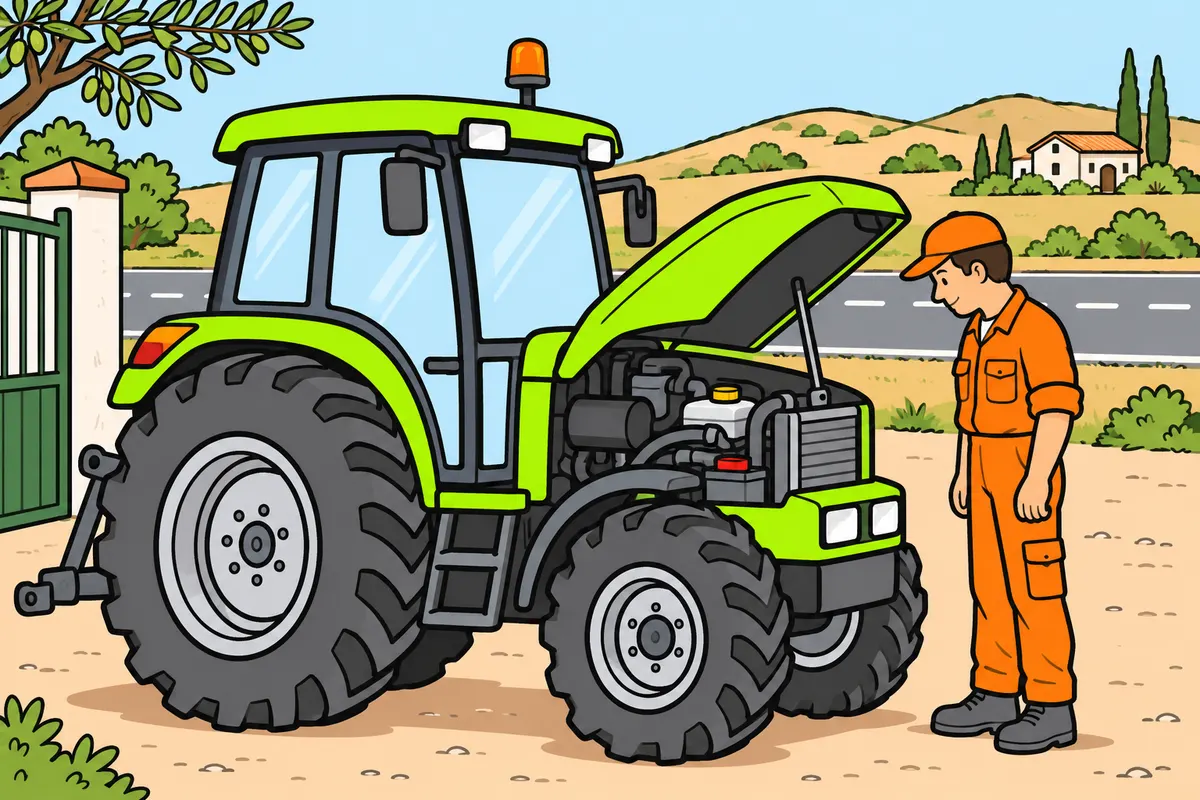
Check your machine to keep control and spot faults.
| Check | How it helps you |
|---|---|
| Daily check | Find immediate faults |
| Periodic maintenance | Maintain systems as the manufacturer specifies |
| ITV | Check compliance with legal requirements |
Remember
- Follow the maintenance instructions in your machine’s manual.
- Adapt checks to time, operating hours and working conditions.
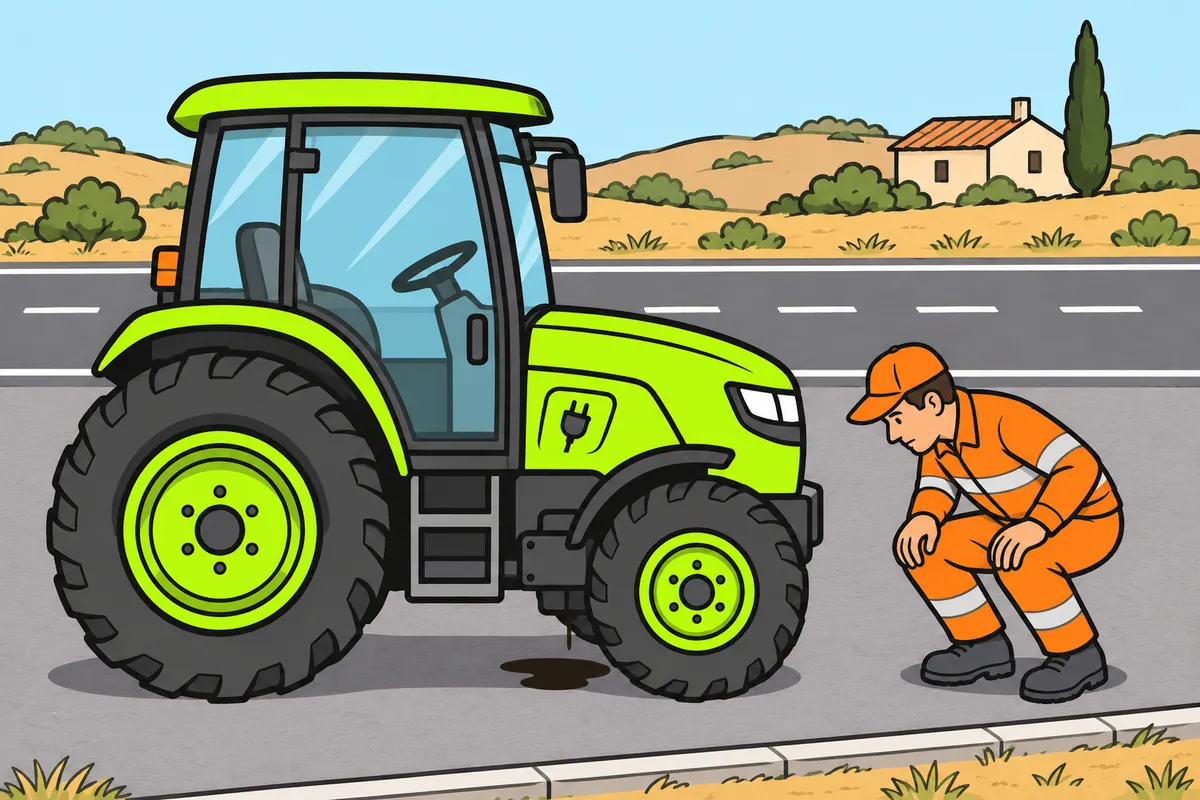
- Request a check for new noises, vibrations, smells or leaks.
- Do not treat a symptom as a certain diagnosis.
Exam trap: Wrong: You can drive if the engine starts. Right: Check the safety systems too.
Read the full explanation
- Each system has its function: the engine produces movement, the transmission transfers it to the wheels, the steering directs the vehicle, the suspension helps maintain contact with the ground and the brakes allow you to slow down or immobilise the vehicle. The fact that the engine starts does not prove that you can drive safely. (Technical guidance.)
- You should follow your tractor or agricultural machine's manual when checking, adjusting and replacing components. You can schedule maintenance according to time, operating hours and working conditions; dust, mud and the loads imposed by implements make it particularly important to know how the machine is actually used. (Technical guidance.)
- You should distinguish between daily checks, periodic maintenance and the ITV (vehicle roadworthiness test). Daily checks allow you to detect immediate faults; periodic maintenance preserves the systems according to the manufacturer's schedule; the inspection checks compliance with regulatory requirements. Passing an inspection does not replace checks or justify driving with a defect that develops afterwards. (Technical guidance.)
- You should treat new noises, vibrations, smells, leaks and changes in response as signs that require investigation. A vibration may come from a wheel, a mounting or the transmission: recognising the symptom allows you to request an inspection, but does not in itself establish which part is faulty. (Technical guidance.)
2Engine and combustion
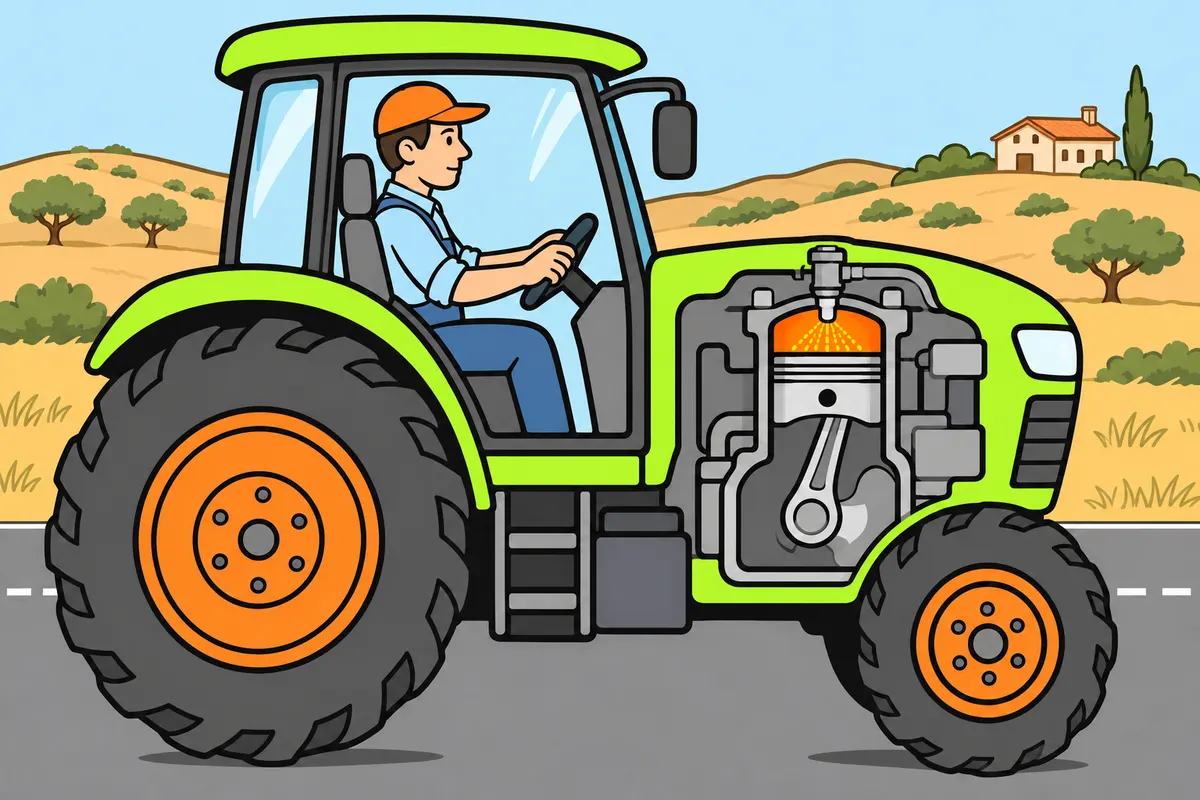
Know how your machine’s engine starts and works.
| Engine or part | How it works |
|---|---|
| Diesel | Fuel ignites through the heat of compressed air |
| Spark-ignition petrol engine | The spark plug produces the spark |
| Diesel glow plugs | Help with cold starting |
Remember
- Follow your machine’s controls and starting procedure.
- Follow the diesel preheating instructions.
- Do not keep the starter motor running continuously.
- Remember the stages: intake, compression, combustion with expansion, and exhaust.
Exam trap: Wrong: Glow plugs ignite each combustion event with a spark. Right: They help cold starting in diesel engines fitted with them.
Read the full explanation
- The diesel engine, commonly found in tractors you can drive with LVA, uses compression ignition: it compresses air, and the injected fuel ignites because of the temperature reached during compression. In a petrol engine with spark ignition, the spark plug starts combustion. (Technical guidance.)
- Diesel glow plugs have a different function from spark plugs: they help with cold starting where the engine is fitted with them; they do not produce a spark to ignite each combustion event. Follow the dashboard indications and the manual for preheating, and avoid operating the starter motor indefinitely. (Technical guidance.)
- In a four-stroke engine, the stages are intake, compression, combustion with expansion, and exhaust. The movement of the pistons is transmitted to the crankshaft. For the exam, you need to understand how the assembly works, without inferring a particular braking capacity or degree of stability from the number of cylinders. (Technical guidance.)
- You may encounter different engines and transmissions depending on the agricultural vehicle. You should familiarise yourself with its controls before using it: the appropriate engine speed, starting procedure and operating indications depend on the model. See «Breakdowns: stop and repair» to interpret persistent smoke and abnormal changes in operation. (Technical guidance.)
3Air supply, fuel supply and filters
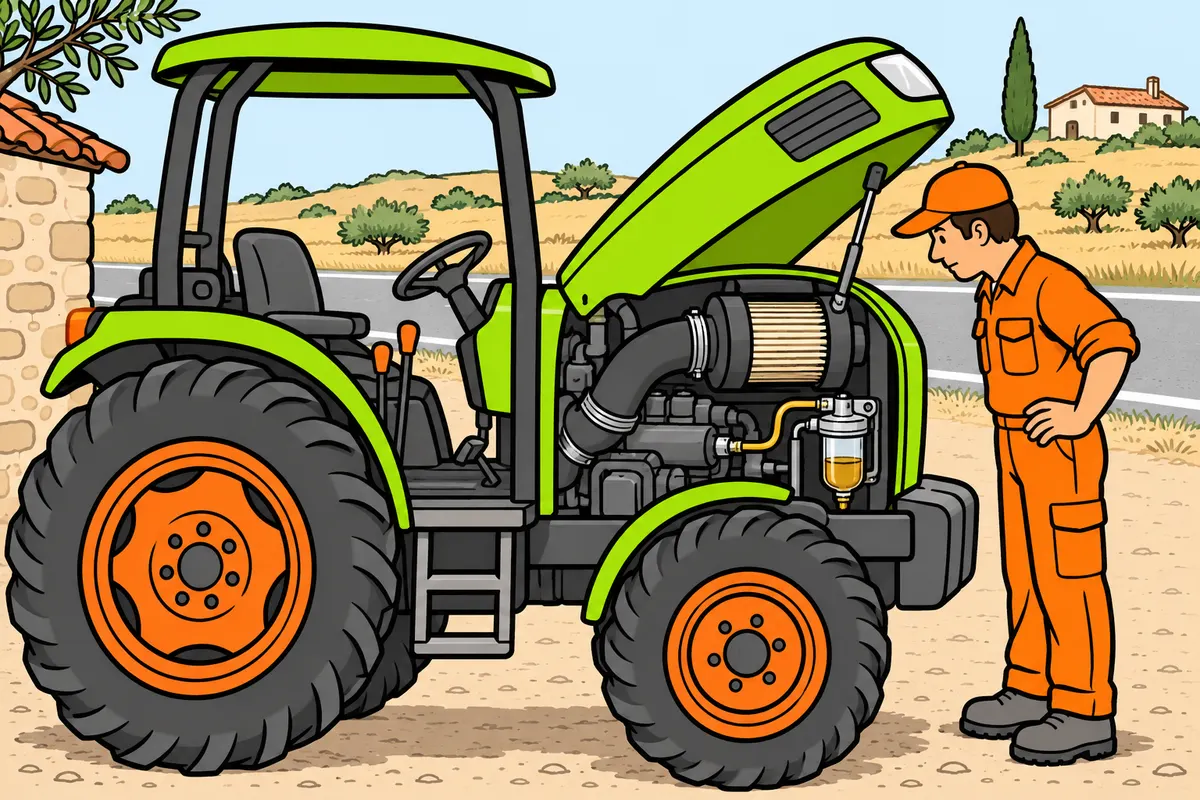
Look after air and fuel filters to protect your engine.
| Filter | What it traps |
|---|---|
| Air | Dust in air entering the engine |
| Fuel | Impurities in fuel |
Remember
- Check filters as the manual specifies, especially during dusty work.
- Do not clean every filter using the same method.
- Keep the area around the filler cap clean when filling.
- Do not handle high-pressure injection pipes with the engine running.
- Request checks for power loss, difficult starting or persistent black smoke.
Exam trap: Wrong: Changing gear repairs a blocked filter. Right: You must investigate and correct the cause.
Read the full explanation
- The air and fuel systems have different filters. The air filter traps dust before it enters the engine; the fuel filter traps impurities in the fuel. A blockage can impair operation, but cleaning one filter does not replace maintenance of the other. (Technical guidance.)
- You should check the air filter according to the manual, paying attention to the blockage indicator if fitted. Agricultural work in dusty conditions may require more frequent checks. Do not clean all filters using the same method: you replace some elements, while others allow specific procedures set out by their manufacturer. (Technical guidance.)
- You should keep the area around the filler cap and the filling equipment clean to prevent soil or water from entering. If the system includes a fuel water separator, heed its warning and follow the specified draining procedure. Do not handle high-pressure injection lines while the engine is running. (Technical guidance.)
- If you notice loss of power, difficulty starting or persistent black smoke, you should investigate the cause. There may be a problem with the fuel supply, injection or air intake, among other possibilities. Changing gear may adapt the load on the engine to the work, but it does not repair a blocked filter or an engine fault. (Technical guidance.)
4Refuelling and exhaust
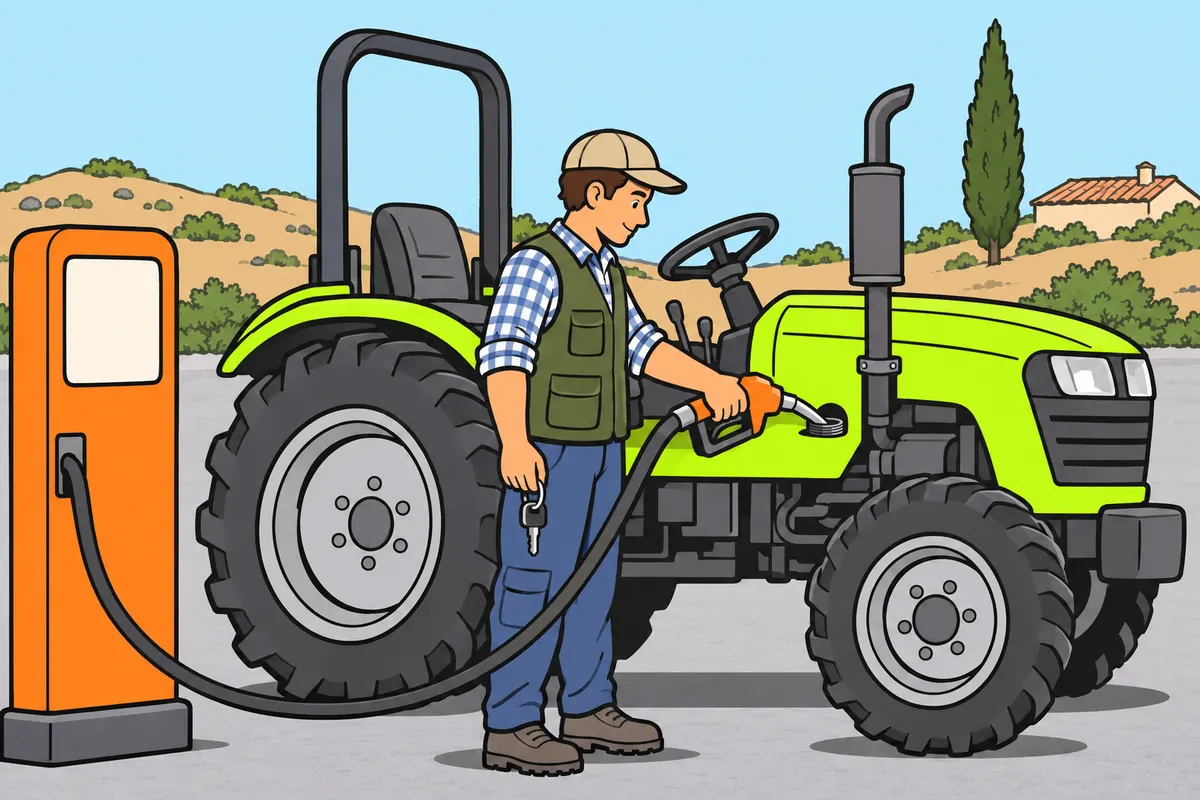
Refuel safely and maintain the exhaust and its devices.
Remember
- For refuelling, switch off the engine, lights, radio and transmitting devices, including your phone.
- Do this at self-service pumps too.
- Avoid flames, sparks and spills.
- If you use the wrong product, do not start; request assistance.
- Do not drive with an open exhaust or an ineffective silencer.
- Do not disable exhaust-gas treatment devices.
Exam trap: Wrong: You can leave the engine running when refuelling yourself. Right: Switch it off at self-service pumps too.
Read the full explanation
- You must refuel with the engine stopped and with the lights, radio and transmitting devices such as your mobile phone switched off. This precaution also applies to you at self-service pumps. First check which tank you are filling and which product it needs: do not confuse fuel, oil or the reagent for the emissions system. [RGC, art. 115](https://www.boe.es/buscar/act.php?id=BOE-A-2003-23514#a115).
- You should avoid flames, sparks and spills while refuelling. Close the tank properly and clean up spills safely before starting the engine. If you use the wrong product, avoid starting the engine and request assistance; trying to use up the mixture can worsen damage to the system. (Technical guidance.)
- You must not drive with an open exhaust or an ineffective silencer; you must also comply with the regulatory noise and emissions limits. The silencer reduces noise, while exhaust gas treatment devices perform a different function and require their own maintenance. [RGC, art. 7](https://www.boe.es/buscar/act.php?id=BOE-A-2003-23514#a7).
- You should check mountings, leaks and accumulations of plant debris near the exhaust and other hot surfaces. If your machine has a particulate filter or a system that uses a reagent, follow its warnings and instructions. Do not disable these devices or carry out any operation that generates heat near combustible materials. (Technical guidance.)
5Lubrication: level and pressure
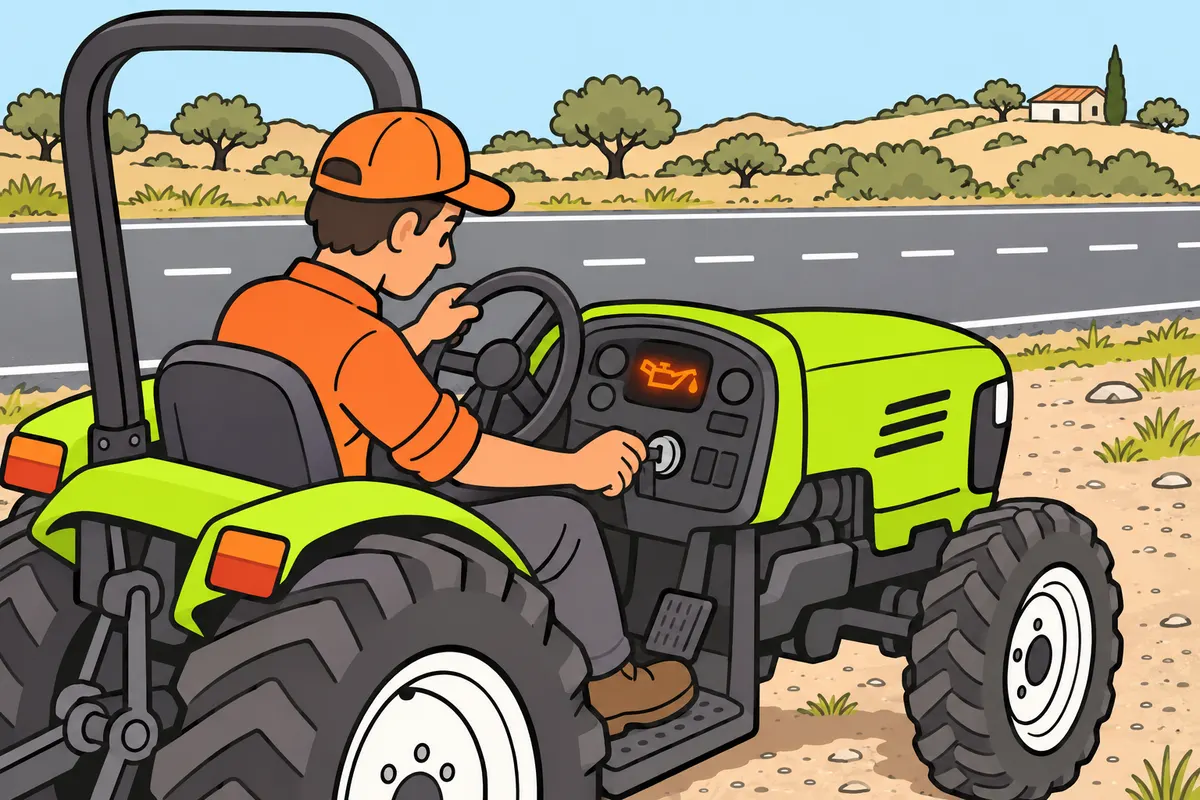
Check your oil level and recognise pressure warnings.
| Check | What it shows you |
|---|---|
| Dipstick | Oil quantity |
| Pressure warning light | Possible lack of pressure for lubrication |
Remember
- Check the level on level ground with the engine stopped.
- Follow the manual’s checking temperature and waiting time.
- If using a dipstick, wipe it and fully reinsert it before reading.
- Keep the level between minimum and maximum using the specified oil.
- If the pressure warning appears while running, stop safely and switch off the engine.
- Do not confuse topping up oil with changing it.
Exam trap: Wrong: A correct level guarantees good pressure. Right: The circuit can fail even with enough oil.
Read the full explanation
- Oil forms a film between moving parts to reduce friction and wear; it also helps carry heat away. The pump circulates it and the filter traps contaminants. Fuel feeds combustion and coolant carries heat: their tanks and systems are not interchangeable. (Technical guidance.)
- You should check the level on level ground, with the engine stopped and after the waiting time specified in the manual. If you have a dipstick, remove it, wipe it clean, insert it fully and read it again. The checking temperature depends on the manufacturer; do not assume that you must always check every tractor cold or always hot. (Technical guidance.)
- You should keep the level between minimum and maximum. Add the specified oil in small amounts and check again; exceeding the maximum can also cause damage. Topping up corrects a shortage of oil, but does not replace an oil change or by itself resolve the cause of oil consumption or a leak. (Technical guidance.)
- Oil level and system pressure are different measurements. The dipstick shows you the level; the pressure warning light alerts you to possible insufficient lubrication. If this warning appears while the engine is running, stop safely and switch off the engine: an apparently correct quantity does not guarantee that the pump is providing pressure. (Technical guidance.)
6Oil, oil changes and greasing
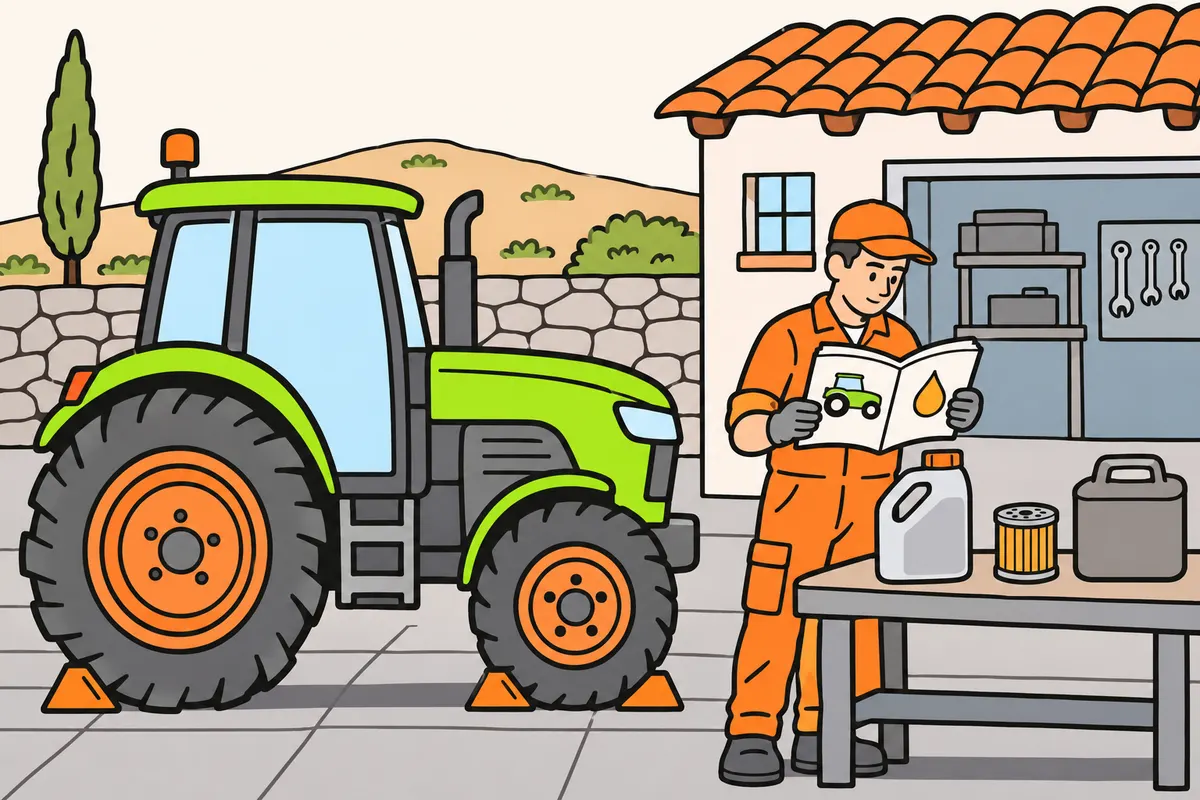
Use the specified oil and follow oil-change and greasing instructions.
| Oil classification | What it describes |
|---|---|
| Mineral, synthetic or semi-synthetic | Its composition |
| Monograde or multigrade | How its fluidity changes with temperature |
Remember
- Choose oil by its specifications, rather than its price or colour.
- Remember that oil becomes more fluid as it heats up.
- Record operating hours and maintenance carried out.
- Change oil and filters even if you topped up between services.
- Use the specified grease and method at each greasing point.
- Collect waste and give it to the appropriate collection service.
Exam trap: Wrong: Synthetic oil is always thicker. Right: Its composition alone does not determine its viscosity.
Read the full explanation
- You should choose the lubricant according to the manufacturer's specifications, including quality and viscosity. Mineral, synthetic and semi-synthetic describe its composition; monograde and multigrade describe its viscosity behaviour. You cannot assume that synthetic oil is always thicker or that any more expensive product is suitable for your engine. (Technical guidance.)
- Oil becomes more fluid as it heats up. A multigrade oil is formulated to work across a range of temperature conditions; its designations do not indicate the level in the tank or an exact operating temperature. Using an unsuitable viscosity can impair both starting and protection during operation. (Technical guidance.)
- You should change the oil and filters according to the maintenance schedule, even if you add lubricant between services. With a tractor, you should pay particular attention to the record of operating hours and tasks completed. Do not automatically apply a passenger car's mileage-based intervals or mix products simply because they have a similar colour. (Technical guidance.)
- You should locate the specified greasing points and use the indicated grease and method. Avoid contaminating the ground and collect waste in suitable containers for delivery to the appropriate collection service. You need suitable equipment and knowledge for operations involving a risk of burns, entrapment or access beneath the machine. (Technical guidance.)
7Cooling and temperature
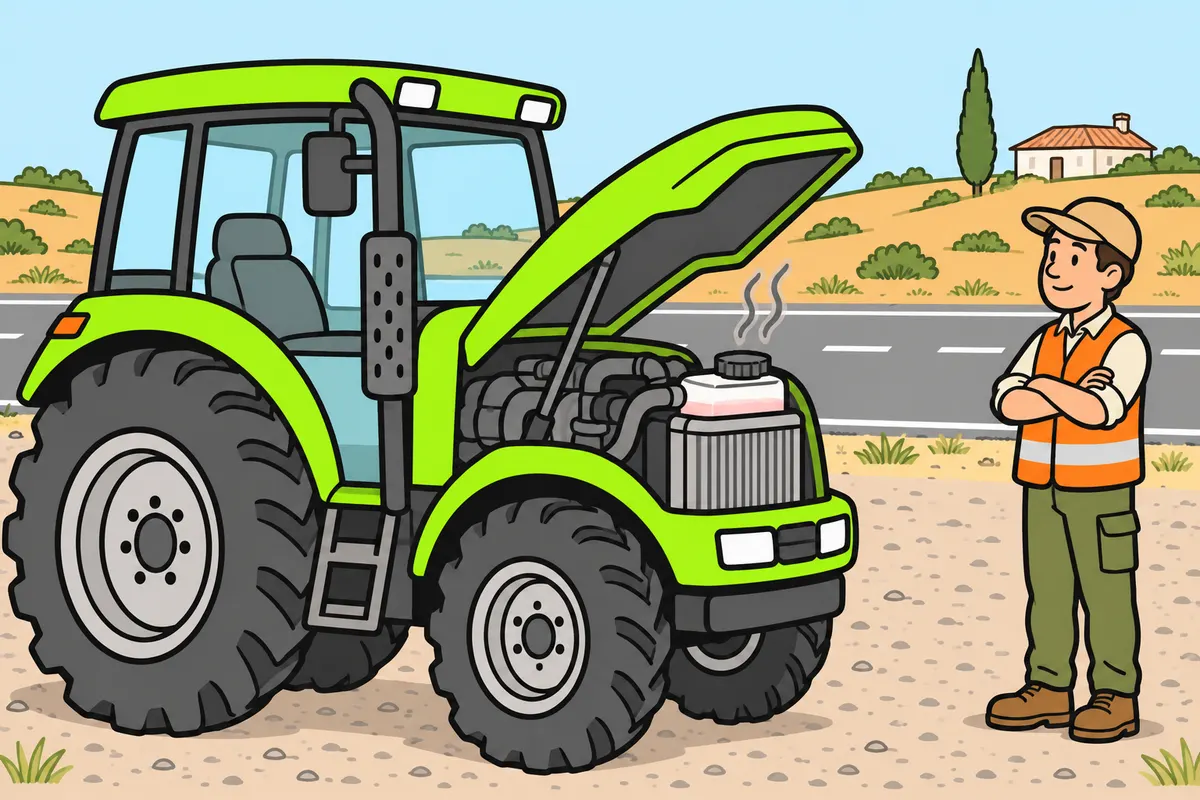
Watch the temperature and check coolant with the engine cold.
| Cooling type | How it removes heat |
|---|---|
| Air | Air cools the engine surfaces |
| Liquid | Coolant carries heat to the radiator |
Remember
- Use the specified coolant and keep it between the marks.
- Do not choose coolant by colour alone.
- Never open a hot cooling circuit: you could burn yourself.
- If the temperature is excessive, stop safely and follow the manual.
- Wait for it to cool before checking the level.
- Keep the radiator and grilles clean.
Exam trap: Wrong: Having coolant proves the engine is cooling properly. Right: The circuit can fail even with coolant present.
Read the full explanation
- You may find air cooling or liquid cooling. With air cooling, air carries heat away from the engine surfaces; with liquid cooling, coolant absorbs heat and releases it through the radiator. The pump, hoses, thermostat and fan play a part in the circuit according to the machine's design. (Technical guidance.)
- You should check the coolant with the engine cold and in accordance with the manual, keeping it between the indicated marks. Use a product compatible with the required specification, with protection against freezing and corrosion. Do not choose a liquid solely by its colour or assume that adding water always restores its properties. (Technical guidance.)
- Avoid opening a hot cooling circuit: it may be under pressure and eject liquid or steam that causes burns. If the temperature is excessive, stop safely and follow the manufacturer's procedure. Wait for it to cool before checking the level or working on accessible components. (Technical guidance.)
- You should keep the grilles clean and check that the radiator is not blocked by dust, seeds or plant debris. A coolant leak, a damaged belt or a faulty fan can cause overheating. Liquid in the reservoir does not prove that coolant is circulating and the circuit is cooling correctly. (Technical guidance.)
8Transmission and gear selection
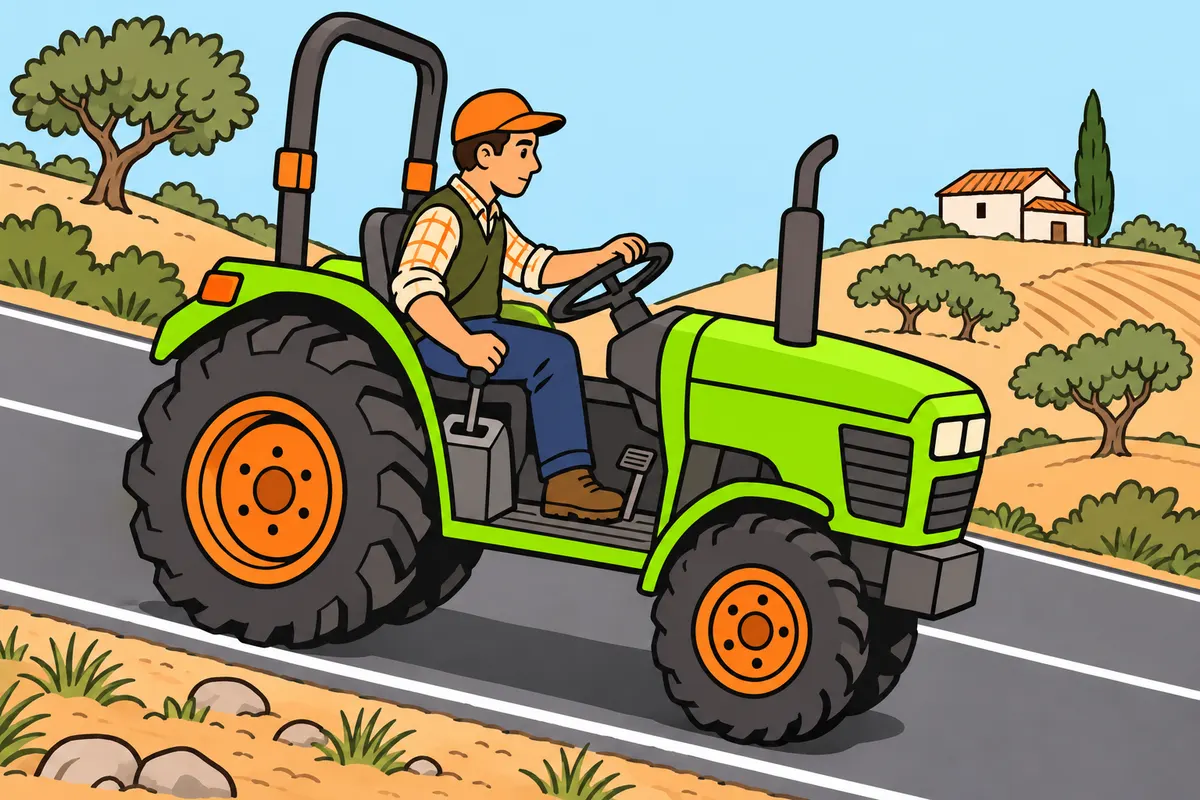
Choose the right gear to adjust pulling force and control your speed.
| Gear | At the same engine speed |
|---|---|
| Low | More turning force and less road speed |
| High | Less turning force and more road speed |
Remember
- Know your machine’s gearbox and specific controls.
- With a conventional clutch, avoid resting your foot on its pedal unnecessarily.
- Request a check if the clutch slips or new jerking appears.
- Choose your gear before descending a slope.
- Do not descend in neutral or with the clutch held down.
- Do not use engine braking to compensate for faulty brakes.
Exam trap: Wrong: A low gear increases engine power. Right: It multiplies the turning force reaching the wheels.
Read the full explanation
- The transmission transfers motion from the engine to the driven wheels. It may include a clutch, gearbox, shafts, differential and final reduction gears. Not all tractors use a conventional manual gearbox; you should know how the forward/reverse selector and the specific controls of the machine you drive work. (Technical guidance.)
- A low gear provides more available torque at the wheels and a lower speed for a given engine speed. A high gear allows a higher speed but multiplies torque less. The gearbox does not increase engine power: it adapts the engine's motion and driving force to your driving needs. (Technical guidance.)
- You should avoid resting your foot unnecessarily on the clutch pedal in a conventional system. A slipping clutch may cause engine speed to rise without a corresponding increase in travel speed, and may overheat. Abrupt engagement can also cause jerking; arrange an inspection if new symptoms or a loss of drive appear. (Technical guidance.)
- You should select a suitable gear before a descent to use engine braking and reduce the load on the brakes. Going downhill in neutral or with the clutch held down removes this assistance. The load and trailer require you to plan ahead; engine braking does not replace a braking system in good condition. (Technical guidance.)
9Differential, drive and power take-off
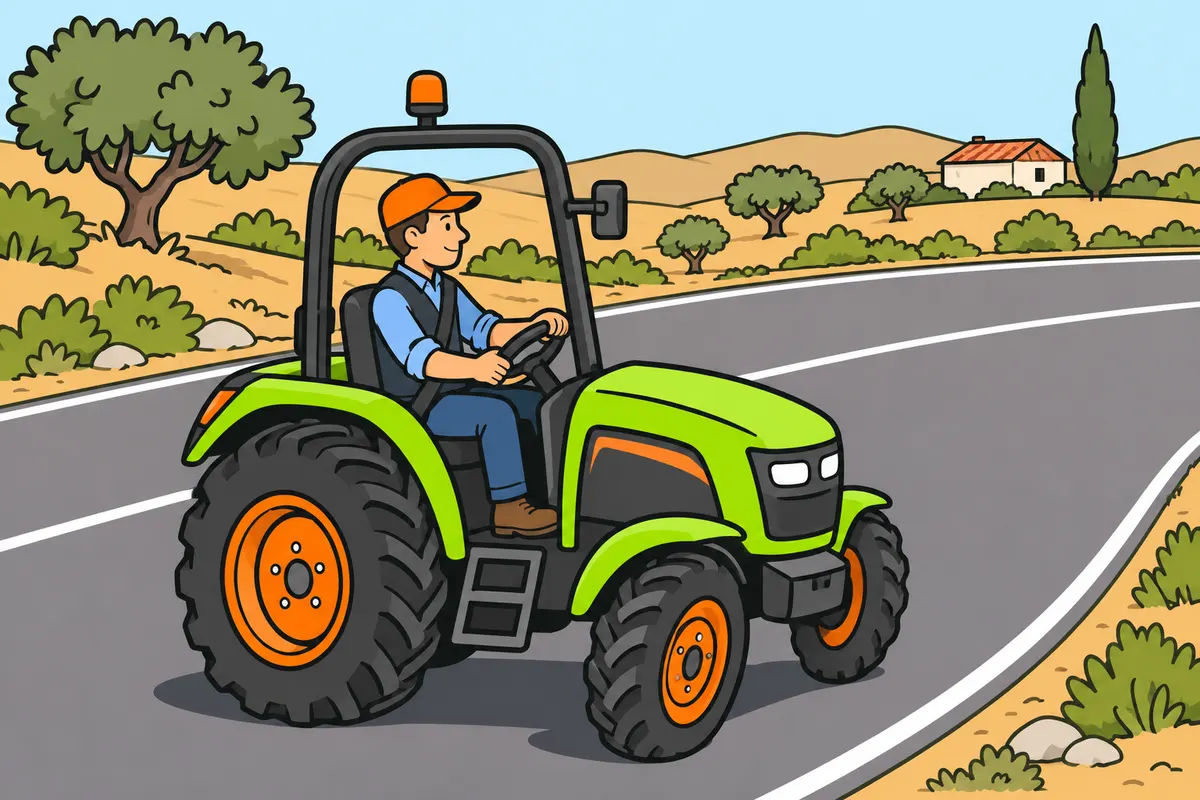
Distinguish wheel drive, steering and the movement supplied to agricultural equipment.
| Part | Function |
|---|---|
| Driven wheels | Receive force to move forward |
| Steered wheels | Direct your path |
| Differential | Allows wheels to turn at different speeds in bends |
| Power take-off | Transmits movement to agricultural equipment |
Remember
- Use the differential lock only as the manufacturer specifies.
- Check guards on shafts that drive equipment.
- Keep hands, clothing and tools away from rotating parts.
- Stop and secure the machine before working on it.
- Wait until all movement stops.
- Prepare and secure equipment for transport as the manual specifies.
Exam trap: Wrong: All-wheel drive steers every wheel. Right: Receiving driving force and directing your path are different functions.
Read the full explanation
- The differential allows the driven wheels to rotate at different speeds when you take a bend. If your tractor has a differential lock, use it only under the conditions specified by the manufacturer. Keeping the differential locked in unsuitable conditions can make turning difficult and place harmful stresses on the transmission. (Technical guidance.)
- You can identify driven wheels and steered wheels by their function: the former receive propulsive force and the latter guide your path, although a wheel may perform both functions. All-wheel drive does not mean all-wheel steering. Nor does it guarantee the same braking capability on every surface. (Technical guidance.)
- You should distinguish between the transmission to the wheels and the power take-off, which transmits motion to agricultural equipment. Check the guards and protective covers on any articulated shafts fitted to the combination. Keep your hands, clothing and tools away from rotating parts and do not try to clear a blockage while they can still move. (Technical guidance.)
- You should prepare equipment for transport following the manual, with its controls in the specified position and its fastenings secured. Stop and secure the machine before working on it; you must wait until all movement stops. You study the details of transporting implements in «Loads, implements and agricultural traffic». (Technical guidance.)
10Brakes and their functions
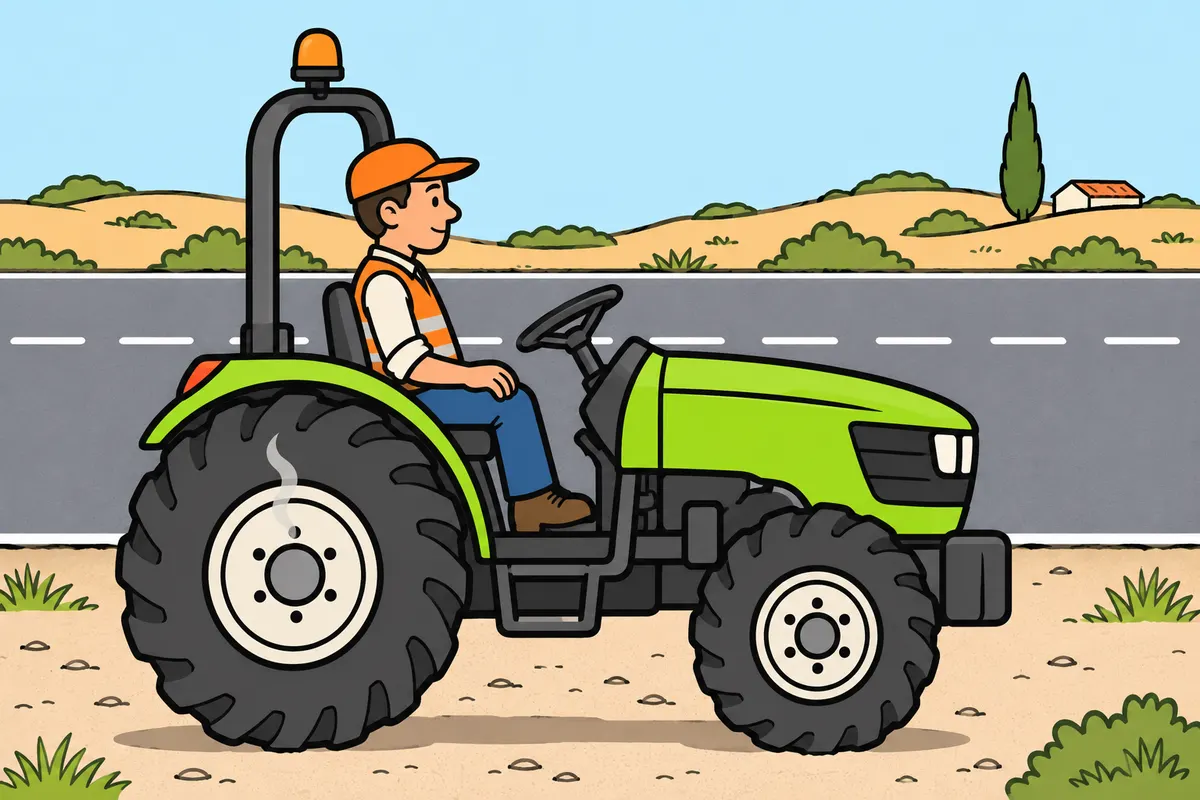
Check your brakes and recognise when they become less effective.
| Braking function | How it helps you |
|---|---|
| Service | Control movement |
| Secondary | Stop if the service brake fails |
| Parking | Keep the vehicle stationary |
Remember
- Check response, controls, leaks and warnings before setting off.
- Request checks if braking worsens or the vehicle pulls sideways when braking.
- Do not accept a major fault even when driving slowly.
- Avoid heavy, continuous braking that overheats the brakes.
- If you notice unusual smells or reduced response, seek a safe stop.
Exam trap: Wrong: Each braking function needs a separate pedal. Right: These functions do not necessarily require separate pedals.
Read the full explanation
- Service braking allows you to control your vehicle's movement; secondary braking allows you to stop if service braking fails; and parking braking keeps your vehicle stationary. These do not necessarily involve three separate pedals. [RGV, art. 12 and Annex VIII](https://www.boe.es/buscar/act.php?id=BOE-A-1999-1826#a12).
- You should know your vehicle's particular system: depending on its design, it may use hydraulic, mechanical or pneumatic mechanisms and means of transmitting braking force. Do not assume that all tractors have the same discs, drums or reservoirs as a passenger car. Your checks and maintenance products must suit the system fitted. (Technical guidance.)
- You should check the response, control travel, leaks and warnings before setting off. Braking that pulls your vehicle to one side, a pedal that feels noticeably different or reduced effectiveness require an inspection. You also need the brakes on level ground and dry road surfaces: driving slowly does not make a serious fault acceptable. (Technical guidance.)
- When you brake, energy of motion is converted into heat. Heavy, continuous use can reduce braking effectiveness through overheating. If you notice an unusual smell or a loss of response, aim to stop safely and address the cause; accelerating or waiting until the end of the working day can make the problem worse. (Technical guidance.)
11Pedals and braking the combination
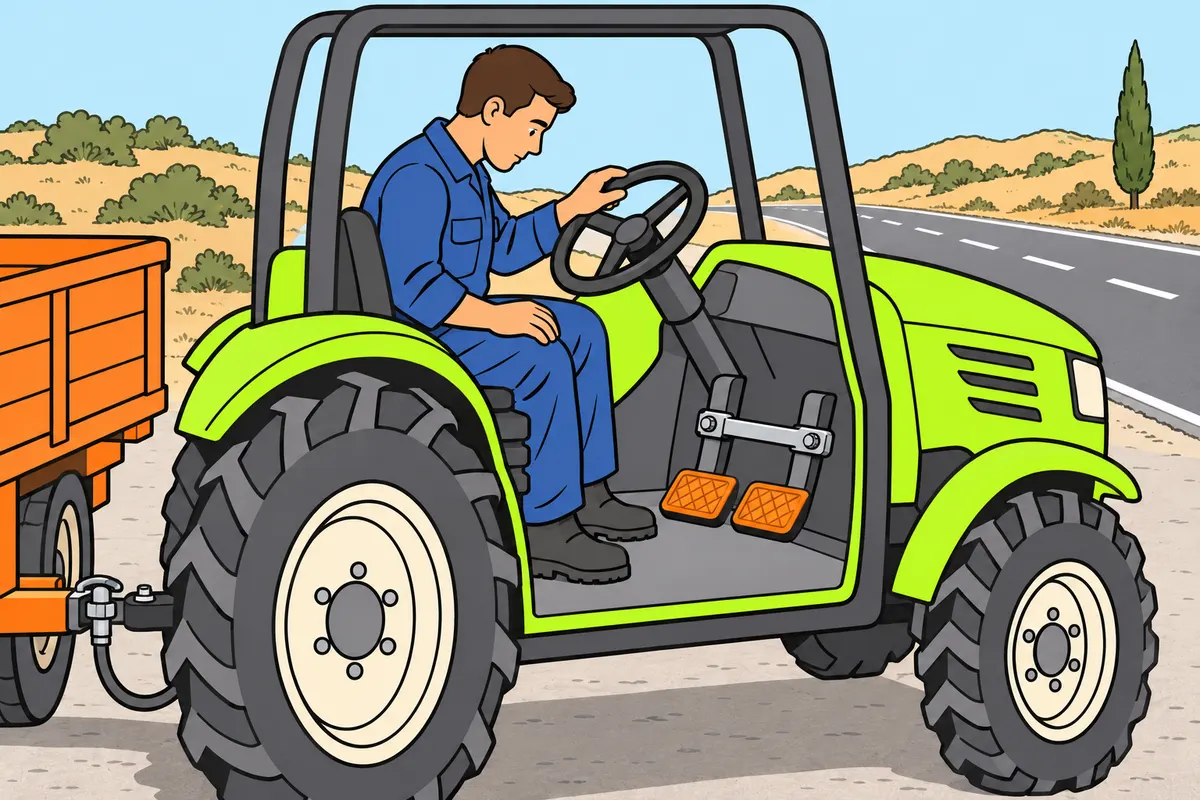
Link independent pedals for road travel and check the trailer brakes too.
Remember
- If you have independent brake pedals for each side, link them for road travel.
- Check the linking device before setting off.
- Keep pedals clean and free of objects.
- Check trailer brakes, where fitted, and their connections.
- Check the combination’s response before driving.
- Follow your equipment’s compatibility and coupling instructions.
Exam trap: Wrong: If the tractor brakes, the trailer brakes too. Right: Check the trailer brakes and connections where fitted.
Read the full explanation
- If your tractor has independent pedals for the brakes on each side, you should keep them linked using the device provided when travelling on the road. This makes them act together and prevents uneven braking that causes a turn. Check the interlock before setting off; do not confuse this linkage with the differential lock. (Technical guidance.) [INSST, tractors: preventing overturns](https://www.insst.es/materias/sectores-de-actividad/agrario/tractores).
- You should keep the pedals clean and free of mud, tools or objects. A slipping sole or an object that prevents you from fully pressing a control can compromise braking even if the internal components are in good condition. Your inspection of the driving position forms part of your practical mechanical checks. (Technical guidance.)
- You should also check the trailer's brakes, if fitted, their connections and the combination's braking response before driving. The fact that your tractor brakes does not prove that the trailer is braking. The push from a loaded trailer can destabilise your combination and mean you need more space to stop. (Technical guidance.)
- You should follow the combination's compatibility and coupling specifications; do not infer the requirements for an agricultural trailer solely from those for a light passenger-car trailer. Check the latches, connections and safety components applicable to that equipment before each use. (Technical guidance.)
12Steering and power assistance
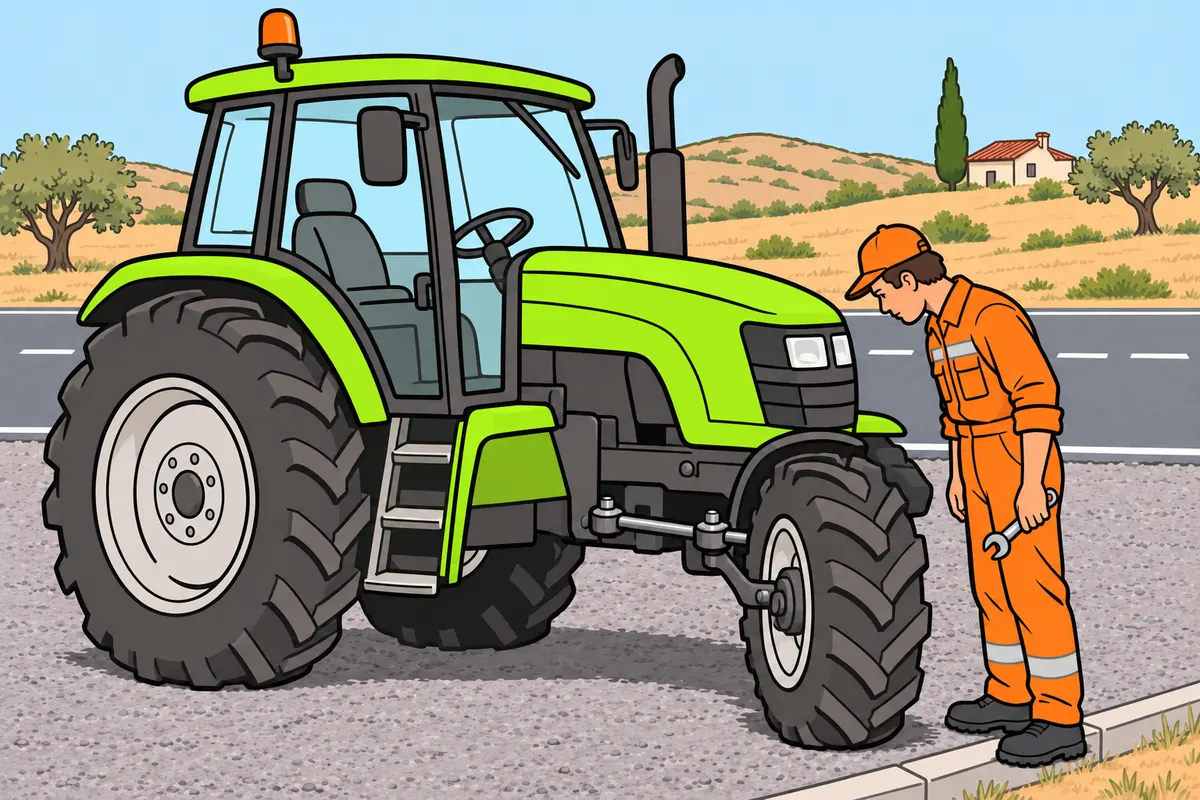
Check that your steering responds without delays or unusual effort.
Remember
- Know your machine’s steering type before driving.
- Check accessible joints, pipes and leaks without risking contact with moving parts.
- Do not test steering by letting go of the wheel while driving.
- For jerking, delays or lost turning ability, stop using it and request checks.
- Check pressures, tyres and steering if your tractor pulls sideways.
- Check the transport setting if you have several steering modes.
Exam trap: Wrong: Driving slowly compensates for faulty steering. Right: Stop using the machine if you lose turning ability.
Read the full explanation
- You should check that the steering controls respond normally and allow you to steer without abnormal play or stiffness. Power steering reduces the effort you need; a failure of the assistance can greatly increase this effort. In certain machines, dependence on the hydraulic system means you need to pay particular attention to the manual. (Technical guidance.)
- If your tractor tends to pull to one side, you should check tyre pressures, tyres and steering, among other possible causes. Vibration may be linked to wheels, fastenings or worn components. Do not test this by letting go of the steering wheel while driving or assume a single explanation is correct without an inspection. (Technical guidance.)
- You should check for leaks and inspect the visible condition of accessible joints and lines, without putting yourself between parts that can move. If your steering responds with a delay, jerks or loses its ability to turn, you must stop using the machine and have it checked. Low speed does not compensate for a loss of control. (Technical guidance.)
- You should know whether your machine has front-wheel steering, articulated steering or steering on other axles. Its path and swept area vary, and the steering wheel may also feel different. Before driving, identify its particular characteristics and check the transport position of any systems that allow several steering modes. (Technical guidance.)
13Suspension and tractor support
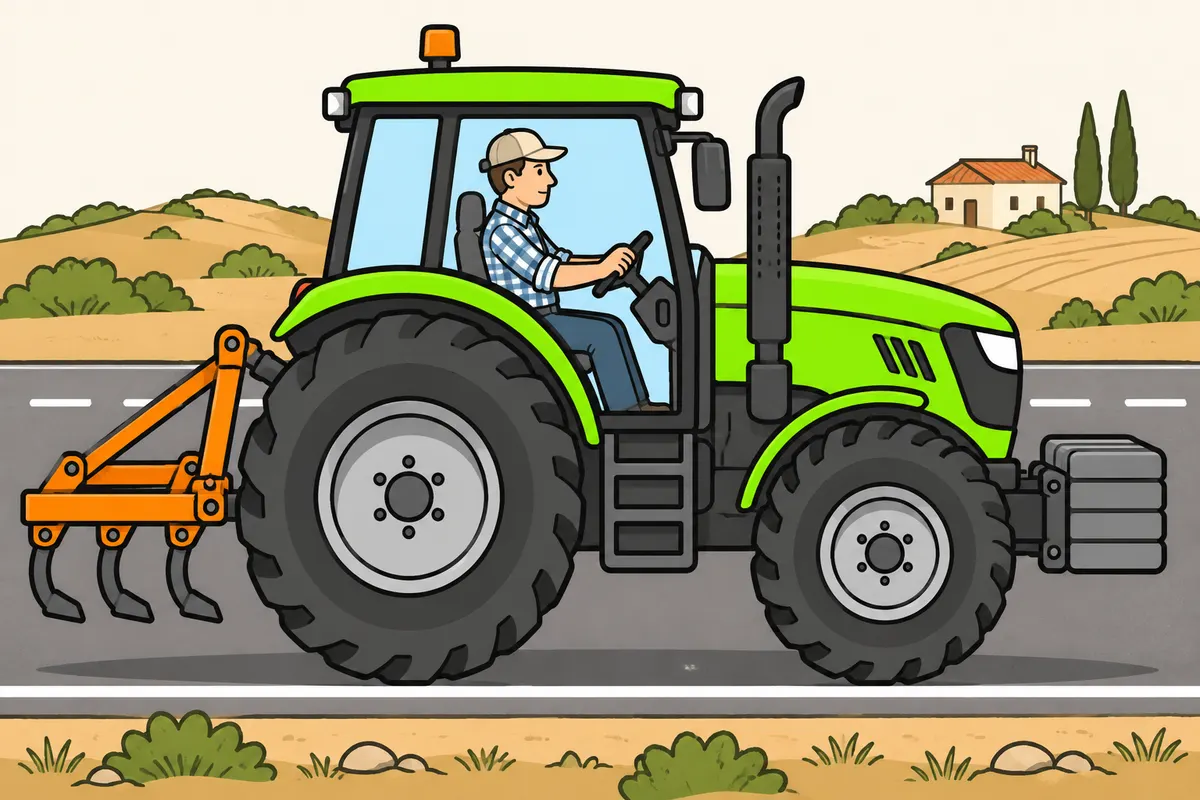
Check supporting parts and adjust counterweights to maintain stability and steering.
| Part | What you must distinguish |
|---|---|
| Seat or cab suspension | Cushions movement of that part |
| Axle suspension | Acts between the axle and the rest of the vehicle |
| Steered front axle | At least 20 % of unladen tractor mass, whatever the load |
Remember
- Check the suspension your tractor actually has.
- Request checks for bouncing, persistent leaning, knocking or leaks.
- Check seat mountings and visible chassis damage.
- Do not improvise welds on protective structures.
- With a rear-mounted implement, add front ballast when needed, following the manufacturer’s instructions.
- Maintain minimum front-axle load without exceeding permitted tractor or axle masses.
Exam trap: Wrong: A comfortable cab proves the supporting parts are sound. Right: Check tyres and supporting parts too.
Read the full explanation
- The suspension helps keep the wheels in contact with the ground, maintain stability and absorb uneven surfaces. Elastic components absorb movements and dampers moderate them. Do not confuse seat or cab suspension with suspension acting between an axle and the rest of the vehicle. (Technical guidance.)
- Many tractors do not have axle suspension equivalent to that of a car. The tyres and axle arrangement play a particularly important role in adapting to the terrain; other models have dedicated suspension. Check what your machine is equipped with, without expecting components it does not have. (Technical guidance.)
- If you notice abnormal bouncing, persistent leaning, knocks or fluid leaks from suspension components, you should arrange an inspection. These symptoms can affect wheel contact with the ground and your ability to brake or steer. A comfortable cab does not prove that the tyres or supporting components are in good condition. (Technical guidance.)
- You should check the seat mountings, access points and visible chassis components. Forces from implements and uneven ground can reveal play or damage. Do not improvise welds or modifications to protective structures: preserving their characteristics requires technically appropriate work. (Technical guidance.)
- You must adapt ballast and counterweights to the tractor and implement according to the manufacturer's instructions. A rear-mounted implement reduces the load on the front axle: whatever the load condition, the wheels of the front steering axle must transmit to the road at least 20 % of the tractor's unladen mass. Use front ballast when necessary to maintain this load and steering control, without exceeding the permissible masses of the tractor or its axles, particularly the maximum rear axle load. [Regulation (EU) 2015/208, Annex XXXIV, 3.3.2.2 and Annex XXII, 2.2](https://www.boe.es/buscar/doc.php?id=DOUE-L-2015-80277&lang=es).
14Agricultural tyres: condition and wear
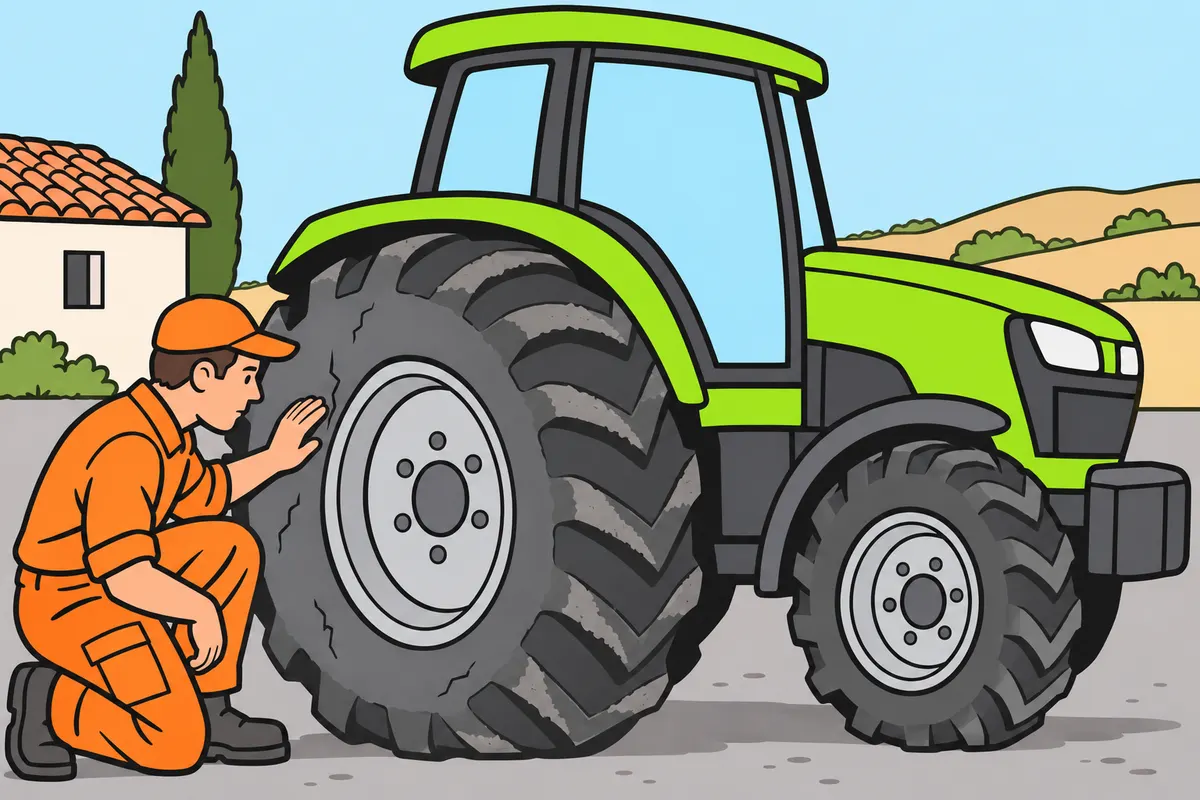
Check the tread and damage on every tyre in your combination.
| Vehicle or category | Tyre tread |
|---|---|
| Agricultural tractor | No fixed minimum depth; keep tread across the entire tread band |
| M1, N1, O1 and O2 | Minimum 1.6 mm |
Remember
- Look for cuts, bulges, cracks, distortion and embedded objects.
- Keep tread across the tractor tyre’s entire tread band.
- Do not wait for visible cords before requesting replacement.
- Check for ageing even after few operating hours.
- Inspect trailer wheels too.
- Remove grease and chemicals that damage tyres.
Exam trap: Wrong: The tractor must always meet the 1.6 mm minimum. Right: It has no fixed minimum depth in millimetres; it must retain tread and have no dangerous damage.
Read the full explanation
- You should inspect the tread, sidewalls and wheel rims for cuts, bulges, cracks, deformation or embedded objects. Loss of grip impairs traction, steering and braking. The size of an agricultural wheel does not make damage to its tyre casing harmless or compensate for incorrect pressure. (Technical guidance.)
- There is no fixed minimum tread depth in millimetres for agricultural tractors. You must retain tread across the entire tread surface; the ITV (vehicle roadworthiness test) assesses wear, cuts, deformation and structural damage in accordance with the inspection manual. The 1.6 mm minimum applies to M1, N1, O1 and O2. [RGV, art. 12.5 and Annex VII](https://www.boe.es/buscar/act.php?id=BOE-A-1999-1826#anvii); [ITV Manual, section III, 8.3](https://industria.gob.es/Calidad-Industrial/vehiculos/itv1/Manual%20de%20procedimiento%20de%20inspecci%C3%B3n/Manual%20de%20procedimiento%20de%20inspeccion%20de%20estaciones%20ITV-V%207.9_final2.pdf).
- You should assess wear on the lugs or raised tread blocks of the driven wheels: if they are badly worn, grip on the ground decreases. Do not wait until the cords are visible or the tyre loses all its tread before arranging replacement. Ageing can damage it even if it has only worked for a few hours. (Technical guidance.)
- You should protect the tyres during long periods out of use and remove grease or chemicals that could damage them. Inspect the trailer wheels too. The appearance of the front tyres does not tell you the condition of the rear tyres or of a tyre on the opposite side of the combination. (Technical guidance.)
15Pressure, capacity and fitting
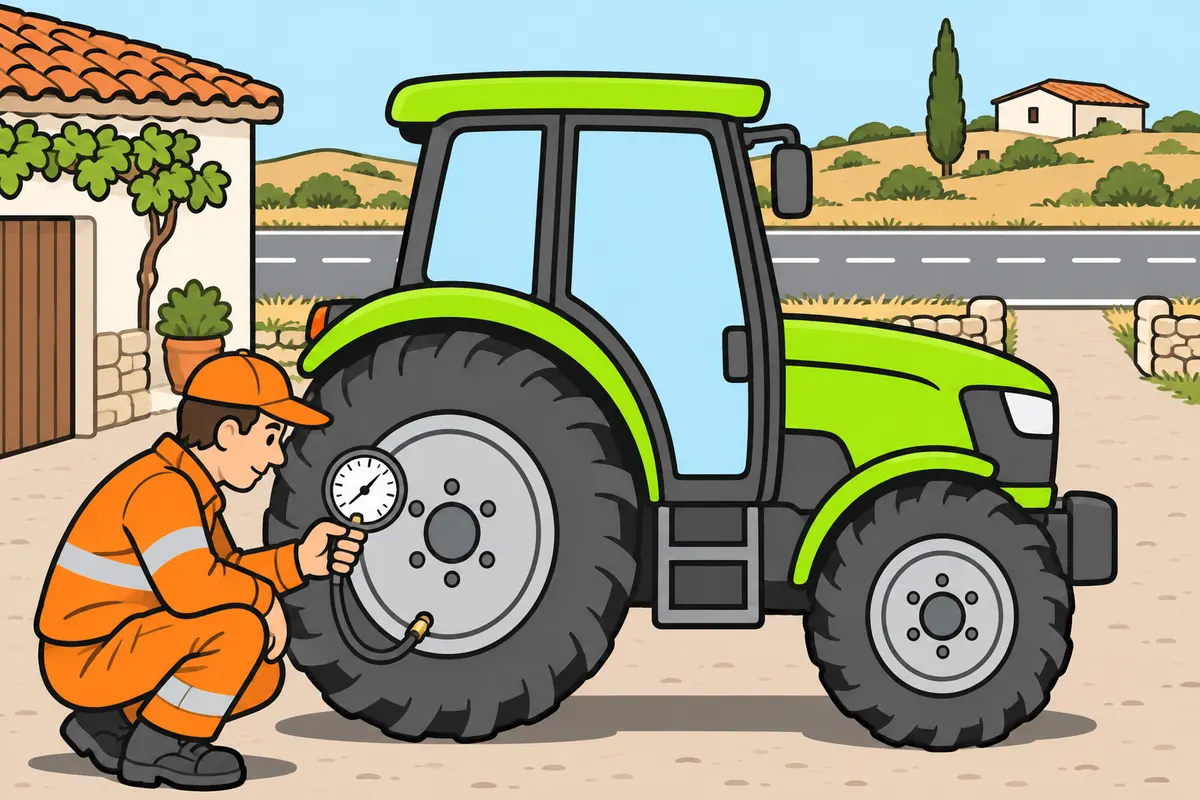
Check pressures cold and use wheels and fittings suitable for your tractor.
Remember
- Use a pressure gauge and the manufacturer’s values for load and use.
- Do not release air because of the normal pressure rise when hot.
- For repeated air loss, request checks of the valve, tyre and rim.
- Follow tyre size requirements and load and speed limits.
- Leave damaged-wheel repairs to properly equipped people.
- With twin wheels or greater width, check approved configuration, fastenings and road width.
Exam trap: Wrong: Field-work pressure suits every transport journey. Right: Check the specified pressure for the load and use.
Read the full explanation
- You should measure tyre pressure when cold with a suitable pressure gauge and use the manufacturer's values for the load, work and travel involved. You must not assume that a pressure suitable for field work is valid for all road transport. There is no single inflation pressure for all tractors. (Technical guidance.)
- Avoid letting air out of a hot tyre to bring it back to the specified cold pressure: heating during use increases its pressure. Check it again under the correct conditions. Repeated pressure loss requires you to have the valve, tyre and rim checked, rather than simply adding air indefinitely. (Technical guidance.)
- Incorrect pressure contributes to abnormal wear, heating, loss of stability and unnecessary fuel consumption. Pressure matters on short journeys too. A difference between wheels on the same axle can affect your course, but you should avoid assuming that all axles require the same pressure. (Technical guidance.)
- You must use sizes and specifications suitable for the vehicle, respecting its load and speed capacity. Incorrect fitting can also damage the transmission of a four-wheel-drive tractor. Leave removal, repairs and inflation of damaged assemblies to personnel with the proper equipment: an agricultural wheel stores a great deal of energy. [RGV, Annex VII.1](https://www.boe.es/buscar/act.php?id=BOE-A-1999-1826#anvii).
- A wider track and twin wheels broaden the support base and improve lateral stability. You should use only configurations approved for your tractor and, before taking it onto the road, check its overall width, fixings and suitability for the intended road use; an agricultural working configuration may need adapting for transport. Overturning risk is covered in «Driving the agricultural vehicle safely» and width limits in «Loads, implements and agricultural traffic». (Technical guidance.) [INSST, NTP 1086](https://www.insst.es/documentacion/colecciones-tecnicas/ntp-notas-tecnicas-de-prevencion/31-serie-ntp-numeros-1066-a-1101-ano-2016/ntp-1086-tractor-agricola-estabilidad-frente-al-vuelco-2017).
16Lights, connections and reflectors
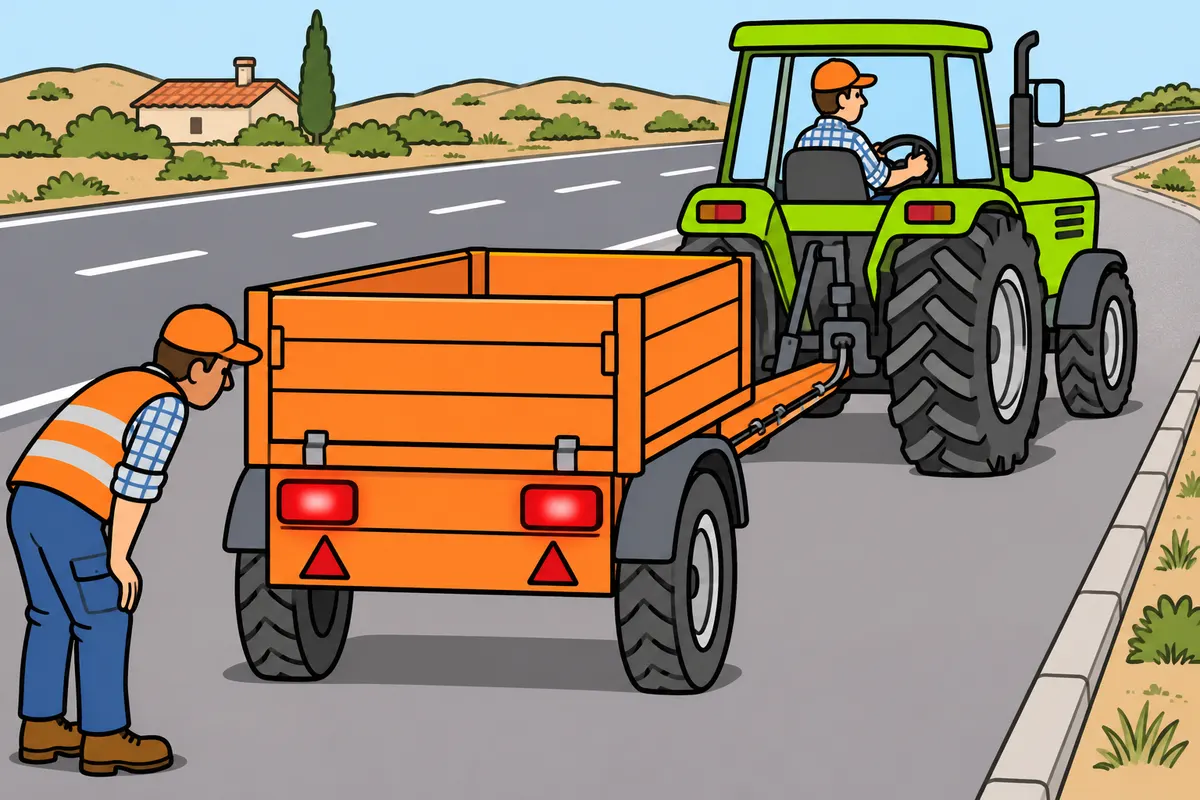
Check your lights from outside and keep reflectors clean.
| Part | How it makes the combination visible |
|---|---|
| Lamp | Emits light |
| Reflector | Reflects light it receives |
Remember
- Test every lighting function on the vehicle and trailer.
- Clean headlights, other lamps and reflectors.
- Use replacements that retain the approved characteristics.
- Keep paired lights with the same function equal in colour and intensity.
- Check trailer plugs, cables and fastenings.
- Keep implements and dirt from covering lights.
Exam trap: Wrong: Work lights replace road lights. Right: Maintain the lighting required for road use.
Read the full explanation
- You should check the headlamps, position lights, indicators, brake lights and all other devices fitted to the vehicle and its trailer as required by the regulations. Operate each function and check the result from outside, with help provided safely if necessary. A working dashboard indicator does not guarantee that all the exterior lamps light up. (Technical guidance.)
- You should clean the lenses of headlamps, other lamps and retroreflectors; mud can obscure them after agricultural work. Retroreflectors reflect incoming light, while lamps emit light. Cleaning these components makes the combination easier to see, but does not repair an electrical fault or increase the permitted speed. (Technical guidance.)
- You must preserve the type-approved characteristics when replacing devices. Paired lights with the same function must match in colour and intensity. Avoid fitting a bulb with an unsuitable wattage or technology; an improvised conversion can dazzle others or overload the circuit. [RGV, art. 15](https://www.boe.es/buscar/act.php?id=BOE-A-1999-1826#a15).
- You should inspect the trailer's plugs, wiring and fixings to prevent disconnection or chafing. Check that implements and dirt do not obscure the lights. Work lights do not replace the lighting needed for road use; the requirements for fitting and using agricultural vehicle lights and signals are covered in «Agricultural lighting and signalling». (Technical guidance.)
17Battery, starting and electrical charging
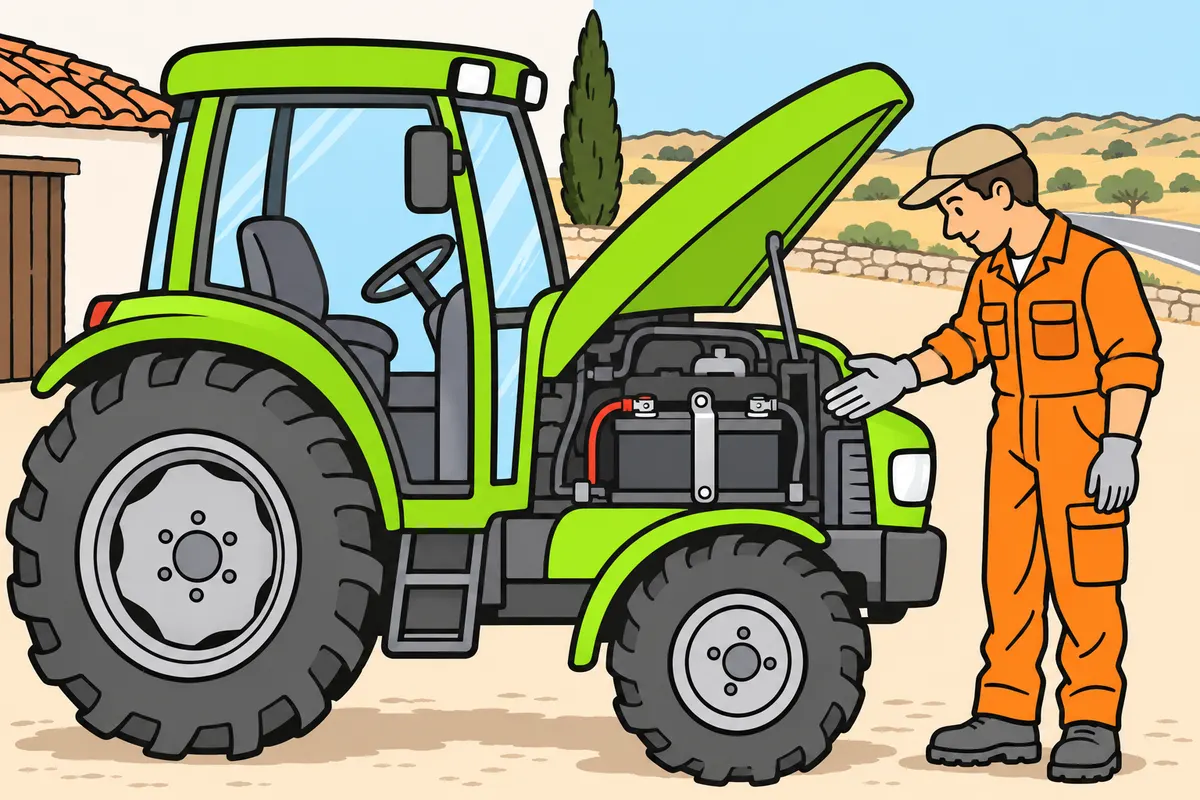
Look after your battery and distinguish starting from electrical charging.
| Component | Function |
|---|---|
| Battery | Stores energy |
| Starter motor | Uses energy to turn the engine |
| Alternator | Generates electricity and allows the battery to recharge |
Remember
- Keep the battery secure and clean, with firm connections.
- Avoid flames, sparks and accidental contact with metal tools.
- Identify battery type and voltage before connecting a starting aid.
- Do not open sealed batteries.
- Check belts with the engine stopped and no risk of accidental starting.
- Use fuses with the specified current rating; do not bypass them.
Exam trap: Wrong: The battery generates electricity while driving. Right: The alternator generates it; the battery stores energy.
Read the full explanation
- The battery stores energy; the starter motor uses it to turn the combustion engine; the alternator generates electricity while the engine runs and allows the battery to recharge. A flat battery and a charging circuit fault can produce related symptoms, but require different checks. (Technical guidance.)
- You should keep the battery secure and clean, with its connections in good condition. Loose or corroded terminals can make starting difficult. Do not rest metal tools where they could bridge the terminals or touch a terminal and earth; avoid flames and sparks during operations that may release flammable gases. (Technical guidance.)
- Before working on the battery or connecting a starting aid, check the battery type and system voltage. Do not assume that every agricultural vehicle uses the same electrical system as a car. Do not open the cells of sealed batteries; for batteries that allow maintenance, follow the manufacturer's instructions. (Technical guidance.)
- You should inspect accessible belts with the engine stopped and no risk of accidental starting. A damaged belt can affect the alternator and, depending on the design, other components. If you need to replace fuses, use the specified current rating and find the cause if they blow again; do not bypass them. (Technical guidance.)
18Fluids and hydraulic circuit
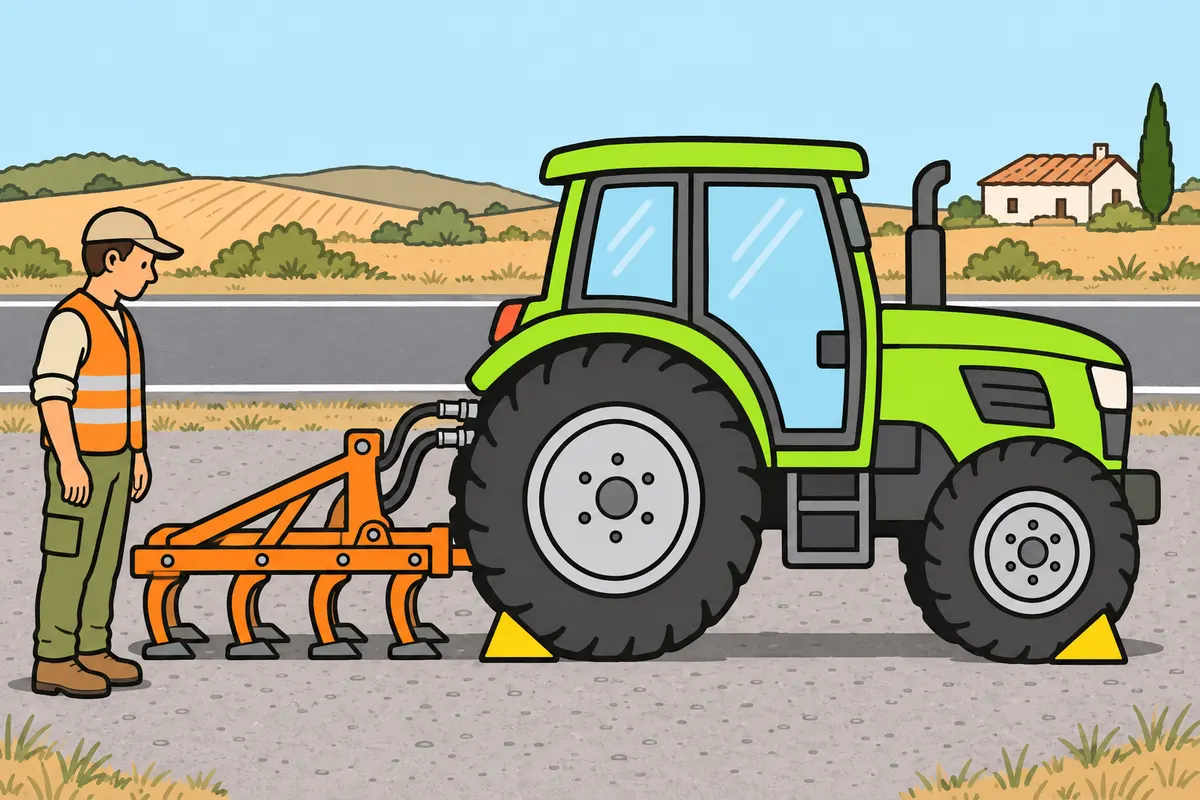
Use the correct fluid and release pressure before working on hydraulic systems.
Remember
- Identify each fluid; check the manual to confirm whether mechanisms share oil.
- Check levels with the machine and equipment in the specified position.
- Keep caps and connections clean.
- Look for leaks without putting your hand near high-pressure jets.
- Lower or secure equipment and release pressure using the specified procedure.
- Do not stand beneath an implement supported only by hydraulics.
Exam trap: Wrong: With the engine stopped, you can work beneath any implement. Right: Secure the equipment and remove stored energy that could move it.
Read the full explanation
- Locate the separate reservoirs and checking points for engine oil, coolant, transmission lubricant, hydraulic fluid and auxiliary fluids. On some tractors, several mechanisms share a specific oil. You should confirm this arrangement in the manual, because adding a generic product can damage brakes, clutches or pumps. (Technical guidance.)
- You should check levels with the machine in the specified position and conditions, including the position of hydraulic equipment. Do not interpret a reading without considering whether a cylinder is extended. Keep caps and couplings clean to prevent impurities entering when you top up or connect a hose. (Technical guidance.)
- You should check hoses, fittings and stains beneath the machine before setting off. A leak can impair steering, braking or the secure holding of equipment, depending on the circuit affected. Do not search for a high-pressure leak with your hand: a fine jet can penetrate your skin and cause serious injuries. (Technical guidance.)
- You should lower or secure equipment and release pressure according to the specified procedure before carrying out work. Do not go beneath an implement supported solely by the hydraulics. A hose can fail even with the engine stopped; immobilising the machine also requires you to eliminate any stored energy that could cause movement. (Technical guidance.)
19Warning lights: interpret before acting
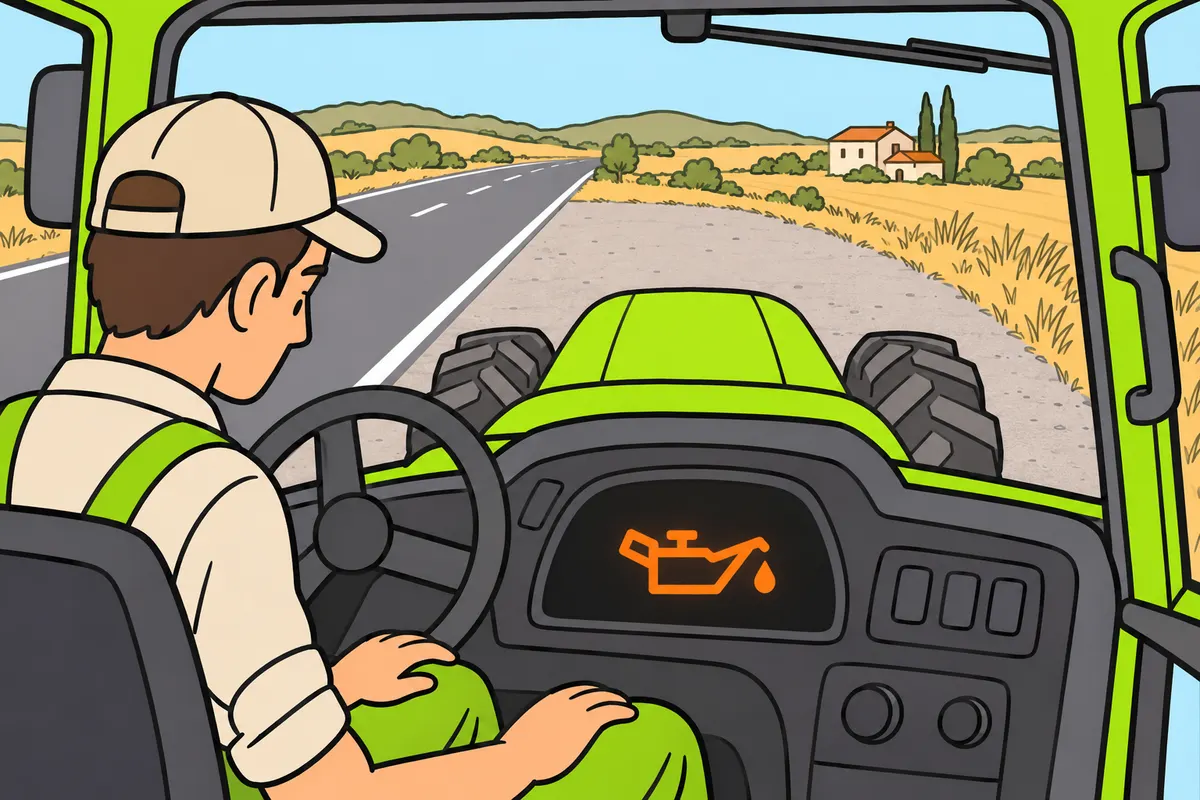
Understand each warning light and act according to its meaning and the manual.
| Warning or indicator | What you must understand |
|---|---|
| Electrical charging | A charging-system problem |
| Low fuel | You must plan refuelling |
| Direction indicator | Shows an activated function |
Remember
- Learn your machine’s symbols and messages.
- Watch the initial light check when switching on the ignition.
- Investigate warnings that remain on or appear during operation.
- Do not cover the dashboard or disconnect warning devices.
- For oil-pressure or excessive-temperature warnings during operation, stop safely; follow the manual.
- For brake or steering faults, stop safely and request a check.
Exam trap: Wrong: All illuminated warning lights mean the same fault. Right: Interpret the symbol and manual; some lights only indicate functions.
Read the full explanation
- You should learn the pictograms and messages on your machine's instrument panel. Some indicate that a function is switched on, while others warn of a fault. The colour gives you a guide to the attention required, but the specific action depends on the symbol and the manual; simply memorising that any illuminated light means the same fault is not enough. (Technical guidance.)
- You should observe the initial warning-light check when you switch on the ignition. Depending on the system, it is normal for certain warnings to remain lit while the engine is stopped and go out after you start it. If a warning persists or appears during operation, you need to interpret its meaning; do not cover the instrument panel or disconnect the warning device. (Technical guidance.)
- The charging warning light warns you of a problem with the electrical charging system. To respond to oil pressure and temperature warnings, follow the guidance in ‘Lubrication: level and pressure’ and ‘Cooling and temperature’. The symbol identifies the affected circuit; consult the manual for the specific action and the meaning of any associated messages. (Technical guidance.)
- If you receive a brake or steering warning, lose responsiveness or receive a stop alarm, you should prioritise stopping safely and arranging an inspection. A low-fuel warning requires you to plan refuelling, whereas a direction-indicator light tells you that a function is operating. Do not confuse these indications with permission to continue with a serious fault. (Technical guidance.)
20Exterior checks before setting off
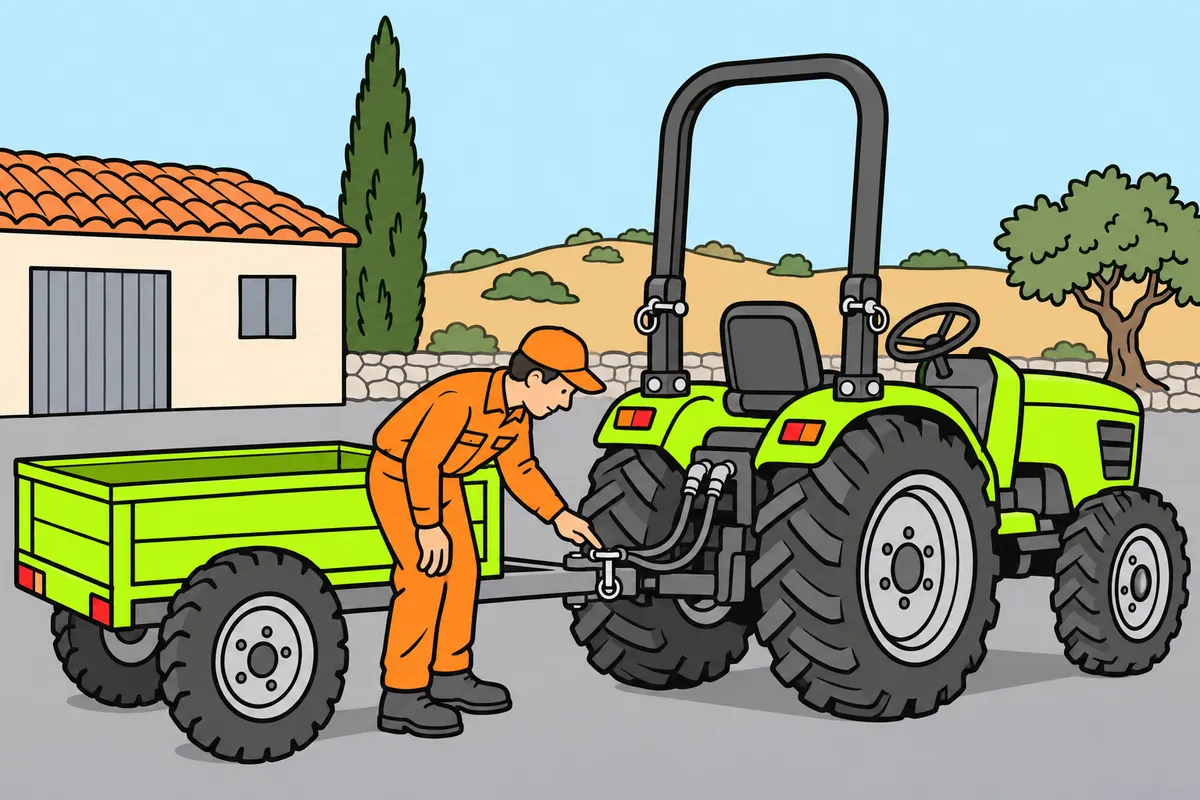
Inspect your whole combination before setting off and correct safety defects.
Remember
- With the vehicle stationary, check both sides and the rear.
- Look for leaks, damage, loose parts and deflated tyres.
- Check couplings, pins, locks and transport positions of implements and trailer.
- Check rollover-structure anchorages and locks; if foldable, raise and lock it.
- Clean windows and mirrors; adjust mirrors from your driving position.
- Check fuel, fluid levels, lights and ITV validity.
Exam trap: Wrong: Checking fuel is enough before setting off. Right: Check the combination and resolve defects that compromise safety.
Read the full explanation
- You should walk around and inspect the combination with the vehicle secured against movement. Look for leaks, damage, underinflated tyres, loose parts and nearby obstacles. Check both sides and the rear: looking only at the driving position or fuel level leaves essential components unchecked. (Technical guidance.)
- You should check couplings, pins, catches and attachments on implements and the trailer, as well as any connections fitted to them. Check their transport position. Maintaining these points prevents parts from coming loose and dangerous movements; you study the rules for positioning and securing loads in ‘Loads, implements and agricultural traffic’. (Technical guidance.)
- As a technical condition check, inspect the rollover protective structure (ROPS) fitted to your tractor: mountings, bolts, joints and locking pins, with no play, cracks or deformation. If it folds down, check that it is raised and locked in its protective position before driving. [RD 448/2020, art. 7.1](https://www.boe.es/buscar/act.php?id=BOE-A-2020-4666#a7); [ITV (vehicle roadworthiness test) Manual, section III, 2.2](https://industria.gob.es/Calidad-Industrial/vehiculos/itv1/Manual%20de%20procedimiento%20de%20inspecci%C3%B3n/Manual%20de%20procedimiento%20de%20inspeccion%20de%20estaciones%20ITV-V%207.9_final2.pdf).
- You must remove dirt that prevents you from seeing through windows or using mirrors, and adjust the mirrors from your normal driving position. Poor adjustment reduces the information available to you even in good light. Also check the wiper blades, windscreen washers and demisting system if your vehicle has them. [RGV, art. 11](https://www.boe.es/buscar/act.php?id=BOE-A-1999-1826#a11).
- You should confirm that you have enough fuel, that the specified fluid levels are correct and that the ITV is valid. Checking paintwork, the sound system or climate control does not replace checking brakes, steering, tyres and lights. If you find a defect that compromises safety, resolve it before joining the road. (Technical guidance.)
21Checks from the driving position
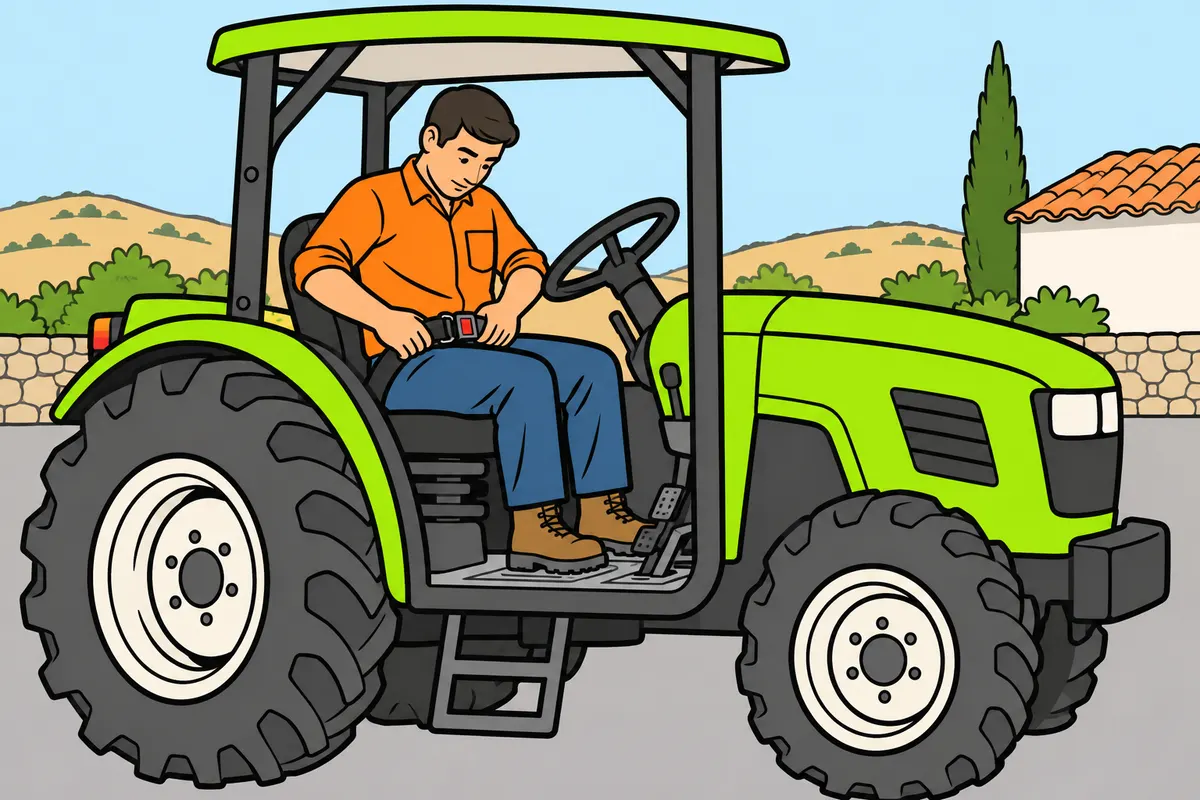
Prepare your driving position and check the controls before driving.
Remember
- Adjust and secure your seat; keep the floor and pedals clean and clear.
- If fitted, check seat-belt webbing, anchorages, buckle and any retractor.
- Check that the horn sounds continuous, uniform and loud enough.
- Start from the designated position following the manual, without disabling safety devices.
- Follow the procedure: test steering and brakes very slowly in a clear area.
- If you have separate brake pedals, check their linkage for travel.
Exam trap: Wrong: Morning use removes the need to check after changing an implement. Right: Check the actual combination and request checks for major problems.
Read the full explanation
- You should adjust the seat and controls so that you can reach the pedals properly, check that the seat is securely attached and follow the control-cleaning guidance in ‘Pedals and braking the combination’. (Technical guidance.)
- You must check the seat belt fitted to your tractor: the webbing must have no cuts or fraying, the anchorages must be secure, and the buckle must fasten and release correctly; also check the retractor if fitted. If it fails, arrange a repair before using the vehicle. [RGCond, annex V.B.1, 14.ª](https://www.boe.es/buscar/act.php?id=BOE-A-2009-9481#anv).
- You must check that the horn works and produces a continuous, uniform and sufficiently loud sound. If it does not sound or sounds abnormal, have the fault checked before setting off; you study the rules for using it in ‘Manoeuvres with agricultural vehicles’. [RGV, art. 11.7](https://www.boe.es/buscar/act.php?id=BOE-A-1999-1826#a11).
- You should start the engine using the manufacturer's procedure, from the designated position and with the controls in a safe position. Watch the instruments and listen for any abnormal noise. Do not override safety devices to start the engine or allow anyone to remain near wheels or mechanisms during the check. (Technical guidance.)
- You should check that the steering and brakes work under controlled conditions, at very low speed and in a clear area when the procedure requires it. Also carry out the checks in ‘Pedals and braking the combination’. The check does not involve performing an emergency stop on the road. (Technical guidance.)
- You should check the actual combination you are going to drive: a trailer, implement or load can change visibility, support and response. A significant fault requires you to stop your preparations and arrange an inspection. Using the tractor in the morning does not replace checking it after a change of equipment or an incident. (Technical guidance.)
22Breakdowns: stop and repair
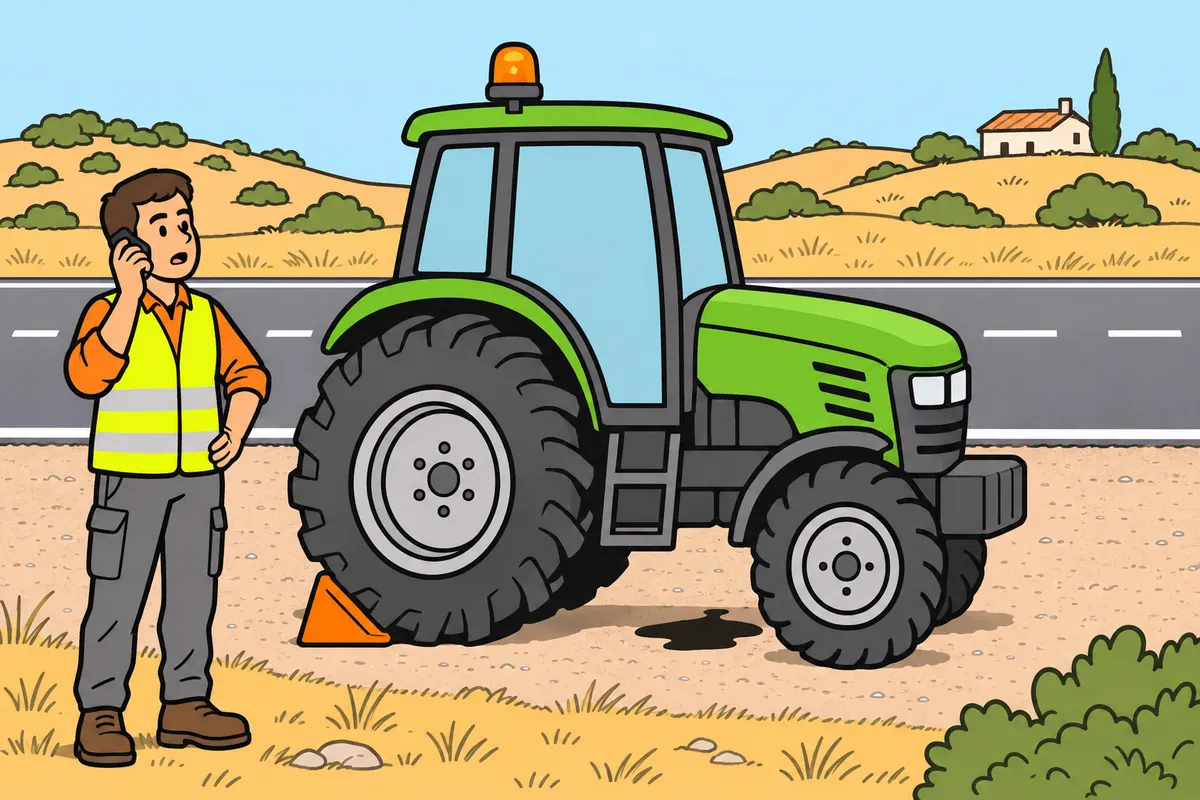
For a serious fault, stop safely, secure the machine and arrange a repair.
| Smoke or vapour | Possible clue, not a certain diagnosis |
|---|---|
| Blue | Oil consumption |
| Black | Poor combustion |
| Brief white vapour when cold | Condensation |
Remember
- Reduce the risk without losing control.
- Immobilise the vehicle and prevent movement before inspecting it.
- Use the required protection and warning measures.
- Do not repair in traffic or beneath a tractor without securing and supporting it.
- If the fault affects safety, continue only after checking and correcting it.
Exam trap: Wrong: Switching off the warning light proves you repaired the fault. Right: Check and correct the fault.
Read the full explanation
- If you notice a significant noise, vibration or warning, you should reduce the risk and find a safe place to stop. Do not accelerate to try to relieve it or wait until you finish your journey if it affects brakes, steering or stability. You must act in a way that maintains control and avoids creating another hazard as you pull off the road. (Technical guidance.)
- You should secure the vehicle against movement before inspecting it and prevent movement of wheels, equipment or transmissions. If a fault compromises safety, request assistance and resume use once it is checked and corrected. An improvised repair that merely turns off a warning light does not prove that the system works correctly. (Technical guidance.)
- You should pay attention to a burning smell, persistent smoke or major leaks. Blue smoke can be linked to oil consumption; black smoke to poor combustion; a brief puff of white vapour when cold can be condensation. These are clues for an inspection, not definitive diagnoses or guarantees that you can continue. (Technical guidance.)
- You should follow the procedure for protection and warning others when your vehicle is immobilised, explained in ‘Accidents and breakdowns: protect and assist’. Here, you need to recognise when the mechanical condition prevents you from continuing. Do not carry out repairs while exposed to traffic or position yourself beneath the tractor without adequate supports and safeguards against movement. (Technical guidance.)
23ITV: agricultural schedules
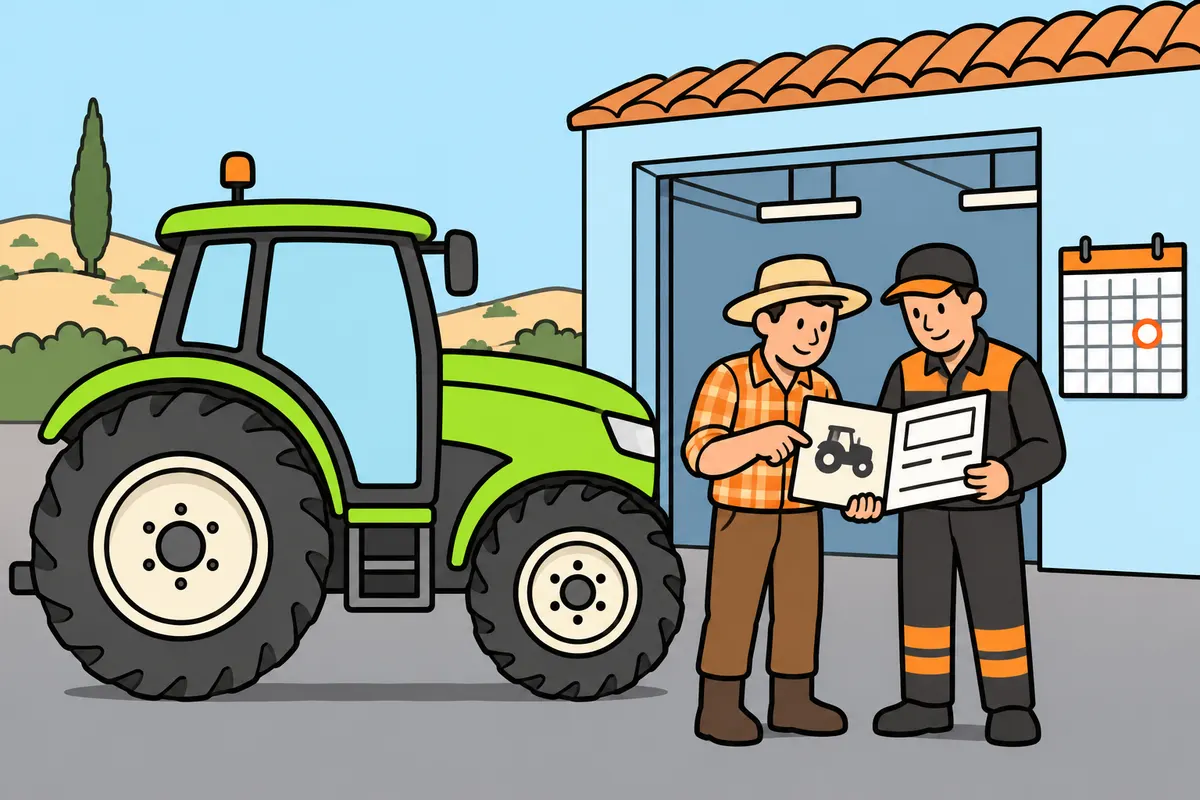
Check the ITV schedule for your vehicle’s class and design speed.
| Agricultural vehicles | Exempt | ITV every two years | Annual ITV |
|---|---|---|---|
| Wheeled agricultural or forestry tractors with a design speed exceeding 40 km/h | Up to 4 years | From 4 to 16 years | Over 16 years |
| Other wheeled agricultural or forestry tractors; self-propelled machines except single-axle machines; special trailers, towed machines and tractocarros (agricultural motor carts) | Up to 8 years | Between 8 and 16 years | Over 16 years |
Remember
- Check vehicle class and design speed in the documentation.
- Count age from the recorded first registration or entry into service.
- Do not count it from your purchase.
- Remember: biennial means every two years; annual means every year.
- Check the expiry date; an appointment does not extend it.
- Continue maintenance even after passing the ITV.
Exam trap: Wrong: All tractors have the same ITV schedule. Right: Distinguish wheeled agricultural or forestry tractors with a design speed exceeding 40 km/h.
Read the full explanation
- Check the documentation for the vehicle's class and design speed. For agricultural or forestry wheeled tractors exceeding 40 km/h: exemption up to 4 years, inspection every two years from 4 to 16 years, and annually over 16 years. [RD 920/2017, art. 6.1](https://www.boe.es/buscar/act.php?id=BOE-A-2017-12841#a6).
- For other agricultural or forestry wheeled tractors, self-propelled machines except single-axle machines, special trailers, towed machines and agricultural transporters: exemption up to 8 years, inspection every two years between 8 and 16 years, and annually over 16 years. [RD 920/2017, art. 6.1](https://www.boe.es/buscar/act.php?id=BOE-A-2017-12841#a6).
- You must count the vehicle's age from its first registration or recorded entry into service, not from your purchase. Biennial means every two years; remember that the schedule depends on the vehicle, not on whether its driver uses an LVA licence. [RD 920/2017, art. 6](https://www.boe.es/buscar/act.php?id=BOE-A-2017-12841#a6).
- As technical preparation, you should check the exact expiry date and prepare the machine for checks of its identification, brakes, steering, wheels and other applicable systems. An appointment does not extend validity: you must submit the vehicle for inspection within the applicable deadline. Inspection and maintenance cover some of the same components, but passing the inspection does not remove the need to address subsequent leaks, wear or warnings. [RD 920/2017, art. 6](https://www.boe.es/buscar/act.php?id=BOE-A-2017-12841#a6).
24ITV: interpreting the result
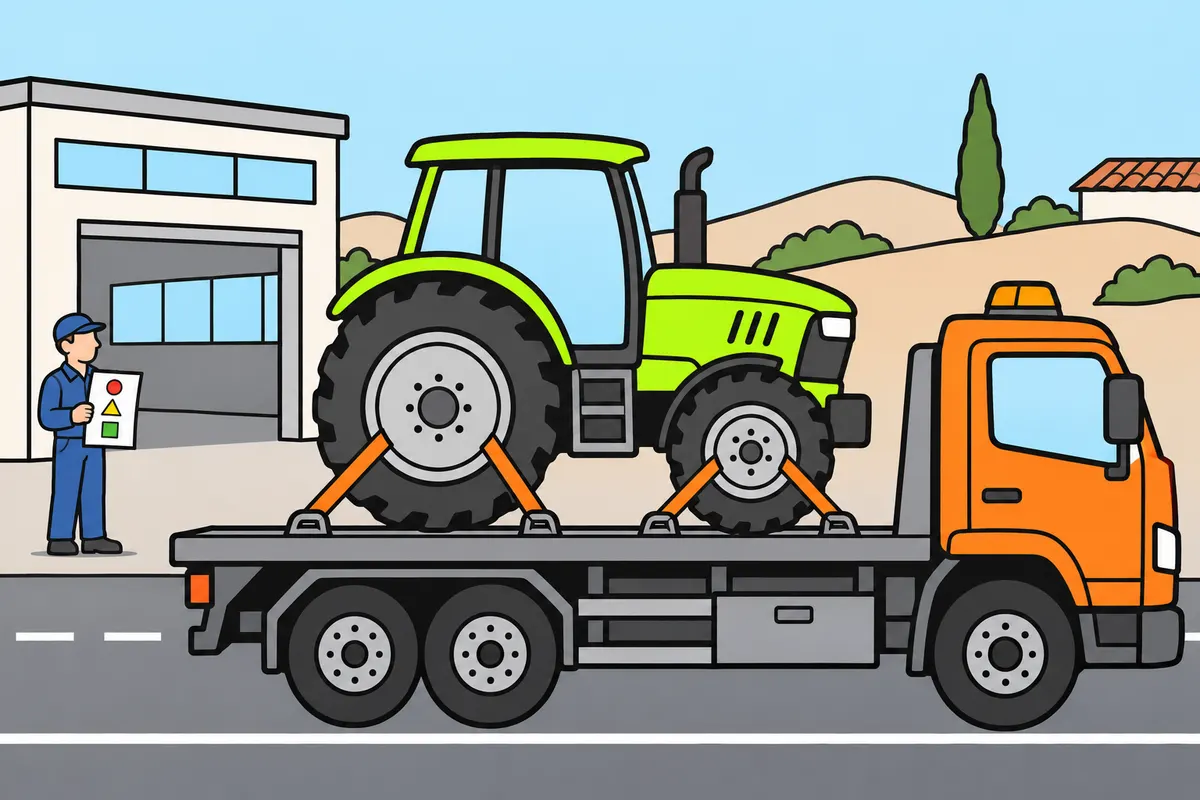
Read your ITV result to know how you may move the vehicle.
| Result and defect | What you must do | Maximum time |
|---|---|---|
| Favourable with minor defects | Repair without another inspection | Two months |
| Unfavourable: serious defects | Only permitted journeys for repairs and return for inspection | Two months from the first unfavourable inspection |
| Negative: very serious defects | Leave the station by external means; repair and present for inspection | Two months from the first negative inspection |
Remember
- Read the report and repair the listed defects.
- Minor defects alone allow a favourable result.
- With minor defects, you do not need another inspection.
- With an unfavourable result, do not continue normal road work.
- With a negative result, do not drive out of the station.
- Do not rely only on the sticker or an earlier inspection.
Exam trap: Wrong: A negative ITV lets you drive to the workshop. Right: Transport from the station must use means other than the vehicle’s own power.
Read the full explanation
- You must repair minor defects within a maximum of two months; on their own, they allow a favourable result and do not require reinspection. [RD 920/2017, arts. 9 and 11](https://www.boe.es/buscar/act.php?id=BOE-A-2017-12841#a1-3).
- With a desfavorable (unfavourable) result due to serious defects, you may only make the permitted journeys to have them rectified and return for inspection, within a maximum of two months from the first unfavourable inspection. You cannot continue your usual work on the road. [RD 920/2017, art. 11](https://www.boe.es/buscar/act.php?id=BOE-A-2017-12841#a1-3).
- With a negativo (negative) result due to very serious defects, you must arrange transport from the inspection station by means other than the vehicle itself; you must rectify the defects and present the vehicle for inspection within a maximum of two months from the first negative inspection. [RD 920/2017, arts. 9 and 11](https://www.boe.es/buscar/act.php?id=BOE-A-2017-12841#a1-3).
- You should read the report to identify the affected components and the action required. Unfavourable and negative do not mean the same thing: the exam may ask whether you can drive to the workshop. A visible sticker or a previous favourable inspection does not replace knowing the current result or repairing the defect found. (Technical guidance.)
Check the engine oil
Distinguish between the level, topping up and the pressure warning.
- Secure the tractor on level ground and switch off the engine.
- Observe the temperature and waiting time specified by the manufacturer.
- Wipe the dipstick, insert it fully and withdraw it to take a reading, or use the designated level-reading system.
- Check that the level is between minimum and maximum; top up only with the specified product and do not exceed the maximum.
- If a pressure warning appears during operation, do not assume the problem is resolved simply because the level is correct: have it checked.
Prepare the combination for road use
Check everything from the exterior to the controls.
- Inspect for leaks and check the wheels, fastenings and visible condition of the combination.
- Secure couplings and implements in their transport position and check connections.
- Clean windows, mirrors, headlights and reflectors; adjust your driving position and mirrors.
- Check fluid levels, fuel, lights and the ITV due date.
- Start the engine according to the manual, observe the warning lights and check the brakes and steering under controlled conditions.
- Rectify safety defects before setting off.
Respond to a major fault
Maintain control and decide whether you can continue.
- Identify the warning or change in response without distracting yourself from driving.
- Reduce the risk and stop in a safe place.
- Secure the vehicle and apply the protective measures in “Accidents and breakdowns: protect and assist”.
- Switch off the engine when the fault requires it and avoid working on systems that are hot, pressurised or moving.
- Arrange inspection and repair; continue only when it is safe.
Finished this module?
Mark it as read and you will see your progress on the theory list.