
Theory · A1 Licence - 125 cc Motorcycle · Module 15 of 18
Motorcycle riding techniques
You learn to control your A1 motorcycle on straights, on bends, at low speed and during emergency braking, paying attention to your road position and other road users. You practise adapting your riding to a passenger, a group and the performance of a 125, and distinguish between the manoeuvres, speeds and assessment criteria in the practical tests. You also learn about the particular characteristics of motor tricycles and motorcycles with sidecars.
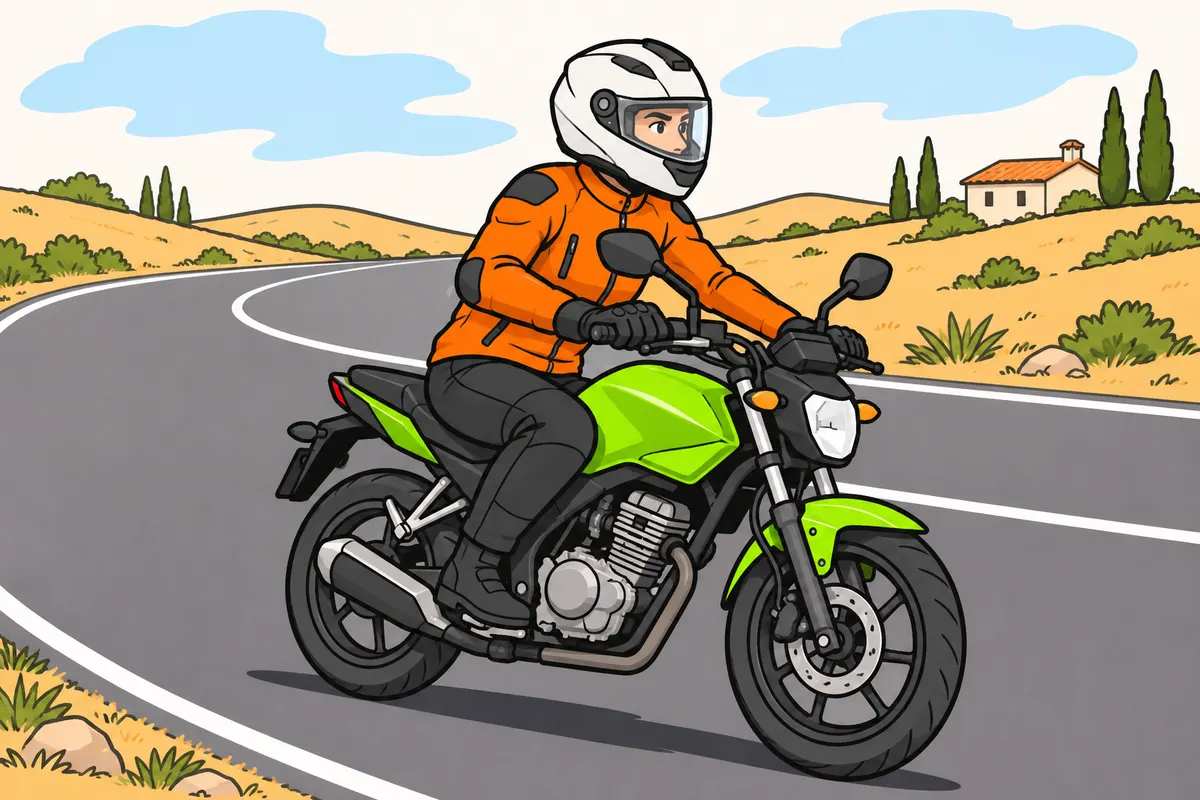
1Prepare for control before setting off
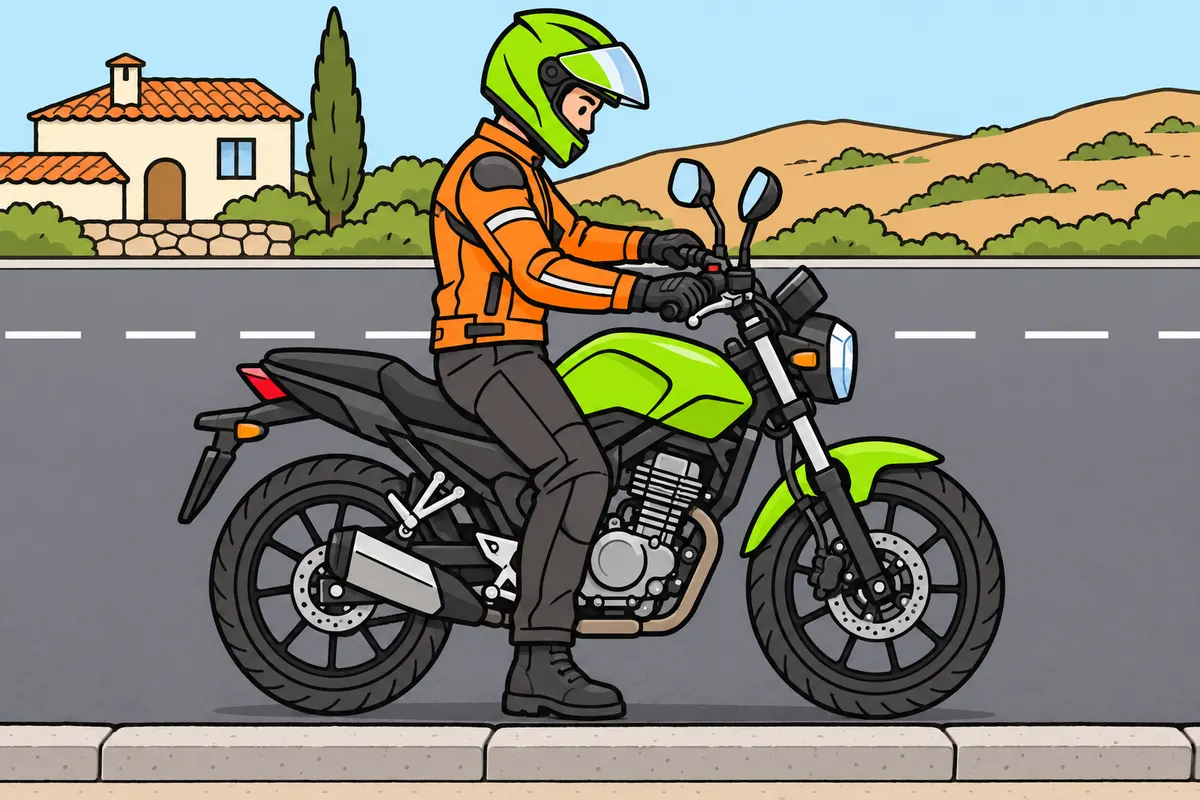
Prepare your motorcycle and ride within your abilities.
Remember
- Check brakes, tyres, steering, lights and mirrors before setting off.
- Check you can reach the controls without losing your posture.
- Adjust only what the manufacturer allows.
- Practise new techniques with instruction in a suitable enclosed area.
- Consider slopes, wind and load before overtaking.
Exam trap: Wrong: low power removes the risks. Right: you can still lose grip or experience jerks.
Read the full explanation
- You must adapt your riding to the combination of rider, motorcycle and surroundings. A 125 can lose grip or jerk if you use the throttle abruptly; its limited power does not remove these risks. Knowing the route or having experience in another vehicle does not replace learning to balance and use its controls.
- Before setting off, check that you can reach and operate the controls without losing your riding posture. Check the brakes, tyres, steering, lights and mirrors; with incorrect tyre pressure or a faulty control, a technique you have learnt may not produce the expected response. Maintenance is covered in detail in «Motorcycle mechanics and maintenance».
- Adjust only the elements that the manufacturer allows you to adjust: lever reach, mirror positions and the adjustments provided for the load. Afterwards, check that the handlebars can turn freely and the controls can move through their full travel; do not confuse making an adjustment with modifying the motorcycle yourself.
- Choose a position that allows you to observe, breathe and move without unnecessary fatigue. A faired sports motorcycle, a touring motorcycle and a scooter have different ergonomics; you must not adopt the same upper-body angle on all of them or interpret a sporty posture as permission to ride faster.
- Practise new techniques with instruction and in a suitable enclosed area. The aim is to make smooth movements automatic so that you have attention available for traffic: you do not need to demonstrate maximum lean or try to trigger the electronic aids during a normal journey.
- Plan a route suited to the actual performance of your A1 motorcycle and your experience, including on familiar routes within Spain. Consider gradients, wind and load before choosing where to join traffic or overtake: a small engine capacity does not guarantee that you can deal with every situation by accelerating quickly.
2Flexible posture and support
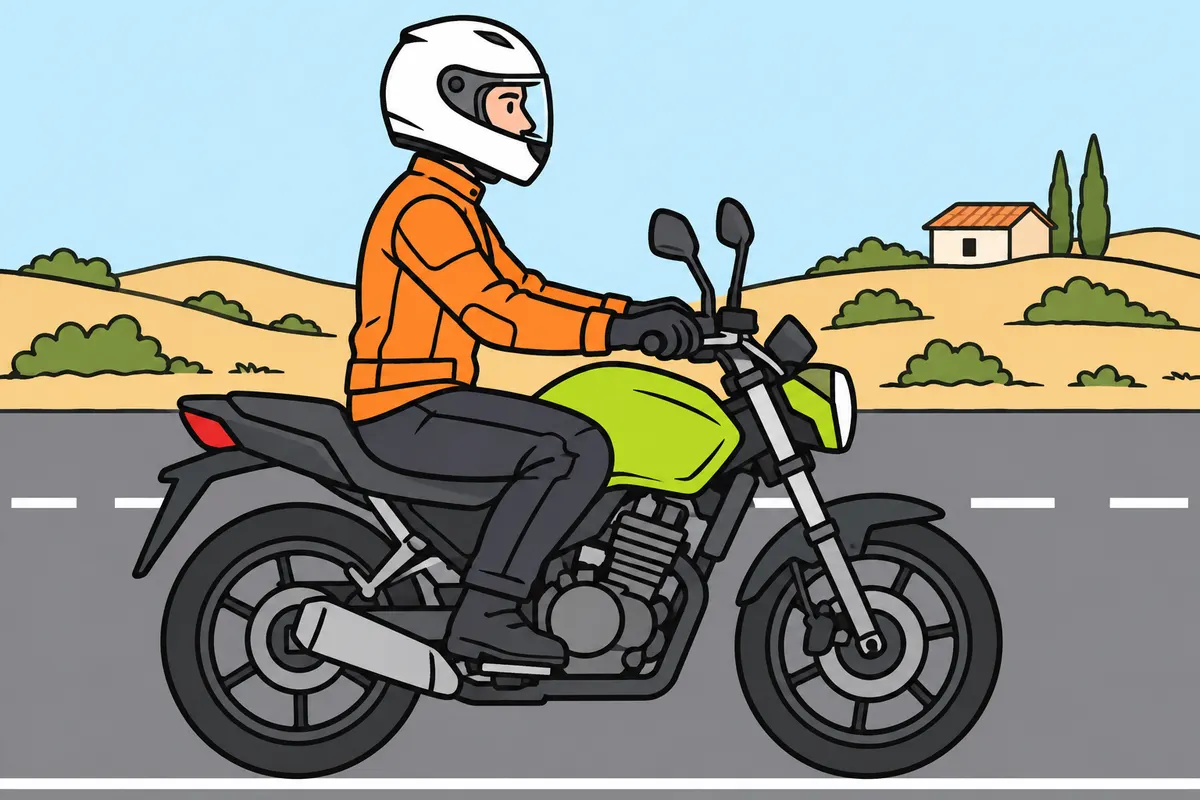
Keep a stable posture that lets you move and look around.
Remember
- Sit centrally, with your head up and arms slightly bent.
- Hold the grips without stiffening your arms.
- Keep your knees near the tank where the design allows.
- Use your legs to avoid putting all your weight on your hands.
- Support your feet without accidentally pressing the controls.
- Keep your view and access to controls when tucking in.
Exam trap: Wrong: locking your elbows improves control. Right: keep your arms flexible.
Read the full explanation
- You must sit centrally with stable support, without hanging on the handlebars. Keep your head up, shoulders relaxed and arms slightly bent; locking your elbows transmits jolts to the controls and makes corrections harder. Adapt your back position to the motorcycle's design without straining your neck or wrists.
- Hold the grips firmly enough to maintain control, without gripping rigidly. Position your throttle wrist so that you can close the throttle and reach the brake without excessive twisting.
- Where the design allows, keep your knees close to the fuel tank to stabilise your body. When braking, you can use your legs and torso to resist some of the forward momentum, avoiding putting all your weight on your hands.
- Rest your feet on the footrests and avoid pointing your toes outwards or dragging them. You must be able to reach the gear lever and rear brake without losing stability, but without applying unintentional pressure to them. On a scooter, use the foot supports provided and take account of its control layout.
- Maintain a posture that allows you to turn your head and check the mirrors. Tucking in can reduce your exposure to the airflow, but you must not sacrifice your view or access to the controls. Your posture and handlebar height can affect aerodynamics even on small-capacity motorcycles; no fixed fuel saving is guaranteed. [DGT, riding posture](https://www.dgt.es/export/sites/web-DGT/.galleries/downloads/nuestros_servicios/para-colaboradores-y-empresas/GUIA-MONITORES-MOTOCICLETA-NIPO.pdf)
3Identify each control
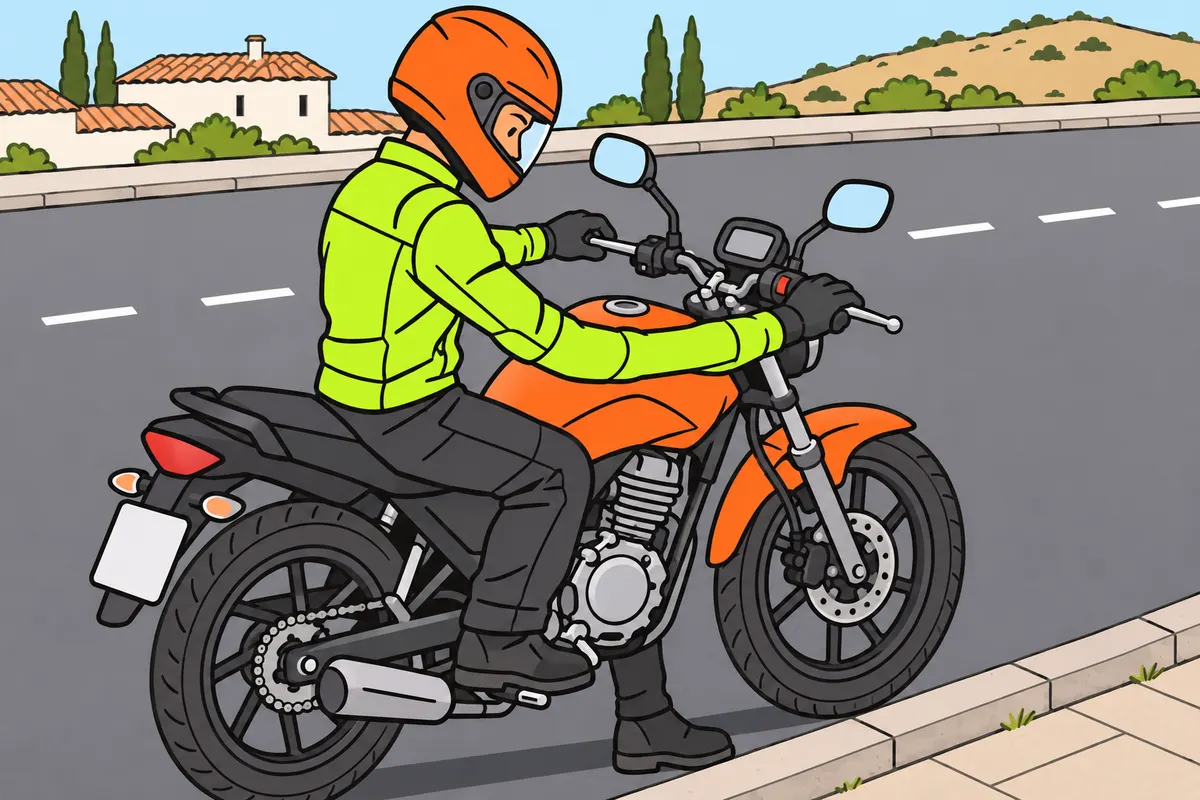
Learn where your motorcycle controls are and use them smoothly.
| On a conventional manual motorcycle | Usual control |
|---|---|
| Right hand | Throttle and front brake |
| Left hand | Clutch |
| Left foot | Gear change |
| Right foot | Rear brake |
Remember
- Check the control layout on your model.
- Open and close the throttle gradually.
- Release the clutch gradually to move off.
- Recognise the friction zone, where the clutch starts to move your motorcycle.
- Learn the switches without looking down for too long.
Exam trap: Wrong: your left lever always operates the rear brake. Right: on a conventional manual motorcycle, it operates the clutch.
Read the full explanation
- On a conventional manual motorcycle, you operate the throttle and front brake lever with your right hand. Your left hand operates the clutch. Check how they feel before riding: the layout on a scooter or an adapted motorcycle may be different.
- You select gears with your left foot and normally operate the rear brake with your right foot. There is no clutch pedal in this layout. From neutral, you usually select first gear by pressing the lever down; always follow the shift pattern for your model.
- The throttle regulates engine output, rather than changing your speed instantly regardless of the gear and gradient. Open and close it progressively: an abrupt twist can cause a jerk, especially in low gears, with poor grip or with the handlebars turned.
- The clutch allows you to transmit the engine's movement gradually. Learn to recognise the friction zone, where it starts to move the motorcycle, without releasing the lever suddenly.
- You must also know how to use the indicators, horn, lights, engine stop switch and stand. Operating them must not require you to look down for a prolonged period. The positions of switches and aids vary by model; making the use of the wrong control automatic can cause an unexpected manoeuvre.
4Looking and observation
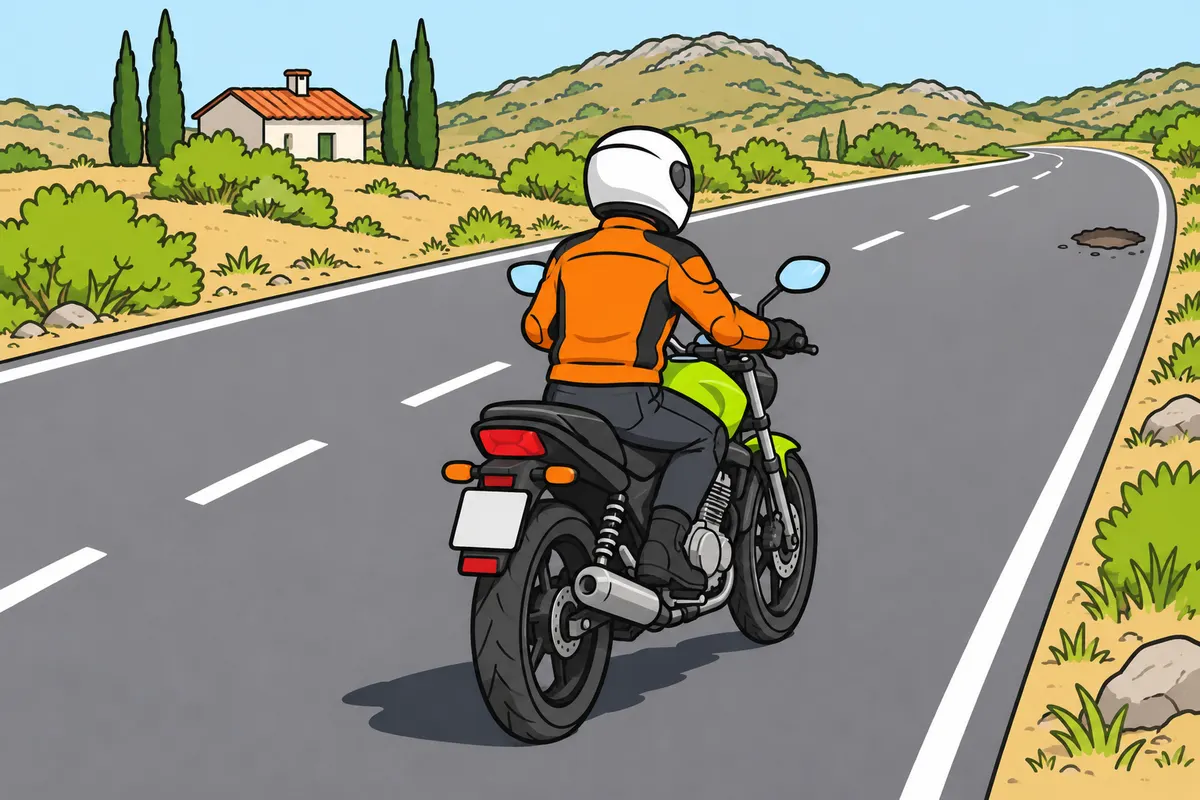
Look along your route and check you can move safely.
Remember
- Look ahead and also check the nearby road surface.
- Check mirrors before slowing down or changing position.
- Check your blind spot when necessary.
- When joining traffic, observe, signal and give way.
- Cancel your indicator when you finish the manoeuvre.
- A clear, regulation-compliant arm signal takes precedence over a conflicting light signal.
Exam trap: Wrong: your indicator gives you priority. Right: check the space and give way when joining traffic.
Read the full explanation
- Look towards the space you intend to move into and scan the surrounding area as well. Alternate looking far ahead with checking the road surface nearby: looking only just ahead of the tyre leaves you little time to prepare your speed and line; looking only into the distance can hide an immediate obstacle.
- Check your mirrors before slowing down or changing your position. Check your blind spot directly when necessary, with a brief turn of your head that does not alter your line. A correctly adjusted mirror or an electronic detector does not guarantee that there is no vehicle beside you.
- Avoid fixing your gaze on the hazard. Identify the pothole, vehicle or edge, but immediately look for a usable line. Where you look helps you direct your movements; it does not make the motorcycle avoid obstacles by itself or allow you to pass through a space without grip or sufficient width.
- Before joining traffic, observe, signal and check again that there is space. You must give way to those already travelling on the road and avoid making them brake as you pull out. The indicator announces an intention; it does not give you priority or confirm that others have seen you. [RGC, art. 72](https://www.boe.es/buscar/act.php?id=BOE-A-2003-23514#a72)
- Before moving sideways, check the lane you intend to enter and move gradually. Cancel the indicator when you finish so that you do not signal a manoeuvre you are not making. You must signal before moving and keep signalling for as long as necessary, without replacing the safety check. [RGC, art. 109](https://www.boe.es/buscar/act.php?id=BOE-A-2003-23514#a109)
- If you signal a move to the left with your left arm, extend it horizontally with your palm facing down. To warn that you are stopping or slowing down considerably, you can move it up and down in short, quick movements, or use the brake lights repeatedly; this does not mean that you are authorising the vehicle behind to overtake you. A clearly visible arm signal that complies with the regulations takes precedence over any light signal that contradicts it. [RGC, arts. 108.2 and 109](https://www.boe.es/buscar/act.php?id=BOE-A-2003-23514#a108)
5Moving off and low-speed balance
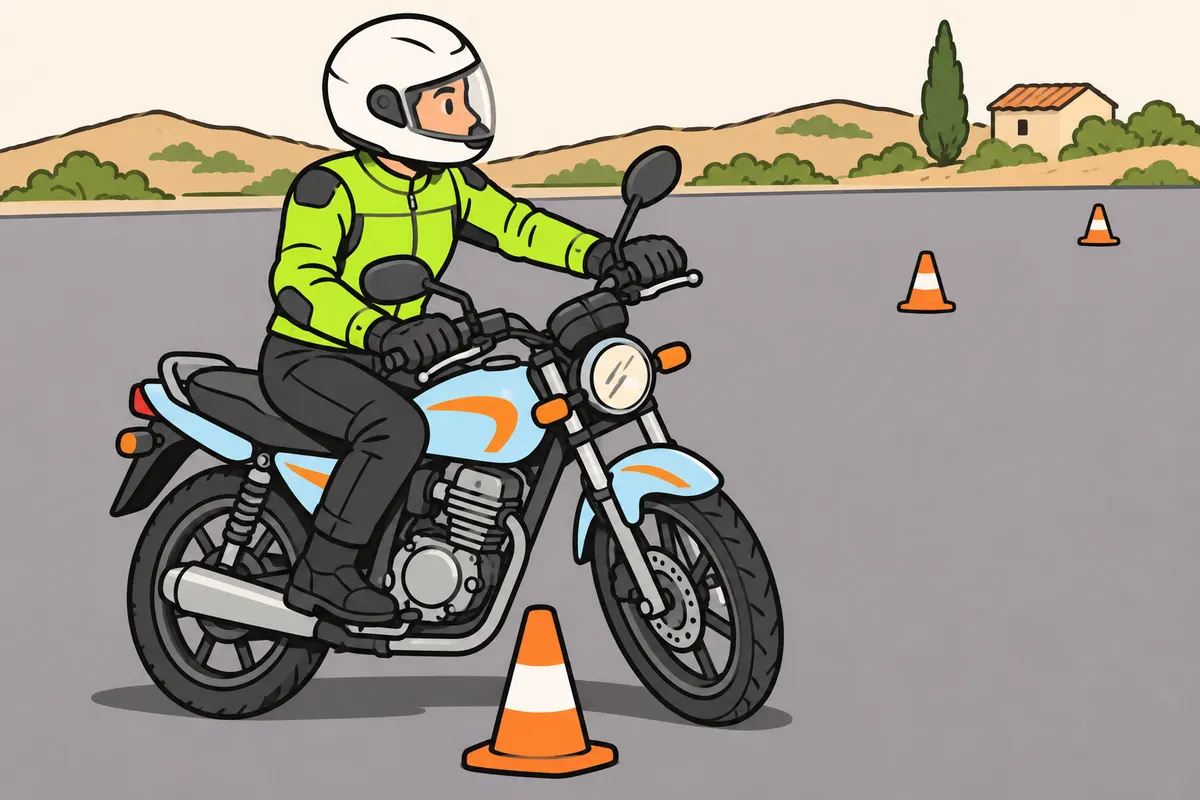
At low speed, coordinate your view, balance and controls smoothly.
Remember
- Combine moderate throttle with gradual clutch release when moving off.
- Put your feet on the supports once you are moving steadily.
- At walking pace, use the controls gently to adjust your progress.
- In very tight, slow turns, steer towards your intended path.
- Look towards the exit without forcing a large lean.
- If you lose balance, stop under control when necessary.
Exam trap: Wrong: your motorcycle supports itself above a fixed speed. Right: you must control its balance.
Read the full explanation
- To move off on a manual motorcycle, select the appropriate gear and combine moderate throttle with gradual clutch release. Look ahead and bring your feet onto the supports once the motorcycle is moving steadily. A burst of throttle does not compensate for releasing the clutch abruptly.
- At walking pace, use the friction zone, steady engine output and, where appropriate, gentle rear braking to adjust your forward movement. Avoid alternating bursts of throttle with harsh braking. Keeping the clutch working against the brake for a long time can heat them up: learn the right degree of control for your model.
- In a very tight turn at low speed, steer the handlebars along your intended path and turn your head towards the exit space. Keep your body balanced and leave enough margin to avoid reaching full steering lock.
- If you lose speed and balance, do not always try to rescue the manoeuvre with a lot of throttle. Make the manoeuvre less demanding, stop under control when necessary and prepare again. Letting your feet skim the ground can cause them to catch and does not replace learning to balance.
- Rotating wheels produce gyroscopic effects, but stability also depends on geometry, mass distribution and the rider's corrections. At low speed, your control of the handlebars and your body is essential. There is no universal speed at which the motorcycle supports itself or is unable to fall over.
6Stopping and moving the motorcycle without engine power
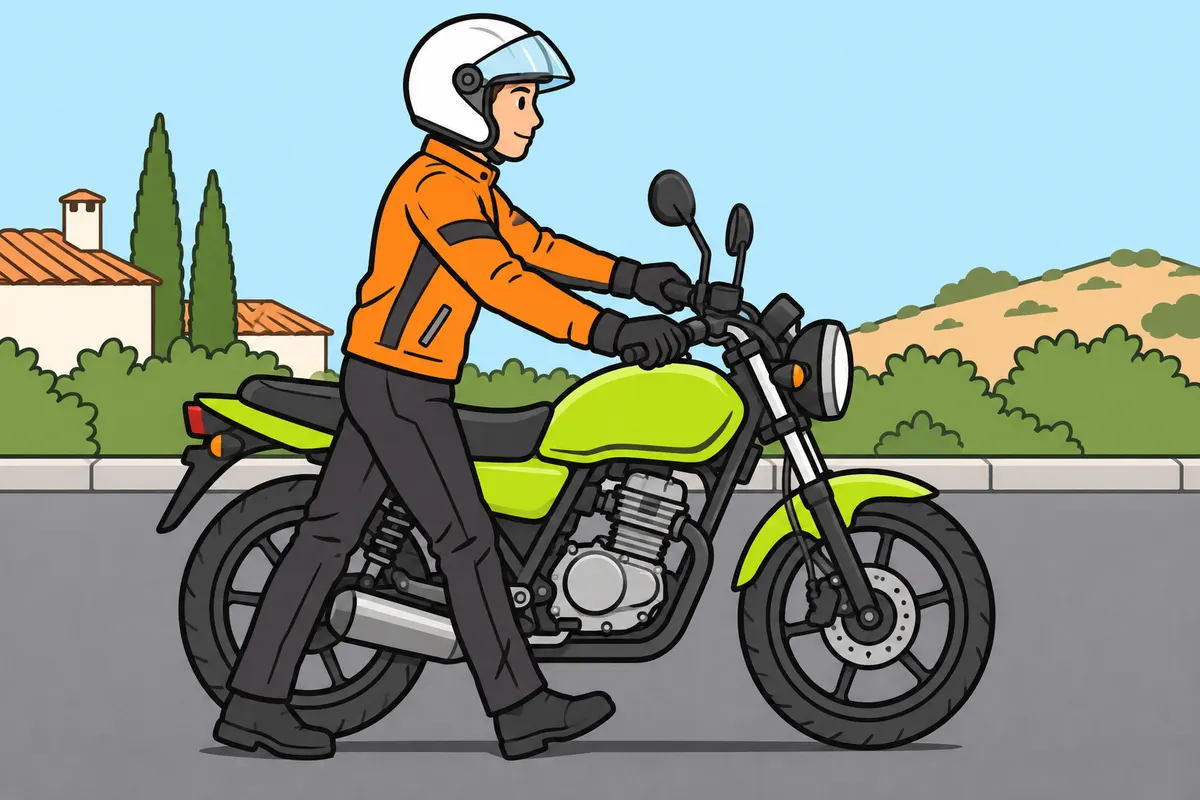
Plan your foothold when stopping and control the weight when pushing.
Remember
- Finish stopping upright, with straight handlebars and a firm foothold.
- On a manual motorcycle, use the clutch in time to avoid stalling.
- On slopes, coordinate clutch, throttle and brake to avoid rolling backwards.
- Push slowly from beside the motorcycle, with the engine stopped.
- Before moving backwards, check the whole route.
- Park on stable ground and stop the engine before leaving your riding position.
Exam trap: Wrong: you can brake sharply while pushing with the steering turned. Right: this can unbalance your motorcycle.
Read the full explanation
- Prepare to stop by looking ahead and slowing down progressively. Aim to finish with the motorcycle upright, the handlebars straight and a planned place to put your foot on firm ground. Look where you intend to put your foot: a cross slope, a hole or gravel can make a seemingly easy foothold inadequate.
- On a manual motorcycle, operate the clutch in time to prevent the engine from stalling as you stop. Keep the transmission engaged as you approach and disengage it in the final stage, according to your speed and the gear selected.
- To move off on a slope, coordinate the clutch, throttle and brake so that you do not roll backwards. Release the brake when the transmission allows you to move forward under control. While waiting, hold the motorcycle with the brake to avoid heating the clutch through prolonged slipping.
- To push it, stand beside it, control its weight and check the route beforehand. With the engine off and no propulsion, move it slowly and avoid leaning it further than you can support. Braking sharply with the front brake while the steering is turned can unbalance it even at walking pace. If you need to move it backwards to position it, first check the entire path and the space behind. Moving it without engine power requires the same care around people, obstacles and slopes.
- When leaving it stationary, choose a stable surface and position the stand provided correctly. Check that it cannot move accidentally and switch off the engine before leaving the riding position. The stand needs firm ground and an orientation that prevents it from folding accidentally. [RGC, art. 92](https://www.boe.es/buscar/act.php?id=BOE-A-2003-23514#a92)
7Use both brakes
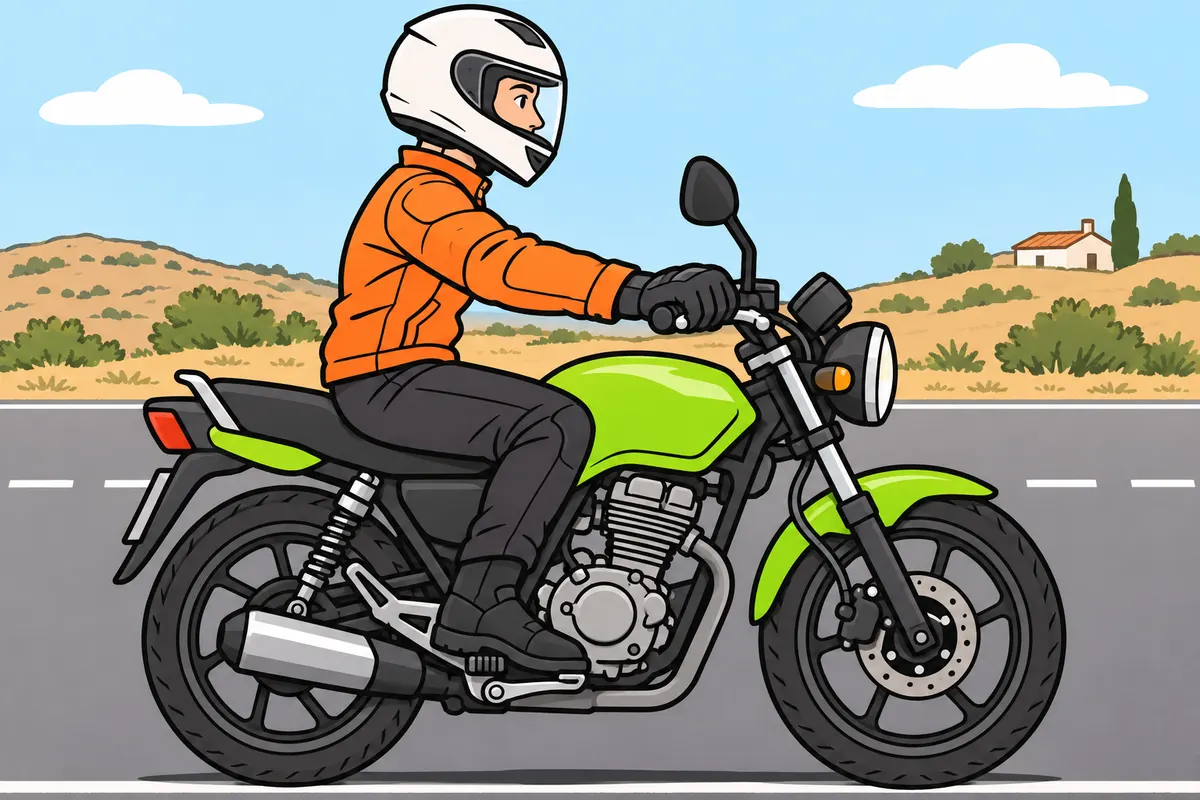
Coordinate both brakes and adapt your pressure to the available grip.
| Brake | Role when braking |
|---|---|
| Front | Usually provides more braking on a straight with good grip |
| Rear | Also slows you down and helps control |
Remember
- Increase brake pressure gradually.
- On a straight with good grip, your front brake usually provides more braking.
- Adjust rear brake pressure to avoid locking the wheel.
- Adapt the balance of braking force to each situation.
- Allow space to react and brake.
- If the brakes feel faulty, stop safely and leave the motorcycle parked until repaired.
Exam trap: Wrong: use only your rear brake. Right: coordinate both brakes according to grip and your braking system.
Read the full explanation
- As a general technique, coordinate both brakes and increase the force progressively according to the grip and the system. The front brake usually provides most of the braking power in a straight line with good grip; the rear brake also slows you down and helps you maintain control. Using only the rear brake can increase your stopping distance.
- When you brake, load transfers forwards and the rear becomes lighter. You must therefore avoid maintaining a fixed ratio of braking effort in every situation: grip, braking intensity, load and geometry vary.
- Begin applying the front brake without snatching the lever, and increase the pressure as the motorcycle responds. Modulate the rear brake to avoid locking the wheel as it becomes lighter. Support your body using the available contact points and keep your arms flexible, without using the handlebars as your only support against inertia.
- Stopping distance includes thinking distance and braking distance. A dry road surface and tyres in good condition improve grip during braking, but do not in themselves reduce the time you take to recognise danger. A motorcycle's light weight does not guarantee that you can stop sooner than a car.
- Learn the feel of your brakes through progressive training. If a lever feels spongy or you notice reduced braking effectiveness, leave the motorcycle immobilised in a safe place until the fault is checked and corrected. [DGT, using the brakes](https://www.dgt.es/muevete-con-seguridad/viaja-seguro/en-moto/)
8ABS and combined braking
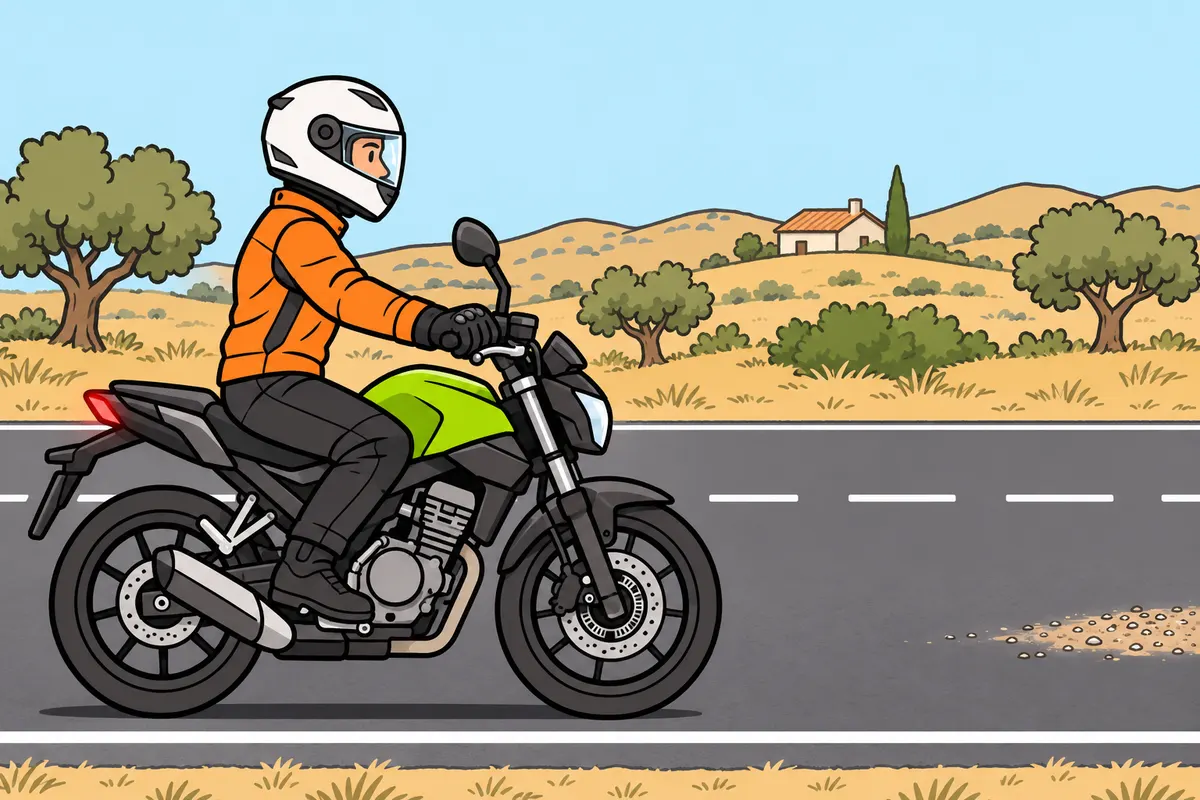
Know your braking aids and their limits.
| System | What it does |
|---|---|
| ABS | Regulates pressure to prevent locking on the wheels it controls |
| CBS | Shares braking action between brakes |
| Cornering ABS | Also considers lean angle when adjusting its response |
Remember
- With ABS working, brake progressively and firmly in an emergency.
- Maintain necessary pressure despite normal pulsing.
- Do not pump the controls with ABS working.
- Without ABS, release front wheel lock by reducing pressure, then adjust pressure again.
- Check which wheels your ABS controls.
- Do not expect aids to prevent every fall.
Exam trap: Wrong: CBS always prevents locking. Right: it shares braking action but does not guarantee against locking.
Read the full explanation
- ABS detects a tendency for wheels to lock and regulates braking pressure at the wheels it controls. It helps you maintain stability during braking, but does not create grip. You must know whether it acts on one or both wheels and recognise your model's operating indicators.
- With ABS operational, apply the brakes progressively and firmly during emergency braking and maintain the necessary pressure. Do not pump the controls to imitate the system or release them simply because you feel its normal pulsing. Follow the motorcycle's specific instructions and maintain a safe line.
- Without ABS, if the front wheel locks, you must reduce the pressure to allow it to turn again, then modulate the brake according to the grip. Keeping it locked removes your ability to control the motorcycle and can cause a fall.
- Combined braking, or CBS, distributes braking action between the brakes when you operate certain controls. The distribution and the control that activates each circuit depend on the system. You must not confuse it with ABS: combining braking does not guarantee that the wheels cannot lock. [DGT, safety systems](https://www.dgt.es/export/sites/web-DGT/.galleries/Images/conoce-la-dgt/que-hacemos/conocimiento-investigacion/Sistemas-de-Seguridad-para-Motocicletas_vr.pdf)
- Cornering ABS uses additional information, such as lean angle, to adapt its intervention. Check which functions your model includes: its ability to intervene remains limited by the available grip and the line you ask the motorcycle to follow. [DGT, ARAS](https://revista.dgt.es/es/reportajes/2025/12DICIEMBRE/1216-N276-SuplementoADAS-ARASMoto.shtml)
9Respond to an emergency
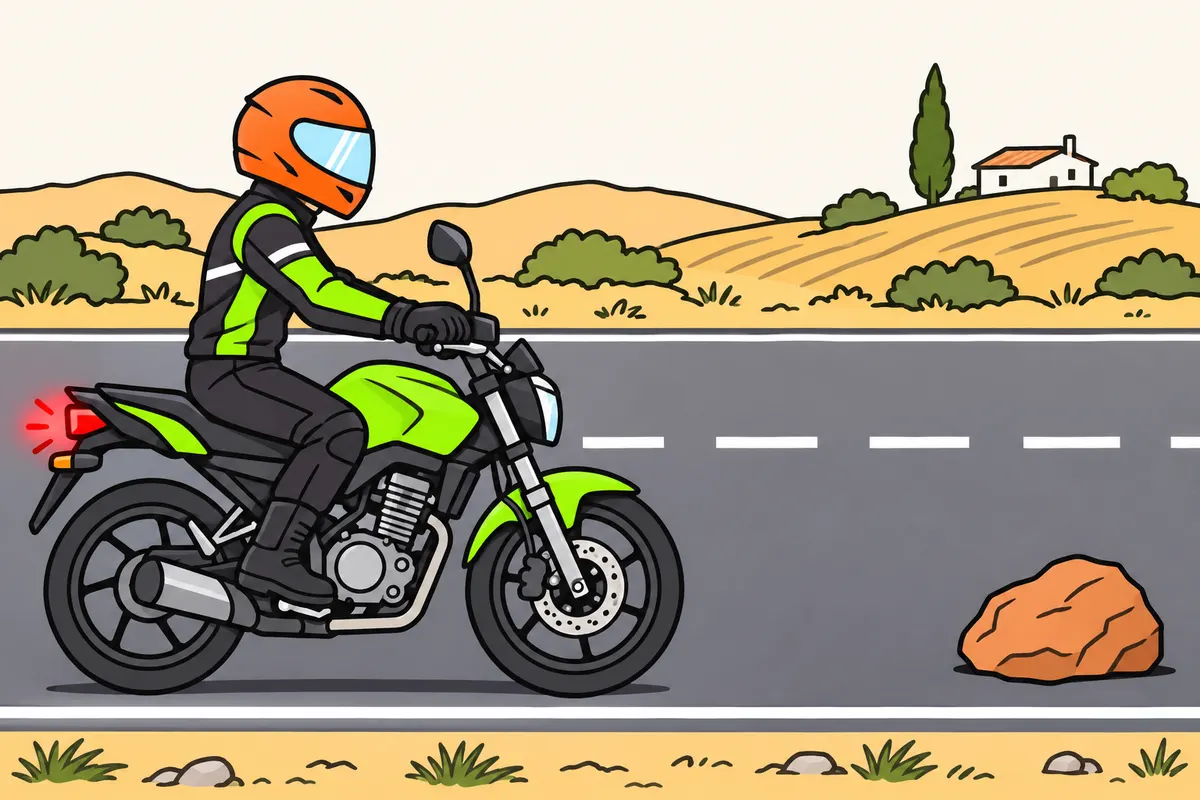
When danger appears, brake promptly and look for a safe way out.
Remember
- Close the throttle and look towards safe space.
- On a straight, use both brakes according to their system.
- Do not delay braking to change down through every gear.
- Before swerving, check the route is clear and your whole motorcycle fits.
- In bends, reduce lean only if your line allows.
- If braking while leaning, increase pressure gradually according to grip.
Exam trap: Wrong: always straighten up when braking in a bend. Right: do so only if you can keep a safe line.
Read the full explanation
- When faced with danger, close the throttle, look towards a safe space and brake as soon as possible with control. In a straight line, adopt a stable position and apply both brakes according to their system. Waiting to choose a gear or staring at the obstacle uses up valuable stopping space.
- On a manual motorcycle, coordinate the clutch to prevent stalling and stop the transmission from interfering with stopping. Your priority is braking and control; you must not delay braking to change down through every gear one by one.
- If you need to swerve, check that the escape route is clear and wide enough for the whole motorcycle. Strong steering input while demanding heavy braking reduces your grip margin. During supervised practice, learn to separate and coordinate slowing down and taking evasive action according to the space available.
- On a bend, try to reduce your lean angle when your line allows it, to give yourself more braking margin. Do not automatically straighten up if this takes you into the opposite lane or off the carriageway. If you need to brake while leaning, do so progressively and adapt the force to the available grip.
- A real emergency does not reproduce the test markings. There may be a vehicle behind you, an uneven surface or an occupied escape route; assess the whole situation. After stopping, stay alert to traffic and move off again only when you can do so without creating another danger.
10Slopes and slippery surfaces
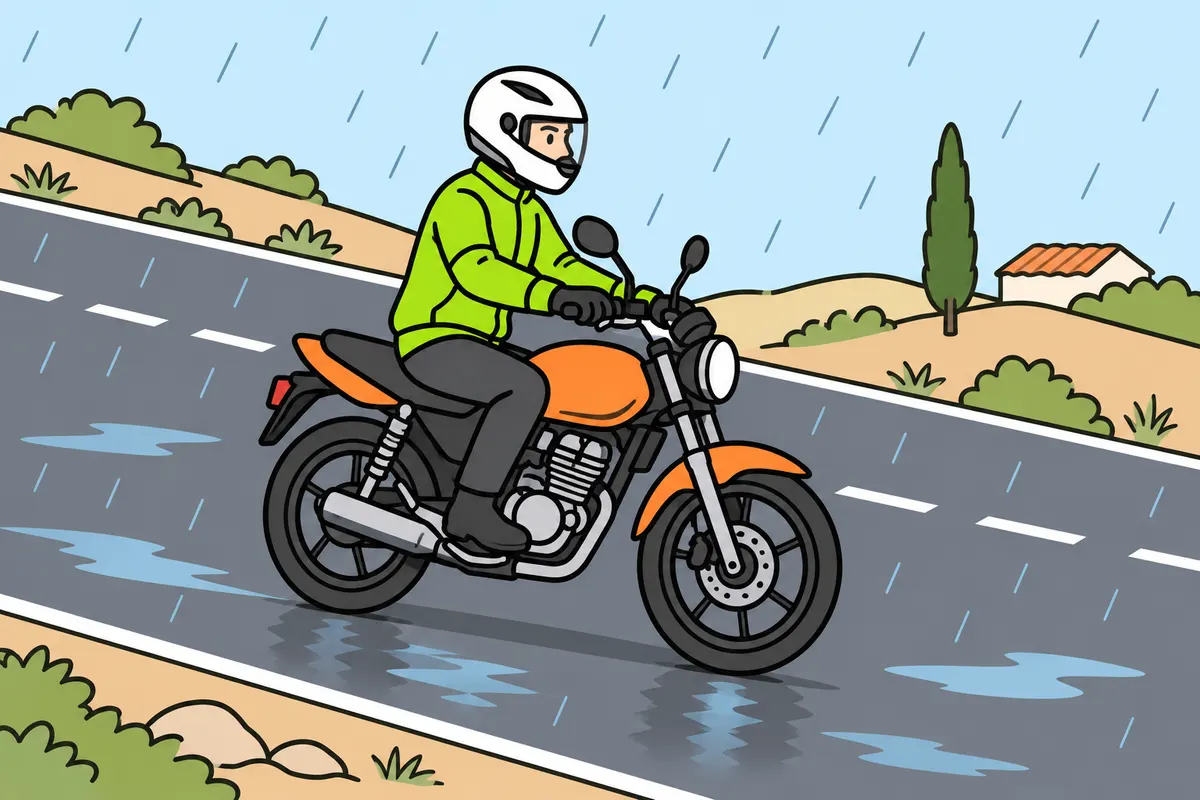
Slow down earlier and use smooth movements when grip is poor.
Remember
- On long descents, choose a gear that helps control speed.
- Do not descend in neutral or keep the clutch held in.
- In rain, slow down earlier and leave more space.
- Cross slippery patches smoothly and stay within your lane.
- In mud or snow, continue only if you can maintain control.
- Cross rails nearly at right angles only when traffic and your lane allow.
Exam trap: Wrong: ABS makes every downshift safe. Right: change down smoothly at a suitable speed.
Read the full explanation
- Before a long descent, select a gear that helps control your speed through engine braking. Supplement this with both brakes as necessary, avoiding overheating them through improper use. Do not descend in neutral or with the clutch held in continuously.
- Change down smoothly, at a speed compatible with the gear you select. An abrupt downshift can destabilise the rear wheel; the brakes' ABS does not make every use of engine braking safe.
- In rain or with little grip, reduce your speed earlier and allow more space. Use the throttle, steering and brakes smoothly, even with ABS. Water can increase braking distance, but does not reduce the distance you travel while reacting at the same speed and with the same response time.
- When approaching wet road markings, sand, oil or gravel, adjust your speed before you reach them. Cross with the smallest lean angle compatible with a safe line within your lane, without abrupt changes. Keep your line within your own space while adapting your lean angle to the available grip.
- If the brakes get wet, their effectiveness can change. When safe, check their response gently and follow the manufacturer's drying procedure without surprising other traffic. If a fault persists, stop in a safe place and request assistance.
- You study how to respond to potholes, joints and roadworks in "Risks and prevention on a motorbike", in the section "Potholes, joints and roadworks".
- In mud or snow, if you can still proceed safely, keep your speed low and use a gear that delivers power without jerking or wheelspin. You must not always move off in second gear or always force the use of the highest gear. If you cannot maintain control, find a safe alternative and do not continue where grip is insufficient.
- If you need to cross rails, try to do so at close to a right angle when traffic and your lane allow it. Slow down beforehand and avoid braking or accelerating sharply on the metal, especially when wet. Do not enter another lane or swerve suddenly to achieve that angle: crossing rails almost parallel to them increases the risk of losing your line.
11Prepare for the bend
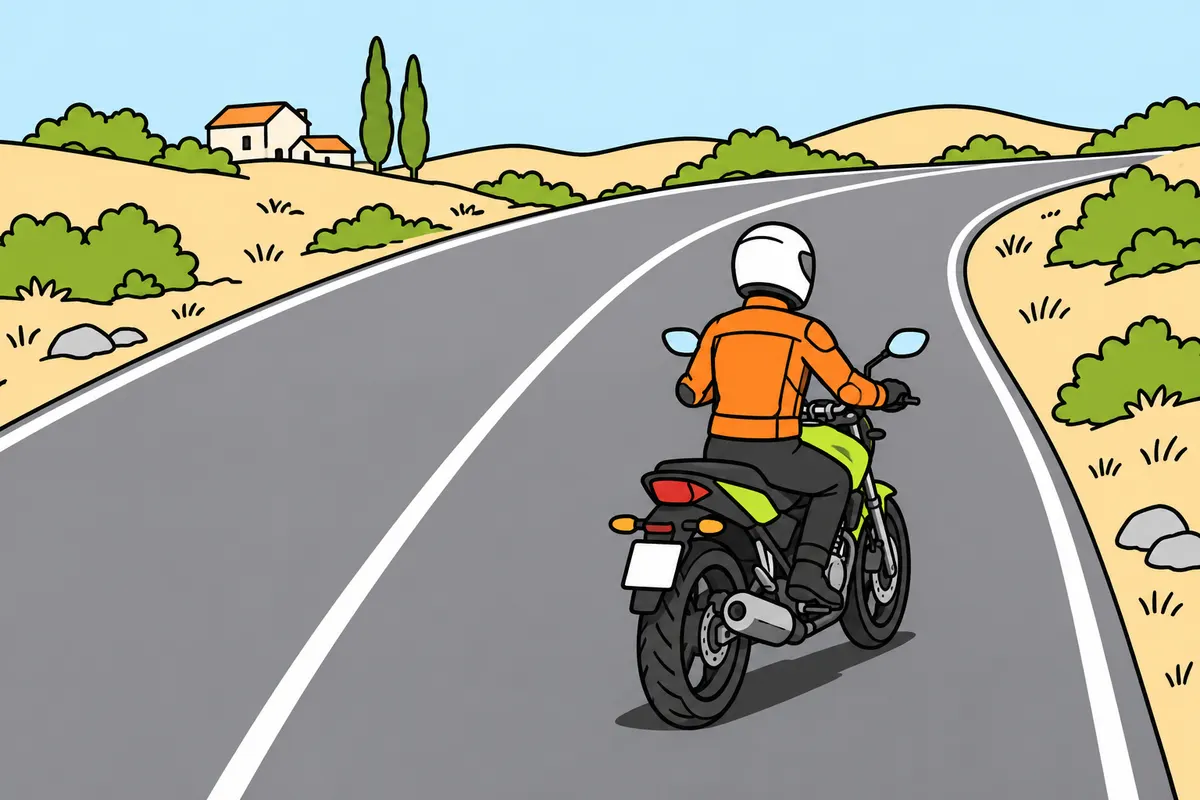
Prepare your speed, gear and space before leaning into a bend.
Remember
- Observe the entry and the part of the bend you can see.
- Adjust speed and gear before leaning.
- Consider the surface, width and tightness of the bend.
- At the same speed, a tighter bend needs more lean.
- Choose your entry within your lane and leave a safety margin.
- Keep observing as you move.
Exam trap: Wrong: knowing the bend lets you enter without a safety margin. Right: new dirt or obstacles may be present.
Read the full explanation
- Observe the entry, the visible course of the bend and the possible exit before deciding on your speed. A familiar bend can contain dirt, a stationary vehicle or a wet patch. You must be able to respond within the available space; confidence does not replace visibility or grip.
- Adjust your speed and select the appropriate gear before leaning. You must enter with enough margin to hold your line without relying on heavy braking. Too high a gear can leave you with a poor response, while too low a gear can cause unsmooth engine braking or acceleration.
- Assess the radius, surface, banking and width together. In comparable conditions, a tighter bend requires more lean at the same speed; reducing speed reduces that requirement. Tyre width alone does not determine the safe angle for every motorcycle.
- Choose your entry position within your lane without getting dangerously close to oncoming traffic or the edge. On a public road, you need a margin for other people's mistakes, obstacles and changes in bend radius that you cannot see.
- Do not turn the bend into a succession of corrections by looking only at a nearby point. Update the information as your view advances and keep your arms ready for small corrections. Preparation means you have fewer urgent decisions to make about the controls during the turn.
12Countersteering and lean
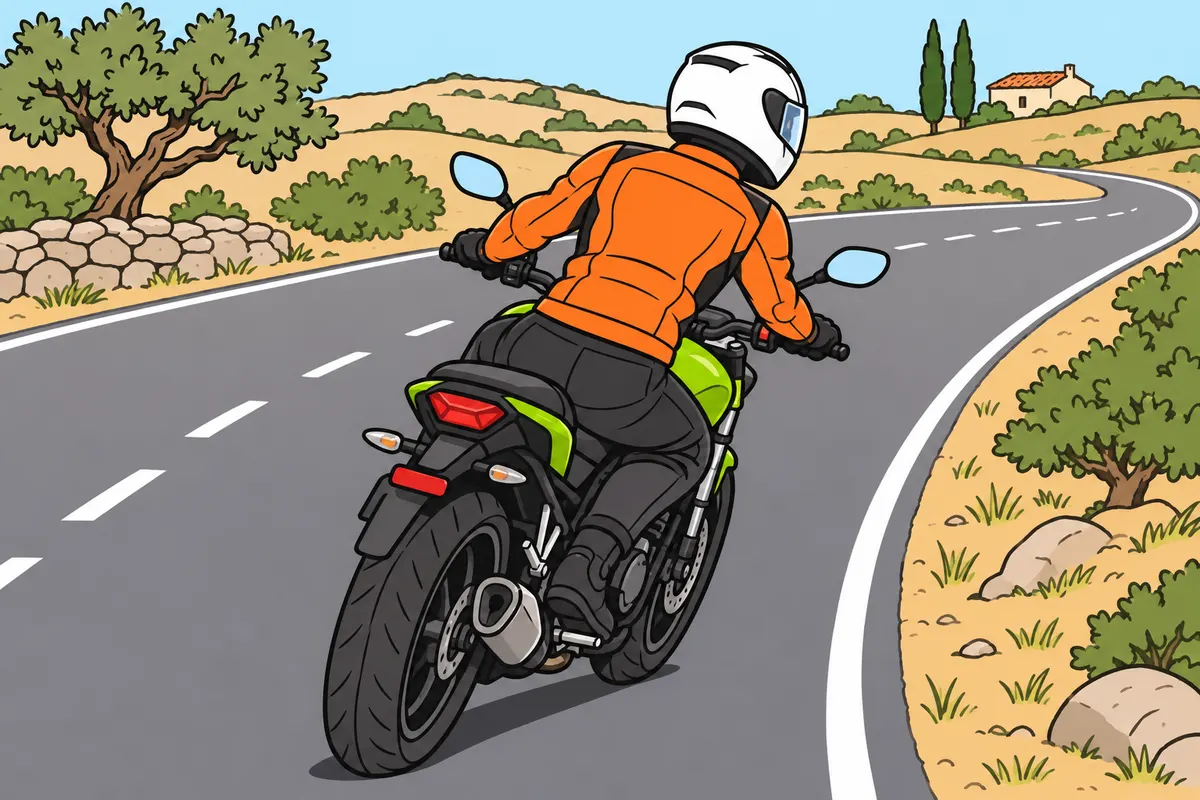
Use gentle handlebar pressure to start leaning.
| Situation | Your action |
|---|---|
| Starting a right lean | Gently push your right grip forwards |
| Starting a left lean | Gently push your left grip forwards |
| Manoeuvring almost stationary | Steer towards your intended path |
Remember
- To lean right, gently push your right grip forwards.
- To lean left, gently push your left grip forwards.
- Look towards a usable exit and keep your arms flexible.
- Learn with an instructor in controlled conditions.
- When almost stationary, steer towards your intended path.
- Adapt your lean to your speed, the bend and the available grip.
Exam trap: Wrong: keep your wheel pointing outwards throughout the bend. Right: countersteering starts the lean.
Read the full explanation
- Countersteering allows you to initiate or change lean through gentle pressure on the handlebars. To lean right, push the right grip slightly forwards; to lean left, push the left grip. The initial action briefly steers in the opposite direction to the intended turn.
- You do not hold the wheel forced outwards throughout the bend or make a large, abrupt steering movement. Once you initiate the lean, follow the line with the necessary control. Keep looking towards a usable exit and keep your arms flexible so that you do not restrict the motorcycle's response.
- Learn this coordination with an instructor in controlled conditions before attempting to apply it consciously when faced with an obstacle. Practise small, precise and proportionate pressure, and adapt your movement to your own motorcycle's response.
- At very low speed, when manoeuvring in a confined space, you turn the steering in the direction of travel, and balance requires different coordination of your body and the controls.
- Adopt a natural posture that moves with the motorcycle and maintains control and a safety margin. Your lean angle must suit your speed, the bend radius and the grip; increasing the angle to show off reduces your safety reserve.
13Follow your line and complete the turn
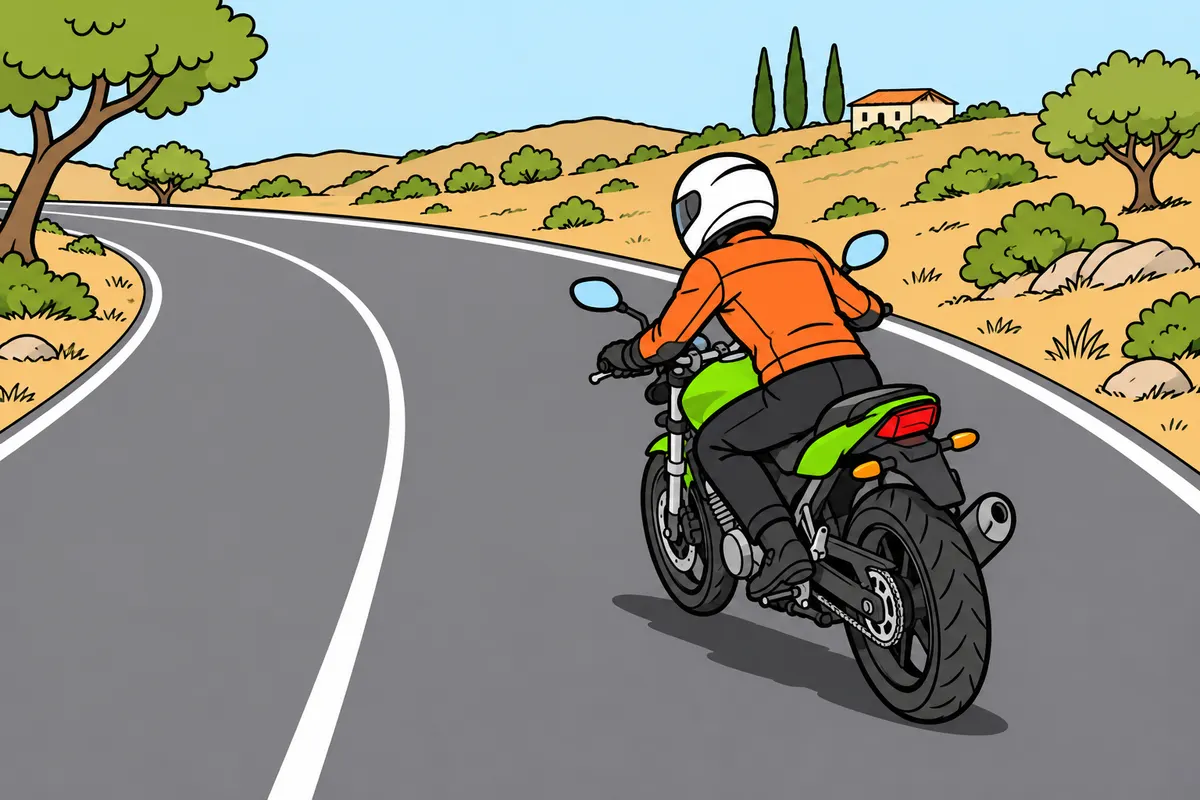
Keep your whole motorcycle within your lane and adjust your turn smoothly.
Remember
- Look ahead while still checking the road surface.
- Keep your body within your lane when leaning too.
- Avoid sudden changes of throttle, gear or posture.
- If the bend tightens, adjust speed and line smoothly.
- If you need to brake while leaning, do so progressively according to grip.
- Accelerate out only when you see clear space and have a safety margin.
Exam trap: Wrong: you must accelerate at every bend exit. Right: adapt your throttle to what you find.
Read the full explanation
- During the bend, look as far ahead as the road layout allows while continuing to scan the road surface. Avoid staring at the safety barrier or an oncoming vehicle. Keep your wheels, your body and any parts of the motorcycle that project outwards as you lean within your lane.
- Use the throttle smoothly and avoid abrupt gear changes or shifts in loading. Your tyre must provide lateral force to turn as well as the force needed to accelerate or brake. The more you demand of it for one purpose, the less grip you may have available for another.
- If the bend tightens, adjust your speed and line without panicking or making violent movements. Ease off the throttle smoothly and brake progressively if necessary. There is no absolute technical ban on braking in a bend; the risk lies in demanding more grip than is available.
- When you see that the exit is clear and have a safety margin, progressively bring the motorcycle upright and increase the throttle smoothly if appropriate. Adapt this to what comes next: another bend, a traffic queue or a speed restriction may require you to maintain or reduce your speed.
- On a series of bends, prepare for each one according to how far you can see, and do not sacrifice your safety margin for the next bend to exit the first quickly. Change your lean angle smoothly and stay within your own space. If your motorcycle needs more width than is available, your speed or preparation is unsuitable.
14Position within your lane
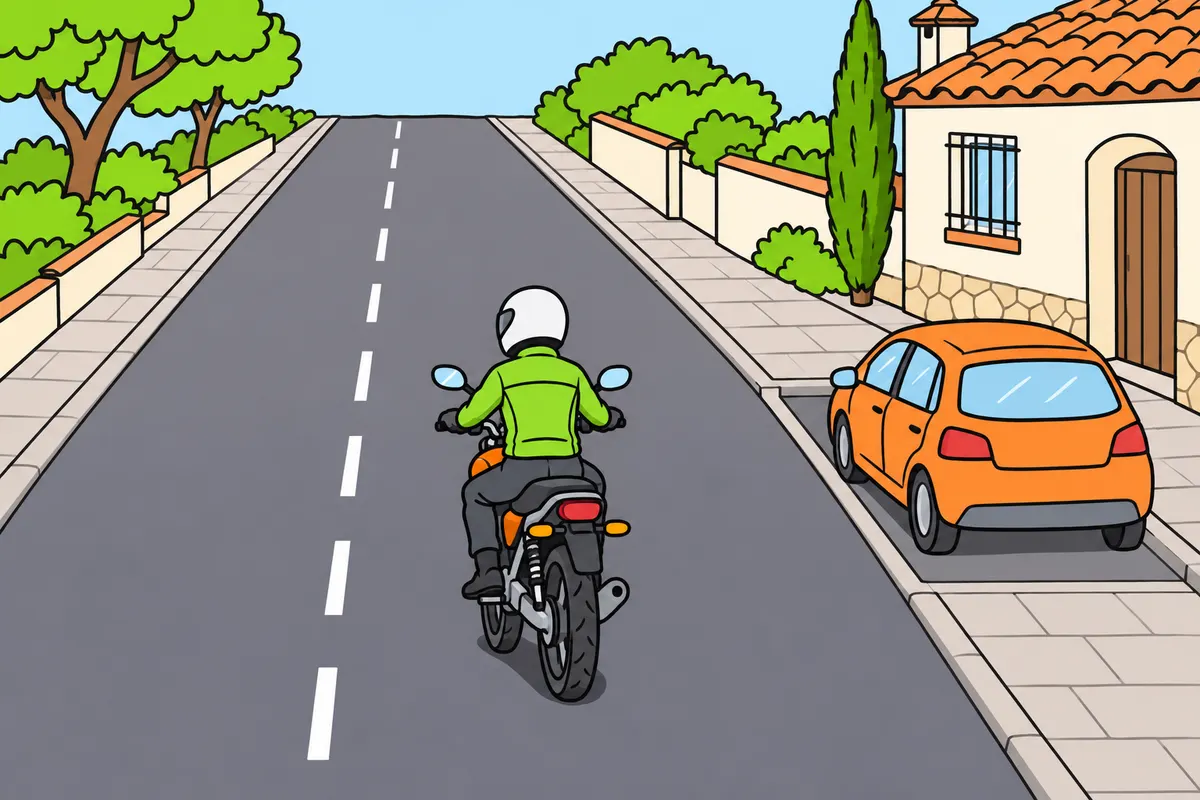
Choose a visible position and leave space on both sides.
Remember
- Use your lane centre as a reference and adapt your position.
- Avoid staying hidden beside cars or lorries.
- Leave space for parked vehicle doors to open.
- Outside built-up areas, normally use the right lane when several are available.
- Do not stay on the line between lanes.
- Do not use the hard shoulder as a normal lane.
Exam trap: Wrong: a queue lets you use any hard shoulder. Right: exceptional use has specific conditions.
Read the full explanation
- As a reference position for normal riding, aim for the centre of your lane and leave a safety margin on both sides; adapt your position to the road surface, junctions, parked vehicles and traffic. No single position is always safest: avoid both getting close to oncoming traffic and hugging an edge covered in dirt or debris. Keep a predictable line with room to react.
- Do not ride close alongside a car or lorry where you may be hidden from view. If you cannot see its mirrors or remain alongside it for a long time, pay closer attention and find a position with a greater safety margin when possible. Seeing the driver does not prove that they have noticed you.
- Near parked vehicles, anticipate doors opening and people stepping out. Leave clearance and ride at a speed that allows you to stop; do not move close to a row of vehicles simply because your motorcycle is small enough. A gap wide enough for your handlebars may leave too little room to react.
- Outside built-up areas, where there are several lanes in your direction, normally use the rightmost lane and use the others when appropriate without obstructing traffic. [RGC, art. 31](https://www.boe.es/buscar/act.php?id=BOE-A-2003-23514#a31) Your motorcycle's size does not authorise you to ride continuously along the line between lanes or use the arcén (hard shoulder) as a normal traffic lane. [RGC, art. 36](https://www.boe.es/buscar/act.php?id=BOE-A-2003-23514#a36)
- See the conditions for exceptional hard shoulder use in «Speed and distances on a motorcycle», under «Emergency slow riding and authorised hard shoulder use». [RGC, art. 36.3](https://www.boe.es/buscar/act.php?id=BOE-A-2003-23514#a36)
15Space to react
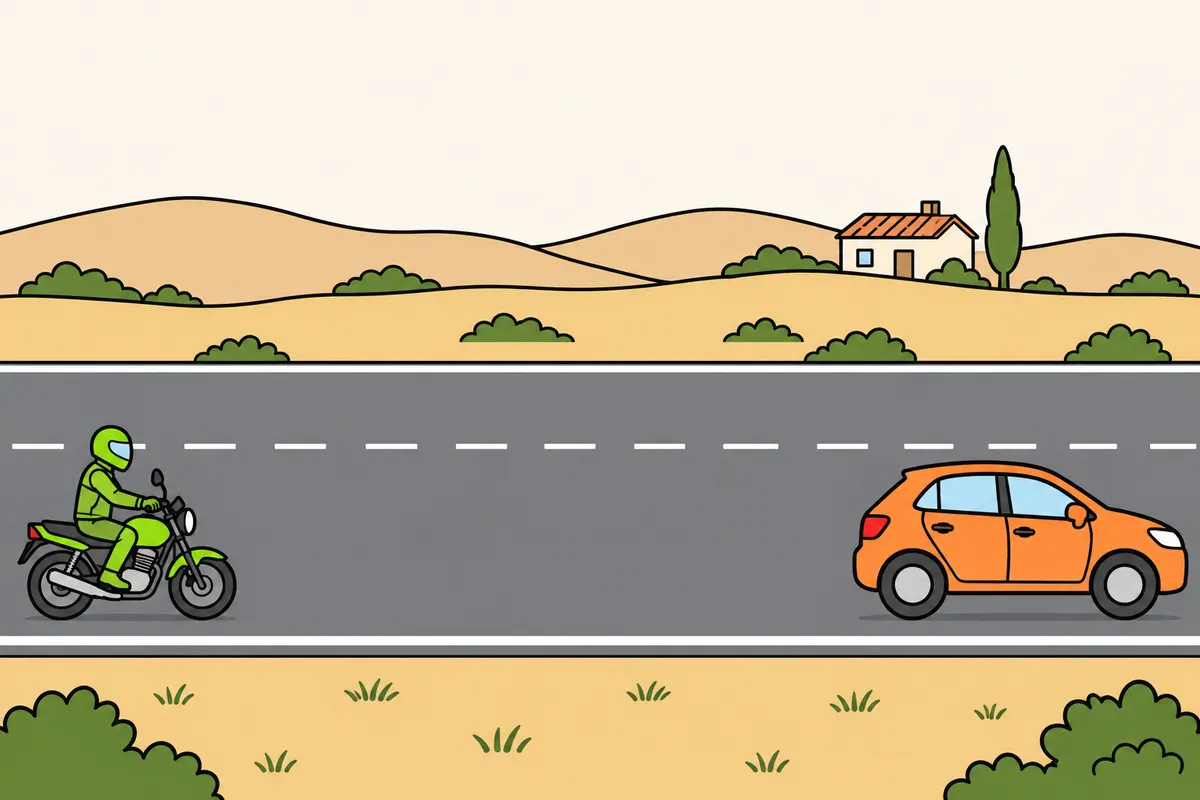
Leave enough space to stop if the vehicle ahead brakes.
Remember
- Adapt your distance to speed, grip and braking ability.
- Leave more space with rain, uneven surfaces, a passenger or luggage.
- If another vehicle moves in, rebuild your distance gradually.
- Increase your distance if a large vehicle blocks your view.
- Before slowing sharply, check behind when possible and warn others.
- In danger, do not delay braking by looking behind for too long.
Exam trap: Wrong: sideways space replaces your following distance. Right: you need space ahead to stop.
Read the full explanation
- Keep enough distance to stop without hitting the vehicle ahead if it brakes sharply. You must adapt this distance to your speed, grip and braking capability; a gap of two motorcycle lengths is not enough. Lateral clearance when overtaking does not replace this following distance. [RGC, art. 54](https://www.boe.es/buscar/act.php?id=BOE-A-2003-23514#a54)
- Increase your safety margin in rain, on uneven surfaces or when carrying a passenger or luggage. If another vehicle moves into the gap, progressively restore a useful following distance without responding by braking sharply unnecessarily. Riding very close to prevent a car from moving in reduces your ability to control an emergency.
- If a large vehicle blocks your view of what is happening ahead, drop back far enough to regain visibility and time to react. A larger gap may allow you to spot a traffic queue earlier and brake less urgently.
- See the required separation in tunnels and underpasses in «Speed and distances on a motorcycle», under «Tunnels and underpasses». [RGC, art. 95.6](https://www.boe.es/buscar/act.php?id=BOE-A-2003-23514#a95)
- Before reducing your speed considerably, check behind when possible and warn others using the appropriate signal. If you need to brake because of danger, do not delay braking to carry out a prolonged check. Your brake light informs the driver behind, but does not guarantee their response. [RGC, art. 109](https://www.boe.es/buscar/act.php?id=BOE-A-2003-23514#a109)
- You study the extra space needed to allow overtaking and its exceptions in «Speed and distances on a motorcycle», under «Space to allow overtaking».
16Overtake with a planned return
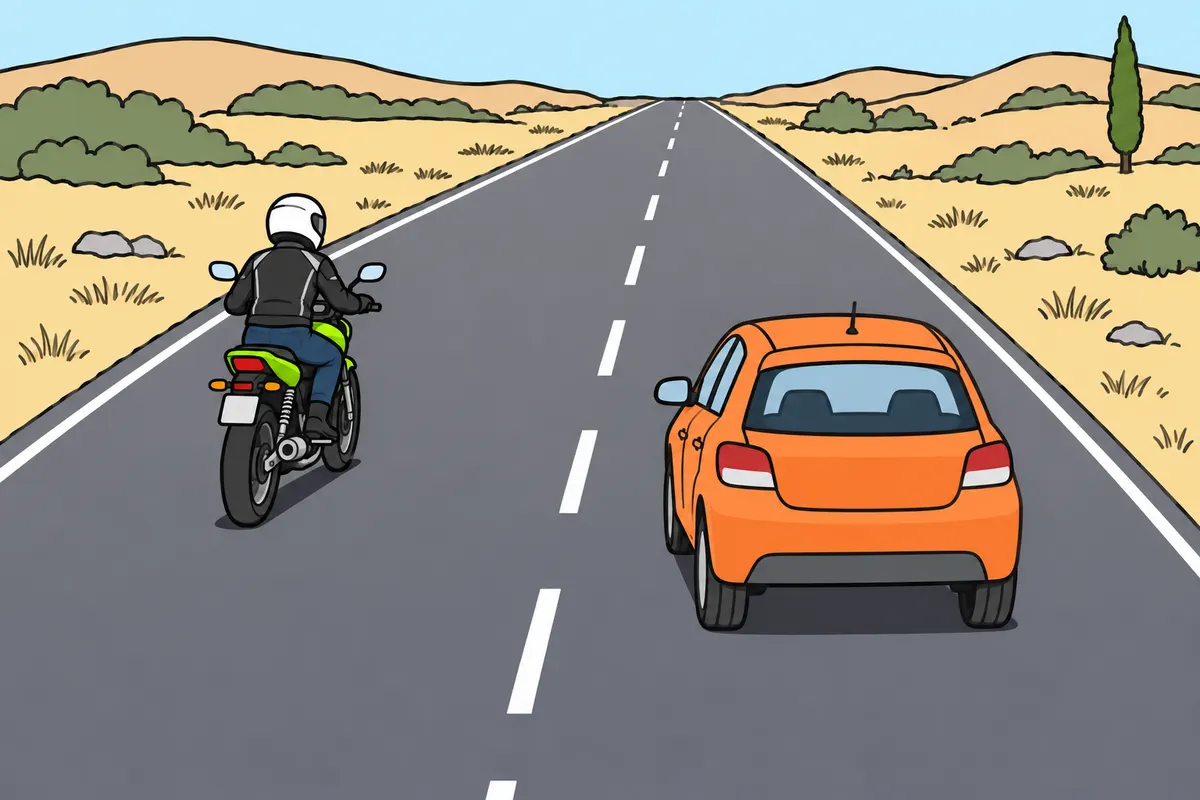
Overtake only when you can finish and return safely.
Remember
- Check visibility, restrictions and space ahead and behind.
- Signal before moving sideways and keep your distance before pulling out.
- With a passenger or luggage, reassess your available acceleration.
- Do not overtake on marked pedestrian crossings or near them.
- Return gradually, leaving enough space and signalling.
- If you cannot finish safely, abandon the overtake safely.
Exam trap: Wrong: you can follow another motorcycle into an overtake without checking. Right: check for yourself.
Read the full explanation
- Before overtaking, check the space ahead and behind, visibility, prohibitions and whether you can return without cutting anyone off. Signal before moving out. Do not automatically follow another motorcycle: its manoeuvre does not prove that you also have enough distance to complete yours. [RGC, art. 84](https://www.boe.es/buscar/act.php?id=BOE-A-2003-23514#a84)
- Select a gear that gives enough response without jerking and keep your distance before moving out. Riding too close to the vehicle reduces your view and safety margin. With a passenger or luggage, reassess the acceleration available: do not assume you can complete the overtake in less space.
- See the lateral clearance required when overtaking on your motorcycle in «Manoeuvres on your motorcycle», under «Lateral clearance on your motorcycle». [RGC, art. 85.5](https://www.boe.es/buscar/act.php?id=BOE-A-2003-23514#a85)
- See the conditions for overtaking vulnerable road users and passing immobilised vehicles in «Manoeuvres on your motorcycle», under «Overtaking vulnerable road users» and «Passing obstacles and immobilised vehicles». [RGC, arts. 85.4 and 88.1](https://www.boe.es/buscar/act.php?id=BOE-A-2003-23514#a85) [RGC, art. 88](https://www.boe.es/buscar/act.php?id=BOE-A-2003-23514#a88)
- Do not overtake at marked pedestrian crossings or near them. When overtaking is appropriate, return gradually with enough space and signal; if a hazard prevents you from completing the manoeuvre, abandon it safely without forcing others to take action. [RGC, art. 87](https://www.boe.es/buscar/act.php?id=BOE-A-2003-23514#a87)
- To choose which side to overtake on, see «Manoeuvres on your motorcycle», under «Overtaking on the left and exceptions»; when planning your line, anticipate doors opening and vehicles moving near the gap you intend to pass through. [RGC, art. 82](https://www.boe.es/buscar/act.php?id=BOE-A-2003-23514#a82)
17Wind and large vehicles
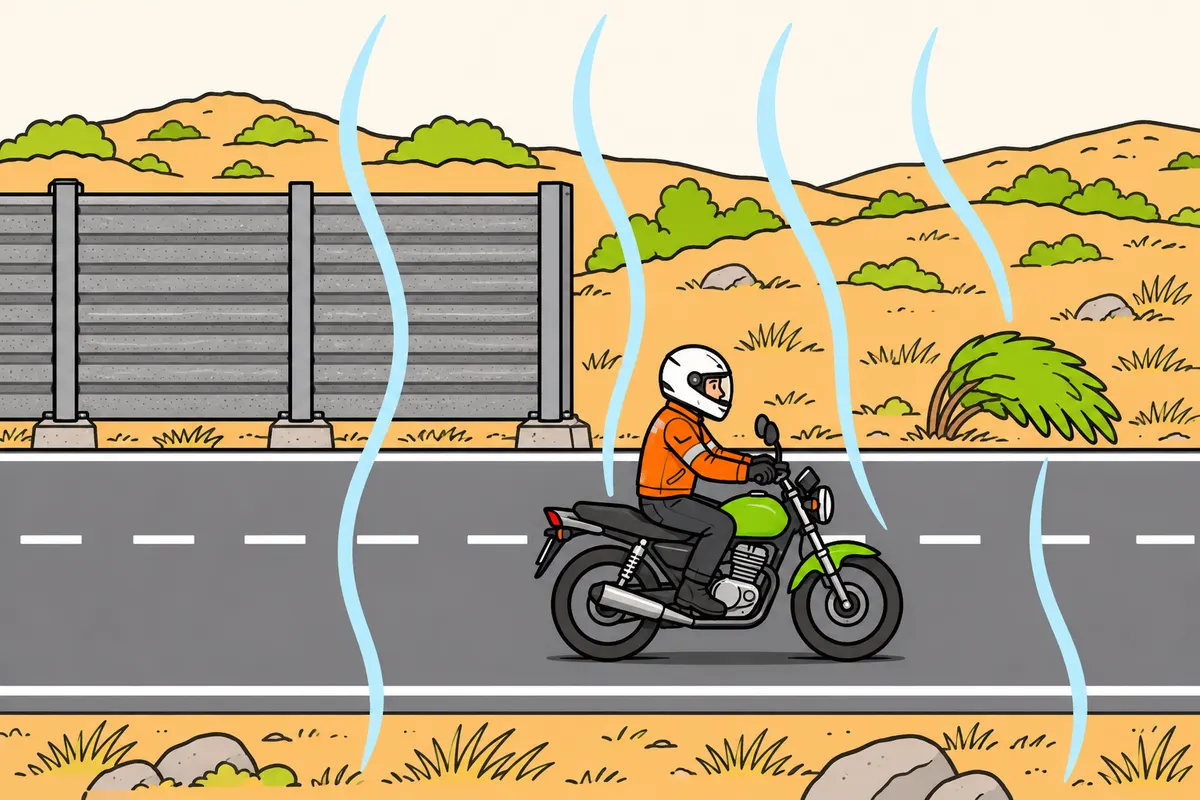
Prepare for wind before leaving the shelter of an obstacle.
Remember
- Adjust your speed before leaving a lorry’s shelter.
- Leave space within your lane to respond to sideways wind.
- Hold the handlebars with flexible arms.
- Correct your line gently as gusts change.
- Keep a posture that lets you see and use the controls.
Exam trap: Wrong: respond to gusts with sudden movements. Right: correct gently and leave a safety margin.
Read the full explanation
- Before leaving the shelter of a lorry, building or wind barrier, adjust your speed and leave room within your lane to respond to the sideways force of the wind.
- In a crosswind, hold the handlebars with relaxed arms and adjust your line smoothly as gusts occur. Keep a posture that allows you to see and operate the controls.
- You study the effects of wind, fairings and luggage in more detail in «Risks and prevention on a motorbike».
18Autopistas and autovías (motorways and dual carriageways)
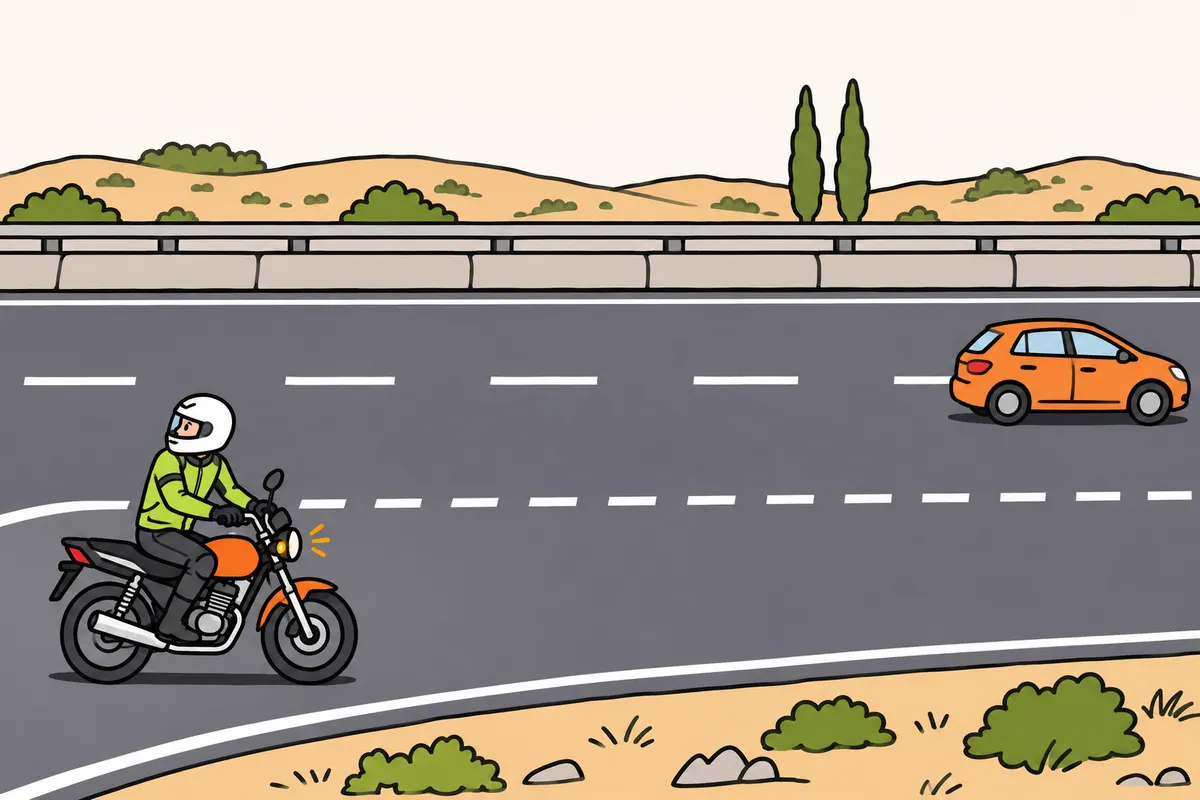
Adapt your speed and prepare to join and leave traffic early.
| On autopistas or autovías | Rule |
|---|---|
| Queue with two lanes | Emergency corridor between the lanes |
| Queue with three or more lanes | Emergency corridor between the leftmost lane and the lane beside it |
Remember
- When joining, give way and avoid making others brake.
- Check mirrors and your blind spot before changing lanes.
- Before overtaking a lorry, assess how long you will remain alongside it.
- When leaving, slow down mainly in the deceleration lane.
- If you miss an exit, continue to another.
- Do not ride along the emergency corridor.
Exam trap: Wrong: you have priority when joining traffic. Right: give way and avoid making others brake.
Read the full explanation
- Use the acceleration lane to build up a speed compatible with traffic and the available space. Look early, signal and choose a gap without forcing others to brake. You have no priority when joining on your A1 motorcycle: pay particular attention to the acceleration available with a passenger, on an uphill gradient or into a headwind. [RGC, art. 72](https://www.boe.es/buscar/act.php?id=BOE-A-2003-23514#a72)
- Ride predictably, check your mirrors and check your blind spot before changing lanes. At high speeds, a vehicle that seems far away can approach quickly. Avoid making a succession of lane changes and staying in other drivers' blind spots.
- You study the applicable limits in «Speed and distances on a motorcycle», under «Autopistas (motorways) and autovías (dual carriageway highways) outside built-up areas»; before overtaking a lorry, assess the speed difference and how long you remain alongside it given the acceleration available from your A1 motorcycle. [RGC, art. 48](https://www.boe.es/buscar/act.php?id=BOE-A-2003-23514#a48)
- Prepare for your exit in advance, move into the correct lane and slow down mainly in the deceleration lane. If you miss an exit, continue to another: do not improvise a turn, reverse or brake in a way that takes traffic by surprise. You can arrive later and still stay in control.
- In traffic queues, keep the emergency corridor clear: with two lanes, it forms between them; with three or more, between the leftmost lane and the lane next to it. Do not use it to move ahead on your motorcycle. Use designated places for voluntary stops, rather than choosing a hard shoulder for a rest. [RGC, art. 32](https://www.boe.es/buscar/act.php?id=BOE-A-2003-23514#a32) [RGC, art. 94](https://www.boe.es/buscar/act.php?id=BOE-A-2003-23514#a94)
- See access rules in «Using the road with your motorcycle», under «Access to autopistas and autovías», and minimum speeds and their exceptions in «Speed and distances on a motorcycle», under «Minimum speeds and reasons for riding more slowly». [RGC, art. 38](https://www.boe.es/buscar/act.php?id=BOE-A-2003-23514#a38) [RGC, art. 49](https://www.boe.es/buscar/act.php?id=BOE-A-2003-23514#a49) Choose your route according to your motorcycle's actual performance: a legal maximum does not guarantee that you can reach it, especially uphill, with a load or into a headwind.
19Ride in a group without competing
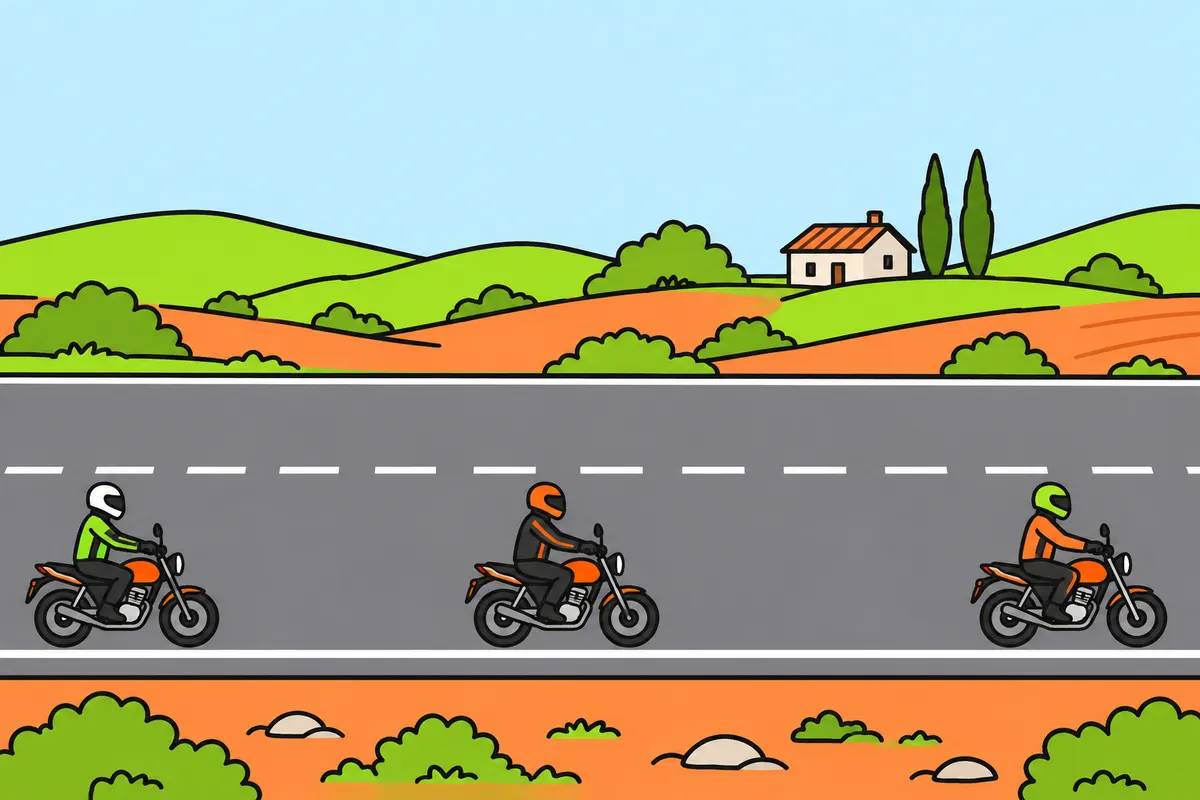
Keep your own safety margin when riding with other motorcycles.
| Road section | Your group position |
|---|---|
| Wide straight with suitable conditions | You can stagger positions within your lane |
| Bend or narrow section | Leave space for each motorcycle’s line |
Remember
- Leave space to brake and choose your line.
- On wide straights, stagger positions within your lane only when conditions allow.
- In bends and narrow sections, leave room for each motorcycle’s line.
- Check every entry into traffic and overtake for yourself.
- If you lose the group, go to the agreed meeting point.
Exam trap: Wrong: speed up to catch the group. Right: keep your safe pace and use the agreed meeting point.
Read the full explanation
- Keep a gap that allows you to brake and choose your line. On wide straight sections, you can ride in a staggered formation within the lane if conditions allow; on bends and narrow sections, leave room for each motorcycle to follow its line without interference.
- Check for yourself before joining traffic or overtaking. If you lose the group, head to the agreed meeting point without pushing your pace to catch up.
- Planning, organisation and the risks of riding in a group are covered in «Risks and prevention on a motorbike». [DGT, riding in a group](https://www.dgt.es/export/sites/web-DGT/.galleries/downloads/nuestros_servicios/para-colaboradores-y-empresas/GUIA-MONITORES-MOTOCICLETA-NIPO.pdf)
20Prepare your passenger
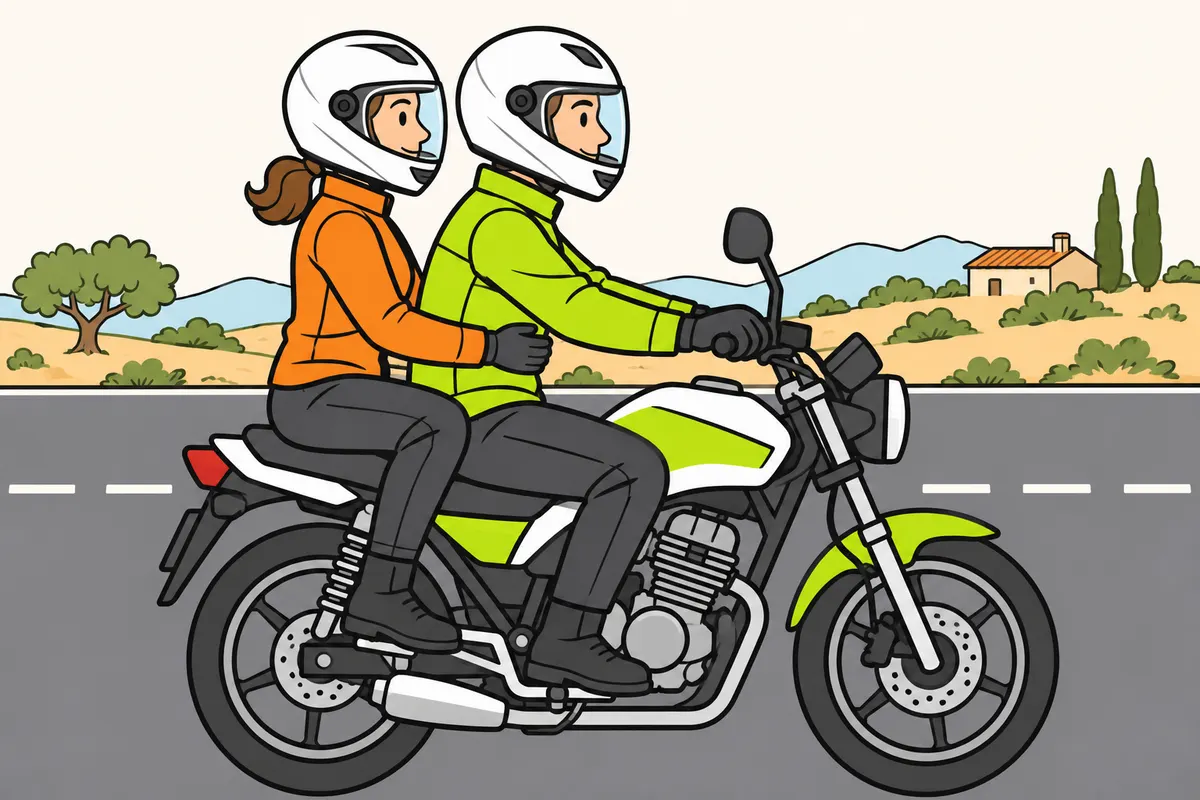
Explain how your passenger can help you keep the motorcycle stable.
Remember
- Check your motorcycle has an approved passenger seat and footrests.
- Tell your passenger to sit behind you, astride, with feet on the footrests.
- Explain where to hold on without restricting your movements.
- Agree on mounting and dismounting while stationary, with you ready to support it.
- Ask your passenger to keep their feet on the footrests when stopped too.
- In bends, ask your passenger to follow your lean without exaggerating it.
Exam trap: Wrong: your passenger should put their feet down when you stop. Right: their feet stay on the footrests; you support the motorcycle.
Read the full explanation
- Before carrying a passenger, check that your motorcycle has an authorised passenger seat and the corresponding supports. Your passenger must sit behind you, astride the motorcycle and with their feet on the footrests. [RGC, art. 12](https://www.boe.es/buscar/act.php?id=BOE-A-2003-23514#a12)
- Before setting off, explain where to hold on and how to behave. Your passenger can use the grab handles provided or hold on to your waist without restricting your movements.
- Agree when your passenger should get on and off, always with the motorcycle stationary and you ready to support it. Make sure they do not get on without warning you or move suddenly as you approach a stop. Seat height and mass distribution can make balancing at low speed more difficult.
- Your passenger must keep their feet on the footrests while you are moving and also when you stop, for as long as they remain a passenger. You are responsible for supporting the motorcycle.
- On bends, your passenger must lean naturally with you, without leaning early, exaggerating the lean or leaning the opposite way. Explain that they should keep their body steady and look in the direction of travel. A calm, predictable passenger allows you to give more attention to your line.
- Check the age requirements and conditions for carrying a passenger in «Passengers and loads on motorcycles».
21Adapt your riding to the load
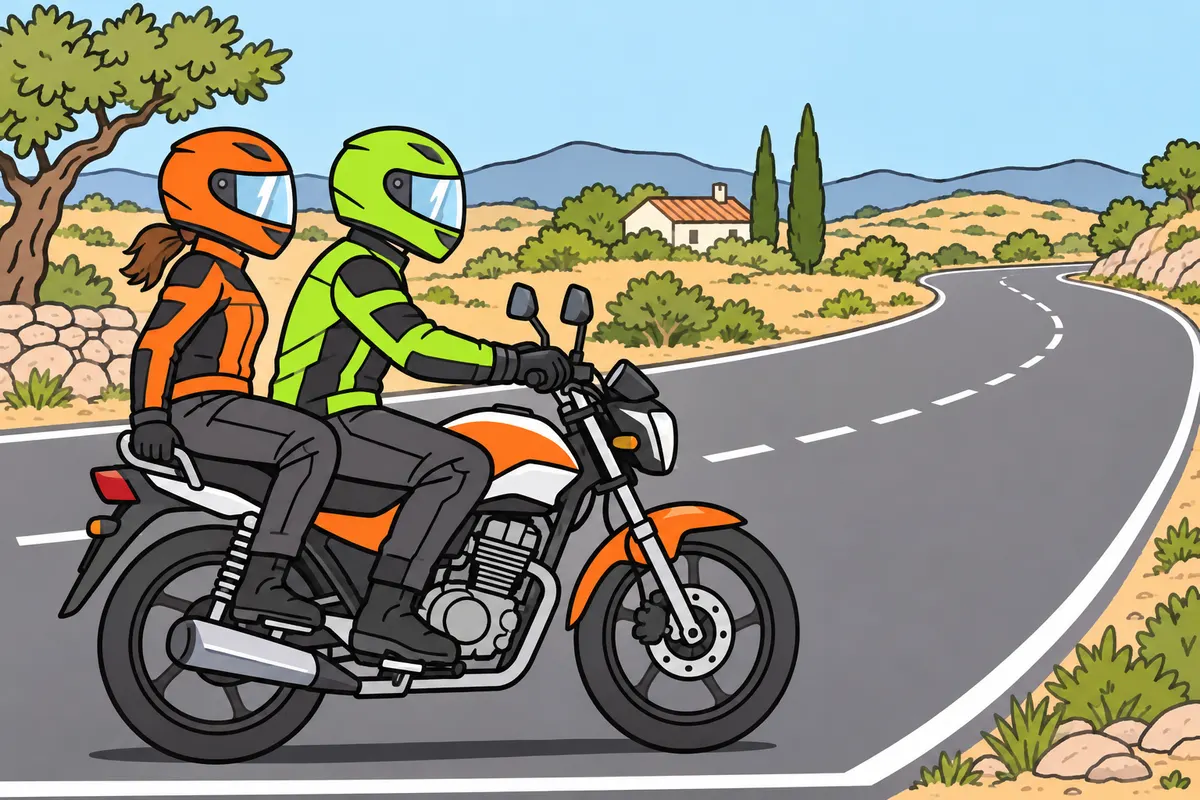
With a passenger or luggage, adapt your riding and leave more space.
Remember
- Adjust tyres and suspension for the load as the manufacturer instructs.
- Check your balance and the motorcycle’s response when moving off.
- Accelerate, change gear and brake smoothly.
- Prepare to brake earlier.
- Increase space for joining traffic and overtaking according to your motorcycle’s response.
Exam trap: Wrong: you can always keep the same margins with a load. Right: adapt them to your loaded motorcycle’s response.
Read the full explanation
- With a passenger or luggage, adapt how you balance at low speed and check how your motorcycle responds when moving off. Adjust the tyres and suspension according to the manufacturer's instructions for the load.
- Accelerate, change gear and brake progressively to avoid jolting your passenger. Anticipate braking and allow greater margins when joining traffic and overtaking, according to how the loaded motorcycle responds.
- Luggage positioning, securing and limits are covered in «Passengers and loads on motorcycles».
22Off-road test area: preparation and slow circuit
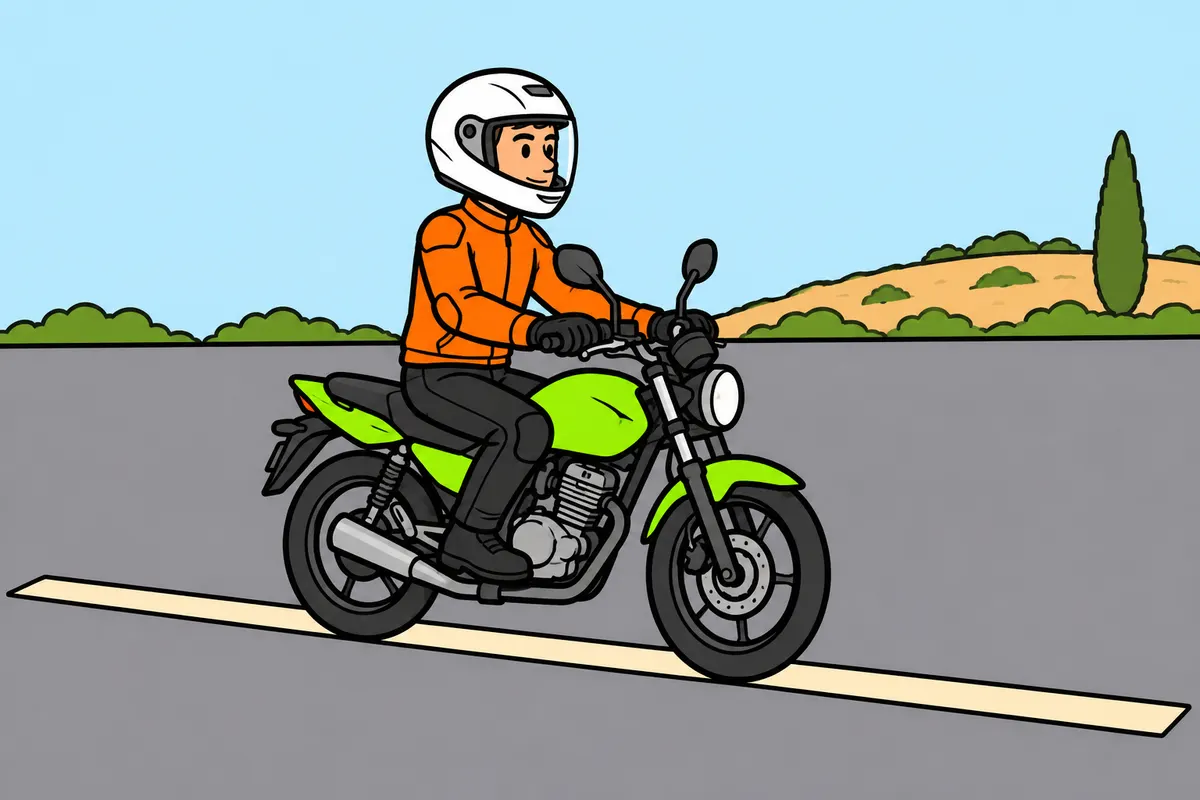
On the slow circuit, show balance and accuracy without rushing.
| Slow circuit manoeuvre | Your task |
|---|---|
| B | Balance along a strip in first gear |
| A | Weave between five poles without touching or knocking them over |
| E | Accelerate to at least 30 km/h and stop accurately |
Remember
- Carry out the preliminary checks you are asked to do.
- Remove the stand and push without engine power, walking beside your motorcycle.
- In B, keep first gear and a low, steady speed.
- In A, start right of the first pole and use first gear.
- In E, change to second gear and stop within the space without stalling.
- Finish by parking on the stand and stopping the engine.
Exam trap: Wrong: the slow circuit has a maximum of 25 seconds. Right: that time limit does not apply to it.
Read the full explanation
- Before the manoeuvres, you must carry out the randomly selected checks on the tyres, brakes, steering, emergency engine stop switch if fitted, drive chain, oil level, headlights, reflectors, indicators and horn explained in «Motorcycle mechanics and maintenance». You must then take the motorcycle off its stand and move it without engine power, walking alongside it and keeping it balanced, and start the engine to prepare for the manoeuvres. When you finish, leave the motorcycle correctly parked on its centre or side stand with the engine switched off. [RGCond, annex V.B.3.2](https://www.boe.es/buscar/act.php?id=BOE-A-2009-9481)
- The balance circuit links B, A and E and has no maximum time in seconds set in annex VI.C.2; its duration depends on the characteristics and difficulty of the manoeuvres and on the vehicle. [RGCond, annex VI.C.2](https://www.boe.es/buscar/act.php?id=BOE-A-2009-9481) In B, you must stay in first gear, maintain a low, steady speed and balance along a strip 0.25 metres wide and 6 metres long. Look towards the continuation of the strip and avoid abrupt corrections. [RGCond, annex VI.C.4](https://www.boe.es/buscar/act.php?id=BOE-A-2009-9481)
- In A, you weave at low speed between five poles, starting to the right of the first and using first gear. You must stay within the marked area and avoid touching or knocking over the markers. Look ahead to anticipate each turn instead of waiting until the pole is beside your wheel. [RGCond, annex VI.C.4](https://www.boe.es/buscar/act.php?id=BOE-A-2009-9481)
- In E, you accelerate progressively, change to second gear and reach at least 30 km/h; you then stop precisely within the indicated space, without crossing the line or stalling the engine. Coordinate the clutch and brakes, avoiding a sudden final application of the brakes with the steering turned. [RGCond, annex VI.C.4](https://www.boe.es/buscar/act.php?id=BOE-A-2009-9481)
- Practise consistency and control rather than racing to finish the slow circuit. You must learn to correct a small loss of balance without automatically putting your feet down. The low-speed control you practise here is also useful in queues, car parks and tight urban turns.
23Off-road test area: speed, avoidance and braking
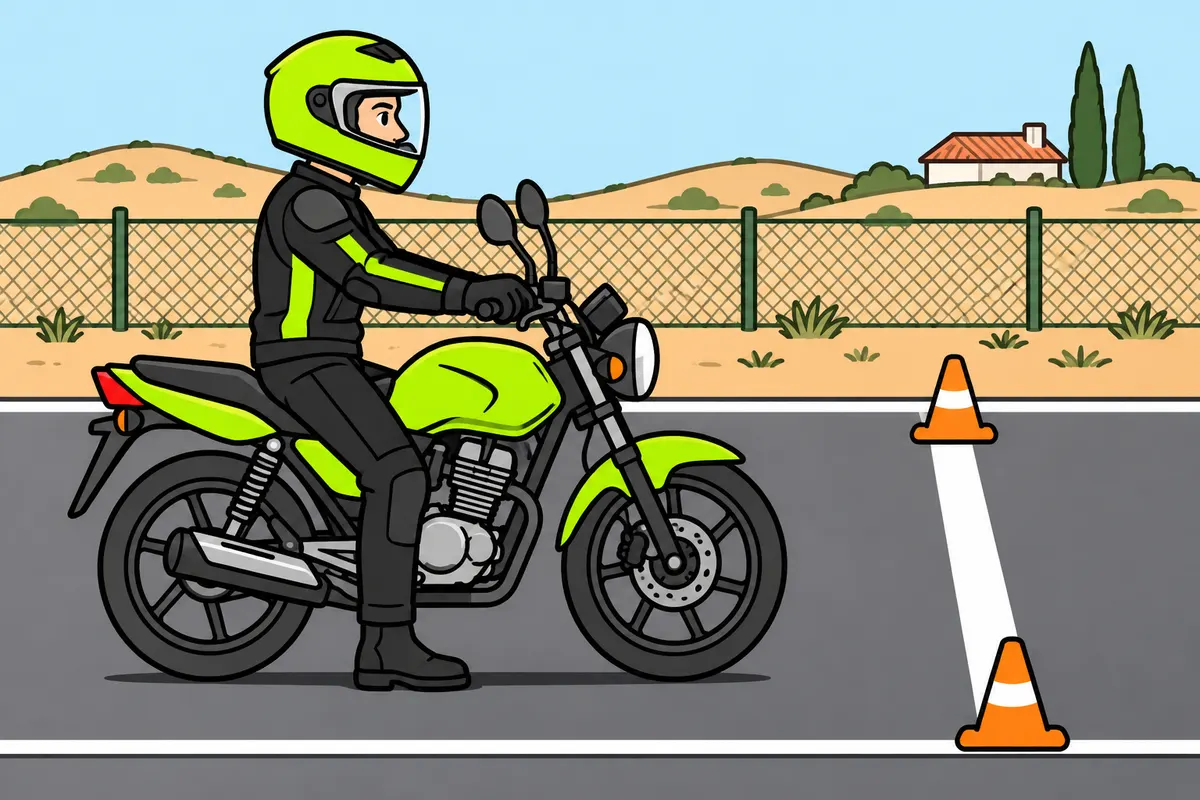
Combine speed and control on the fast circuit.
| Fast circuit manoeuvre | Speed and task |
|---|---|
| C | At least 30 km/h: weave between five cones |
| D | At least 50 km/h: swerve without dropping below this speed |
| F | From 50 km/h: controlled emergency braking |
Remember
- Complete C, D and F within the combined maximum time.
- In C, start left of the first cone.
- In C, stay at or above the minimum speed throughout the slalom.
- In D, swerve without dropping below the minimum speed or touching markers.
- In F, brake straight and stop without crossing the line.
- Do not copy these manoeuvres between cars on open roads.
Exam trap: Wrong: you have 25 seconds for each manoeuvre. Right: this maximum covers C, D and F together.
Read the full explanation
- The skills and speed circuit links C, D and F, with a combined maximum time of 25 seconds. This is not 25 seconds per manoeuvre or for the whole practical test. You must combine sufficient speed with precision and control, without treating the stopwatch as permission to improvise. [RGCond, annex VI.C.2](https://www.boe.es/buscar/act.php?id=BOE-A-2009-9481)
- In C, you weave around five cones, starting to the left of the first, after reaching at least 30 km/h and without reducing that speed during the slalom. Look towards the next gap and link smooth changes of direction; do not keep looking at the cone you have just passed. [RGCond, annex VI.C.4](https://www.boe.es/buscar/act.php?id=BOE-A-2009-9481)
- In D, you must reach the first marked passage at a minimum of 50 km/h, swerve without reducing that speed and return to your original line. You must not touch the markers. Practise directing your gaze and coordinating your steering without replacing the avoidance manoeuvre with sudden braking. [RGCond, annex VI.C.4](https://www.boe.es/buscar/act.php?id=BOE-A-2009-9481)
- In F, you carry out an emergency stop from 50 km/h and stop in the marked area, without crossing the line, while maintaining a straight line and control. You must coordinate hard braking; the aim is not to skid to demonstrate that you have applied enough force. [RGCond, annex VI.C.4](https://www.boe.es/buscar/act.php?id=BOE-A-2009-9481)
- The speeds and markings apply to a specially prepared area. You must not reproduce the avoidance manoeuvre at that speed between cars or use makeshift cones on a road open to traffic. In real traffic, you choose your speed and manoeuvre according to visibility, grip and the rules, without a route cleared in advance.
24On-road riding and practical assessment
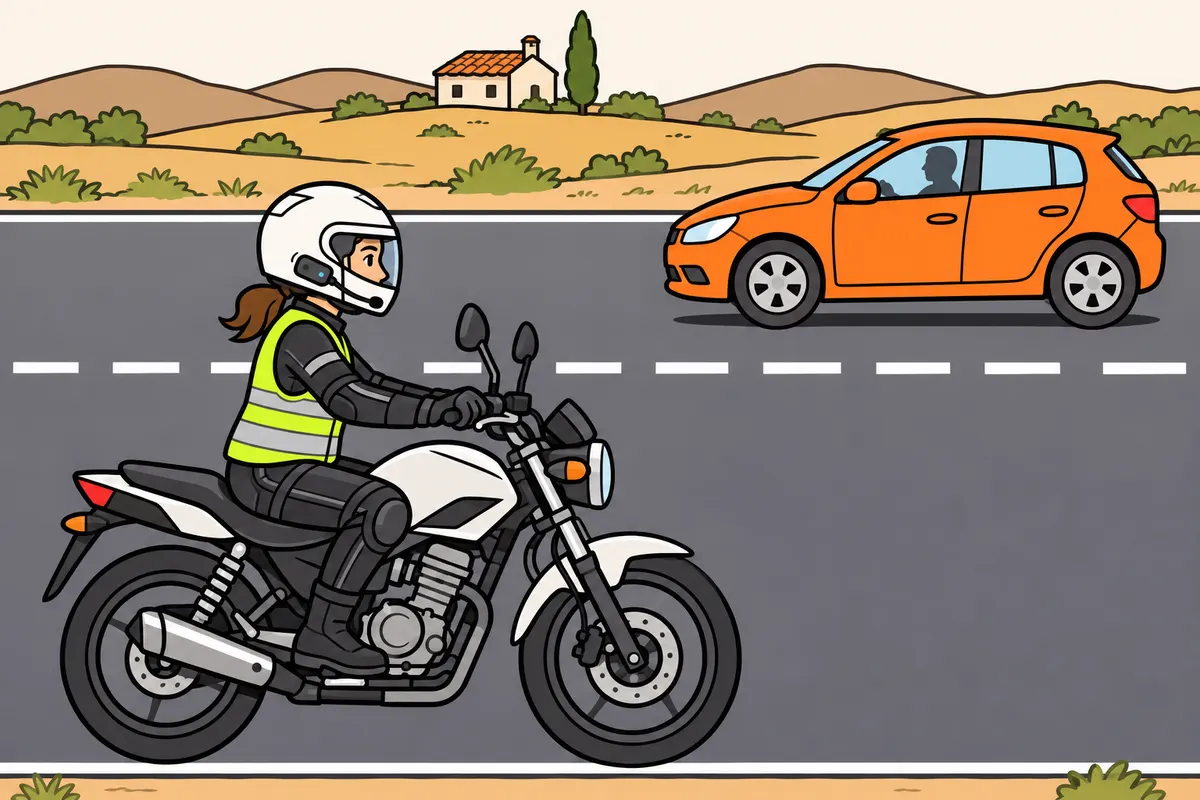
In your test, show observation, safe decisions and motorcycle control.
| Faults causing failure | Off-road test area | On-road test |
|---|---|---|
| Eliminating | One | One |
| Serious | Two | Two |
| Serious and minor | One serious and two minor | One serious and five minor |
| Minor only | Four | Ten |
Remember
- Ride alone and receive the examiner’s instructions through a two-way intercom.
- If you cannot perform a manoeuvre in time, keep a legal, safe line.
- Prepare mirrors, controls and all required protective equipment.
- Wear an approved helmet, gloves, motorcycle clothing with the required protectors and protective boots.
- Wear boots that adequately protect your ankles.
- Wear an approved V-14 high-visibility vest, visible behind, on tests and during open-road training.
Exam trap: Wrong: riding time includes preparation. Right: preparation, preliminary checks and results are excluded.
Read the full explanation
- In the on-road test, you ride without a passenger and receive the examiner's instructions through a two-way intercom with a hands-free microphone and speaker. You must follow them safely; if you cannot carry out a manoeuvre in time, keep to a legal, safe path. [RGCond, annex VI.C.7.5](https://www.boe.es/buscar/act.php?id=BOE-A-2009-9481)
- Before setting off, adjust your mirrors, check the controls and put on the required equipment: an approved helmet, gloves, a motorcycle jacket and trousers with protection at least for your back, shoulders and elbows in the jacket and your knees in the trousers, and boots made of leather or a similar synthetic material that adequately protect your ankles. [RGCond, annex VI.C.1](https://www.boe.es/buscar/act.php?id=BOE-A-2009-9481) In the on-road test, and also while learning on roads open to traffic, you must wear an approved reflective vest with the V-14 sign stamped or printed on it, visible to road users behind you. [RGCond, annex VI.C.6 and C.7.5](https://www.boe.es/buscar/act.php?id=BOE-A-2009-9481)
- In the on-road test, you are assessed on your observation and decisions as well as your handling: joining traffic without forcing your way in, positioning correctly in your lane, keeping your distance, adapting your speed and respecting priority. Make effective checks with appropriate head movements while maintaining your line.
- The normal minimum riding time on roads open to traffic for A1 is 25 minutes, unless the test is interrupted or suspended. Preparation, preliminary checks and communication of the results do not count towards this time. [RGCond, annex VI.C.2](https://www.boe.es/buscar/act.php?id=BOE-A-2009-9481)
- In the off-road test, you fail with one eliminatory fault, two serious faults, one serious fault and two minor faults, or four minor faults. In the on-road test: one eliminatory fault, two serious faults, one serious fault and five minor faults, or ten minor faults. A seriously dangerous situation can be enough on its own; passing is not simply a matter of counting minor errors. [RGCond, annex VI.C.3](https://www.boe.es/buscar/act.php?id=BOE-A-2009-9481)
25Motor tricycles and motorcycles with sidecars
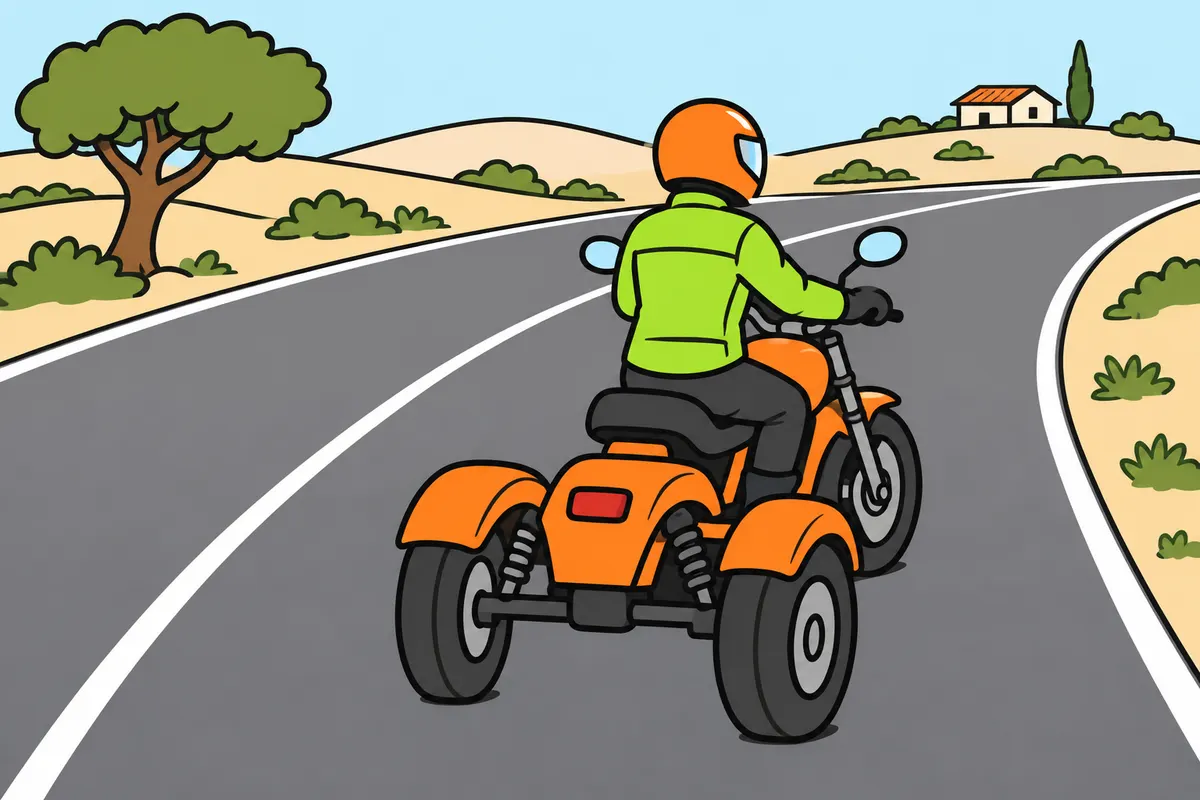
Learn how to handle tricycles and motorcycles with sidecars before riding on roads.
| Vehicle | What you need to remember |
|---|---|
| Tricycle that does not lean | Steer into the bend; the inner wheel can lift |
| Motorcycle with rigid sidecar | The sidecar wheel can lift when turning towards it |
| Light quadricycle | You can drive it with A1, which includes AM |
| Non-light motor quadricycle | A1 does not authorise you to drive it |
Remember
- Check the vehicle’s classification in its documents.
- On a tricycle that does not lean, steer into the bend.
- Slow down before turning and avoid sudden movements.
- Brake progressively, with straight steering when possible.
- Allow enough space for the vehicle’s full width.
- With a rigid sidecar, get specific training to practise its uneven handling.
Exam trap: Wrong: A1 allows you to drive any quadricycle. Right: it allows light quadricycles because it includes AM, but excludes non-light quadricycles.
Read the full explanation
- With an A1 licence, you can drive motor tricycles with a maximum power of up to 15 kW. Check the vehicle's classification in its documents: having three wheels does not in itself determine whether it is a motor tricycle. [RGCond, art. 4.2](https://www.boe.es/buscar/act.php?id=BOE-A-2009-9481#a4)
- On a tricycle that does not lean, you must steer into the bend; the countersteering described for a two-wheeled motorcycle does not apply. Familiarise yourself with its controls and handling through practical training before driving on the road.
- Reduce your speed before entering a bend and steer smoothly. On a tricycle that does not lean, the load shifts towards the outer wheels and the inner wheel can lift, causing the vehicle to overturn. Keep a safety margin on tight turns and on roads with a cross slope too.
- Brake progressively and, whenever possible, with the steering straight. If the wheels run over surfaces with different levels of grip or an uneven road surface, braking can cause the vehicle to veer off course; adapt the pressure you apply to the controls and your speed to the vehicle's response and the model's braking system.
- Allow enough room for the tricycle's full width and the paths of its wheels. You must leave clearance from kerbs, potholes, obstacles and other vehicles: a gap wide enough for a two-wheeled motorcycle may be too narrow.
- With a motorcycle fitted with a rigid sidecar, you must learn to handle the combination: it does not lean like a two-wheeled motorcycle and its handling is asymmetrical. Adapt your speed before turning; in a bend towards the sidecar, its wheel can lift. Acceleration, braking and the load in the sidecar also alter your path; practise with specific training and allow for its full width.
- An A1 licence does not authorise you to drive non-light motor quadricycles. You can drive light quadricycles because A1 includes the AM licence entitlement. On these vehicles, you must steer in the direction of the turn, reduce your speed before bends and allow for their width and the risk of overturning, following the manufacturer's instructions. [RGCond, arts. 4.2 and 5.2.a](https://www.boe.es/buscar/act.php?id=BOE-A-2009-9481#a4) [RGCond, art. 5](https://www.boe.es/buscar/act.php?id=BOE-A-2009-9481#a5)
Emergency braking on a straight
Aim for the greatest reduction in speed consistent with stability and grip.
- Identify the hazard, close the throttle and look towards a safe space.
- Keep the motorcycle aligned and coordinate both brakes, increasing the force without an initial snatch.
- With working ABS, maintain the necessary pressure without pumping; without ABS, modulate the pressure to avoid locking the wheels.
- On a manual motorcycle, coordinate the clutch to avoid stalling and finish with stable support.
Riding through a bend
Prepare beforehand and keep a safety margin throughout the turn.
- Observe the road layout and surface, and adjust your speed and gear before leaning.
- Choose your position within your lane and look along the visible route.
- Begin leaning gently, coordinating the handlebars and your posture without sudden movements.
- Keep some grip in reserve; brake progressively if a real need arises.
- With a clear exit, bring the motorcycle upright and accelerate gently only if appropriate.
Setting off with a passenger
Make the behaviour of the motorcycle and its occupants predictable.
- Check the seat, footrests, load and adjustments specified by the manufacturer.
- Explain how to hold on, keep feet supported and lean naturally, and agree how to get on and off.
- Hold the motorcycle stationary while your passenger gets on, and confirm that they are ready.
- Accelerate and brake smoothly, and allow greater safety margins when joining traffic and overtaking.
Remembering the two parts of the off-road test
Associate each manoeuvre with its purpose and speed.
- Prepare the motorcycle and show that you can keep it balanced while walking alongside it, without engine power.
- Link B and A at low speed in first gear, then E in second gear at a minimum of 30 km/h before braking.
- Link C at a minimum of 30 km/h, D at a minimum of 50 km/h and F with braking from 50 km/h.
- Complete C, D and F within a combined maximum of 25 seconds, maintaining precision and control.
Check what you know
Real questions from the bank on this topic. Pick an answer to see the explanation.
Finished this module?
Mark it as read and you will see your progress on the theory list.