
Theory · B+E Licence - Car with Trailer · Module 8 of 13
Speed and distances with a trailer
You learn to choose the speed of your B+E combination on each road and adapt it to the load, grip and visibility. You learn about reaction, braking and stopping distances, safe following distances, the 50-metre rule and the specific distances in tunnels.
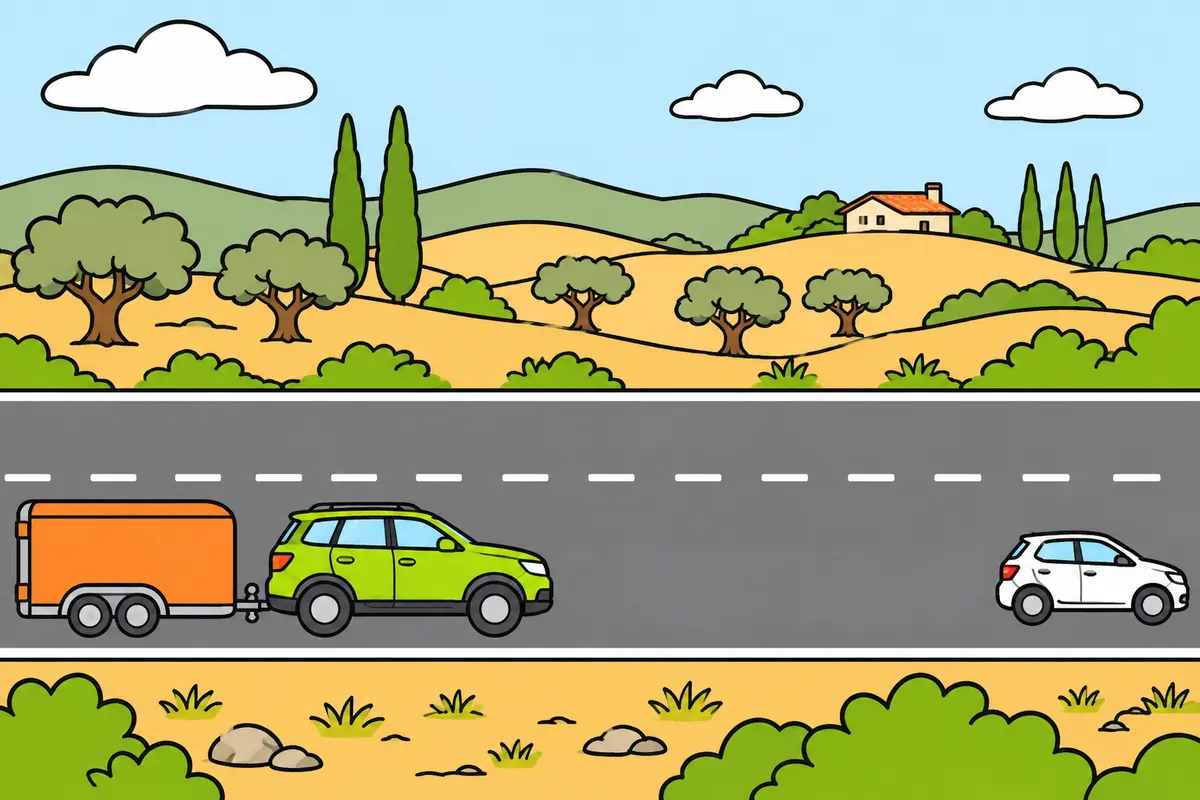
1Your speed with a trailer
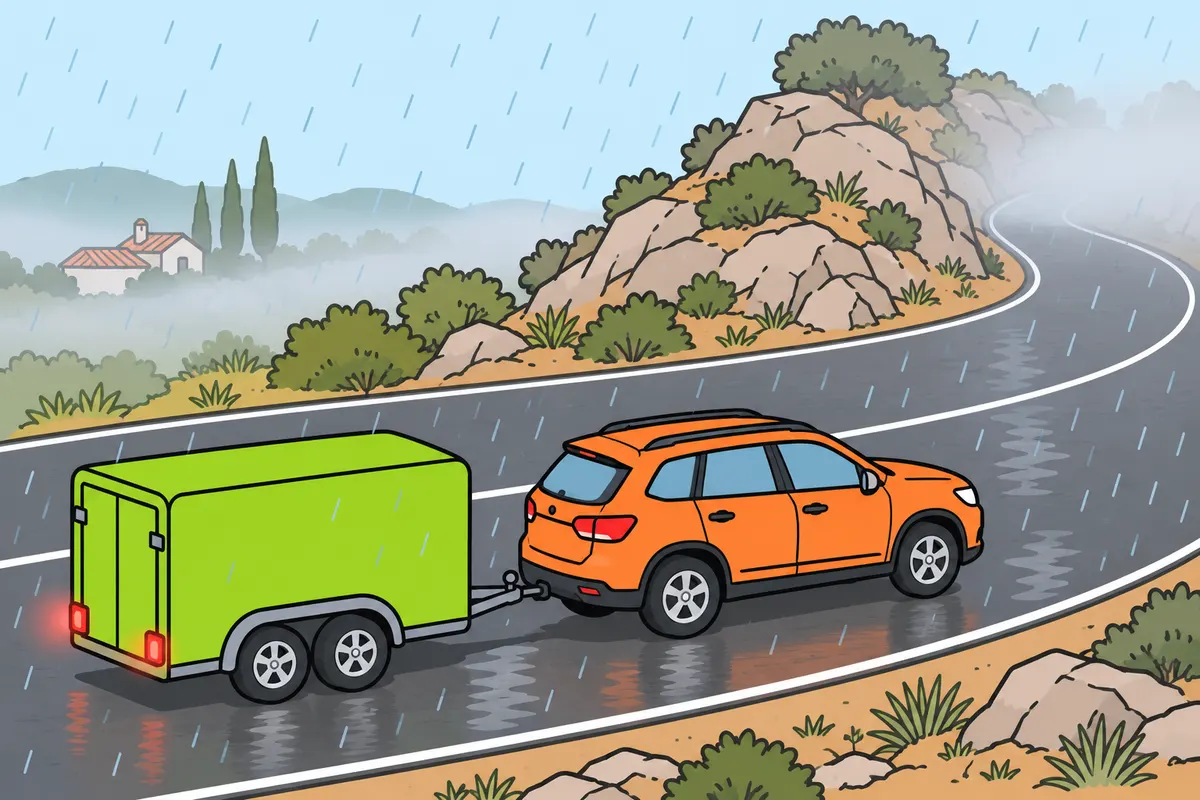
Choose a speed that lets you stop your whole combination safely.
Remember
- Consider your condition, towing vehicle, trailer and load.
- Slow down before bends, crests or fog.
- You must be able to stop within the space you can see.
- You do not have to reach the maximum permitted speed.
Exam trap: Wrong: keeping within the limit is always enough. Right: also adapt your speed to the actual conditions.
Read the full explanation
- You must choose your speed taking into account the towing vehicle, the trailer or semi-trailer and the load, your physical and mental condition, and the actual conditions along your route. [RGC, art. 45](https://www.boe.es/buscar/act.php?id=BOE-A-2003-23514#a45)
- You must both obey the speed limits and fulfil your obligation to adapt your speed. A maximum permitted speed is a legal ceiling, not a speed you have to reach. In rain, wind, on a sharp bend or in heavy traffic, you may need to drive well below that ceiling. [RGC, art. 45](https://www.boe.es/buscar/act.php?id=BOE-A-2003-23514#a45)
- You must be able to stop the combination within the distance you can see and before any obstacles that may appear. If a bend, a crest or fog hides part of the road, slow down before entering the hidden section. [RGC, art. 45](https://www.boe.es/buscar/act.php?id=BOE-A-2003-23514#a45)
- If you exceed the applicable limit, you are speeding. If your speed is incompatible with the road surface, visibility or the condition of the combination, it is inappropriate even if you obey the maximum limit. [RGC, art. 45](https://www.boe.es/buscar/act.php?id=BOE-A-2003-23514#a45)
2Motorways and dual carriageways
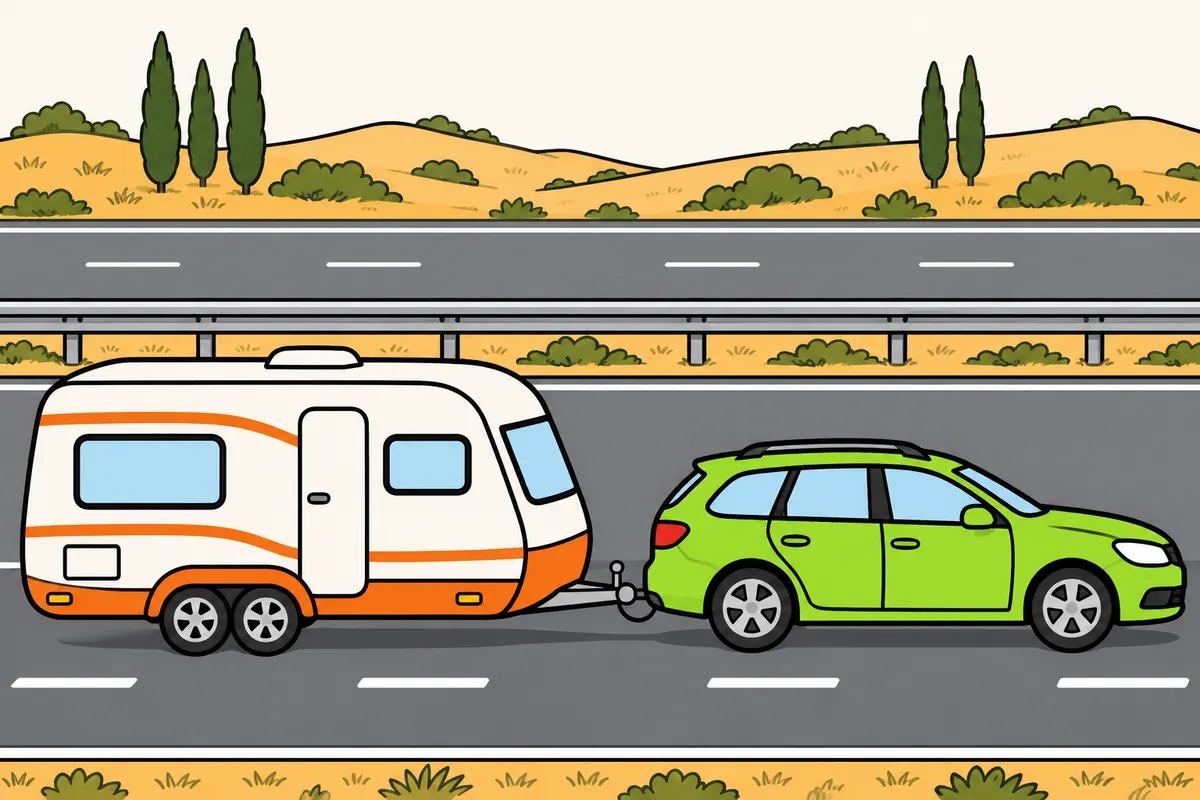
Outside built-up areas, your maximum with a trailer is 90 km/h on motorways and dual carriageways.
Remember
- Use the limit for a motor vehicle with a trailer.
- This limit also applies when your trailer is empty.
- Obey any lower limit that applies to you.
- Inside built-up areas, check the specific rule.
Exam trap: Wrong: you can reach 120 km/h because you drive a passenger car. Right: with a trailer, your maximum is 90 km/h on motorways and dual carriageways outside built-up areas.
Read the full explanation
- Outside built-up areas, the general maximum speed for your motor vehicle towing a trailer is 90 km/h on both autopistas (motorways) and autovías (dual carriageways). You must apply the category of the combination, even if the towing vehicle is a passenger car. [RGC, art. 48](https://www.boe.es/buscar/act.php?id=BOE-A-2003-23514#a48)
- The 90 km/h limit applies whether you tow a caravan, a horse trailer or a goods trailer. It does not increase because the trailer is empty or has a low MMA (maximum authorised mass). The table includes motor vehicles towing trailers without distinguishing between these uses or loads. [RGC, art. 48](https://www.boe.es/buscar/act.php?id=BOE-A-2003-23514#a48)
- A sign allowing passenger cars to travel at 120 km/h does not allow you to drive at that speed when towing a trailer. If an 80 km/h limit applies to your lane or section of road, you must obey 80. To work out the answer, combine the maximum for your category with the specific regulation. [RGC, art. 48](https://www.boe.es/buscar/act.php?id=BOE-A-2003-23514#a48)
- On sections of motorway or dual carriageway within built-up areas, you must apply the specific rule in the section «Through roads and motorways within built-up areas». [RGC, art. 50](https://www.boe.es/buscar/act.php?id=BOE-A-2003-23514#a50)
3Conventional roads and unpaved roads
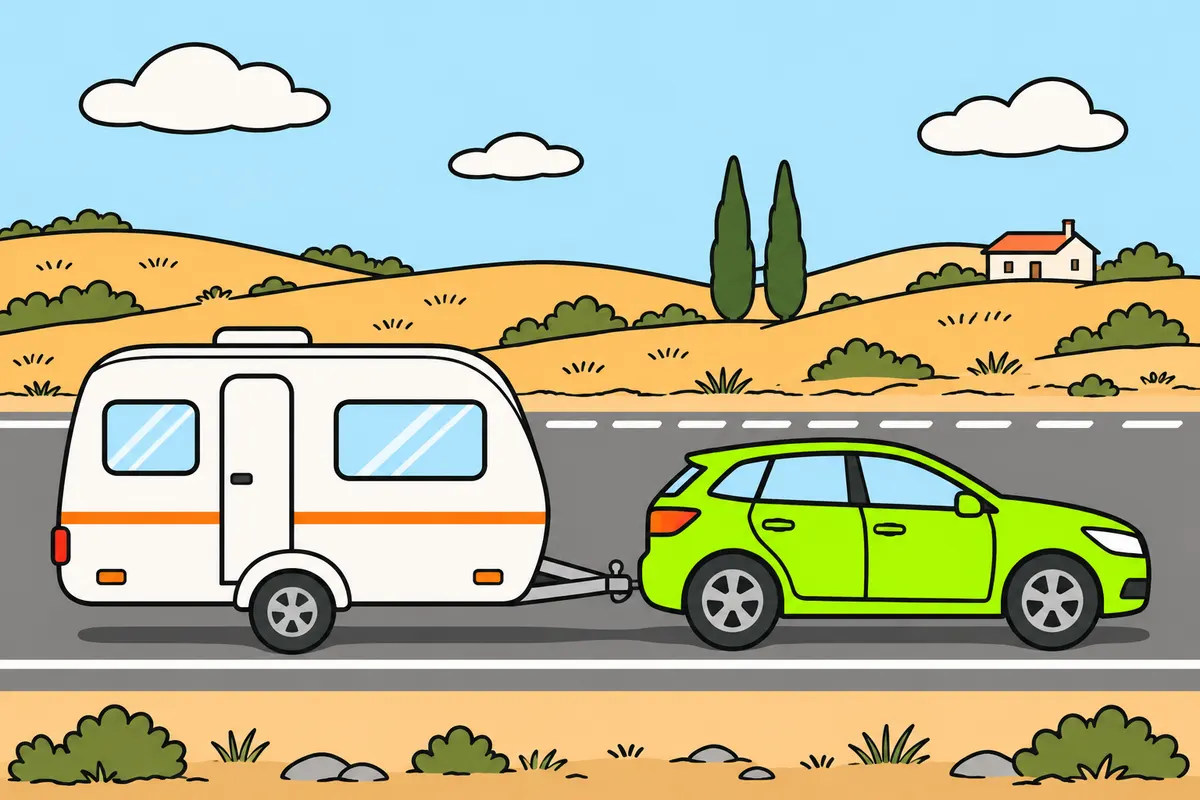
With a trailer, your maximum differs between conventional roads and unpaved roads.
| Road outside built-up areas | Maximum with car and trailer |
|---|---|
| Conventional | 80 km/h |
| Unpaved | 30 km/h |
Remember
- Obey lower signed limits.
- A wide hard shoulder does not increase your maximum.
- Slow down further if the surface makes your combination difficult to control.
Exam trap: Wrong: you can reach 100 km/h on a conventional road with physically separated directions. Right: with a trailer, keep to 80 km/h unless a lower limit applies.
Read the full explanation
- Outside built-up areas, your general maximum speed when towing a trailer on a conventional road is 80 km/h. [RGC, art. 48](https://www.boe.es/buscar/act.php?id=BOE-A-2003-23514#a48)
- On a conventional road, you must keep to the maximum of 80 km/h even if there is a wide arcén (hard shoulder), an overtaking lane or a good road layout, unless a lower limit applies. [RGC, art. 48](https://www.boe.es/buscar/act.php?id=BOE-A-2003-23514#a48)
- On certain conventional roads with physical separation between opposing directions, a limit of 100 km/h may be set for the categories listed in article 48. This authorisation does not include motor vehicles towing trailers. If you tow your caravan on one of these roads, you must keep to the maximum for your category even if other passenger cars may travel at 100. [RGC, art. 48](https://www.boe.es/buscar/act.php?id=BOE-A-2003-23514#a48)
- On unpaved roads, the maximum is 30 km/h. You must slow down further if potholes, dust, loose gravel or the width of the road prevent you from controlling the combination at that speed. [RGC, art. 48](https://www.boe.es/buscar/act.php?id=BOE-A-2003-23514#a48)
4Streets: 20, 30 and 50 km/h
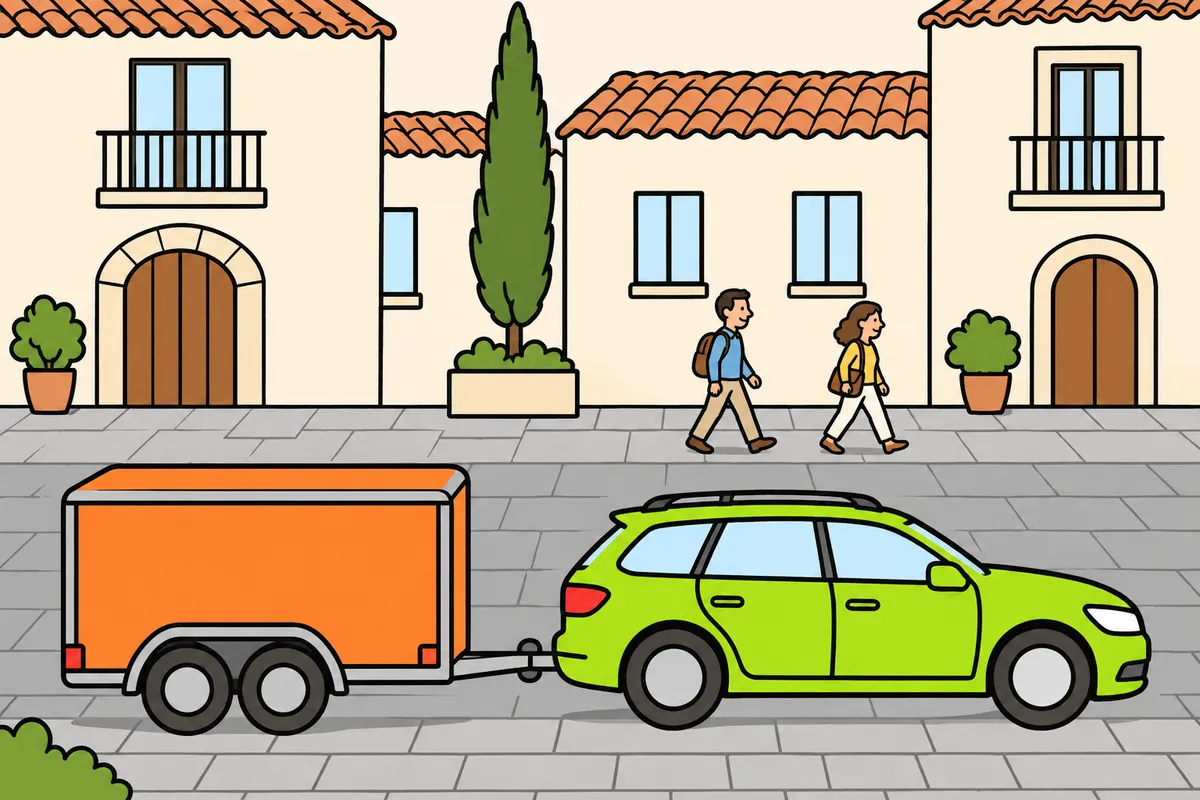
In town, check the street layout and the lanes in your direction.
| Type of urban road | General maximum |
|---|---|
| Carriageway and pavement at same level | 20 km/h |
| One lane in each direction | 30 km/h |
| Two or more lanes in each direction, excluding reserved lanes | 50 km/h |
Remember
- Do not count reserved lanes or lanes exclusively for public transport.
- Always check the signs.
- The council may sign lower limits.
- Exceptionally, signs may allow 50 km/h on a one-lane-each-way street.
Exam trap: Wrong: you count a bus lane to apply 50 km/h. Right: exclude reserved lanes when counting lanes in your direction.
Read the full explanation
- On an urban road where the carriageway and pavement share a single level surface, you must obey a general maximum of 20 km/h. This single level surface places both spaces at the same height. You must anticipate pedestrians nearby and adapt your speed further when the visible space or the presence of people requires it. [RGC, art. 50](https://www.boe.es/buscar/act.php?id=BOE-A-2003-23514#a50)
- On urban roads with only one lane in each direction, your general maximum is 30 km/h. You must count the lanes for your direction and check the signs. [RGC, art. 50](https://www.boe.es/buscar/act.php?id=BOE-A-2003-23514#a50)
- On urban roads with two or more lanes in each direction, the general maximum is 50 km/h. When counting these lanes, you must exclude lanes reserved for particular users and those exclusively for public transport. A street with one ordinary lane and one reserved lane does not therefore become a road with a general maximum of 50. [RGC, art. 50](https://www.boe.es/buscar/act.php?id=BOE-A-2003-23514#a50)
- The municipal authority may lower these limits by putting up signs. Exceptionally, it may increase the limit on a road with one lane in each direction to 50 km/h, also with specific signs. [RGC, art. 50](https://www.boe.es/buscar/act.php?id=BOE-A-2003-23514#a50)
5Through roads and motorways within built-up areas
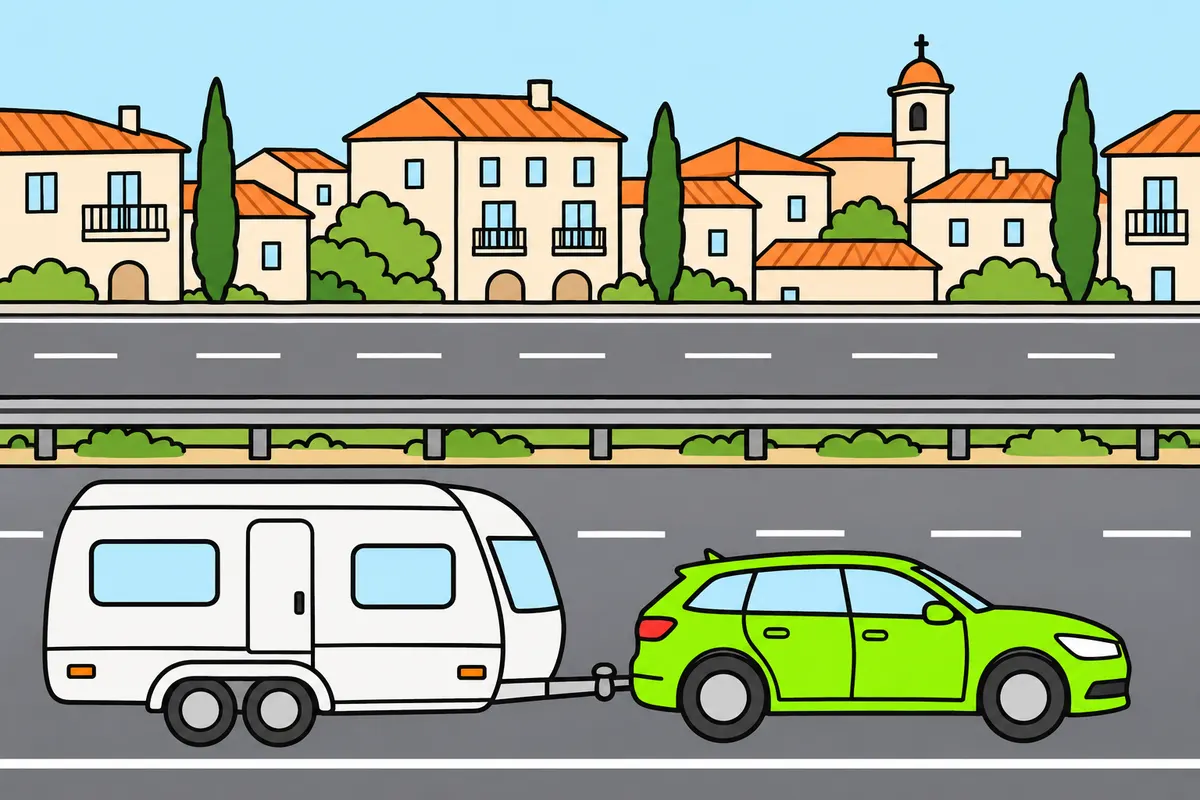
Within built-up areas, distinguish through roads from motorway and dual carriageway stretches.
| Road within built-up area | General maximum with car and trailer |
|---|---|
| Through road | 50 km/h |
| Motorway or dual carriageway | 80 km/h |
Remember
- On through roads, obey lower signed limits.
- Do not work out a through road's limit by counting lanes.
- Raising the motorway limit requires council agreement with the road owner and signs.
- With a motor vehicle and trailer, this increase cannot exceed 90 km/h.
Exam trap: Wrong: you apply the outside limit because it looks like a motorway. Right: within built-up areas, the general maximum is 80 km/h; an authorised, signed increase can reach 90 km/h with a trailer.
Read the full explanation
- On a travesía (the stretch of road through a town), the general maximum for your combination is 50 km/h. You must distinguish it from an ordinary urban street: do not determine its maximum simply by counting the lanes. A stretch of road through a town has its own rule, subject to any properly signed lower limits you encounter. [RGC, art. 50](https://www.boe.es/buscar/act.php?id=BOE-A-2003-23514#a50)
- The limit on a stretch of road through a town may be lowered by agreement between the municipal authority and the road authority, with specific signs. If the stretch of road through a town on which you tow your caravan has a limit of 30 km/h, you must obey 30. The general rule only determines the limit where no specific regulation applies. [RGC, art. 50](https://www.boe.es/buscar/act.php?id=BOE-A-2003-23514#a50)
- On motorways and dual carriageways within built-up areas, the general maximum is 80 km/h. This limit also applies where the carriageway has a central reservation and several lanes. A road’s motorway appearance does not remove the legal distinction between its sections inside and outside built-up areas. [RGC, art. 50](https://www.boe.es/buscar/act.php?id=BOE-A-2003-23514#a50)
- This maximum of 80 may be increased by agreement between the municipal authority and the road authority, with specific signs, without exceeding the corresponding general limit outside built-up areas. For your motor vehicle towing a trailer, the ceiling for this increase is 90 km/h. [RGC, art. 50](https://www.boe.es/buscar/act.php?id=BOE-A-2003-23514#a50)
6Signs and specific limits
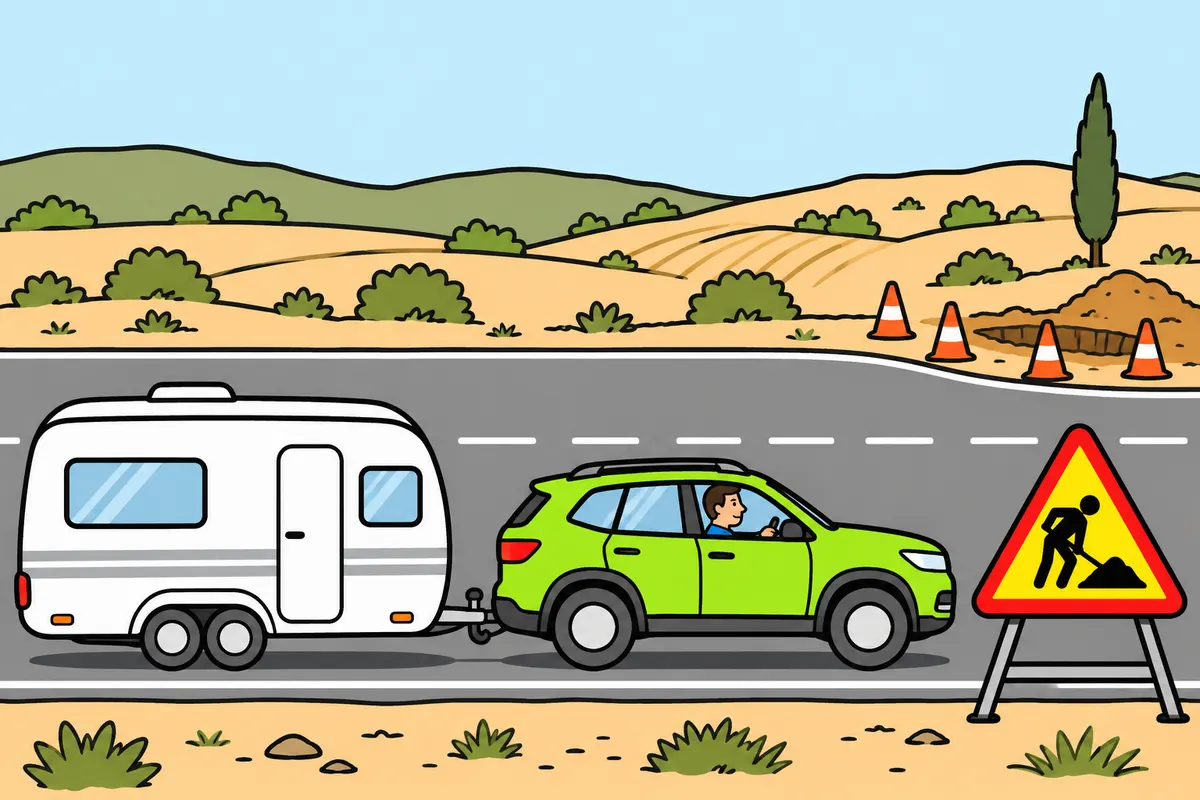
Obey signs and the limits that apply to your combination.
| Sign | What you must obey |
|---|---|
| R-301 | The speed limit shown |
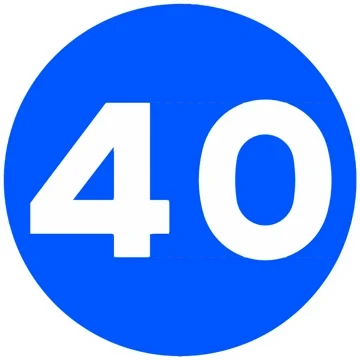
| R-411 | The minimum speed shown, if you can safely maintain it |
Remember
- Also obey temporary limits for roadworks, traffic or bad weather.
- When a limit ends, check which maximum applies to you again.
Exam trap: Wrong: when a limit ends, you can reach any speed. Right: still follow your vehicle category limit, road rules and conditions.
Read the full explanation
- You must observe specific limits set for the characteristics of a section of road and temporary limits imposed through temporary or variable signs. A limit due to roadworks, congestion or weather may require you to slow down for part of your journey. [RGC, art. 47](https://www.boe.es/buscar/act.php?id=BOE-A-2003-23514#a47)
- R-301 is called maximum speed and R-411 minimum speed. With the first, you must obey the maximum shown; with the second, you must obey the minimum shown when safety conditions allow you to maintain it. [RGC, art. 47](https://www.boe.es/buscar/act.php?id=BOE-A-2003-23514#a47) [RD 465/2025, catalogue of signs](https://www.boe.es/buscar/doc.php?id=BOE-A-2025-12199).
- When a specific limit ends, you must determine the applicable speed for your combination and the road again. The end of a section limited to 60 does not mean you may reach any speed the towing vehicle is capable of. You must continue to obey the limit for your category and adapt your speed to what you can see. [RGC, art. 47](https://www.boe.es/buscar/act.php?id=BOE-A-2003-23514#a47)
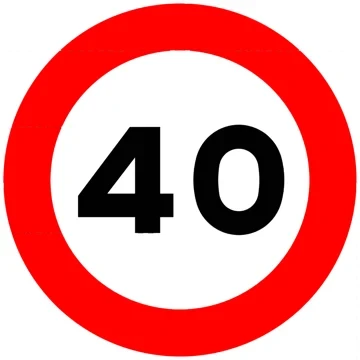 R-301
 R-411
7Overtaking and loads with special limits
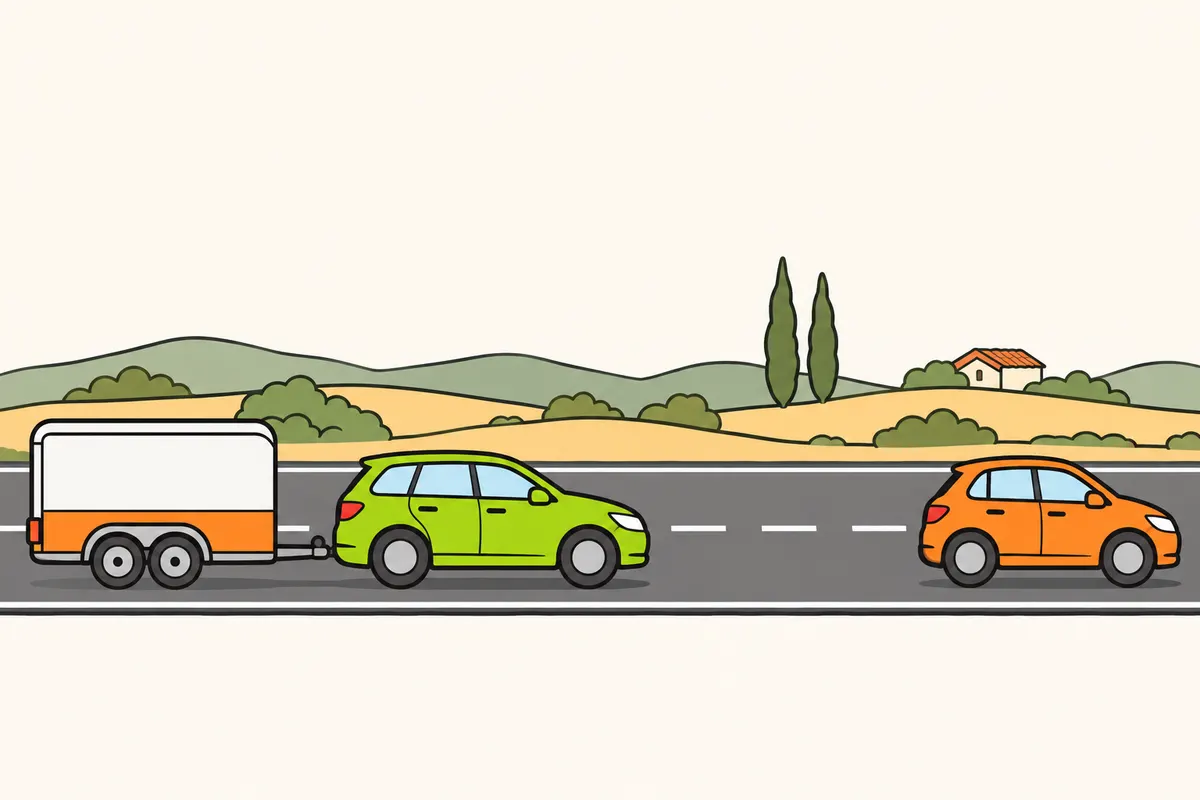
Keep within your maximum when overtaking and check special limits for your load.
| Road | Maximum with car and trailer carrying dangerous goods, where applicable |
|---|---|
| Motorway or dual carriageway outside built-up areas | 80 km/h |
| Conventional road outside built-up areas | 70 km/h |
| Urban: carriageway and pavement at same level | 20 km/h |
| Urban: one lane in each direction | 30 km/h |
| Urban: two or more lanes in each direction | 40 km/h |
| Through road | 40 km/h |
Remember
- Do not add 20 km/h to overtake on a conventional road.
- The dangerous goods reduction applies to interurban limits when your transport qualifies.
- Also obey restrictions linked to you, your combination or your load.
Exam trap: Wrong: you always subtract 10 km/h in town too. Right: that reduction applies to the interurban table; use the specific rules for urban roads and through roads.
Read the full explanation
- You must also obey the applicable maximum speed when overtaking. You cannot add 20 km/h to overtake the vehicle ahead on a conventional road. With your combination, you must assess whether you can complete the manoeuvre without exceeding the limit; the conditions for carrying it out are covered in «Manoeuvres with a car and trailer». [RGC, art. 48](https://www.boe.es/buscar/act.php?id=BOE-A-2003-23514#a48).
- If your combination carries dangerous goods in a situation where this rule applies, you must reduce the maximum speeds in the interurban table by 10 km/h according to the vehicle and road. For a motor vehicle with a trailer, this gives 80 km/h on a motorway or dual carriageway and 70 km/h on a conventional road. [RGC, art. 48](https://www.boe.es/buscar/act.php?id=BOE-A-2003-23514#a48)
- The reduction in article 48 refers to its interurban table, while in urban areas and on the stretch of road through a town you must apply the relevant specific rules. [RGC, art. 48](https://www.boe.es/buscar/act.php?id=BOE-A-2003-23514#a48) On urban roads with two or more lanes in each direction and on stretches of road through a town, the maximum speed for carrying dangerous goods is 40 km/h; on urban roads with a shared level surface or one lane in each direction, you must apply 20 or 30, respectively. [RGC, art. 50](https://www.boe.es/buscar/act.php?id=BOE-A-2003-23514#a50).
- You must obey restrictions imposed by your personal circumstances or by the special characteristics of the combination and its load. A lower specific limit does not cease to apply when you drive on a high-speed road. Check which of the conditions in the situation actually restricts your speed. [RGC, art. 48](https://www.boe.es/buscar/act.php?id=BOE-A-2003-23514#a48) [RGC, art. 52](https://www.boe.es/buscar/act.php?id=BOE-A-2003-23514#a52).
8Minimum speeds
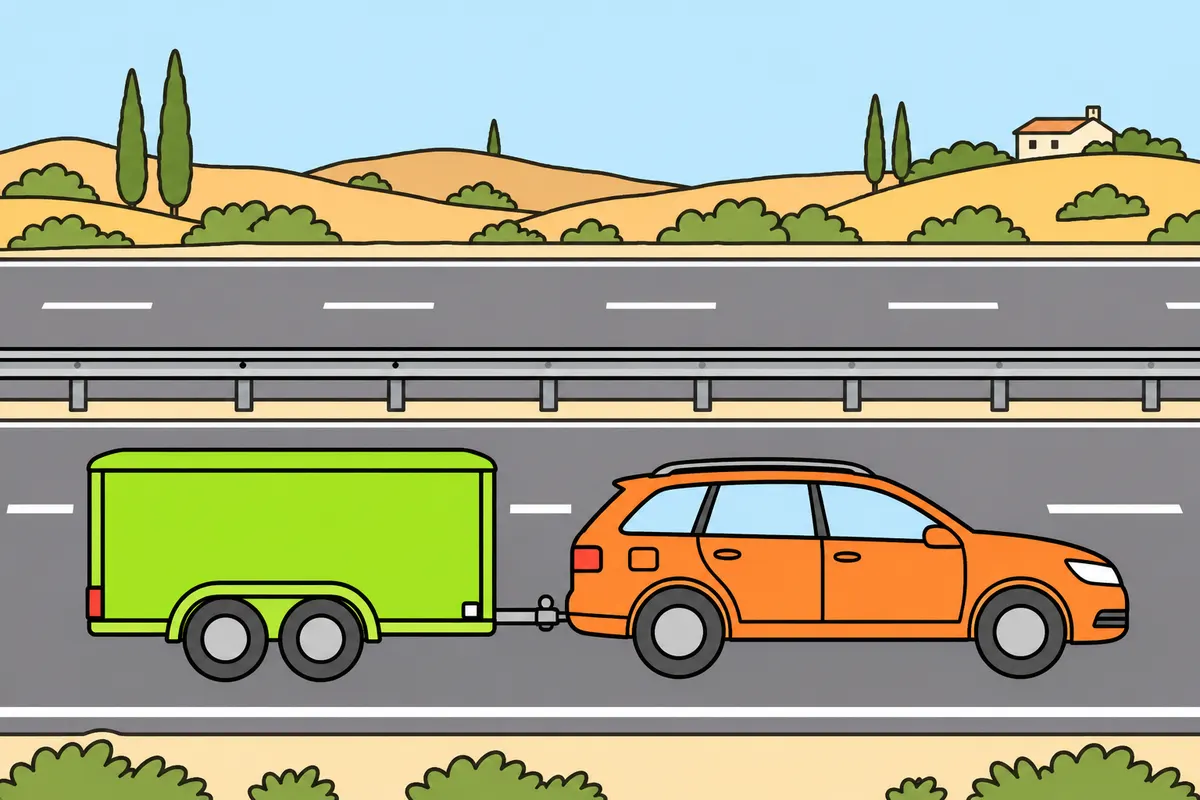
Work out your minimum from your vehicle category's generic speed limit on that road.
| Road | General minimum for your car with trailer |
|---|---|
| Motorway or dual carriageway | 60 km/h |
| Conventional | 40 km/h |
| Unpaved | 15 km/h |
| Street with general maximum of 20 km/h | 10 km/h |
| Street with general maximum of 30 km/h | 15 km/h |
| Street with general maximum of 50 km/h or through road | 25 km/h |
Remember
- On motorways and dual carriageways, your general minimum is 60 km/h.
- Elsewhere, use half the generic speed limit of your vehicle category on that road.
- Drive more slowly if signs, traffic or danger require it.
Exam trap: Wrong: your minimum is half any signed maximum. Right: except on motorways and dual carriageways, use half the generic speed limit of your vehicle category on that road; slow down further when safety requires it.
Read the full explanation
- On motorways and dual carriageways, the general minimum speed for your motor vehicle is 60 km/h. Driving at 50 on a dual carriageway without a justified reason breaches the minimum speed rule even if you are towing a trailer and there are no other vehicles nearby. [RGC, art. 49](https://www.boe.es/buscar/act.php?id=BOE-A-2003-23514#a49)
- On other roads, the reference is half the generic speed limit of your vehicle category on that road. On a conventional road, your combination has a generic maximum of 80 and a general minimum of 40 km/h. On an unpaved road with a generic maximum of 30, half is 15 km/h. [RGC, art. 49](https://www.boe.es/buscar/act.php?id=BOE-A-2003-23514#a49)
- On streets with generic maximum speeds of 20, 30 and 50, the corresponding halves are 10, 15 and 25 km/h. On the stretch of road through a town with a generic maximum of 50, the reference is 25. You must understand these figures alongside the justified reasons for driving more slowly: they do not require you to maintain those speeds when faced with a pedestrian or a queue. [RGC, art. 49](https://www.boe.es/buscar/act.php?id=BOE-A-2003-23514#a49)
- You must calculate the minimum speed on roads other than motorways and dual carriageways from the generic speed limit of your vehicle category on that road. If a sign, traffic or a hazard requires you to drive below it, you must adjust your speed. [RGC, art. 49](https://www.boe.es/buscar/act.php?id=BOE-A-2003-23514#a49)
9When you may drive below the minimum
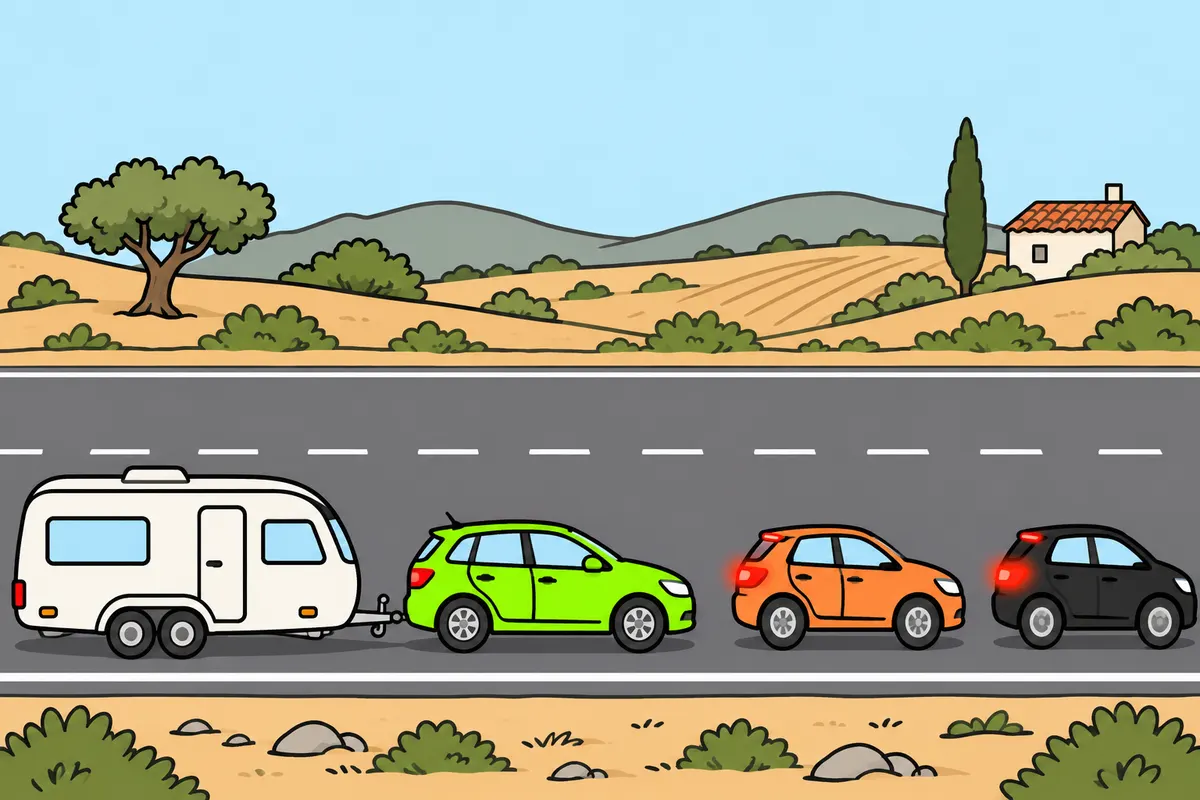
You may drive below the minimum when a justified reason makes maintaining it unsafe.
Remember
- Consider traffic, your vehicle's condition and road conditions.
- Towing your own trailer does not make your journey an authorised escort service.
- Use hazard lights if you cannot reach the minimum and risk being hit behind.
- On motorways or dual carriageways, take the first exit if an emergency slows you.
Exam trap: Wrong: any slow driving lets you use the hard shoulder. Right: the rule requires an emergency, abnormally low speed, serious disruption and a vehicle with an MMA (maximum authorised mass) not exceeding 3,500 kg. Use the right hard shoulder if passable and wide enough; otherwise, use only the necessary part of the carriageway. The rule does not clarify how to calculate the combination's MMA.
Read the full explanation
- You may drive below the minimum speed when traffic, vehicle or road conditions prevent you from maintaining a higher speed safely. A traffic queue, an icy surface or a breakdown may justify this. You must assess the actual reason; preferring to drive slowly without a reason does not qualify as an exception. [RGC, art. 49](https://www.boe.es/buscar/act.php?id=BOE-A-2003-23514#a49)
- The rule also covers special vehicles, special transport operations and situations involving the protection or escort of other vehicles. If you provide an authorised escort, you must adjust your speed to the escorted vehicle and comply with the required signalling. Towing a trailer for private use does not in itself make your journey such a service. [RGC, art. 49](https://www.boe.es/buscar/act.php?id=BOE-A-2003-23514#a49)
- If you cannot reach the required minimum speed and there is a risk of a rear-end collision, you must switch on your hazard warning lights while driving. [RGC, art. 49](https://www.boe.es/buscar/act.php?id=BOE-A-2003-23514#a49)
- If an emergency causes you to drive at an abnormally low speed on a motorway or dual carriageway, you must leave that road at the first exit. [RGC, art. 38](https://www.boe.es/buscar/act.php?id=BOE-A-2003-23514#a38)
- If an emergency causes you to drive abnormally slowly and seriously disrupt traffic, use the right-hand arcén (hard shoulder) if it is passable and wide enough; otherwise, use only as much of the carriageway as necessary. The rule refers to vehicles with an MMA (maximum authorised mass) not exceeding 3,500 kg and does not clarify how that MMA is calculated for a combination. [RGC, art. 36.1](https://www.boe.es/buscar/act.php?id=BOE-A-2003-23514#a36)
10Speed in specially regulated lanes
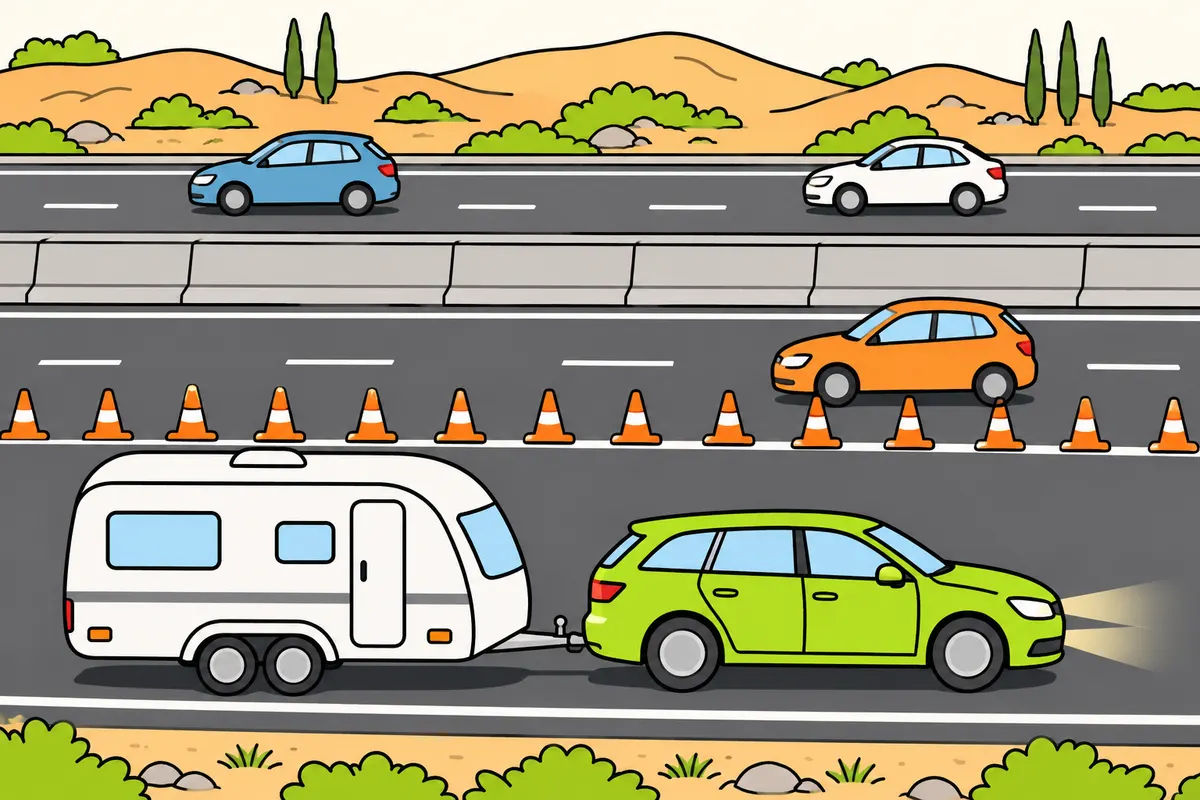
Check why a special lane is open before using it with your trailer.
| Case: your motor vehicle with trailer | Speed rule |
|---|---|
| Contraflow for traffic flow | Use prohibited |
| Contraflow for roadworks, if authorised | Maximum 80 km/h, minimum 60 km/h, or lower established or signed speeds |
| Normal direction alongside contraflow: only one lane in your direction | Maximum 80 km/h, minimum 60 km/h, or lower established or signed speeds |
| Normal direction alongside contraflow: several lanes in your direction | Road and vehicle limits; check signs |
| Temporary additional lane and hard shoulders used for that arrangement | Maximum 80 km/h, minimum 60 km/h, or lower established or signed speeds |
Remember
- With a trailer, you cannot use a contraflow lane opened for traffic flow.
- For a contraflow lane opened for roadworks, obey any express ban.
- In authorised contraflow and additional lanes, use dipped beam day and night.
- In these special cases, obey any lower speed set or shown.
Exam trap: Wrong: you can use a contraflow lane opened for traffic flow with your trailer. Right: motor vehicles with trailers are prohibited; for roadworks, you may use it if authorised on that road and not expressly banned.
Read the full explanation
- With your motor vehicle and trailer, you are prohibited from using a lane opened in the opposite direction to its usual traffic flow to ease congestion. The authorisation in article 41.1 is limited to motorcycles and passenger cars without trailers, so it excludes every B+E combination, including those towed by a van or an off-road vehicle. [RGC, art. 41](https://www.boe.es/buscar/act.php?id=BOE-A-2003-23514#a41)
- If the contraflow lane is opened because of roadworks, vehicles authorised to use the road may use it unless expressly prohibited. When you may drive your combination in it, you must obey the maximum of 80 and minimum of 60 km/h, or any lower speeds established or indicated by signs, and keep your dipped beam on by day and night. [RGC, art. 41](https://www.boe.es/buscar/act.php?id=BOE-A-2003-23514#a41)
- If you drive in the normal direction alongside the contraflow lane and only one lane remains for your direction, you must also obey the 80/60 speed rules, or any lower speeds established or indicated by signs. With more than one lane in your direction, the speeds applicable to the road and vehicle apply, taking account of the signs. [RGC, art. 41](https://www.boe.es/buscar/act.php?id=BOE-A-2003-23514#a41)
- With your motor vehicle and trailer, in a temporary additional lane and on the hard shoulders used for that arrangement, the maximum is 80 and the minimum 60 km/h, or lower speeds if established or specifically indicated by signs. You must use at least dipped beam by day and night. [RGC, art. 42.1](https://www.boe.es/buscar/act.php?id=BOE-A-2003-23514#a42)
11Pedestrians, cyclists and animals
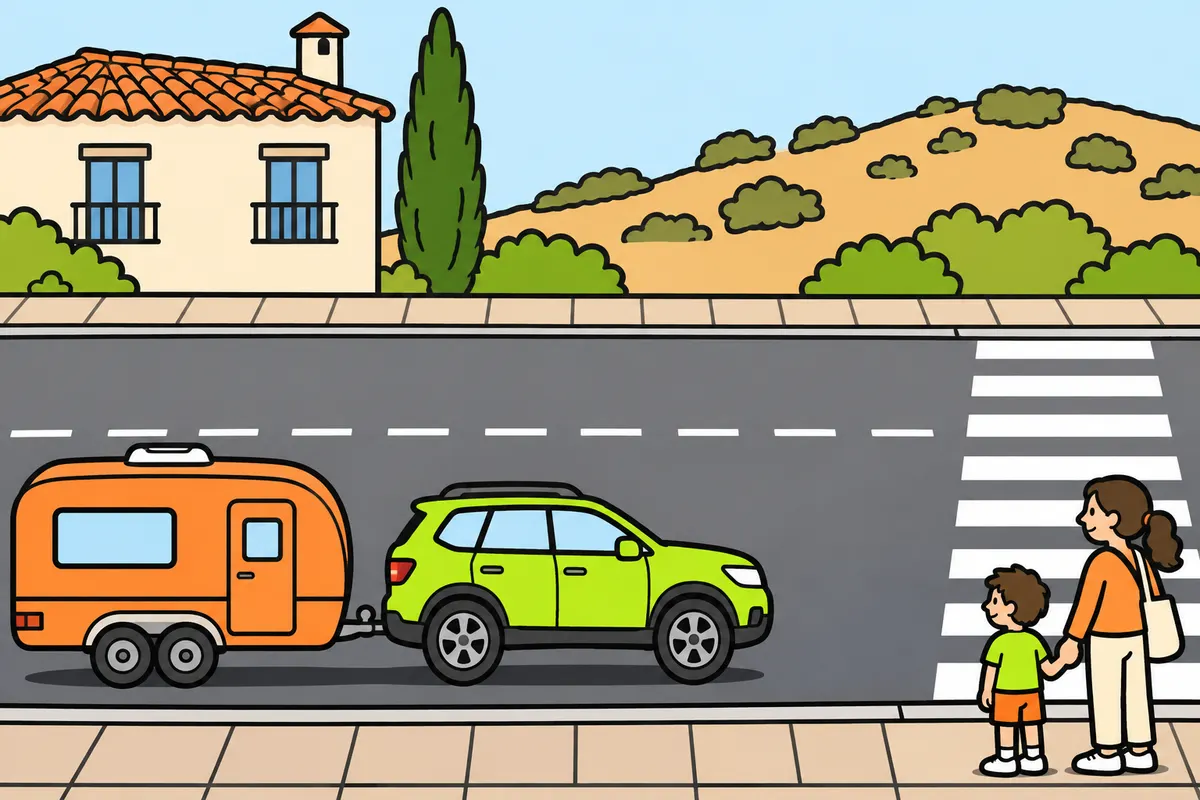
Slow down before reaching people or animals that could enter your path.
Remember
- Slow down for pedestrians present or likely to appear; stop if necessary.
- Pay particular attention to vulnerable people.
- Slow down near cyclists, their junctions and roads reserved for them.
- Slow down near schools, markets and pedestrian crossings without traffic lights or officers.
- Slow down for animals present or expected, and buildings opening directly onto your road.
- Slow down when approaching stopped buses, especially school buses.
Exam trap: Wrong: you wait until someone blocks your path. Right: slow down for foreseeable risks; outside built-up areas, also slow down when approaching vehicles immobilised on the carriageway, recovery vehicles at work and cycles on the carriageway or hard shoulder.
Read the full explanation
- You must moderate your speed and stop if necessary when there are pedestrians on your part of the road or you can foresee them stepping into it. Pay particular attention to children, older people, blind people and people with limited mobility. Your duty arises when the risk is foreseeable, without waiting for them to block your path. [RGC, art. 46](https://www.boe.es/buscar/act.php?id=BOE-A-2003-23514#a46)
- You must slow down when approaching cycles, junctions with and areas near roads reserved for them, and pedestrian crossings without traffic lights or an officer controlling traffic. You must also slow down near markets, educational establishments and other places where children are likely to be present. With a trailer, you need to anticipate stopping the whole combination. [RGC, art. 46](https://www.boe.es/buscar/act.php?id=BOE-A-2003-23514#a46)
- You must moderate your speed when animals are present or may foreseeably enter the road, and on stretches with buildings opening directly onto the part of the road you are using. Watch doors, access points and roadsides. An apparently clear road may require you to drive slowly because of what may emerge from those places. [RGC, art. 46](https://www.boe.es/buscar/act.php?id=BOE-A-2003-23514#a46)
- You must slow down when approaching a stopped bus, especially one carrying schoolchildren. Outside built-up areas, you must also slow down when approaching vehicles immobilised on the carriageway, recovery vehicles at work and cycles on the carriageway or hard shoulder. Adjust your speed before drawing level with them and leave sufficient lateral clearance. [RGC, art. 46](https://www.boe.es/buscar/act.php?id=BOE-A-2003-23514#a46)
12Junctions, narrow sections and poor visibility
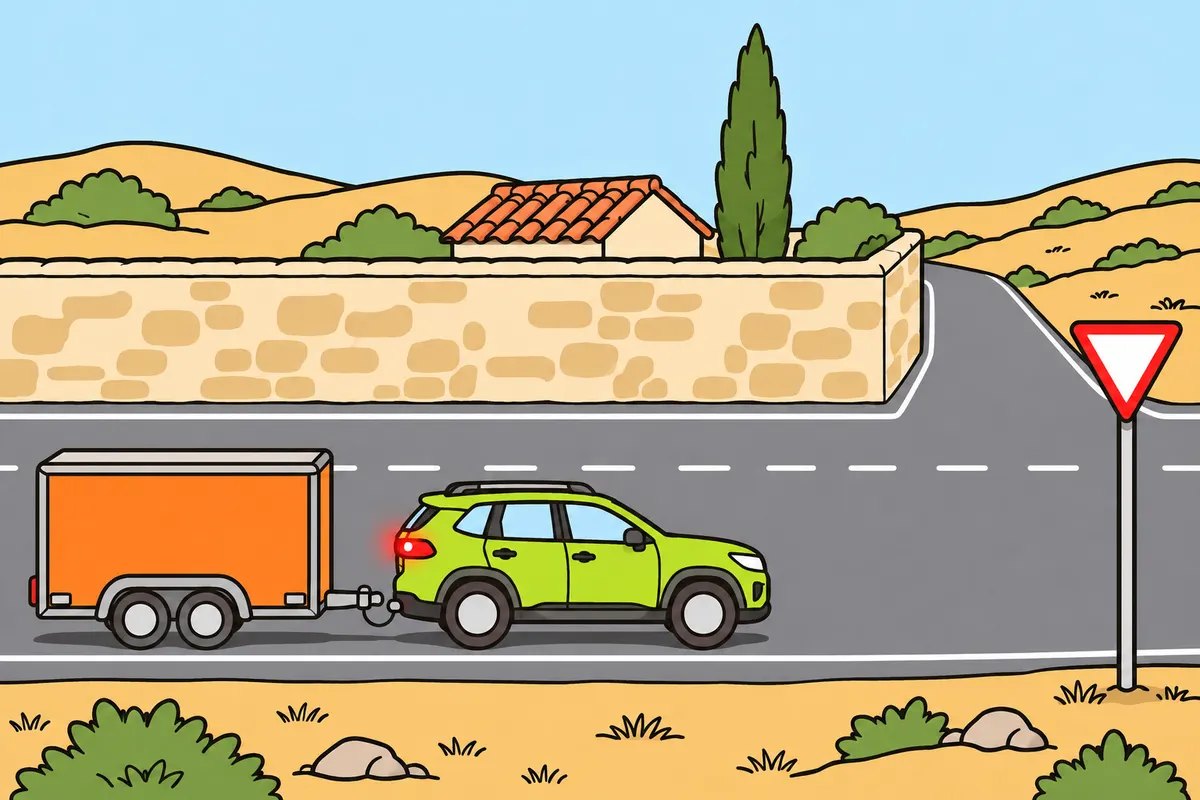
Slow down before junctions and places where you cannot see or pass safely.
Remember
- Slow down before level crossings, roundabouts and junctions where you must give way.
- Slow down at narrow sections and places with poor visibility.
- If passing an oncoming vehicle is difficult, slow down and stop if necessary.
- If dazzled or visibility is very poor, slow down and stop if necessary.
Exam trap: Wrong: you should approach every junction at 50 km/h. Right: at properly signed junctions with virtually no visibility, 50 km/h is the maximum; drive more slowly if another limit or the conditions require it.
Read the full explanation
- You must moderate your speed when approaching level crossings, roundabouts and junctions where you do not have priority, as well as narrow sections and places with reduced visibility. You must be able to stop the towing vehicle and trailer safely. Having to give way requires you to approach ready to do so, without relying on others to let you through. [RGC, art. 46](https://www.boe.es/buscar/act.php?id=BOE-A-2003-23514#a46)
- At properly signposted junctions where visibility of the road is virtually nil, you cannot exceed 50 km/h. This figure is a specific maximum for that situation, not a recommended approach speed. If another limit is lower or the visible space requires it, you must drive more slowly. [RGC, art. 46](https://www.boe.es/buscar/act.php?id=BOE-A-2003-23514#a46)
- You must moderate your speed when passing an oncoming vehicle if the available space, the characteristics of the vehicles or the weather or environmental conditions make passing safely difficult. For example, when you meet a wide vehicle on a narrow bend, you must also allow for the space your trailer needs and stop if necessary. [RGC, art. 46](https://www.boe.es/buscar/act.php?id=BOE-A-2003-23514#a46)
- If you are dazzled or encounter dense fog, heavy rain, snowfall or clouds of dust or smoke, you must slow down and stop if the circumstances require it. Poor visibility reduces your ability to anticipate hazards and may coincide with poorer grip. [RGC, art. 46](https://www.boe.es/buscar/act.php?id=BOE-A-2003-23514#a46)
13Rain, wind and road surface conditions
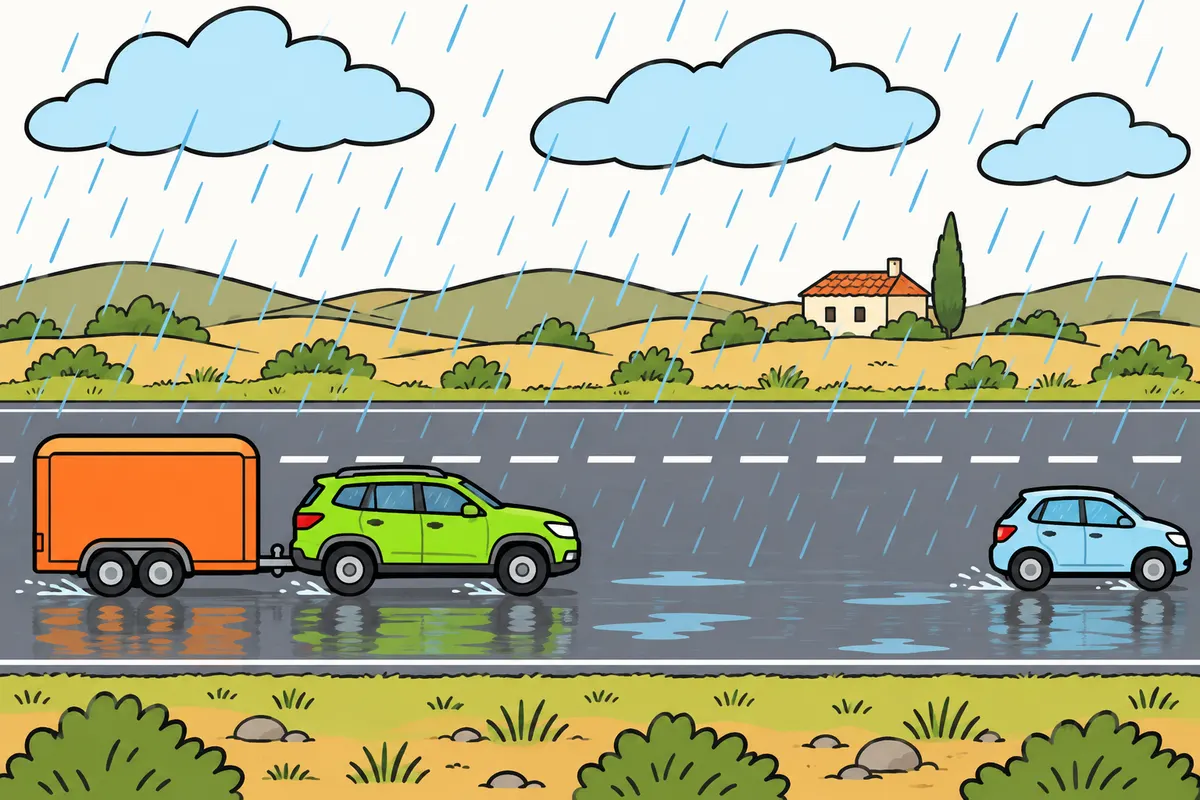
In bad weather or on slippery surfaces, slow down and increase your gap.
Remember
- Slow down for water, snow, ice or loose gravel.
- Avoid sudden manoeuvres and spraying water or stones onto other road users.
- In crosswinds, consider your trailer's height and surface area.
- If you feel instability, slow down smoothly and stop somewhere safe to check.
Exam trap: Wrong: good visibility means you need not slow down for a crosswind. Right: consider your trailer's height, surface area and stability; slow down before exposed sections.
Read the full explanation
- You must adjust your speed to the actual road surface conditions, even where there is no speed limit sign. Water, snow or ice can reduce grip; fog can prevent you from seeing a queue in time. In these conditions, reduce your speed and increase the gap to the vehicle ahead. [RGC, art. 45](https://www.boe.es/buscar/act.php?id=BOE-A-2003-23514#a45)
- You must slow down on slippery surfaces and whenever your wheels may spray water, gravel or other material onto other road users. On loose gravel, increasing the gap also reduces the risk of stones thrown up by the vehicle ahead hitting your windscreen. Anticipate changes in the road surface and avoid sudden manoeuvres. [RGC, art. 45](https://www.boe.es/buscar/act.php?id=BOE-A-2003-23514#a45) [RGC, art. 46](https://www.boe.es/buscar/act.php?id=BOE-A-2003-23514#a46).
- In a crosswind, you must assess the surface area, height and stability of the trailer, as well as the stability of the towing vehicle. Slow down in advance when leaving sheltered areas or crossing exposed locations. The appropriate speed may be below the maximum even when it is not raining and visibility is good. [RGC, art. 45](https://www.boe.es/buscar/act.php?id=BOE-A-2003-23514#a45)
- If the combination becomes unstable, you must slow down in a controlled manner and find a safe place to stop and check the cause. Techniques for dealing with sway and maintaining control on bends are covered in «Safe driving with a trailer». [RGC, art. 45](https://www.boe.es/buscar/act.php?id=BOE-A-2003-23514#a45)
- To choose your lane and understand overtaking restrictions when snow makes driving difficult on a motorway or dual carriageway, consult «Manoeuvres with a car and trailer». [RGC, art. 32.2](https://www.boe.es/buscar/act.php?id=BOE-A-2003-23514#a32)
14Load, gradients and braking capability
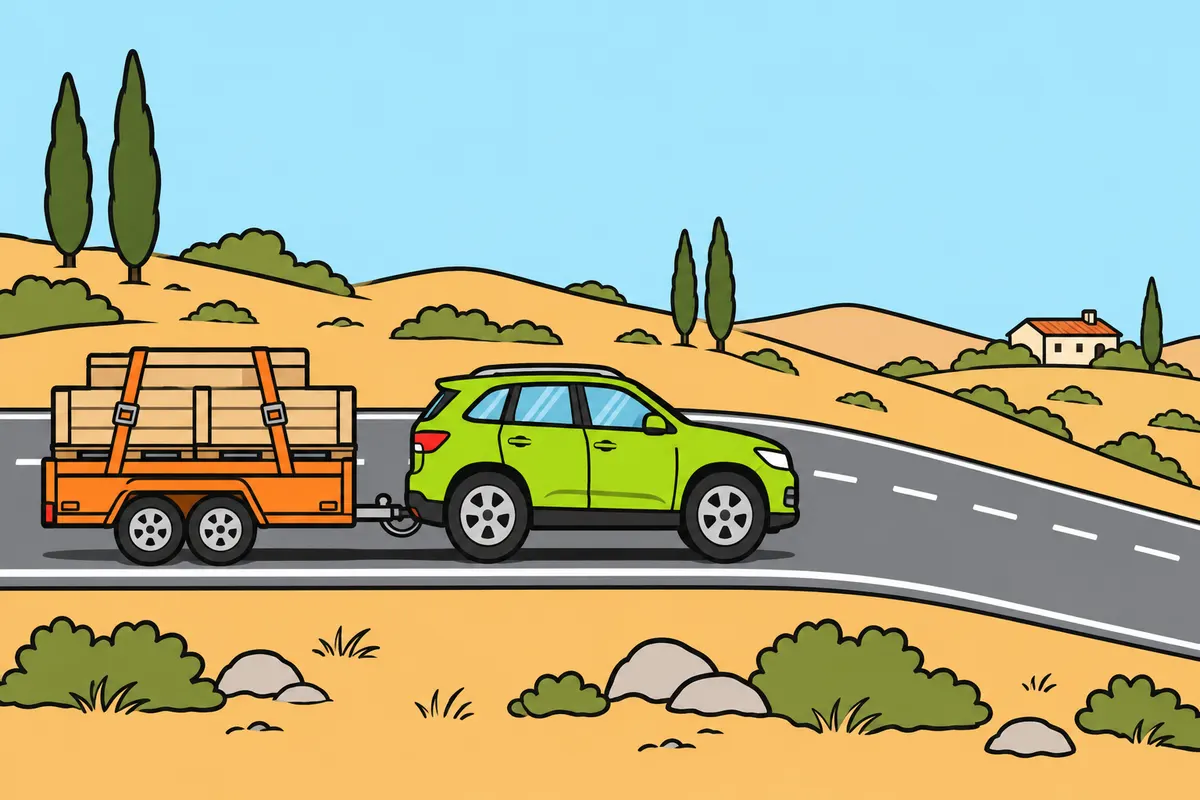
Adapt your speed to your load, gradients and the brakes of your combination.
Remember
- Slow down before bends and long descents.
- Consider the mass and how you distribute your load.
- Use a suitable gear and engine braking, following your vehicle's instructions.
- Correct serious brake, steering or tyre faults before continuing.
Exam trap: Wrong: a bigger gap makes travelling with faulty brakes safe. Right: stop somewhere safe and correct the fault before continuing an unsafe journey.
Read the full explanation
- You must adapt your speed to the mass, load distribution and braking characteristics of the whole combination. You may need more space and time than with the towing vehicle alone. There is no fixed number of metres you can add that suits every trailer, load and road. [RGC, art. 45](https://www.boe.es/buscar/act.php?id=BOE-A-2003-23514#a45)
- Before a bend or a long descent, you must plan ahead to reduce your speed. The gradient and the condition of the vehicle affect your ability to maintain control and stop. Driving at the maximum permitted speed on level ground does not mean that the same speed is appropriate throughout the descent. [RGC, art. 45](https://www.boe.es/buscar/act.php?id=BOE-A-2003-23514#a45)
- To maintain control, use an appropriate gear and engine braking to reduce the work your brakes have to do, following the vehicle instructions. Do not select a gear that is incompatible with the engine speed. «Trailer braking» explains overheating and braking systems. [RGC, art. 45](https://www.boe.es/buscar/act.php?id=BOE-A-2003-23514#a45)
- You must correct significant faults in the brakes, steering or tyres before continuing an unsafe journey. Increasing the gap helps you manage the risk while bringing the combination safely to a stop, but does not make a faulty system fit for continued travel. Inspection and repairs are covered in «Maintenance and checks for your vehicle combination». [RGC, art. 45](https://www.boe.es/buscar/act.php?id=BOE-A-2003-23514#a45)
15How to reduce your speed
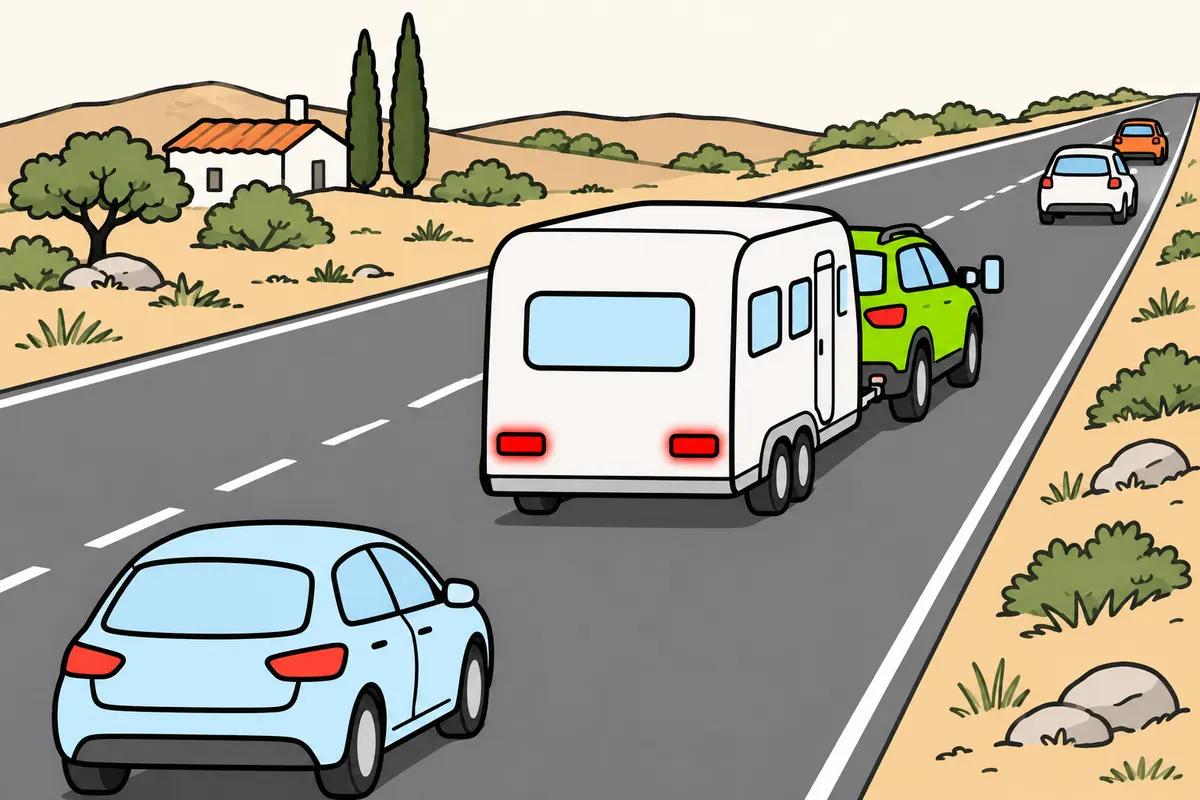
Prepare for large speed reductions and warn others whenever you can.
Remember
- Unless danger is immediate, check that slowing down will not endanger drivers behind.
- Check the road and mirrors early.
- Warn before slowing down greatly; avoid sudden braking that creates danger.
- If possible, warn by repeatedly using your brake lights or the prescribed arm signal.
- In immediate danger, brake as necessary to avoid it.
Exam trap: Wrong: you must delay urgent braking to warn others. Right: in immediate danger, brake as necessary to avoid it.
Read the full explanation
- Unless there is imminent danger, before slowing down considerably you must check that you can do so without putting those behind you at risk. Check the road and your mirrors well in advance. With a long combination, late braking can take someone who can only see the rear of the trailer by surprise. [RGC, art. 53](https://www.boe.es/buscar/act.php?id=BOE-A-2003-23514#a53)
- You must give advance warning of a significant reduction in speed and slow down without sudden braking that creates a risk of collision. If you see a queue or an approaching speed restriction, start preparing to slow down in good time. [RGC, art. 53](https://www.boe.es/buscar/act.php?id=BOE-A-2003-23514#a53)
- Whenever possible, you signal your intention to stop or brake considerably by repeatedly operating the brake lights or giving the prescribed arm signal. You must bear in mind that others must be able to see the warning. Working trailer lights are essential for anyone following you. [RGC, art. 53](https://www.boe.es/buscar/act.php?id=BOE-A-2003-23514#a53) [RGC, art. 109](https://www.boe.es/buscar/act.php?id=BOE-A-2003-23514#a109).
- When faced with imminent danger, you must brake as necessary to avoid it. [RGC, art. 53](https://www.boe.es/buscar/act.php?id=BOE-A-2003-23514#a53)
16Reaction distance and reaction time
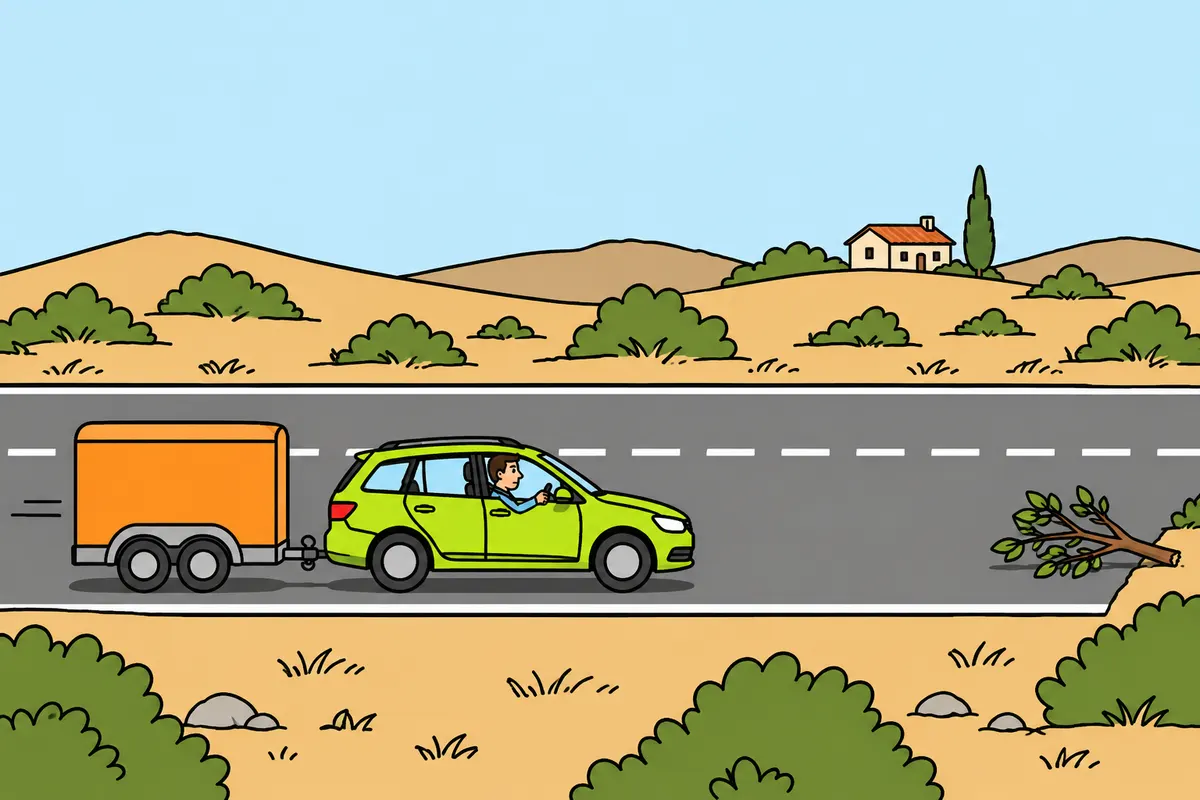
Your reaction distance runs from noticing danger until you apply the brake.
Remember
- You start travelling this distance when you notice the danger.
- It ends when you apply the brake.
- With the same reaction time, you travel further at a higher speed.
Exam trap: Wrong: reaction distance ends when you stop. Right: it ends when you apply the brake.
Read the full explanation
- Reaction distance is the distance you travel from the moment you perceive a hazard until you apply the brake. With the same reaction time, you travel more metres the higher your speed. The towing vehicle and trailer continue moving during this interval; fatigue or distraction can lengthen it. [DGT, Speed and braking risk](https://revista.dgt.es/es/reportajes/2020/09SEPTIEMBRE/0922-Excesos-velocidad-distancia-detencion-y-mantenimiento.shtml) You can relate this phase to brake response in «Trailer braking», in the section «Reaction, braking and stopping distances».
17Braking distance
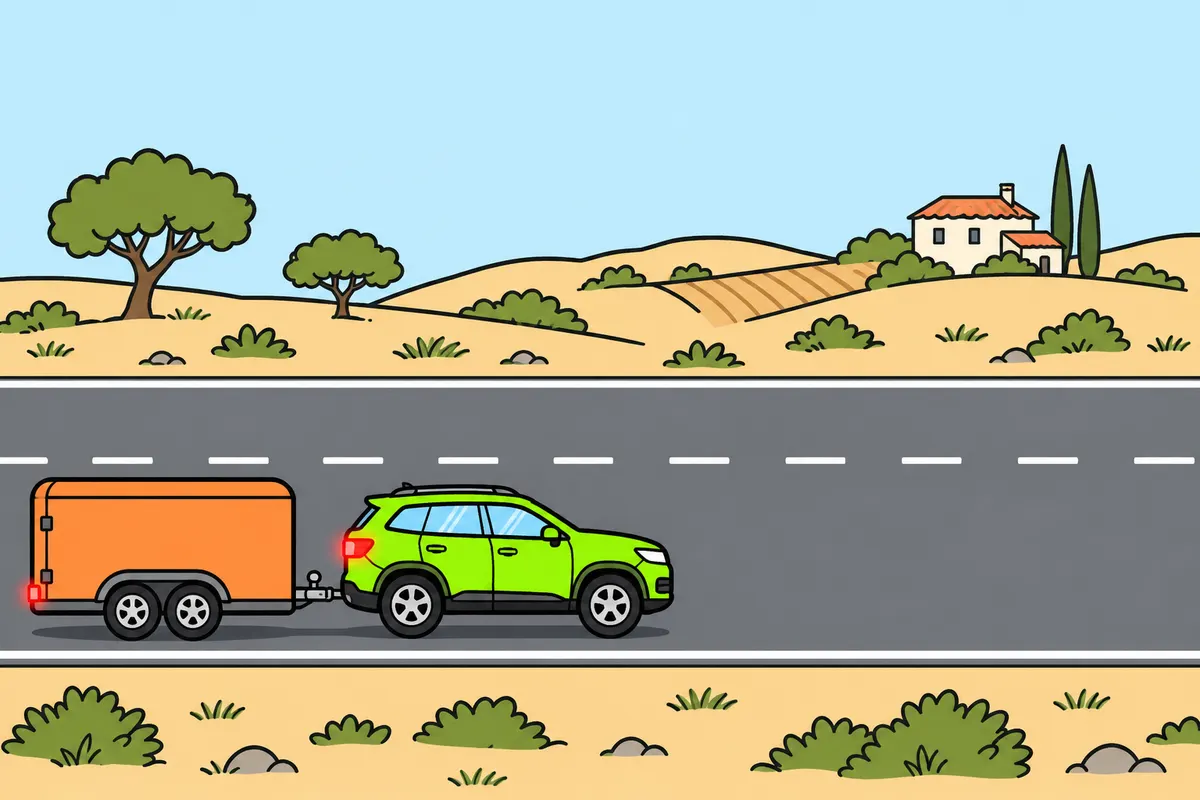
Your braking distance runs from applying the brake until your whole combination stops.
Remember
- You start measuring it when you apply the brake.
- It ends when you stop the whole combination.
- Consider speed, load, grip and the condition of the vehicle.
Exam trap: Wrong: braking distance depends only on your speed. Right: load, grip and the condition of the vehicle also affect it.
Read the full explanation
- Braking distance is the distance you travel from the moment you apply the brake until you bring the combination to a stop. It depends on speed, load, grip and the condition of the vehicle. To assess the space you need, you must allow for the response of both vehicles, including the condition of their tyres and braking systems. [DGT, Speed and braking risk](https://revista.dgt.es/es/reportajes/2020/09SEPTIEMBRE/0922-Excesos-velocidad-distancia-detencion-y-mantenimiento.shtml) The operation of these systems is covered in «Trailer braking», in the sections «Reaction, braking and stopping distances» and «Mass, speed and grip».
18Stopping distance or technical stopping distance
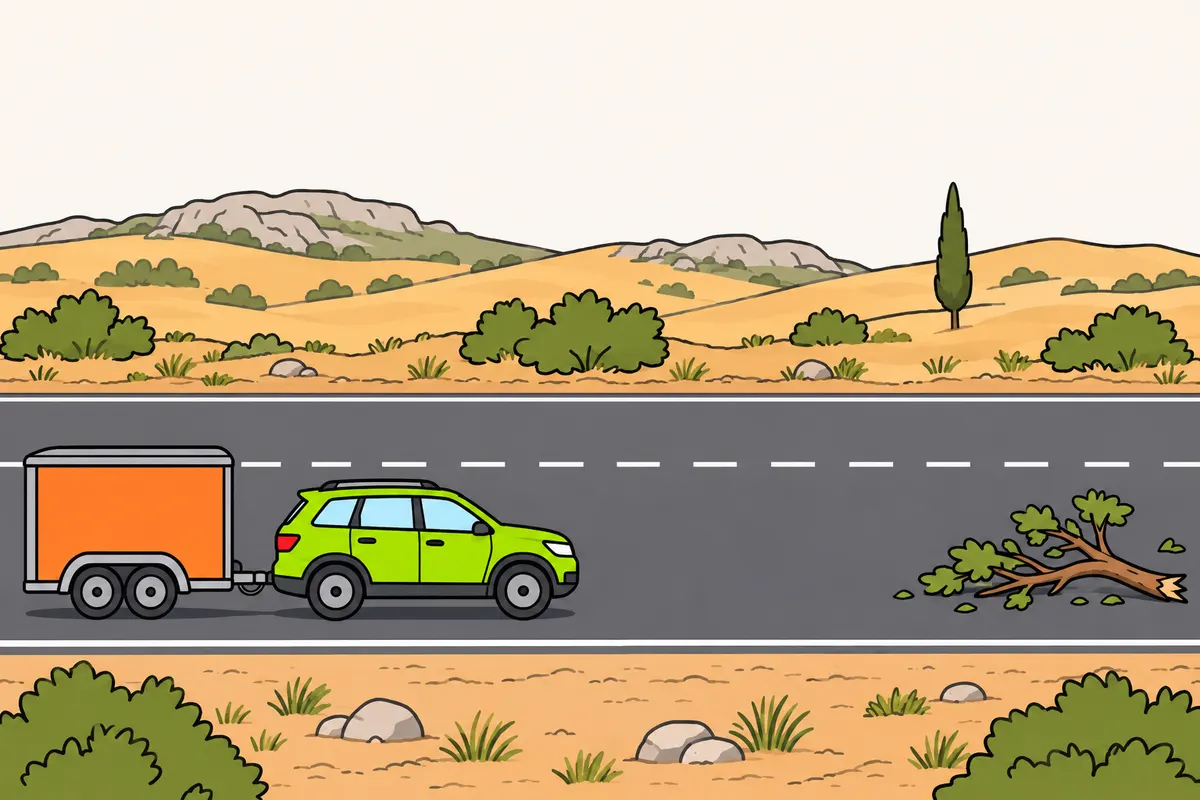
To find your stopping distance, add your reaction distance and braking distance.
Remember
- Count the whole distance from noticing danger until you stop.
- Choose a speed that lets you stop your whole combination within the visible space.
Exam trap: Wrong: you count only the distance travelled while braking. Right: also add your reaction distance.
Read the full explanation
- To calculate stopping distance, you must add reaction distance and braking distance: it covers the entire distance you travel from the moment you perceive a hazard until you stop. [DGT, Speed and braking risk](https://revista.dgt.es/es/reportajes/2020/09SEPTIEMBRE/0922-Excesos-velocidad-distancia-detencion-y-mantenimiento.shtml).
- You can apply this margin when choosing your approach speed for a bend, a queue or an access point: allow for the distance you travel before and after applying the brake. Practical application is covered in «Safe driving with a trailer», in the section «Appropriate speed and stopping space». [RGC, art. 45](https://www.boe.es/buscar/act.php?id=BOE-A-2003-23514#a45)
19Following distances and lateral clearance
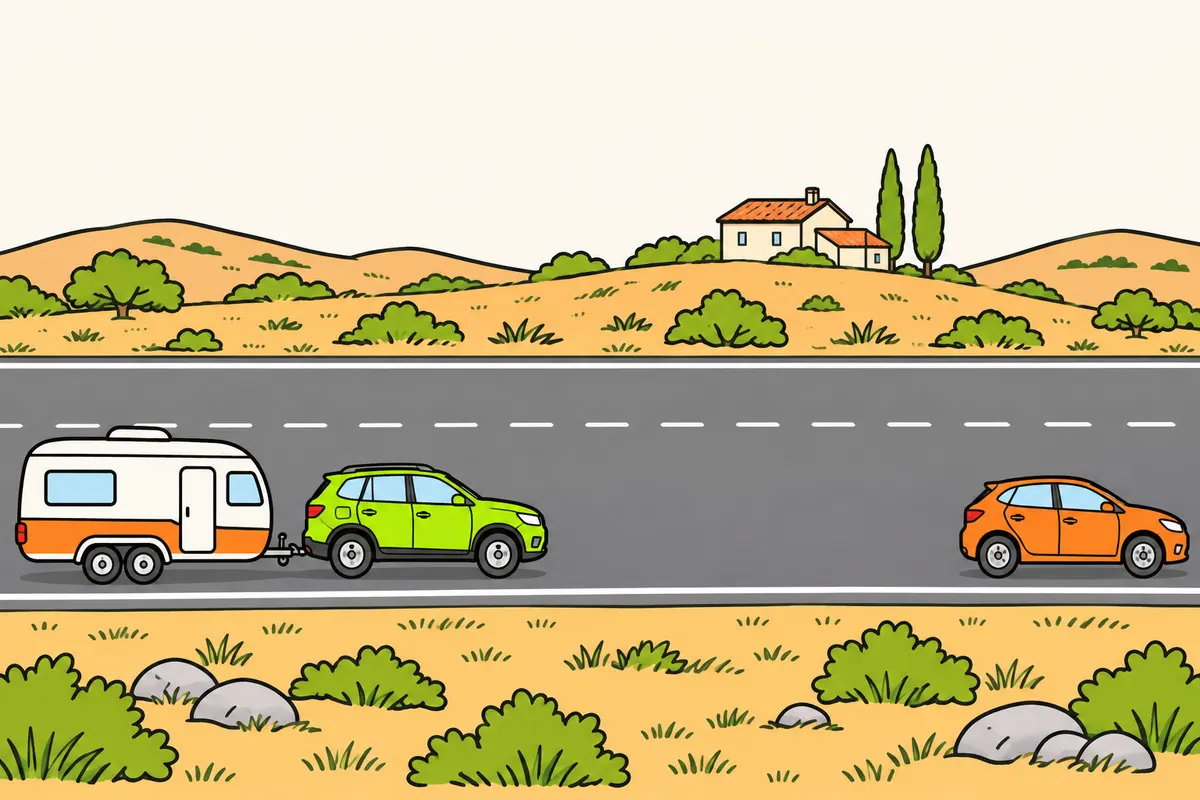
Leave space ahead and beside you to avoid collisions with your whole combination.
Remember
- Leave enough space to stop if the vehicle ahead brakes suddenly.
- Increase your gap at higher speeds, with less grip or poorer visibility.
- Gradually rebuild the gap if another vehicle moves into it.
- Use a fixed point to check your following interval.
- Leave lateral space for your whole combination.
Exam trap: Wrong: any fixed gap is always enough. Right: in urban areas, if you follow a cyclist in the same lane, leave at least five metres; increase your gap if needed to stop without a collision.
Read the full explanation
- You must leave enough space behind the vehicle ahead to stop without colliding with it if it brakes suddenly. You must pay particular attention to your speed, grip and braking conditions. This obligation applies to your combination both outside and within built-up areas, even in slow-moving traffic. [RGC, art. 54](https://www.boe.es/buscar/act.php?id=BOE-A-2003-23514#a54)
- On urban roads, if you follow a cyclist in the same lane, you must leave at least five metres of separation. You must increase this margin if you need more space to stop the combination without a collision. [RGC, art. 153.4](https://www.boe.es/buscar/act.php?id=BOE-A-2003-23514#a1-6) [RGC, art. 54](https://www.boe.es/buscar/act.php?id=BOE-A-2003-23514#a54)
- You must increase the margin if you increase your speed, grip decreases, visibility worsens or your ability to react is poor. You must keep observing the road yourself and leave room to react to changes in the movement of the vehicle ahead. [RGC, art. 54](https://www.boe.es/buscar/act.php?id=BOE-A-2003-23514#a54)
- You can check a time gap by observing when the vehicle ahead passes a fixed point and how long you take to reach it. This technique lets you assess the gap without measuring it with a tape measure. Apart from cases with specific figures, the regulations require sufficient separation, rather than a universal number of seconds for every combination. [RGC, art. 54](https://www.boe.es/buscar/act.php?id=BOE-A-2003-23514#a54)
- If another vehicle moves into the space you are keeping, you must restore your margin gradually and safely. Your obligation to be able to avoid a rear-end collision continues in the new situation. [RGC, art. 54](https://www.boe.es/buscar/act.php?id=BOE-A-2003-23514#a54)
- You must also keep sufficient lateral clearance when passing oncoming vehicles or travelling alongside other vehicles. Consider the width of the whole combination and any movement it may make, particularly in wind, on damaged road surfaces or in bad weather. If you cannot pass an oncoming vehicle safely, you must slow down and stop if necessary; the specific clearances for overtaking are covered in «Manoeuvres with a car and trailer». [RGC, arts. 45 and 46](https://www.boe.es/buscar/act.php?id=BOE-A-2003-23514#a46).
20Space for others to overtake you
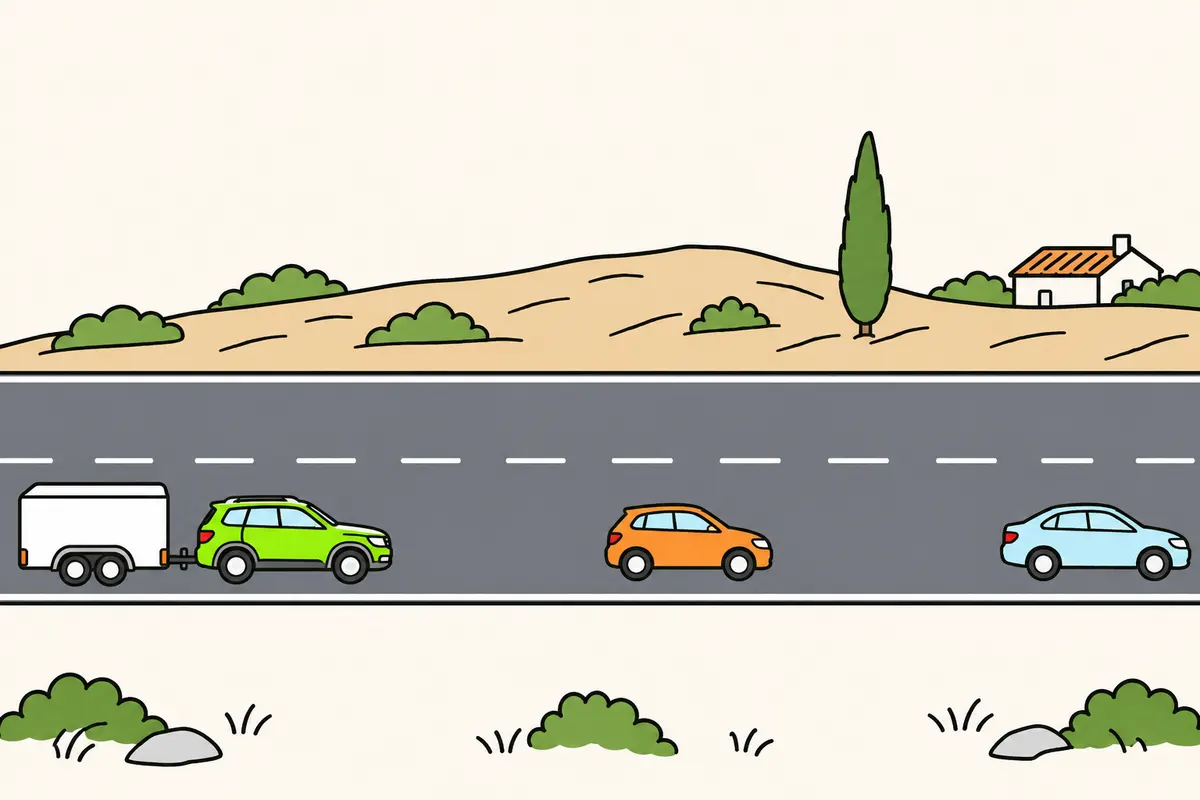
Unless you signal an intention to overtake, also leave room for others to pass you.
Remember
- Leave room for someone overtaking you to move back in safely.
- Signalling an intention to overtake does not remove your safe braking distance.
Exam trap: Wrong: signalling to overtake lets you follow very closely. Right: always keep enough space to stop without a collision.
Read the full explanation
- As well as the margin needed to avoid a rear-end collision, if you follow another vehicle without signalling your intention to overtake it, you must leave space for a vehicle behind you to overtake you safely. You must leave a sufficient gap for it to move back in. This additional requirement serves a different purpose from the space you need for your own braking. [RGC, art. 54](https://www.boe.es/buscar/act.php?id=BOE-A-2003-23514#a54)
- Signalling your intention to overtake affects this additional requirement, but does not remove the basic separation needed to stop without a collision. You must also observe the speed limit while you wait for a lawful opportunity to overtake. [RGC, art. 54](https://www.boe.es/buscar/act.php?id=BOE-A-2003-23514#a54)
21The 50-metre rule
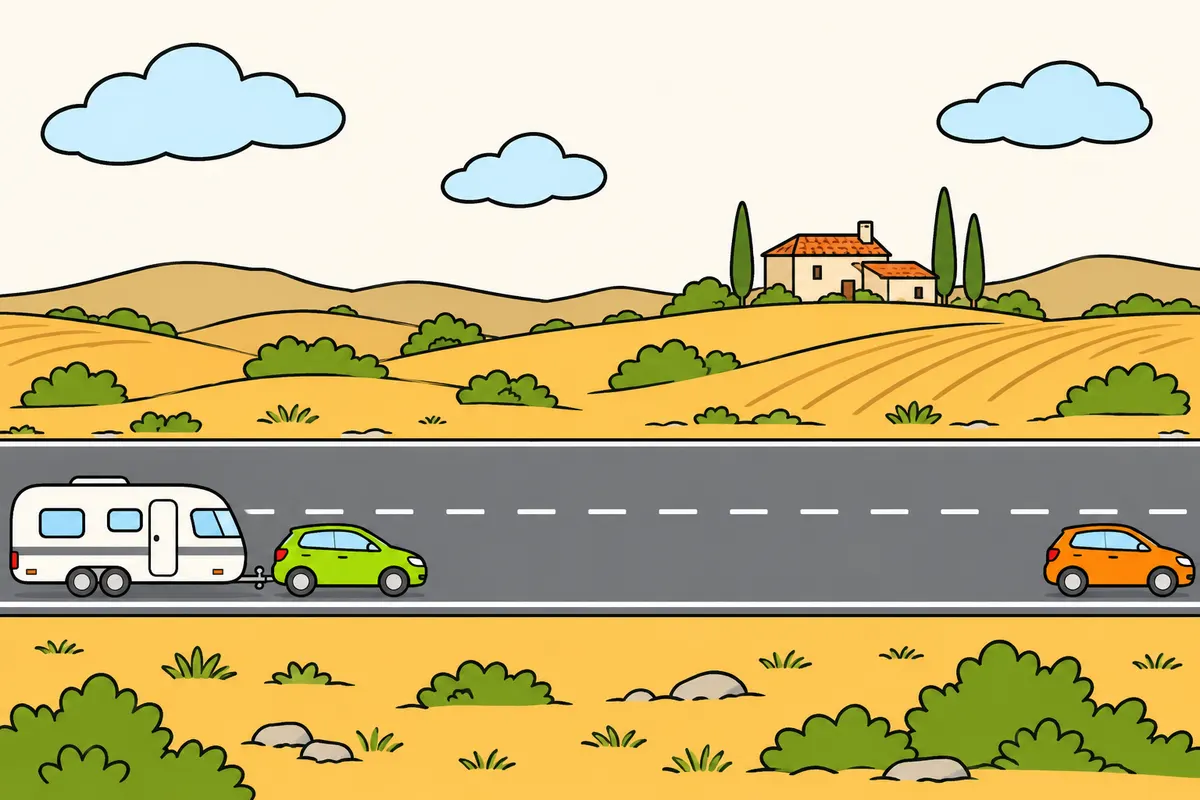
Check your vehicle's MMA and your combination's full length to apply this gap.
| Criterion | When it triggers the additional 50 m minimum |
|---|---|
| Vehicle MMA | More than 3,500 kg |
| Full vehicle or combination length | More than 10 m |
Remember
- Count the length of your car and trailer together.
- Use the MMA, not the load you carry.
- Being exactly at a threshold does not trigger that criterion.
- Leave more space if you need it to brake safely.
Exam trap: Wrong: you must leave 50 m in every situation. Right: if you exceed either threshold and follow without signalling an intention to overtake, leave at least 50 m to help others overtake, except within built-up areas, where overtaking is prohibited, with several lanes in your direction, or in traffic too congested for overtaking.
Read the full explanation
- You must leave at least 50 metres to facilitate overtaking in these cases: vehicles with an MMA (maximum authorised mass) exceeding 3,500 kg, and vehicles or combinations with a total length exceeding 10 metres. For your B+E combination, the length of the whole combination is particularly relevant even if the towing vehicle is in category B. [RGC, art. 54](https://www.boe.es/buscar/act.php?id=BOE-A-2003-23514#a54)
- If your combination is 11 metres long and you follow another vehicle without indicating your intention to overtake, you must leave at least 50 metres when the conditions for applying the rule are met. Do not measure just the caravan or just the car. The length criterion refers to the whole combination. [RGC, art. 54](https://www.boe.es/buscar/act.php?id=BOE-A-2003-23514#a54)
- The thresholds require you to exceed 10 metres in total length or 3,500 kg of MMA; being exactly at either threshold does not trigger the corresponding criterion. You must use the vehicle’s authorised MMA for the mass criterion and the total length of the combination for the length criterion. [RGC, art. 54](https://www.boe.es/buscar/act.php?id=BOE-A-2003-23514#a54)
- The 50 metres alone do not guarantee safety. If your speed, the road surface or your braking capability require more space, you must increase the separation. The rule sets a minimum for an additional purpose; you must also meet the obligation to be able to stop without hitting the vehicle ahead. [RGC, art. 54](https://www.boe.es/buscar/act.php?id=BOE-A-2003-23514#a54)
22Exceptions to the gap for overtaking
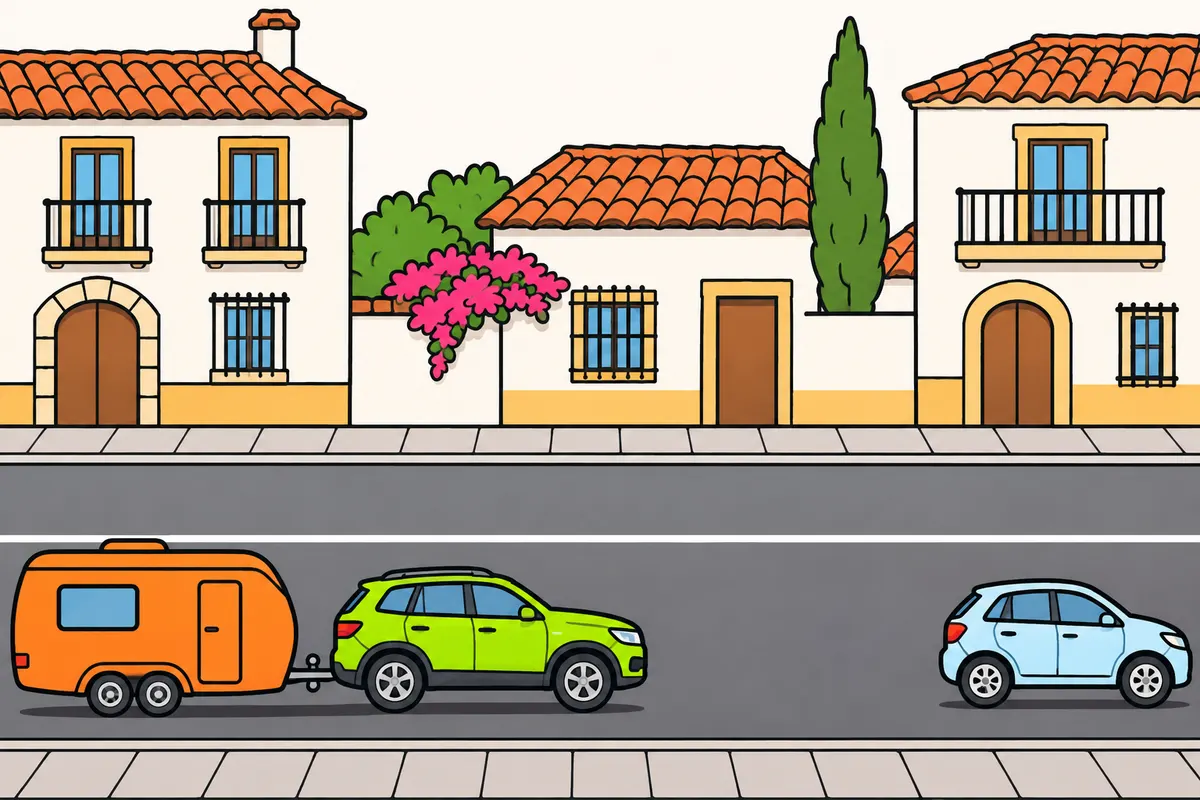
Exceptions to the overtaking gap do not remove your safe braking space.
| Situation | Additional gap to help others overtake |
|---|---|
| Within built-up areas | Not required |
| Overtaking prohibited | Not required |
| More than one lane in your direction | Not required |
| Traffic too congested for overtaking | Not required |
Remember
- Always leave enough space to stop without hitting the vehicle ahead.
- In tunnels and underpasses, also apply their specific separation rule.
Exam trap: Wrong: without the additional 50 m requirement, you can follow very closely. Right: still leave enough space to brake without a collision.
Read the full explanation
- The additional requirement to facilitate overtaking, including its minimum of 50 metres where applicable, does not apply within built-up areas. You must still maintain the distance needed to brake without a collision. [RGC, art. 54](https://www.boe.es/buscar/act.php?id=BOE-A-2003-23514#a54)
- This additional requirement also does not apply where overtaking is prohibited or where there is more than one lane in your direction. For example, the 50-metre rule to allow an overtaking vehicle to move back in is not required for that purpose on a motorway with several lanes in your direction. [RGC, art. 54](https://www.boe.es/buscar/act.php?id=BOE-A-2003-23514#a54)
- The fourth exception applies when traffic is so congested that overtaking is impossible. You must keep enough room to stop and anticipate braking in the queue. Congestion removes that additional purpose, but does not reduce the importance of the basic separation for your combination. [RGC, art. 54](https://www.boe.es/buscar/act.php?id=BOE-A-2003-23514#a54)
- In tunnels and underpasses, you must also apply the specific separation set out in the section «Separation in tunnels and underpasses». [RGC, art. 95](https://www.boe.es/buscar/act.php?id=BOE-A-2003-23514#a95)
23Speed when entering tunnels
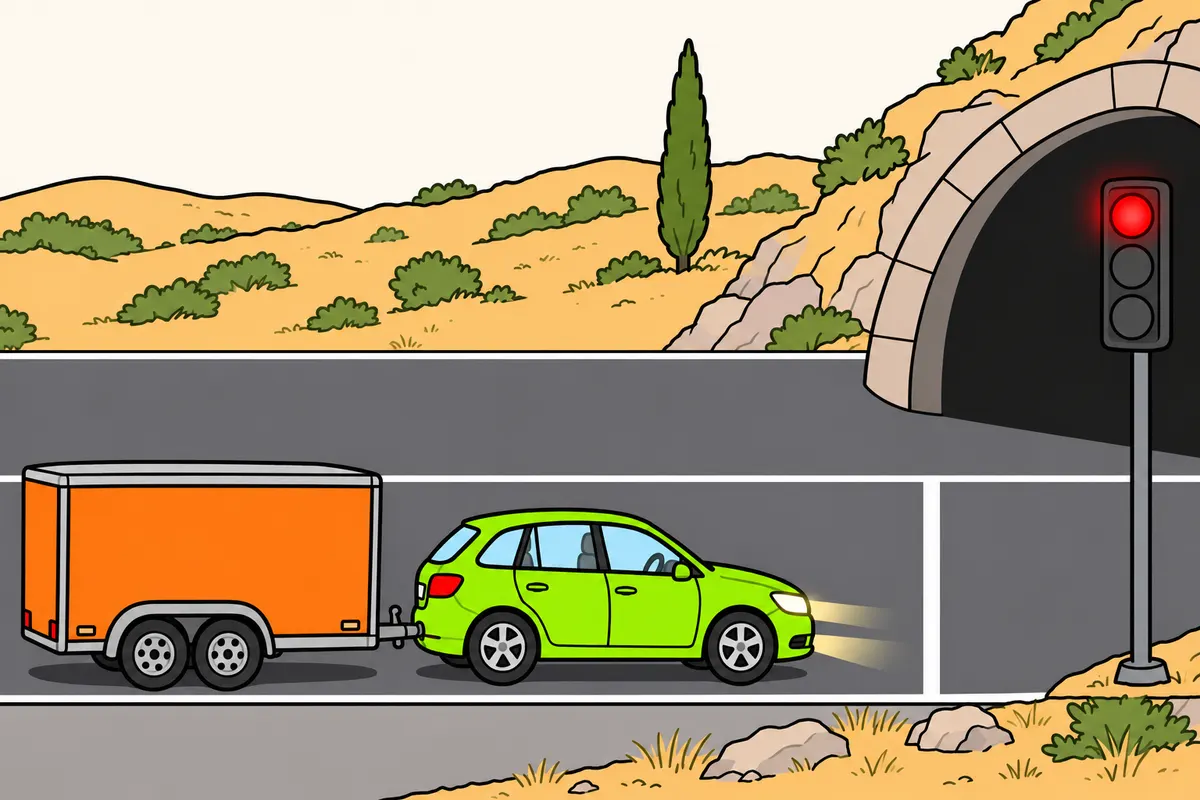
Enter tunnels obeying signs and choosing a speed suited to what you can see.
Remember
- Obey traffic lights, message signs and loudspeaker instructions.
- Do not enter if the traffic light does not allow you through.
- Use the required lights even during the day.
- Expect changes in light and wind at the exit.
- With faulty lights, slow down enough to stop within the illuminated area.
Exam trap: Wrong: all tunnels have the same maximum speed. Right: combine your vehicle and road limits with the tunnel's signs and conditions.
Read the full explanation
- You must enter a tunnel or underpass within the signposted speed limit and at a speed suited to visibility and traffic conditions. There is no single numerical maximum for all tunnels. You must comply with both the limit for your combination on that road and the instructions and restrictions for the section. [RGC, art. 95](https://www.boe.es/buscar/act.php?id=BOE-A-2003-23514#a95)
- You must obey traffic lights, variable message signs and instructions given over loudspeakers or by other means. Do not enter if the traffic light at the entrance does not allow you to proceed. [RGC, art. 95](https://www.boe.es/buscar/act.php?id=BOE-A-2003-23514#a95) [RGC, art. 96](https://www.boe.es/buscar/act.php?id=BOE-A-2003-23514#a96).
- You must use the appropriate lights even during the day and anticipate changes in visibility when entering and leaving. With a tall trailer, also consider the wind at the exit. Adjust your speed before changes in light or exposure to wind compromise your margin of control. [RGC, art. 95](https://www.boe.es/buscar/act.php?id=BOE-A-2003-23514#a95) [RGC, arts. 45 and 98](https://www.boe.es/buscar/act.php?id=BOE-A-2003-23514#a98).
- If a lighting fault forces you to continue with reduced light output, you must slow down enough to be able to stop within the illuminated area. The same principle of visible space applies to the whole combination. [RGC, art. 95](https://www.boe.es/buscar/act.php?id=BOE-A-2003-23514#a95) [RGC, art. 107](https://www.boe.es/buscar/act.php?id=BOE-A-2003-23514#a107).
24Separation in tunnels and underpasses
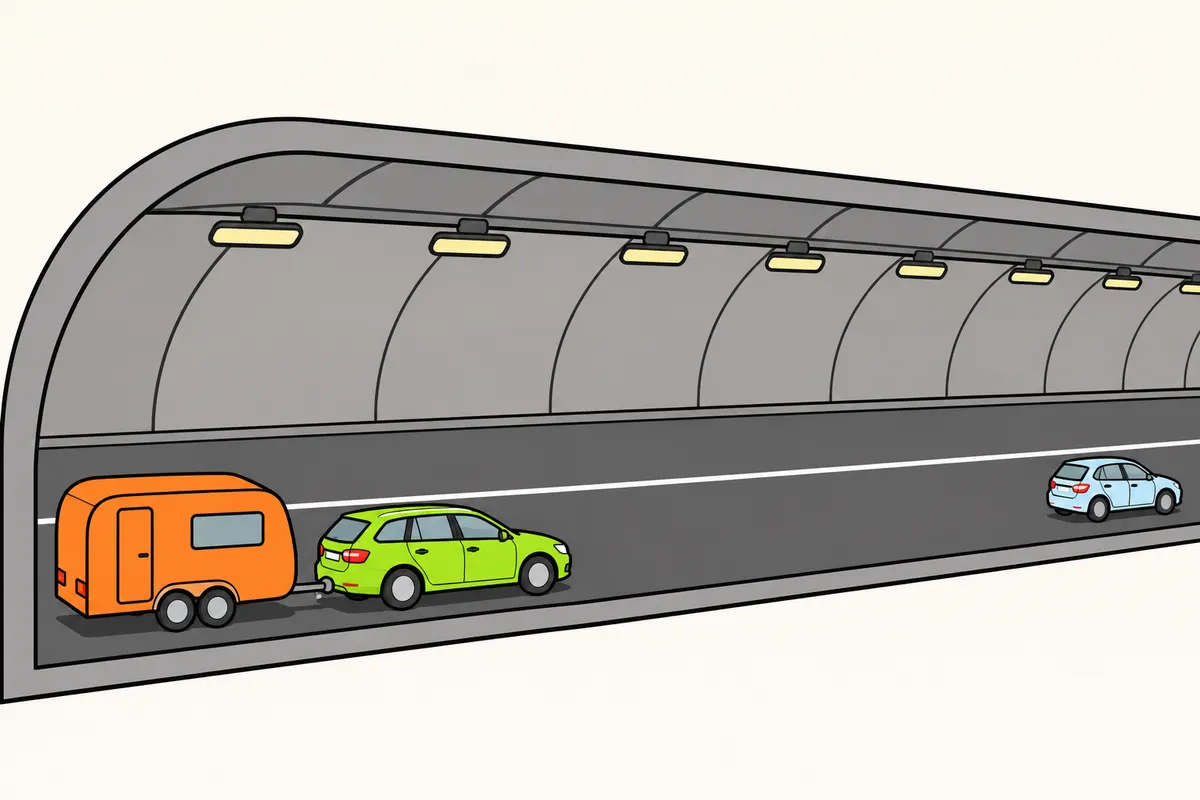
When you do not intend to overtake, keep the tunnel gap for your vehicle.
| Vehicle, when you do not intend to overtake | Minimum distance | Alternative minimum time gap |
|---|---|---|
| General case | 100 m | four seconds |
| Vehicle with MMA above 3,500 kg | 150 m | six seconds |
Remember
- Also apply these gaps in underpasses.
- You can use either the distance or the time interval.
- The mass threshold applies to your vehicle, not your whole combination.
- Always keep enough space to brake without a collision.
- With only one lane in your direction, never overtake in tunnels or underpasses.
Exam trap: Wrong: you add the combination's masses to require 150 m. Right: the threshold applies to the vehicle; in tunnels carrying traffic both ways, you may overtake only with more than one lane in your direction and without entering the opposite direction.
Read the full explanation
- When you do not intend to overtake, you must keep at least 100 metres or a minimum time gap of four seconds behind the vehicle ahead in tunnels and underpasses. [RGC, art. 95](https://www.boe.es/buscar/act.php?id=BOE-A-2003-23514#a95)
- If you drive a vehicle whose MMA exceeds 3,500 kg and you do not intend to overtake, you must keep at least 150 metres or six seconds behind the vehicle ahead. Article 95.6 sets this threshold for vehicles and does not mention the MMA of combinations. [RGC, art. 95](https://www.boe.es/buscar/act.php?id=BOE-A-2003-23514#a95)
- You can use either the distance in metres or the time gap specified for each case. The physical distance you travel during that interval depends on your speed. [RGC, art. 95](https://www.boe.es/buscar/act.php?id=BOE-A-2003-23514#a95)
- You must not overtake in tunnels or underpasses with only one lane in your direction. [RGC, art. 87.1.d](https://www.boe.es/buscar/act.php?id=BOE-A-2003-23514#a87) In a two-way tunnel, you must not overtake unless there is more than one lane in your direction and you do not enter the opposite direction. Permission to carry out a manoeuvre does not remove the basic separation needed to brake without a collision. The full conditions for overtaking are covered in «Manoeuvres with a car and trailer». [RGC, art. 95](https://www.boe.es/buscar/act.php?id=BOE-A-2003-23514#a95)
25Traffic queues inside a tunnel
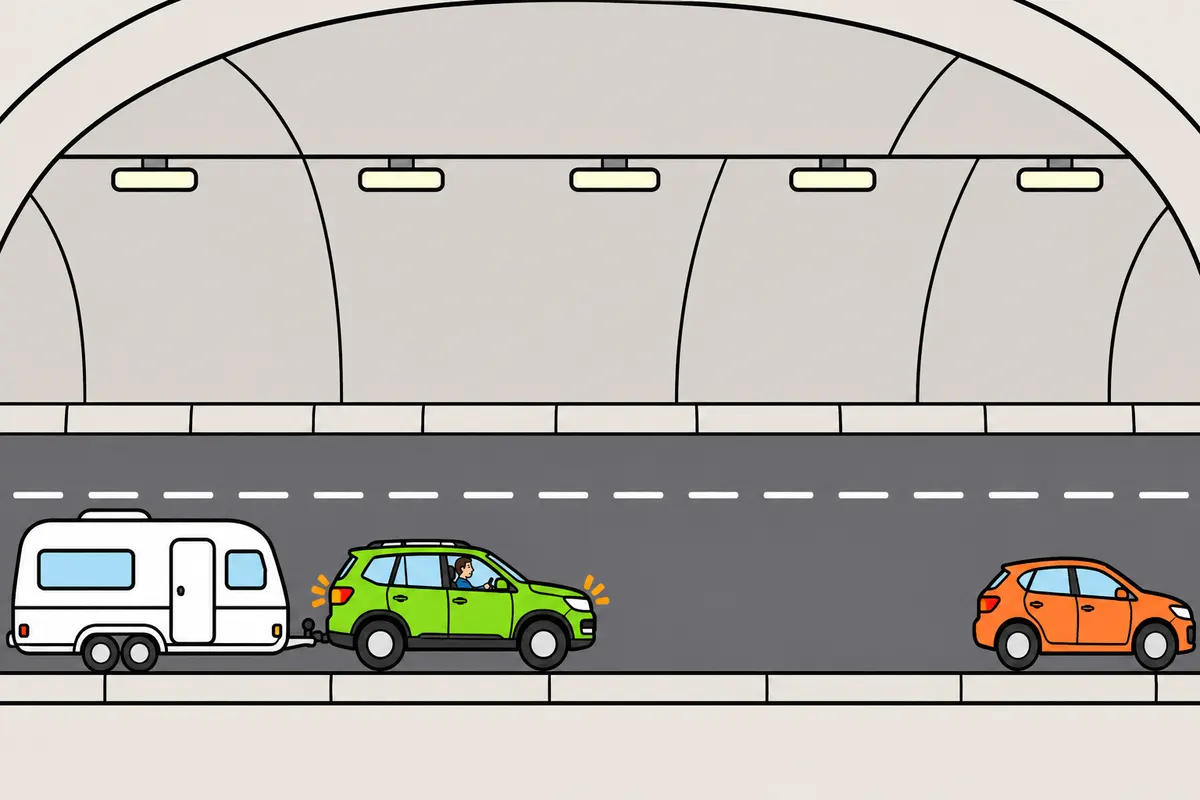
If traffic stops you in a tunnel, leave space and prepare to brake early.
Remember
- Stop as far as possible from the vehicle ahead.
- Look ahead and slow down early before reaching the queue.
- Warn others of significant braking whenever you can.
- Plan where your whole combination will stop.
- Restore your following distance when traffic moves again.
- For a breakdown or another emergency, follow the relevant emergency procedure.
Exam trap: Wrong: you plan your stop only for the towing vehicle. Right: plan for your whole combination to stop, as far as possible from the vehicle ahead.
Read the full explanation
- If traffic conditions force you to come to a standstill in a tunnel or underpass, you must stop as far as possible from the vehicle ahead. What you must do while queuing is explained in «Accidents, breakdowns and first aid». [RGC, art. 97.3](https://www.boe.es/buscar/act.php?id=BOE-A-2003-23514#a97)
- Before you reach the back of the queue, you must look ahead, slow down in good time and warn others of significant braking whenever possible. The mass and length of the combination mean you must plan for the whole combination to stop, taking account of more than just where the towing vehicle comes to rest. Restore your following distance when traffic starts moving again. [RGC, art. 45](https://www.boe.es/buscar/act.php?id=BOE-A-2003-23514#a45) [RGC, art. 53.1](https://www.boe.es/buscar/act.php?id=BOE-A-2003-23514#a53) [RGC, art. 54.1](https://www.boe.es/buscar/act.php?id=BOE-A-2003-23514#a54)
- If you come to a standstill because of a breakdown or another emergency, you must follow the relevant emergency procedure, explained in «Accidents, breakdowns and first aid». [RGC, art. 97.3](https://www.boe.es/buscar/act.php?id=BOE-A-2003-23514#a97)
Choosing the speed of your combination
Combine road type, vehicle category, signs and actual conditions.
- Identify whether you are driving outside a built-up area, on a street, on the stretch of road through a town or on a motorway or dual carriageway within a built-up area.
- Apply the maximum for a motor vehicle towing a trailer: outside built-up areas, 90 km/h on motorways or dual carriageways, 80 on conventional roads and 30 on unpaved roads.
- Check signs, specific restrictions and any temporary traffic regulations.
- Reduce your speed as much as necessary to stop the whole combination within the distance you can see, and respond to circumstances that justify driving below the minimum speed.
Determining the distance you must keep
Check the obligations that apply in addition to the margin against rear-end collisions.
- Always leave enough space to brake without colliding if the vehicle ahead brakes sharply.
- Check whether you must make it easier for the driver behind to overtake and whether the minimum of 50 metres applies because of mass or length.
- Check the exceptions: built-up areas, overtaking prohibited, several lanes in your direction or congestion that prevents overtaking.
- In tunnels or underpasses, when you do not intend to overtake, you must leave 100 metres or four seconds; for vehicles whose MMA (maximum authorised mass) exceeds 3,500 kg, 150 metres or six seconds. [RGC, art. 95](https://www.boe.es/buscar/act.php?id=BOE-A-2003-23514#a95)
- Increase the margin if grip, visibility or braking capability requires it.
Preparing to stop because of traffic
Anticipate braking by the towing vehicle and trailer.
- Spot the queue early and watch who is approaching from behind.
- Warn of a significant reduction in speed whenever possible and slow down smoothly, unless there is imminent danger.
- Keep space from the vehicle ahead and bring the whole combination to a controlled stop.
- For the separation you keep when stationary because of traffic in a tunnel, see «Traffic queues inside a tunnel» in this module; «Accidents, breakdowns and first aid» explains what you do during the queue.
Finished this module?
Mark it as read and you will see your progress on the theory list.