
Theory · B+E Licence - Car with Trailer · Module 7 of 13
Safe loading of your vehicle combination
You learn to distribute and secure the load in your car and trailer without overloading axles or compromising stability. You can answer questions on stowage, liquids, loading and unloading, projecting loads and V-20 panels, distinguishing each limit from the warning signs and lights it requires.
1What carrying a safe load means
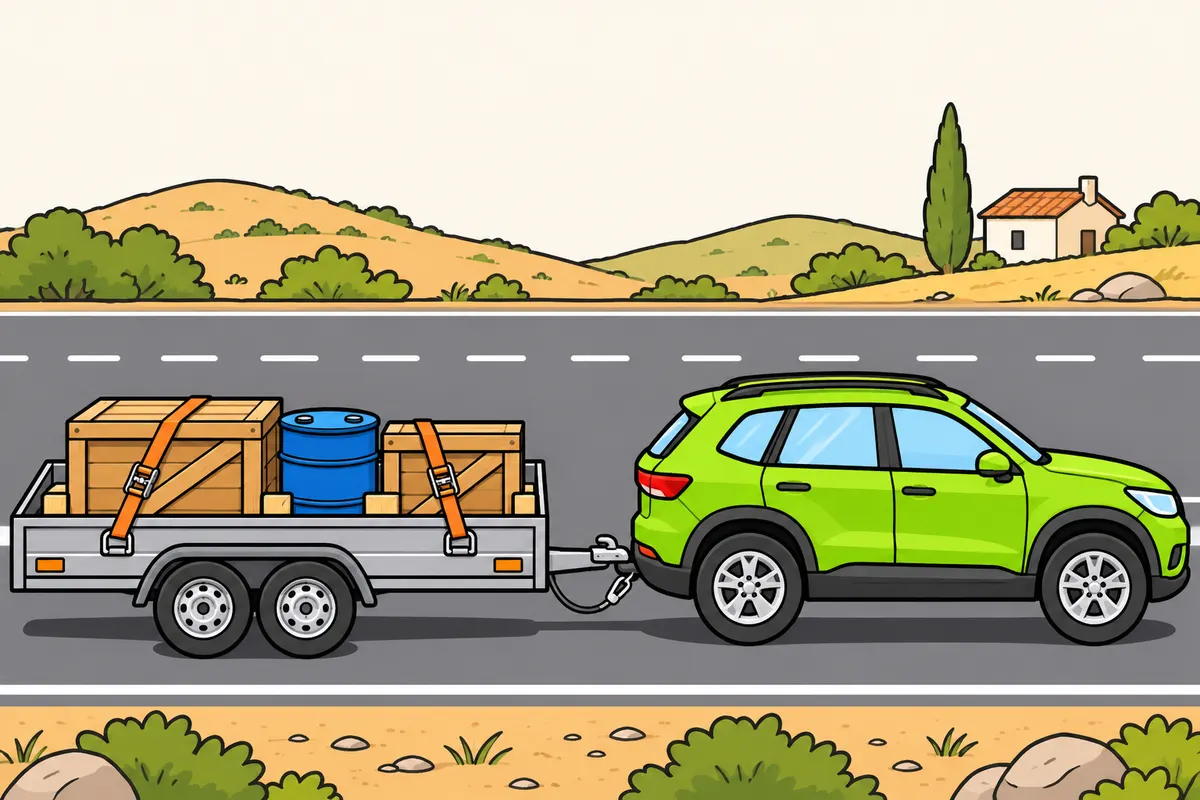
Check weight, balance and restraints before you set off.
Remember
- Keep within the permitted weight.
- Place your load to maintain balance.
- Secure ramps, tools and accessories too.
- Choose restraints suitable for your load.
- Check the load space and its fastenings.
Exam trap: Wrong: keeping within the maximum weight is enough. Right: you must also balance and secure your load.
Read the full explanation
- You must check three aspects of every load you transport: that the weight is permitted, that its positioning maintains balance and that its securing prevents dangerous movement. A trailer can be within its maximum mass yet be unstable because it carries a machine at the rear end. It can also be balanced when stationary yet lose its load the first time you brake.
- You must include load-handling and securing accessories in your preparations: ramps, load chocks, nets, tarpaulins, supports and tools. If any of these are loose, they can fall off or drag along the ground even if the main load is properly lashed down. Your duty to prevent these risks covers both the load and its accessories. [RGC, art. 14](https://www.boe.es/buscar/act.php?id=BOE-A-2003-23514#a14)
- With B+E, you may encounter a caravan, an equipment trailer or a horse trailer. You must adapt the distribution and restraints to the type of load; you cannot simply apply the way you load a toolbox to a motorcycle or a water tank.
- To prepare for the B+E test manoeuvres, you must check the safety of the trailer load: the load compartment, panels, doors, cab closure if fitted, positioning and securing. [RGCond, annex V.B.3.7.a](https://www.boe.es/buscar/act.php?id=BOE-A-2009-9481#av)
2Know the weight before distributing it
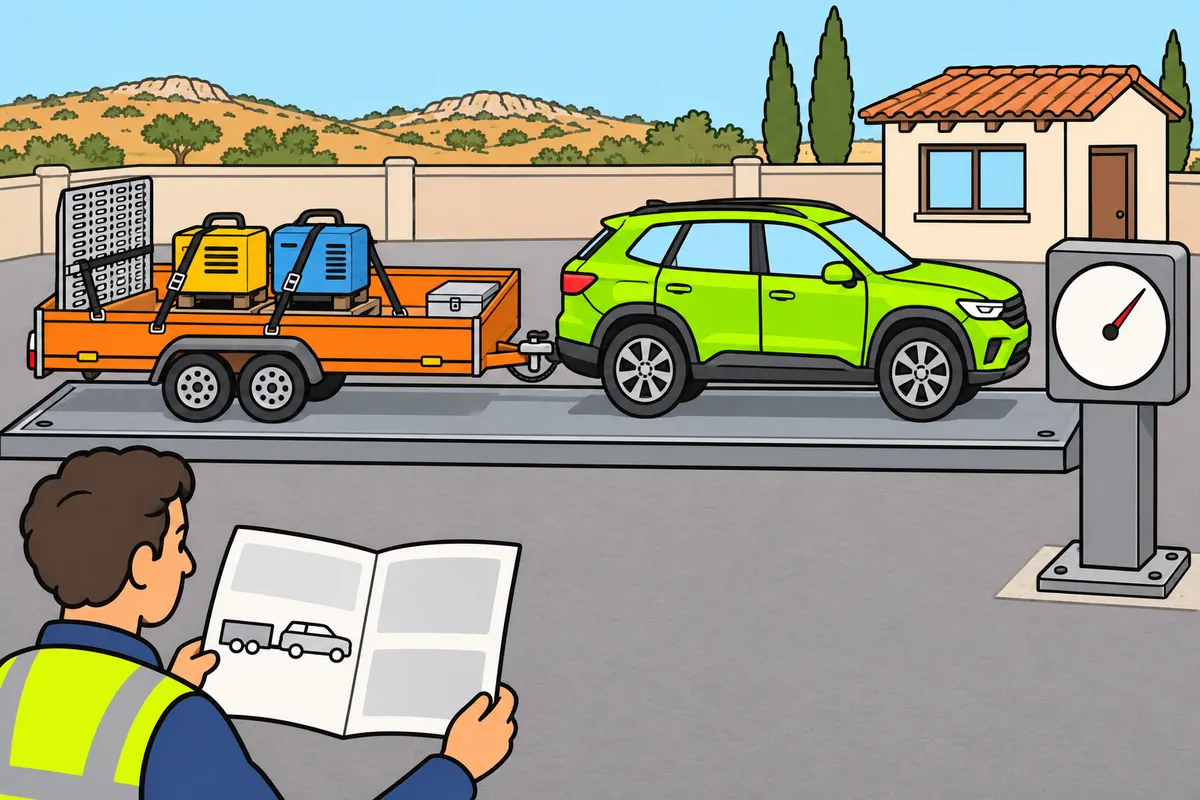
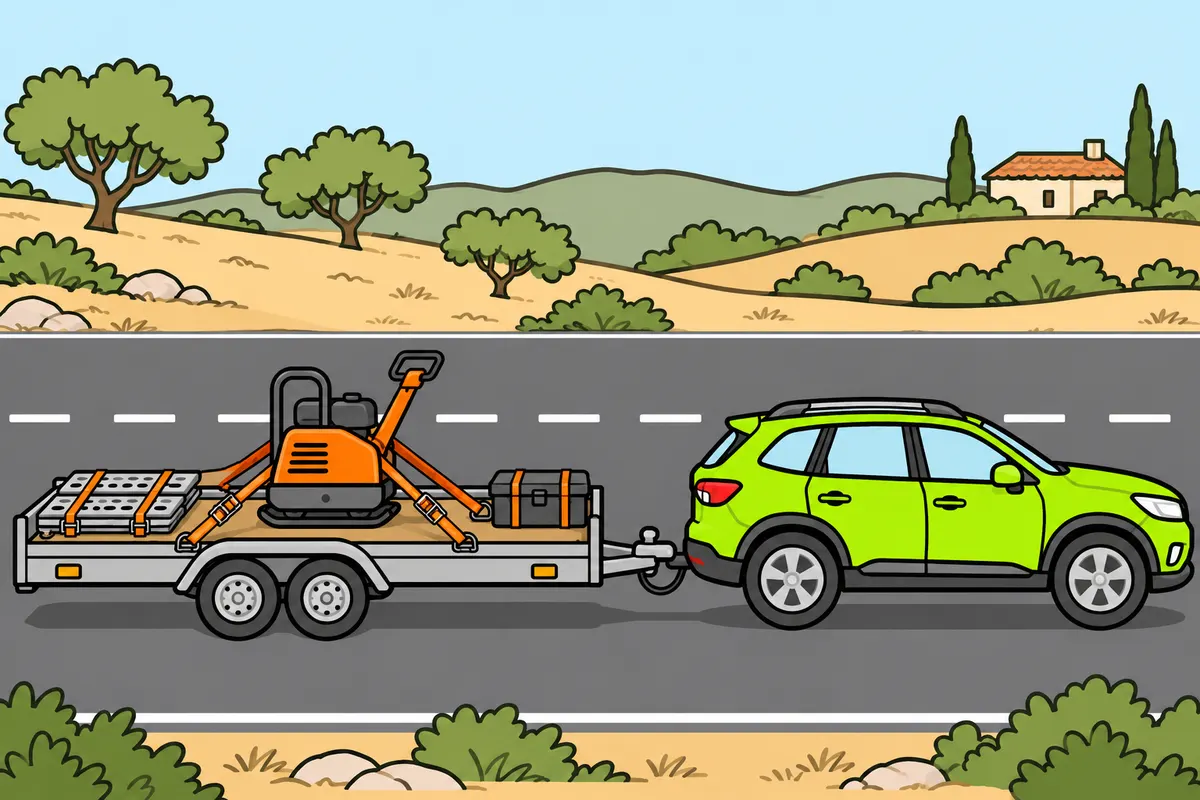
Know the actual weight and the limits before you load.
| Information | What it tells you |
|---|---|
| Laden mass | The actual weight of your loaded vehicle |
| MMA | The maximum authorised weight when travelling loaded |
| Documents | Your permitted limits |
| Scales | Your actual weight |
Remember
- Count passengers, luggage, ramps and accessories.
- Check the limits for your car, trailer and combination.
- Weigh your vehicle ready for travel if weight is unknown or near a limit.
Exam trap: Wrong: you can load while space remains. Right: you must respect the weight limits.
Read the full explanation
- Laden mass is the actual weight of the vehicle and everything it carries; MMA (maximum authorised mass) is the authorised limit for driving when laden. Empty space in the load compartment does not tell you how many kilograms you can add. [RGV, annex IX](https://www.boe.es/buscar/act.php?id=BOE-A-1999-1826)
- Before loading, you must know the weight of the items and the limits of the towing vehicle, trailer and combination. Also count passengers, luggage and accessories you carry in the car. Check the technical documents and do not infer towing capacity merely from the engine's ability to move the trailer. [RGV, annex IX, 4.1 to 4.3](https://www.boe.es/buscar/act.php?id=BOE-A-1999-1826)
- As a planning example, if the actual remaining capacity for additional load is 600 kg and you want to carry two machines weighing 250 kg each, you have 100 kg left for other items not yet counted. You must add ramps and equipment; this example is a mass calculation, not a universal B+E capacity.
- If you do not know the mass or are close to a limit, you must weigh the vehicle as configured for the journey. Checking documents and weighing answer different questions: the documents state the maximum, while the scales establish the actual situation. You study the limits and full tables in Maximum dimensions and masses.
3A low centre of gravity and a balanced load
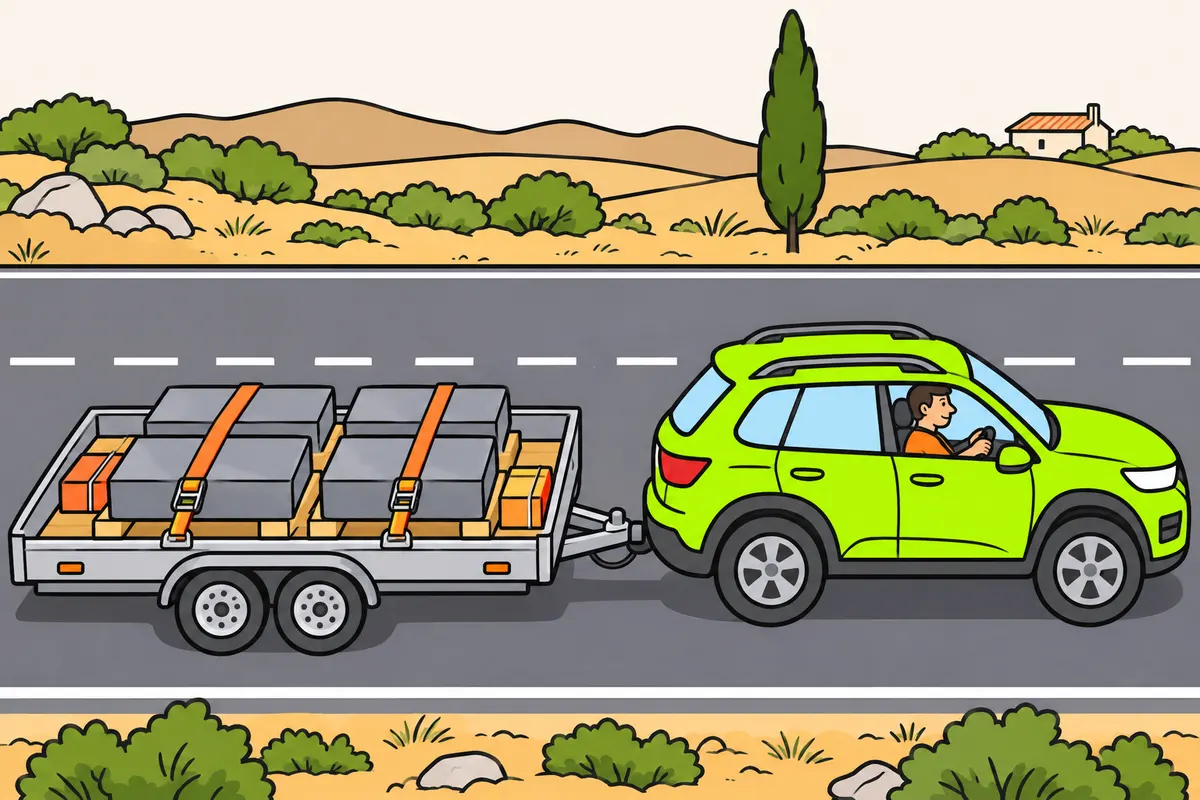
Put heavy items low down and balance the weight between both sides.
Remember
- Use strong supports.
- Balance weight, rather than just the size of items.
- Put lighter items above heavier ones only with strong supports and suitable restraints.
- Prepare your load for braking, bends, bumps and slopes.
Exam trap: Wrong: securing a high load removes the overturning risk. Right: its height still reduces stability.
Read the full explanation
- You must place the heaviest items as low as possible, on suitable supports. Raising them raises the centre of gravity and reduces your safety margin against overturning on bends or when changing direction. Securing a very high load prevents it from falling, but does not eliminate the effect of its height on the whole trailer.
- You must distribute the weight between both sides. If you put everything on one side, you load the wheels unevenly and encourage the trailer to lean towards that side. Aim for balanced masses, not just a symmetrical appearance: a small metal box can weigh more than several bulky items.
- You must place light items on top of heavy ones only when the supports and packaging can withstand the load and you can secure each group of items. Do not build a tower on a narrow base or place heavy pieces on boxes that can deform. A base that is crushed during the journey can loosen the lashings.
- Your aim is to maintain stability in every foreseeable situation along the route. You must consider braking, bends, bumps and gradients when choosing where to place each item, rather than only checking that the trailer stays level when stationary. [RGC, art. 14](https://www.boe.es/buscar/act.php?id=BOE-A-2003-23514#a14)
4Longitudinal distribution and load on the coupling
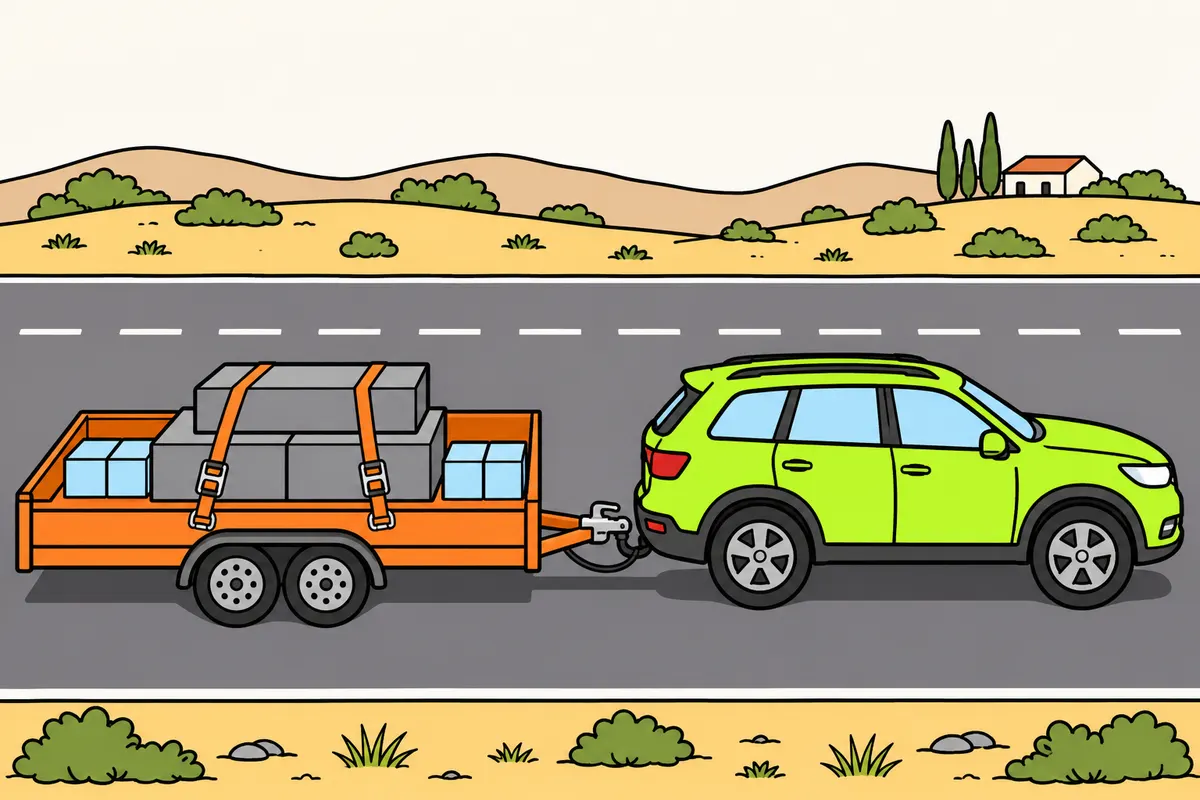
On centre-axle trailers, follow the manufacturer’s loading plan and check the coupling load.
| Distribution on centre-axle trailers | Risk you must avoid |
|---|---|
| Too much weight behind | Too little towball load and trailer sway |
| Too much weight in front | Overloaded coupling or car rear axle; less weight on its front axle |
Remember
- Place heavy items near the axles.
- Measure the coupling load with a suitable instrument.
- With uniformly distributed loads, the maximum coupling load is the lower value shown.
- Also respect the technical limits of your car, trailer and towball.
- This maximum is not a recommended coupling load for every setup.
Exam trap: Wrong: the lighter the drawbar, the better. Right: maintain the coupling load specified for your equipment.
Read the full explanation
- On a centre-axle trailer, you must concentrate heavy loads around the axle area, following the manufacturer's loading plan and the specified vertical load on the coupling. You must avoid accumulating the heaviest items at the rear end.
- If you move too much weight towards the rear, you can reduce the load on the towball excessively and encourage instability and sway. Maintain the distribution specified for your equipment: when you place a machine behind the axles, its mass and distance from them determine how much the load on the drawbar decreases.
- If you concentrate too much weight at the front, you can overload the coupling or the car's rear axle and reduce the load on its front axle. On centre-axle trailers with a uniformly distributed load, the vertical load on the coupling must not exceed the lower of these values: 10 % of the trailer's maximum mass or 1,000 kg. You must also comply with the technical limits of the car, trailer and towball; the towball's approved value is usually the most restrictive limit. This maximum is not a recommended coupling load for every setup. [RGV, annex IX, 1.14 and 4.2](https://www.boe.es/buscar/act.php?id=BOE-A-1999-1826#anix)
- You must check the vertical load on the coupling using the correct procedure and instrument for your equipment. Being able to lift the drawbar by hand is not an adequate measurement. Review the distribution if you add bicycles, a storage box or a spare wheel at either end, because their distance from the axles also affects it.
5Each axle has its own limit
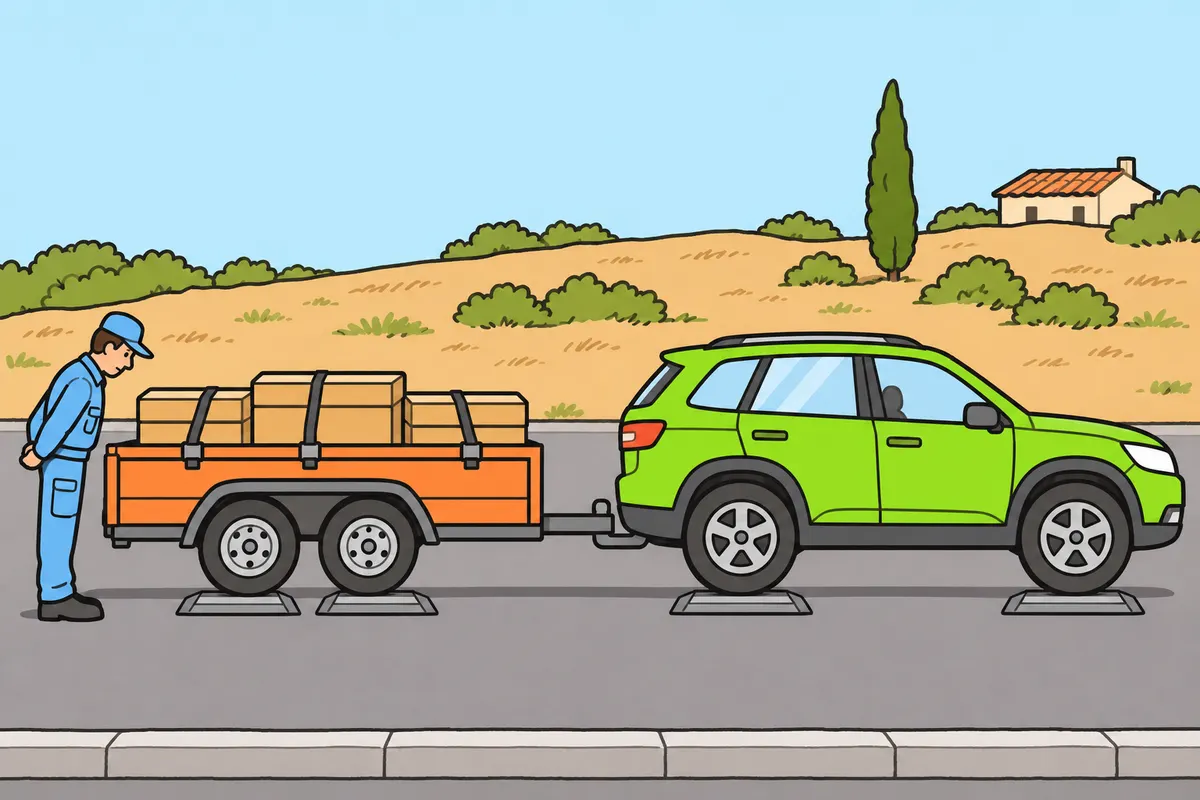
Respect the total weight limit and each axle’s limit.
| Problem | What you must do |
|---|---|
| Too much weight on an axle | Review your load distribution |
| Too much total weight | Remove load or use another permitted means of transport |
Remember
- Check each axle or axle group.
- Do not assume all axles carry equal weight.
- Include the trailer’s coupling load when calculating your car’s weight.
- Higher tyre pressure does not allow you to overload.
Exam trap: Wrong: meeting MMA guarantees compliance with axle limits. Right: you must check both.
Read the full explanation
- You must check the mass transmitted to the ground by each axle or axle group. Complying with the overall MMA does not guarantee compliance with the maximum mass per axle: a load concentrated near one end can overload one axle while another still has spare capacity. You must meet both requirements simultaneously. [RGV, annex IX](https://www.boe.es/buscar/act.php?id=BOE-A-1999-1826)
- You must distribute the items according to the trailer's loading plan and supports. On a trailer with several axles, do not assume that each axle automatically carries an identical share: the centre of gravity's position, the suspension and the support conditions affect the actual distribution.
- When planning the towing vehicle's weight, you must account for the vertical load it receives from the trailer. You cannot use all the remaining capacity for luggage in the boot and then assume that the drawbar load does not affect the car's masses. Check the complete configuration with occupants and luggage.
- You must distinguish between redistributing and reducing the load: moving an item can correct a localised overload, but does not eliminate excess total mass. If you carry more weight than permitted, you need to remove some load or use another permitted means of transport. Increasing tyre pressure does not authorise overloading either.
6Split the load into items and plan deliveries
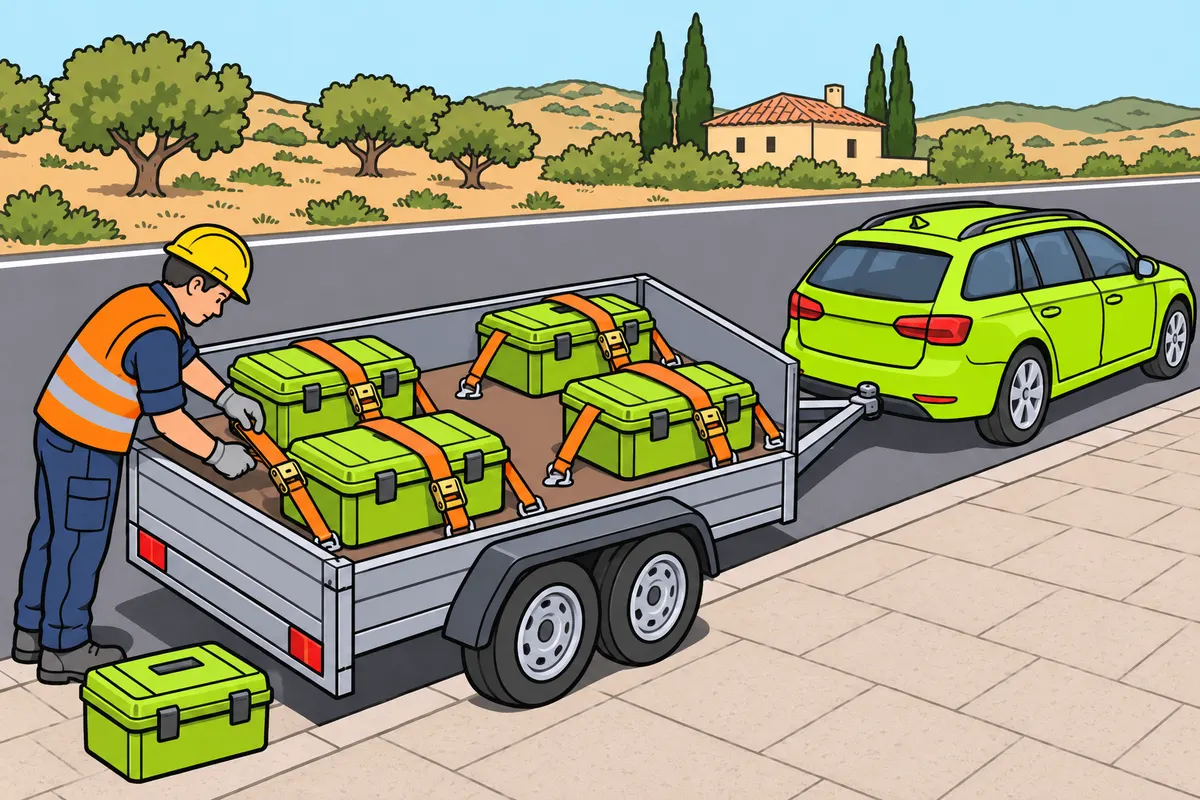
Plan deliveries and check your load after each partial unloading.
Remember
- Divide your load when this helps you distribute it better.
- Secure each container.
- Keep deliveries accessible without putting all the weight at an end.
- After partial unloading, check balance, distribution and lashings.
- Do not call a load indivisible just because it is awkward.
Exam trap: Wrong: the distribution remains suitable after partial unloading. Right: check it and secure what remains.
Read the full explanation
- If you can divide the load, you must use this opportunity to distribute it better, lower the centre of gravity and make handling easier. For example, you can distribute tools among several secure containers instead of carrying one very heavy box at the rear edge. Each container needs its own suitable restraint.
- You must plan the delivery order without sacrificing stability. You can make the first items to be unloaded accessible, but this must not force you to place all the remaining mass at one end. Plan from the outset how you secure whatever remains on the trailer.
- After partially unloading, you must check the lateral balance, longitudinal distribution and lashings again. Removing an item removes both its weight and any support it provides for other items. A tightly packed row of boxes can be left with room to slide.
- For the exceptions concerning projecting loads, a load is indivisible if you cannot separate it into two or more loads without unnecessary costs or risks of damage, and its dimensions or mass prevent its transport on a vehicle or combination that complies with the regulatory limits. Several items of the same nature and purpose can also constitute an indivisible load: together, they must not exceed any dimensions other than those exceeded by the largest item, or exceed the authorised maximum mass of the combination or the authorised maximum masses per axle. Difficulty in handling alone is not enough to meet this definition. [RGV, annex IX, 1.15](https://www.boe.es/buscar/act.php?id=BOE-A-1999-1826#anix)
7Stowage and packaging work together
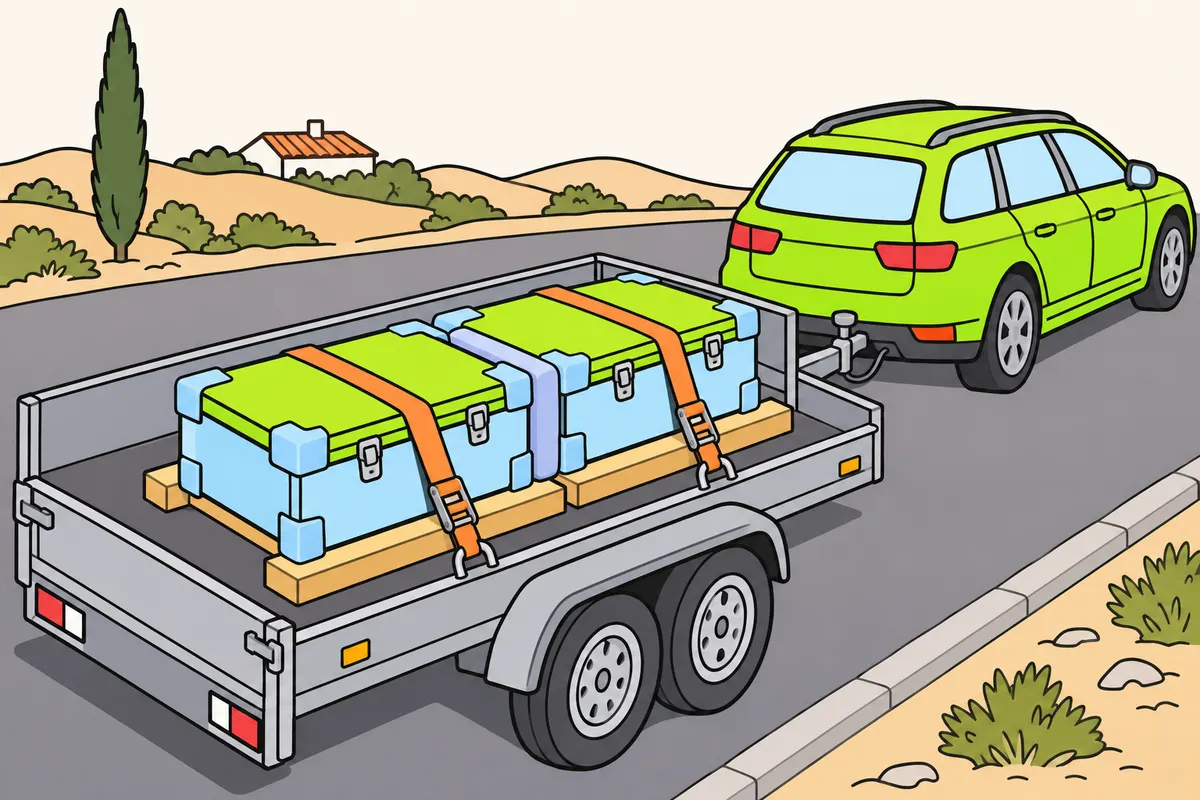
Place your load on strong bases and protect packaging and lashings.
Remember
- Check the floor, supports and packaging before lashing.
- Close boxes and secure them to your trailer.
- Prevent items from damaging the lashings.
- Prevent items from damaging each other.
- Use the tailgate alone only after checking its strength for restraining your load.
Exam trap: Wrong: a strong strap fixes a weak base. Right: you need strong supports and packaging.
Read the full explanation
- Stowage means positioning and organising your load for safe transport. Before lashing it down, examine the strength of the floor, the supports, the packaging and the available space. A strong strap does not solve the problem of a base that breaks or a machine resting on unstable components.
- You must group and protect small items so that they cannot escape between the securing devices. If a box contains tools, you need to secure the box to the trailer and close it to contain its contents. Securing only the lid or passing a strap through a weak handle does not guarantee that you retain the whole assembly.
- You must prevent adjacent items from damaging each other or the lashings. Use separators and supports compatible with the materials and capable of staying in place during transport. Contact between two metal surfaces can damage a finish or casing even if the items remain inside the trailer.
- You must plan how you open the trailer on arrival: a load that shifts against the door can fall when you unlock it. Keep the load arranged stably and do not use the tailgate as the sole means of restraint without checking that it is designed and rated to withstand that force.
8Friction: help that depends on contact
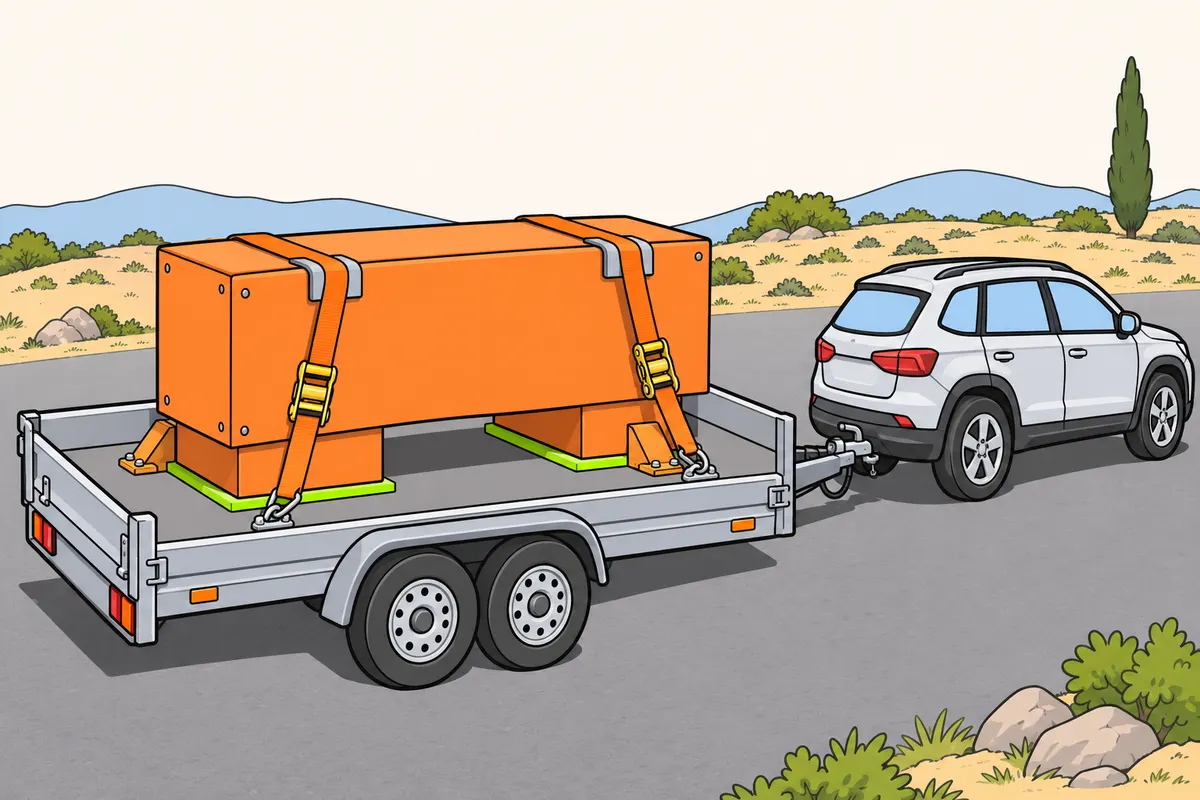
Combine friction with suitable blocking or lashings.
Remember
- Clean your load platform.
- Put anti-slip mats under the load’s actual support points.
- Follow equipment instructions for the surfaces in contact.
- Do not judge restraint needs just by how rough materials look.
Exam trap: Wrong: a heavy item cannot move. Right: you must secure it against movement during travel.
Read the full explanation
- You can use friction to resist sliding. You must clean the load platform: dust, grease, ice or loose materials can reduce friction. If you use anti-slip material, the load must actually rest on it. Place the mats beneath the item's actual points of support; a piece placed in a gap does not increase friction.
- You cannot rely on an item's own weight to keep it still: a heavy item also has inertia. You must combine friction with blocking or lashings rated for the forces encountered during transport.
- You must choose your securing method according to the contact surfaces and the equipment instructions. You cannot assign a single coefficient of friction to all materials or replace calculations with a judgement based on their rough appearance. [INSST, NTP 1038, principles of load securing](https://www.insst.es/documentacion/colecciones-tecnicas/ntp-notas-tecnicas-de-prevencion/30-serie-ntp-numeros-1031-a-1065-ano-2015/ntp-1.038-dispositivos-de-sujecion-de-equipos-de-trabajo-y-cargas-diversas-sobre-vehiculos-de-transporte-seguridad)
9Blocking: remove room for movement
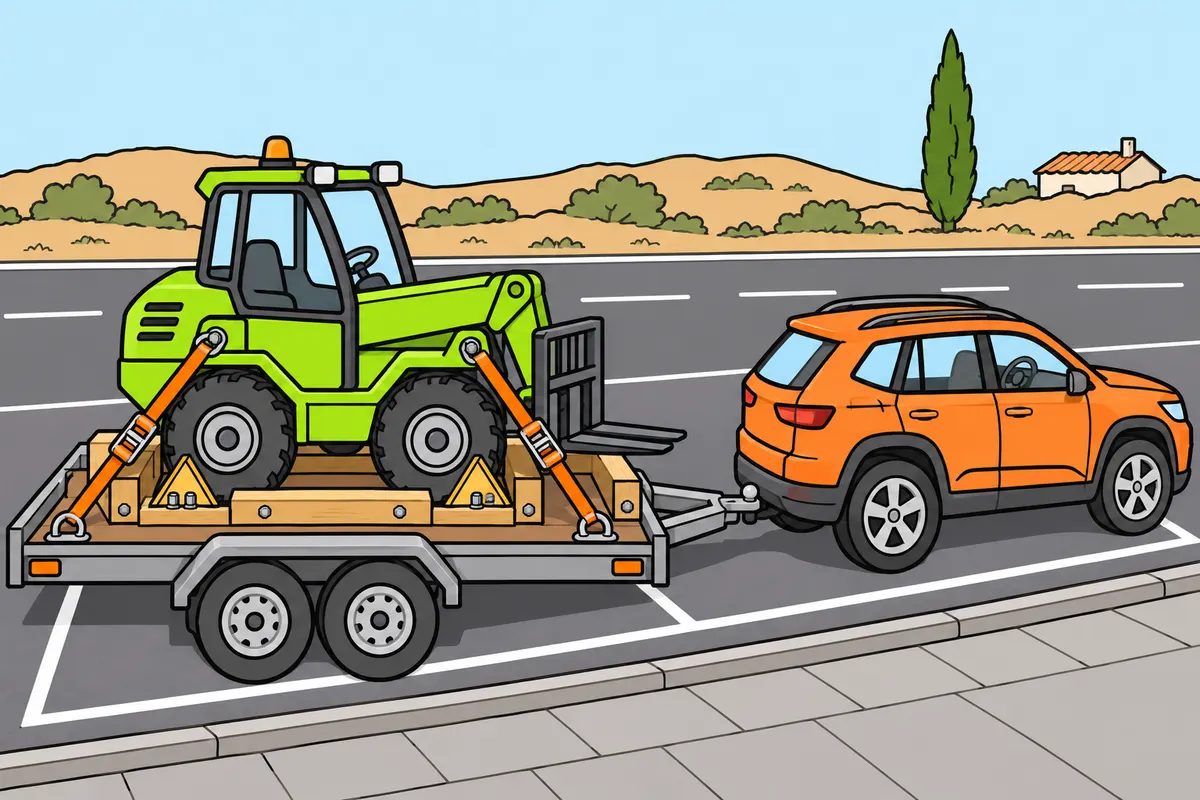
Block your load with strong restraints that prevent movement.
Remember
- Secure stops, wedges and spacers firmly.
- Block the directions in which your load could move.
- Check the strength of walls you use as supports.
- If an item can roll, also prevent sliding and overturning.
Exam trap: Wrong: a wedge that holds when stationary is enough during travel. Right: you may need extra restraints.
Read the full explanation
- You can block the load with strong, securely fixed stops, chocks or spacers. You must position them to resist movement in the foreseeable directions; deformable filler does not provide strong restraint.
- You must check the capacity of any walls, posts and cross-members you use as supports. You cannot use a lightweight caravan wall as a structural stop for a machine.
- If an item can roll, you must also prevent it from sliding and overturning. You can combine chocks, blocking and lashings, checking how they transfer forces to the trailer. [RD 563/2017, Annex III](https://www.boe.es/buscar/act.php?id=BOE-A-2017-6512) You may need additional restraints during braking or cornering even if a chock is sufficient to keep a wheel still on level ground.
10Direct lashing and tie-down lashing
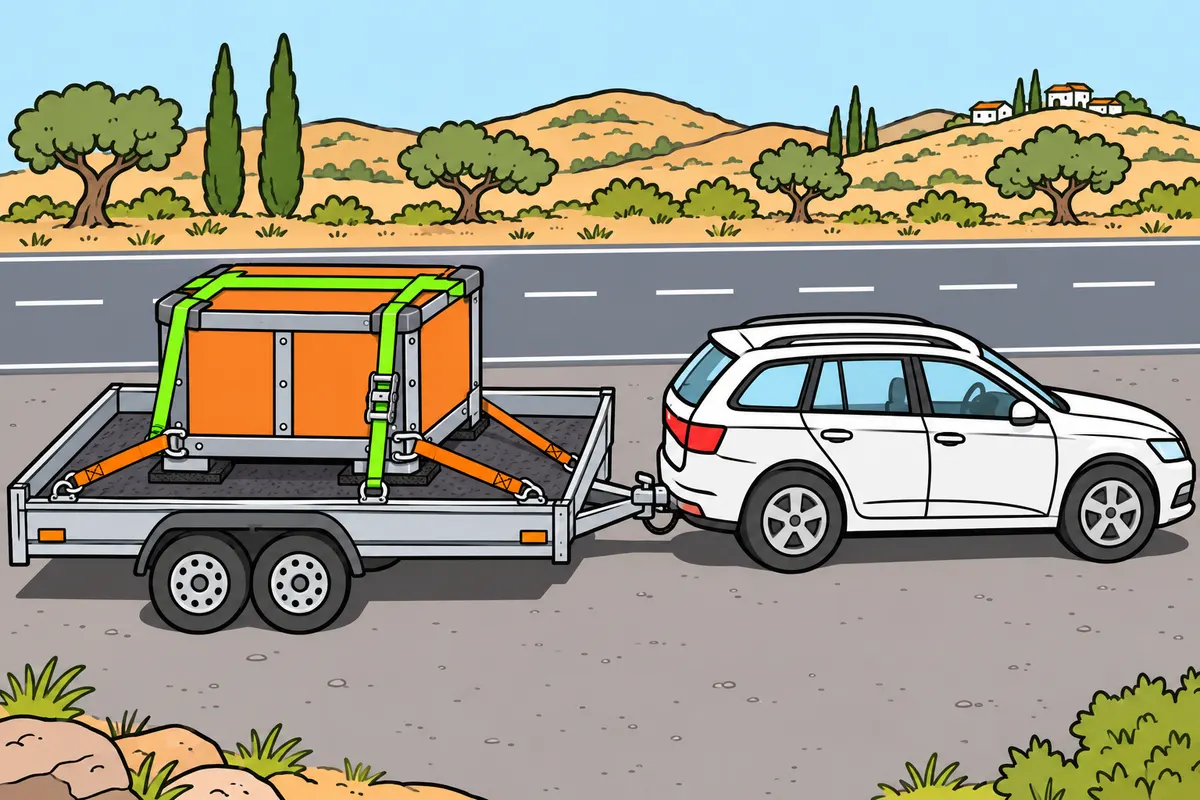
Choose lashings to suit your load and the forces they must resist.
| Method | How you secure your load |
|---|---|
| Direct lashing | Connect strong points on your load to trailer anchor points |
| Tie-down lashing | Press your load against its support to increase friction |
Remember
- Use strong points on your load and suitable anchor points.
- Consider angles, friction and overturning risks.
- Distinguish lashing capacity from working tension.
- Check tension if packaging gives way or your load settles.
Exam trap: Wrong: counting straps is enough. Right: check the effectiveness of your whole restraint system.
Read the full explanation
- With direct lashing, you must connect strong points on the load to the trailer's designated anchor points. The orientation of each securing device determines which longitudinal and lateral movements you can restrain with it.
- With tie-down lashing, you pass the securing device over the load to press it against its support and increase friction. You must tension it without crushing the item and check it again if the packaging gives way or the load settles.
- You must distinguish between lashing capacity and working tension. You must choose the system according to the method, angles, friction, anchor points and risk of overturning; counting straps does not tell you how effective they are. You cannot assume that the capacity marked on a strap means you can use that strap alone to secure any object with the same mass.
- As technical references, you use EN 12195-1 for calculating forces; EN 12195-2 for synthetic web lashings; EN 12195-3 for chains; and EN 12195-4 for steel wire ropes. You must use equipment appropriate to the load. [RD 563/2017, Annex III](https://www.boe.es/buscar/act.php?id=BOE-A-2017-6512)
11EN 12195 principles without misleading formulas
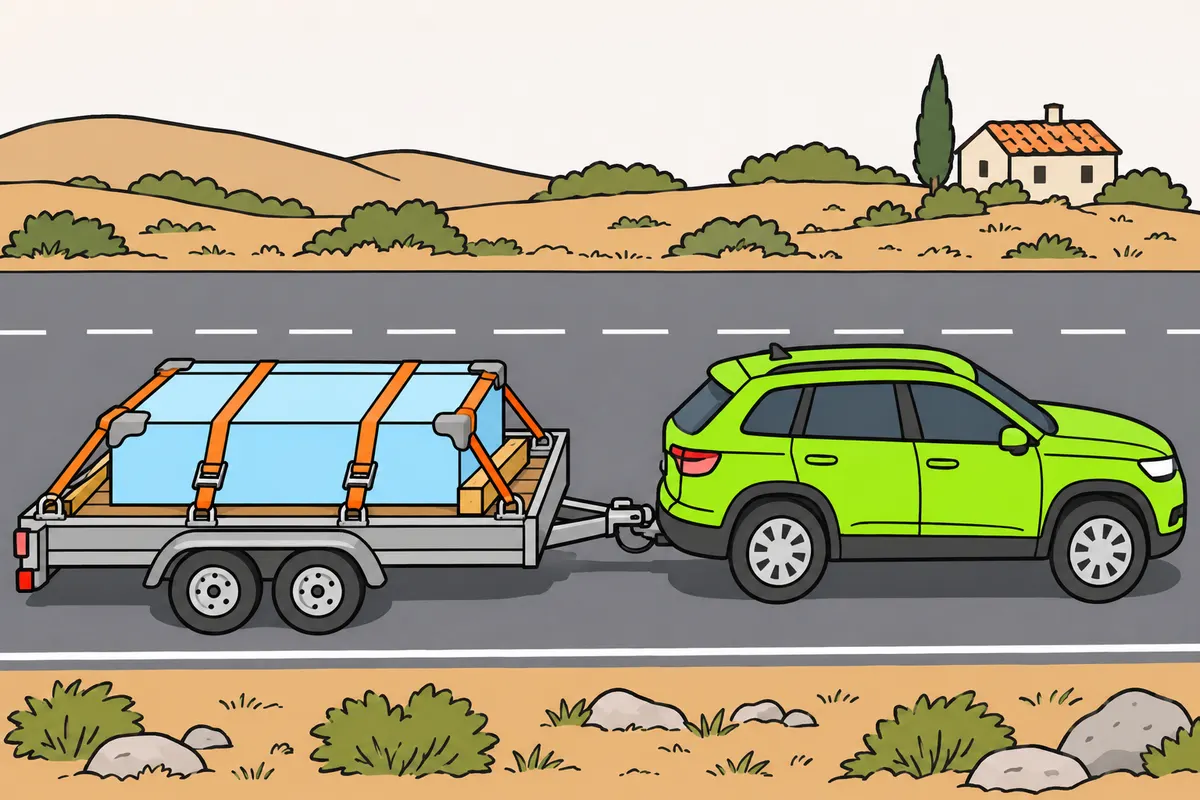
Use reference forces to plan restraints, without allowing extra load.
| Force direction | Technical reference for your combination |
|---|---|
| Forwards | 0.8 times the load’s weight |
| Sideways and rearwards | 0.5 times the load’s weight |
Remember
- Also prevent your load from tipping.
- These figures are technical references for your combination.
- Do not automatically apply commercial vehicle inspection rules to your passenger car and trailer.
- If you lack information, obtain a suitable restraint solution before driving.
Exam trap: Wrong: these figures allow extra weight. Right: they describe forces your restraints must resist.
Read the full explanation
- As a technical design reference, you must recognise the forces in Annex III of RD 563/2017: 0.8 times the weight of the load forwards and 0.5 times sideways and rearwards. You must also prevent the load from tipping longitudinally and transversely. You use these figures for restraining forces, not as percentages of extra load you can add. [RD 563/2017, Annex III](https://www.boe.es/buscar/act.php?id=BOE-A-2017-6512)
- You use these figures as a technical reference for your B+E combination. RD 563/2017 regulates inspections of commercial vehicles in the categories it lists and provides for checks on light commercial vehicles; you cannot automatically apply its inspection regime to a passenger car with a trailer. [RD 563/2017, art. 2](https://www.boe.es/buscar/act.php?id=BOE-A-2017-6512)
- If you lack the data to determine the required restraint capacity, obtain a suitable solution before driving: identify the masses, strong supports and available equipment so that you can choose a complete system. Your general obligation to keep the load safe in your B+E combination comes from Article 14 of the RGC. [RGC, art. 14](https://www.boe.es/buscar/act.php?id=BOE-A-2003-23514#a14)
12Check straps, tensioners and anchor points
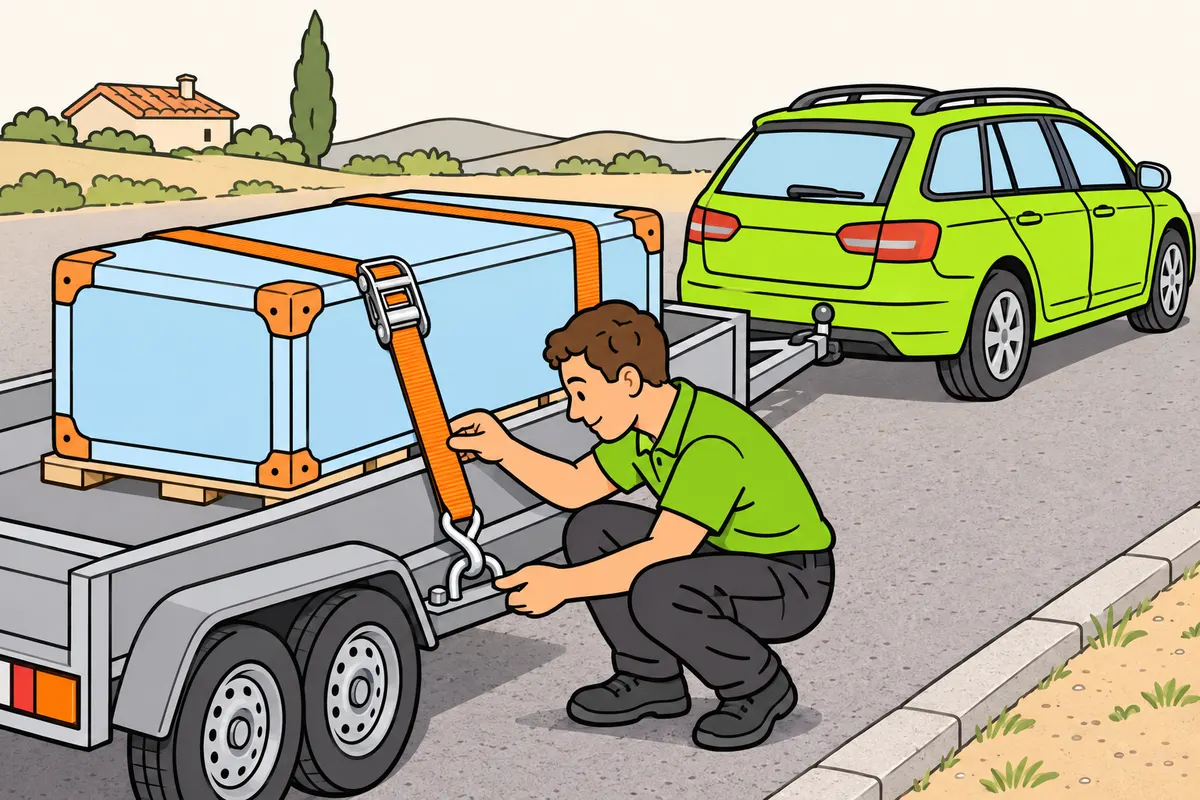
Use sound straps and anchor points with known capacity.
Remember
- Set aside equipment with cuts, deformation, corrosion or wear.
- Use anchor points designed to secure loads.
- Protect sharp edges and avoid knots.
- Do not extend tensioners to force them tighter.
- Lock mechanisms and stow loose ends.
- Check your straps with the doors closed.
Exam trap: Wrong: any part that accepts the hook will do. Right: use suitable load anchor points.
Read the full explanation
- Before using straps, tensioners and anchor points, you must look for cuts, damaged stitching, deformation, corrosion and wear. Check that you can identify their capacity and set damaged equipment aside.
- You must seat each end fitting in an anchor point designed to secure loads. You cannot rely on a trim piece, hinge or railing simply because it accepts the hook; the attachment to the trailer also limits the strength.
- You must protect sharp edges, avoid knots and use compatible accessories as specified by the manufacturer. Keep your hands clear of the tensioner, lock its mechanisms and secure loose ends: nothing must reach the wheels or road surface or become caught as you turn. Do not improvise extensions to the tensioner to increase tension. When you finish, check the routing of the straps with the doors closed.
13Wheeled loads, caravans and animals
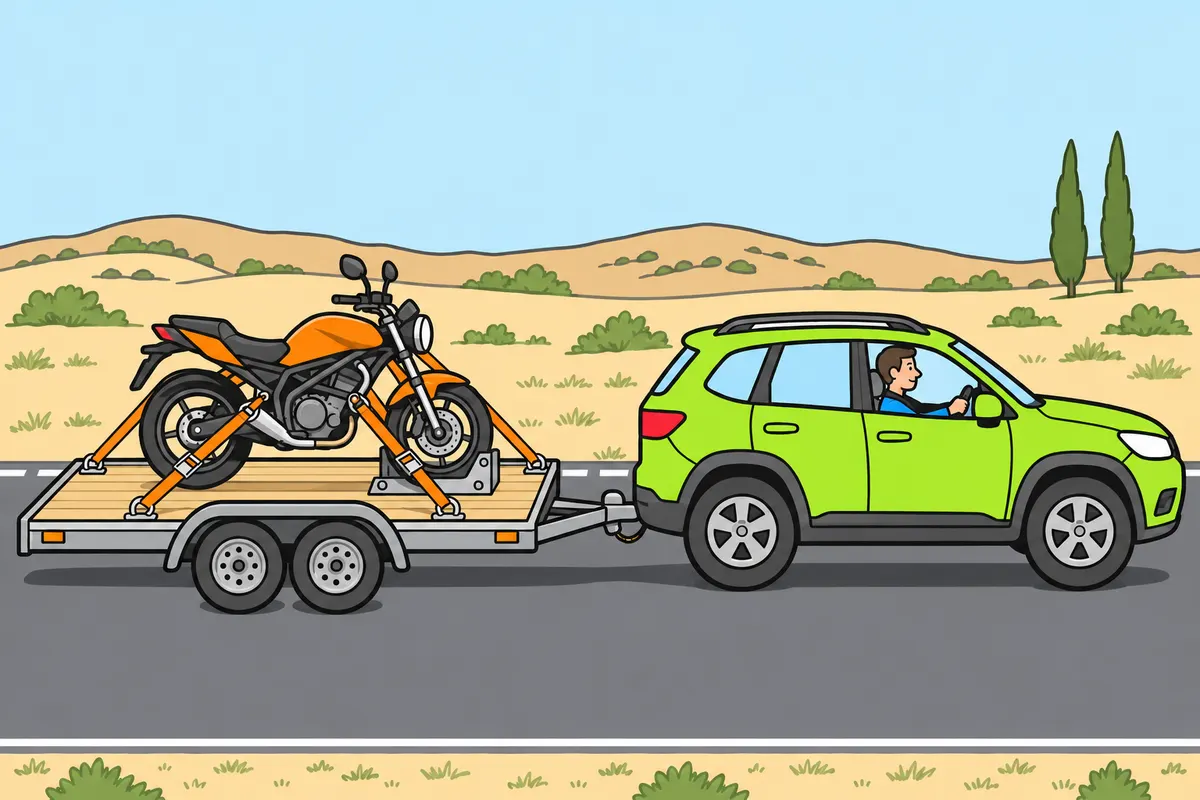
Choose supports and restraints to suit wheeled loads, luggage or animals.
| Load or vehicle | What you must do |
|---|---|
| Motorcycle or wheeled machine | Prevent rolling, leaning and sideways movement |
| Caravan | Keep heavy items low in the specified area; secure objects and close drawers and doors |
| Horses | Use suitable vehicles, partitions and devices; allow for their movements |
Remember
- Also check spaces you cannot see from your seat.
- Keep your movements and view clear when driving.
- Do not restrain horses like machines with goods straps.
Exam trap: Wrong: a machine’s brake is enough for transport. Right: you need suitable transport restraints.
Read the full explanation
- If you carry a motorcycle or wheeled machinery, you must use supports and strong attachment points suitable for that equipment. Prevent it from rolling, tilting or moving sideways. The machine's brake, where fitted, does not replace a securing system for transport.
- In a caravan, you must distribute heavy luggage low down and close to the area specified by the manufacturer, securing it in the compartments provided. Close drawers and doors and secure household objects and containers. A closed cupboard does not guarantee that it can withstand any mass or any internal impact.
- If you transport horses, you must use a vehicle, partitions and devices suitable for the animal and follow their instructions for use. You must allow for the animal shifting its weight and moving the centre of gravity during the journey. Do not try to immobilise it like a machine using cargo straps.
- Before setting off, you must also check spaces you cannot see from the seat. A tool left on a ramp or a loose bottle inside the caravan is still part of the load. You must maintain your freedom of movement and the field of vision you need when driving. [RGC, art. 18](https://www.boe.es/buscar/act.php?id=BOE-A-2003-23514#a18)
14Liquids: even a secured container can cause instability
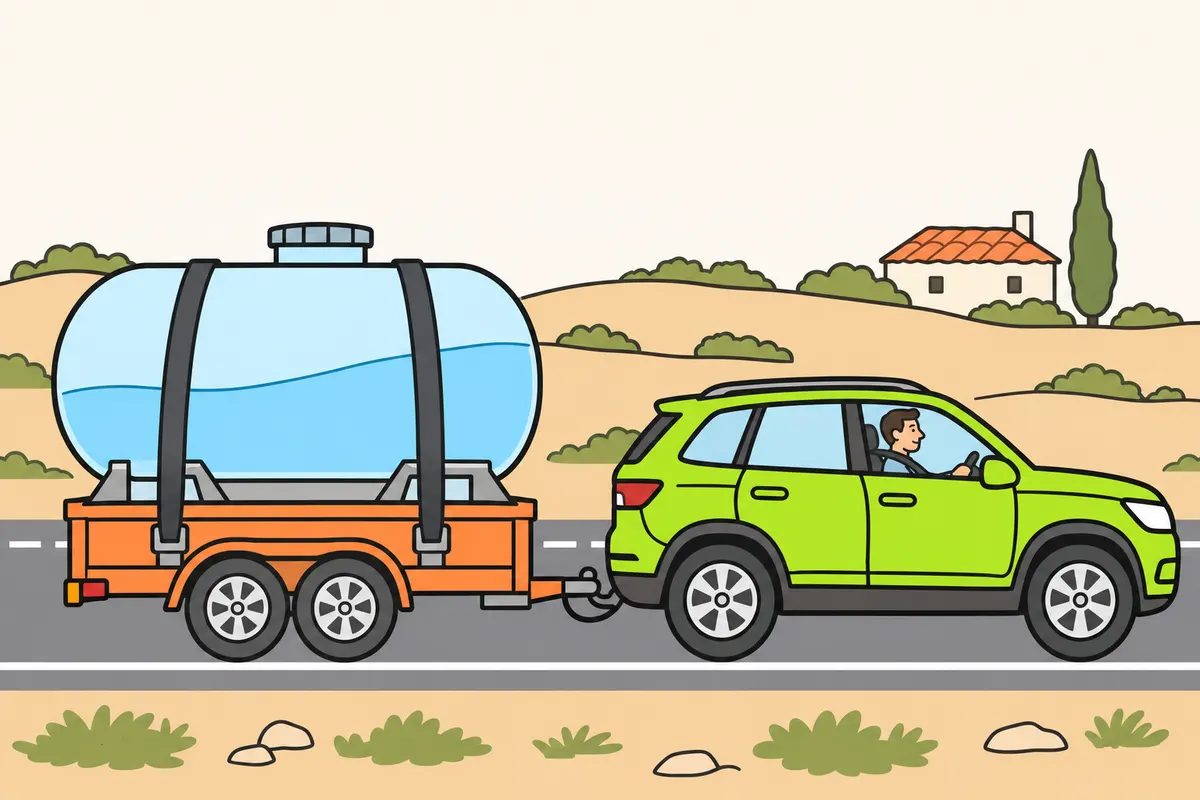
Secure your tank and allow for the liquid moving inside.
Remember
- Liquid in a partly filled tank moves when you brake, speed up or turn.
- Drive smoothly and anticipate what is ahead.
- Partitions reduce liquid movement but do not stop it.
- Follow filling instructions and respect permitted weights.
- No filling percentage suits every tank.
Exam trap: Wrong: securing the container stops the liquid moving. Right: allow for movement inside it.
Read the full explanation
- If you carry a water tank, you must secure the container and allow for its contents moving. In a partially filled tank, sloshing when you brake, accelerate or turn shifts the centre of gravity and can impair stability. [RGC, art. 14.1.b](https://www.boe.es/buscar/act.php?id=BOE-A-2003-23514#a14)
- You must drive smoothly and anticipate. Suitable compartments and baffles reduce movement, but the liquid remains a moving load.
- You must follow the filling instructions and observe the permissible masses. There is no universal percentage for all tanks: the density of the product determines how much the volume you carry weighs.
15Drums, tanks and unloading liquids
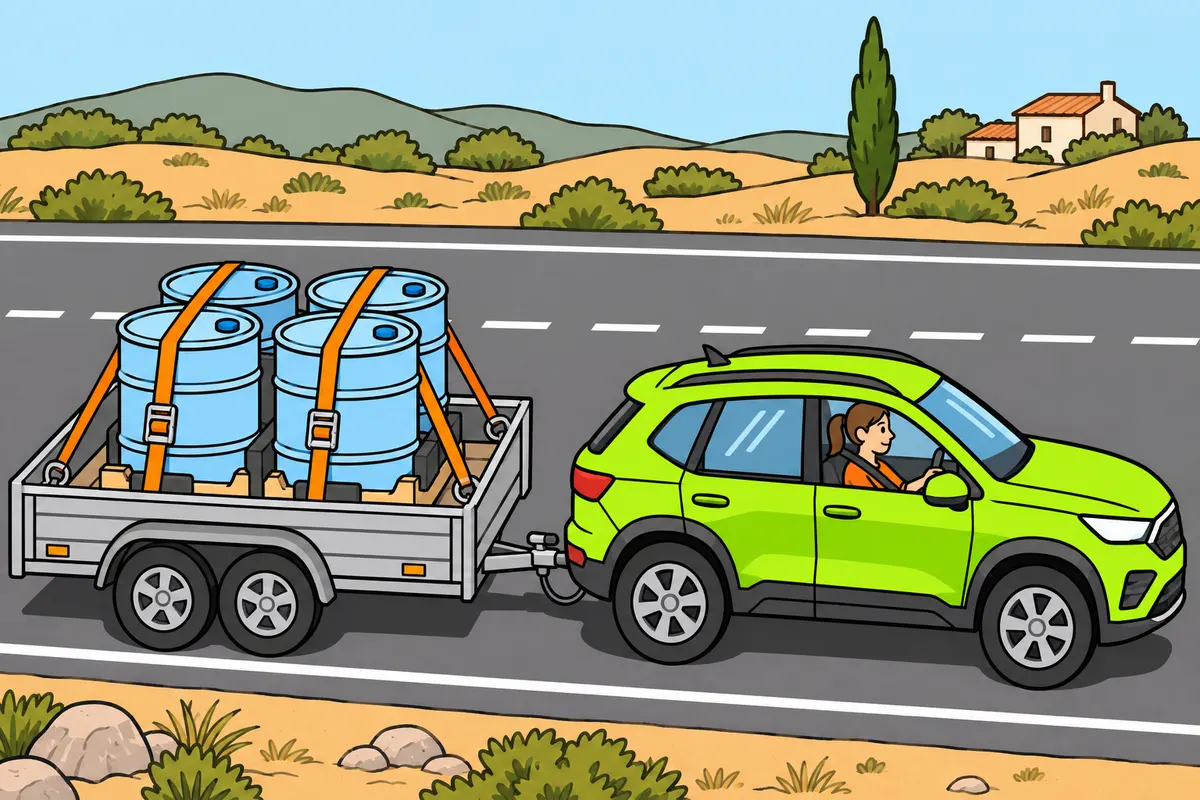
Secure containers and check your balance after emptying them.
Remember
- Use suitable containers that are closed and in good condition.
- Stand drums on their bases unless you use a system made for another position.
- Protect containers from impacts, overturning and movement.
- During transfers, check hoses, closures and leaks.
- Before driving, secure accessories and set valves as instructed.
- Follow specific rules for dangerous, harmful or unpleasant products.
Exam trap: Wrong: emptying drums always improves balance. Right: emptying only one side can unbalance your combination.
Read the full explanation
- You must use suitable containers, closed and in good condition, secured against tipping and movement. Place drums on their bases unless you have a specific system for another position, and protect them from impacts and chafing. [RGC, art. 14.1.a and b](https://www.boe.es/buscar/act.php?id=BOE-A-2003-23514#a14)
- When emptying containers, you must check the distribution of the remaining load. During a transfer, monitor hoses, closures and leaks; before driving, secure the accessories and leave the valves in their transport position as specified for the equipment. If you empty all the drums on one side, the combination can become unbalanced even though you have reduced its total mass.
- If the product is dangerous, harmful or a nuisance, you must also comply with the specific regulations that apply to it. Your B+E licence does not replace the particular requirements for transporting that substance. [RGC, art. 14.3](https://www.boe.es/buscar/act.php?id=BOE-A-2003-23514#a14)
16Choose where to load and unload
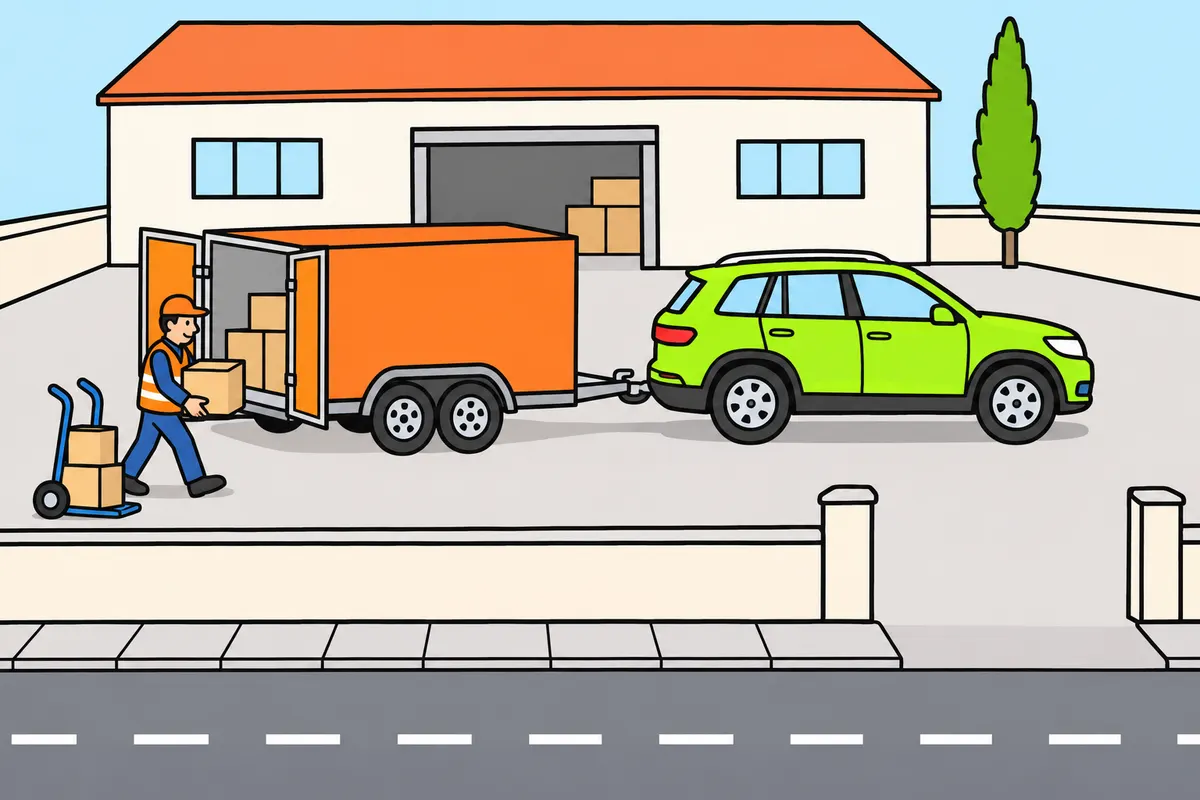
Load and unload off the road unless using the road is unavoidable.
Remember
- On the road, avoid danger and serious disruption.
- Follow stopping and parking rules.
- In built-up areas, also follow municipal rules on times and places.
- Where possible, work on the side nearest the carriageway edge.
- Work quickly and avoid unnecessary noise and disturbance.
- Do not leave goods on the carriageway, hard shoulder or pedestrian areas.
Exam trap: Wrong: a brief delivery lets you load or unload anywhere. Right: use the road only when unavoidable, without danger or serious disruption, and follow local restrictions.
Read the full explanation
- You must carry out loading and unloading off the road. You may use the exception only when carrying them out on the road is unavoidable, without causing danger or serious disruption. Having a destination close to the kerb does not make any location a permitted unloading area. [RGC, art. 16](https://www.boe.es/buscar/act.php?id=BOE-A-2003-23514#a16)
- If you must work on the road, you must comply with the rules on stopping and parking and, in built-up areas, municipal provisions on times and places. You must check the restrictions at the specific location. An urgent delivery does not in itself give you permission to occupy a prohibited space. [RGC, art. 16](https://www.boe.es/buscar/act.php?id=BOE-A-2003-23514#a16)
- You must work, as far as possible, on the side closest to the edge of the carriageway. On a two-way road where you park lawfully along the right-hand edge, this is normally the right-hand side. Always check where pedestrians and vehicles pass before opening a door or deploying a ramp. [RGC, art. 16](https://www.boe.es/buscar/act.php?id=BOE-A-2003-23514#a16)
- You must prepare sufficient equipment and assistance to carry out the operation as quickly as possible and avoid unnecessary noise and disturbance. You must not place goods on the carriageway, the arcén (hard shoulder) or pedestrian areas while organising unloading, even if you intend to remove them soon. [RGC, art. 16](https://www.boe.es/buscar/act.php?id=BOE-A-2003-23514#a16)
17Prepare the trailer before moving the load
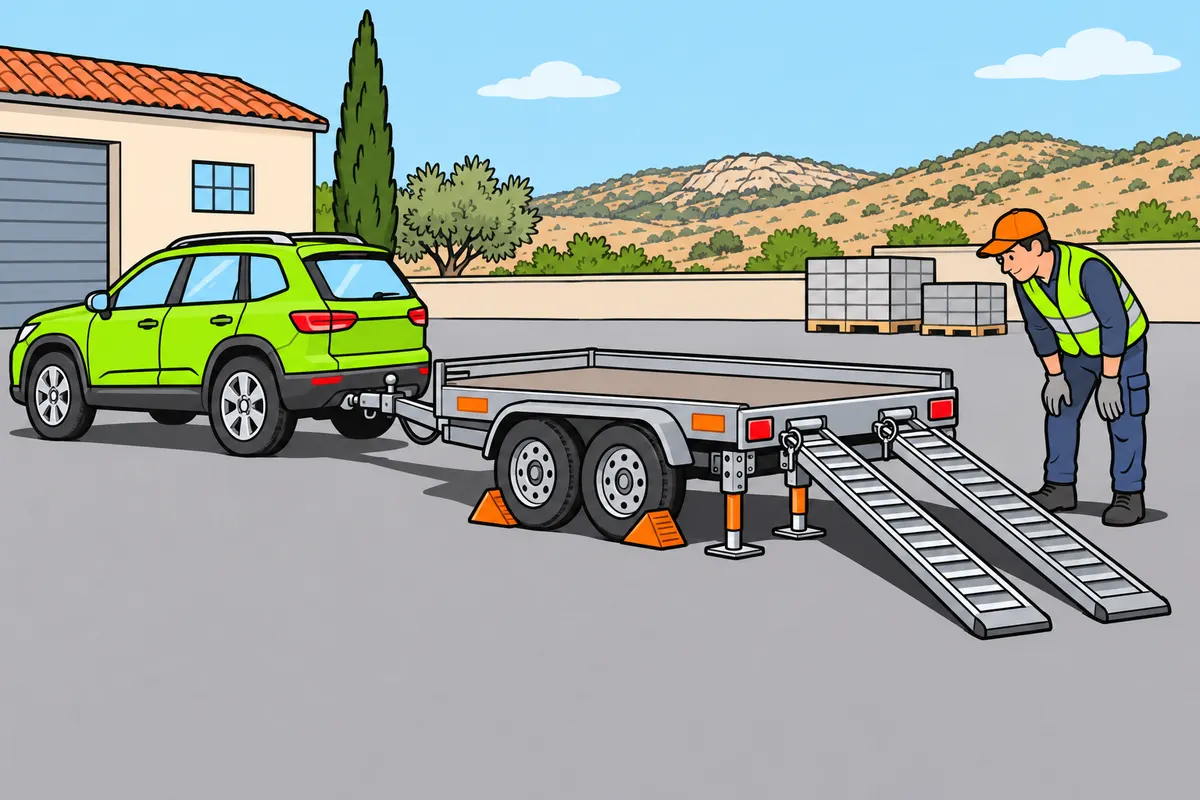
Immobilise your combination and prepare supports, ramps and space before loading.
Remember
- Choose firm ground that is as level as possible.
- Check your ramps can support the load and are firmly secured.
- Use the supports specified by the manufacturer.
- Do not assume your jockey wheel can withstand every loading force.
- Agree how to communicate with anyone helping you.
- Keep people clear of movement paths; stop if you lose control.
Exam trap: Wrong: you can load on any ground. Right: check ground firmness and support strength.
Read the full explanation
- You must choose firm ground that is as level as possible, with room to open doors and work with the ramps. Check the load-bearing capacity of the supporting surface and the entry route for the machine or animal. The edge of a ditch or soft ground can give way when the weight distribution changes.
- You must secure the combination against movement and use the supports specified by the manufacturer for the operation. Do not assume that the jockey wheel can withstand every loading force when the trailer is uncoupled. A machine moving along the ramp can greatly alter the forces on the supports.
- You must check that ramps, loading bridges and auxiliary equipment are suitable for the mass and shape of the load and are correctly secured. Keep their path clear and avoid standing under a suspended item or between a moving load and a wall with no way to move aside.
- You must organise communication with anyone helping you before starting. Keep people out of the path of wheels, doors and goods, and stop the operation if you lose control of the surroundings. Approaching is covered in Manoeuvres with a car and trailer, and coupling in Safe coupling and uncoupling.
18Load and unload without losing balance
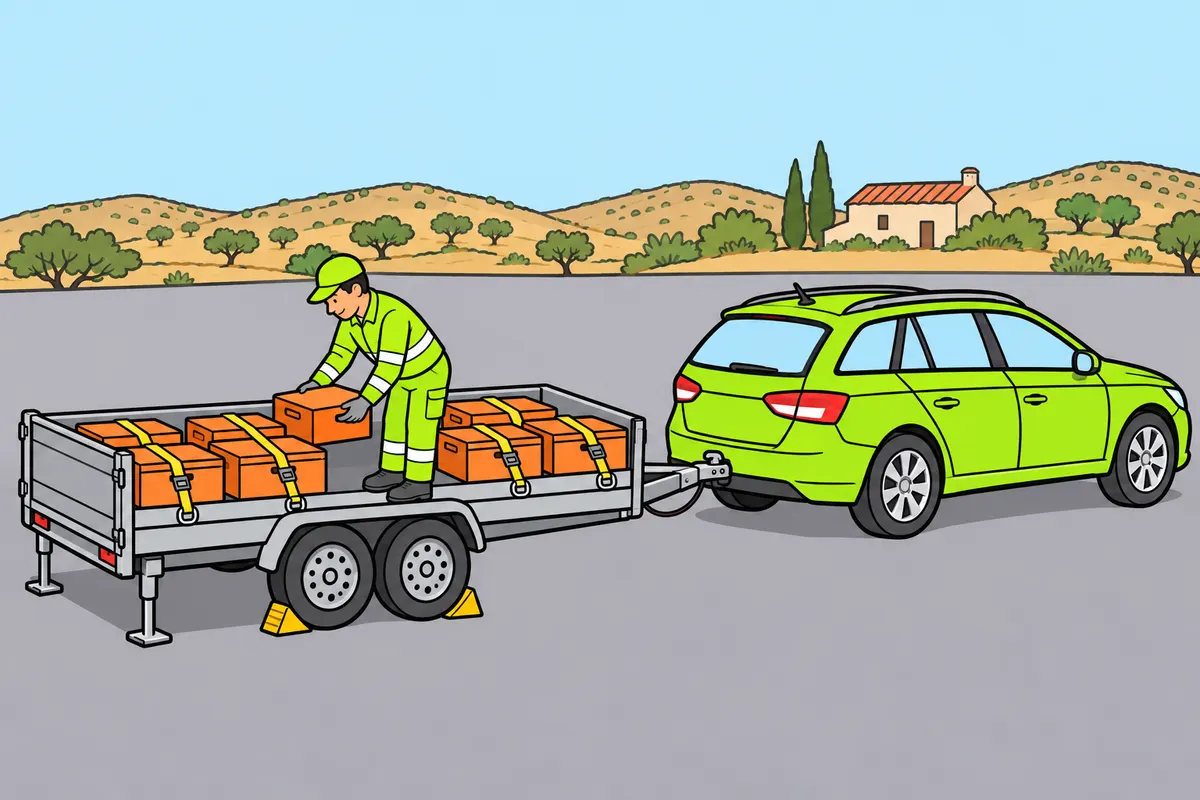
Maintain balance throughout loading and unloading, including the stages between.
Remember
- Do not temporarily pile all the weight at the rear.
- Position the necessary supports first.
- After distributing your load, block and lash it.
- Before opening doors, check safely whether your load presses against them.
- Release lashings only with your load controlled; keep remaining items secured.
- When finished, stow ramps and accessories and secure the remaining material.
Exam trap: Wrong: only the final balance matters. Right: maintain balance while loading and unloading too.
Read the full explanation
- You must load in the planned order and progressively check the supports and stability. Do not temporarily pile all the items at the rear end intending to distribute them at the end. The intermediate stage can also cause the trailer to tip or overload a support.
- You must first position the necessary supports and components and place each object without striking the restraints or damaging the floor. Once you have arranged the load distribution, apply the planned blocking and lashings and check that all the equipment acts in the correct direction.
- Before unloading, you must inspect doors, closures and the load from a safe position. If an item has come to rest against the door, avoid suddenly opening it while standing in its fall path. Stabilise the situation and use suitable equipment to control the movement.
- You must release only the appropriate restraints once the load is under control. Keep secured any items you are not yet removing. When you finish, stow the ramps and accessories and secure the material that remains in the trailer.
19Projecting loads: identify which vehicle carries the load
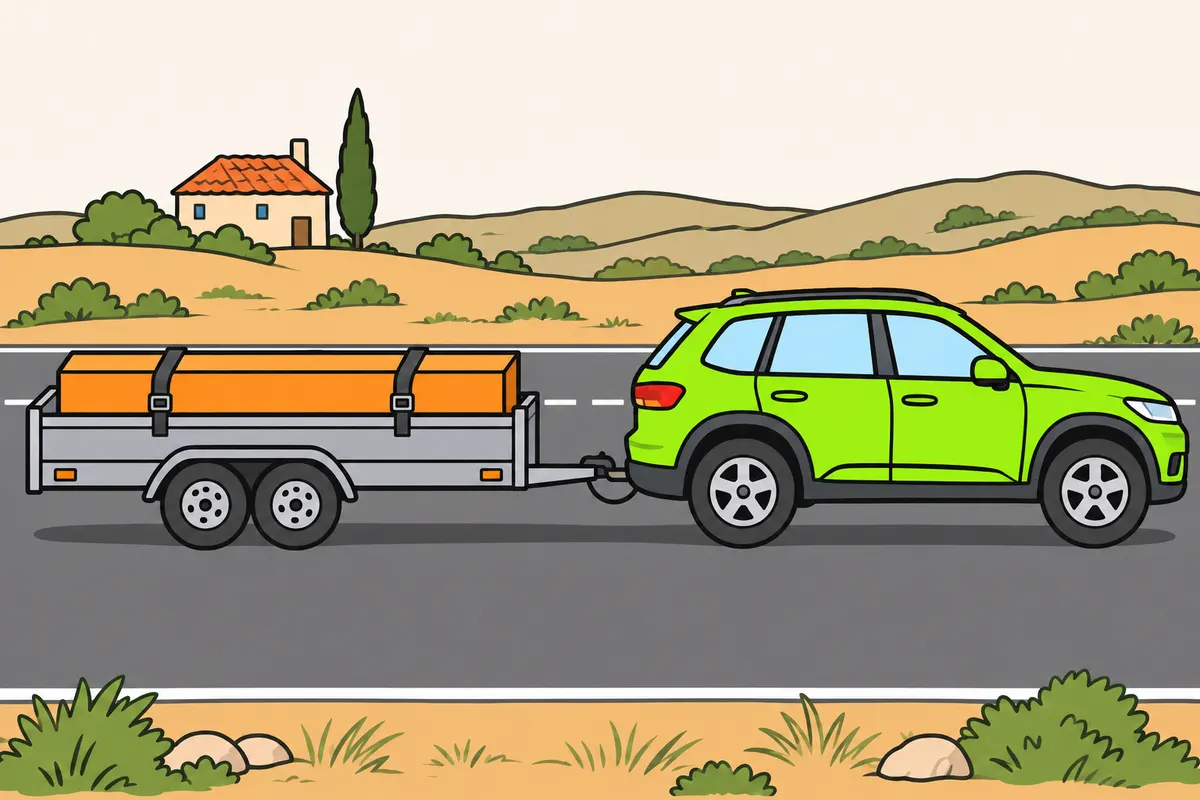
Apply projection limits to the vehicle that carries your load.
| Vehicle carrying your load | Condition | Maximum lengthwise projection |
|---|---|---|
| Exclusively goods, including trailers; over 5 m long | Load with indivisible length | 2 m forwards and 3 m rearwards |
| Exclusively goods, including trailers; 5 m long or less | Load with indivisible length | One third of vehicle length at each end |
| Passenger car or caravan | Divisible load | Rear only: 10 % of vehicle length |
| Passenger car or caravan | Indivisible load | Rear only: 15 % of vehicle length |
Remember
- Normally, keep your load within the carrying vehicle’s outline when viewed from above.
- Do not add car and trailer lengths when calculating a projection.
- For goods vehicles, the lengthwise exception requires a load with indivisible length.
- Also follow the rules for positioning and securing your load.
- Prevent a permitted front projection from hitting your car when turning.
Exam trap: Wrong: goods vehicle allowances apply to your passenger car. Right: passenger cars and caravans allow only rear projections, within their limits.
Read the full explanation
- As a general rule, you must carry the load within the vehicle's footprint when viewed from above. Before applying an exception, you must identify where the load is placed: on the passenger car, on a trailer intended exclusively for goods or on another vehicle. Holding a B+E licence does not in itself give you a special allowance for projecting loads. [RGC, art. 15](https://www.boe.es/buscar/act.php?id=BOE-A-2003-23514#a15)
- On a vehicle intended exclusively for goods, a load of indivisible length may project by up to 2 m at the front and 3 m at the rear if the vehicle is more than 5 m long. If the vehicle is 5 m long or less, the maximum is one third of its length at each end. You must also comply with stowage and load preparation requirements. [RGC, art. 15.2.a](https://www.boe.es/buscar/act.php?id=BOE-A-2003-23514#a15)
- If the load is on your passenger car or in a caravan, which are vehicles not intended exclusively for goods, it may only project at the rear: by up to 10 % of the vehicle's length, or 15 % if the load is indivisible. [RGC, art. 15.3](https://www.boe.es/buscar/act.php?id=BOE-A-2003-23514#a15)
- You must measure in relation to the vehicle carrying the load, without adding together the lengths of the combination to increase the projection. If you carry pipes on the trailer, use that trailer as your reference; also check that the front of the material leaves room for the car during turns and for movement at the articulation. [RGC, arts. 14.1.a and 15.2](https://www.boe.es/buscar/act.php?id=BOE-A-2003-23514#a15)
20Side projections and protected ends
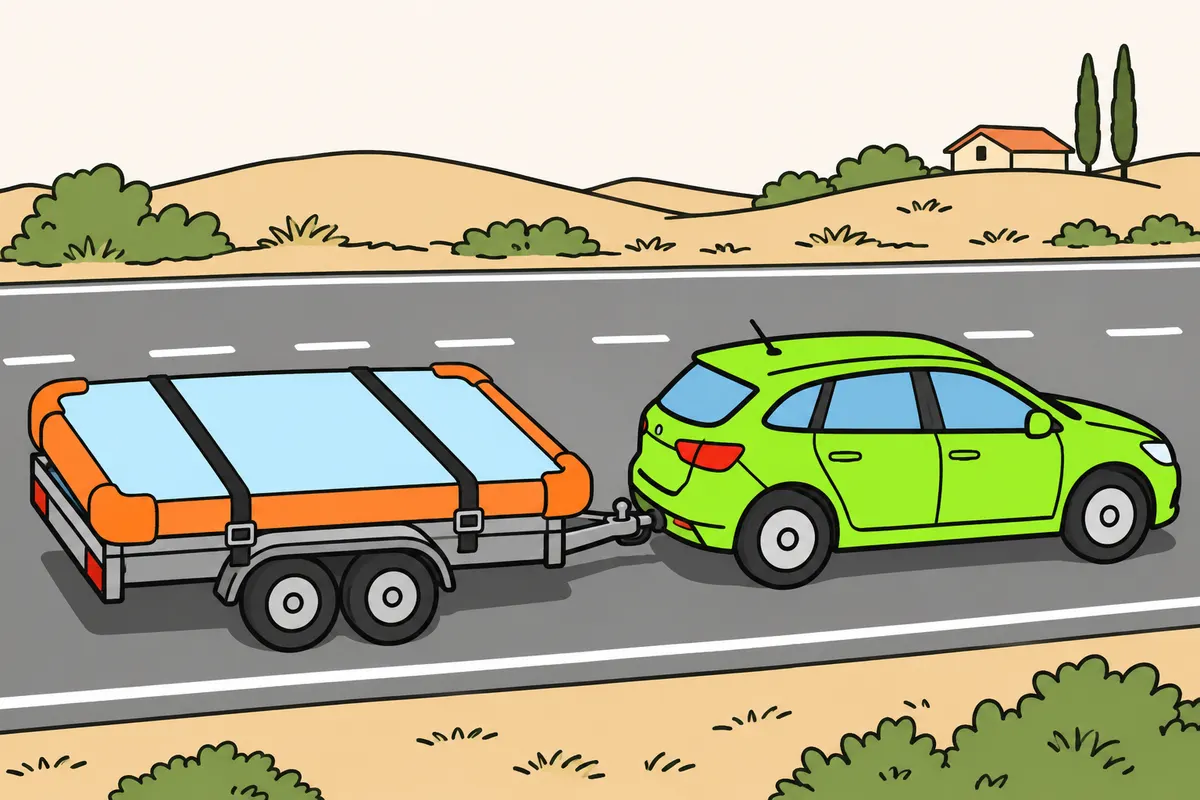
Check every condition for side projections and protect the ends.
Remember
- This exception is only for vehicles intended exclusively for goods.
- The load must be indivisible, and its smaller dimension must exceed vehicle width.
- Turn the item to fit when its dimensions allow.
- Protect the ends of any permitted projection.
- Also check authorised overall dimensions and road restrictions.
Exam trap: Wrong: meeting the projection limit on each side is enough. Right: under this exception, also respect the maximum total width.
Read the full explanation
- On a vehicle intended exclusively for goods, if the smaller dimension of an indivisible load exceeds the vehicle's width, you may carry it with a side projection of up to 0.40 m on each side, without exceeding a total width of 2.55 m. [RGC, art. 15.2.b](https://www.boe.es/buscar/act.php?id=BOE-A-2003-23514#a15)
- You must orient an item to reduce its width during transport whenever its dimensions allow. You cannot place pipes across the vehicle when they fit lengthways and claim that the side projection is unavoidable. How you stow the load also determines whether you can use the exception. [RGC, art. 15.2.b](https://www.boe.es/buscar/act.php?id=BOE-A-2003-23514#a15)
- Whenever you have a permitted projecting load, you must protect its end to reduce the consequences of a scrape or collision and take precautions to prevent damage and danger. A V-20 panel warns of the load, but does not by itself protect a sharp point. [RGC, art. 15.5](https://www.boe.es/buscar/act.php?id=BOE-A-2003-23514#a15)
- You must also check the authorised overall dimensions and the road's restrictions. Permission for a particular projection does not automatically allow you to exceed all height, width or length limits. You can find dimension tables and special transport rules in the Maximum dimensions and masses module. [RGC, art. 13](https://www.boe.es/buscar/act.php?id=BOE-A-2003-23514#a13)
21V-20: mark every permitted rear projection
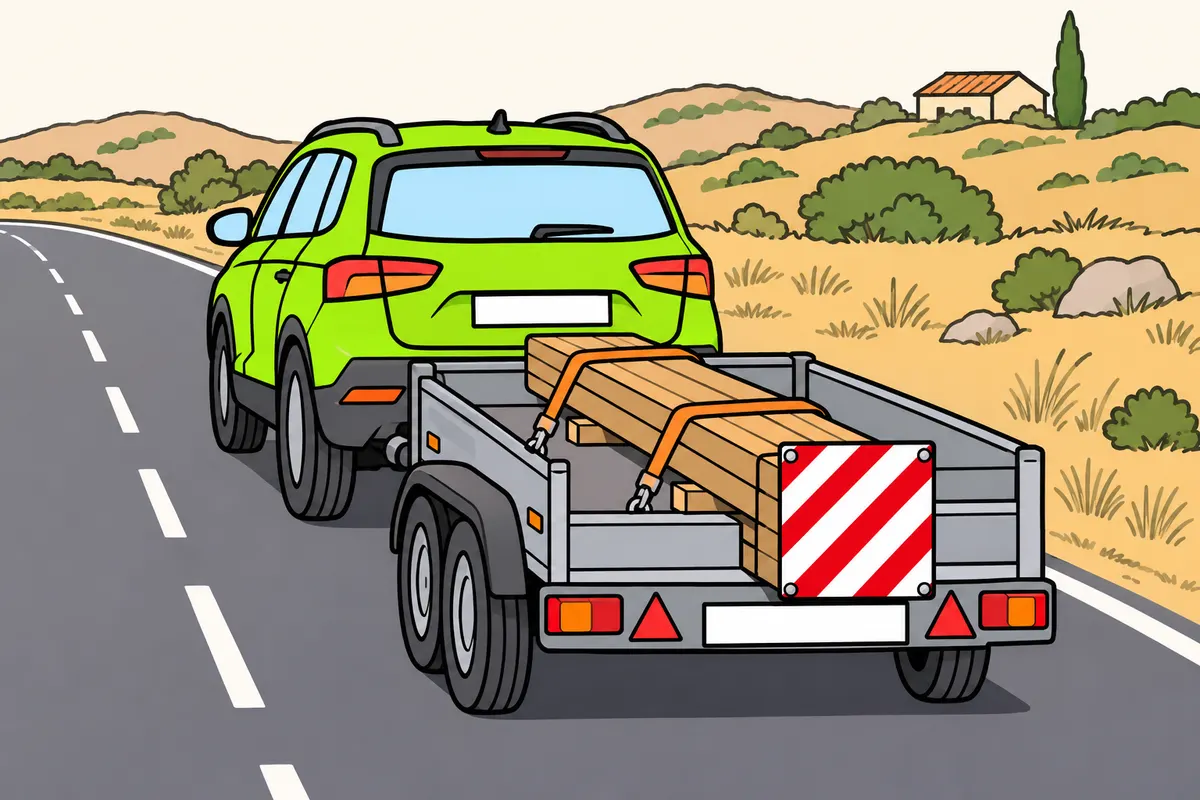
Mark every permitted rear projection with the regulation panel, even by day.
| Permitted rear projection on passenger cars or trailers | Panels you must fit |
|---|---|
| Does not occupy the full rear width | One V-20 at the rear end |
| Occupies the full rear width | Two V-20 panels, one at each end; stripes forming an inverted V |
Remember
- Place your V-20 at the rear end of the load.
- Keep it perpendicular to the vehicle’s lengthwise axis.
- Secure it so it cannot turn or become covered.
- Its diagonal stripes are red and white.
- Mark the part of the load that reaches furthest back.
- Marking does not permit a prohibited projection.
Exam trap: Wrong: a small projection needs no panel. Right: mark every permitted rear projection.
Read the full explanation
- If the load projects beyond the rear of your passenger car or trailer in the permitted cases, you must fit the V-20 sign, a panel for projecting loads, even during daylight and in good visibility. [RGC, art. 15.6](https://www.boe.es/buscar/act.php?id=BOE-A-2003-23514#a15)
- You must place the panel at the rearmost end of the load so that it remains perpendicular to the vehicle's longitudinal axis. It has diagonal red and white stripes and measures 50 × 50 cm, as shown in the regulatory illustration. You must use a panel that complies with the regulations and secure it so that it cannot turn or become obscured. [RGV, Annex XI, V-20, paragraphs 2 and 3 and illustration](https://www.boe.es/buscar/act.php?id=BOE-A-1999-1826#v-20)
- If the longitudinal projection occupies the full width of the rear, you must use two panels, one at each end of the load or of the width of the projecting material. You must orient their stripes to form an inverted V. [RGC, art. 15.6](https://www.boe.es/buscar/act.php?id=BOE-A-2003-23514#a15)
- When you carry several items of different lengths, consider the actual end of the material when positioning the sign. A longer item may be hidden behind wider ones; identify which extends furthest back and prepare a support that keeps the panel at that end. [RGC, art. 15.6](https://www.boe.es/buscar/act.php?id=BOE-A-2003-23514#a15)
22Lights for projecting loads in poor visibility
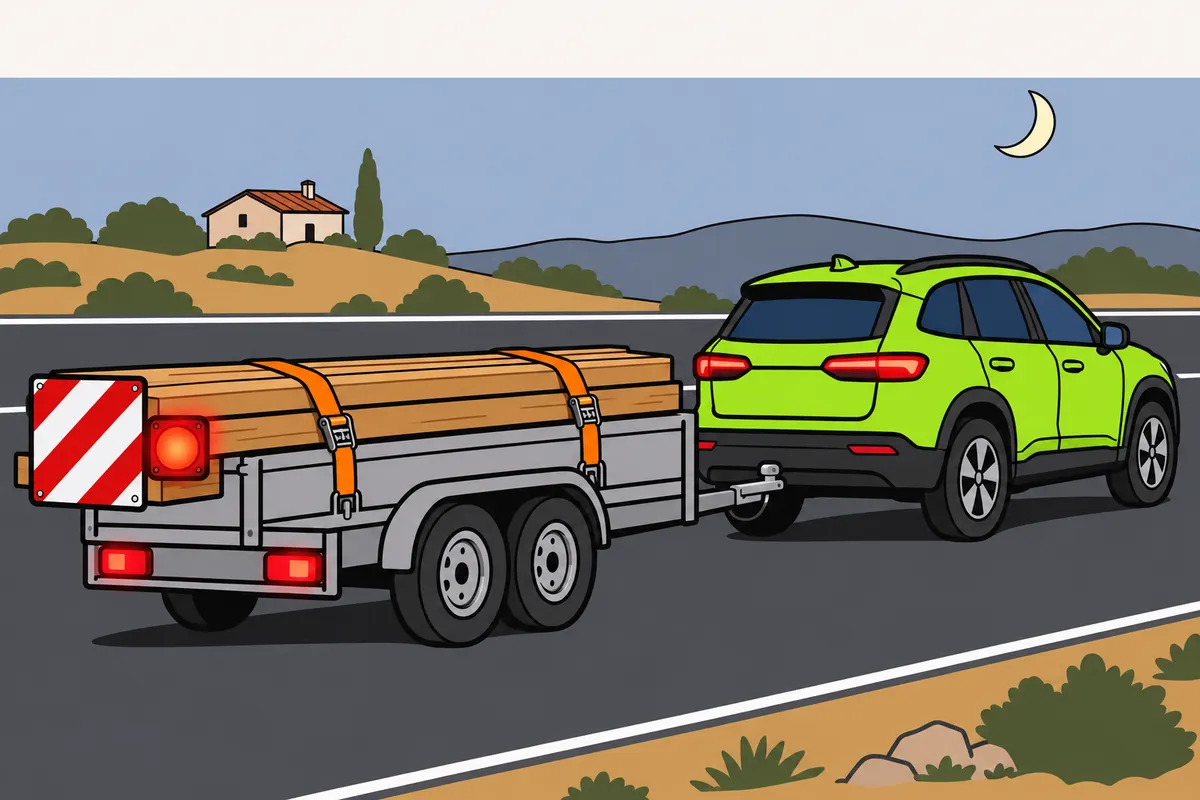
At night or in significantly reduced visibility, add the lights for your permitted projection.
| Permitted projection | At night or in significantly reduced visibility |
|---|---|
| Rear | Add a red light; keep your V-20 |
| Front | Mark with a white light |
| Side: extremity over 0.40 m from the corresponding position light’s outer edge | Each extremity: white light and reflector forwards; red light and reflector rearwards |
Remember
- At the rear, keep your V-20 as well as the red light.
- You must add a red light even when using two panels.
- For side marking, measure from the corresponding position light’s outer edge.
- Do not confuse this with side projection measured from your vehicle.
- Permitted front projections need no white light by day with good visibility.
Exam trap: Wrong: measure side marking from the bodywork. Right: measure from the corresponding position light’s outer edge.
Read the full explanation
- Between sunset and sunrise, or when weather or environmental conditions significantly reduce visibility, you must add a red light to the rear projection. Keep the V-20 in place: the light supplements the panel and does not replace it. This obligation also applies if you use two panels because the load occupies the full width. [RGC, art. 15.6](https://www.boe.es/buscar/act.php?id=BOE-A-2003-23514#a15)
- If a load projects at the front in a permitted case, you must mark that end with a white light in these conditions of darkness or significantly reduced visibility. You must first check that the front projection is authorised. [RGC, art. 15.6](https://www.boe.es/buscar/act.php?id=BOE-A-2003-23514#a15)
- For side marking, you must measure from the outer edge of the corresponding position light to the side extremity of the load. If this distance exceeds 0.40 m, at night or in significantly reduced visibility you must mark each side extremity with a white light and reflector facing forwards and a red light and reflector facing backwards. [RGC, art. 15.7](https://www.boe.es/buscar/act.php?id=BOE-A-2003-23514#a15)
- You measure the two 0.40 m distances from different points: the side of the vehicle to establish whether a particular side projection is permitted, and the outer edge of the position light to determine how to mark it. You must therefore measure both separately on your trailer, especially if its lights are set in from its sides. [RGC, arts. 15.2.b and 15.7](https://www.boe.es/buscar/act.php?id=BOE-A-2003-23514#a15)
23Tarpaulins, nets and visibility of devices
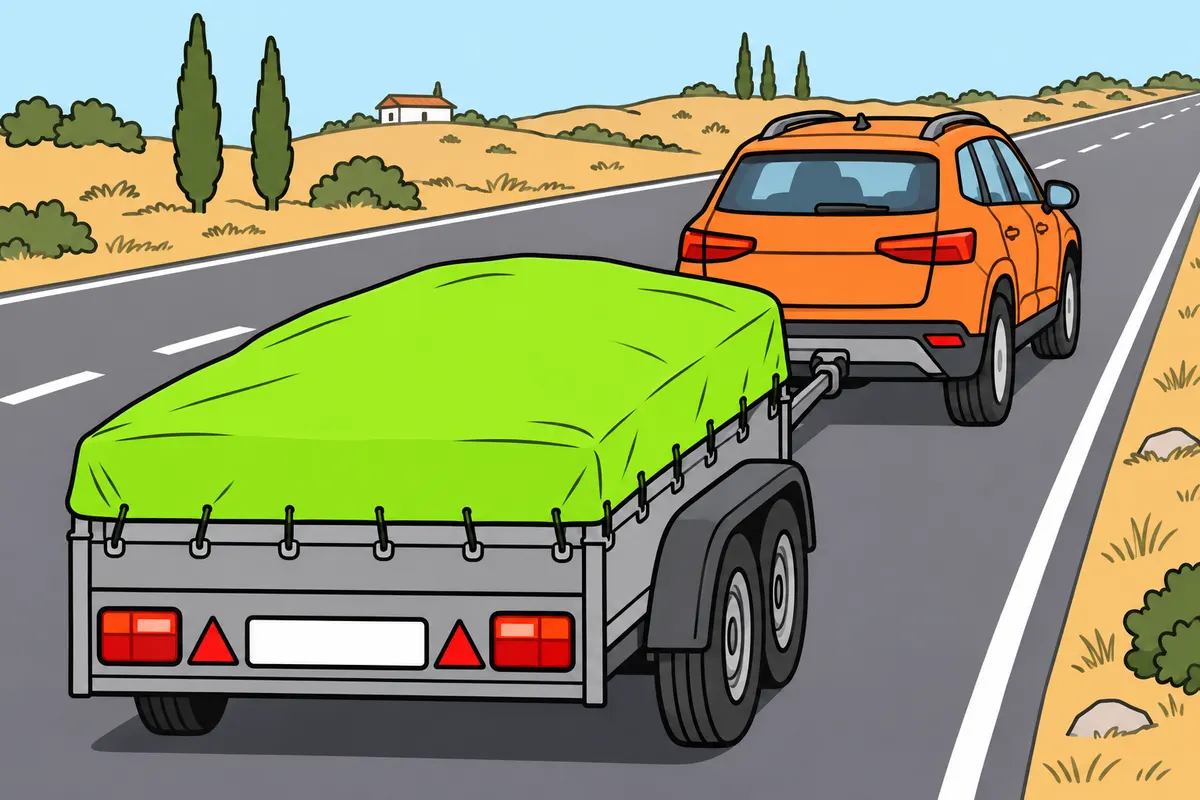
Cover materials that could scatter and keep your trailer’s required devices visible.
| Equipment | What you use it for |
|---|---|
| Tarpaulin or suitable cover | Prevent your material from scattering |
| Suitable lashings and blocking | Restrain your items against movement |
Remember
- Completely and effectively cover materials that produce dust or could fall off.
- Choose a cover suitable for your material.
- Secure your cover and tuck away excess edges so it cannot lift.
- Keep your trailer’s required lights, signs, plates and markings visible.
- Keep any appropriate hand signals visible too.
Exam trap: Wrong: an ordinary tarpaulin restrains a machine. Right: covering and restraining serve different purposes.
Read the full explanation
- If you carry materials that produce dust or may fall off, you must cover them completely and effectively. Check that the cover actually contains the material: a net with large openings may contain bulky objects while allowing sand to escape. The covering must suit the characteristics of what you carry. [RGC, art. 14](https://www.boe.es/buscar/act.php?id=BOE-A-2003-23514#a14)
- Secure the tarpaulin or cover so that the airflow cannot lift it, and check its edges and fastenings. Tuck away excess edges so that the cover keeps its shape during the journey. A poorly secured cover may itself become a hazard even if no goods are lost.
- The cover and the restraint system serve different purposes. You may need a tarpaulin to prevent material from scattering as well as restraints to hold the items in place. Choose the cover for its ability to contain the product and size the lashings to withstand the forces generated by the load during the journey.
- You must keep the trailer's lights, signs, compulsory plates and markings, and any required hand signals visible. You do not have to be able to see all the towing vehicle's rear devices through the trailer's body, but the trailer's own devices must fulfil their function. [RGC, art. 14](https://www.boe.es/buscar/act.php?id=BOE-A-2003-23514#a14)
24Final checks and monitoring during the journey
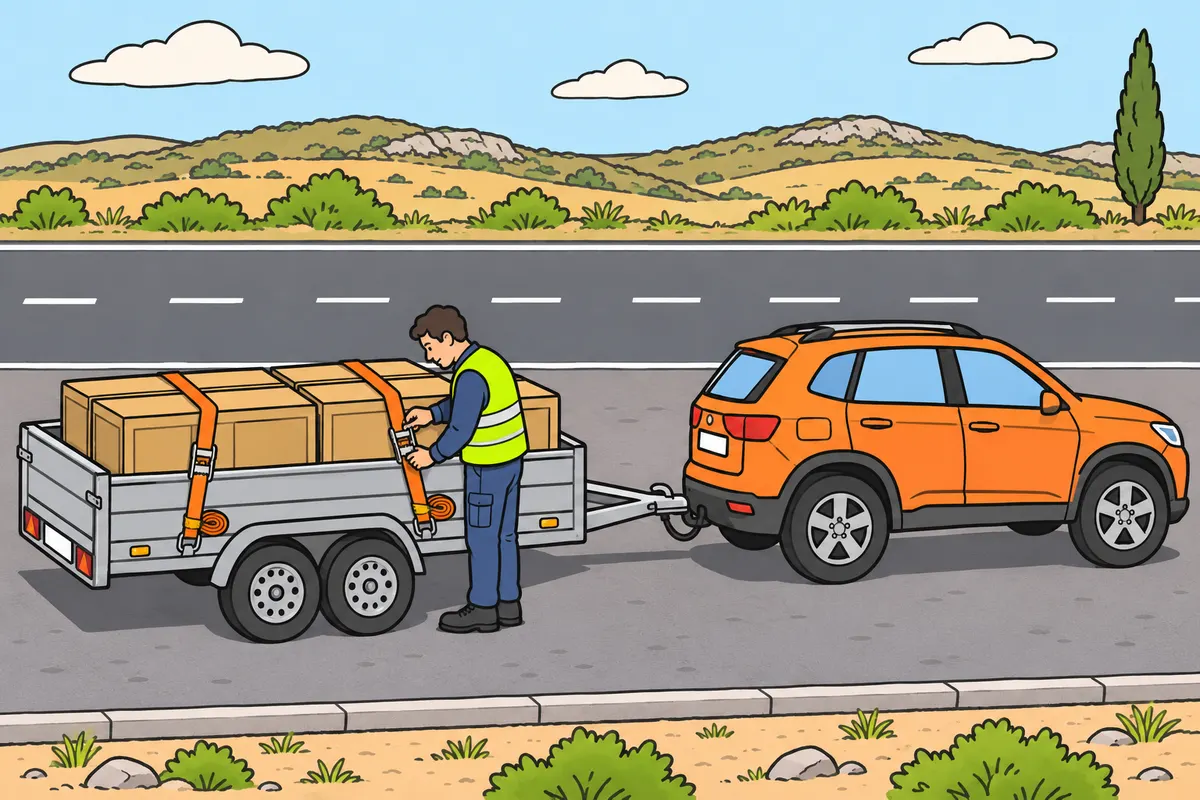
Check your combination before departure and whenever your load may have changed.
Remember
- Check items, doors, ramps, tensioners and strap ends.
- Check that your projection panel and its lights are secure.
- Follow your equipment’s checking intervals and instructions.
- Check if your load settles or you suspect movement.
- If you notice impacts, leaning or sway, stop safely and correct the cause.
- Also check the tensioner’s connection to its anchor and your load’s supports.
Exam trap: Wrong: you can adjust lashings while driving. Right: stop in a permitted, safe place.
Read the full explanation
- Before setting off, you must visually inspect the whole combination: check the position and restraint of each item, that doors are closed, ramps are stowed, tensioners are secured and loose strap ends are tucked away. From the rear, check that the panel and the lights for the projecting load are secure; also look along the sides for any item or accessory that has shifted.
- You must check the restraints again when the load may have settled and after an incident that gives you reason to suspect movement. Follow the equipment's specified intervals and instructions; there is no single number of kilometres that applies to every transport operation. To check, stop in a safe place where stopping is permitted.
- If you notice knocks, an abnormal lean or swaying, you must consider load distribution and restraint as possible causes. Stop safely to examine and correct them before continuing.
- When checking a tensioner, look at how the load has settled: crushed packaging or a displaced support may explain slack that reappears after tightening. Examine the whole system from a safe position, with the combination stationary, and correct the cause before readjusting the restraints.
25Keep the road clean and control spills
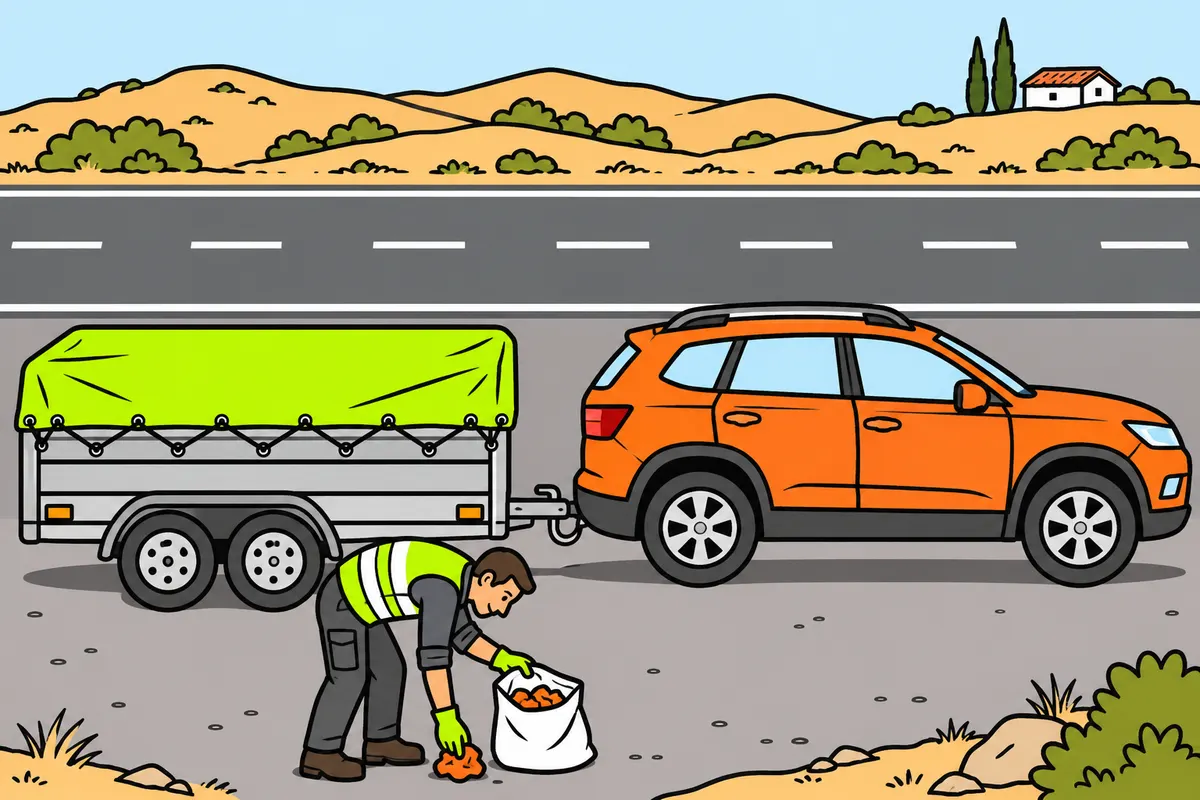
Prevent losses and spills and act if your load creates a road hazard.
Remember
- Do not leave materials that obstruct traffic or make it dangerous.
- If you create danger, remove it promptly; meanwhile, make it visible to others.
- Do not expose yourself or others to danger while collecting your load.
- If you cannot act safely, request help and report the danger.
- Do not keep driving while losing material.
- Afterwards, collect debris, check leaks and follow rules for dangerous products.
Exam trap: Wrong: you can leave a small spill. Right: if you created danger, remove it and warn others meanwhile.
Read the full explanation
- You must not throw, deposit or leave objects or materials on the road that obstruct traffic or make it dangerous. You must prevent gravel, packaging, mud from the load and liquids from falling or leaking onto the road. Even a small amount of material can create a hazard for anyone braking or riding on two wheels. [RGC, art. 4](https://www.boe.es/buscar/act.php?id=BOE-A-2003-23514#a4)
- If you create an obstruction or hazard, you must remove it as soon as possible and, in the meantime, take the necessary measures to ensure that others can see it and that traffic is not obstructed. You must not put yourself or others at risk of being run over when trying to collect a load from between vehicles. [RGC, art. 5](https://www.boe.es/buscar/act.php?id=BOE-A-2003-23514#a5)
- If you cannot safely deal with material falling from the load or a spill, you must request the help you need and report the hazard. How to make the scene safe when your vehicle is immobilised is covered in Accidents, breakdowns and first aid. Do not continue shedding material while you look for a more convenient place to check.
- When you finish loading or unloading, you must check that you have collected all wrapping, equipment and debris, and that there are no leaks. Keep the fastenings and cover secure before rejoining traffic. If the product is hazardous, you must also follow the specific requirements for handling and cleaning it up. [RGC, art. 16](https://www.boe.es/buscar/act.php?id=BOE-A-2003-23514#a16)
Plan, distribute and secure
Prepare a load that meets mass limits and maintains balance.
- Identify the load, its mass and the limits for the towing vehicle, trailer, axles and coupling.
- Choose a safe place and immobilise the combination using the designated supports.
- Place heavy objects low down and in accordance with the loading plan; balance both sides.
- Check the load on the coupling and the axle limits where applicable.
- Fit suitable blocking and lashings, protect edges and secure small objects.
- Close doors, stow ramps and check lights, number plates, covers and warning signs before setting off.
Check a projecting load
First establish whether it is permitted, then how it must be marked.
- Identify the vehicle carrying the load and whether it is intended exclusively for carrying goods.
- Determine whether the load is indivisible and measure the projection from the relevant reference point.
- Check the overall dimensions, turning space and protection of the projecting end.
- If it projects to the rear, attach the V-20 panel at the end, perpendicular to the longitudinal axis.
- If it occupies the full rear width, fit two panels forming an inverted V.
- Add the lights and reflectors required according to the location of the projection and the visibility conditions.
Unload and check again
Maintain stability during the operation and for the rest of the journey.
- Find a place off the road and prepare the space and unloading equipment.
- Immobilise the combination and position supports and ramps according to the instructions.
- Check that doors can be opened and the load released without anything falling or anyone becoming trapped.
- Bring the item under control before releasing its restraints and keep the remaining items secured.
- After partial unloading, correct the distribution and secure the remaining load again.
- Stow accessories, collect waste and check for leaks before driving.
Finished this module?
Mark it as read and you will see your progress on the theory list.