
Theory · D Licence - Bus · Module 18 of 18
Preventive and efficient bus driving
You learn to observe, anticipate risks and maintain space so that you can drive a bus safely, smoothly and with lower fuel consumption. You relate gears, engine speed, tyres, load and aerodynamics to efficiency, and distinguish environmental labels from the conditions for entering low-emission zones (ZBE).
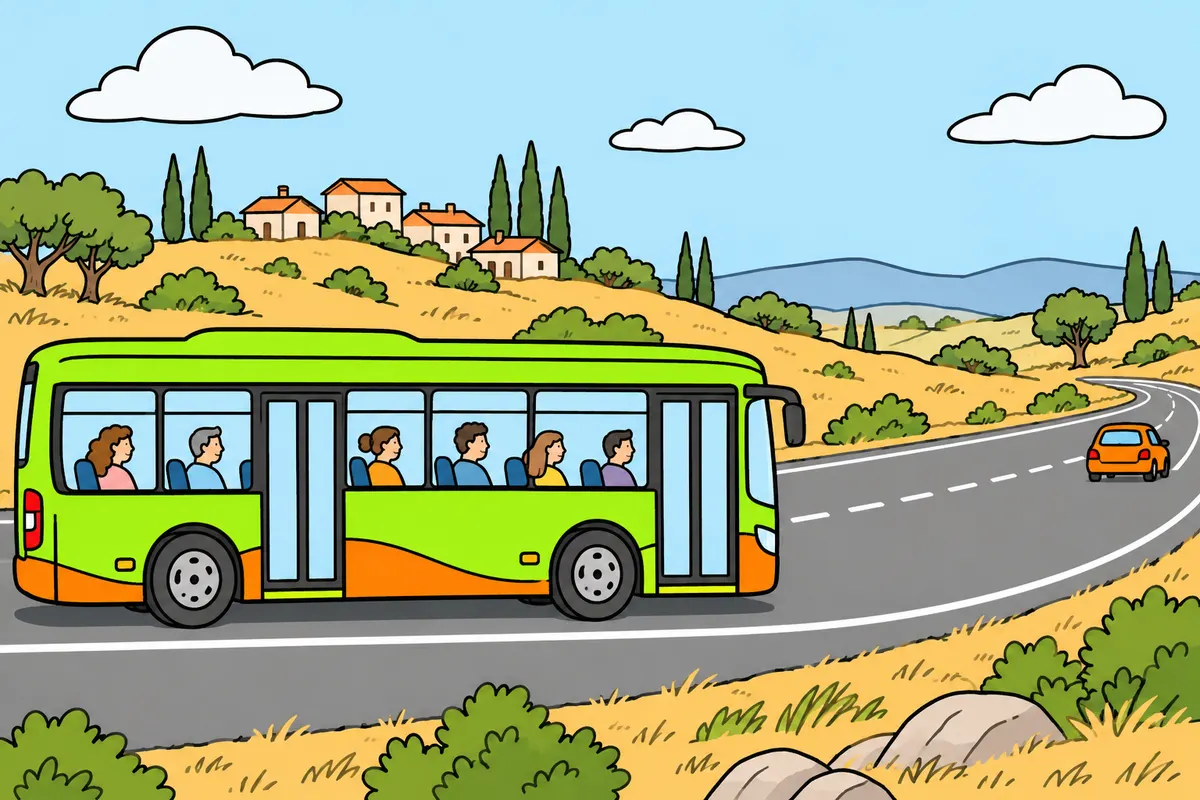
1Prevent risks through observation, anticipation and space
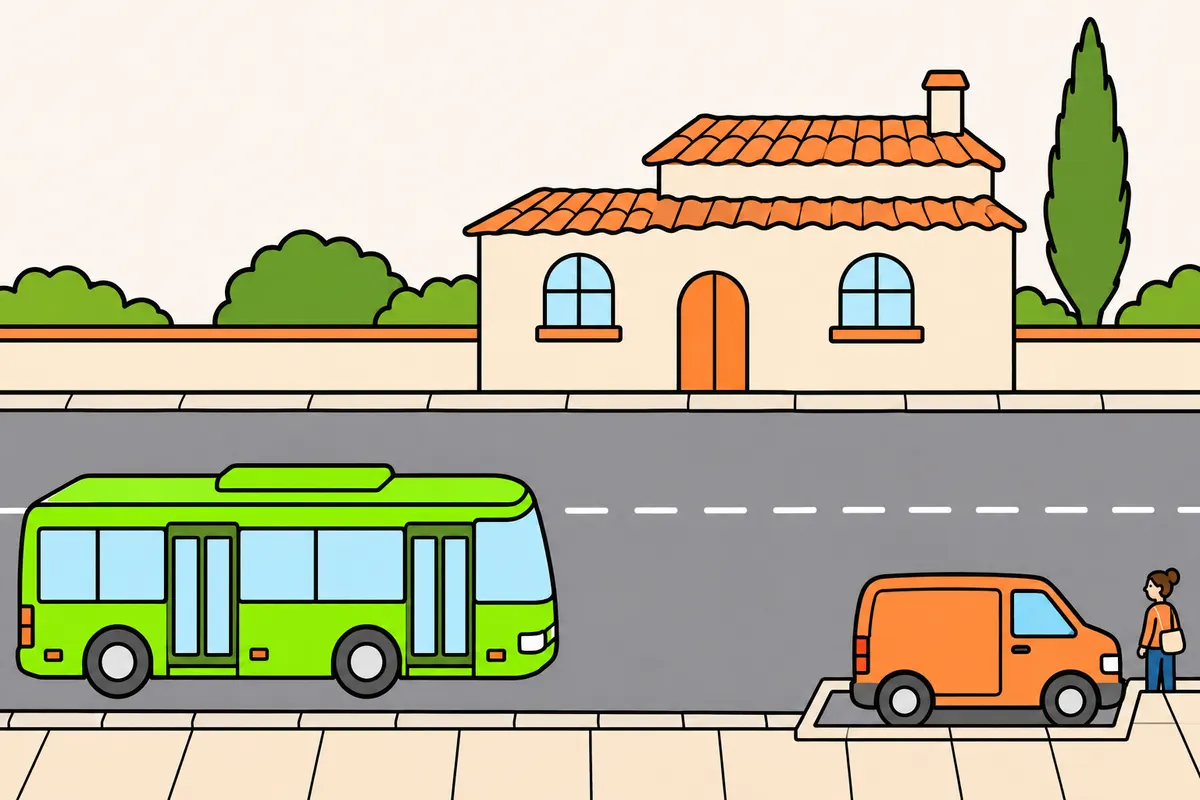
Watch for danger, think ahead and keep space to act.
Remember
- Observe to gather information.
- Think ahead and prepare your response.
- Keep space to act smoothly.
- Drive preventively throughout the service, even on familiar roads.
- Early action can reduce sudden braking and protect passengers.
Exam trap: Wrong: having priority removes the risk. Right: expect others to make mistakes and keep room to act.
Read the full explanation
- You must apply three complementary principles: observation to gather information, anticipation to prepare your response, and space to carry it out. In a bus, spotting a problem early allows you to deal with it through gradual movements and reduces the need for braking that could destabilise passengers. [DGT, preventive driving](https://www.dgt.es/export/sites/web-DGT/.galleries/downloads/nuestros_servicios/permisos-de-conducir/recupera-puntos/2017-1165_INCOVIA_manual_alumno_Volumen_3_EE_en_linea.pdf).
- You must drive preventively throughout the service, even on a familiar route with little traffic. At a familiar stop there may be roadworks, a stationary vehicle or someone approaching from an area hidden from your view.
- Anticipating means recognising what may happen and keeping your options open. If a van blocks the pavement near a junction, expect someone to emerge from in front of it; waiting until you see the pedestrian in the road may leave you without enough room to respond smoothly.
- Even when you have priority or electronic assistance systems, anticipate other road users' mistakes and leave yourself room to avoid conflict.
2Plan a route suitable for the bus
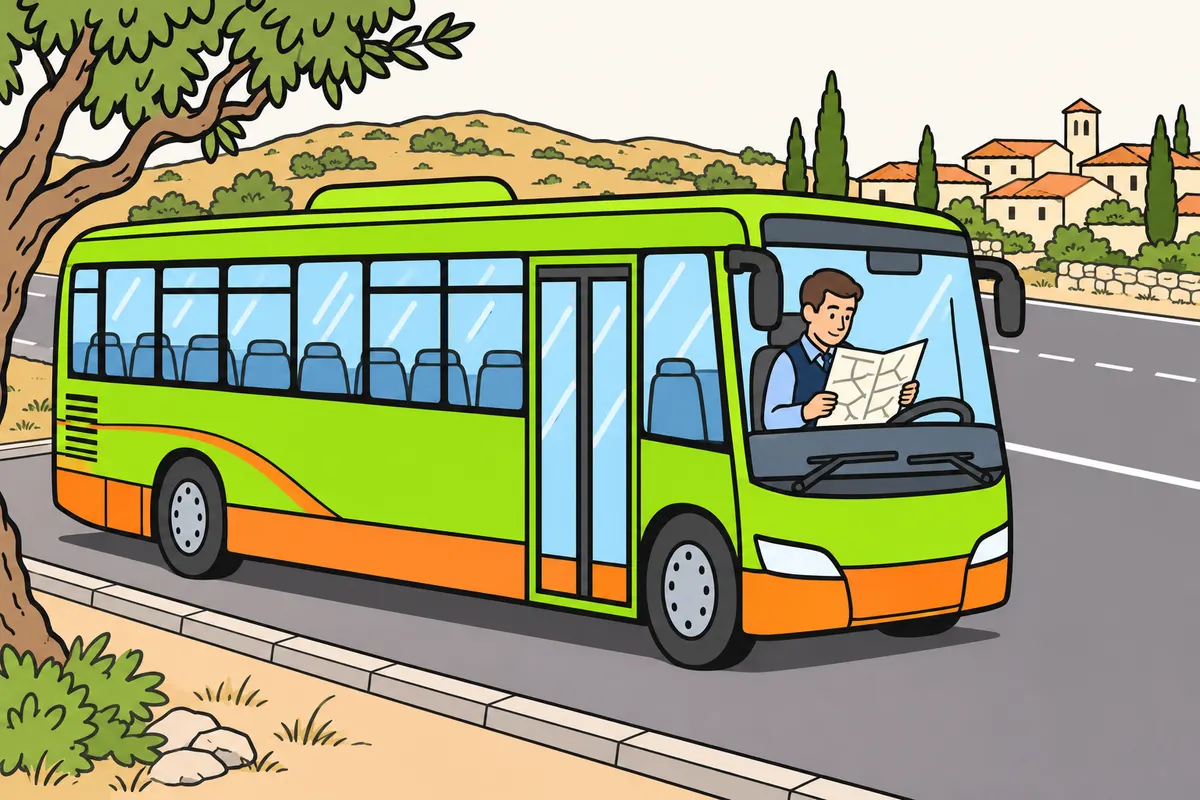
Plan a route suitable for your bus before setting off.
Remember
- Check traffic, weather, hills, narrow roads and access to stops.
- Check environmental restrictions and where you can pick up passengers.
- Leave time for conditions you can foresee.
- Set the navigation system before moving.
- Use GPS for navigation; keep watching traffic and never operate it manually while driving.
- Report delays safely; do not rush to catch up.
Exam trap: Wrong: the shortest route always saves fuel. Right: it may mean more stops, manoeuvres and fuel use.
Read the full explanation
- Before setting off, plan a route that suits the bus's characteristics, its access to stops and any traffic restrictions. Consider expected traffic, weather, gradients and narrow sections. The shortest route may involve more stops, difficult manoeuvres and fuel consumption than a smoother alternative.
- Before the service, check environmental restrictions at your destination and along the route, where buses are allowed to go, and where you may pick up or set down passengers.
- Allow enough time for the service to accommodate foreseeable conditions. If you encounter a traffic queue, report the incident through the appropriate channels when you can do so safely; trying to make up time by accelerating sharply transfers the problem to the safety of the people you are carrying. Professional driving times are covered in the “Driving times and rest periods” module.
- Set your sat nav before moving off and check that the route is suitable for your bus. You may use GPS to help with navigation, as it is exempt from the screen prohibition in Article 18.1, while keeping your attention on traffic. You must not operate it manually while driving. [RGC, art. 18.1](https://www.boe.es/buscar/act.php?id=BOE-A-2003-23514#a18); [Traffic Act, art. 13.3](https://www.boe.es/buscar/act.php?id=BOE-A-2015-11722#a13).
3Look far ahead and scan your surroundings
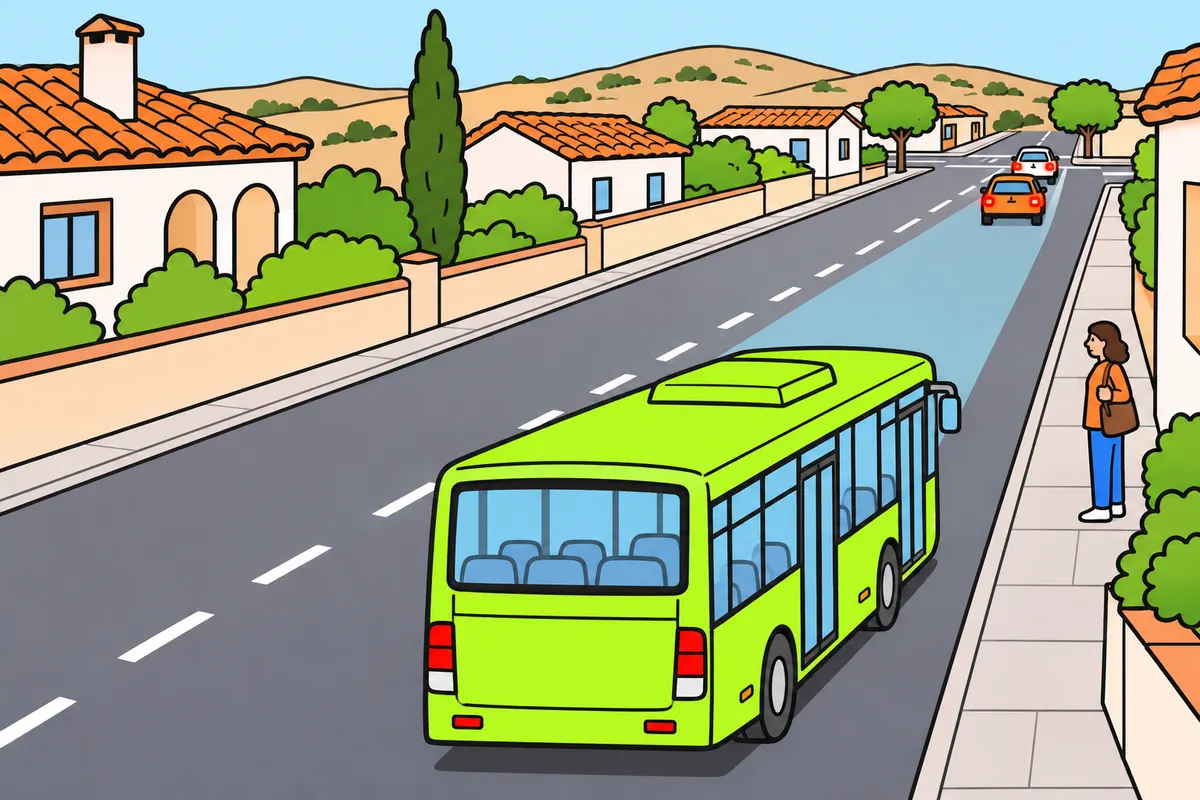
Look far ahead and also check the space around you.
Remember
- Look towards the space you may cover in about 20 seconds.
- This is a guide for looking, not a following distance.
- Check the queue, junctions and signs ahead.
- Briefly check your sides, mirrors and nearby space.
- Adapt your view to speed, light and road conditions.
- Obstacles can hide immediate danger.
Exam trap: Wrong: always leave a 20-second following gap. Right: this is a guide for looking ahead.
Read the full explanation
- As a preventive technique, look towards the space you will cover in approximately the next 20 seconds, as far as visibility allows. This is a guide to observing your surroundings, not a legal following distance from the vehicle ahead. You must combine this horizon with checks of the area close to you. [DGT, observation techniques](https://www.dgt.es/export/sites/web-DGT/.galleries/downloads/nuestros_servicios/permisos-de-conducir/recupera-puntos/2017-1165_INCOVIA_manual_alumno_Volumen_3_EE_en_linea.pdf).
- Do not limit your observation to the brake lights of the vehicle immediately ahead. Also watch how the queue is moving, junctions and signs further ahead; this lets you ease off the accelerator before a traffic queue reaches you and avoid wasting energy accelerating towards it.
- Alternate looking far ahead with brief checks to the sides, in your mirrors and in the area close to you. You must spot bicycles travelling alongside the bus, vehicles approaching from behind and people waiting near the edge of the pavement, without staring at any one thing for too long.
- Adapt how far ahead you look to your speed, the light and road conditions. The driver's raised position may help you see over some vehicles, but it does not let you see through obstacles. A corner, hedge or parked vehicle may hide an immediate hazard.
4Mirrors, blind spots and assistance systems
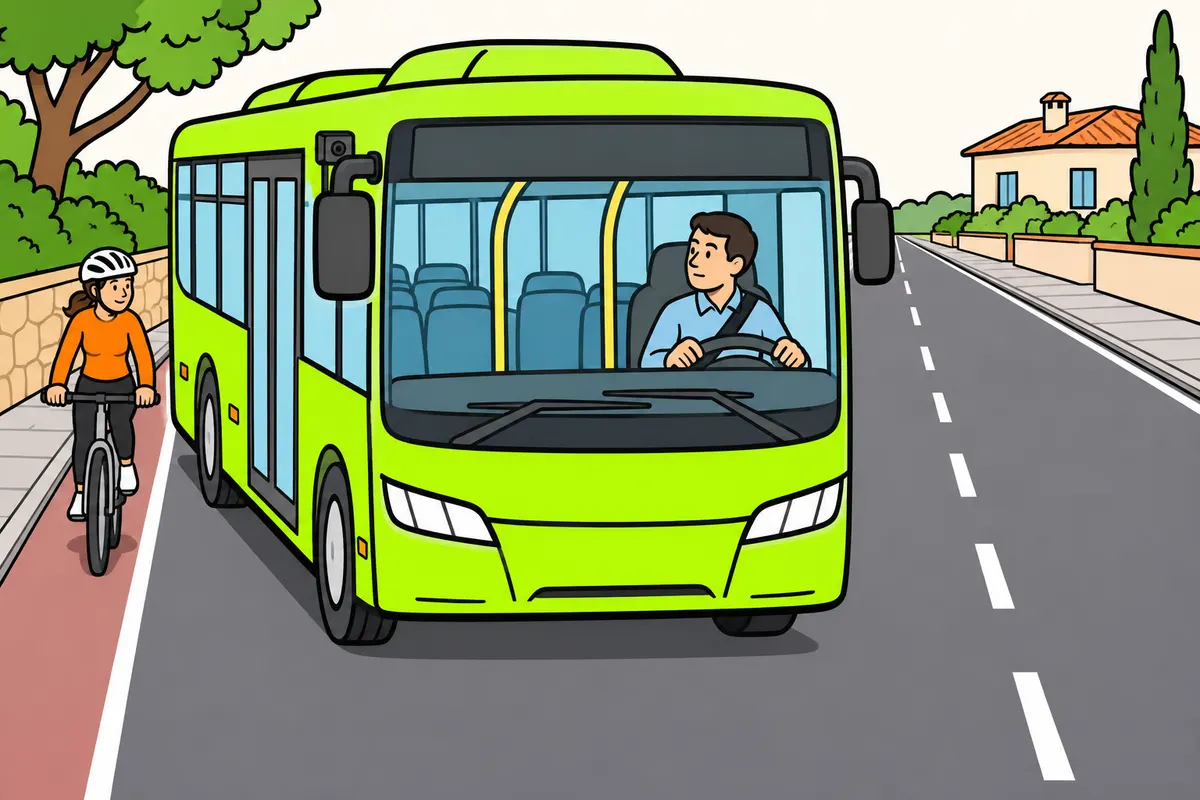
Check the sides and rear before moving into a space.
Remember
- Keep checking the sides and rear.
- Assistance systems have limits.
- Check the space before you move into it.
- Check mirrors and blind spots as taught in the Safe bus driving module.
Exam trap: Wrong: assistance systems check everything for you. Right: check the space before moving into it.
Read the full explanation
- Keep checking to the sides and behind so that you can anticipate changes in speed and avoid sudden movements; assistance systems have limitations, and you must check the space before moving into it. Mirror adjustment and checking blind spots are covered in “Safe bus driving”.
5Recognise clues and anticipate mistakes
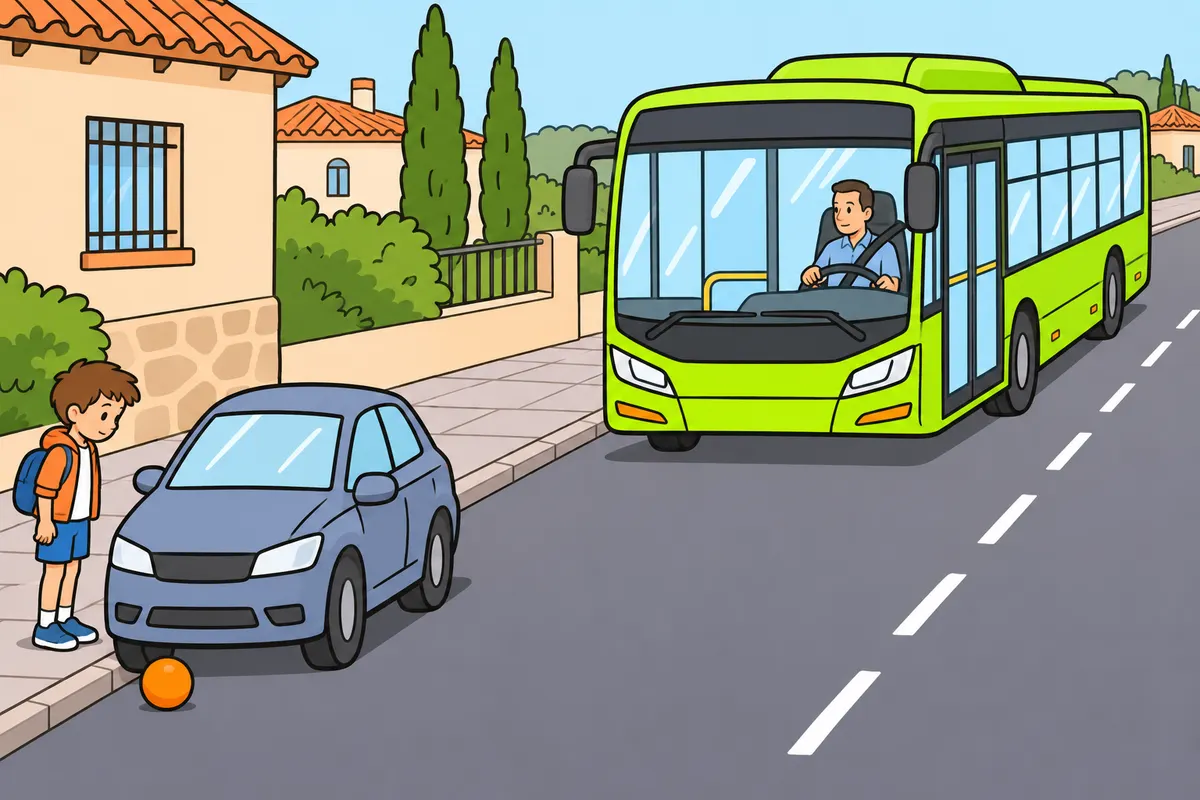
Recognise warning clues and prepare your response early.
Remember
- A ball, opening door or distracted driver can warn you.
- Prepare to slow down before danger needs hard braking.
- Do not rely only on your priority.
- If needed to avoid a collision, act even when another person broke a rule.
- An indicator shows your plan; check that it is safe to move.
Exam trap: Wrong: your indicator confirms you can move. Right: it shows your intention; check your surroundings.
Read the full explanation
- Read the clues around you: a ball beside parked vehicles, a door beginning to open or a driver looking the other way may signal what could happen. You must prepare to slow down gradually before uncertainty becomes a hazard that requires heavy braking.
- At a junction where another driver seems not to have seen you, do not base your safety solely on having priority. Make the situation less demanding and be ready to brake. If you need to avoid a collision, you must act even if the risk was caused by someone else's failure to comply with the rules.
- When you can foresee that you may need to brake, you can take your foot off the accelerator and hold it ready above the brake without pressing it unnecessarily. This preparation shortens the movement you need to make; it does not replace slowing down or guarantee that you can stop a bus in any available space.
- Make your intentions clear well in advance. You must signal the appropriate manoeuvres and check how others respond: using an indicator tells others what you intend to do, but does not confirm that they have seen you or that you can start moving. [RGC, art. 108](https://www.boe.es/buscar/act.php?id=BOE-A-2003-23514#a108).
6Keep space around the vehicle
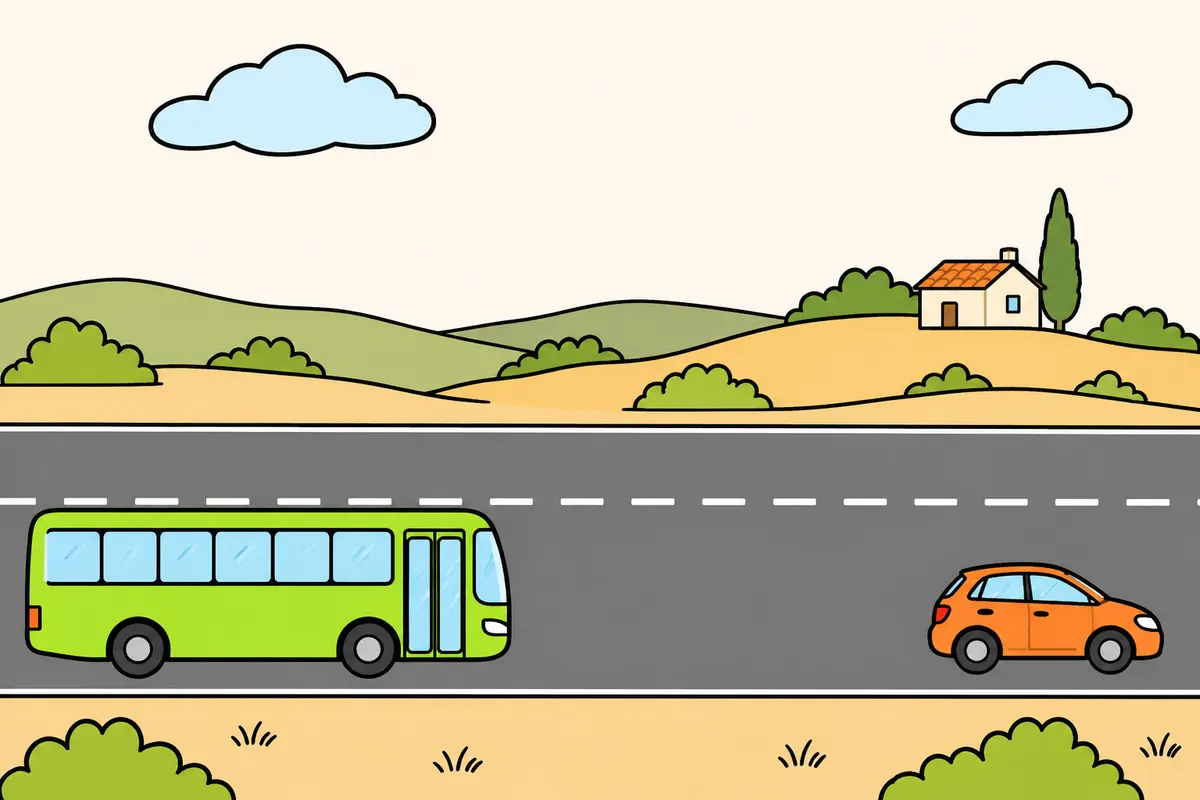
Keep enough space to stop and respond smoothly.
Remember
- Leave enough space to stop if the vehicle ahead brakes.
- Allow for speed, grip and your bus's braking ability.
- Increase space when visibility or grip is poor.
- If followed too closely, leave more room ahead and slow gently.
- Keep space at the sides and avoid blind spots.
- Seeing the wheels ahead does not guarantee room to pull out.
Exam trap: Wrong: seeing the wheels of the vehicle ahead guarantees room to pull out. Right: assess your bus, the slope and available space.
Read the full explanation
- You must leave enough space ahead to stop without hitting the vehicle in front if it brakes suddenly, taking speed, grip and braking ability into account. The gap must suit the bus and the actual situation; you cannot apply a guideline intended for a car without assessing it. [RGC, art. 54.1](https://www.boe.es/buscar/act.php?id=BOE-A-2003-23514#a54).
- Increase your safety margin when visibility or grip gets worse, or when the vehicle ahead is moving irregularly. This space lets you react gradually. Special numerical distances for long vehicles and tunnels are covered in “Bus speed and following distances”; an eco-driving technique does not allow you to break those rules.
- If another vehicle is following too closely, leave a larger gap ahead so that you can slow down smoothly. Do not try to correct the other driver's behaviour with warning brake applications. Watch it approach and communicate your decisions in good time; this reduces the need for a sudden response that the driver behind may not be able to match.
- Keep a lateral gap and avoid staying unnecessarily in areas where other drivers cannot see you. If a large vehicle begins turning, allow for the space it may need and do not take its initial swing as an invitation to move alongside it. The specific technique for turning is covered in “Safe bus driving”.
- When you stop in a queue, leave a useful gap from the vehicle ahead and watch for vehicles approaching from behind. The space you need depends on the bus, the gradient and the situation: seeing the wheels of the vehicle ahead is neither a legal measurement nor a guarantee that you can pull away without manoeuvring.
7Choose a speed that allows you to anticipate
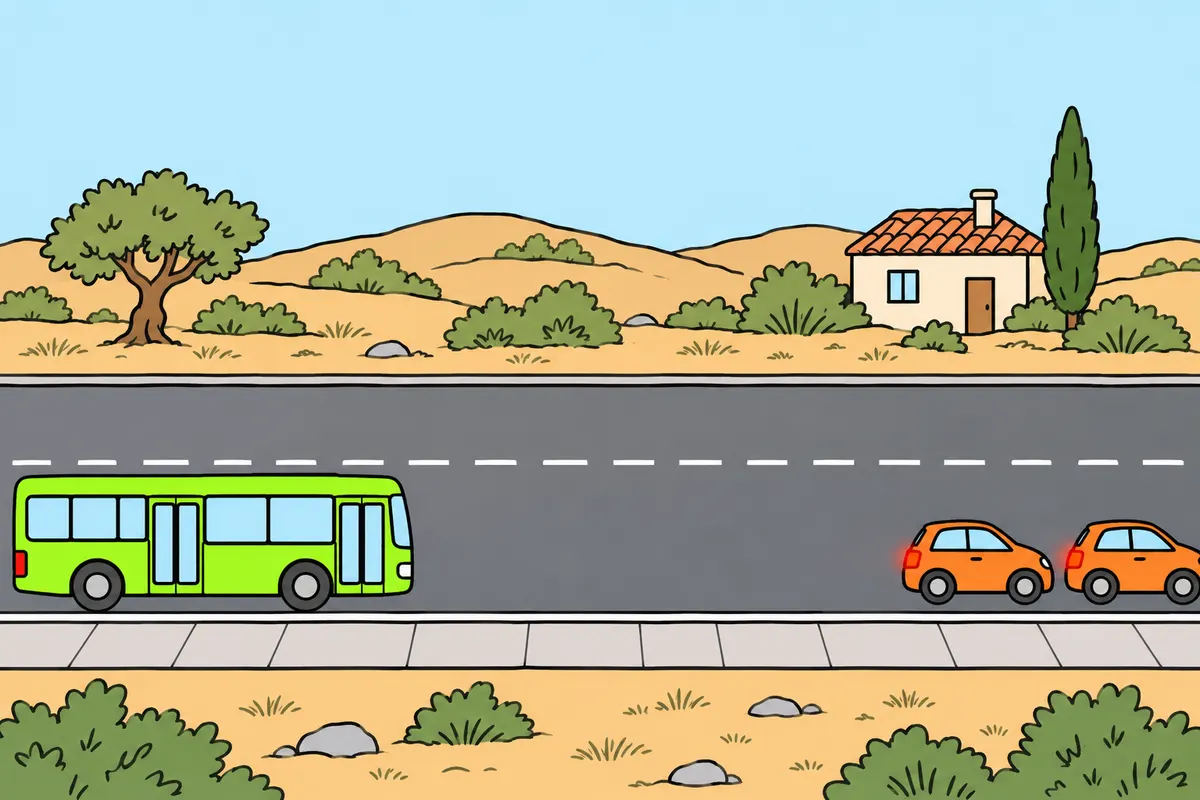
Choose a speed that lets you stop for foreseeable obstacles within your view.
Remember
- Adapt speed to the road, traffic, weather, bus, load and your condition.
- The maximum permitted speed is not a target.
- Slow down early for stops, bends and crossings.
- Do not rush towards queues and brake at the last moment.
- Choose a gear for a safe, permitted speed.
Exam trap: Wrong: always maintain the maximum permitted speed. Right: slow down when conditions require it.
Read the full explanation
- You must adjust your speed so that you can stop within the distance you can see ahead if you encounter foreseeable obstacles, while also observing the applicable limits. To decide, take the road, traffic, weather, vehicle, its load and your own condition into account. The maximum permitted speed is not a speed you must maintain. [RGC, art. 45](https://www.boe.es/buscar/act.php?id=BOE-A-2003-23514#a45).
- Drive at a moderate speed and as steadily as the surroundings allow. Steady driving means avoiding unnecessary changes, not rigidly maintaining a particular speed. If the bus stop is occupied, a bend is approaching or a pedestrian crossing appears with limited visibility, you must adjust your speed in good time.
- Do not accelerate towards a stationary queue only to brake when you reach it. If you notice the queue early, you can stop applying power sooner and approach in a controlled way. Even if the queue starts moving again, keep a sufficient gap and avoid a series of hard starts followed immediately by braking.
- Do not increase your speed just to engage a higher gear. You must choose the gear that suits a safe and permitted speed. Any fuel saving from changing gear is pointless if it makes you reach a stop or an area with vulnerable road users too quickly.
8Smooth driving and passenger protection
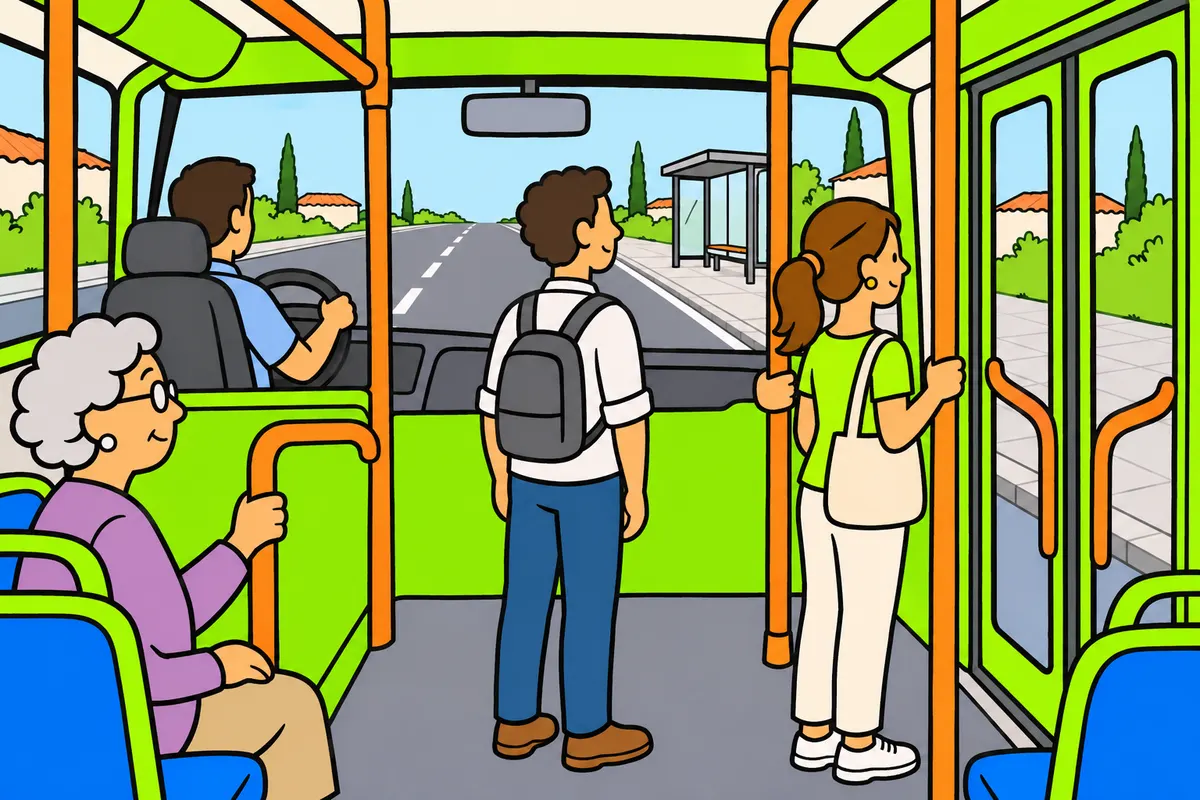
Drive smoothly to help your passengers keep their balance.
Remember
- Accelerate and brake progressively.
- Take extra care with standing passengers and people needing support.
- Approach stops early and avoid a final hard brake.
- Use enough power to join traffic safely.
- In immediate danger, brake as hard as necessary.
Exam trap: Wrong: smooth driving prevents hard braking. Right: in immediate danger, brake as hard as necessary.
Read the full explanation
- In a bus, your acceleration and braking affect the balance of the people you are carrying. Drive progressively, especially when authorised standing passengers, older people or passengers who need support are on board. Smooth driving makes the journey more comfortable and reduces unnecessary strain on the vehicle, without removing your duty to brake when there is a hazard.
- Anticipate stops by observing the access, the queue and nearby traffic. You must control your approach so that you do not have to stop the whole vehicle with a hard final brake. The transition to a complete stop also matters: releasing the brake abruptly or applying it suddenly can cause jolts.
- As you regain speed, increase the demand for traction gradually and in a way that suits the traffic. Do not confuse smoothness with moving off without enough power when joining traffic; you must have the necessary response, using the appropriate gear and accelerator for the bus's conditions.
- If there is an immediate danger, brake as firmly as necessary to protect your passengers and other road users.
9Relate energy, fuel consumption and resistance
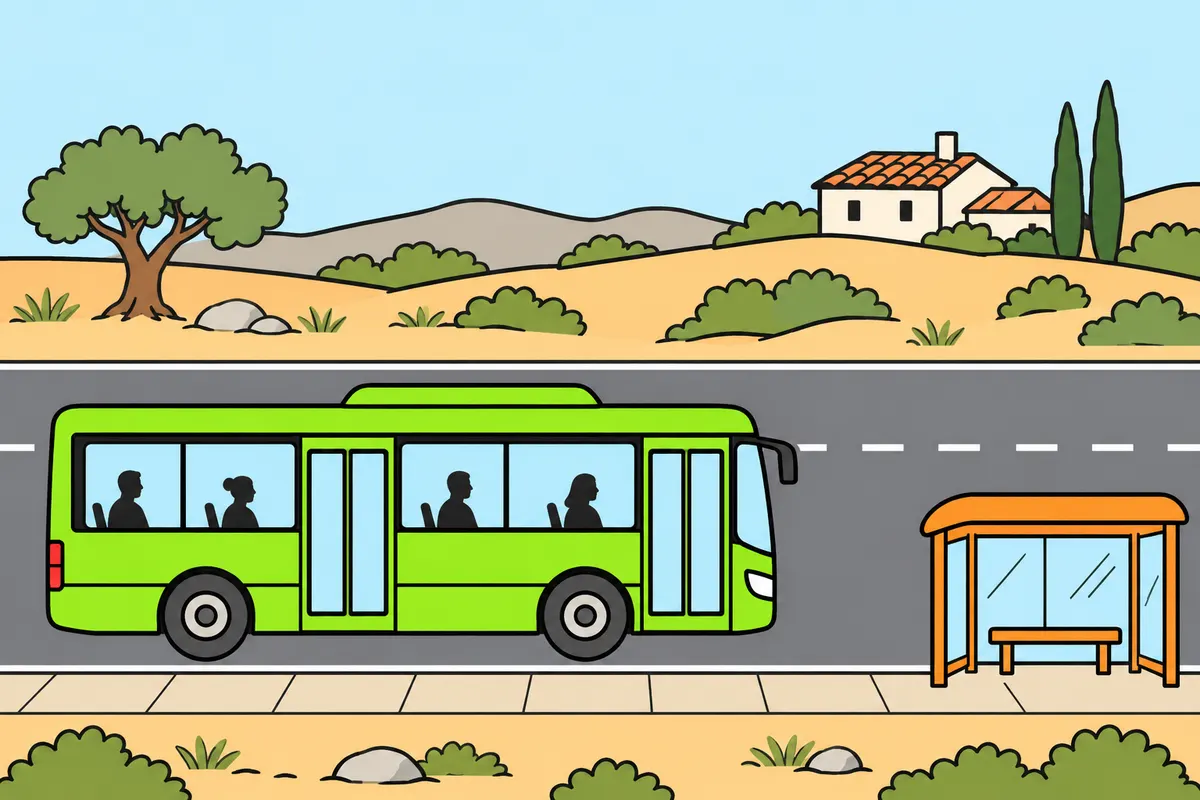
Avoid unnecessary acceleration to use less energy.
Remember
- Braking and then regaining speed uses energy.
- Smooth progress reduces needless acceleration.
- Hills and a heavier load need more effort.
- Kilometres per hour measures speed, not fuel use.
- Compare routes by distance, hills, load, traffic and time.
Exam trap: Wrong: kilometres per hour measures fuel consumption. Right: it measures speed; fuel consumption can use litres per distance.
Read the full explanation
- The energy needed to accelerate the mass of the bus differs from the energy that keeps it moving against resistance. Every time you regain speed after braking, you need energy; this is why observing well ahead and avoiding unnecessary fluctuations is especially useful on services with frequent stops.
- On flat routes, maintaining a smooth flow reduces the need to regain speed and the energy used to accelerate the bus. You must consider planned stops and resistance to motion together, without seeking a constant speed at the expense of safety.
- On an uphill stretch, a component of the bus's weight acts against its forward movement. With passengers and luggage, you may need a lower gear to maintain responsiveness without placing undue strain on the engine.
- You must distinguish instantaneous fuel consumption, fuel consumption per distance and the service's total fuel use. Average consumption may be expressed in litres per 100 kilometres; a speed in kilometres per hour does not measure fuel. Comparing routes requires you to consider distance, gradients, load, traffic and running time as well.
10Starting and warming up without wasting fuel
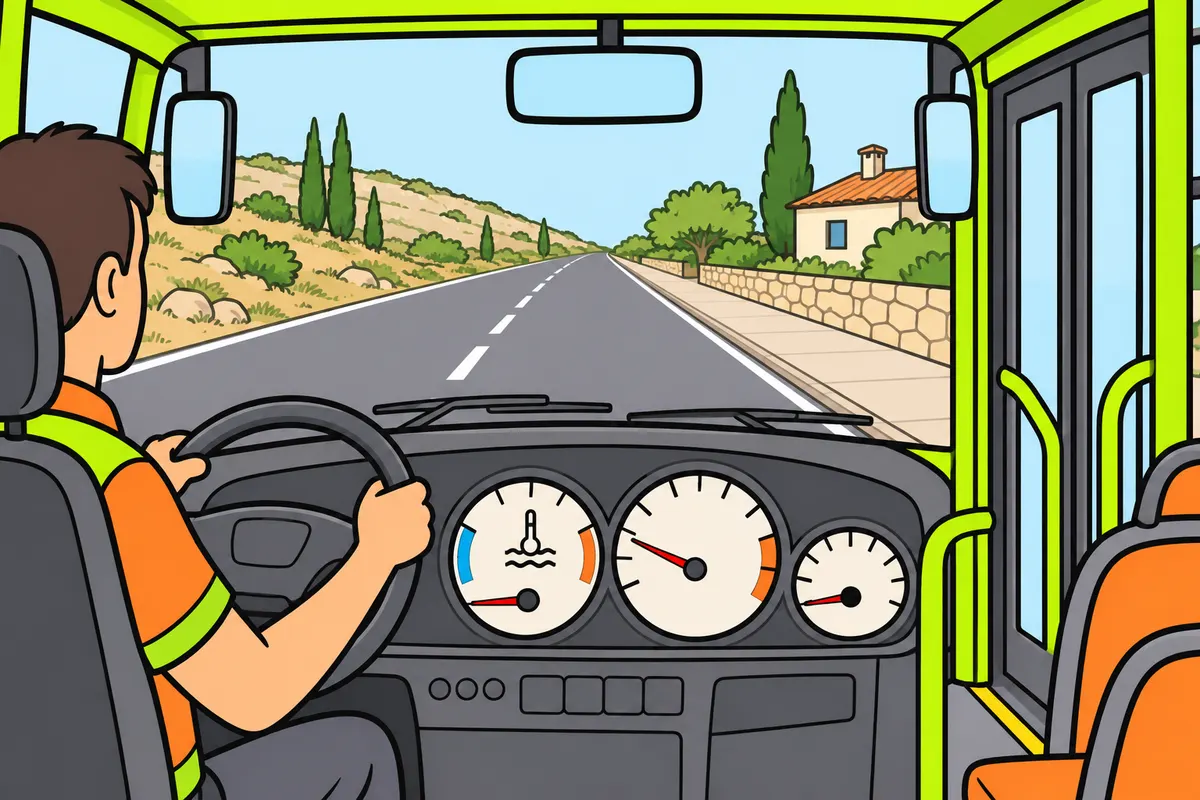
Start the engine safely and warm it up by driving gently.
Remember
- Follow the manufacturer's instructions and do not rev without need.
- Check the indicators and systems before moving off.
- Drive gently to warm the engine; do not rev while stationary.
- Use a starting gear suited to your bus, load and gradient.
- Do not slip the clutch to make up for a wrong gear.
- Report weak response if choosing a suitable gear does not solve it.
Exam trap: Wrong: every bus should move off in the same gear. Right: choose for your bus, load and gradient.
Read the full explanation
- Start the engine in accordance with the manufacturer's instructions, without unnecessary revving. In a bus, you must also check the indicators and that its systems are available before moving off. Saving idling time does not justify starting the service before the vehicle is safe to drive.
- When you can move off, drive smoothly while the engine reaches its operating temperature. You do not need to warm it up by revving it while stationary. The advice to warm up while moving means driving moderately, not placing a heavy load on a cold engine. [DGT, Manual II, efficient driving](https://sede.dgt.gob.es/export/sites/dgt/.galleries/permisos-de-conducir/certificacion-aptitud-profesores-formacion-vial/2026/MANUAL-II-Cuestiones-de-Seguridad-Vial.pdf).
- Select the gear for moving off that is appropriate for that bus and its load and gradient. Do not memorise one universal starting gear based on a car: the gearboxes and strategies of manual, automatic or automated buses may differ. You must avoid starts that cause jolts or excessive strain.
- If you operate a manual clutch, do not keep it slipping to compensate for an unsuitable gear or to hold the vehicle on a gradient. Slipping generates heat and wear. If there is not enough power, review your gear selection; if the problem persists, report it and request an inspection.
11Choose gears according to pulling power and engine speed
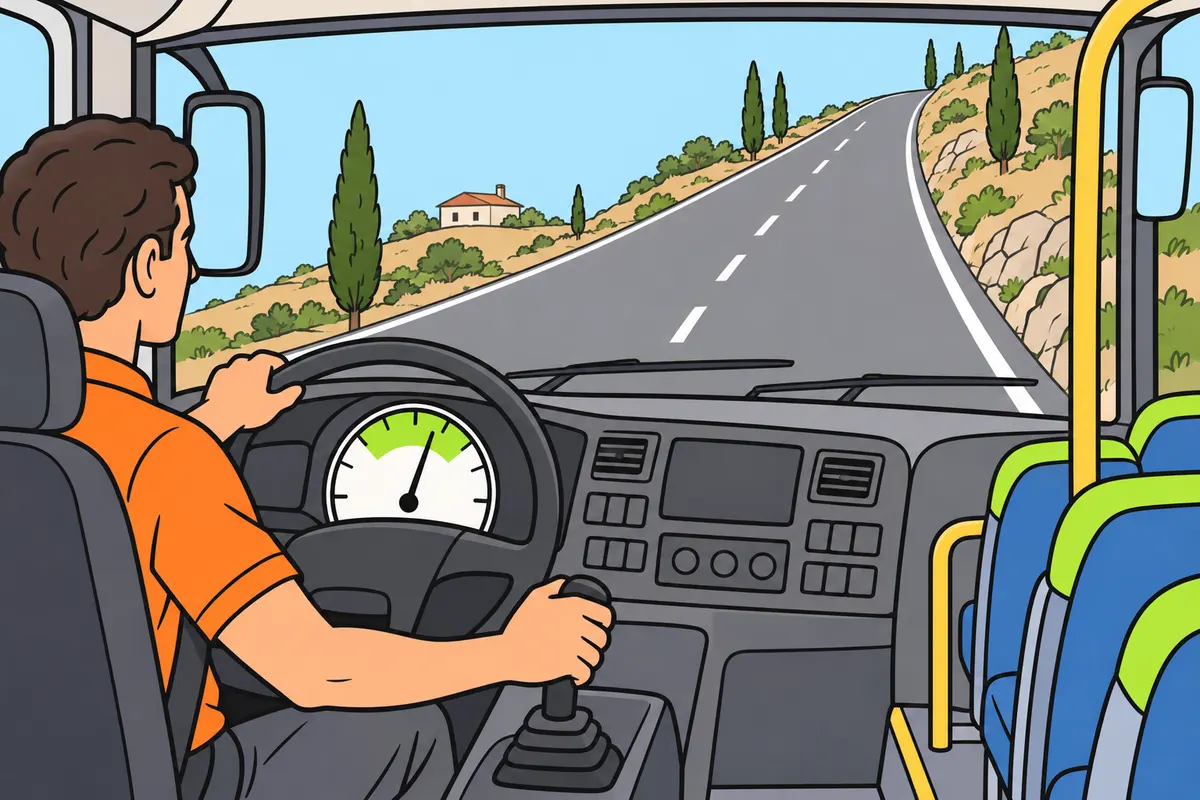
Choose a gear that gives enough engine response without excessive strain.
Remember
- A higher gear usually lowers engine speed at the same road speed.
- Use a lower gear when you need more force at the wheels.
- Choose for the load, hill and engine response.
- Do not use car engine-speed figures as rules for a bus.
- A low gear does not increase maximum engine power.
Exam trap: Wrong: the highest gear always saves fuel. Right: use it when the engine responds well without strain.
Read the full explanation
- Use a higher gear when it allows the engine to respond sufficiently without vibration or undue strain. At the same bus speed, a higher gear usually reduces engine speed. Your choice depends on the pulling power needed and the engine's useful speed range for the load and gradient along the route.
- You must relate power, torque and transmission: the gearbox changes the relationship between engine rotation and wheel rotation, and the force available at the wheels. A lower gear may be necessary to move off or climb a gradient; this does not mean that the engine develops a different maximum power.
- As you increase speed in favourable conditions, change up without keeping lower gears engaged unnecessarily long. The right time depends on the engine's response, the gearbox ratios and the situation. Do not apply car engine-speed figures for petrol or diesel vehicles to a bus as if they were mandatory.
- On an uphill stretch, use a lower gear if you need more force at the wheels to maintain an adequate engine response. Choose the gear according to the gradient, load and useful engine speed specified for that bus. If the accelerator demand is high but the response is weak, consider selecting a lower gear.
12Interpret the green zone on the rev counter
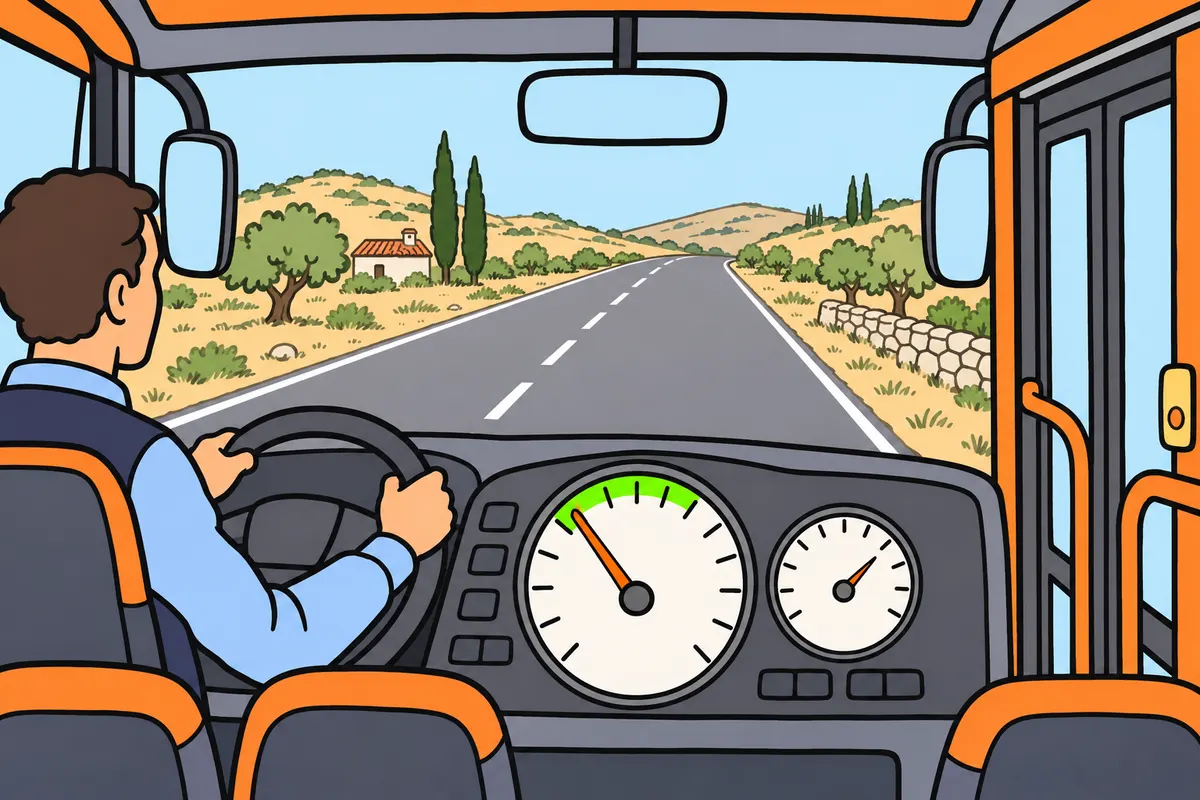
If your rev counter has a green zone, use it without losing pulling power.
Remember
- The rev counter shows engine speed; the speedometer shows bus speed.
- Use the green zone as a guide when conditions suit.
- Change gear if the engine vibrates or lacks response.
- There is no single gear-change figure for every bus.
- The red zone is not a fuel-saving guide.
Exam trap: Wrong: the red zone shows fuel savings. Right: the green zone, if fitted, guides economical engine use.
Read the full explanation
- If the rev counter marks an economical green zone, use it as a guide to the efficient engine speed indicated for that engine. The rev counter shows engine speed, while the speedometer shows the vehicle's speed. No colour on an instrument replaces your assessment of the road and traffic.
- In favourable conditions, time your upshift so that the engine speed after the change is at the start of that green zone. The aim is to use a low, effective engine speed while retaining enough pulling power after the change. [DGT, Manual VIII, use of the gearbox](https://sede.dgt.gob.es/.galleries/permisos-de-conducir/certificacion-aptitud-profesores-formacion-vial/2023/Manual-VIII-Mecanica-2023.pdf).
- Do not take this reasoning so far that you force the engine to run below its suitable speed. If vibration, a lack of response or a loss of speed that requires correction occurs after changing gear, you must adjust the gear. The load and gradient may make the same gear change unsuitable when it worked with an empty bus.
- You must not associate fuel saving with the red zone or maximum engine speeds. Nor is there one gear-changing speed that applies to all buses. Follow the manufacturer's instructions and distinguish the economical engine speed for traction from the conditions for using the retarder systems, covered in “Bus brakes and retarders”.
13Use automatic transmission and driving aids
Use driving aids while adapting your driving to traffic and slopes.
Remember
- Know your gearbox programmes and watch how they respond.
- Keep accelerator demand steady when traffic allows.
- Use cruise control only when safe and suitable.
- Do not focus on a score during a difficult situation.
- A limiter ceiling is not a target speed.
- Stay within the limit and keep control downhill.
Exam trap: Wrong: drive at the limiter setting. Right: adapt your speed to safety and the applicable limit.
Read the full explanation
- If you drive a bus with automatic or automated transmission, learn about the available programmes and the conditions in which you must use them. An economy programme can encourage suitable gear changes, but you need to monitor how it responds when the gradient, load or need for acceleration changes; the decision to drive safely remains yours.
- Keep accelerator demand steady when traffic allows. Frequent, abrupt changes in demand can cause unnecessary gear changes and fuel consumption. Do not force sharp downshifts to recover a small amount of speed that you will immediately lose at the next stop.
- If your bus has cruise control, use it according to the manual when you can maintain a safe, steady speed: it can prevent unnecessary fluctuations in accelerator use and fuel consumption. On rolling terrain, adjust your demand to the gradient and avoid unnecessary acceleration caused by rigidly maintaining your speed. [DGT, efficient driving](https://www.dgt.es/muevete-con-seguridad/conviertete-en-un-buen-conductor/consejos-generales/conduccion-eficiente/).
- You can use the economy driving indicators to review your habits when it is safe to do so. Do not focus on a score or instantaneous fuel consumption during a complex situation. Necessary braking may worsen an efficiency score and still be the right action.
- The speed limiter fitted to buses in categories M2/M3 subject to the requirement is regulated to prevent them from exceeding 100 km/h; this ceiling is not a target speed. You can save fuel by anticipating gradients and allowing your speed to increase slightly on a downhill stretch when it is safe, within the applicable limit and while keeping control, instead of pressing the accelerator against the limiter. The requirement and its exceptions are covered in “Bus dimensions and masses”. [RD 1417/2005, art. 3](https://www.boe.es/buscar/act.php?id=BOE-A-2005-19990#a3); [RGC, art. 45](https://www.boe.es/buscar/act.php?id=BOE-A-2003-23514#a45).
14Decelerate by using momentum
Ease off the accelerator early and keep control of your bus.
Remember
- Ease off early when you expect to slow down.
- Keep a suitable gear engaged and check behind.
- Some engines cut fuel in some engine-braking conditions.
- Fuel use is not always zero when you release the accelerator.
- Use the brakes when needed; coasting does not guarantee a stop.
Exam trap: Wrong: releasing the accelerator always means zero fuel use. Right: it depends on engine type, engine speed and conditions.
Read the full explanation
- When you expect to slow down, stop accelerating in good time and use the bus’s momentum in a controlled way, keeping it in a suitable gear. Check the traffic behind and the space available. This technique avoids adding energy that you would soon have to dissipate with the brakes.
- In many fuel-injected engines, the engine management system may cut off the fuel supply during certain phases of overrun. Do not assume that fuel consumption is always zero when you release the accelerator: it depends on the engine, its speed and the operating conditions. Nor does this guarantee that the vehicle will stop without braking.
- To keep control on downhill stretches, see “Bus brakes and retarders” and “Safe bus driving”: these cover the appropriate gear, braking systems and prevention of brake overheating.
15Stops, idling and climate control
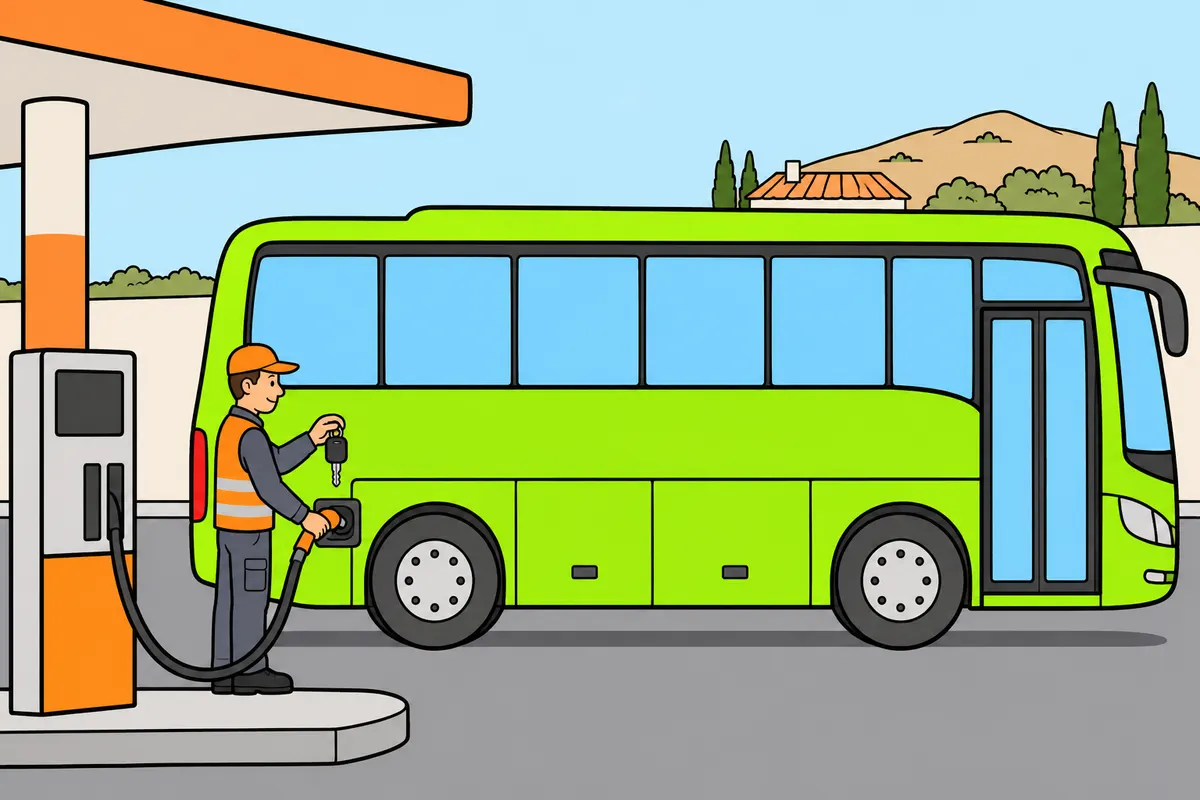
Avoid unnecessary engine running and obey engine switch-off rules.
Remember
- An engine can use fuel while idling.
- Neutral is a gear position; it does not switch off the engine.
- Avoid unnecessary idling during long waits.
- Use climate control to keep visibility and passengers safe.
- Follow the bus's shutdown procedure; cooling time varies by engine.
- Check the Bus mechanics module for tunnel and refuelling rules.
Exam trap: Wrong: neutral means the engine is off. Right: it is a transmission position; the engine can keep running and using fuel.
Read the full explanation
- An internal combustion engine can continue using fuel while idling even when the bus is not moving. Idling describes the engine running without accelerator demand; neutral describes a transmission position. They are different concepts, and neither by itself means that the engine is switched off.
- Avoid leaving the engine running unnecessarily during long waits, following the manual and local rules: prolonged idling adds fuel consumption and emissions without transporting anyone.
- The requirements to switch off the engine in tunnels and enclosed places, and the precautions to take when refuelling, are explained in “Bus mechanics”, under “Switching off the engine and refuelling safety”. [RGC, art. 115](https://www.boe.es/buscar/act.php?id=BOE-A-2003-23514#a115).
- Use the climate control sensibly while maintaining the ventilation, demisting and comfort needed for the service. Do not disable functions needed for your visibility or passenger safety to save fuel. The useful temperature depends on the system and conditions; there is no universal efficiency value for all buses.
- At the end of the service, follow the manufacturer’s shutdown procedure and avoid revving the engine while stationary. Do not assume that all engines need the same idling time to cool down. If the equipment requires a specific sequence because of its design or use, you must follow it rather than improvising based on advice for another vehicle.
16Adjust tyre pressures
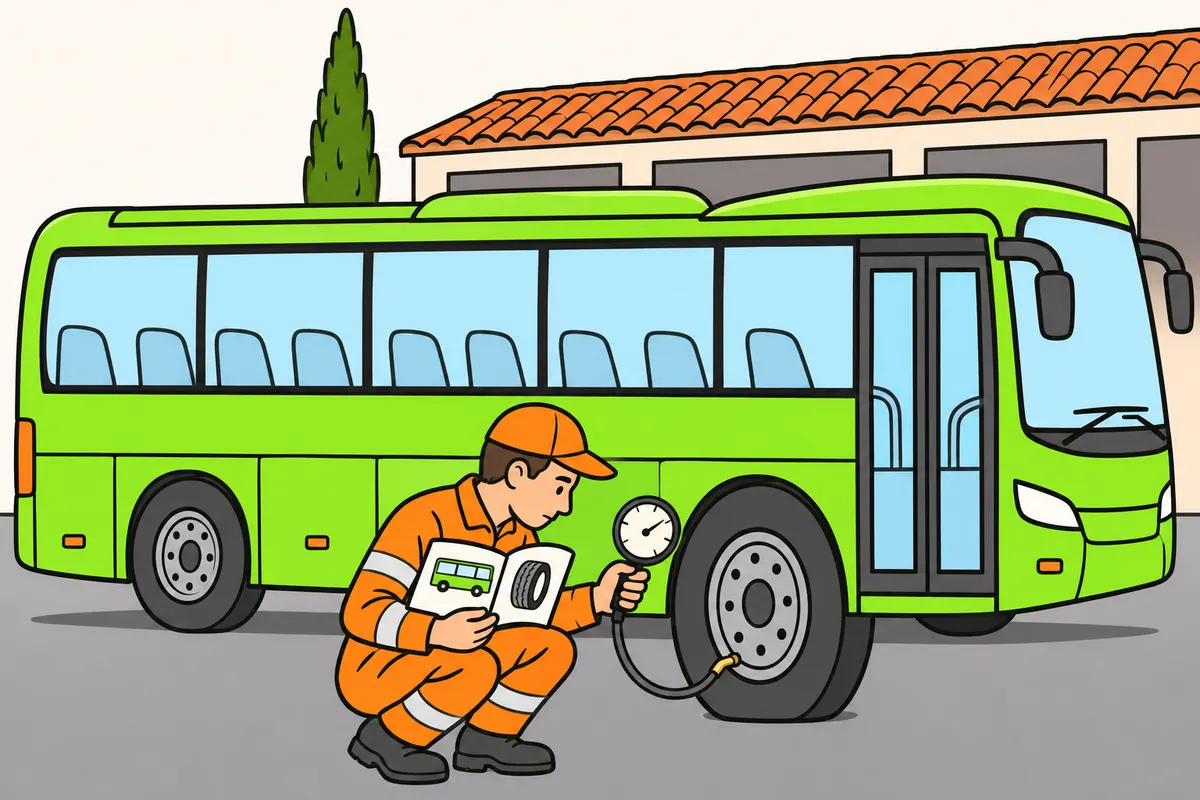
Check tyre pressures using the manufacturer's values for your tyres and load.
Remember
- Check pressures regularly with a suitable gauge.
- Use the value for your bus, tyres and load.
- Low pressure increases heat, rolling resistance and fuel use.
- Too much pressure can reduce grip and cause uneven wear.
- Check cold pressures and twin wheels as described in Bus maintenance and checks.
Exam trap: Wrong: add extra air to save fuel. Right: use the manufacturer's pressure for your tyres and load.
Read the full explanation
- Check the pressures regularly and use the manufacturer’s values applicable to the vehicle, its tyres and its load. The Regulations require regular checks with properly approved and verified pressure gauges. There is no single pressure for all buses. [RGV, Annex VII](https://www.boe.es/buscar/act.php?id=BOE-A-1999-1826).
- With insufficient pressure, the tyre flexes more as it rolls: rolling resistance, heat and the fuel needed to cover the same distance all increase. Keeping to the prescribed pressure avoids this waste and helps maintain the tyre’s performance. [DGT, tyre pressures](https://revista.dgt.es/es/motor/noticias/2019/07JULIO/0701-Neumaticos.shtml).
- Excessive pressure can reduce grip and cause uneven wear: to be efficient, use the prescribed value and do not add air on your own in an attempt to save fuel. [DGT, tyre pressures](https://revista.dgt.es/es/motor/noticias/2019/07JULIO/0701-Neumaticos.shtml).
- To apply the cold-pressure references correctly and check all tyres, including twin wheels, see “Bus maintenance and checks”, under “Correct cold tyre pressure” and “Twin wheels”.
17Read the European tyre label
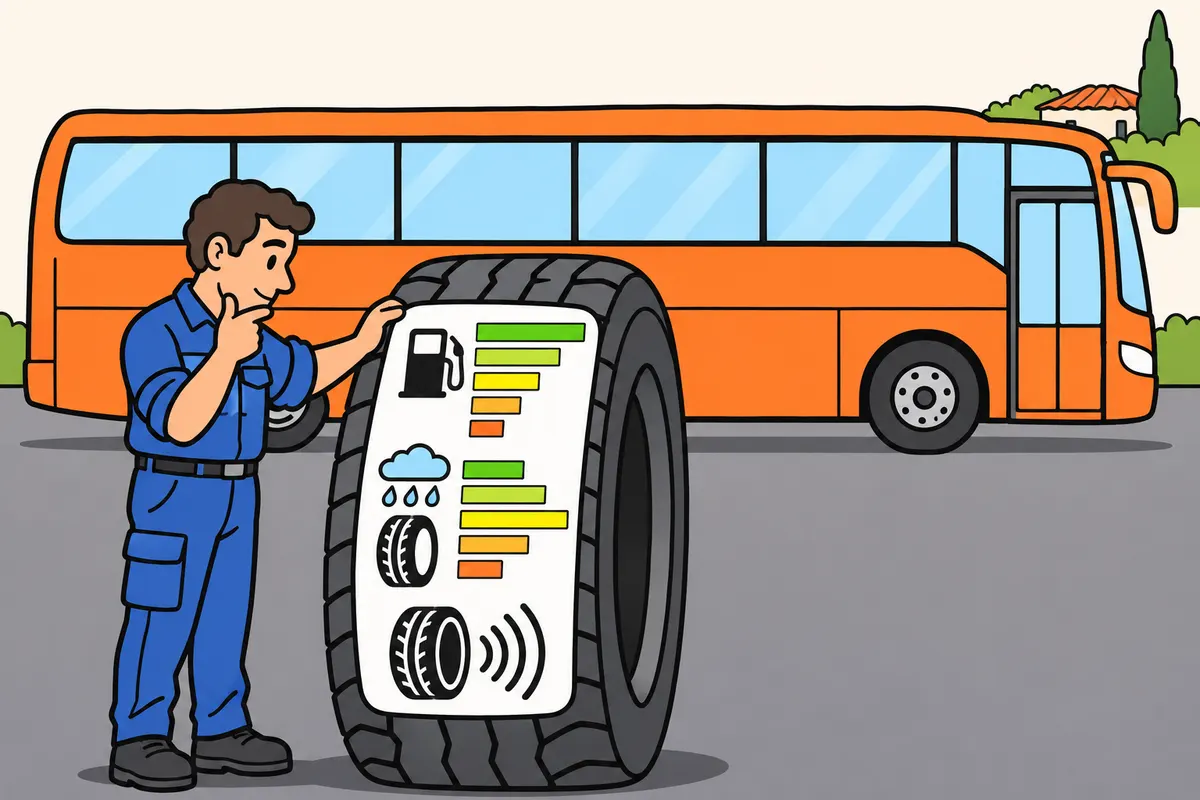
Read tyre fuel efficiency, wet grip and noise ratings separately.
| Tyre label part | What it tells you |
|---|---|
| Fuel efficiency | Rolling resistance; classes A to E. |
| Wet grip | Wet grip class, from A to E. |
| External noise | Decibels and class A to C; not noise inside the bus. |
Remember
- This label describes tyres; the environmental label classifies the bus.
- A is best and E is worst on fuel efficiency and wet grip scales.
- A good fuel rating does not mean equally good wet grip.
- Noise is external and shown in decibels and classes A to C.
- Symbols do not guarantee grip in every situation.
- Rolling resistance is energy loss; abrasion resistance is wear.
Exam trap: Wrong: the label guarantees tyre life or correct pressure. Right: it guarantees neither mileage, pressure nor an exact braking distance.
Read the full explanation
- The tyre label provides information about the tyre; the environmental label classifies the bus. The tyre label compares fuel efficiency linked to rolling resistance, wet grip and external rolling noise; it does not summarise every safety or durability characteristic. [DGT, European labelling](https://www.dgt.es/comunicacion/notas-de-prensa/los-neumaticos-estrenan-un-nuevo-etiquetado-europeo-mas-seguro/).
- On the fuel-efficiency and wet-grip scales, A is the best class and E the worst of the classes shown. Read each category separately: a good fuel-efficiency class does not by itself mean the tyre has the same rating for wet braking. [Regulation (EU) 2020/740, Annexes I and II](https://www.boe.es/buscar/doc.php?id=DOUE-L-2020-80878).
- The noise section shows external noise in decibels and its class, from A to C. It does not measure the noise passengers hear inside the bus. This information can help you choose between compatible tyres, but it does not authorise you to fit a tyre of an unsuitable size or load capacity for the vehicle.
- You may find tyre identification details and specific pictograms for performance on snow or ice, where applicable. Do not interpret these symbols as a guarantee of grip in every circumstance. The label does not provide a universal pressure, an exact braking distance or a guaranteed service life in extreme environments.
- You must distinguish rolling resistance from abrasion resistance: the first relates to energy lost as the tyre rolls; the second relates to wear. The label does not classify recyclable materials or guarantee mileage.
18Load, luggage and mass in motion
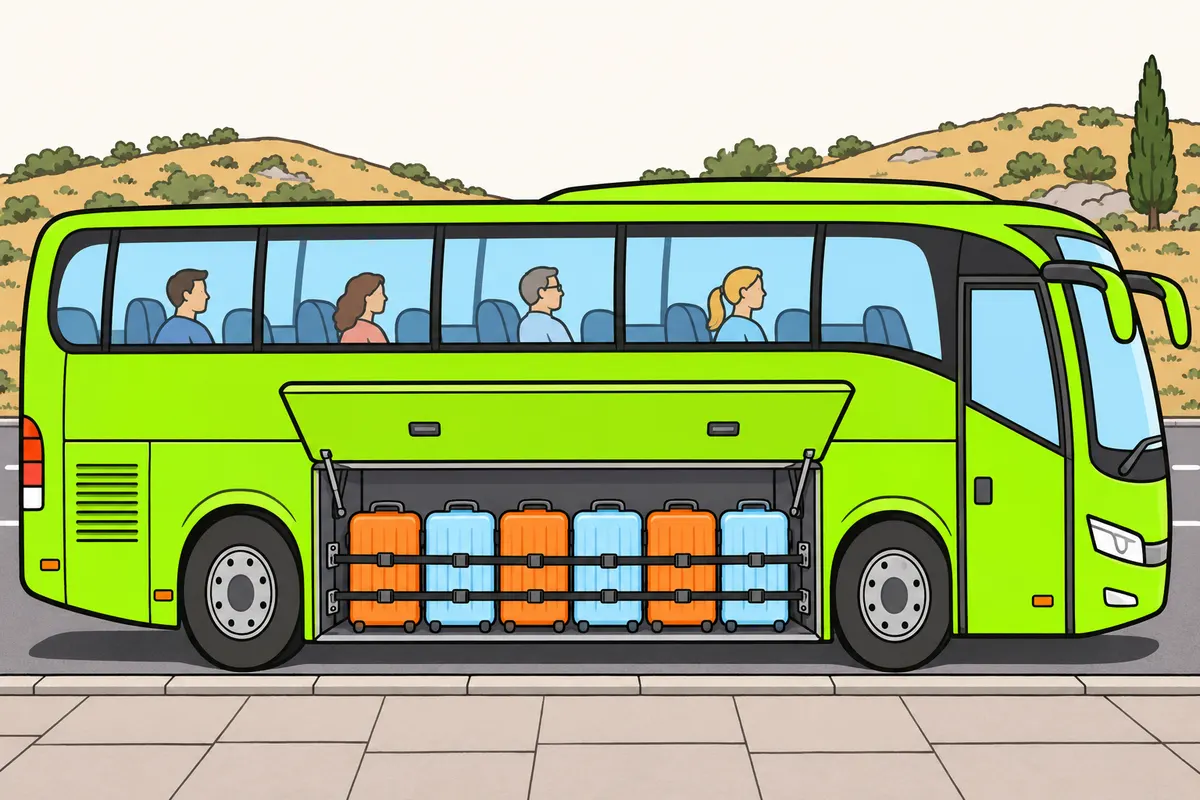
Distribute and secure luggage within your bus limits.
Remember
- More mass needs more energy to accelerate and climb.
- Remove only unnecessary weight.
- Do not leave passengers or required equipment behind to save fuel.
- Secure and distribute luggage, even on short trips.
- Follow total mass, axle-load and tyre-capacity limits.
- Adjust acceleration and gears as the load changes.
Exam trap: Wrong: spare space means you can load more. Right: you may overload an axle despite spare space.
Read the full explanation
- The more mass you carry, the more energy you need to accelerate in comparable conditions and climb gradients. In passenger transport, you must manage the actual service; saving fuel is not a reason to leave passengers or compulsory equipment behind. Remove only unnecessary weight and organise the luggage you need properly.
- Distribute and secure luggage to prevent it shifting, causing impacts or making noise. The load must not compromise stability or cause avoidable inconvenience. You must follow the load-securing rules even on a short journey when it seems unlikely that you will need to brake sharply. [RGC, art. 14](https://www.boe.es/buscar/act.php?id=BOE-A-2003-23514#a14).
- You must respect the total mass and axle-load limits and the tyres’ load capacity. An uneven distribution can overload one area even when another appears to have spare capacity. The numerical values and checking methods are covered in “Bus dimensions and masses” and “Bus maintenance and checks”.
- When passenger numbers change during the service, check how the bus responds before demanding acceleration: a suitable gear on one stretch may be unsuitable on the next because of the gradient or load. Increase your demand progressively to maintain comfort and avoid repeated gear changes.
19Aerodynamics and wind
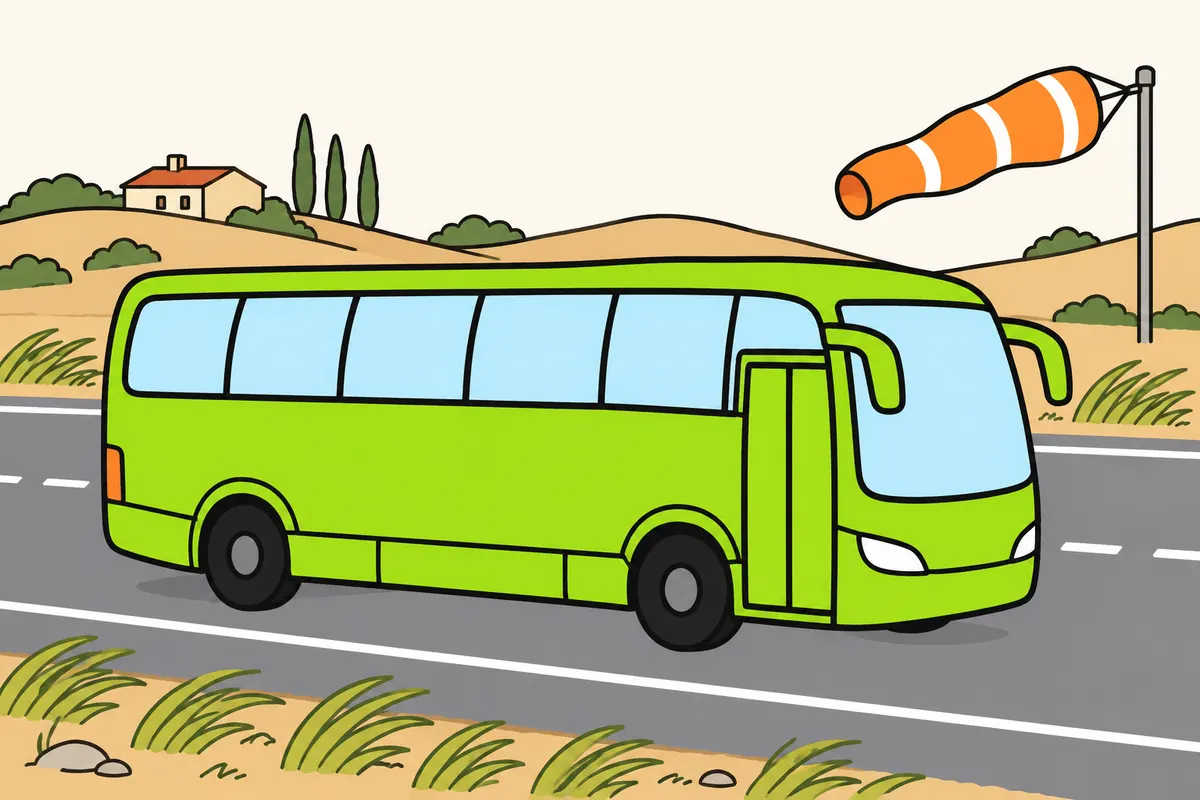
Allow for speed and wind to manage fuel use and safety.
| Wind affecting your bus | What to expect |
|---|---|
| Headwind | Higher relative air speed can increase fuel use. |
| Moderate tailwind slower than your bus | Usually reduces air resistance. |
| Crosswind, especially gusts | Can affect stability; adapt speed and space. |
Remember
- Front area and drag coefficient describe different things.
- With other factors unchanged, air resistance rises with relative air speed squared.
- Do not assume total fuel use rises in a fixed proportion.
- A headwind can raise resistance; a moderate tailwind may reduce it.
- Expect crosswind gusts and adapt speed and space.
- Do not follow another vehicle closely to save fuel.
Exam trap: Wrong: a larger front means a worse drag coefficient. Right: front size and the effect of shape are different.
Read the full explanation
- Frontal area and the aerodynamic coefficient are different quantities: the former expresses the area the vehicle presents to the air; the latter describes the influence of its shape. At the same relative speed and with other conditions unchanged, a larger frontal area increases resistance. A larger vehicle does not necessarily have a worse coefficient. [DGT, Manual II, aerodynamics](https://sede.dgt.gob.es/.galleries/permisos-de-conducir/certificacion-aptitud-profesores-formacion-vial/2024/Manual-II-Cuestiones-de-Seguridad-Vial-2024.pdf).
- Aerodynamic drag increases with the square of your speed relative to the air, with other factors held constant. You need to understand why increasing speed requires a significant extra effort; this does not mean that the bus's total fuel consumption follows a fixed proportion, because other forms of resistance and engine efficiency also play a part.
- If you maintain the same speed over the ground and the headwind increases, your speed relative to the air increases and fuel consumption may rise. A moderate tailwind, slower than the bus, usually reduces this resistance. You need to distinguish this effect on fuel use from the danger caused by crosswind gusts.
- Keep the bodywork in its intended configuration and avoid unnecessary external accessories that increase air resistance. If the bus has opening windows, opening them can alter its aerodynamics; use the ventilation provided for the service.
- Because of its side area, the bus requires particular care in crosswinds, especially gusty ones. Adjust your speed and the space around you without slipstreaming behind another vehicle to save fuel. The technique for maintaining stability in wind is covered in the “Safe bus driving” module.
20Maintenance and abnormal emissions
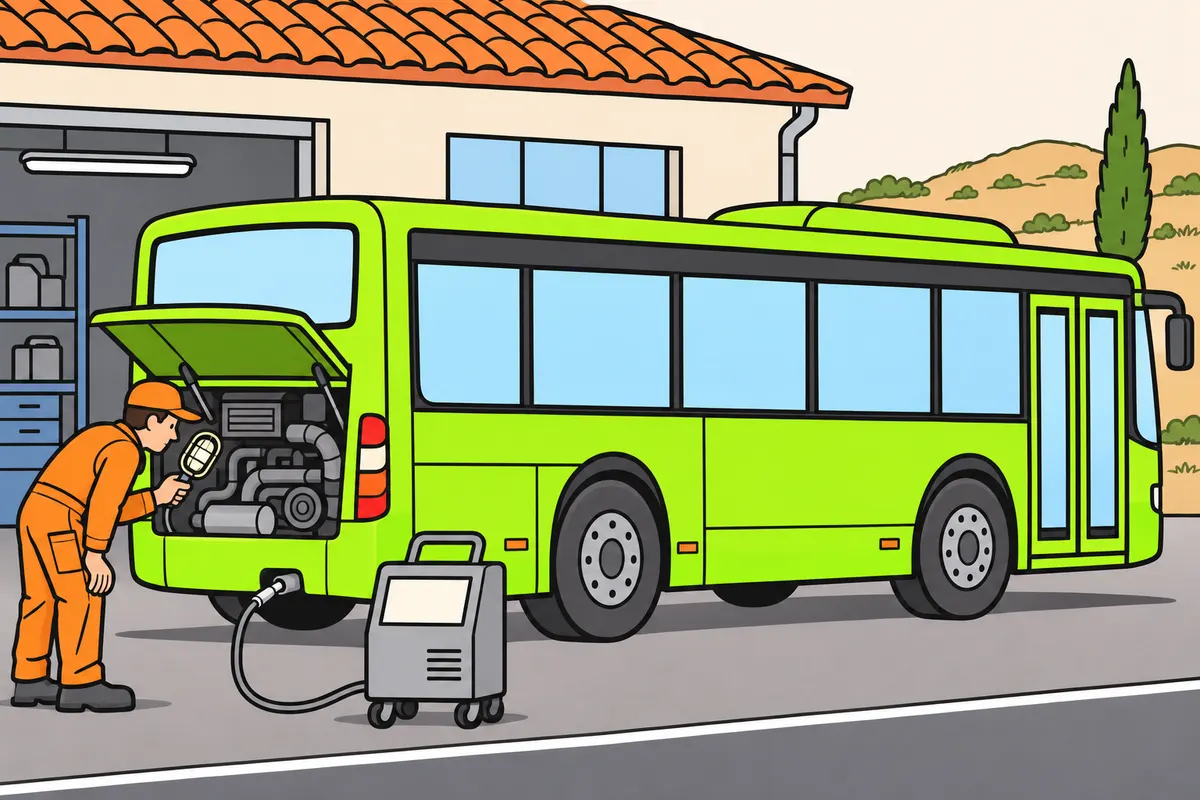
Maintain your bus and request checks for unusual smoke or noise.
| Bus part | Main purpose |
|---|---|
| Silencer | Reduces noise. |
| Exhaust treatment system | Reduces pollutants. |
Remember
- Follow the service schedule and manufacturer's instructions.
- Black diesel smoke may be a clue; ask for a check.
- Do not try to clear smoke by accelerating harder.
- Keep exhaust treatment systems working and heed warnings.
- The silencer reduces noise; other parts reduce pollutants.
- Do not exceed limits for gases, smoke or noise.
Exam trap: Wrong: black smoke proves a specific fault. Right: it may indicate incomplete burning of fuel; request a check.
Read the full explanation
- Follow the inspections and maintenance instructions that apply to the engine, fuel system, filters and lubricants. A poorly maintained vehicle may need more fuel for the same service. Do not assume that all buses have the same replacement intervals or change specifications in an attempt to reduce fuel consumption.
- If you see black smoke from a diesel engine, consider that incomplete combustion and soot formation may be occurring, for example because of insufficient air or incorrect fuelling. The colour is a clue, not a definitive diagnosis. You need to request a check rather than try to correct it by accelerating more or increasing the fuel supply.
- Keep the fitted exhaust after-treatment systems operational and respond to their warnings according to the manual. Do not confuse the silencer, whose purpose is to reduce noise, with components designed to reduce pollutants. A fault may affect one of these aspects without the other seeming to be affected.
- You must not drive while exceeding the regulatory limits for gases, smoke or noise; nor may you drive if you emit smoke that obstructs other drivers' vision or is harmful. You must cooperate with emissions tests. [RGC, art. 7.1-3](https://www.boe.es/buscar/act.php?id=BOE-A-2003-23514#a7).
- You need to distinguish CO₂ associated with using carbon-based fuels from pollutants such as nitrogen oxides and particulates. Saving fuel and reducing local emissions are related aims, but a fuel consumption figure does not describe the full environmental impact. You also need to drive efficiently and maintain the tyres of an electric bus.
21Recognise the bus's environmental classification
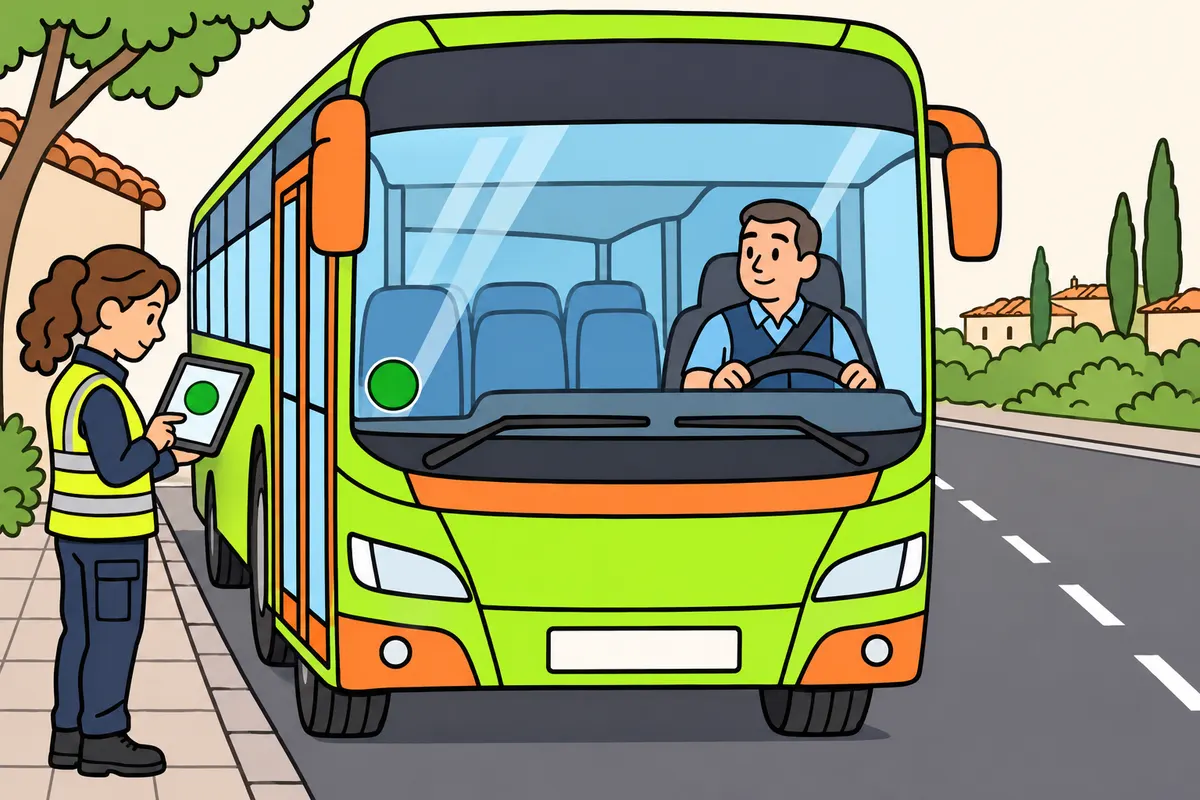
Check your bus's recorded environmental class and apply its specific requirements.
| V-25 class for M2/M3 buses | Requirements | Colour |
|---|---|---|
| 0 emisiones | Electric, range-extended electric, hydrogen, fuel-cell, or plug-in hybrid with at least 40 km NEDC range. | Blue |
| ECO | Non-plug-in hybrid, plug-in hybrid below 40 km, GNC, GNL or GLP; must also meet C criteria. | Blue and green |
| C | Petrol or diesel Euro VI/6. | Green |
| B | Petrol or diesel Euro IV/4 or V/5. | Yellow |
| A | Does not meet requirements for the other classes. | No label |
Remember
- Check the class recorded for the bus registration.
- Use bus criteria, not passenger-car criteria.
- ECO gas vehicles must also meet C criteria.
- A plug-in hybrid with exactly 40 km NEDC range meets the zero-emissions threshold.
- The label colour does not give access everywhere.
Exam trap: Wrong: every gas-powered bus gets ECO. Right: it must meet the applicable requirements, including C criteria.
Read the full explanation
- Check the classification recorded for the bus's registration number. Sign V-25 identifies the 0 emissions, ECO, C and B categories; category A covers vehicles that do not meet the requirements for those classifications and has no label. [RGV, annex II.E and annex XI, V-25](https://www.boe.es/buscar/act.php?id=BOE-A-1999-1826).
- For M2 and M3 buses, C covers petrol or diesel vehicles meeting Euro VI/6; B covers petrol or diesel vehicles meeting Euro IV/4 or V/5. Apply the vehicle's recorded standard, not the criteria for cars. [RGV, annex II.E](https://www.boe.es/buscar/act.php?id=BOE-A-1999-1826#ie).
- For M2/M3 vehicles, ECO includes non-plug-in hybrids, plug-in hybrids with a range of less than 40 km, and CNG, LNG or LPG vehicles, provided they also meet the C criteria. Being a gas-powered bus is not enough on its own. [RGV, annex II.E](https://www.boe.es/buscar/act.php?id=BOE-A-1999-1826#ie).
- The 0 emissions category includes battery electric, extended-range electric, hydrogen and fuel-cell vehicles, as well as plug-in hybrids with a range of at least 40 km, measured under the NEDC cycle specified in the regulation. Exactly 40 km meets this threshold. [RGV, annex II.E](https://www.boe.es/buscar/act.php?id=BOE-A-1999-1826#ie).
- The label colours are: 0 emissions, blue; ECO, blue and green; C, green; B, yellow. The colour identifies the class; it does not establish a universal right to drive anywhere. Check the official data by registration number if you have doubts about a particular vehicle. [DGT, environmental label](https://www.dgt.es/nuestros-servicios/tu-vehiculo/tus-vehiculos/distintivo-ambiental/).
22Display the label and distinguish its effects
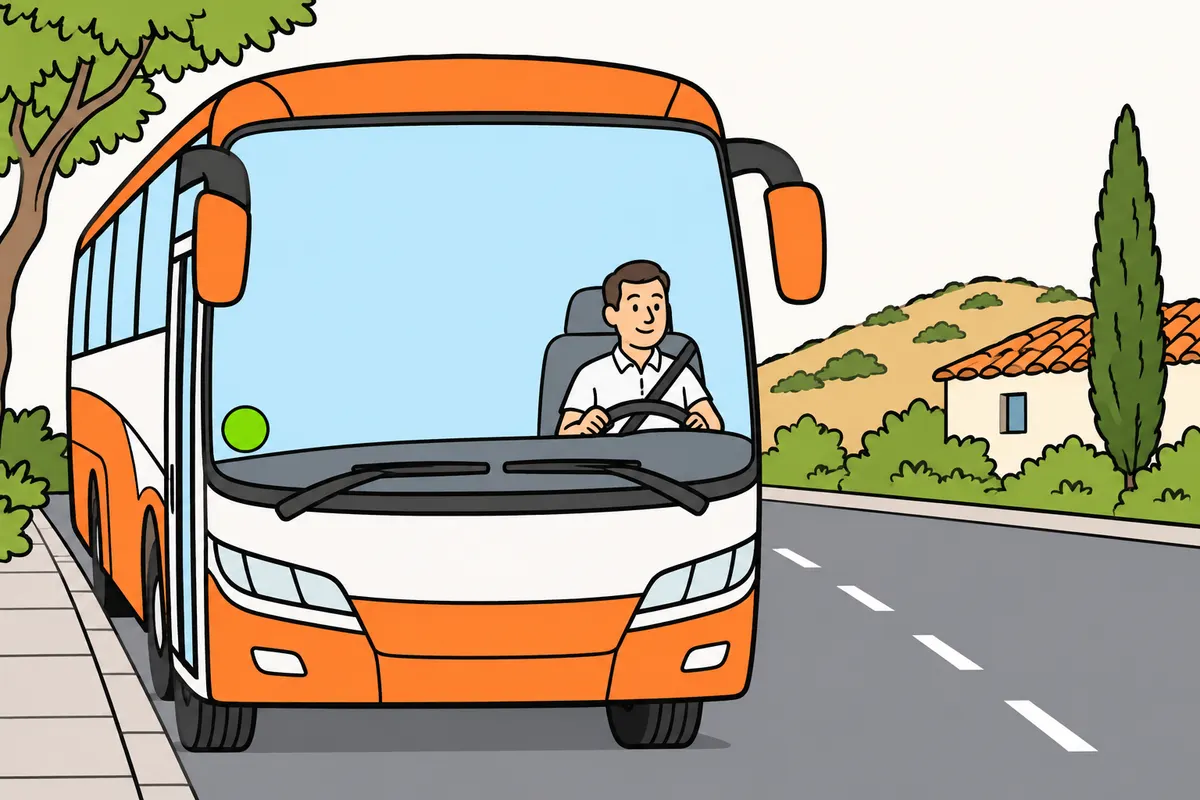
Know your bus’s class, label position and access conditions.
Remember
- The general national rule makes displaying the label voluntary.
- Local rules may require it.
- If displayed, put it inside at the bottom right of the front windscreen.
- Your driving or passenger count cannot change the bus's class.
- Check local access, parking, lane and service conditions.
Exam trap: Wrong: a label always allows access. Right: check the specific rules for the place and service.
Read the full explanation
- Displaying the label is generally voluntary at national level, but the competent authority may expressly require it in its regulations. If you display it on the bus, it must go inside, in the lower right-hand corner of the front windscreen. [RGV, annex XI, V-25](https://www.boe.es/buscar/act.php?id=BOE-A-1999-1826#v2).
- You need to distinguish being entitled to a classification, carrying the sticker and being authorised to enter a particular area. For example, a coach with class C may meet its classification requirements and still encounter an area that requires a different condition.
- You cannot choose the label according to how you drive or qualify for another class by carrying fewer passengers or using less fuel on a particular journey. The classification belongs to the registered vehicle. Your choices can improve actual fuel consumption without changing its environmental category.
- Do not assume that a label gives general benefits such as free parking or automatic access to any reserved lane. Check the specific rules for the place and service. In addition to environmental conditions, a bus may be subject to access conditions linked to the type of transport.
23Interpret ZBE rules and their access sign
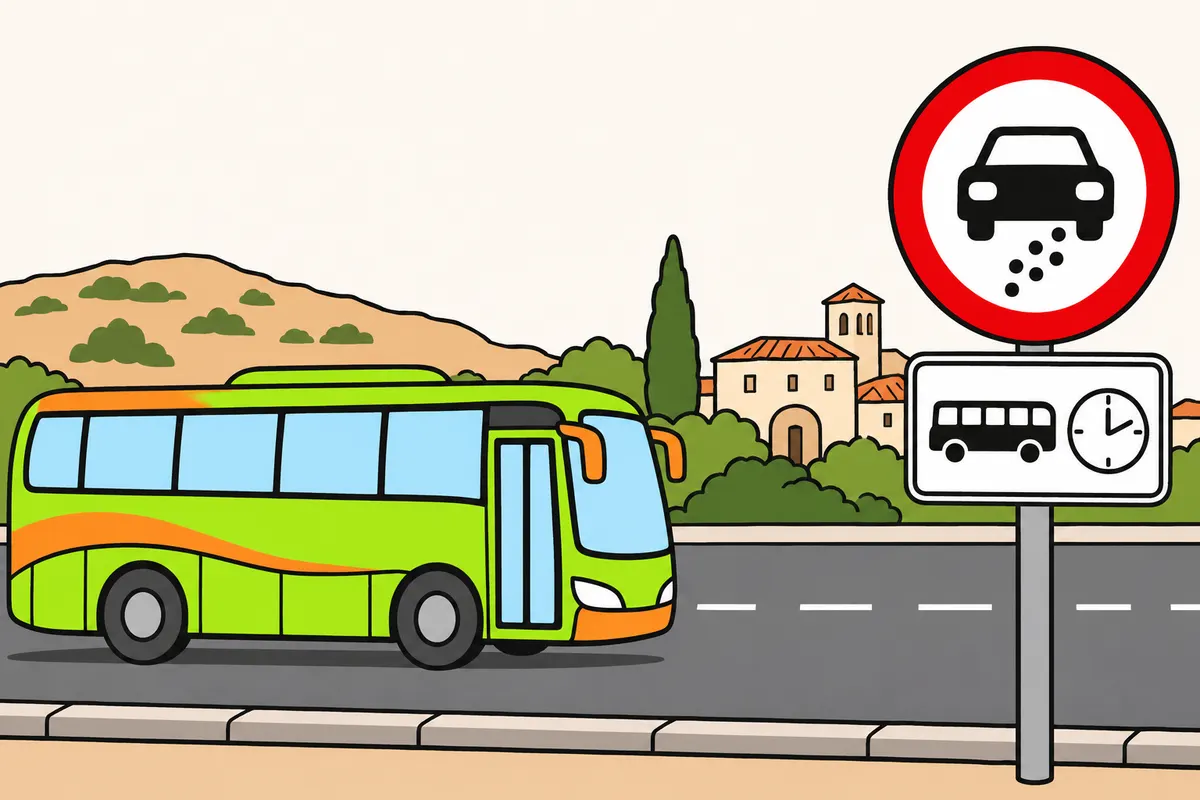
Check each low-emission zone’s local rules before taking your bus there.
Remember
- A ZBE restricts access, driving or parking to improve air quality.
- Read sign R-120 with its S-860 plate or sign board.
- Check boundaries, hours and affected vehicles.
- Check the access rules for your type of service.
- Check any required permit before you arrive.
- Prepare a suitable alternative route for your bus.
Exam trap: Wrong: carrying passengers automatically exempts you. Right: meet local conditions and obtain authorisation when required.
Read the full explanation
- A ZBE (low-emission zone) is a defined area with access, driving and parking restrictions intended to improve air quality and mitigate emissions, taking polluting potential into account. Check its local rules before starting the service. [Law 7/2021, art. 14.3](https://www.boe.es/buscar/act.php?id=BOE-A-2021-8447#a14).
- Recognise R-120: entry prohibited to vehicles according to their environmental label or other environmental criteria. The conditions are specified on an S-860 supplementary panel or on the sign itself. You need to read the sign as a whole. [RD 465/2025, R-120 catalogue](https://www.boe.es/buscar/doc.php?id=BOE-A-2025-12199).
- Check the perimeter, times, affected vehicles and any permits. Identify whether you are providing a regular, occasional or tourist service and how local rules treat it; being public transport does not automatically exempt you under national rules. [RD 1052/2022, art. 5](https://www.boe.es/buscar/act.php?id=BOE-A-2022-22689#a5).
- If you need a permit, check its conditions before you arrive and prepare a suitable alternative route for the bus. An accommodation booking or an instruction from the customer does not by itself prove that you may enter. Do not stop suddenly at the sign to deal with an outstanding application.
- Breaking ZBE driving restrictions or protocols during pollution episodes is a serious offence; the general fine is 200 euros. [Traffic Act, art. 76.z3](https://www.boe.es/buscar/act.php?id=BOE-A-2015-11722#a76); [art. 80.1](https://www.boe.es/buscar/act.php?id=BOE-A-2015-11722#a80).
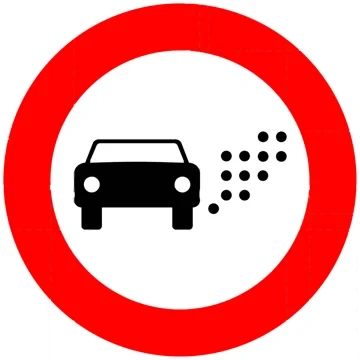 R-120
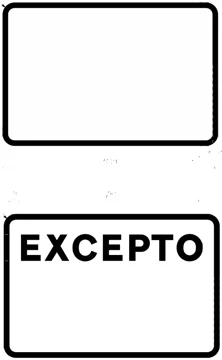 S-860
24Reduce noise during the service
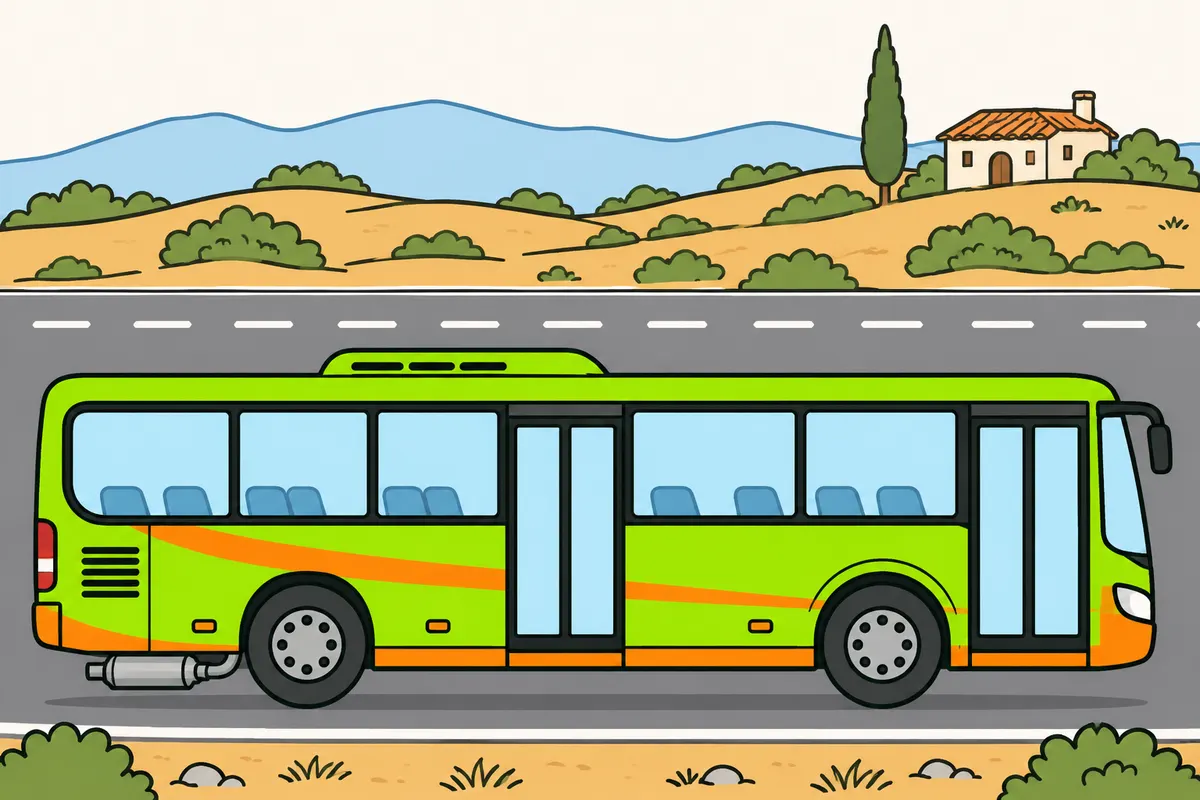
Reduce noise by driving smoothly and maintaining your bus.
| Permitted horn use | Where or when |
|---|---|
| Avoiding an accident | Also within built-up areas. |
| Warning of an intended overtake | Outside built-up areas. |
| Exceptional urgent service | Only in authorised exceptional circumstances. |
Remember
- Avoid revving without load and unnecessary high engine speeds.
- Secure luggage and loose items.
- Keep the silencer effective; open or damaged exhausts are prohibited.
- Use the horn only in permitted cases.
- Do not use it to call passengers or show impatience.
- Report unusual noises or vibration and check the cause.
Exam trap: Wrong: open exhausts are allowed outside built-up areas. Right: they are prohibited on urban and interurban roads.
Read the full explanation
- Avoid revving the engine in neutral, unnecessarily high engine speeds, and impacts from luggage or loose items. Noise has technical causes and use-related causes: maintaining the vehicle and driving smoothly address different aspects. A quiet bus at idle can still produce tyre noise when moving.
- Keep the silencer effective: free-flow exhausts and incomplete, unsuitable or damaged silencers are prohibited. The prohibition applies on both urban and interurban roads. [RGC, art. 7.2](https://www.boe.es/buscar/act.php?id=BOE-A-2003-23514#a7).
- Use the horn only in permitted circumstances: to prevent an accident, to warn outside a built-up area that you intend to overtake, or in the exceptional circumstance set out in article 70. [RGC, art. 110](https://www.boe.es/buscar/act.php?id=BOE-A-2003-23514#a110).
- If abnormal noises or vibrations occur, report the problem and check its cause according to the vehicle's procedure. The aim is to detect an abnormality in time if it may affect safety, fuel consumption or emissions.
Deal with a situation in good time
Gather information, leave yourself room and act progressively.
- Scan the road ahead, the area close by, both sides and your mirrors with brief glances.
- Identify a clue: a queue braking, a hidden pedestrian, a blocked entrance or uncertain behaviour.
- Decide what may happen and leave enough space to stop or adjust your speed.
- Ease off the accelerator in good time and prepare to respond; signal when appropriate.
- Brake as much as necessary and reassess your surroundings before increasing speed.
Choose an efficient gear
Choose a useful engine speed for the load and situation.
- Choose a speed that is appropriate for the limits, visibility, passengers and traffic.
- Consider the load, gradient and power needed before choosing a gear.
- Change up when you can maintain sufficient response, using the economy zone if marked.
- Check the engine speed after changing gear: avoid vibration, lack of power and unnecessary revs.
- Change down if the situation requires it and use the appropriate braking systems as you slow down.
Check tyre pressures for the service
Compare the reading with the correct reference pressure for the expected load.
- Check the prescribed pressures for the bus, tyres, axles and intended use.
- Check pressures when the tyres are cold using a suitable pressure gauge, including the inner tyres where there are twin wheels.
- Adjust them in accordance with the manufacturer’s procedure; do not deflate hot tyres to match a cold pressure reference.
- Investigate leaks or unusual differences and make sure the vehicle can carry out the service safely.
Prepare to enter a low-emission zone (ZBE)
Check the bus classification against the local access conditions.
- Check the official environmental classification for the registration number of your assigned bus.
- Check the municipal rules: boundary, times, service category and authorisation conditions.
- Obtain any required authorisation and prepare an alternative that suits the vehicle.
- As you approach, read sign R-120 together with its supplementary panel or sign and any other signs.
- Enter only if you meet the conditions; the label alone does not guarantee access.
Finished this module?
Mark it as read and you will see your progress on the theory list.