
Theory · A2 Licence - Motorcycle · Module 6 of 18
Motorcycle protective equipment
You learn to distinguish compulsory equipment from recommended protection and to choose, adjust and care for your motorcycle helmet and clothing. You can answer A2 questions on gloves, footwear, visibility, airbags and passenger equipment, distinguishing ordinary road use from practical tests. This includes seat belts, head restraints and child restraint systems from the common theory syllabus, explaining how their application differs for motorcycles.
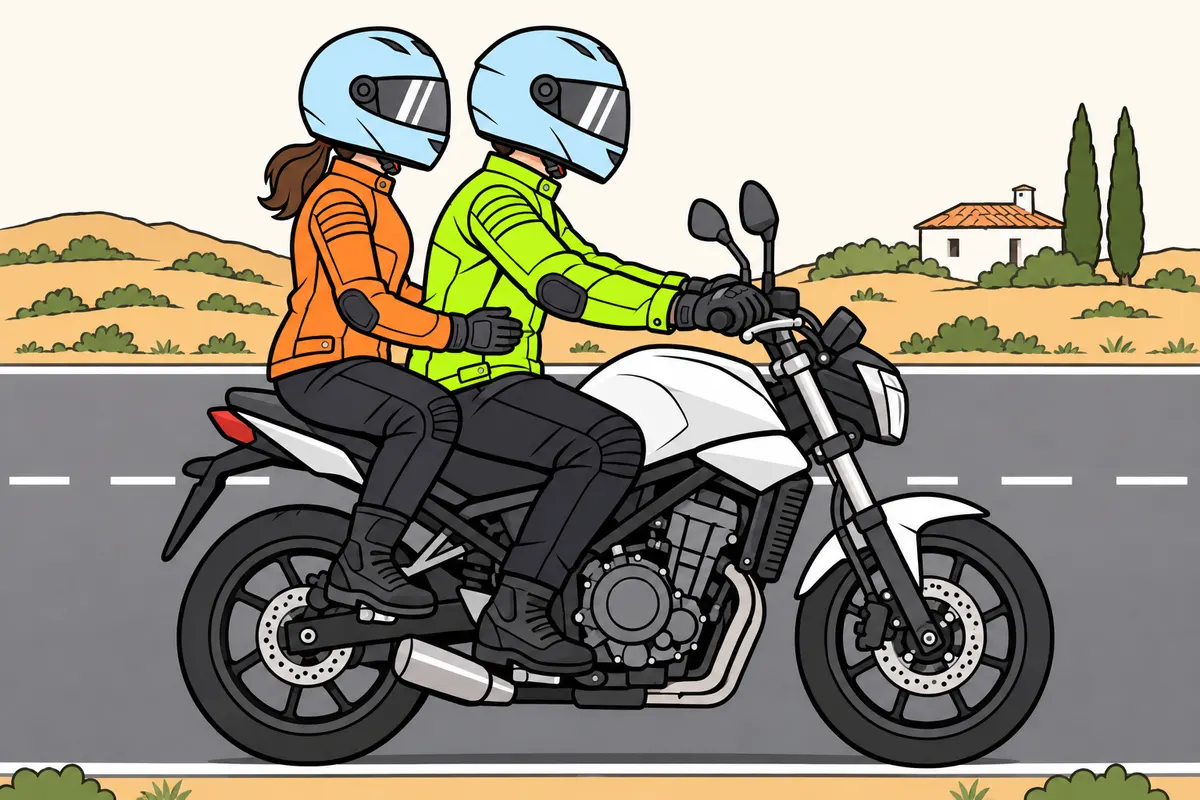
1Compulsory equipment on an A2 motorcycle
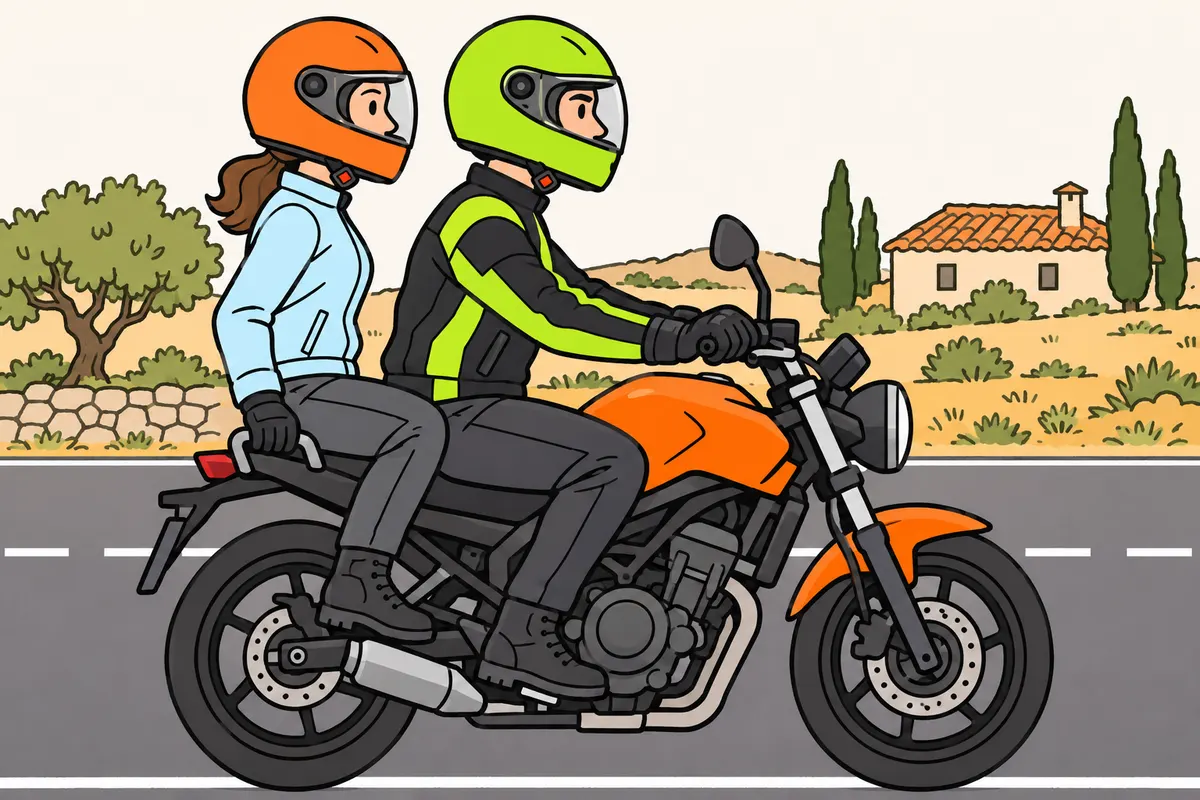
Wear your helmet, gloves and footwear as required for your road and vehicle.
| Motorcycle equipment: rider and passenger | Where you must wear it |
|---|---|
| Fastened, type-approved helmet | Every road |
| Protective gloves | Interurban roads |
| Closed footwear covering your whole foot | Every road |
Remember
- Fasten your UNECE R22 approved helmet on every road.
- Your passenger must also wear the compulsory equipment.
- A sidecar does not remove the helmet requirement.
- Add a protective jacket and trousers: these are recommended.
- Only moped users may wear merely certified helmets during the transitional period.
- This allowance lasts one year from 1 October 2026.
Exam trap: Wrong: a merely certified moped helmet is enough on your motorcycle. Right: you need a type-approved helmet.
Read the full explanation
- You must wear a protective helmet type-approved under UNECE Regulation R22, properly fastened, on every road. This obligation also applies to your passenger and to motorcycles with sidecars. [RGC, art. 118.1.a](https://www.boe.es/buscar/act.php?id=BOE-A-2003-23514#a118)
- You must wear protective gloves when riding on interurban roads and closed footwear covering your entire foot on every road. Both requirements apply to you as the rider and to your passenger. [RGC, art. 118.1.b and c](https://www.boe.es/buscar/act.php?id=BOE-A-2003-23514#a118)
- If you ride a moped, you and your passenger may wear certified protective helmets for one year from 1 October 2026, until 1 October 2027. This transitional allowance is limited to mopeds. [RD 518/2026, transitional provision 1.ª](https://www.boe.es/buscar/doc.php?id=BOE-A-2026-13889)
- When riding, you are advised to supplement the compulsory equipment with a protective motorcycle jacket and trousers.
2Exemption for a protective structure and seat belts
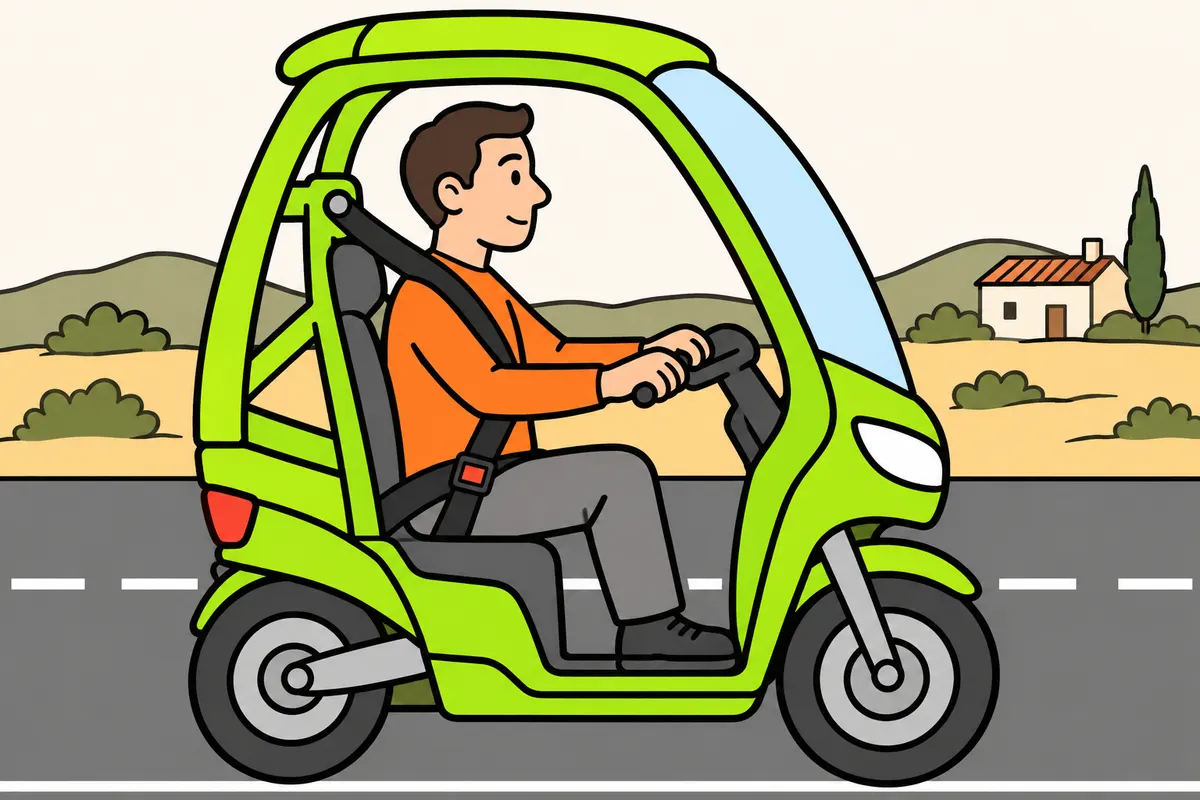
You need documented protective structure and seat belts to use the equipment exemption.
Remember
- Check that your vehicle has a protective structure and seat belts.
- Both must appear on its vehicle roadworthiness test card.
- For mopeds, they may appear on the technical characteristics certificate.
- Under this exemption, wear your seat belt on every road.
- A medical seat belt exemption does not exempt you from an ordinary motorcycle helmet.
Exam trap: Wrong: a windscreen lets you remove your helmet, gloves and closed footwear. Right: you need a protective structure and seat belts recorded on the roadworthiness card or moped technical certificate; then wear your belt.
Read the full explanation
- You may use the exemption from wearing a helmet, gloves and closed footwear if your vehicle has a protective structure and seat belts and these features are recorded on its tarjeta ITV (vehicle roadworthiness test card) or, for a moped, its certificate of characteristics. You must then wear the seat belt on every road. [RGC, art. 118.1](https://www.boe.es/buscar/act.php?id=BOE-A-2003-23514#a118)
- A windscreen, roof or sidecar does not establish that your vehicle has a protective structure: this must be recorded on the tarjeta ITV. [RGC, art. 118.1](https://www.boe.es/buscar/act.php?id=BOE-A-2003-23514#a118)
- The exemption certificate for serious medical reasons or disability under article 119 concerns seat belts and other restraint systems; it does not exempt you from wearing a helmet on an ordinary motorcycle. [RGC, art. 119](https://www.boe.es/buscar/act.php?id=BOE-A-2003-23514#a119)
3Passive protection and the limits of equipment
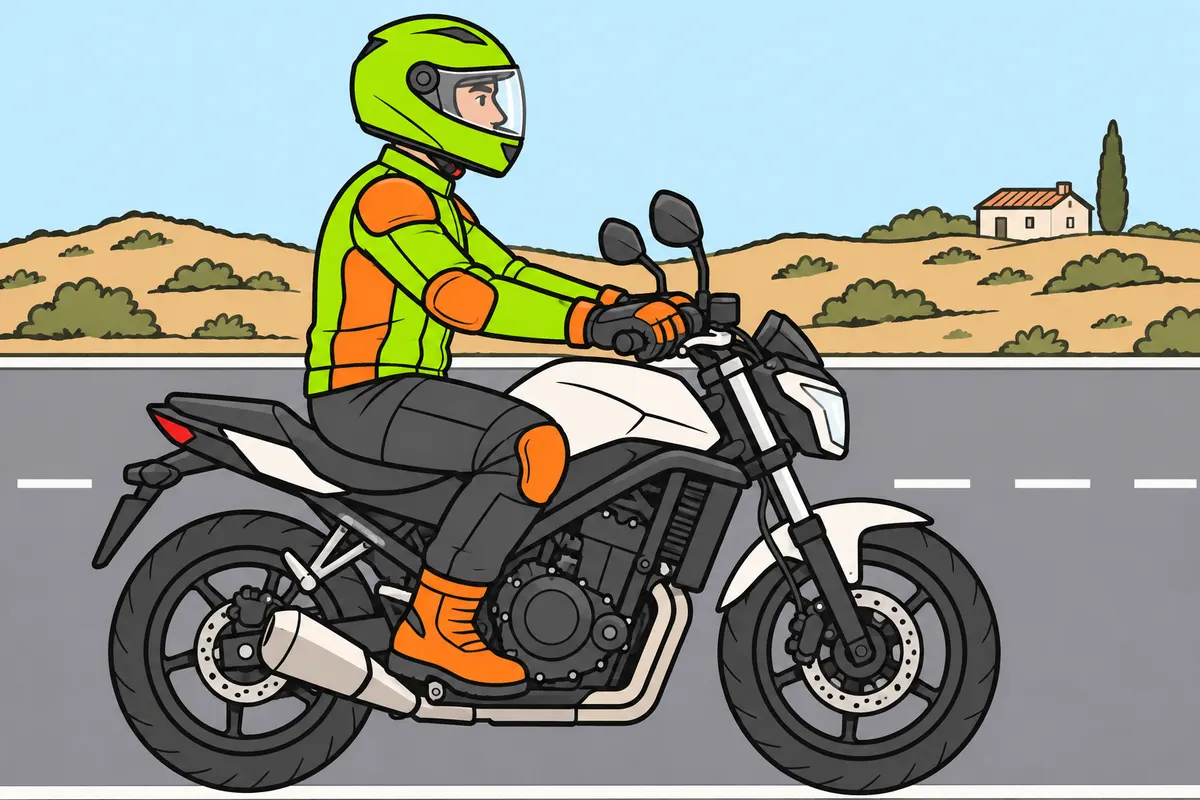
Your equipment reduces injuries but cannot remove every risk.
| Safety | What it does for you | Examples |
|---|---|---|
| Passive | Reduces crash consequences | Helmet and protective clothing |
| Active | Helps you avoid a crash | Brakes and tyres |
Remember
- Protect your head, hands, torso, legs and feet.
- Keep your clothing properly fastened throughout your journey.
- Do not take greater risks because you have good equipment.
- You can still suffer fractures or internal injuries while wearing protection.
Exam trap: Wrong: your equipment prevents every injury. Right: it reduces harm without guaranteeing protection.
Read the full explanation
- On a motorcycle, you lack the protective passenger compartment of a car, and your body is exposed to impacts and sliding along the ground. You must protect your head, hands, torso, legs and feet as a whole: leaving one area uncovered keeps it exposed even if your other clothing is excellent.
- Your helmet and protective clothing form part of your passive safety: they aim to reduce the consequences of a fall or collision. Your brakes and tyres contribute to active safety because they help you avoid an accident.
- Your equipment can reduce impacts, abrasions and friction burns, but it does not guarantee protection against all fractures or internal injuries. You must not regard good protection as permission to take greater risks either; its performance is checked under specific test conditions.
- You must choose clothing that you can wear correctly throughout your journey. Protection you leave at home, a fastening you leave open or a glove you keep in your pocket does not protect the intended area.
4Helmet type approval and identification
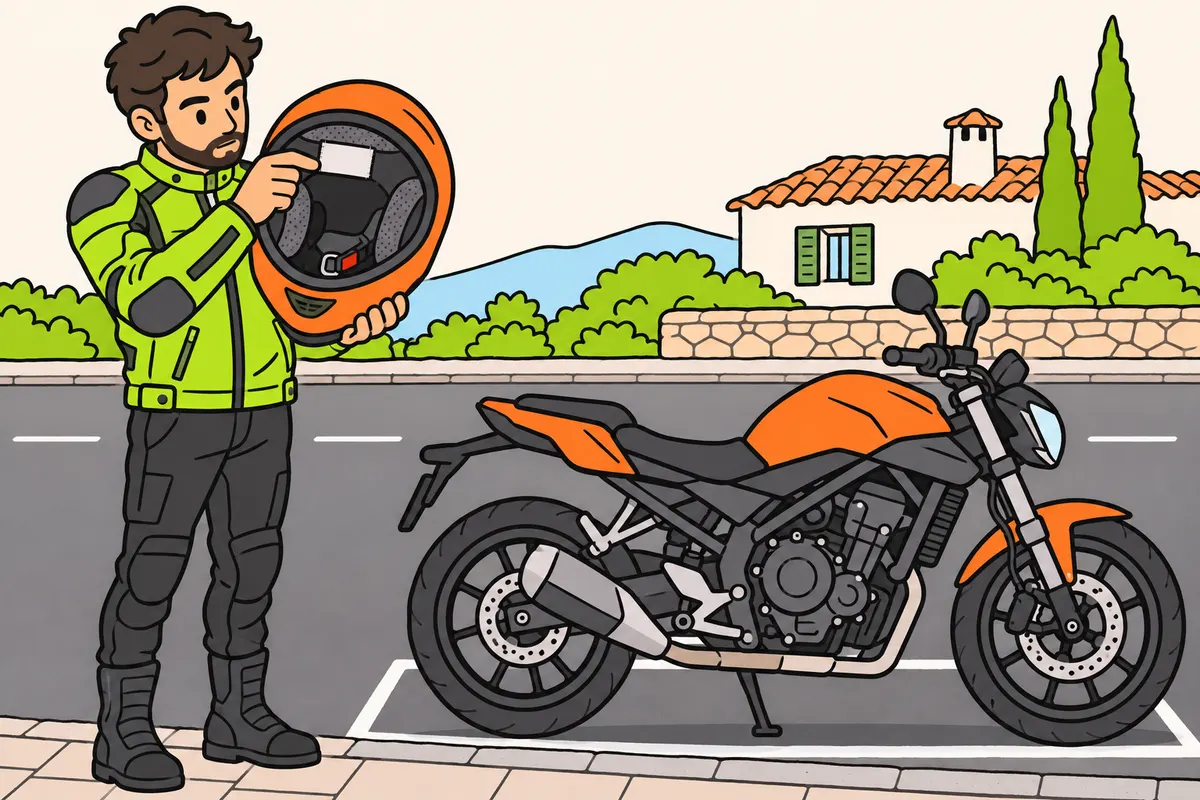
Check the label to confirm your helmet is approved for motorcycling.
Remember
- Look for UNECE R22 approval, the manufacturer and the model.
- Try your size and read the instructions before buying.
- Keep the documents to help you choose compatible spare parts.
- Use your helmet only for its approved activity and configuration.
Exam trap: Wrong: the number beside E shows quality or size. Right: it identifies the country granting approval.
Read the full explanation
- Check the type-approval label and the manufacturer's and model identification. You must be able to recognise that you are buying a motorcycle helmet approved under UNECE R22; a decorative sticker or the word ‘safe’ on the packaging does not prove this approval. [RGC, art. 118.1.a](https://www.boe.es/buscar/act.php?id=BOE-A-2003-23514#a118)
- On the type-approval marking, you may find an E followed by a number identifying the country that granted approval. This number is neither a quality rating nor a size; you must distinguish it from the type-approval number and the product's serial number.
- Choose a retailer where you can check the marking, try the helmet for size and consult the instructions. A sporty appearance or a high price alone does not tell you which tests the helmet has passed. Keep the documentation so that you can identify compatible replacement parts.
- You must use your helmet for its approved purpose and in its approved configuration. A helmet intended for another activity, such as cycling or industrial work, does not thereby demonstrate that it meets the requirement for an A2 motorcycle.
5Full-face, open-face and flip-front helmets
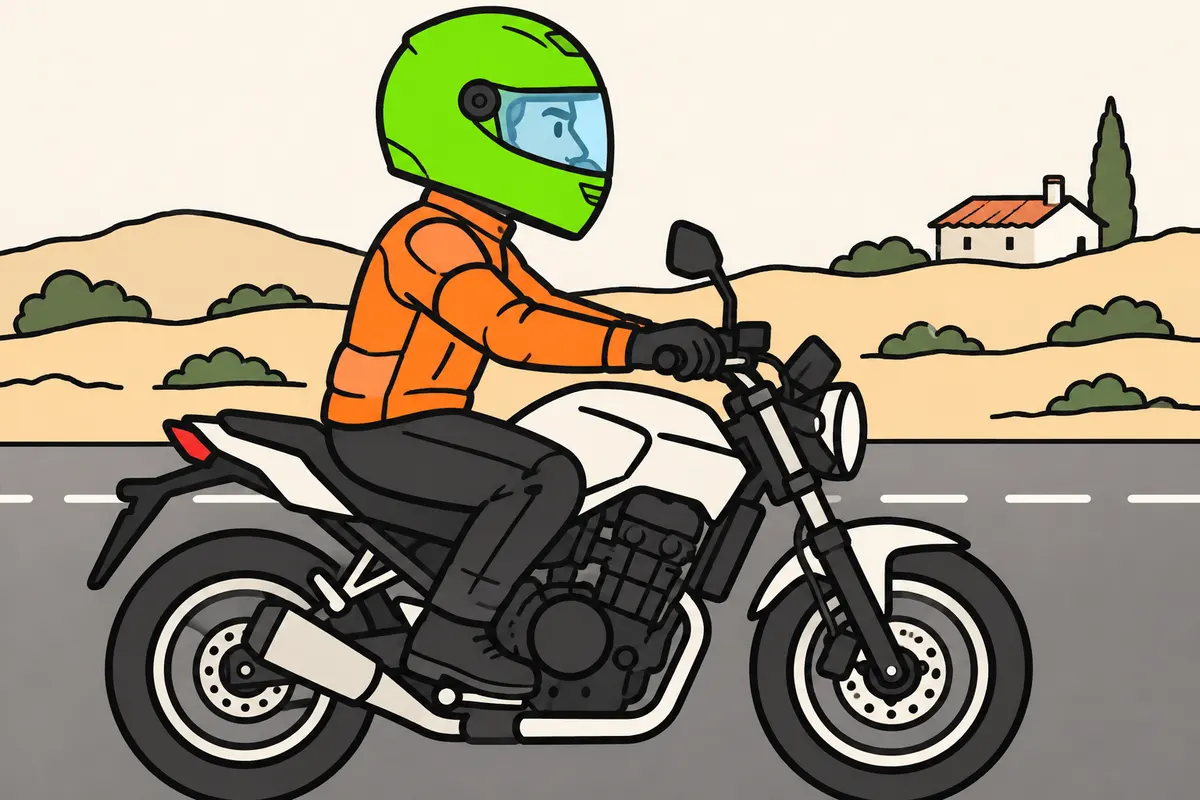
Prefer a full-face helmet and follow the approved configuration for your helmet.
| Helmet type | What you need to know |
|---|---|
| Full-face | Also covers your jaw and chin |
| Open-face or jet | Leaves more of your face exposed |
| Flip-front | Use a position approved for riding |
Remember
- Consider coverage as well as comfort.
- Check you can lock the visor and chin bar without moving your helmet.
Exam trap: Wrong: you can ride with any flip-front helmet open. Right: follow its approval and manufacturer’s instructions.
Read the full explanation
- For protection, you are advised to favour a full-face helmet: it covers your head as well as the lower part of your face, jaw and chin. The visor adds eye protection against wind and particles; you must consider the overall coverage as well as comfort.
- An open-face or jet-style helmet leaves more of your face exposed. Its type approval certifies the performance of its design, but does not add a chin bar that it physically lacks.
- With a flip-front helmet, you can raise the front section to make certain tasks easier. When riding, you must follow the configuration permitted by its type approval and the manufacturer's instructions; the fact that the section hinges upwards does not mean that every position is authorised while riding.
- Try the visor and chin bar, if fitted: you must be able to close and lock the parts without altering the helmet's fit.
6Helmet structure, replacement and care
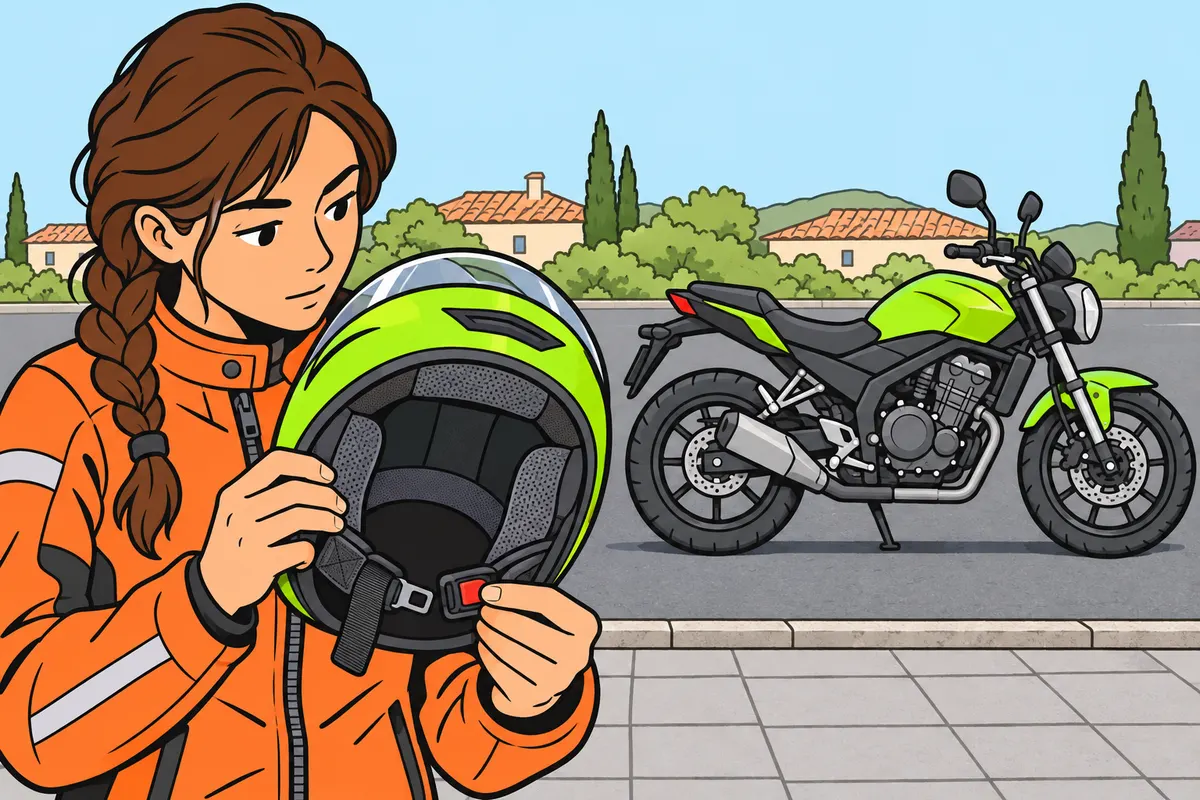
Replace your helmet after a significant impact, even if it looks undamaged.
| Helmet part | How it helps you |
|---|---|
| Outer shell | Spreads impact and resists abrasion |
| Inner energy-absorbing material | Deforms to absorb energy |
| Fabric padding | Provides comfort and fit |
Remember
- Avoid used helmets if you do not know their impact history.
- If you drop it empty or doubt an impact, consult the manufacturer.
- Check straps, fastenings and looseness; follow the stated service life.
- Clean it as instructed and use compatible spare parts.
- Do not drill your helmet or cut its energy-absorbing material.
- Store it safely and check inside before putting it on.
Exam trap: Wrong: new comfort pads repair an impact-damaged helmet. Right: they cannot repair its energy-absorbing layer.
Read the full explanation
- Your helmet's outer shell spreads the impact and resists penetration and abrasion. Beneath it, the energy-absorbing material, usually EPS, deforms to absorb energy; the textile padding provides comfort and fit. Replacing the pads does not repair the energy-absorbing layer.
- You must replace your helmet after a significant impact, even if you cannot see any damage. If you drop it while empty or are unsure about an impact, consult the instructions and the manufacturer; avoid used helmets whose history you do not know.
- Check the straps, anchor points and fastenings, and check for looseness; follow the service life specified by the manufacturer. There is no universal legal expiry date for all helmets.
- Clean the visor, lining and shell according to their instructions and use compatible replacement parts. Do not drill the shell, cut the energy-absorbing material or alter the anchor points; check compatibility before applying paints, solvents or adhesives.
- Store your helmet in a stable place, protected from impacts and from any conditions the manufacturer advises against. Before putting it on, check the inside, ventilation inlets and fastening.
7A size that fits your head
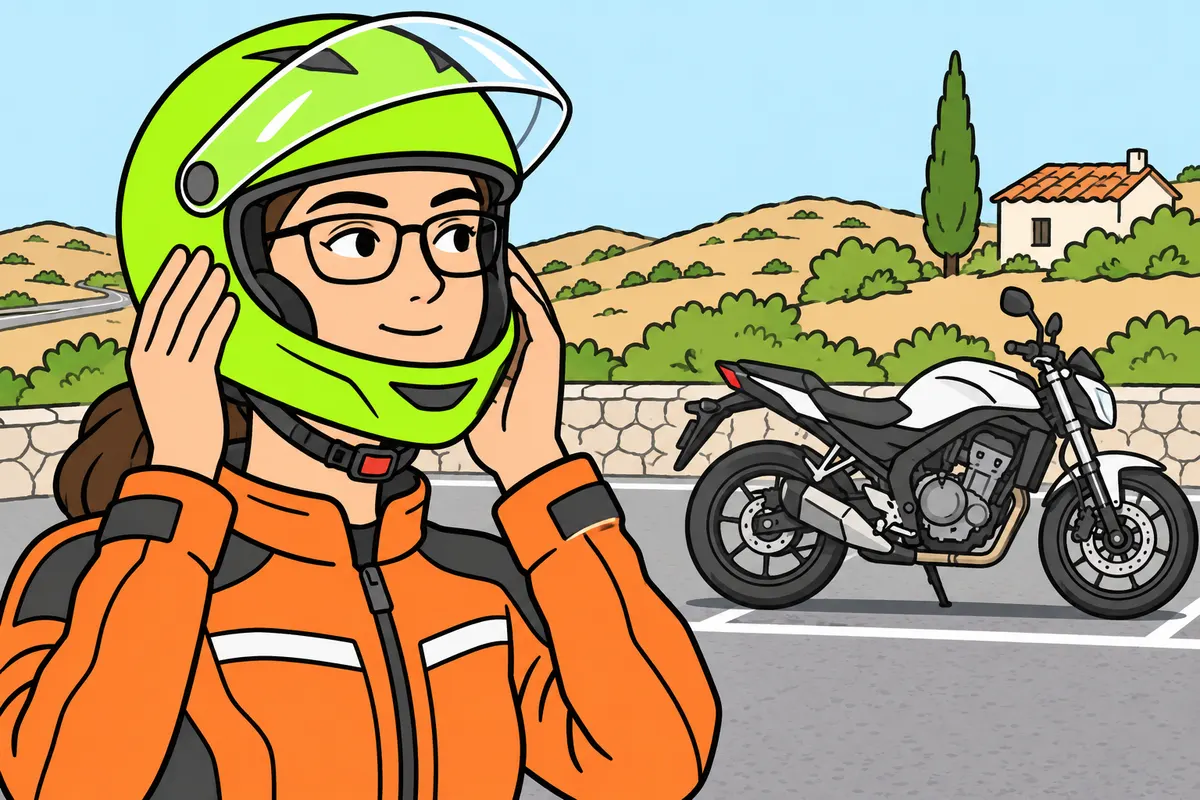
Try your helmet fastened: it must fit firmly without hurting you.
Remember
- Check for gaps or painful pressure.
- Position it above your eyebrows without covering your eyes.
- Move your head: your helmet must not rotate independently.
- Check that you can still see to the sides.
- If you wear prescription glasses, try them with your helmet.
- Check size and retention if you can remove it easily.
Exam trap: Wrong: you buy a large size for comfort. Right: find the correct size and shape.
Read the full explanation
- You must try the helmet on in person and check the fit all the way round. It must fit firmly, without gaps or looseness and without concentrating painful pressure on your forehead or any other area. You achieve comfort through the right size and shape, not by buying an excessively large helmet.
- Put it on in its intended position: it must cover your forehead above your eyebrows without dropping over your eyes. Move your head to check that it does not turn independently or shift far enough to block your view. Also check that you retain sufficient side vision.
- If you wear prescription glasses, try them on with the helmet in place. The arms must fit without excessive pressure and the frames must stay in position. If a helmet forces your glasses out of position or reduces your field of vision, you need a different size, a different adjustment or a different model.
- Check the fit with the fastening secured, as this is how you actually use it. If it moves or can come off easily, check the size and retention system before setting off.
8A properly adjusted strap and fastening
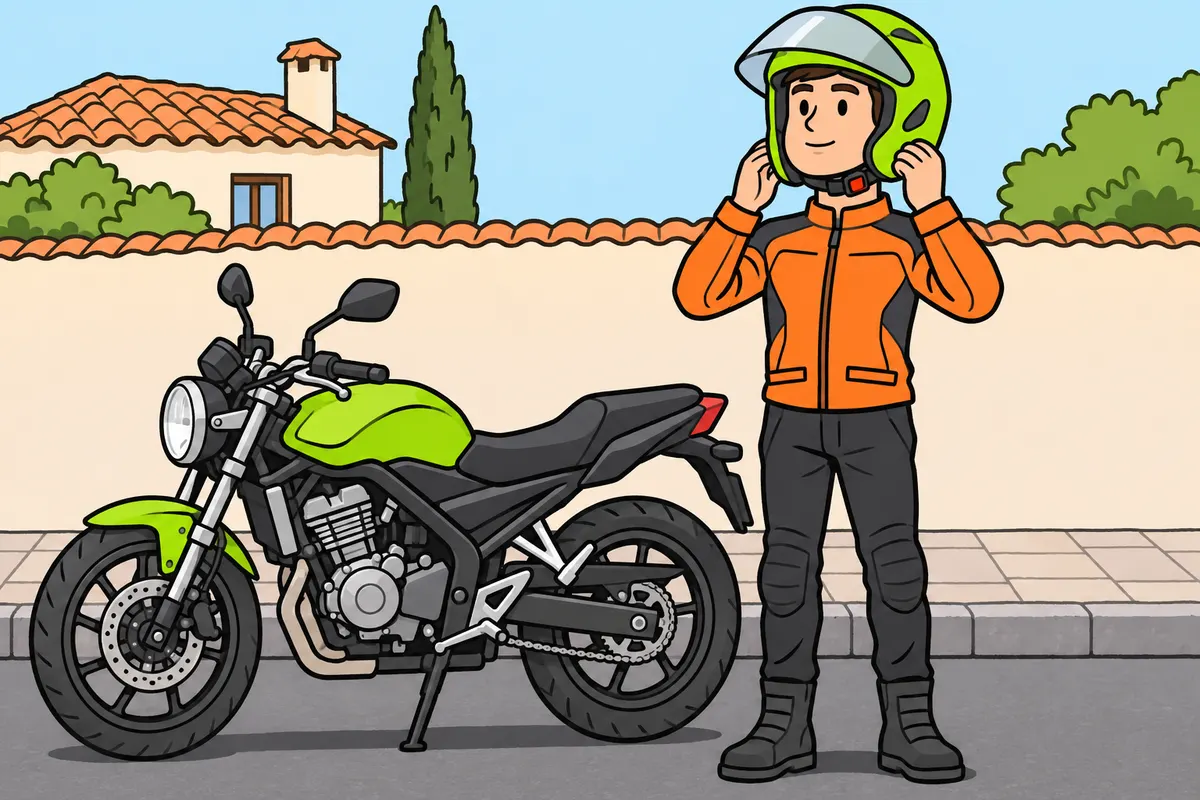
Fasten your helmet and adjust the strap every time you use it.
Remember
- Adjust the strap according to its instructions.
- Check that you can breathe and move your head.
- Pull your helmet carefully: it must not come off easily.
- If it moves too much, adjust the strap or change size.
- Check the strap, anchor points and buckle for damage.
- Help your passenger check their fastening if needed.
Exam trap: Wrong: closing a very loose strap is enough. Right: fasten it and adjust it correctly.
Read the full explanation
- You must fasten your helmet every time you use it and adjust the strap according to its instructions. The retention system must prevent it from coming off without making it difficult for you to breathe or move your head. A closed buckle with an excessively loose strap does not ensure effective retention.
- With the helmet fastened, pull it firmly, without hurting yourself, to check that you cannot remove it easily. If it moves too much, readjust it or change size. A helmet that flies off in the first impact leaves your head exposed to subsequent impacts.
- Check the strap, anchor points and buckle: they must have no cuts or locking faults. Learn how to use your type of fastening before riding, and also check your passenger’s fastening when they need help.
9Visor, goggles and ventilation
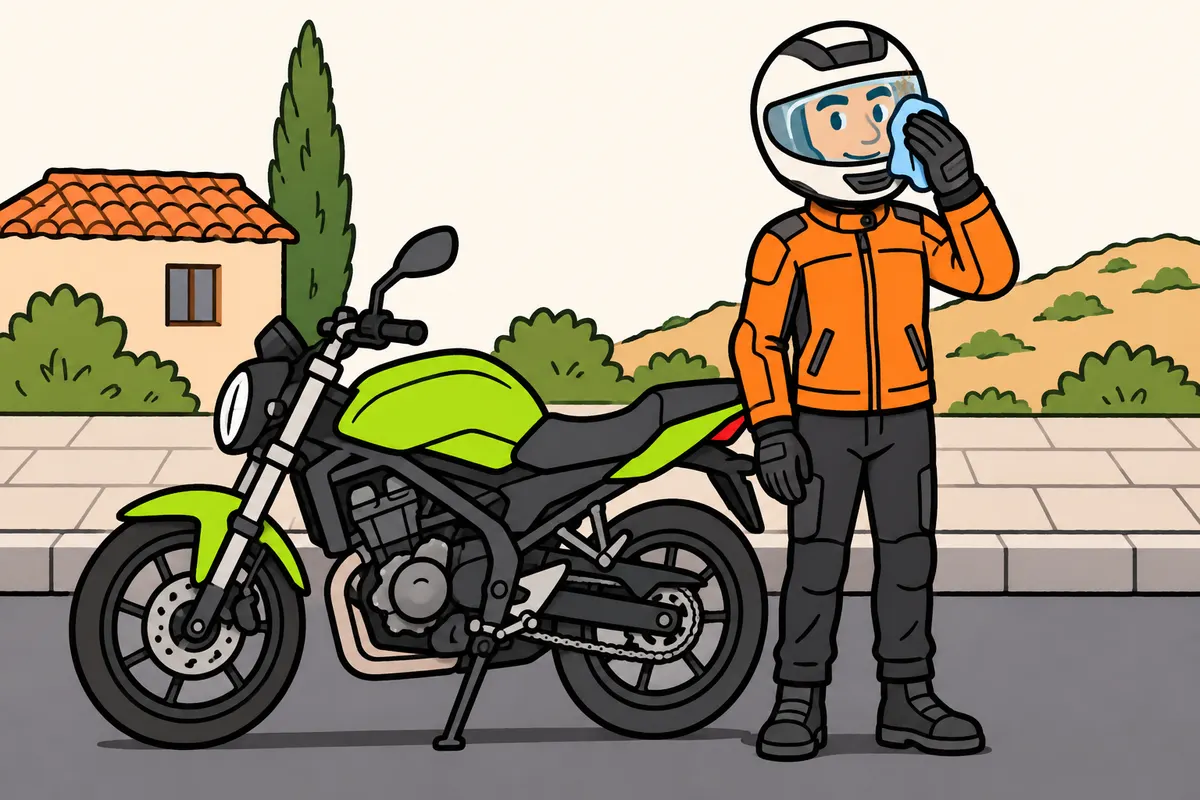
Keep your view clear and choose a visor suited to the light.
Remember
- Clean your visor and replace it if scratches make seeing difficult.
- Do not use a dark visor at night or in poor light.
- Without a visor, preferably use protective goggles designed for motorcycling.
- Use compatible ventilation and anti-fog systems.
- Keep wearing your prescription glasses if you need them.
- If mist, dirt or reflections block your view, stop somewhere safe.
Exam trap: Wrong: you counter headlights at night with a dark visor. Right: choose a visor suitable for low light.
Read the full explanation
- Keep your visor clean and free from significant scratches: these can scatter light and worsen glare at night. Replace it if damage makes it difficult to see.
- Choose a visor suited to the light conditions on your journey and follow its markings and instructions. A dark visor is unsuitable at night or in insufficient light; do not use it to counter headlight glare.
- If your helmet has no visor, you are advised to use goggles specifically designed to protect against wind, insects and particles. They must stay securely in place, be compatible with your helmet and preserve your field of vision; ordinary sunglasses do not guarantee this protection.
- Use the ventilation and compatible anti-fog systems. If you wear prescription glasses, clean and check their lenses too: your visor does not replace your corrective lenses.
- If misting, dirt or reflections prevent you from seeing, stop somewhere safe to resolve the problem.
10Motorcycle jacket and trousers
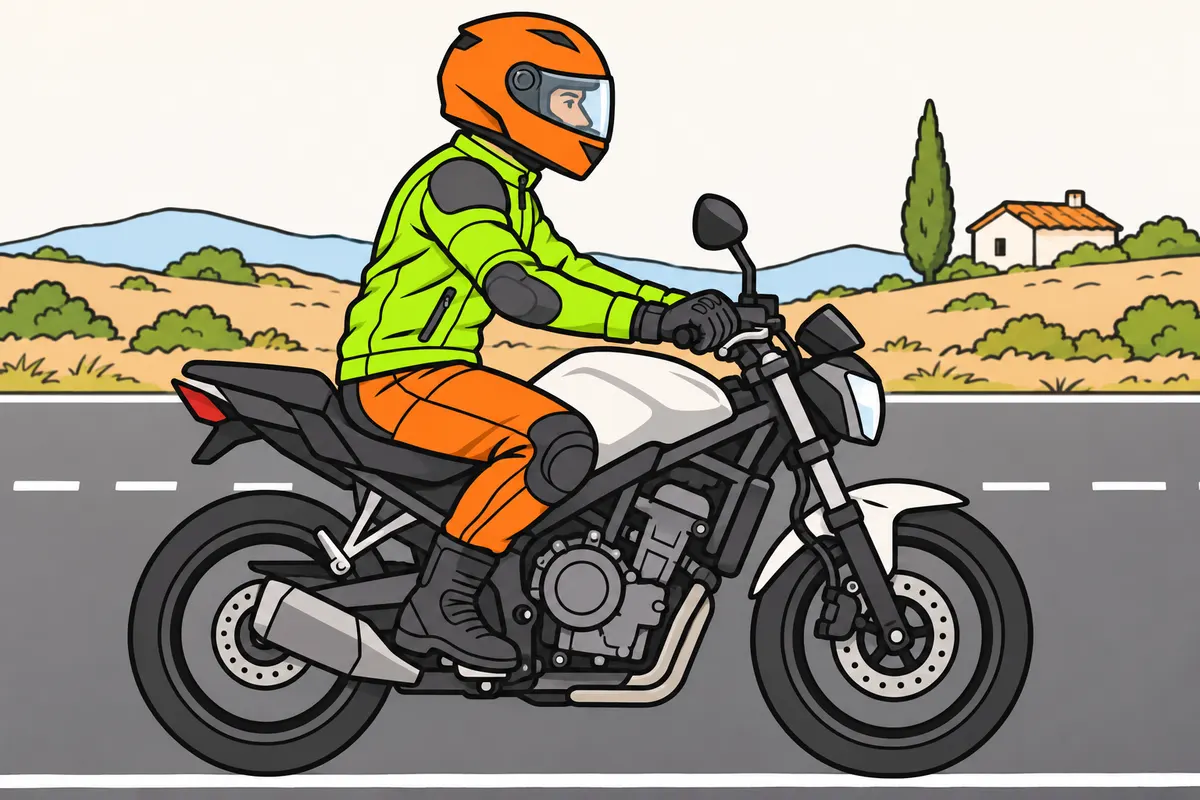
Choose motorcycle clothing that covers you and keeps its protectors in place.
Remember
- Choose long sleeves and legs with abrasion protection.
- Try your jacket and trousers in your riding position.
- Check that you can reach the controls and move freely.
- Close zips, cuffs and adjusters as instructed.
- Check you stay covered when leaning or stretching your arms.
- Use compatible garment connections as the manufacturer instructs.
Exam trap: Wrong: jeans protect you because of their appearance. Right: check their intended use and protection.
Read the full explanation
- You must choose a jacket and trousers specifically designed for motorcycling, with long sleeves and full-length legs and protection against abrasion. In a fall, you can slide along the road surface: a T-shirt, shorts or ordinary cotton clothing leave your skin exposed or offer insufficient performance for this use.
- Try both garments on in your riding position. You must be able to reach the controls, bend your elbows and knees and turn your head freely, while the protectors remain over the areas they are meant to cover. An excessively loose garment can allow them to shift.
- Close zips, cuffs and adjusters according to their instructions. Check that your jacket and trousers maintain coverage when you lean or stretch your arms. If they have a compatible connecting system, use it as the manufacturer instructs to help keep both garments in place.
- The appearance of a pair of jeans alone does not tell you how resistant they are. You can find motorcycle clothing that looks like everyday clothing, and ordinary clothing with no protective performance. You must check its intended purpose and protective features, rather than deciding solely by colour or style.
11Leather, technical fabrics and marking
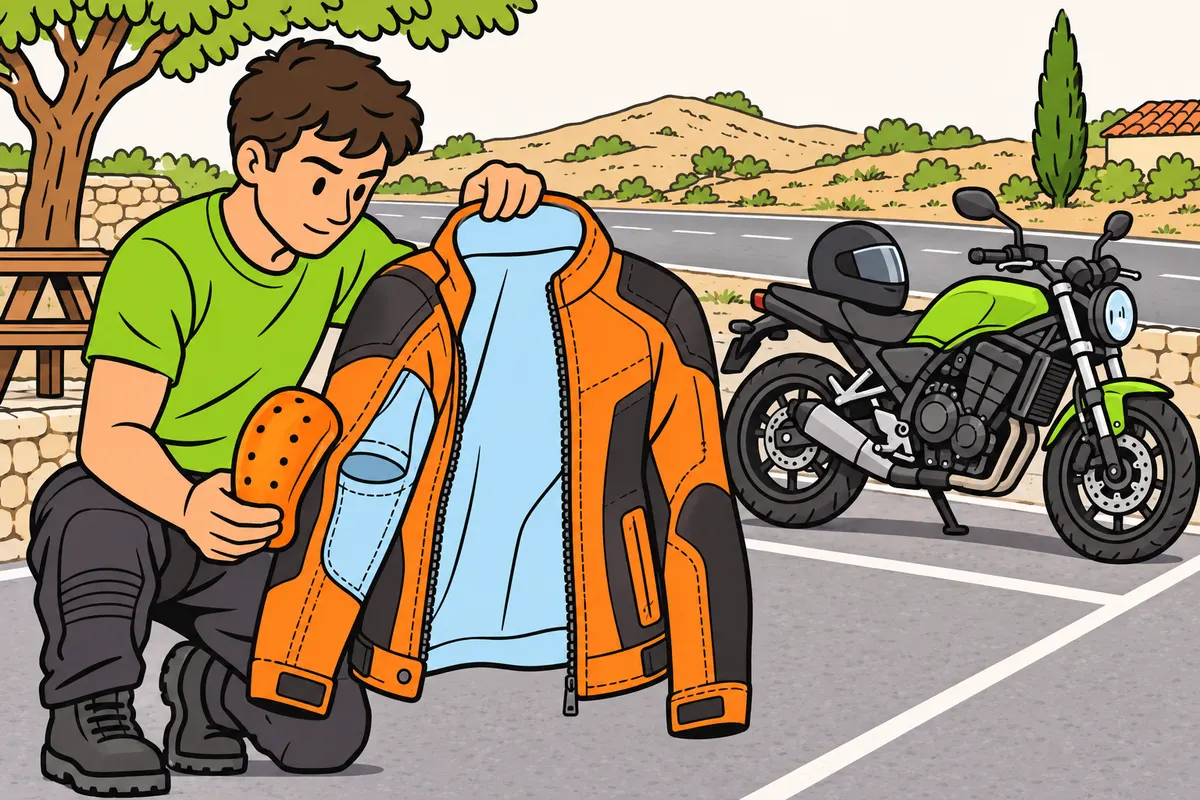
Compare each garment’s verified protection as well as its material.
| What you compare | What you must check |
|---|---|
| Garment fabric | Abrasion resistance |
| Removable protector | Its protection does not establish fabric resistance |
| Labels on different products | Each identification applies to its own product |
Remember
- You can choose leather or technical fabric suitable for motorcycling.
- Check its condition, fit and intended use.
- Read the label and care instructions.
- Choose protection, ventilation and waterproofing suited to your journey.
- Check materials: use and sunlight can damage them.
Exam trap: Wrong: any leather protects better than any technical fabric. Right: compare each product’s performance.
Read the full explanation
- You can choose leather or technical fabrics suitable for motorcycling. You must compare verified performance, condition, fit and intended use. You cannot correctly claim that any leather protects better than any textile, or that all textiles provide ventilation or protection from water in the same way.
- Read the labelling and user information to distinguish the protective garment from its accessories. A removable knee protector alone does not establish the abrasion resistance of the surrounding fabric; you must assess the whole garment and the positioning of each component.
- Look for clear information on protection, limitations and maintenance. Use and exposure to sunlight can damage the materials: inspect the garment as its manufacturer instructs. Garments can combine abrasion resistance, ventilation and waterproofing in different ways: you must choose the right combination for your journey and care for it according to the instructions, without assuming capabilities it does not claim.
- In the DGT’s technical documentation, you find separate standards for clothing, gloves, boots and protectors. You must interpret each identification according to the product it applies to, without treating every label as type approval identical to that of a helmet.
12Joint and back protectors
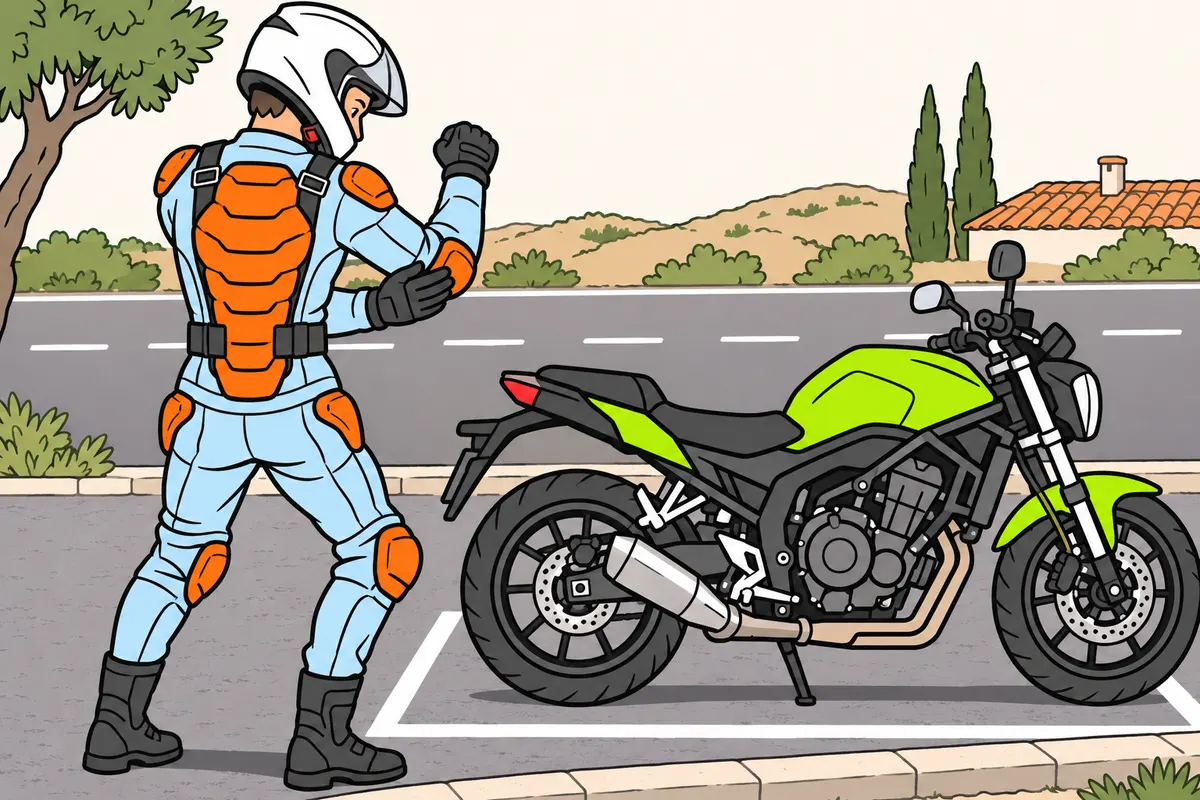
Adjust your protectors to cover their intended areas without moving out of place.
| Protection | What you must distinguish |
|---|---|
| Abrasion-resistant fabric | Protects against sliding abrasion |
| Impact protector | Cushions blows in its covered area |
| Comfort padding | Does not automatically provide impact protection |
Remember
- Cover shoulders, elbows, hips and knees as appropriate for your garment.
- Choose a back protector with suitable size and retention.
- Check your protectors stay in place when you bend your joints.
- Follow positioning and compatibility instructions for removable protectors.
- Do not confuse a comfort belt with a protective back protector.
Exam trap: Wrong: your back protector prevents every neck injury. Right: it reduces impacts on the back area it covers, without guaranteeing freedom from injury.
Read the full explanation
- You must cover exposed areas with suitable protectors: shoulders, elbows, hips and knees, depending on the garment. Their purpose is to reduce impacts in the protected area. The fabric’s resistance to abrasion when sliding and a protector’s ability to cushion impacts are different performance characteristics.
- A back protector helps reduce the force transmitted to the area of your back that it covers. Choose a size and retention system that keep it in place while riding and in a fall. You must not automatically equate padding for comfort with an impact protector.
- The reference EN 1621-2 applies to back protectors for motorcyclists. You can find different levels and areas of coverage: you must check the product markings. You must not assume that it provides universal protection for your neck or guarantees prevention of every spinal injury. [DGT, motorcycle safety systems](https://www.dgt.es/export/sites/web-DGT/.galleries/Images/conoce-la-dgt/que-hacemos/conocimiento-investigacion/Sistemas-de-Seguridad-para-Motocicletas_vr.pdf)
- Check that the protectors stay in position when you bend your joints. If they are removable, follow the specified requirements for their pockets, orientation and compatibility. You cannot use a belt intended for lower-back comfort as a substitute for a protective back protector on that basis.
13Protective gloves that preserve feel
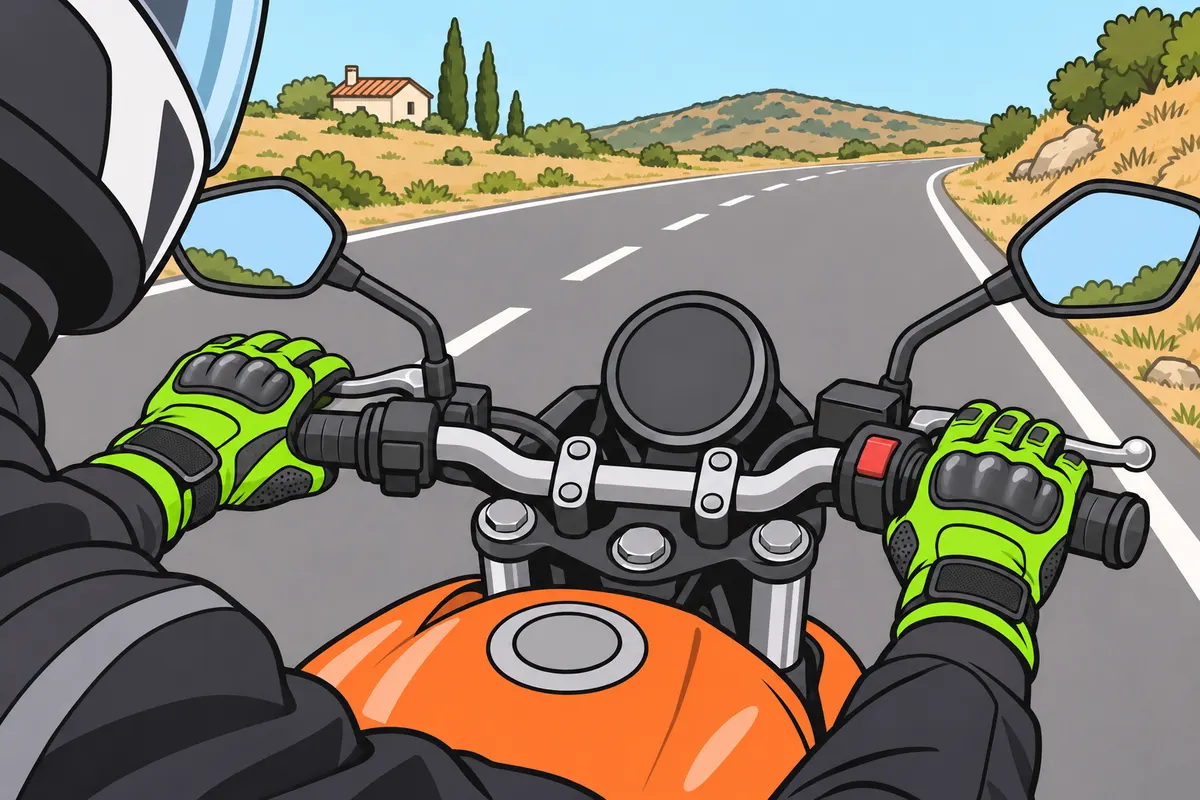
Choose gloves that protect your hands and let you operate the controls.
Remember
- Protect your hands in summer too.
- Try your gloves fastened and check your finger movement.
- Check you can operate the throttle, brake and clutch precisely.
- Adjust the wrist fastening.
- Check palms, seams and fastenings; replace gloves if protection is compromised.
- Assess the whole glove as well as its lining material.
Exam trap: Wrong: you choose the thickest gloves without trying them. Right: check protection, fit and precise control.
Read the full explanation
- You must protect your hands against abrasion and impacts: you may put them on the ground when you fall. Gloves also help protect you against cold, wind or rain, depending on their design. Your hands remain exposed in summer.
- Choose motorcycle gloves in a size that allows you to hold the handlebars and operate the throttle, brake, clutch and switches precisely. Try them on with the fastenings secured and check that there is no excess material at the fingertips or tightness that restricts movement.
- The wrist fastening helps prevent them from coming off. You must check the palms, seams, fastenings and protective areas, and replace the gloves if wear compromises their function. Choosing the thickest gloves without trying the controls can reduce feel without ensuring adequate protection.
- You can find textile and leather gloves for different climates. The lining material, whether natural or synthetic, does not determine their effectiveness on its own: you must consider the construction, fit and performance of the complete product.
14Gloves and footwear: scope of the requirement
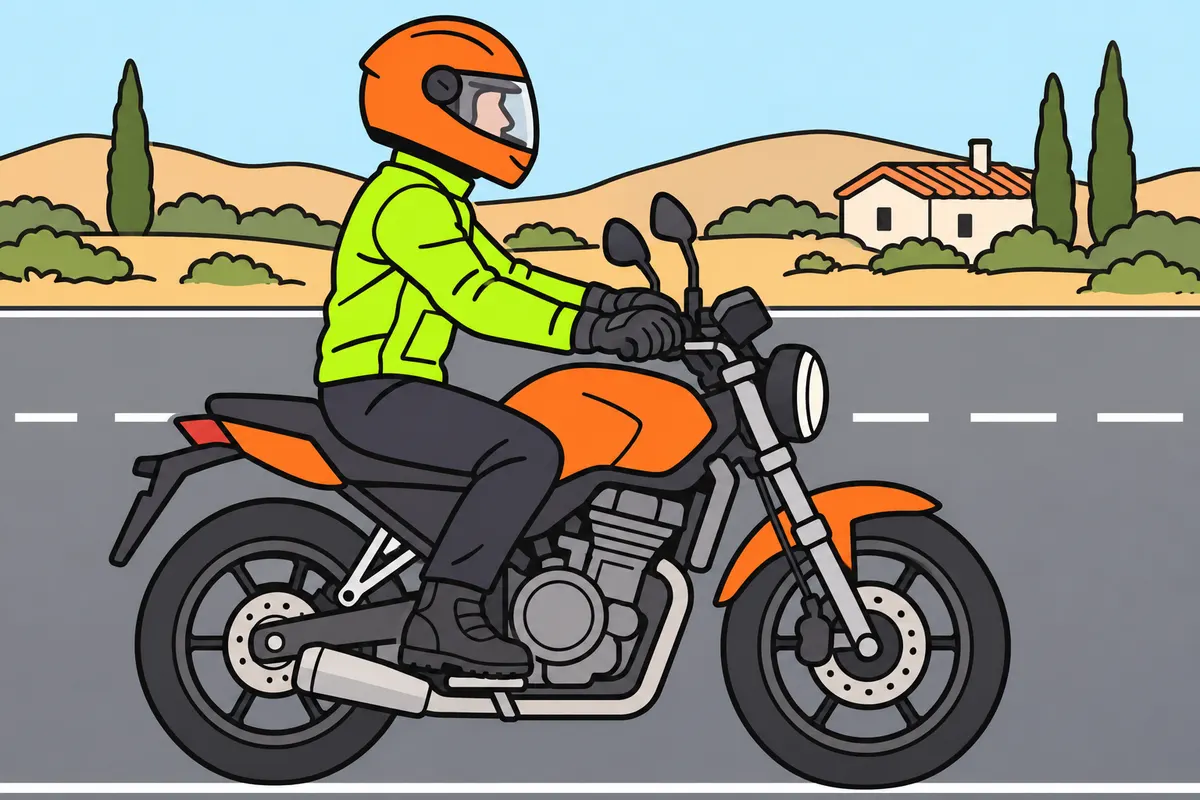
Meet glove and footwear requirements even when breaking them does not cost licence points.
| Failure to comply | Consequence for you |
|---|---|
| Compulsory gloves or footwear | Fine without points loss |
| Riding without properly wearing your compulsory helmet | Fine and loss of 4 points |
Remember
- Until the technical order takes effect, wear protective gloves with the usual characteristics.
- These gloves do not need specific road-traffic type approval.
- Prefer motorcycle gloves with verified protection.
- Wear closed footwear covering your whole foot.
- For enforcement, DGT accepts footwear securing at least your toes and heel.
- Do not wear flip-flops without adequate retention.
Exam trap: Wrong: no points loss means you can ignore the rule. Right: breaking compulsory glove or footwear rules brings a fine.
Read the full explanation
- Until the ministerial order establishing their technical specifications comes into force, you must use protective gloves with the usual characteristics provided for under the transitional arrangements of RD 518/2026 (Royal Decree 518/2026). [RD 518/2026, second transitional provision](https://www.boe.es/buscar/doc.php?id=BOE-A-2026-13889)
- DGT Instrucción SANC 2026/25 (Instruction SANC 2026/25) clarifies that, to meet this obligation, gloves do not require any specific traffic type approval or certification. Choosing motorcycle gloves with verified protection remains recommended. [DGT, Instruction SANC 2026/25](https://www.dgt.es/export/sites/web-DGT/.galleries/downloads/muevete-con-seguridad/normas-de-trafico/S-sanciones/2026/Instruccion-SANC-2026_25_sobre-utilizacion-de-calzado-cerrado-y-guantes.pdf)
- For footwear, learn the wording of article 118: closed and covering the whole foot. For enforcement purposes, the DGT instruction considers it sufficient for the footwear to secure at least the toes and heel. Flip-flops without adequate fastening do not meet this criterion. [DGT, Instruction SANC 2026/25](https://www.dgt.es/export/sites/web-DGT/.galleries/downloads/muevete-con-seguridad/normas-de-trafico/S-sanciones/2026/Instruccion-SANC-2026_25_sobre-utilizacion-de-calzado-cerrado-y-guantes.pdf)
- If you fail to comply with the glove or footwear requirement, you receive a fine without losing any points; if you ride without properly wearing the compulsory helmet, you lose 4 points as well as receiving a fine. [DGT, Instruction SANC 2026/25](https://www.dgt.es/export/sites/web-DGT/.galleries/downloads/muevete-con-seguridad/normas-de-trafico/S-sanciones/2026/Instruccion-SANC-2026_25_sobre-utilizacion-de-calzado-cerrado-y-guantes.pdf) [Ley de Tráfico (Traffic Act), annex II.15](https://www.boe.es/buscar/act.php?id=BOE-A-2015-11722#anii)
15Boots that protect your feet and ankles
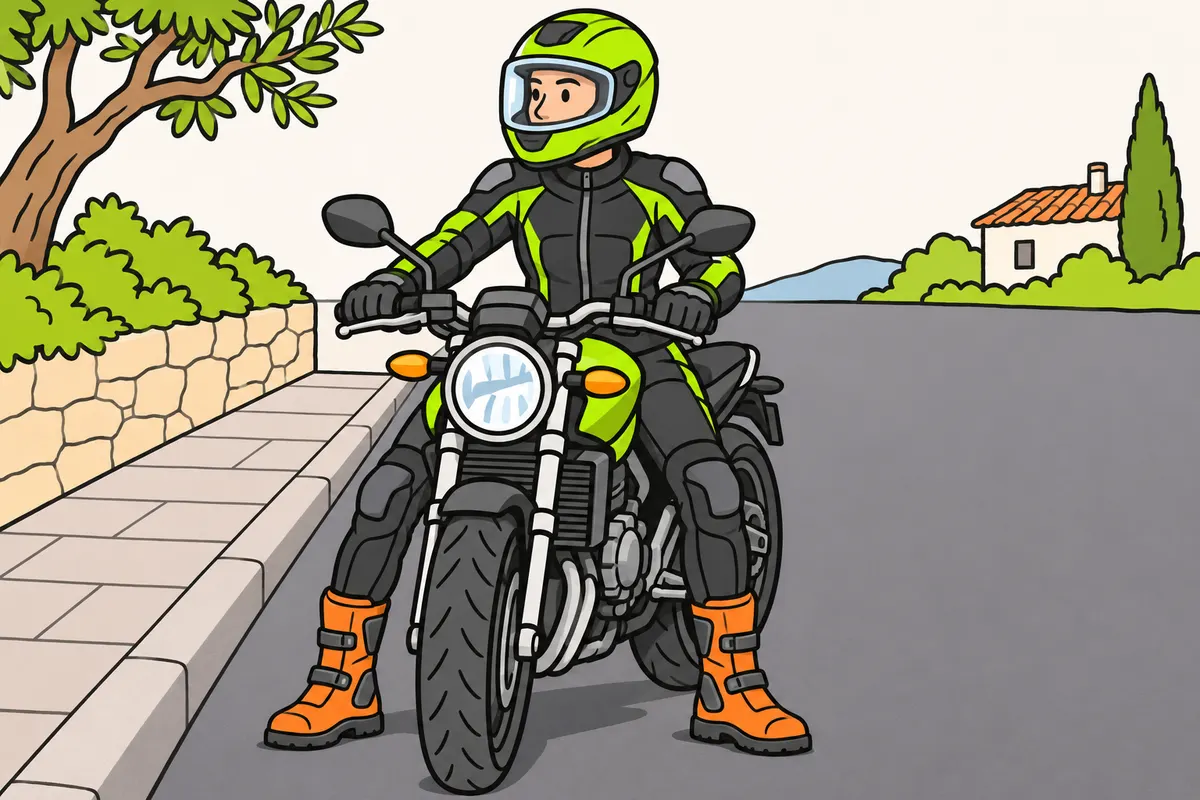
Use motorcycle boots that protect your feet and ankles while allowing control.
| Footwear | What you need to know |
|---|---|
| Motorcycle-specific boots | Combine protection and mobility |
| Ordinary trainers | May cover your foot while offering less protection |
| Ordinary boots | Do not guarantee motorcycling performance |
Remember
- Choose well-fitting boots covering your ankles and lower legs.
- Try them with your motorcycle stationary.
- Check you can put your feet down and operate gears and brakes.
- Check sole grip, fastenings and retention.
- Avoid loose laces or ends that could catch.
- Protect both feet and ankles.
Exam trap: Wrong: covering your foot equals wearing protective boots. Right: minimum required footwear does not guarantee that protection.
Read the full explanation
- For better protection, use purpose-made motorcycle boots that fit well and cover your ankles and lower legs. The minimum footwear requirement for riding does not provide the same level of protection as boots designed for a fall.
- You must be able to put your feet down and operate the gear lever and brake precisely. Try the footwear with the motorcycle secured against movement and check that its stiffness, height, heel or sole tread does not interfere with your control. A protective boot must combine coverage and freedom of movement.
- Check the fit, sole and fastenings. Avoid loose laces or ends that could catch on the controls, and ensure good grip when you put your foot down. You must protect both feet and ankles: reinforcing only the side that operates the brake pedal is not enough.
- Ordinary trainers may cover your feet while offering less protection against impacts, twisting or sliding along the ground than motorcycle boots. You must not assume that any everyday boot offers motorcycle protection either.
16Equipment adapted to heat, cold and rain
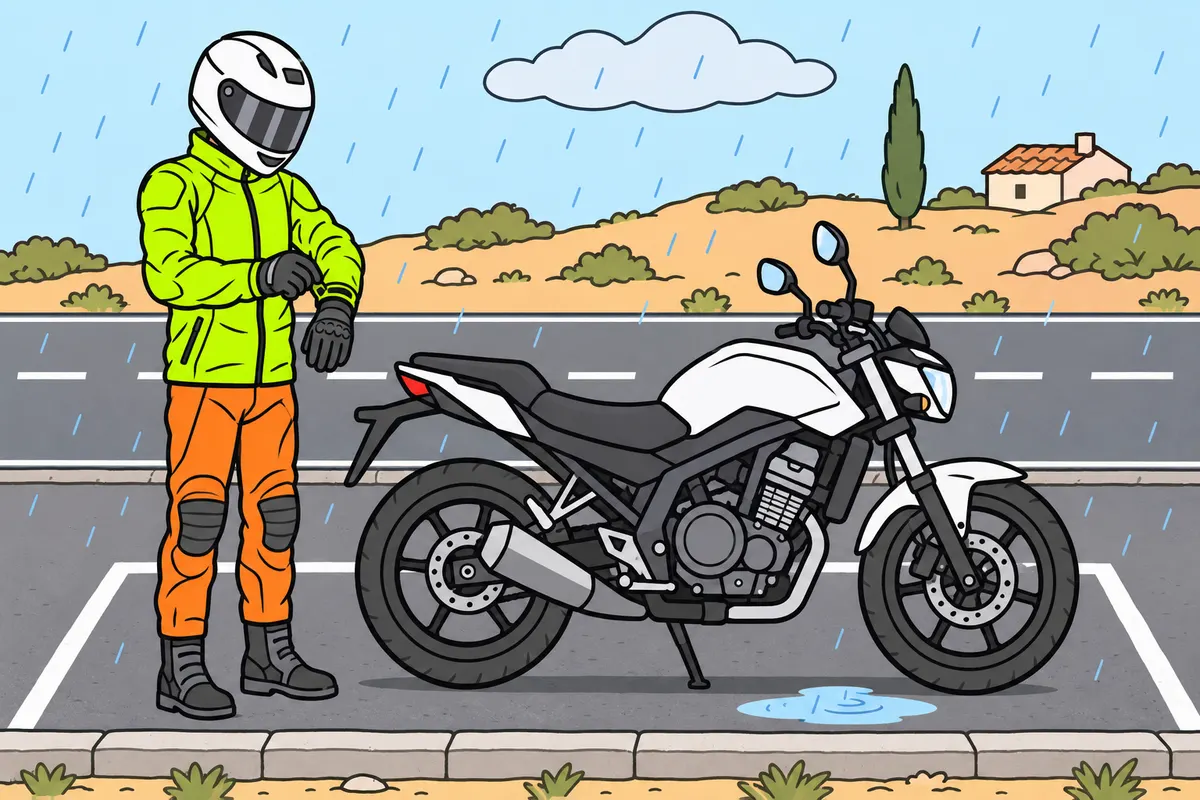
Adapt your equipment to the weather without losing protection or movement.
| Weather | What you should choose |
|---|---|
| Heat | Ventilated motorcycle clothing with protectors in place |
| Cold or rain | Insulation and waterproofing without losing movement or feel |
Remember
- Prepare adjustments before setting off.
- When removing a lining, check you are not removing an impact protector.
- Check extra layers do not move your protectors out of place.
- Avoid loose parts and check every fastening.
- If weather or equipment prevents safe control, stop somewhere suitable.
Exam trap: Wrong: you remove protection in hot weather. Right: choose ventilated clothing that keeps your protection.
Read the full explanation
- In hot weather, choose ventilated motorcycle clothing that keeps its protectors in place. You can use summer gloves and breathable boots suitable for your use. Removing protective clothing to ride with bare skin leaves that area exposed if you fall.
- Removable linings and ventilation openings allow you to adapt certain garments to the temperature. You must follow their instructions and check that removing a thermal lining does not also remove impact protection. Make adjustments before setting off.
- In cold or wet weather, look for insulation and waterproofing without adding so much bulk that you lose freedom of movement or feel. You must still be able to fasten your helmet, gloves and clothing properly. Wearing an ordinary waterproof garment over your equipment does not in itself make the equipment more resistant to impacts.
- Check that additional layers do not displace the protectors or leave loose parts. If wet equipment, heat or cold prevents you from operating the controls safely, stop somewhere suitable to resolve the problem.
17Airbags: protection, preparation and care
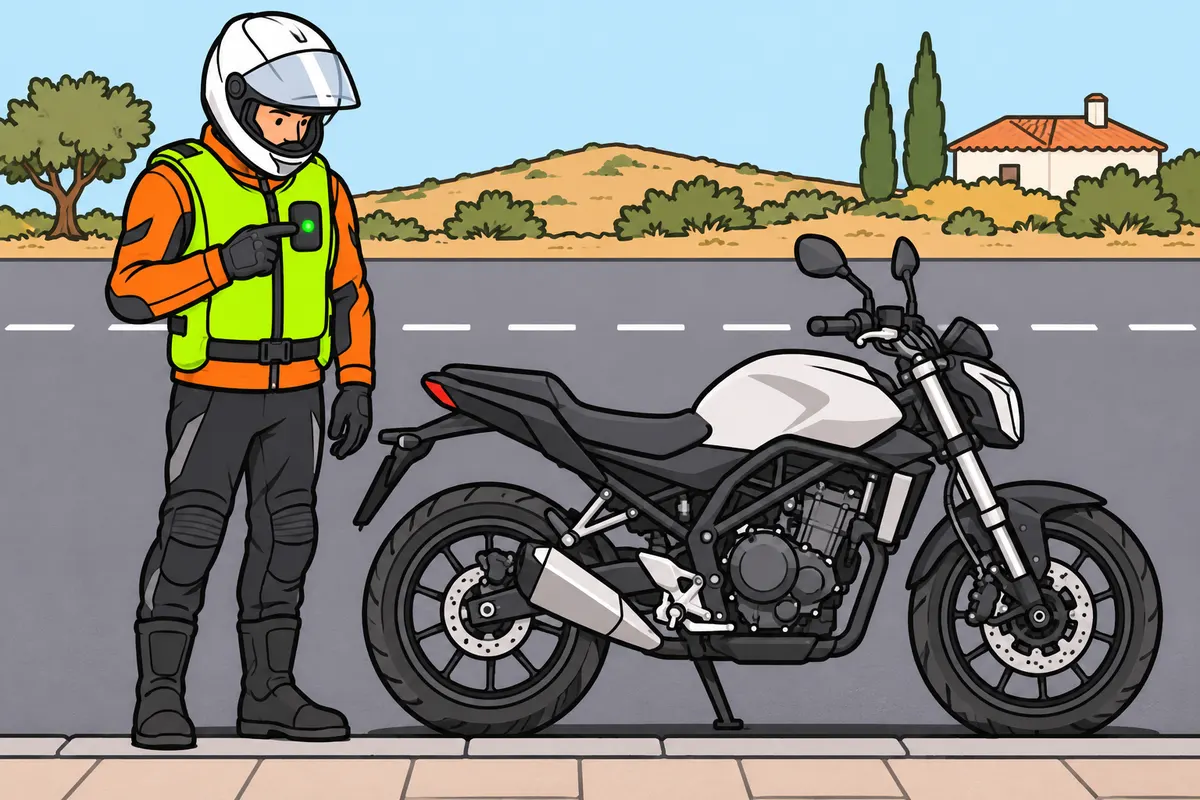
Prepare your airbag as instructed for its model and use it as extra protection.
| Airbag system | What you must check |
|---|---|
| Mechanical | Anchor and connection; disconnect as instructed before getting off |
| Electronic | Power supply, activation and status indicators |
Remember
- Check which areas it covers.
- Check size, positioning and compatibility with your clothing.
- Leave the space it needs to inflate.
- After activation or damage, follow the required inspection before reusing it.
Exam trap: Wrong: any airbag fits under a tight jacket. Right: check compatibility and inflation space.
Read the full explanation
- You can add an airbag vest or jacket as supplementary passive protection for your torso. Its airbag cushions impacts when inflated; check the model's coverage and do not use it as a substitute for the rest of your equipment.
- Choose a compatible size and clothing, and follow the specified positioning and inflation space requirements. You cannot wear every airbag under a close-fitting jacket.
- With a mechanical system, you must check the anchor point and connection to the motorcycle and follow the disconnection procedure before getting off. With an electronic system, check the power supply, activation and status indicators.
- After deployment or damage, follow the manufacturer's inspection and restoration procedures before using it again; recharging depends on the model.
18Colours and high-visibility features
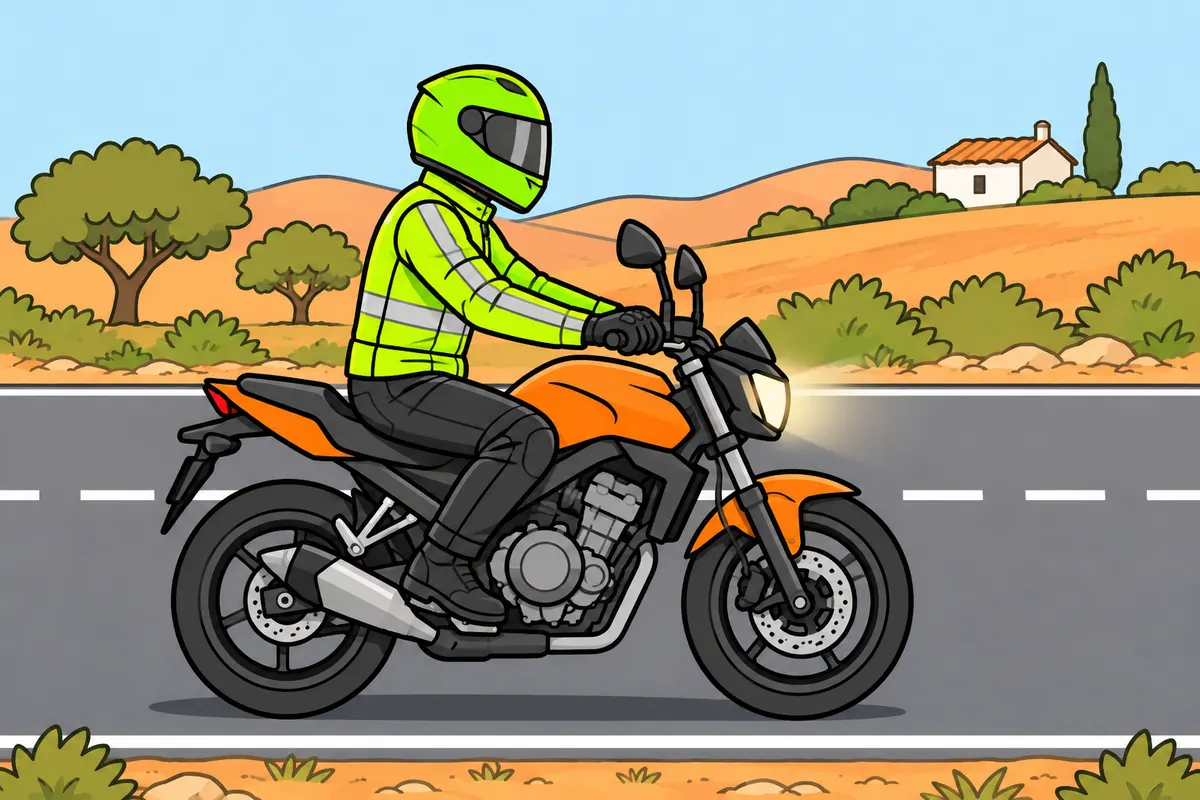
Choose visible equipment, but never assume that others have seen you.
| Material | How it makes you visible |
|---|---|
| Fluorescent | Stands out in ambient light |
| Retroreflective | Returns received light towards its source |
Remember
- Prefer light or bright colours.
- Keep features that make you stand out clean and visible.
- Check that other clothing does not cover reflective areas.
- Secure clothing so it cannot flap or interfere with your controls.
- Use compulsory lights even when your clothing stands out.
- Do not assume exhaust noise makes others notice you.
Exam trap: Wrong: visible clothing guarantees everyone has seen you. Right: it only helps others detect you.
Read the full explanation
- You are advised to choose a helmet and equipment in light or bright colours to help others notice you. Your size and exposure as a motorcyclist make this help particularly useful. You must also consider how visibility changes with your surroundings and the lighting.
- Fluorescent and retroreflective materials serve different purposes: the former help you stand out in ambient light, while the latter return light towards its source, such as headlights. Neither guarantees that all drivers have seen you.
- Keep the features intended to make you stand out clean and visible. An outer layer can cover another garment's reflective areas: check the complete outfit you actually wear. Choose items that stay secure and do not flap or interfere with the controls.
- Visible equipment complements the legally required lighting but does not replace it. Exhaust noise does not prove that others have noticed you either. You study the use of lights in «Motorcycle lights and signals» and how to avoid blind spots in «Preventive and efficient motorcycle riding».
19Reflective vest: carrying and wearing it
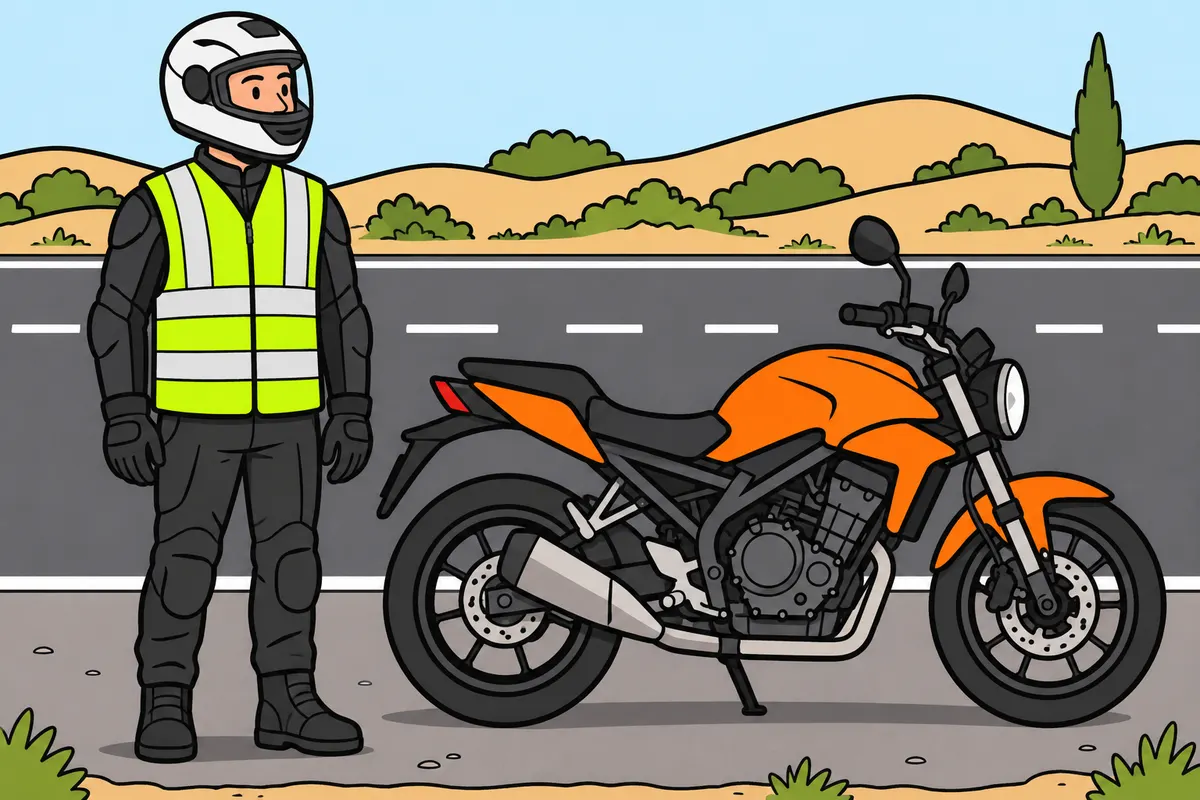
Carry your reflective vest on your motorcycle and wear it when required.
| Motorcycle situation | What you must do |
|---|---|
| Vehicle equipment | Carry your vest on board |
| You get off and occupy an interurban carriageway or hard shoulder | Put your vest on |
| You ride as part of your professional activity | Wear your vest on every road |
Remember
- Keep your high-visibility vest accessible and check it is on board.
- Check it meets personal protective equipment requirements.
- Check its size, fastening and condition.
- When you must wear it, do not cover it with another garment.
- Do not confuse a reflective vest with an airbag.
Exam trap: Wrong: you only need a vest after a breakdown. Right: carry it on board; wear it when you get off and occupy an interurban carriageway or hard shoulder, and whenever riding professionally on any road.
Read the full explanation
- You must carry a high-visibility reflective vest on your motorcycle that meets the requirements for personal protective equipment. This is part of the vehicle’s equipment: keep it accessible and check that it is on board. [RGV, art. 19 and Annex XII.3](https://www.boe.es/buscar/act.php?id=BOE-A-1999-1826#anxii)
- You must put it on when you get off your motorcycle and occupy the carriageway or arcén (hard shoulder) of an interurban road. [RGC, art. 118.4](https://www.boe.es/buscar/act.php?id=BOE-A-2003-23514#a118)
- If you ride a motorcycle as part of your professional activity, you must wear a high-visibility reflective vest when riding on any road. This obligation also applies in urban areas and does not depend on a breakdown occurring. [RGC, art. 118.4](https://www.boe.es/buscar/act.php?id=BOE-A-2003-23514#a118)
- Check the vest’s size, fastening and material condition, and avoid covering it with another garment when you must wear it. You must distinguish it from an airbag vest: one makes you visible and the other aims to cushion impacts; a combined product must serve both purposes.
20Separate equipment for your passenger too
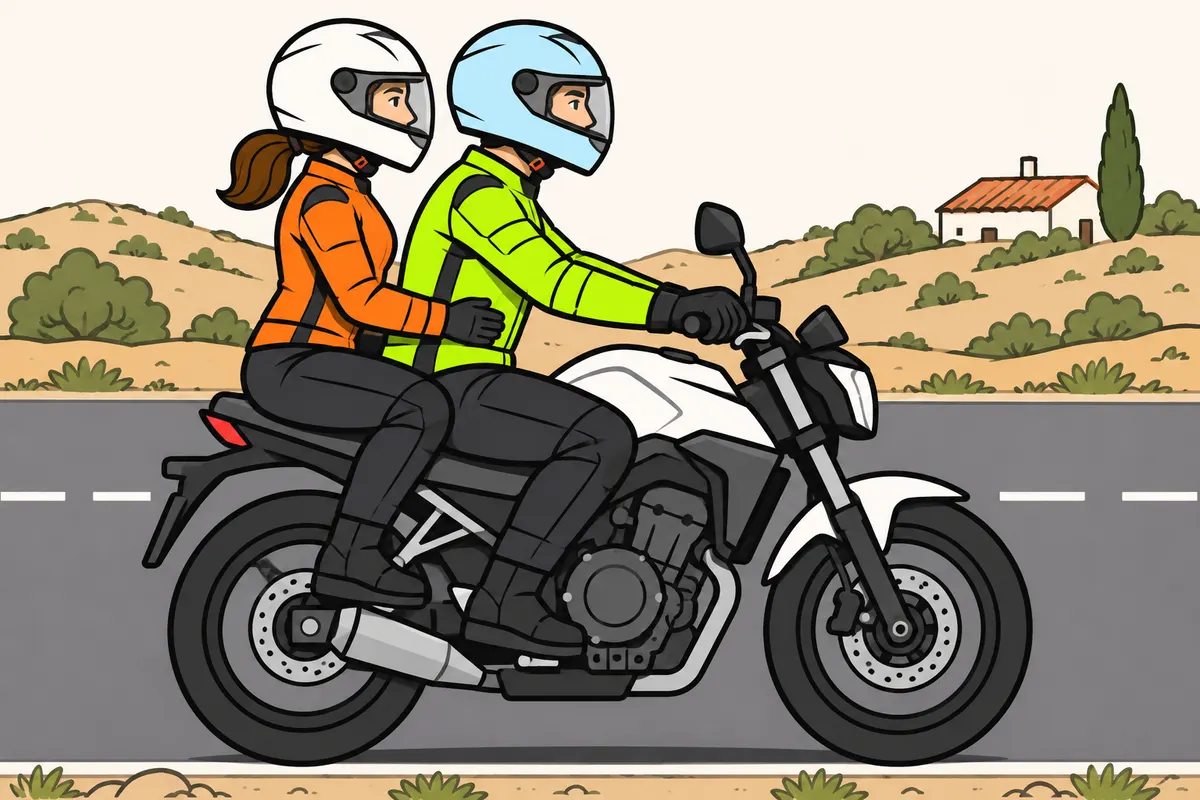
Prepare equipment for your passenger that fits their body.
Remember
- Check their helmet is undamaged, correctly fitted and fastened.
- Prepare the other equipment required for your journey.
- Recommend a jacket, trousers, boots and protectors in their size.
- Check their clothing lets them use the supports and sit securely.
- Keep loose ends away from moving parts.
- A passenger who is a minor still needs equipment that fits.
Exam trap: Wrong: you adapt a large helmet with improvised padding. Right: find the correct size; good equipment also cannot replace the conditions for carrying passengers.
Read the full explanation
- Your passenger needs their own correctly sized, undamaged and properly fastened helmet, as well as the rest of the equipment appropriate for the journey. You must prepare both sets of equipment in advance; carrying a spare helmet of an arbitrary size does not ensure a proper fit for everyone.
- Also recommend a jacket, trousers, boots and protectors in the correct size for your passenger. Their clothing must allow them to sit securely and use the supports provided, without loose ends that could come close to moving parts. Clothing that is too large can allow protectors to move out of place.
- If your passenger is a minor, you still need equipment that fits their body. Do not try to make a loose helmet fit by adding improvised padding. Ages, authorised seats and passenger position are covered in «Passengers and loads on motorcycles»; having good equipment does not replace those requirements.
21Equipment for A2 practical tests
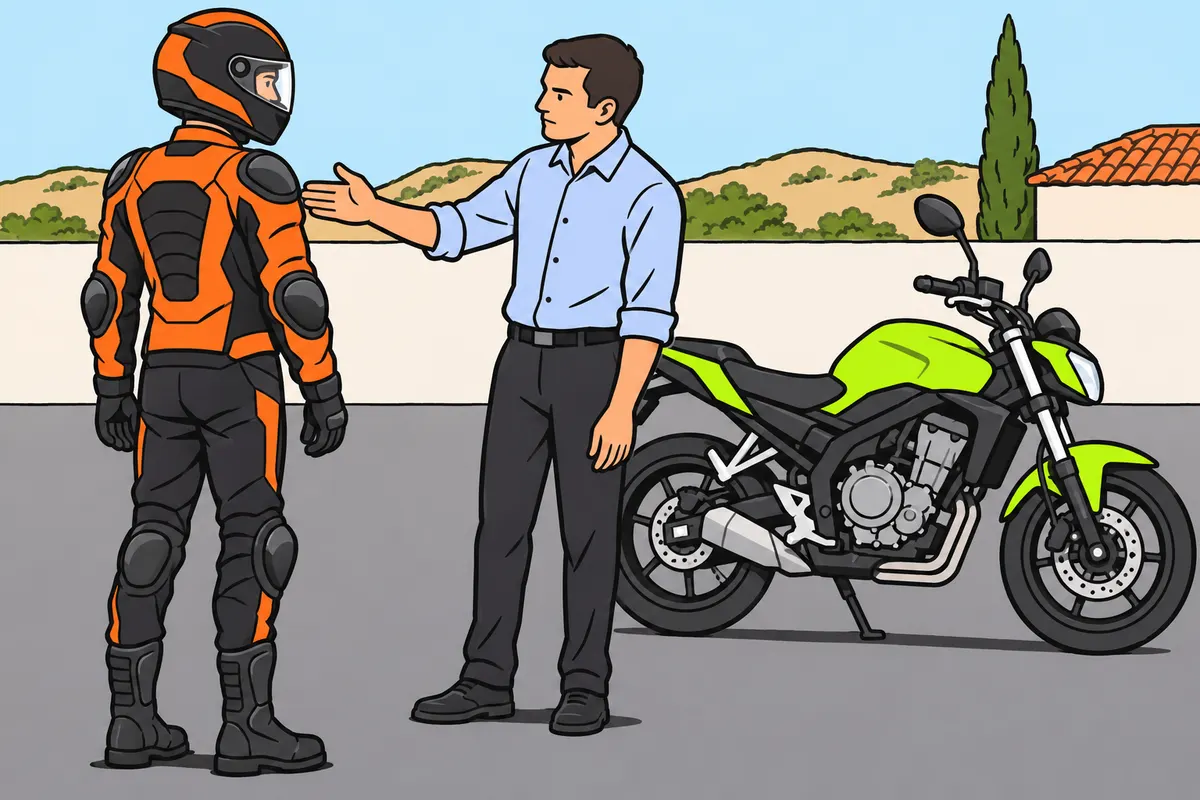
For practical tests, you need full motorcycle equipment with the required protectors.
Remember
- Wear a type-approved helmet and gloves.
- Wear a jacket and trousers made for motorcycling.
- Your jacket must protect your back, shoulders and elbows.
- Your trousers must protect your knees.
- Wear leather or similar synthetic boots providing enough ankle protection.
- Try everything beforehand and check movement, adjustments and fastenings.
Exam trap: Wrong: you attend wearing only the minimum riding equipment. Right: you need test equipment; without adequate protection, your test will not start or will be stopped.
Read the full explanation
- For the A2 practical tests, you must have an approved helmet and gloves. You must also wear a jacket and trousers designed and manufactured for motorcycle riding, with their corresponding protectors. [RGCond, Annex VI.C.1](https://www.boe.es/buscar/act.php?id=BOE-A-2009-9481#anvi)
- The minimum protection is for the back, shoulders and elbows in the jacket, and the knees in the trousers. You must also wear boots made of leather or a similar synthetic material that provide sufficient ankle protection. [RGCond, Annex VI.C.1](https://www.boe.es/buscar/act.php?id=BOE-A-2009-9481#anvi)
- The examiner may check your equipment, and the tests do not start or are interrupted if you lack adequate protection. Before attending, try on your complete equipment with its protectors in place and check your mobility, adjustments and fastenings: the minimum required for road use does not cover all the equipment required for the test. [RGCond, art. 57.2 and Annex VI.C.1](https://www.boe.es/buscar/act.php?id=BOE-A-2009-9481#a57)
22Seat belts, head restraints and child protection: common theory
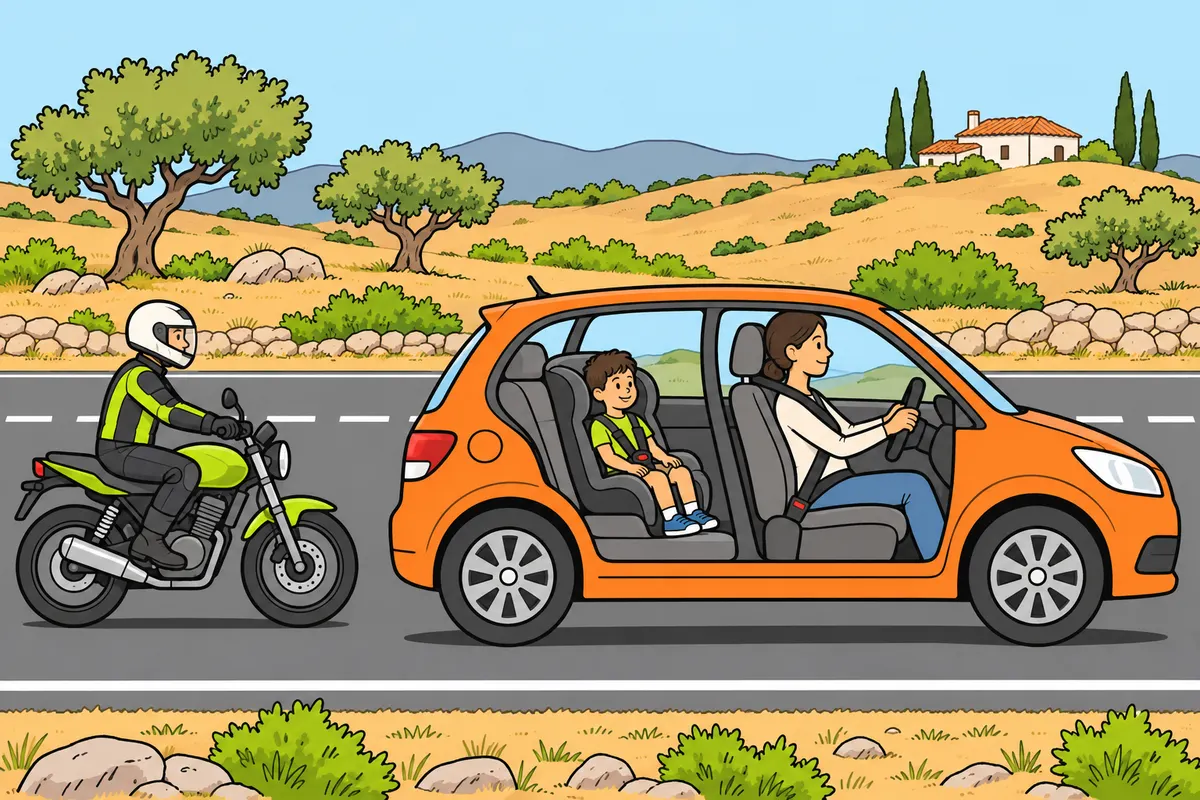
In other vehicles, use your seat belt and the correct child protection.
| Minors 135 cm or less: vehicles up to nine seats, including driver | Where you must fit their child restraint |
|---|---|
| General rule | Rear seats |
| No rear seats | You may use a front seat |
| All rear seats occupied by minors subject to this rule | You may use a front seat |
| Impossible to fit all child restraints in the rear | You may use a front seat |
Remember
- Wear your fitted seat belt on every road, unless a legal exemption applies.
- Remove slack and twists: lap belt over pelvis, diagonal across shoulder and chest.
- Adjust your head restraint to your height, close to your head.
- Vehicles with up to nine seats: seat minors measuring 135 cm or less behind.
- Use an approved child restraint suited to their height and weight.
- For a rear-facing child seat in front, deactivate that seat’s frontal airbag.
Exam trap: Wrong: you decide by a fixed age. Right: this rule covers minors measuring 135 cm or less in vehicles with up to nine seats, including the driver.
Read the full explanation
- When you drive another vehicle, you must apply these common theory rules: use the approved seat belt if one is fitted, on any road and subject to the regulatory exemptions. [RGC, arts. 117 and 119](https://www.boe.es/buscar/act.php?id=BOE-A-2003-23514#a117)
- Position the seat belt without slack or twists, with the lower strap across your pelvis and the diagonal strap across your shoulder and chest; the airbag complements it. Adjust the head restraint to your height, close to your head, to limit neck injuries in a rear-end collision. [DGT, car safety](https://www.dgt.es/muevete-con-seguridad/viaja-seguro/en-coche/)
- In vehicles with up to nine seats, including the driver’s seat, you must carry minors who are 135 cm tall or less in an approved SRI (child restraint system) suited to their height and weight, in the rear seats. You may place them in the front with that SRI if there are no rear seats, if all the rear seats are occupied by minors subject to this rule, or if it is impossible to install all the SRIs in the rear. [RGC, art. 117.3](https://www.boe.es/buscar/act.php?id=BOE-A-2003-23514#a117)
- If you place a rear-facing SRI in the front, you must deactivate the frontal airbag for that seat. Install the SRI according to the manufacturer’s instructions. [RGC, art. 117.3 and 4](https://www.boe.es/buscar/act.php?id=BOE-A-2003-23514#a117)
Choosing and adjusting your helmet
Check type approval, size and retention before using it.
- Identify the UNECE R22 type approval and consult the instructions for the model.
- Try it on in the correct position, wearing any glasses you use for riding.
- Check that it fits firmly, without painful pressure or restricting your vision.
- Fasten and adjust the strap; check that the helmet does not come off easily.
- Check the visor, ventilation, buckle and general condition before setting off.
Preparing equipment for both occupants
Meet the requirements and check all your protection.
- Identify the type of road and check the helmet, footwear and any gloves required.
- Put on your jacket, trousers and boots and check that the protectors sit over the areas they protect.
- Prepare the airbag according to its manual, if you use one.
- Check the passenger’s sizing, fastenings and eye protection separately.
- Check that you carry the reflective vest and wear the one required for professional activities where applicable.
Checking equipment after an impact
Do not rely on external appearance alone.
- Stop using a helmet that has sustained a significant impact.
- Replace it and consult the manufacturer if you have any doubts about impacts or damage.
- Check the seams, fastenings, fabric and protectors of your other garments.
- If the airbag has deployed, follow the inspection procedure specified for that model.
- Only use equipment again if it is undamaged, correctly prepared and properly adjusted.
Check what you know
Real questions from the bank on this topic. Pick an answer to see the explanation.
Finished this module?
Mark it as read and you will see your progress on the theory list.