
Theory · D+E Licence - Bus with Trailer · Module 5 of 13
Trailer and combination braking
You learn to distinguish trailer braking systems, their limits and the functions of air connections and safety devices. You understand how braking the combination relates to ABS, jackknifing and long descents, so you can answer the specific D+E questions without confusing one function with another.
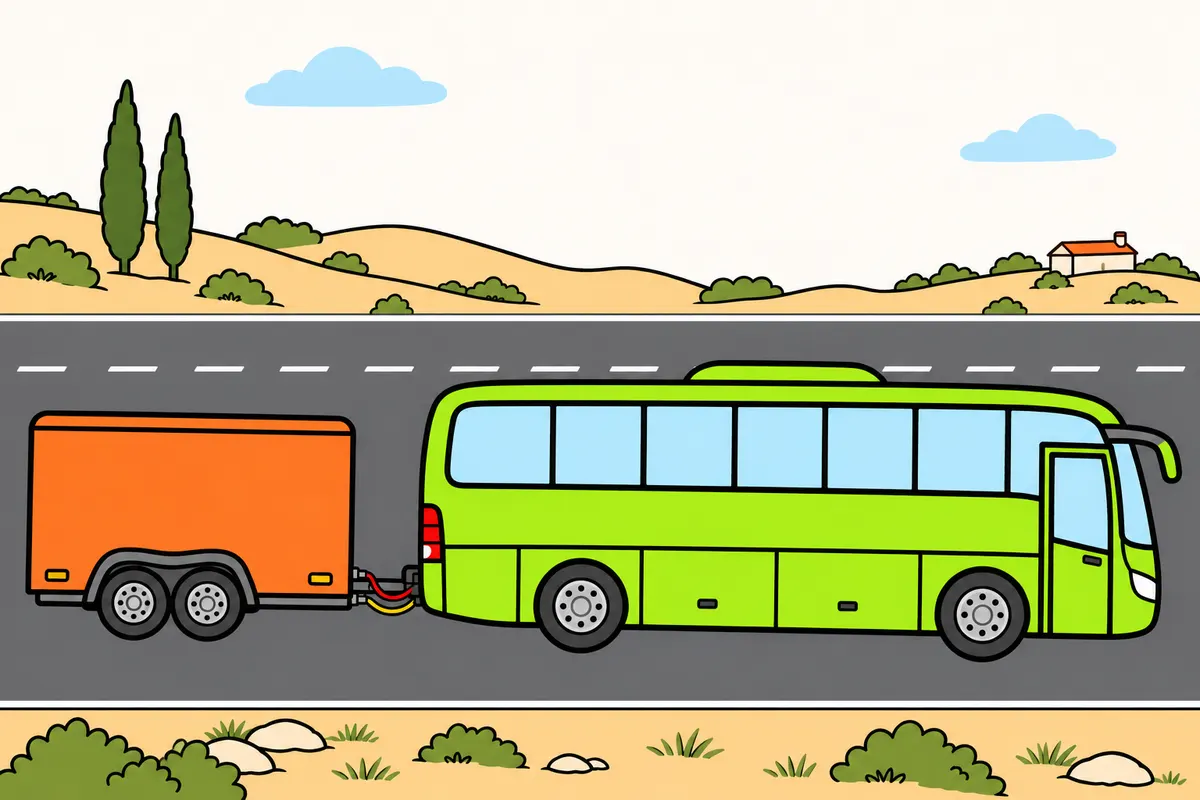
1Braking requires control of the whole combination
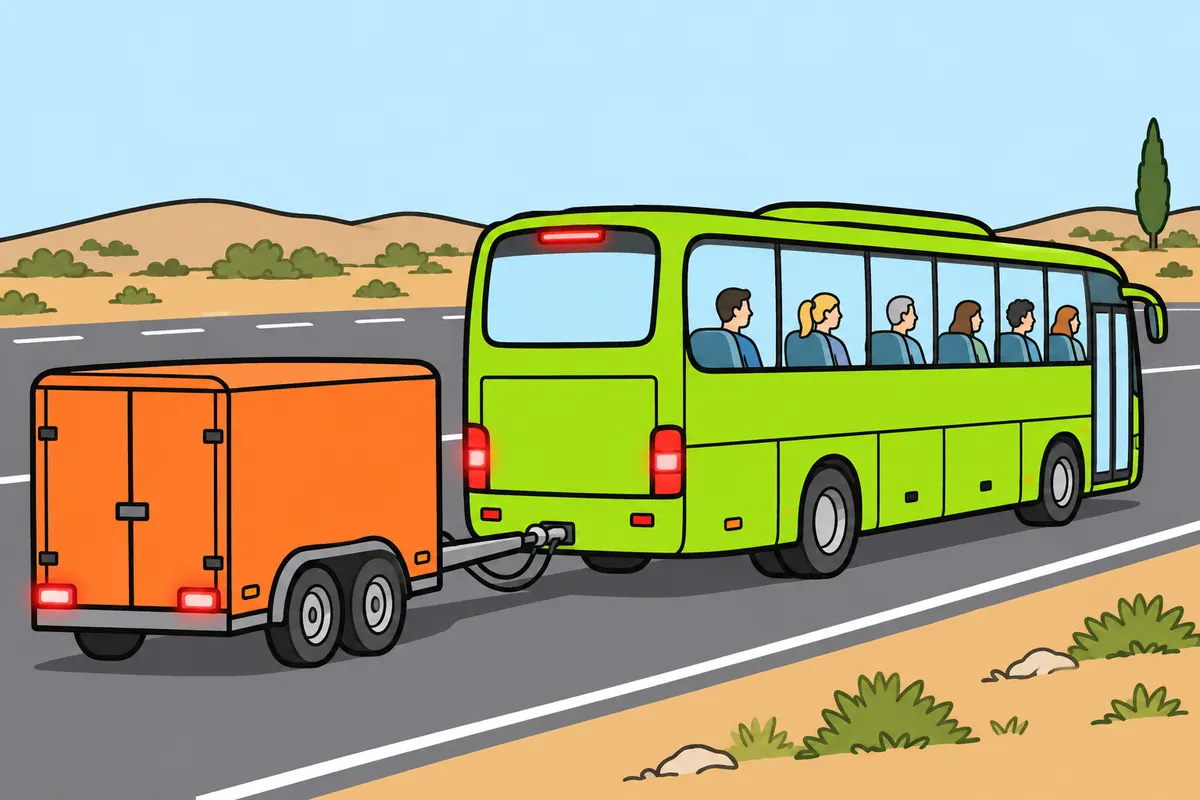
When you brake, you must control the bus and trailer together.
Remember
- Brake without losing your course or putting passengers at risk.
- Check the trailer brakes and connections.
- Adapt your driving to the load and road conditions.
Exam trap: Wrong: hard braking is enough. Right: you must keep control of the whole combination.
Read the full explanation
- When you brake a bus with a trailer, you must slow down two vehicles joined by a coupling. You must stop them while keeping them on course and protecting passengers against jolts and falls: braking that causes the trailer to swing across compromises control even if the wheels are braking very hard.
- You must understand the brake as a chain of components: you give the command through a control, a transmission carries it to the brakes, and these produce the force that slows the rotation of the wheels. A faulty connection can affect the result as much as a fault in the brake itself. [RGV, Annex VIII, section 1.1](https://www.boe.es/buscar/act.php?id=BOE-A-1999-1826#anviii).
- Braking functions may share components, but they meet different needs while driving and when immobilising the vehicle. Identify which device acts in each situation and which energy source it uses; the fact that one works does not prove that the others are available. Your checks include both vehicles in the combination.
- You must adapt your driving to the combination you are actually driving, its load and the road conditions. Having driven another bus that responded differently does not prove that this one stops within the same distance. Check the trailer's behaviour as well as what you feel from the cab.
2Service, secondary and parking braking
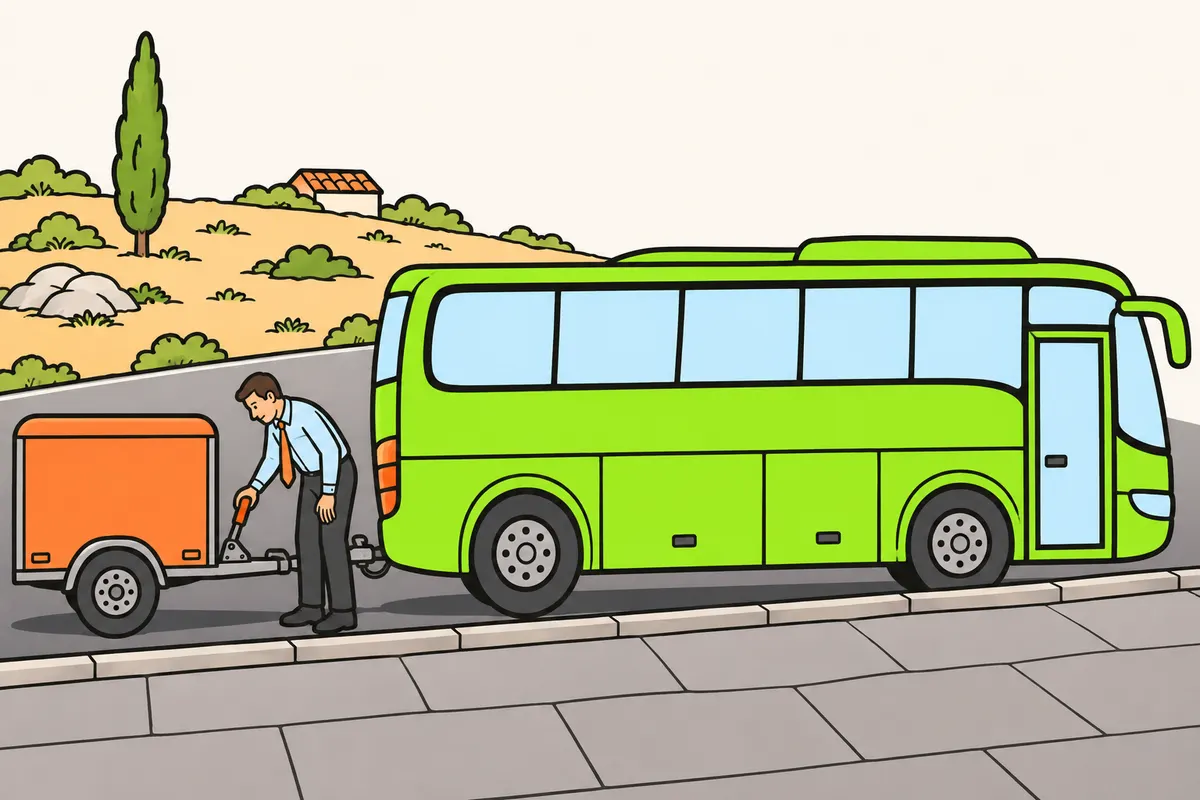
You must distinguish service, secondary and parking braking.
| Braking function | When you need it |
|---|---|
| Service | To control movement and stop |
| Secondary | If the service brake fails |
| Parking | To stay still, even on slopes without a driver |
Remember
- You can control the strength of service and secondary braking.
- Secure the trailer before separating it from the bus.
- If you tow an O2 luggage trailer, it needs service and parking brakes.
- Use the manual to identify the controls.
Exam trap: Wrong: holding the pedal replaces parking braking. Right: apply the parking brake before leaving your seat.
Read the full explanation
- With the service brake, you must be able to control the vehicle's movement and stop it safely, whether laden or unladen and whether travelling uphill or downhill. You must be able to apply it progressively: you normally use the braking force needed for the situation, rather than applying its full capacity at once. [RGV, Annex VIII, section 1.2.1](https://www.boe.es/buscar/act.php?id=BOE-A-1999-1826#anviii).
- Secondary braking allows you to stop the vehicle within a reasonable distance if the service brake fails, and you must also be able to apply it progressively. You must not simply equate it with a particular lever, because the way this function is provided depends on the vehicle's system. [RGV, Annex VIII, section 1.2.2](https://www.boe.es/buscar/act.php?id=BOE-A-1999-1826#anviii).
- The parking brake must keep the vehicle stationary on a gradient even without a driver, with its active components held by mechanical means. Keeping the pedal pressed does not replace this function when you leave the driving position. Check that the trailer is secured by its own parking brake before uncoupling it from the bus. [RGV, Annex VIII, section 1.2.3](https://www.boe.es/buscar/act.php?id=BOE-A-1999-1826#anviii).
- In an air-braking system, you may find functions that share components and energy reserves. You must therefore not assume that there are necessarily as many completely independent circuits as there are braking names in a question. Study the function being asked about and consult the manual to identify its controls and warnings.
- If you tow an O2 luggage trailer, you must have service and parking brakes; the latter allows you to secure the trailer when it is detached from the bus. The parking brake works regardless of whether the coupling remains connected. [RGV, Annex VIII, section 2](https://www.boe.es/buscar/act.php?id=BOE-A-1999-1826#anviii).
3The limit for an unbraked trailer
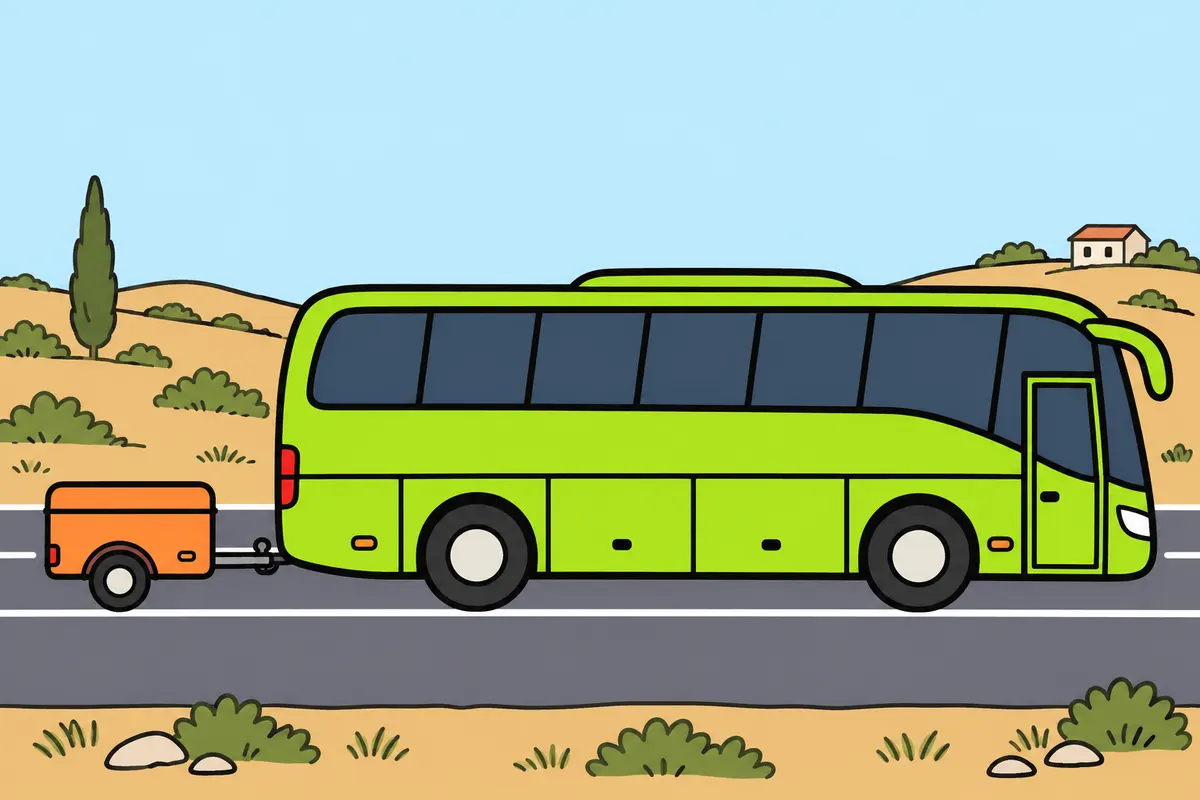
Without trailer brakes, you must respect mass limits and the bus’s technical towing capacity.
| Trailer | Service brake |
|---|---|
| O1 | May have none; fitted brakes must meet O2 requirements |
| Non-agricultural, above 750 kg | You cannot use the unbraked-trailer allowance |
Remember
- For non-agricultural trailers, never exceed 750 kg without brakes.
- Check the unladen-mass limit and documented technical limits.
- Limit: half unladen mass plus 75 kg, capped at 750 kg.
- Never disable fitted brakes, even on a light trailer.
- For D+E, you study trailers with maximum authorised mass above 750 kg.
Exam trap: Wrong: a heavy bus permits unbraked towing above 750 kg. Right: the ceiling still applies, and lower technical limits may apply.
Read the full explanation
- In a passenger vehicle combination with a non-agricultural trailer, you cannot justify an unbraked trailer weighing more than 750 kg on the grounds that the bus is very heavy. This is the absolute maximum towable mass without brakes under Annex IX; you must also respect the technical towing capacity of the vehicle and the coupling. [RGV, Annex IX, sections 4.1.1 and 4.1.2.1](https://www.boe.es/buscar/act.php?id=BOE-A-1999-1826#anix).
- You must also check the relationship with the bus's unladen mass: Annex IX sets the limit at half its unladen mass increased by 75 kg, without exceeding 750 kg. For your bus, the 750 kg ceiling is decisive, but the documentation may impose a lower capacity. [RGV, Annex IX, section 4.1.2.1](https://www.boe.es/buscar/act.php?id=BOE-A-1999-1826#anix).
- Category O1 trailers may have no service brake; if they have one, its installation must meet the requirements for O2. A trailer being light does not mean that its brakes may be faulty or that you may disable those fitted to it. [UN Regulation No. 13, section 5.2.2.1](https://www.boe.es/buscar/doc.php?id=DOUE-L-2026-80539).
- For D+E, you must focus on trailers whose MMA (maximum authorised mass) exceeds 750 kg: do not apply the general permission for a light trailer to travel without brakes to these trailers. Nor must you use agricultural vehicle exceptions for an ordinary luggage trailer. The vehicle type and braking system matter as much as its mass.
4How the overrun brake works
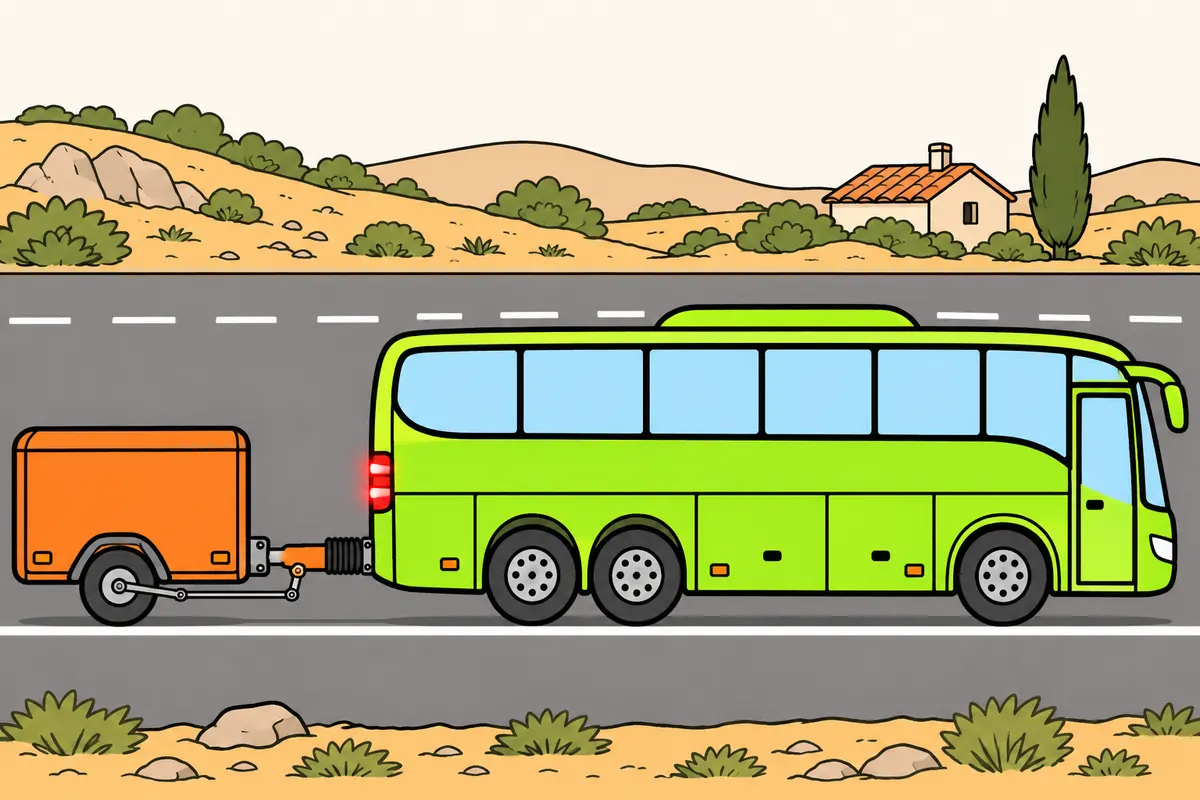
The overrun brake uses the trailer’s push when you slow down.
Remember
- When you slow down, the trailer compresses the coupling mechanism and applies its brakes.
- When the pushing stops, the overrun braking force decreases.
- With overrun braking alone, never exceed the bus’s maximum authorised mass or 3,500 kg.
- Respect any lower technical limit too.
- For O2, overrun braking is allowed on centre-axle trailers.
Exam trap: Wrong: every O2 trailer can use overrun braking. Right: it must be centre-axle and approved for that configuration.
Read the full explanation
- The overrun brake uses the movement of the trailer towards the bus when the bus slows down. The thrust compresses the coupling device and transmits the actuation to the trailer's brakes. You must associate it with this relative movement, rather than with an air-pressure command sent by the pedal. [RGV, Annex VIII, section 1.6](https://www.boe.es/buscar/act.php?id=BOE-A-1999-1826#anviii).
- When the thrust stops and the bus pulls the trailer again, the demand for overrun braking decreases. Its intensity depends on the force the trailer transmits to the coupling device and on how its brake transmission works. Irregular movement of the coupling head can affect progressive brake application even if the wheel brakes are in good condition.
- With overrun braking alone, the maximum towable mass must not exceed either the bus's MMA or 3,500 kg. You must also respect any lower technical limit stated in the documentation for the bus or coupling: the regulatory ceiling does not prove that your vehicle is authorised to reach it. [RGV, Annex IX, sections 4.1.1 and 4.1.2.2](https://www.boe.es/buscar/act.php?id=BOE-A-1999-1826#anix).
- For O2 trailers, UN Regulation No. 13 permits continuous, semi-continuous or overrun braking; overrun braking is permitted for centre-axle trailers. You must check the type-approved configuration of the luggage trailer, without assuming that any trailer of that mass can use any mechanism. [UN Regulation No. 13, section 5.2.2.2](https://www.boe.es/buscar/doc.php?id=DOUE-L-2026-80539).
5Practical limits of the overrun system
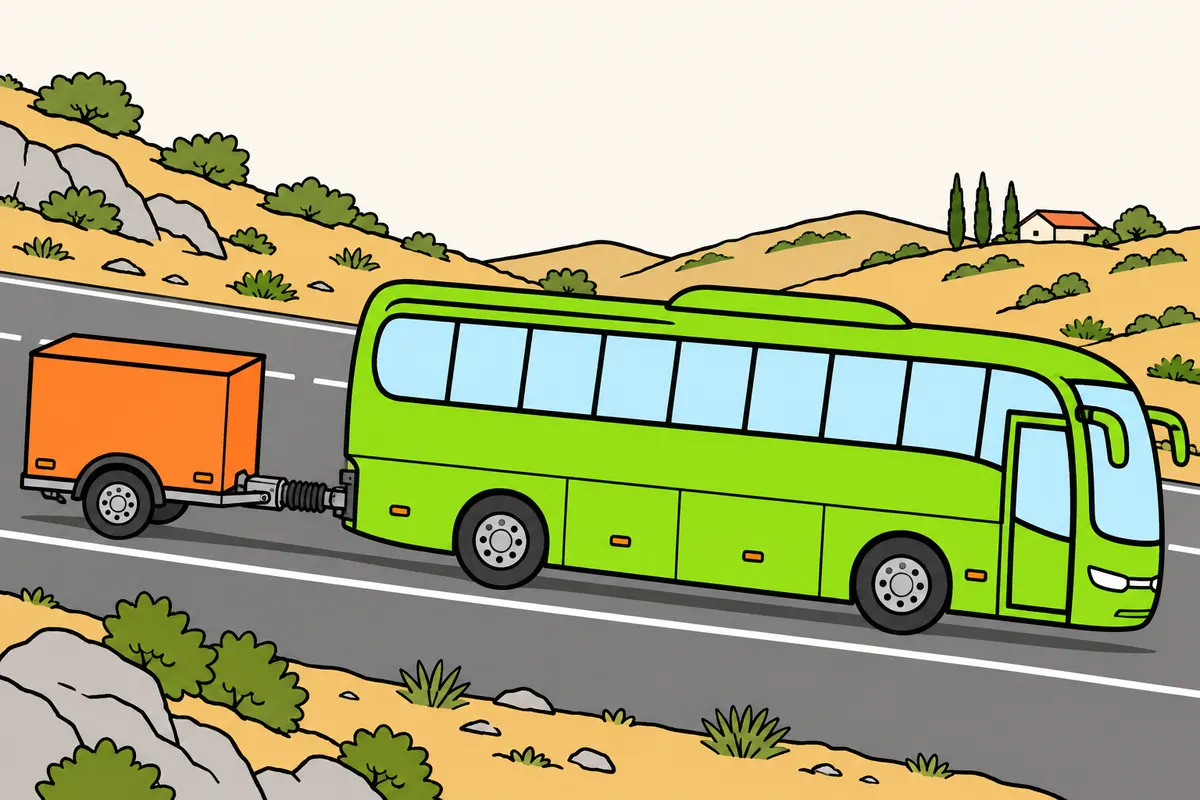
You must check the overrun mechanism and prevent faults and overheating.
Remember
- Correct sticking parts and poor adjustment before driving.
- Follow the manufacturer’s instructions when reversing.
- Never improvise locks that disable the brake.
- Enter long descents slowly and use the bus’s braking effect.
Exam trap: Wrong: you can lock the mechanism for reversing. Right: follow instructions without disabling the brake.
Read the full explanation
- If you tow a trailer with overrun braking, check that the mechanism can move and transmit force correctly. A sticking coupling head or an incorrectly adjusted transmission can cause the trailer to brake late or unevenly, or leave its brakes applied. You must correct these faults before driving.
- When you reverse, the trailer can also compress the device. Use the reversing function provided by the manufacturer and follow its instructions; do not improvise locks to disable the brake. A solution that makes a manoeuvre easier but leaves the trailer without braking while travelling compromises safety.
- On a sustained descent, thrust on the coupling may continue and increase the work done by the trailer's brakes. You must enter the descent slowly, use the bus's engine braking and retardation appropriately, and monitor the combination's behaviour. Do not confuse the system's mechanical simplicity with unlimited resistance to heat.
- Inspection of the overrun device covers the sliding coupling head, its damping and the transmission to the wheels. You must follow the maintenance and adjustment instructions for that model: excessive play can cause jolts when changing between pulling and braking, while a seized transmission can prevent the wheel brakes from releasing correctly.
6Continuous and semi-continuous braking
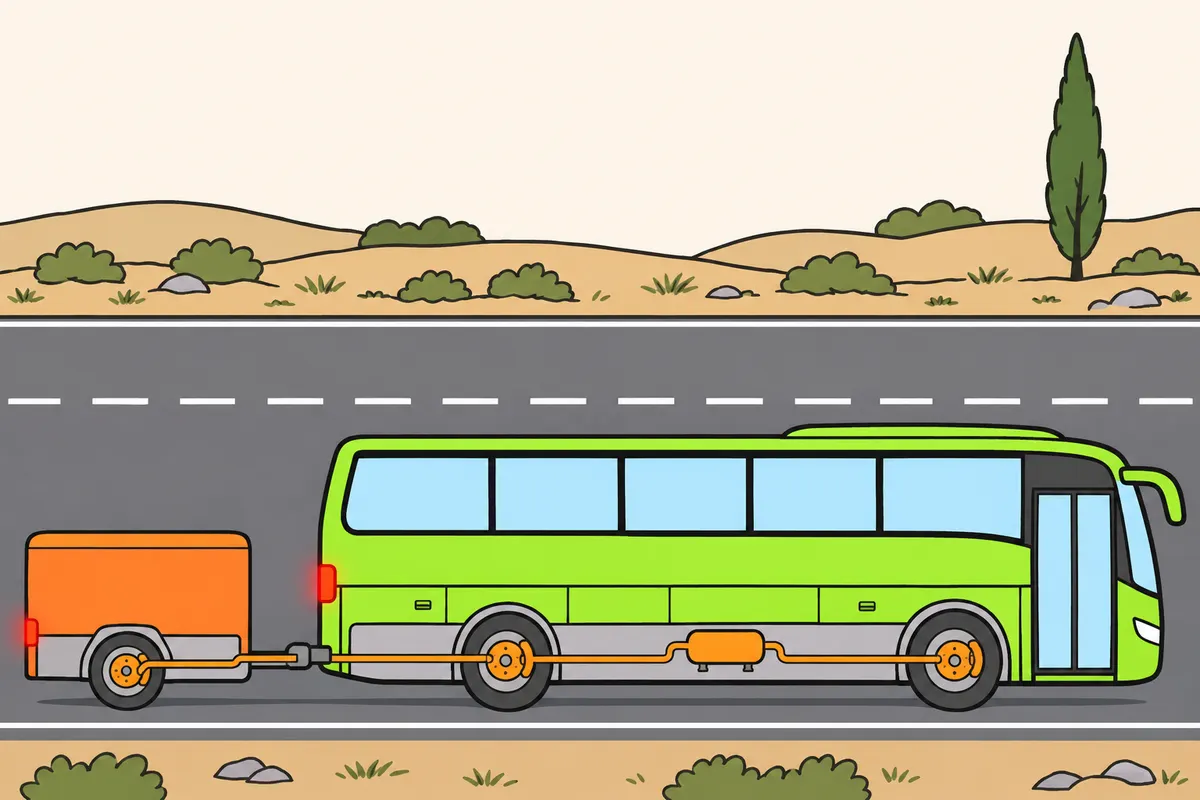
You distinguish continuous and semi-continuous braking by their energy sources.
| Braking system | Energy source |
|---|---|
| Continuous | A shared source |
| Semi-continuous | Independent sources |
Remember
- With either system, you use a single control for coordinated braking.
- Do not distinguish them by counting pedals or pipes.
- O3 and O4 trailers need continuous or semi-continuous service braking.
- With continuous braking, your ordinary bus cannot tow above its maximum authorised mass.
- Never exceed 3,500 kg or any lower technical limit either.
Exam trap: Wrong: apply the N2 and N3 lorry ratio to your bus. Right: respect the bus’s own limits.
Read the full explanation
- With continuous braking, you use a single control progressively from the driving seat, and the combination's braking energy comes from a common source. The system coordinates braking between its vehicles, simultaneously or with the appropriate time delay, whatever their relative position. [RGV, Annex VIII, section 1.3](https://www.boe.es/buscar/act.php?id=BOE-A-1999-1826#anviii).
- With semi-continuous braking, you also use a single control and obtain coordinated braking, but two independent energy sources are involved. The difference from continuous braking lies in the source of the energy used by the vehicles in the combination, rather than in the visible number of pedals or pipes. [RGV, Annex VIII, section 1.4](https://www.boe.es/buscar/act.php?id=BOE-A-1999-1826#anviii).
- As a technical reference, O3 and O4 trailers require continuous or semi-continuous service braking under UN Regulation No. 13. This type-approval requirement concerns the trailer's equipment: knowing how a heavy trailer system works does not authorise you to couple it to any vehicle. [UN Regulation No. 13, section 5.2.2.3](https://www.boe.es/buscar/doc.php?id=DOUE-L-2026-80539).
- For a bus, a category M vehicle, the maximum towable mass with continuous braking refers back to the overrun braking limit: the towing vehicle's MMA, with a ceiling of 3,500 kg for an ordinary bus. The ratio of 1.5 times the MMA specified for N2 and N3 lorries is not the rule for your bus; you must also check its documented technical capacity. [RGV, Annex IX, sections 4.1.1, 4.1.2.2 and 4.1.2.3](https://www.boe.es/buscar/act.php?id=BOE-A-1999-1826#anix).
7Compressed air transmits energy
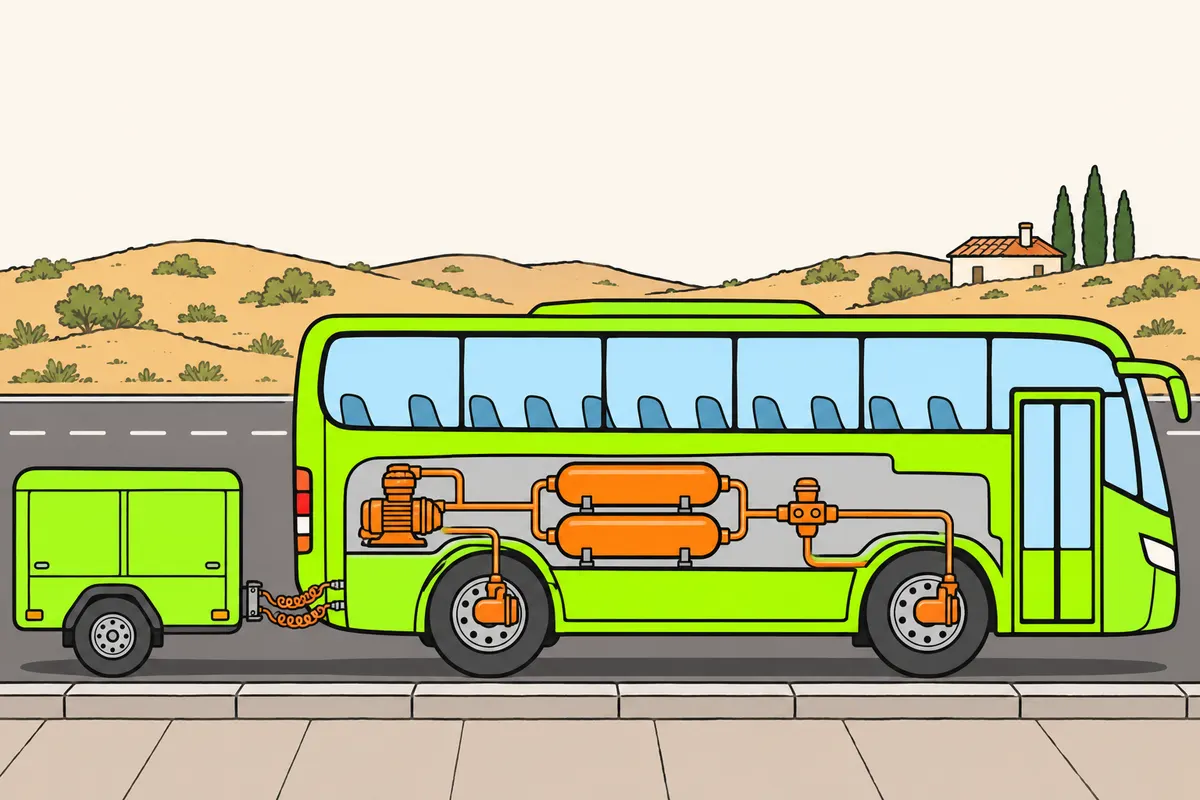
You need enough air and a system without leaks to brake safely.
| Air-system part | Function you must recognise |
|---|---|
| Compressor | Produces compressed air |
| Reservoirs | Store air |
| Valves | Allow air to be used for braking |
Remember
- Check the manufacturer’s required pressure before moving off.
- Check warnings and trailer connections.
- Never try to overcome a leak by revving the engine.
- If a fault compromises braking, stop, secure the vehicle and request repairs.
Exam trap: Wrong: compressed air prevents brake overheating. Right: you must still anticipate braking.
Read the full explanation
- On a bus with an air system, the compressor produces compressed air, which is stored in reservoirs. When you request braking, the valves allow this energy to be used in the wheel actuators. You must distinguish between producing and storing air and commanding braking: these tasks are related, but they are not identical. [DGT, Mechanics Manual, air system](https://sede.dgt.gob.es/.galleries/permisos-de-conducir/certificacion-aptitud-profesores-formacion-vial/2022/Manual-VIII-Mecanica-2022.pdf).
- Before moving off, you must have the operating pressure specified by the manufacturer and check the system warnings. Do not memorise a universal pressure in bars for all combinations: the ranges and thresholds depend on the system and its instruments.
- Compressed air makes it easier to apply large forces without requiring equivalent muscular force on the pedal. This does not guarantee grip or prevent discs and drums from heating up. You must continue to anticipate braking even if you find that slowing down requires little pedal effort.
- Air leaks reduce the available reserve. Do not try to compensate for a leak by driving with the engine revving, or assume that the pressure in the bus alone confirms the condition of the trailer. Check the connections and, if the fault compromises braking, immobilise the combination and arrange repairs.
8Red supplies air and yellow controls braking
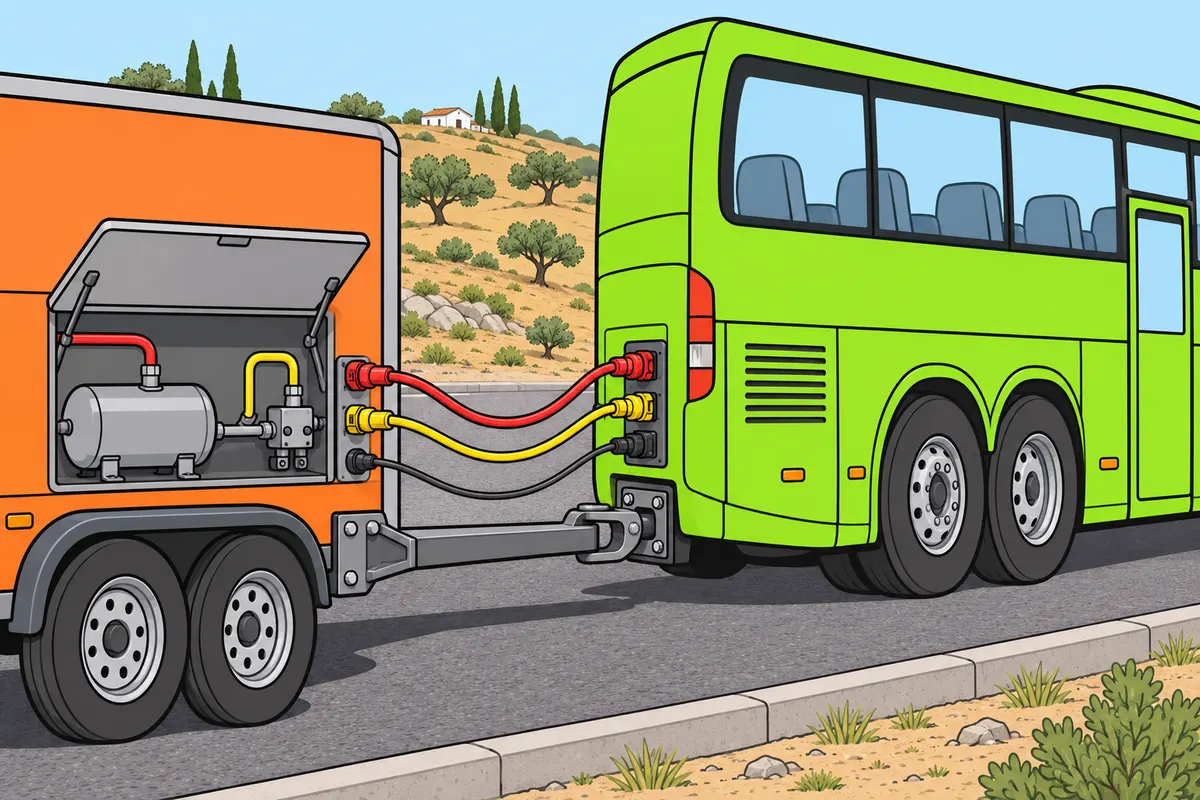
With trailer air brakes, you must distinguish the red supply from the yellow control.
| Line on a two-line air-braked trailer | Function |
|---|---|
| Red | Supply, feed or emergency |
| Yellow | Control or service |
Remember
- Identify the connections; never force incompatible coupling heads together.
- The red line fills the trailer’s air reservoirs.
- The yellow line sends the service-braking demand.
- Check the electrical braking connection too, if fitted.
Exam trap: Wrong: yellow fills the reservoirs. Right: red supplies air and yellow controls braking.
Read the full explanation
- In a two-line trailer air system, you must identify the red line as the supply line and the yellow line as the control or service line. Identify the coupling heads by their markings and ensure they are compatible, without forcing incompatible connections together. [WABCO, catalogue of trailer air-system equipment, coupling heads](https://doc.wabco-auto.com/ProductFiles/anteros/Document/8150400343.pdf).
- The red supply line, also called the emergency line, charges the trailer reservoirs. It maintains the air reserve needed by the system; you must check that the system is charged before moving off. Its function includes the safety response to a loss of supply provided for by the design.
- The yellow line transmits the pneumatic service-brake demand. The trailer valves use air from its reservoirs to apply the brakes with the requested force. The control and the reserve have different functions: the control line communicates the request and the reservoir provides the energy to carry it out.
- On combinations with electronic management, there may also be an electrical braking connection that transmits information and supplies power to equipment. You must check it along with the hoses: having two air lines connected does not prove that the trailer ABS or electronic management is available.
9Trailer air-braking components
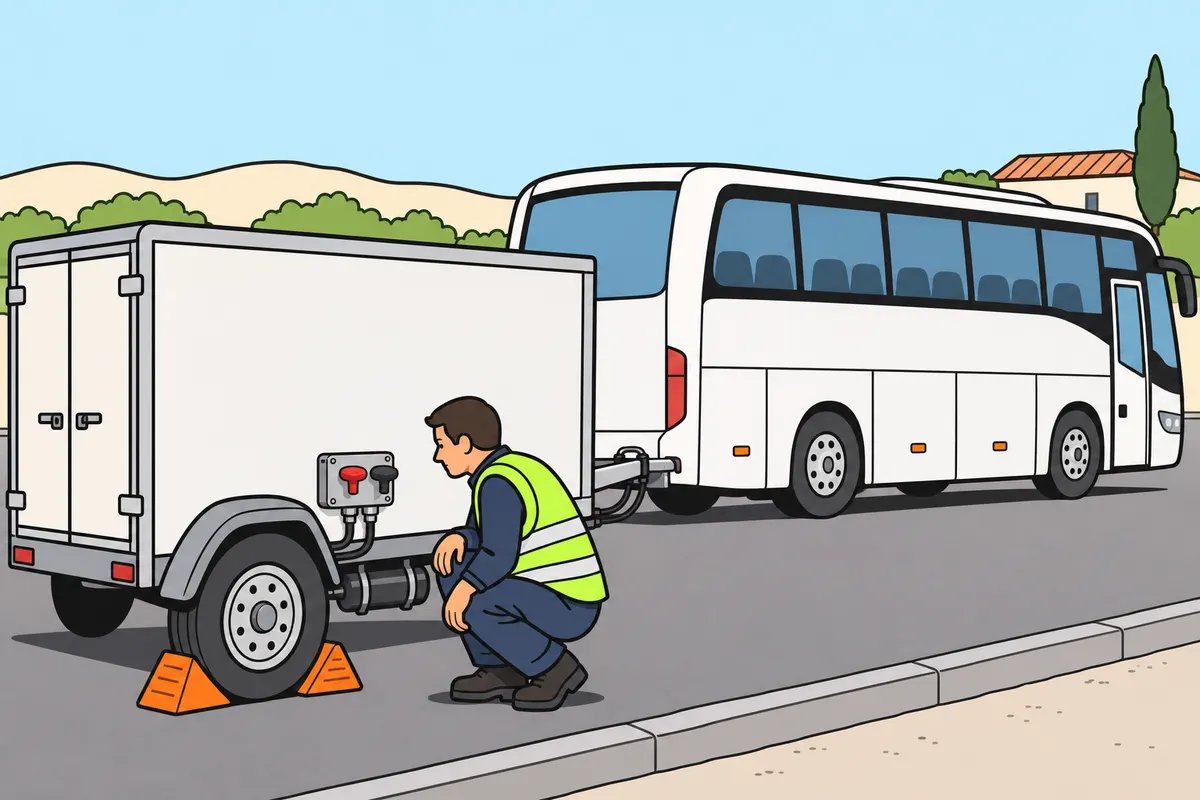
You must identify the trailer’s equipment and keep its braking functions working.
| Equipment, if fitted to your trailer | Function you must recognise |
|---|---|
| Red dual-control button | Controls parking braking |
| Black dual-control button | Releases automatic braking for uncoupled manoeuvring when air is available |
| ALB | Adjusts pressure to the load |
| EBS | Electronically coordinates service braking |
| ABS | Prevents wheel lock |
Remember
- With spring-brake chambers, springs apply parking brakes; air lets you release them.
- Secure the trailer before using the brake-release or shunt valve.
- Apply its parking brake when you finish manoeuvring.
- Never adjust the load-sensing regulator to compensate for poorly distributed luggage.
- If ISO 7638 is fitted, connect and check this braking link.
- The lighting socket does not replace this connection.
Exam trap: Wrong: the black button secures parking. Right: on dual-control equipment, the red button controls parking braking.
Read the full explanation
- On the bus and on trailers fitted with spring-brake chambers, the spring applies the parking brake and compressed air allows it to be released. Operation depends on the equipment fitted; a trailer with overrun brakes may have a different mechanical parking brake. [DGT, Manual VIII, topic 10](https://sede.dgt.gob.es/.galleries/permisos-de-conducir/certificacion-aptitud-profesores-formacion-vial/2022/Manual-VIII-Mecanica-2022.pdf); [WABCO, Tristop actuators, section 5.28](https://doc.wabco-auto.com/ProductFiles/anteros/Document/8150400343.pdf).
- On the dual-control equipment commonly fitted to semi-trailers, the red button controls the parking brake and the black button allows you to release automatic braking to manoeuvre the uncoupled trailer while air is available. If your luggage trailer has these controls, you must identify them using its plate and manual. [WABCO, dual release valve, section 5.32](https://doc.wabco-auto.com/ProductFiles/anteros/Document/8150400343.pdf).
- Before using the release or shunt valve, you must secure the trailer against unexpected movement. When you finish, apply its parking brake: releasing automatic braking does not secure it against movement. The parking brake must work with the trailer detached. [United Nations Regulation No. 13, sections 5.2.2.10 and 5.2.2.11](https://www.boe.es/buscar/doc.php?id=DOUE-L-2026-80539).
- The load-sensing brake regulator (ALB) adjusts pressure according to the trailer load, through a linkage to the suspension or its air pressure. You must preserve its setting; do not alter it to compensate for incorrect luggage distribution. [WABCO, ALB regulator, section 5.26](https://doc.wabco-auto.com/ProductFiles/anteros/Document/8150400343.pdf).
- EBS is the electronic control of the braking system: it manages service-brake application to coordinate the response. You must distinguish it from ABS, whose specific function is to prevent the wheels from locking. [DGT, Manual VIII, electronic braking control](https://sede.dgt.gob.es/.galleries/permisos-de-conducir/certificacion-aptitud-profesores-formacion-vial/2024/Manual-VIII-Mecanica-2024.pdf).
- When the combination has an ISO 7638 connection, you must connect and check this electrical braking link. It supplies power to ABS/EBS equipment and, where the connection includes electronic communication, allows data to be transmitted between vehicles. The lighting socket does not replace this connection. [United Nations Regulation No. 13, sections 5.1.3.6 and 5.2.2.17](https://www.boe.es/buscar/doc.php?id=DOUE-L-2026-80539).
10Connections that retain their function
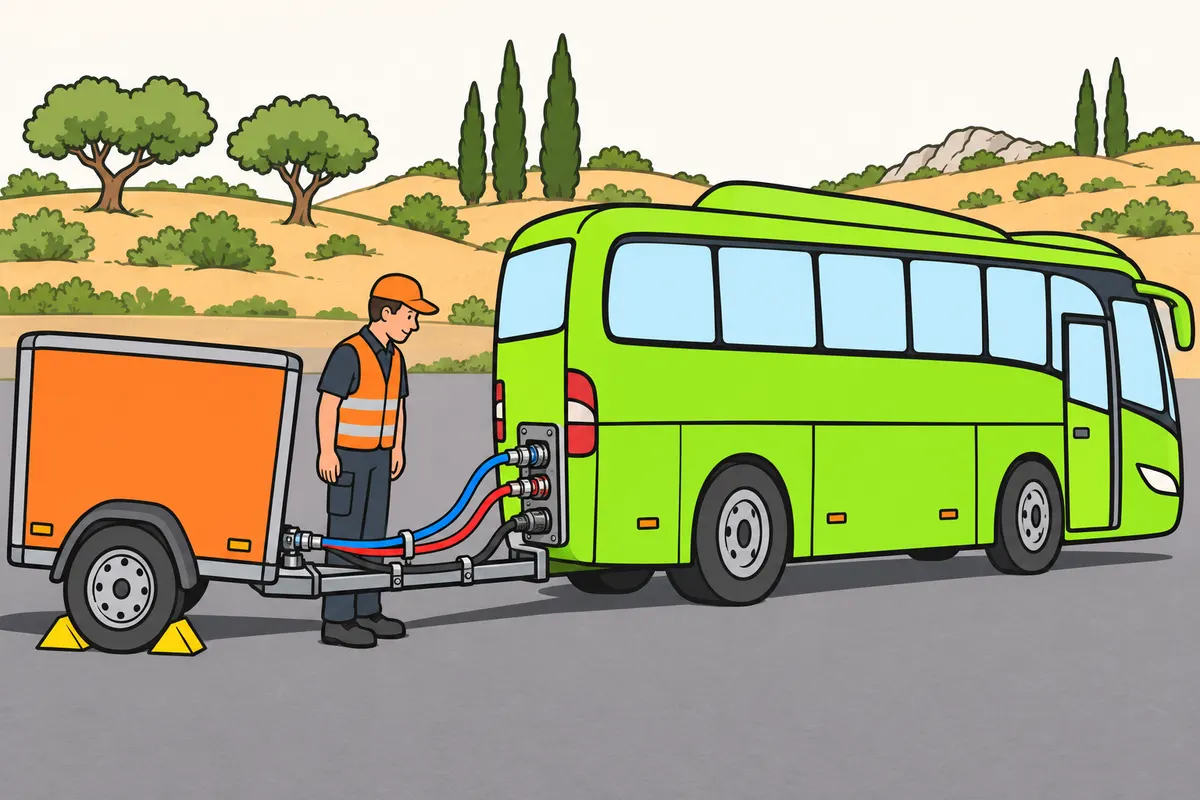
You must keep connections compatible, locked and free from damage.
Remember
- Secure the vehicle before checking seals, pipes and locks.
- Allow enough hose movement for turns without stretching or trapping.
- Keep hoses away from rubbing and hot parts.
- Check indicators and test braking as the manufacturer instructs, in a safe area.
- Carry out this test at low speed.
Exam trap: Wrong: disconnect pipes to park. Right: secure the trailer and follow the specified sequence.
Read the full explanation
- The mechanical, electrical and air connections between the bus and trailer must be compatible. You must use the correct components for the system and retain their intended locking and securing arrangements, so that each connection maintains its function as the combination articulates. [RGV (General Vehicle Regulations), art. 13](https://www.boe.es/buscar/act.php?id=BOE-A-1999-1826#a13).
- Check the hoses with the combination ready to drive: they must allow articulation without stretching to the point of coming loose or hanging where they can chafe, become trapped or touch hot parts. A connection that is correct in a straight line can fail when turning if you route it incorrectly.
- With the vehicle secured, check that the coupling heads are locked, that seals and pipes are in good condition and that there are no abnormal leaks. Then check the indicators and braking response using the check specified by the manufacturer, in a safe area and at low speed.
- The connection and disconnection sequence is covered in «Safe coupling and uncoupling». Supplying air to or releasing a circuit can change the state of the brakes, so you must keep the trailer secured during the operation and follow the procedure specific to the vehicle. You apply the parking brake using its designated controls and use the necessary means to prevent movement.
11Automatic braking on separation
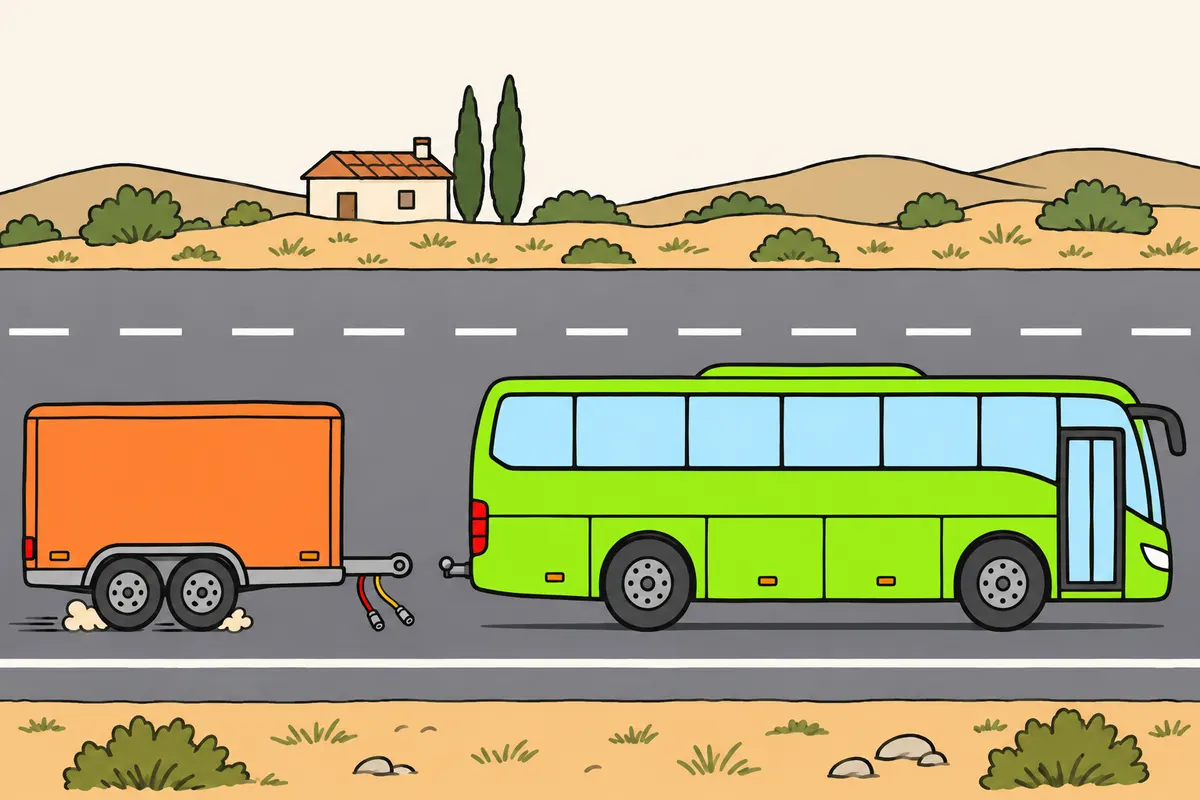
Automatic braking protects your combination if the coupling separates.
| Trailer system | Response to separation |
|---|---|
| Mechanical breakaway device | The cable pulls the braking mechanism |
| Air braking | Loss of supply associated with separation activates the designated device |
Remember
- Keep the automatic braking device working.
- If fitted, attach the breakaway cable as the manufacturer instructs.
- Allow movement for turns without preventing the cable from working.
- Loss of supply can activate an air-braked trailer’s automatic braking.
- Repair faulty hoses and couplings before driving.
Exam trap: Wrong: losing air always leaves the trailer unbraked. Right: it can activate automatic braking.
Read the full explanation
- The trailer automatic braking system must operate if the parts of the combination separate, including if the coupling breaks, without disabling the braking effectiveness of the rest of the combination. You must not confuse it with ABS or autonomous braking to avoid a collision: it responds to separation. [RGV, Annex VIII, section 1.5](https://www.boe.es/buscar/act.php?id=BOE-A-1999-1826#anviii).
- On a trailer with a mechanical breakaway device, the correctly attached cable pulls the designated mechanism when the coupling separates. You must fit it according to the instructions, with enough freedom of movement for articulation and without an improvised attachment that prevents it from operating. Its presence does not correct a faulty main coupling lock.
- In an air system, a loss of supply associated with separation activates the designated automatic device. You must not conclude that losing air always leaves the trailer completely free to move: there are safety functions that use the trailer air reserve or spring energy, depending on the design.
- The automatic system must remain effective after separation. You must repair defects that can prevent it from operating, including defects in its connections and actuating devices. Its operation is required as protection against coupling breakage. [UN Regulation No. 13, section 5.2.2.9](https://www.boe.es/buscar/doc.php?id=DOUE-L-2026-80539).
12Secondary chain and breakaway cable
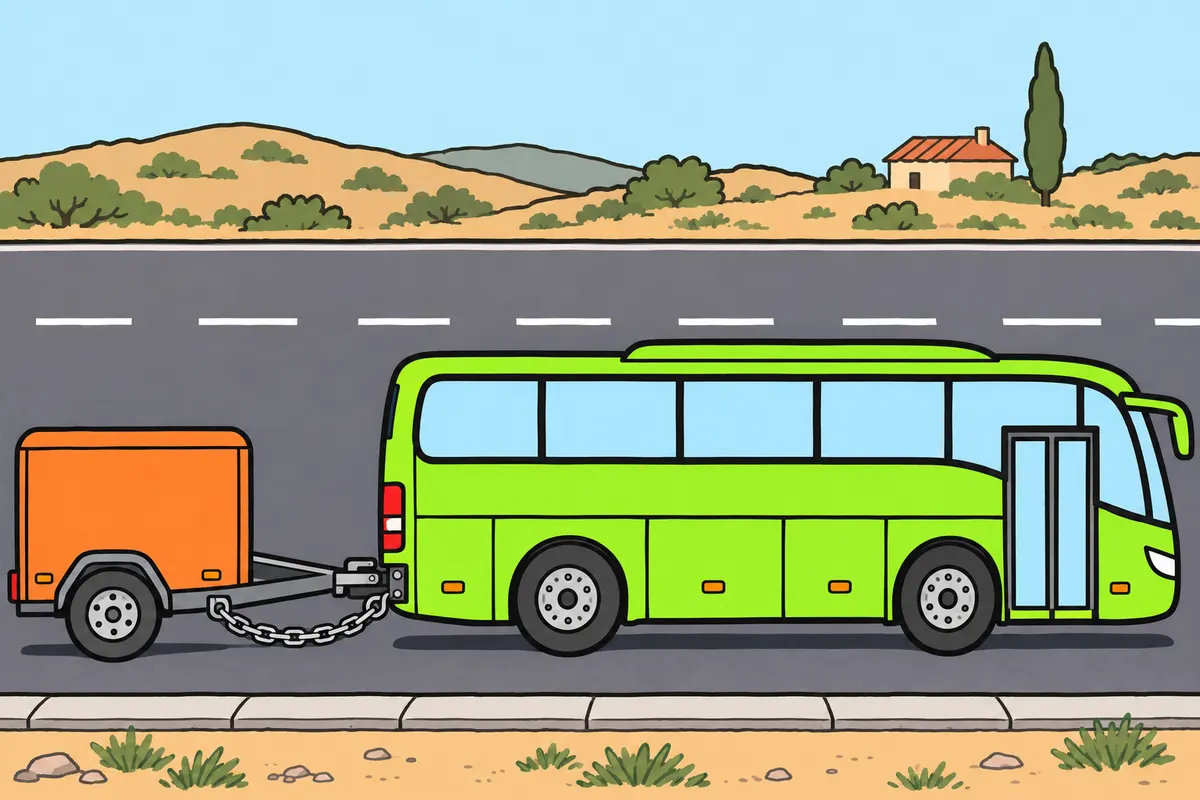
You must distinguish the chain retaining the trailer from the cable applying its brakes.
| Trailer protection | Function |
|---|---|
| Secondary chain | Holds the drawbar and retains some steering |
| Breakaway cable | Applies brakes when the coupling separates |
Remember
- Up to 1,500 kg MMA, check protection against coupling breakage.
- Without a system ensuring braking after coupling breakage, you need a secondary coupling.
- It keeps the drawbar off the ground and retains some steering.
- Above 1,500 kg, O2 trailers need automatic braking.
- O3 and O4 trailers also need automatic braking.
- Keep any fitted automatic braking system working.
Exam trap: Wrong: the 1,500 kg rule allows an unbraked trailer. Right: the ordinary unbraked limit remains 750 kg.
Read the full explanation
- If a trailer with an MMA (maximum authorised mass) not exceeding 1,500 kg has no system that ensures braking if the coupling breaks, it must have a secondary coupling. Its purpose is to prevent the drawbar from touching the ground and retain some residual steering control if the main coupling fails. [RGV, art. 13](https://www.boe.es/buscar/act.php?id=BOE-A-1999-1826#a13).
- You must distinguish between mechanical retention and brake application. A secondary chain can keep the trailer attached, while the breakaway cable of a braked system activates a mechanism. The fact that both look like a cable or chain does not mean you can interchange them without regard to their function.
- The 1,500 kg condition refers to the secondary device that retains some residual steering control after the main coupling breaks. You must assess this protection separately from the towing capacity and the service brake required for the luggage trailer. [RGV, art. 13.4](https://www.boe.es/buscar/act.php?id=BOE-A-1999-1826#a13).
- When the trailer has automatic braking, you must keep this protection and its actuating system operational. The RGV table requires automatic braking for O2 trailers over 1,500 kg and provides for a secondary coupling for those with a mass at or below that threshold; O3 and O4 also require automatic braking. The detailed inspection is covered in «Safety devices on a bus and trailer». [RGV, Annex VIII, section 2 and note 4](https://www.boe.es/buscar/act.php?id=BOE-A-1999-1826#anviii).
13ABS on the trailer too
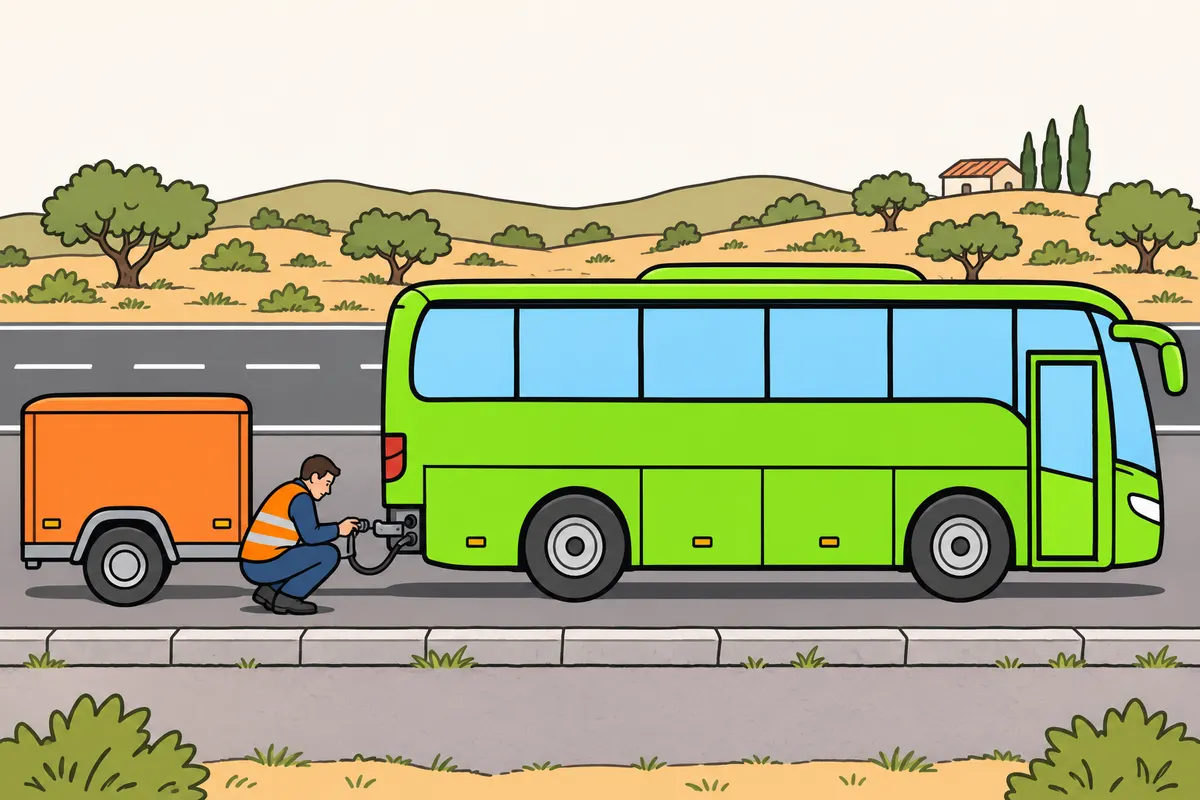
You must check the trailer’s ABS even when your bus has ABS.
| Technical trailer category | Maximum authorised mass |
|---|---|
| O1 | Up to 750 kg |
| O2 | Above 750 kg and up to 3,500 kg |
| O3 | Above 3,500 kg and up to 10,000 kg |
| O4 | Above 10,000 kg |
Remember
- ABS prevents wheel lock; it does not increase road grip.
- For type approval, O3 and O4 need ABS; O4 needs category A ABS.
- A type approval rule does not mean every older trailer needs a retrofit.
- For O2, your D+E licence alone does not require ABS.
- Check the trailer system, connections and warnings; keep fitted systems working.
- Your D+E trailer’s MMA exceeds 750 kg: it is O2, never O3 or O4.
Exam trap: Wrong: exactly 10,000 kg is O4. Right: it belongs to O3.
Read the full explanation
- The technical categories of trailers are defined by their maximum mass: O1 up to 750 kg; O2 over 750 kg and up to 3,500 kg; O3 over 3,500 kg and up to 10,000 kg; O4 over 10,000 kg. You must include the boundary value in the lower category: exactly 10,000 kg falls within O3. [DGT, Heavy Vehicle Manual, categories](https://sede.dgt.gob.es/export/sites/dgt/.galleries/permisos-de-conducir/certificacion-aptitud-profesores-formacion-vial/2022/Manual-III-RVP-2022.pdf).
- ABS automatically regulates wheel slip during braking to prevent the wheels from locking. You must understand that it regulates the braking force of the brakes it controls; it does not add grip to the road surface or remove the need to choose a speed that allows you to stop the combination. [DGT, safety systems, ABS](https://revista.dgt.es/es/multimedia/infografia/2021/12DICIEMBRE/1214-Frenar-con-ABS.shtml).
- The type-approval requirements of UN Regulation No. 13 specify ABS for O3 and O4; O4 requires ABS corresponding to category A in its annex 13. Do not confuse this technical ABS category with a driving licence category. Your bus may tow only up to 3,500 kg, so your D+E trailer, weighing more than 750 kg, is O2, never O3 or O4. [RGCond, art. 4](https://www.boe.es/buscar/act.php?id=BOE-A-2009-9481#a4). [RGV, annex IX, 4.1.2.2-4.1.2.3](https://www.boe.es/buscar/act.php?id=BOE-A-1999-1826#anix). [UN Regulation No. 13, paragraph 5.2.2.13](https://www.boe.es/buscar/doc.php?id=DOUE-L-2026-80539).
- The bus's ABS does not give anti-lock braking to a trailer that has no ABS or whose ABS is faulty. You must check the trailer, its connections and its warnings. The control provided by the bus does not allow you to assume that all the wheels of the combination have the same protection.
- For a particular vehicle, you must take account of its type approval, age and documentation; do not infer a universal obligation to retrofit the entire vehicle fleet from a type-approval requirement. For O2, you must not infer a general ABS requirement from holding a D+E licence: identify the equipment fitted and keep its functions operational.
14Emergency braking with ABS
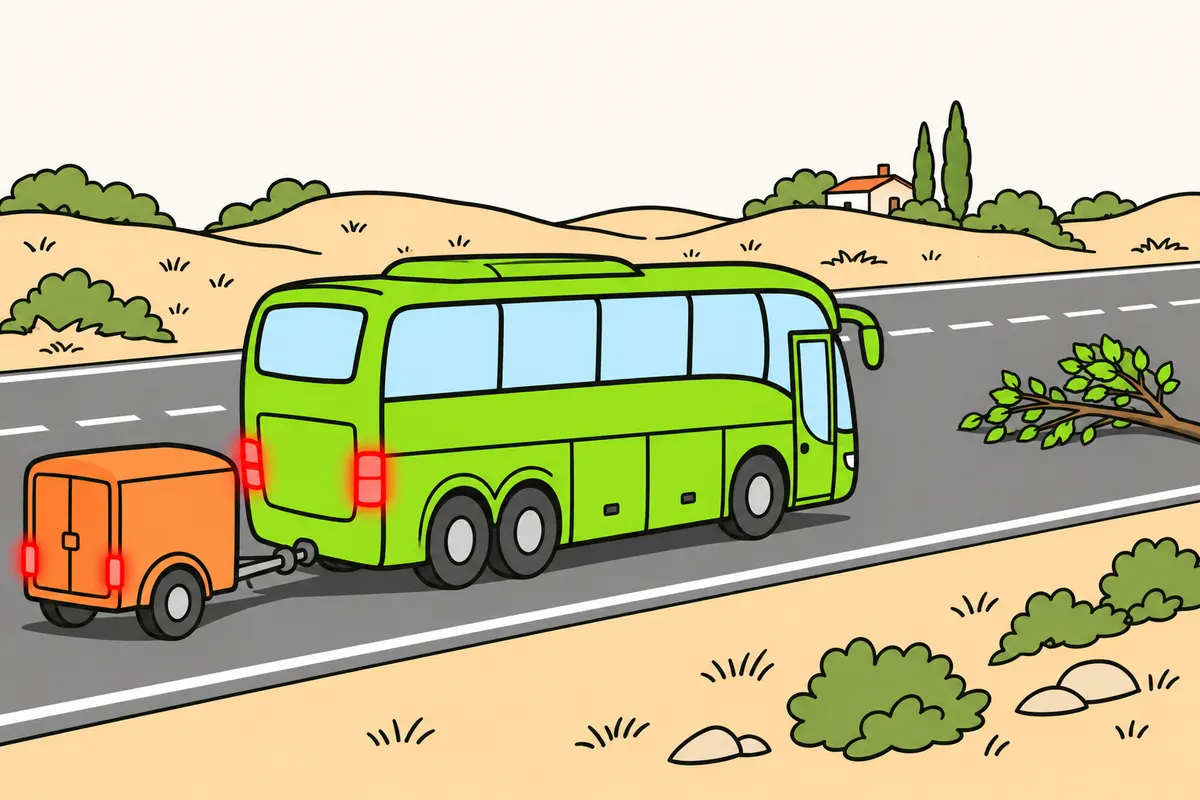
In an emergency with working ABS, brake firmly and maintain the necessary pressure.
Remember
- Never pump the pedal or release it because of normal ABS vibration.
- Steer under control and choose a path the whole combination can follow.
- Allow space for the whole combination.
- Keep your distance even with ABS.
Exam trap: Wrong: ABS always shortens your stop. Right: it prevents wheel lock and helps you keep control.
Read the full explanation
- In an emergency with working ABS, press the brake pedal firmly and maintain the necessary pressure, without pumping it or releasing it because of normal vibration. You must steer the bus under control and also take account of the space occupied by the trailer. [DGT, emergency braking](https://revista.dgt.es/es/educacion-formacion/conducir-mejor/2023/0315-Frenadas.shtml).
- The trailer must respond as the bus decelerates. A fault or a defective connection can leave it pushing against the coupling precisely when you need the combination's full braking capacity.
- ABS allows you to retain steering ability within the available grip. You must choose a path that both vehicles can follow; a sudden turn can destabilise the trailer even if the bus responds to the steering wheel.
- ABS does not guarantee a shorter distance on every surface. Its protection depends on the wheels controlled by each installation; the trailer retains its own grip and braking limitations. [DGT, ABS](https://revista.dgt.es/es/multimedia/infografia/2021/12DICIEMBRE/1214-Frenar-con-ABS.shtml).
15ABS warnings and brake faults
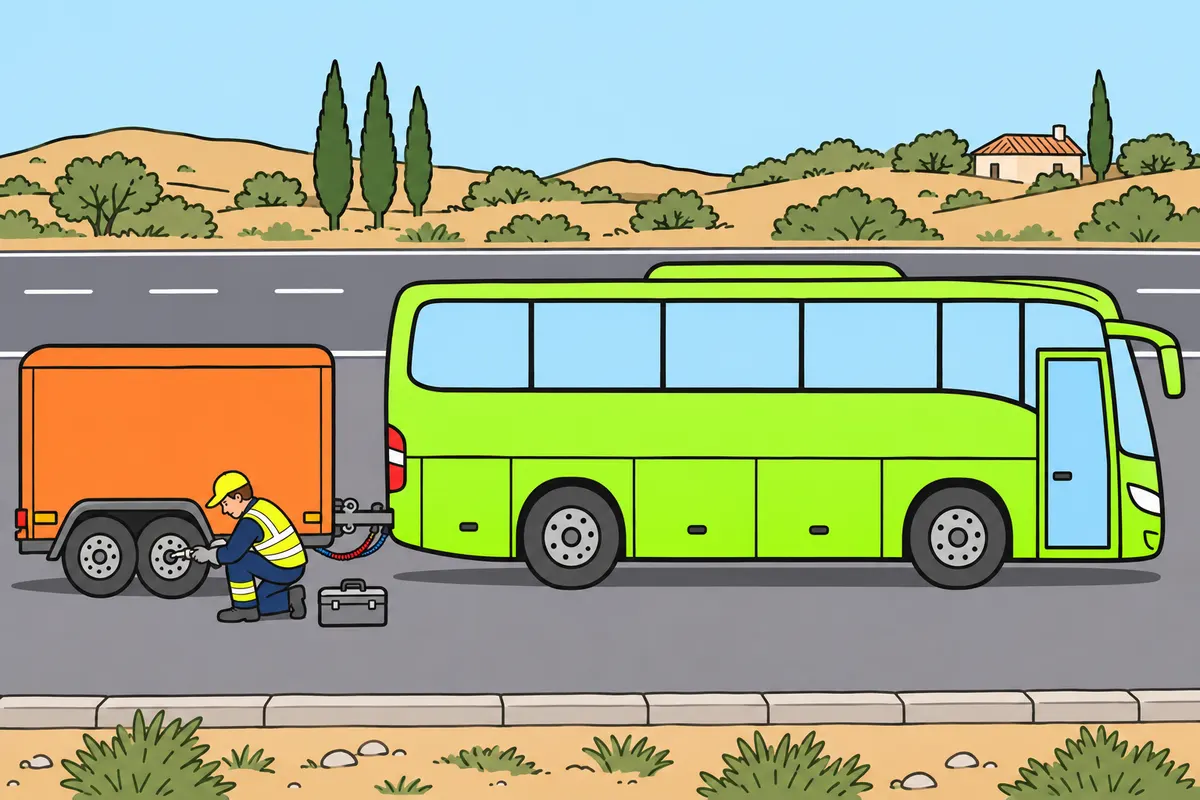
You must identify each warning and stop if a fault compromises braking.
| Warning or fault | What you must distinguish |
|---|---|
| Light during the initial check | May be normal |
| ABS fault | May remove anti-lock regulation |
| Insufficient pressure | Do not treat it as a simple electronic fault |
Remember
- Check the manual if the warning stays on after the initial check.
- Assess the trailer’s braking too.
- If the fault compromises braking, stop safely.
- Repair the cause before driving again.
Exam trap: Wrong: an ABS fault always removes all braking. Right: you may lose only anti-lock regulation.
Read the full explanation
- The trailer's ABS warning light has a self-diagnostic sequence specified by the manufacturer. If it stays on outside that sequence, you must check what it means and check the electrical braking connection. General interpretation of dashboard warnings is covered in «Maintenance and inspection of the vehicle combination».
- An ABS fault can disable anti-lock regulation while leaving service braking available. An insufficient-pressure warning indicates a different problem: you must identify the specific message before assessing the braking capacity available.
- If the fault compromises braking, you must stop safely and repair the cause before continuing the transport operation. Include the trailer in the inspection even if you can feel from the driving position that the bus brakes.
- A trailer that pushes because it is not braking changes the combination's response. You must assess its deceleration and the balance between the vehicles; the brake lights only provide a signal and do not prove that braking force is being applied at its wheels.
16Braking distance and stopping distance
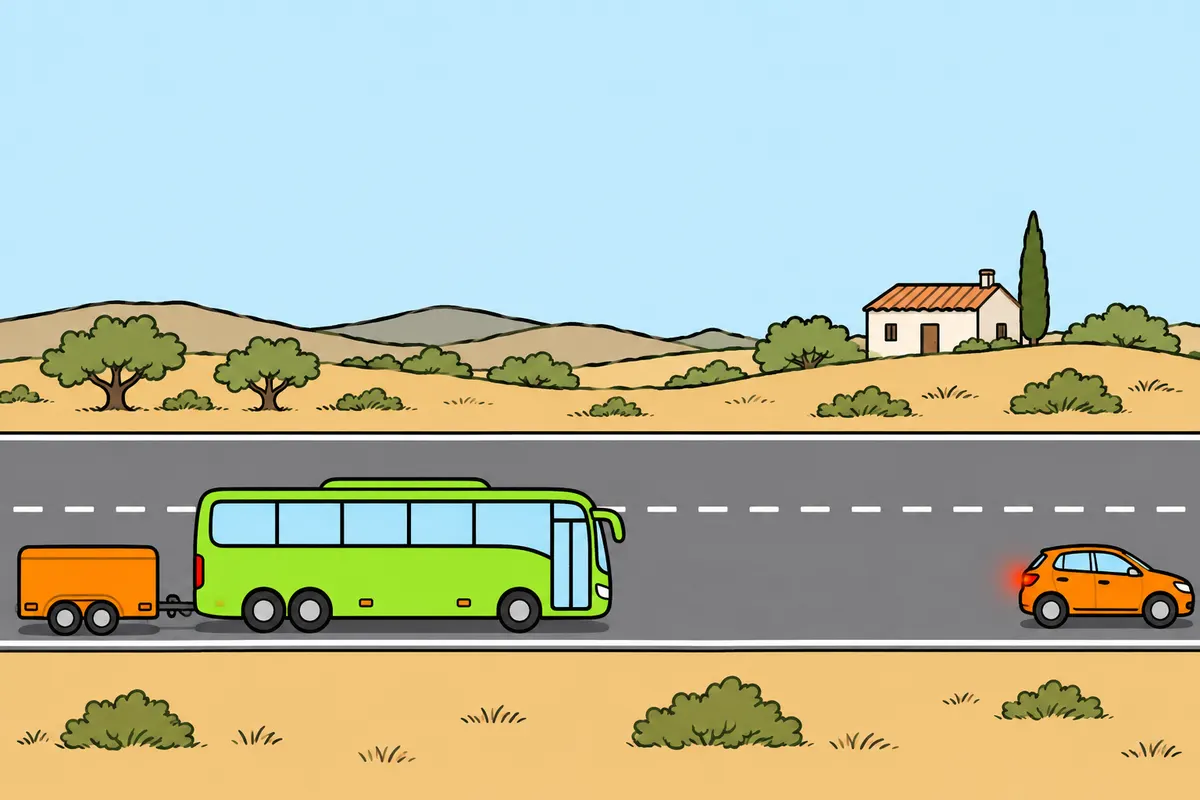
When judging stopping space, you must consider how both the bus and trailer respond.
Remember
- Allow enough space to stop the whole combination.
- Adapt your speed and safe following distance.
- Review reaction, braking and stopping in “Speed and distances for the combination”.
Exam trap: Wrong: only the bus’s braking matters. Right: consider the trailer’s response too.
Read the full explanation
- When calculating the space you need to stop, take account of the trailer's brakes and the luggage, as well as the bus: the braking capacity of the bus alone is not that of the combination. You can find the definitions and legal separation distances in «Speed and distances for the combination».
17Mass, load and grip
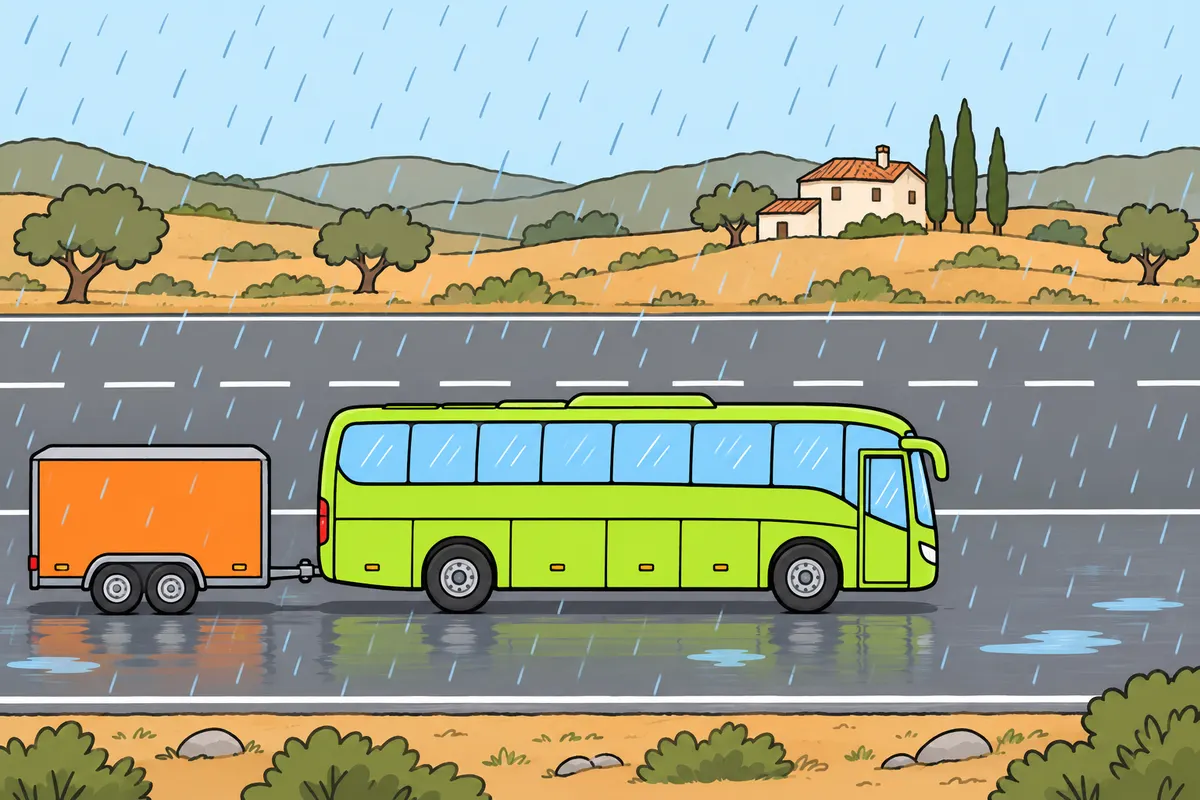
You must adapt braking to mass, load distribution and grip.
| Situation | What you must consider |
|---|---|
| More mass | You must release more energy for the same speed reduction |
| Poorly distributed load | You may lose grip and balance |
| Empty trailer | Excessive braking can cause loss of grip |
Remember
- Distribute and secure luggage before driving.
- Never overload the combination.
- Keep the load-sensing brake regulator working.
- In rain, snow, ice or dirt, slow earlier and leave more room.
- Check the trailer’s tyres, shock absorbers and brakes too.
Exam trap: Wrong: an empty trailer always brakes more stably. Right: excessive braking can still cause loss of grip.
Read the full explanation
- With greater mass, you must dissipate more energy for the same reduction in speed. You must not translate this into a universal proportional increase in metres, because the loads on the wheels and the effective braking capacity also change. Overloading the combination reduces the margin allowed for in its design.
- Poorly distributed luggage can leave some axles lightly loaded and others overloaded. When you brake, a lightly loaded axle can reach the grip limit sooner; a shifting load also alters the balance. You must drive with the luggage load distributed and secured: the details are covered in «Safe luggage and loads».
- With an empty trailer, excessive braking demand can cause loss of grip. You must keep the load-sensing brake regulator operational, as explained in «Trailer air-braking components»; it adjusts braking force to the load supported by the wheels. [WABCO, ALB regulator, section 5.26](https://doc.wabco-auto.com/ProductFiles/anteros/Document/8150400343.pdf).
- In rain, snow, ice, dirt or with different grip under each side of the combination, you must slow down in good time and increase your safety margin. Poorly maintained tyres, shock absorbers or brakes can worsen the response. Check those on the trailer too: the bus being in good condition does not compensate for the trailer's lack of grip.
18Preparing for normal braking
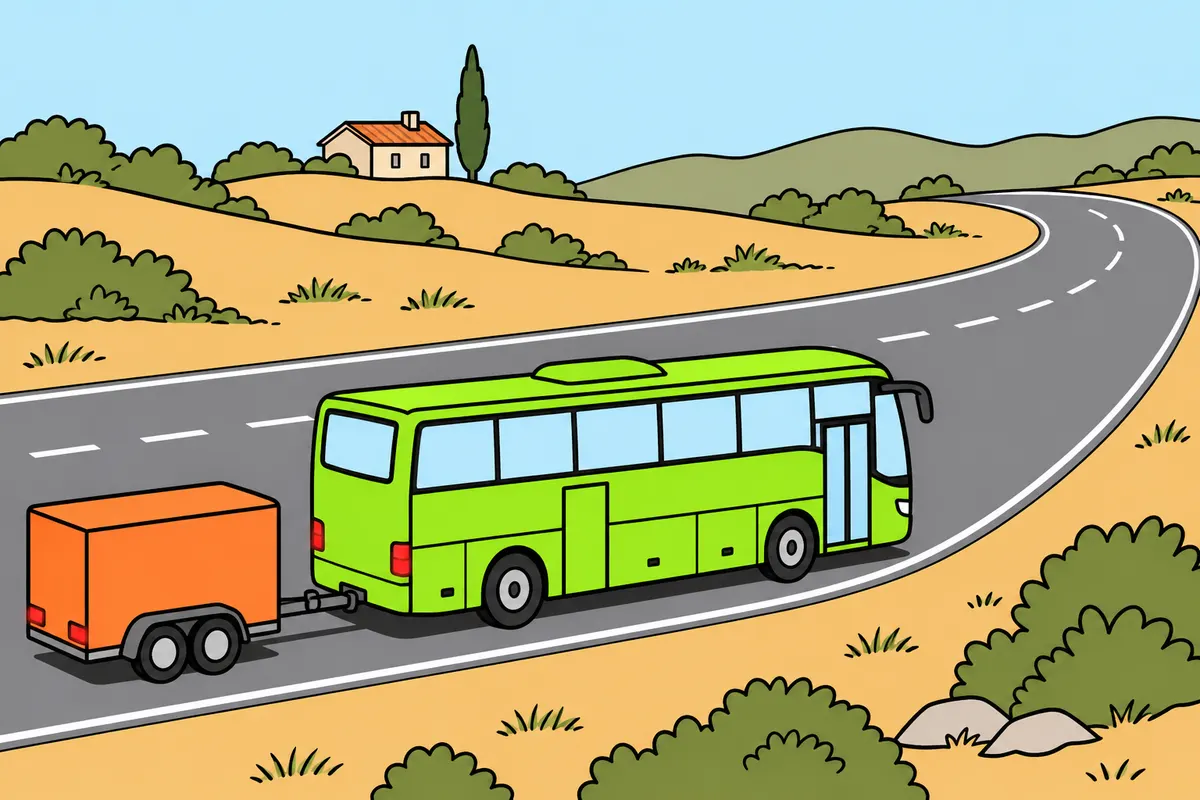
You must anticipate braking and reach a suitable speed before bends.
Remember
- Anticipate slowing down and brake progressively.
- Check that the trailer follows without jolts or abnormal pushing.
- Slow down before entering the bend.
- At stops, avoid jolts that put passengers at risk.
Exam trap: Wrong: hard braking on a bend has no consequences. Right: slow before entering.
Read the full explanation
- You must anticipate the need to slow down and apply the service brake progressively, checking that the trailer slows with the bus without abnormal jolts or pushing. General preparation for using the controls is covered in «Driving techniques with a bus and trailer».
- On a bend, the wheels need grip for both steering and braking. You must slow down before entering to limit the trailer's push against the bus and avoid heavy braking demand while the combination is at an angle at the coupling. [DGT, braking on bends](https://revista.dgt.es/es/educacion-formacion/conducir-mejor/2023/0315-Frenadas.shtml).
- As you approach a stop, you must control the deceleration of both vehicles to avoid jolting passengers. A delayed response from the trailer can produce a final push against the coupling that disrupts a smooth stop.
19What jackknifing means
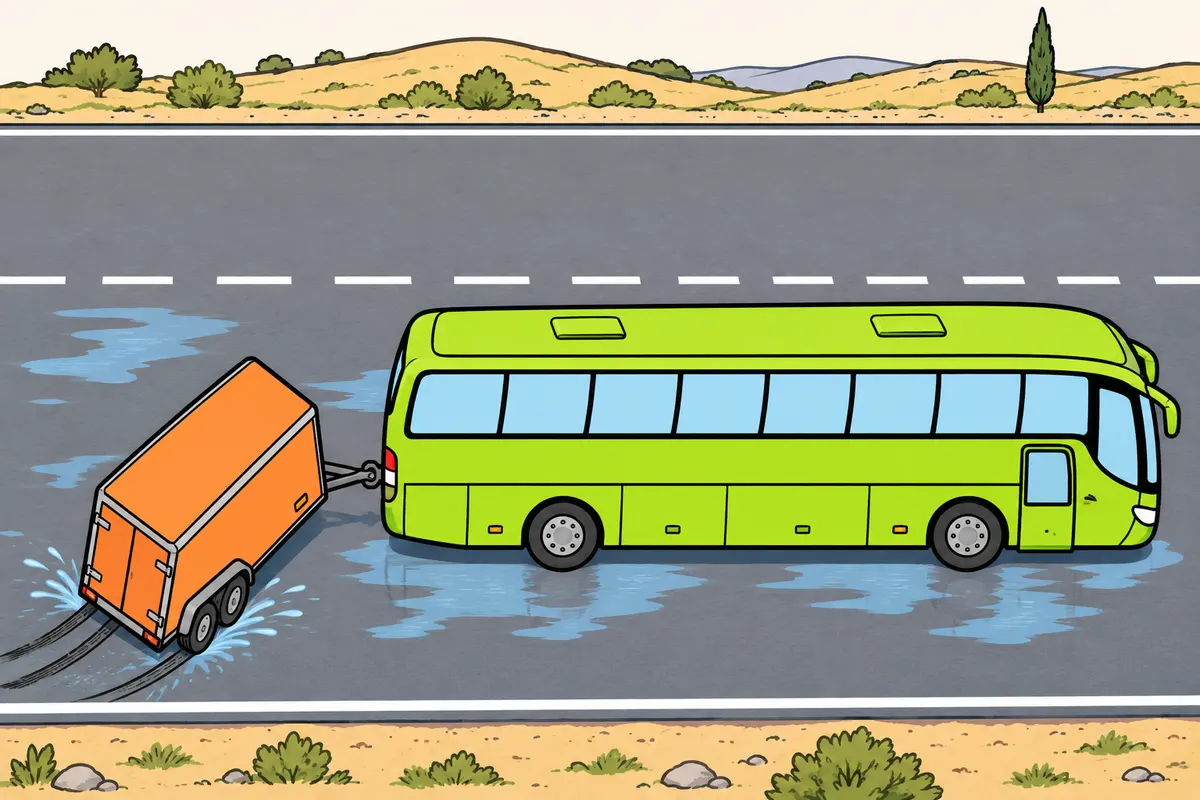
You can jackknife when you lose the combination’s alignment and control.
Remember
- Distinguish jackknifing from normal coupling movement during turns.
- Avoid unsuitable speed, harsh braking and poor load distribution.
- A trailer that brakes too little can push your bus.
- If its wheels lock, the trailer can slide sideways.
Exam trap: Wrong: ABS prevents every jackknife. Right: it reduces wheel lock, but you can still lose stability.
Read the full explanation
- Jackknifing is a sharp closing of the angle between the bus and trailer when they lose alignment and control. It is a loss of stability around the coupling, distinct from normal articulation during a turn.
- If the rear axle of the bus loses grip, the bus can veer off course while the trailer pushes it. If the trailer skids, its wheels lose lateral guidance. The instability can start in either vehicle.
- Unbalanced braking increases the risk: a trailer that brakes insufficiently pushes the bus, while one whose wheels lock loses lateral guidance. Speed, the road surface and luggage distribution affect this response.
- ABS reduces the risk associated with wheel locking, but excessive speed on a bend and insufficient grip can still destabilise the combination. You must leave enough margin for both vehicles to follow compatible paths.
20Preventing jackknifing
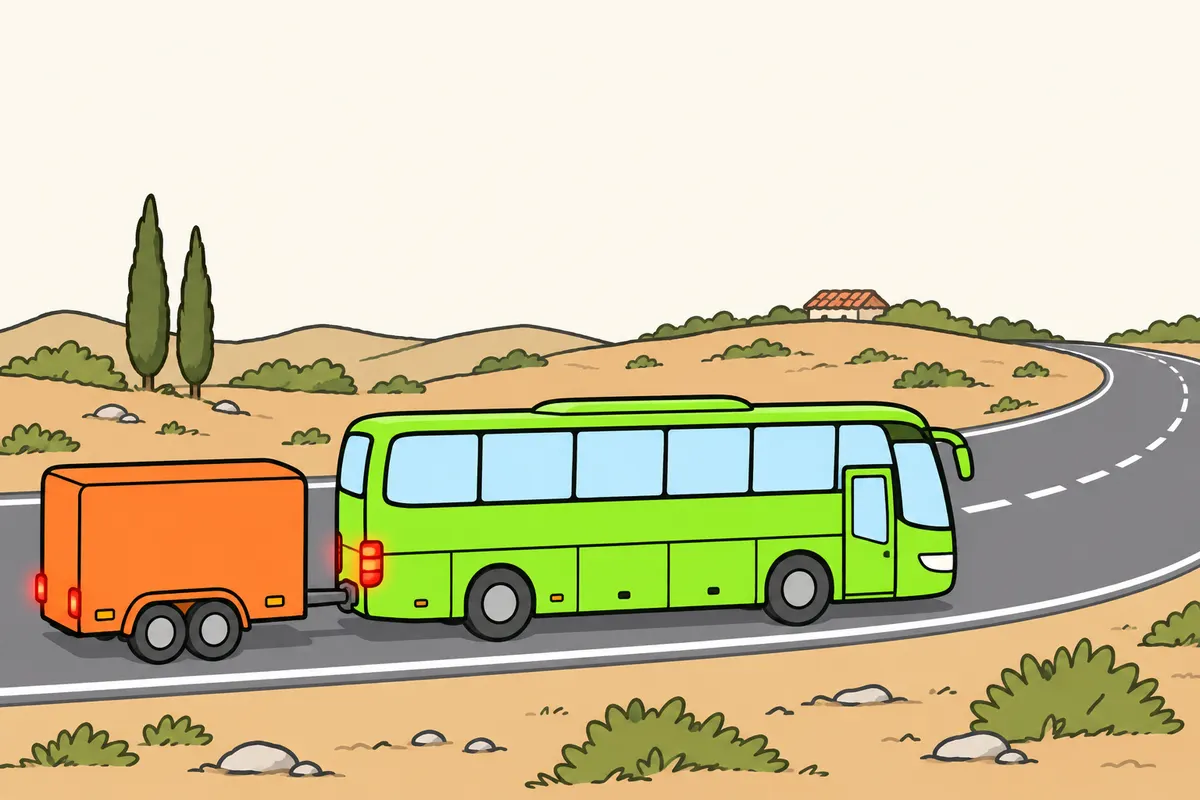
You must prevent jackknifing through anticipation, balanced braking and smooth movements.
Remember
- Anticipate slowing down and leave a margin of grip.
- Avoid combining heavy braking with a tight turn.
- Repair faults that unbalance braking between the bus and trailer.
- If alignment fails, avoid sudden steering and abrupt downshifts.
- Follow your practical training and the vehicle instructions.
Exam trap: Wrong: always accelerate or brake only the trailer to correct jackknifing. Right: action depends on the skid and available aids.
Read the full explanation
- You must anticipate the need to slow down and avoid combining heavy braking with a sharp turn. Keeping a reserve of grip allows the trailer to follow the bus without starting to slide sideways as the coupling angle changes.
- Prevention requires coordinated braking between the bus and trailer. An incorrect connection, a seized brake or insufficient deceleration of the trailer requires repair; routinely increasing the bus's braking leaves the imbalance unresolved.
- If the vehicles become misaligned, avoid sudden steering movements, abrupt downshifts and sudden demands for engine or retarder braking. Your response depends on which wheels lose grip and the equipment available; you must follow your practical training and the vehicle instructions.
- Accelerating or applying an independent trailer brake is not a universal solution: it can increase the danger or lock the trailer's wheels. Recovery depends on the cause of the skid, not just the visible angle between the two vehicles.
21Long descents: prepare your speed
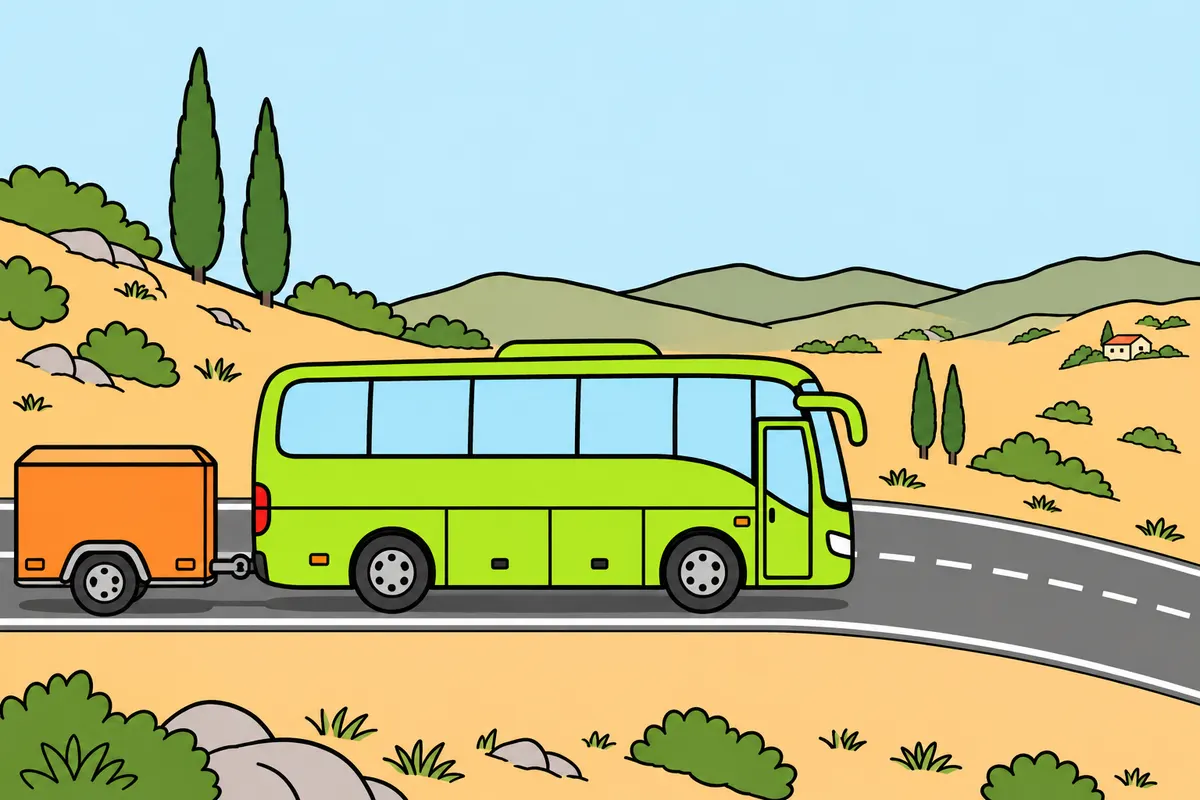
You must choose your speed and gear before a long descent.
Remember
- Take account of mass, gradient and grip.
- Never descend in neutral or with the clutch pedal pressed.
- Keep the transmission engaged and use your gearbox’s designated descent mode.
- Use the service brake when needed.
- Monitor your speed throughout the descent.
- If retardation is insufficient, slow under control to a speed you can maintain.
Exam trap: Wrong: light pedal pressure throughout the descent is enough. Right: share the work and preserve braking reserve.
Read the full explanation
- Before a descent, you must select your speed and gear according to the mass, gradient and grip. The trailer adds energy that you must control; a speed you can safely maintain with the bus alone can be excessive when towing luggage.
- Keep the transmission engaged to use engine braking and use the descent mode provided for your gearbox. The general technique is covered in «Driving techniques with a bus and trailer», under «Descents: preparing to control speed».
- Combine the available engine or retarder braking with the service brake when you need it, avoiding reliance on continuous pedal pressure as your only means of control. You must also monitor the heat generated in the trailer brakes. [DGT, gradients](https://revista.dgt.es/es/educacion-formacion/conducir-mejor/2023/0315-Frenadas.shtml).
- If your speed increases despite the engine or retarder braking selected, you must slow down in a controlled way until you regain a speed you can safely maintain. The trailer's pushing force can increase on the gradient even if you have not changed the accelerator position.
22Retarders and the service brake
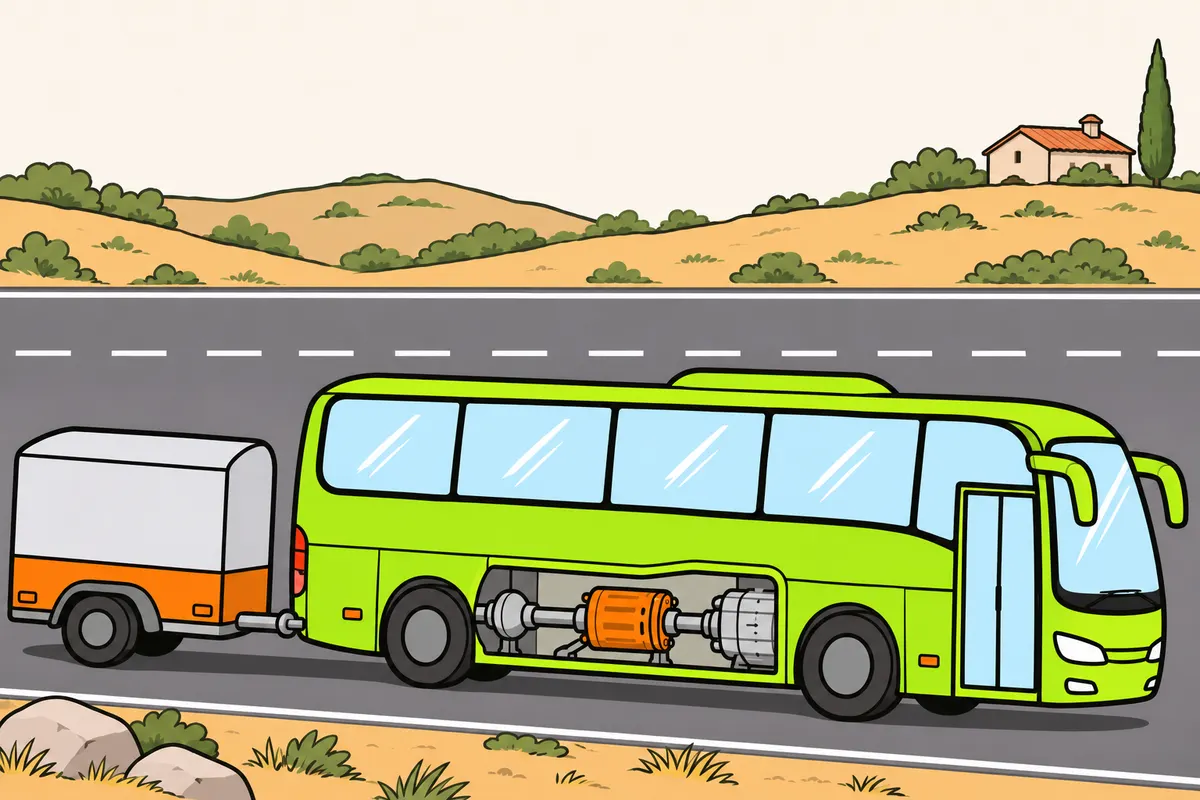
You must use retarders to help control speed while moving.
| System | Use you must distinguish |
|---|---|
| Service brake | Brakes through friction at the wheels |
| Retarders | Help slow you down and reduce friction-brake work |
Remember
- Respect the limits of the retarder fitted.
- Monitor temperature and engine speed as the manufacturer instructs.
- On slippery roads, apply retardation carefully and progressively.
- Excessive retardation can make the driven wheels lose grip.
- Before uncoupling, secure the trailer with its own parking system.
Exam trap: Wrong: use the retarder for parking. Right: use the system designed to keep the vehicle still.
Read the full explanation
- Retarders help sustain deceleration and reduce the workload on the friction brakes. You must keep the service brake available to adjust the combination's deceleration and bring it to a complete stop.
- The equipment can use exhaust, hydrodynamic or electric braking. You must observe its temperature and operating speed limits; general operation is covered in «Driving techniques with a bus and trailer», under «Retarders: progressive use and limits».
- Braking applied through the transmission acts on the bus's driven wheels. On a slippery surface, excessive braking demand can make them lose grip while the trailer pushes; you must regulate it according to the equipment instructions. [DGT, auxiliary braking systems](https://sede.dgt.gob.es/.galleries/permisos-de-conducir/certificacion-aptitud-profesores-formacion-vial/2022/Manual-VIII-Mecanica-2022.pdf).
- The retarder does not immobilise an uncoupled trailer. Its effect depends on the bus's transmission; you must secure the trailer using its own parking brake system before separating it, even if you use engine or retarder braking during the approach.
23Overheating and loss of effectiveness
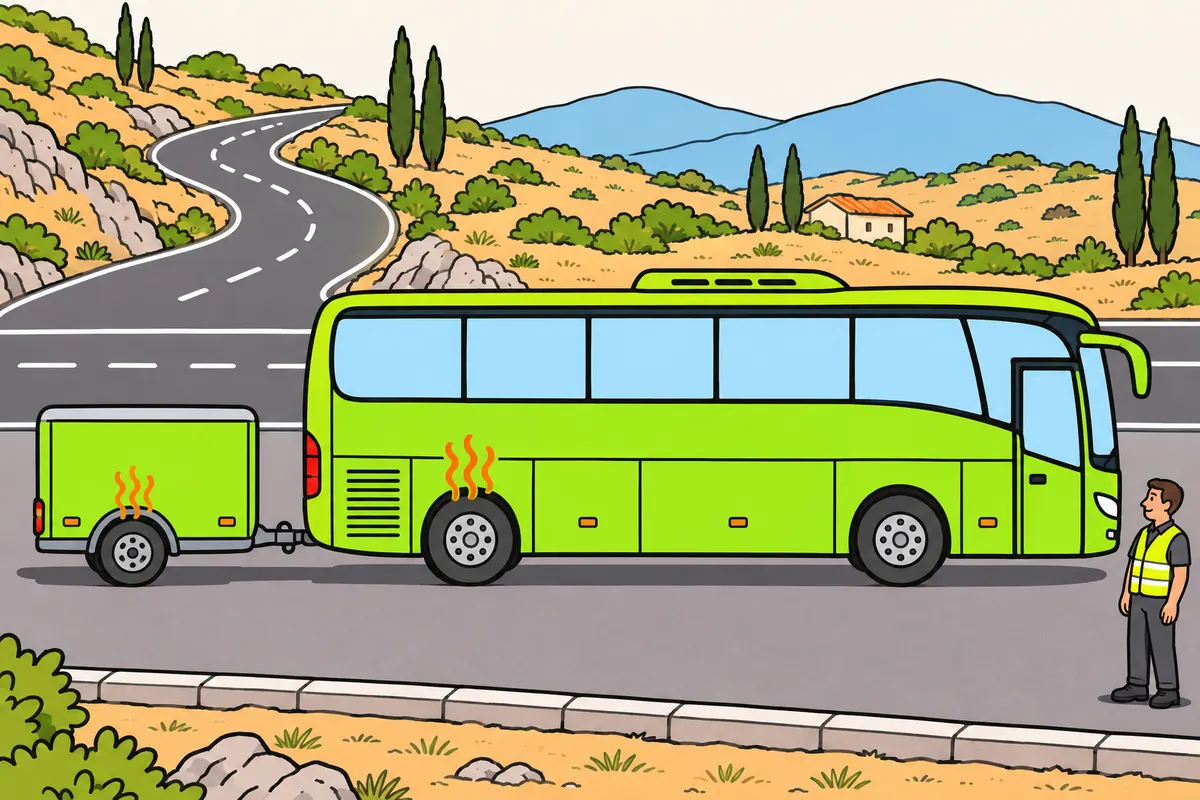
You must stop safely if heat reduces braking effectiveness.
Remember
- Continuous brake use can cause loss of effectiveness, called brake fade.
- With increasing pedal effort, unusual smells or temperature warnings, seek a safe stop.
- Check and cool brakes as instructed; never pour water on hot brakes.
- If braking fails badly, use any engine braking or retarder that still works.
- Use an escape area if available and reachable; enter with the combination aligned.
- Keep the engine running and avoid abruptly locking the wheels.
Exam trap: Wrong: compressed air prevents brake fade. Right: accumulated heat can still reduce braking effectiveness.
Read the full explanation
- Accumulated heat can reduce the effectiveness of friction brakes: this is brake fade. It can affect the trailer even if the bus retains its braking ability, increasing the imbalance between them. [DGT, mechanics](https://sede.dgt.gob.es/.galleries/permisos-de-conducir/certificacion-aptitud-profesores-formacion-vial/2022/Manual-VIII-Mecanica-2022.pdf).
- If you need increasing pedal pressure, notice an unusual smell or receive temperature warnings, you must find a safe place to stop. You must check both vehicles and let them cool according to the instructions; a seized trailer brake can heat up without you pressing the pedal.
- Avoid pouring water on or handling overheated discs and drums. Brake inspection is covered in «Maintenance and inspection of the vehicle combination»; you must include any mechanism that can keep a trailer brake applied.
- If you suffer a serious loss of braking, use effective engine or retarder braking and look for an accessible escape area. You must keep the combination aligned and avoid abruptly locking its wheels; keep the engine running to retain the available assistance systems. [DGT, heavy vehicle braking](https://sede.dgt.gob.es/.galleries/permisos-de-conducir/certificacion-aptitud-profesores-formacion-vial/2025/Manual-II-Cuestiones-de-Seguridad-Vial-2025.pdf).
Check that the trailer can brake
Check connections, reserves and response before driving.
- Keep the combination immobilised and check that its systems are compatible.
- Identify the red supply line, yellow control line and electrical braking connection where fitted.
- Check couplings, seals and hose routing for leaks and any risk of tension as the combination articulates.
- Wait until the prescribed pressure conditions are met and check the warnings on the bus and trailer.
- Carry out the braking check specified by the manufacturer in a safe place; correct any fault before driving.
Brake in response to a hazard with ABS working
Use the available braking power and maintain a controlled path.
- Look towards a safe path and assess the space available for the whole combination.
- Apply the brake firmly when you need to make an emergency stop.
- Maintain the necessary pressure and let ABS modulate braking; do not pump the pedal.
- Steer in a controlled manner, without a sudden steering movement that compromises the stability of the trailer.
- Once stopped, secure the combination and assess the situation before continuing.
Control a long descent
Prepare to use engine braking and retarders and keep braking capacity in reserve.
- Slow down before starting the descent, taking account of mass, grip and road layout.
- Select a gear or descent mode suitable for the vehicle.
- Apply the available engine braking and retarders progressively, following the manufacturer’s instructions.
- Use the service brake when necessary and make sure your speed remains under control.
- If braking becomes less effective or abnormal heating occurs, find a safe place to stop; if braking is insufficient, use effective means of slowing down and an accessible escape lane.
Finished this module?
Mark it as read and you will see your progress on the theory list.