
Theory · D Licence - Bus · Module 9 of 18
Bus lighting and signs
You learn to choose the bus lighting according to the road, visibility and situation, and to recognise the lights and markings required by its size or service. You master the differences between fitting and using equipment, and how to prevent dazzling.
1What you must identify on the bus
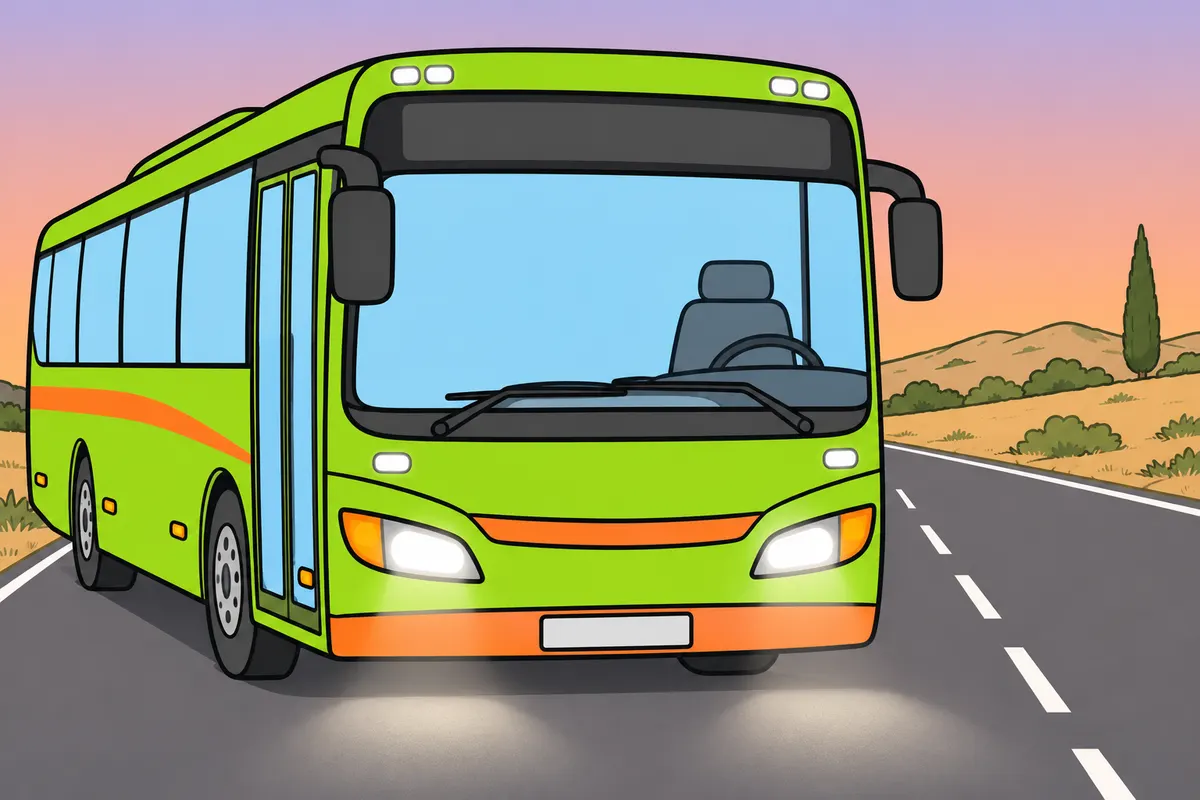
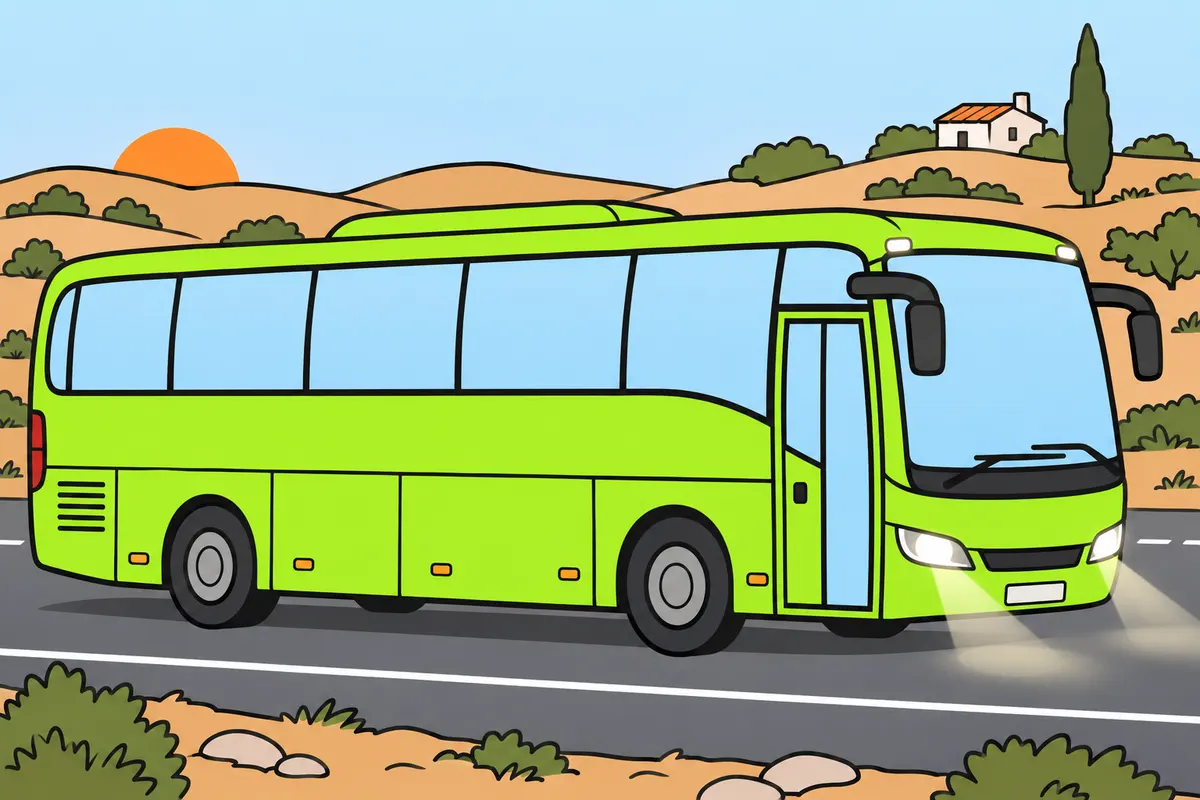
Bus lights help you see, help others see you, or warn them.
Remember
- The bus must carry the lights required for its type.
- Front fog lights are optional.
- Devices with the same purpose must match as the rules require.
- Do not add unauthorised lights, paint or reflectors.
Exam trap: Wrong: every lamp has the same purpose. Right: each device has its own purpose and rules.
Read the full explanation
- Lighting and signalling serve three purposes: illuminating the road so you can see, showing the bus's presence and dimensions so others can see you, and warning of a manoeuvre or danger. A device may be grouped with another in the same lamp unit without sharing its function or conditions of use. [RGV, Annex X](https://www.boe.es/buscar/act.php?id=BOE-A-1999-1826#anx).
- Your bus must have dipped-beam headlights, main-beam headlights, reversing lights, direction indicators with hazard warning lights, brake lights, rear number-plate lighting, front and rear position lights, and a rear fog light. The bus's dimensions determine which additional devices are required. [RGV, Art. 16](https://www.boe.es/buscar/act.php?id=BOE-A-1999-1826#a16).
- Front fog lights are optional. Optional devices must comply with the bus category and type approval, and with the notes in the general table in Annex X. [RGV, Art. 17](https://www.boe.es/buscar/act.php?id=BOE-A-1999-1826#a17).
- When two devices serve the same purpose, they must match in colour and intensity and be fitted symmetrically to the extent required by the regulations. You must not add illuminated decorations, paint or reflective material without regulatory authorisation, even if you think they make the coach more visible. [RGV, Art. 15](https://www.boe.es/buscar/act.php?id=BOE-A-1999-1826#a15).
2When you must switch on the lights
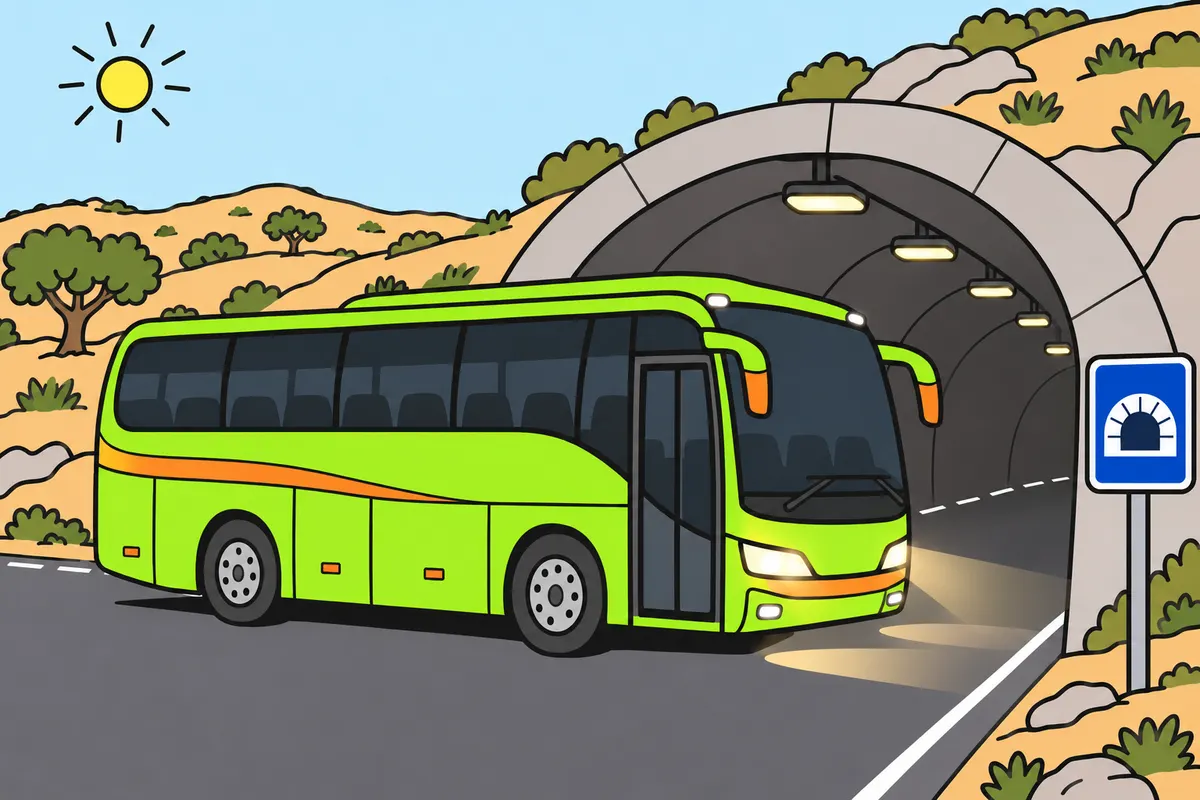
Use the right lights at night, in tunnels, and when visibility falls.
Remember
- Use the required lights from sunset to sunrise.
- Switch them on in tunnels and underpasses, even by day.
- Use them when weather or dust greatly reduces visibility.
- Choose dipped or main beam without dazzling others.
Exam trap: Wrong: a bright tunnel needs no lights. Right: use the required lights in every tunnel.
Read the full explanation
- You must use the appropriate lights from sunset until sunrise. Your choice between dipped beam and main beam depends on the road lighting and the risk of dazzling other road users. [RGC, Art. 98](https://www.boe.es/buscar/act.php?id=BOE-A-2003-23514#a98).
- At any time of day, you must switch on the appropriate lights in tunnels, underpasses and sections covered by the Tunnel sign, S-5. [RGC, Art. 98](https://www.boe.es/buscar/act.php?id=BOE-A-2003-23514#a98).
- You must also switch them on when weather or environmental conditions significantly reduce visibility. Assess the actual visibility in fog, heavy rain, snowfall, and clouds of smoke or dust. [RGC, Art. 106](https://www.boe.es/buscar/act.php?id=BOE-A-2003-23514#a106).
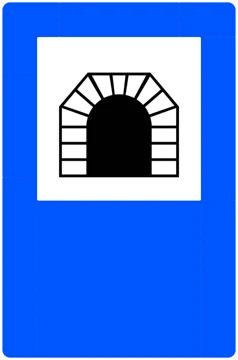 S-5
3Position lights: presence and width
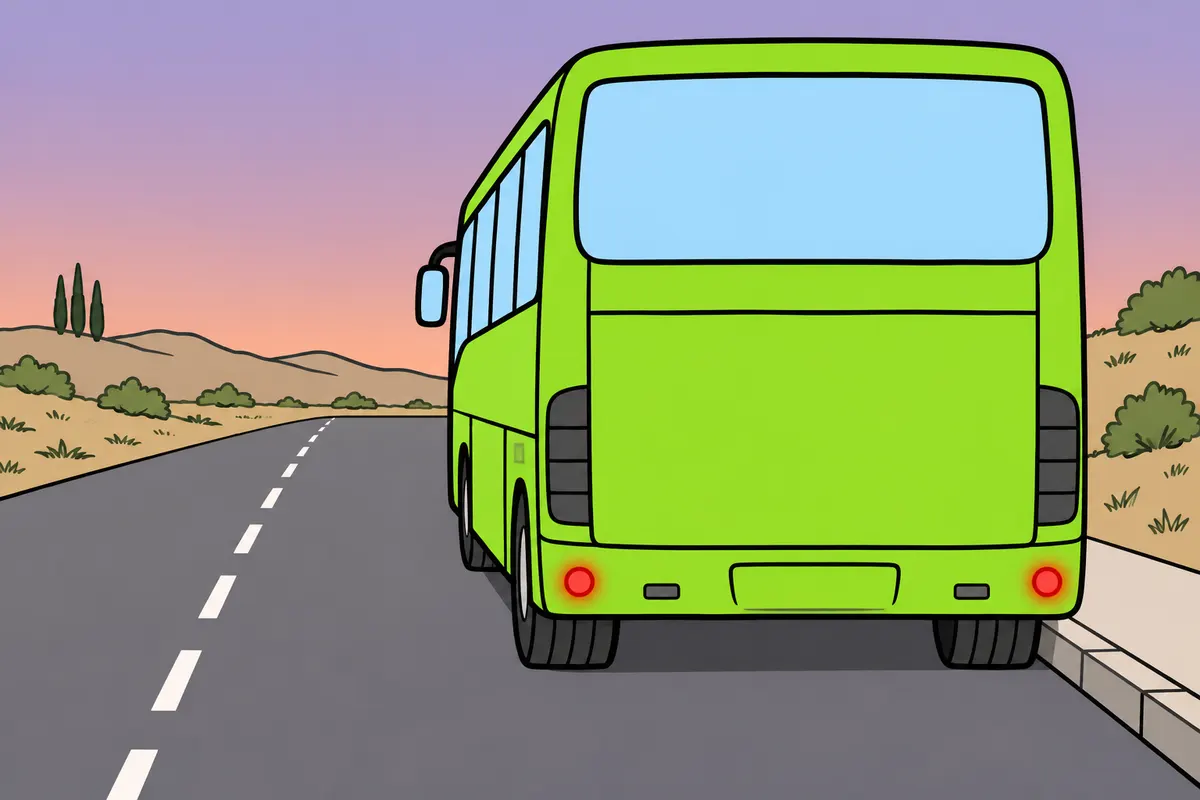
Position lights show the bus’s presence and width, but do not light the road enough.
Remember
- The front lights are white; the rear lights are red.
- They sit near the outer edges.
- Rear position lights come on with listed driving, plate and fog lights.
- Front position lights come on with dipped beam, main beam and front fog lights.
- Position lights alone are not enough for driving.
Exam trap: Wrong: position lights are enough to drive. Right: use the required driving lights too.
Read the full explanation
- Your bus has two white front position lights and two red rear position lights, set towards the outer edges. Their purpose is to show the bus's presence and width when it is viewed from the front or behind; on their own, they do not provide the lighting needed for driving. [RGV, Annex X](https://www.boe.es/buscar/act.php?id=BOE-A-1999-1826#anx).
- The rear position lights must switch on automatically when you switch on dipped beam, main beam, the front position lights, rear number-plate lighting or fog lights. The front position lights come on with dipped beam, main beam and the front fog lights; the regulations provide a technical exception for flashing headlight signals. [RGV, Art. 15](https://www.boe.es/buscar/act.php?id=BOE-A-1999-1826#a15).
4End-outline marker lamps: the coach's width
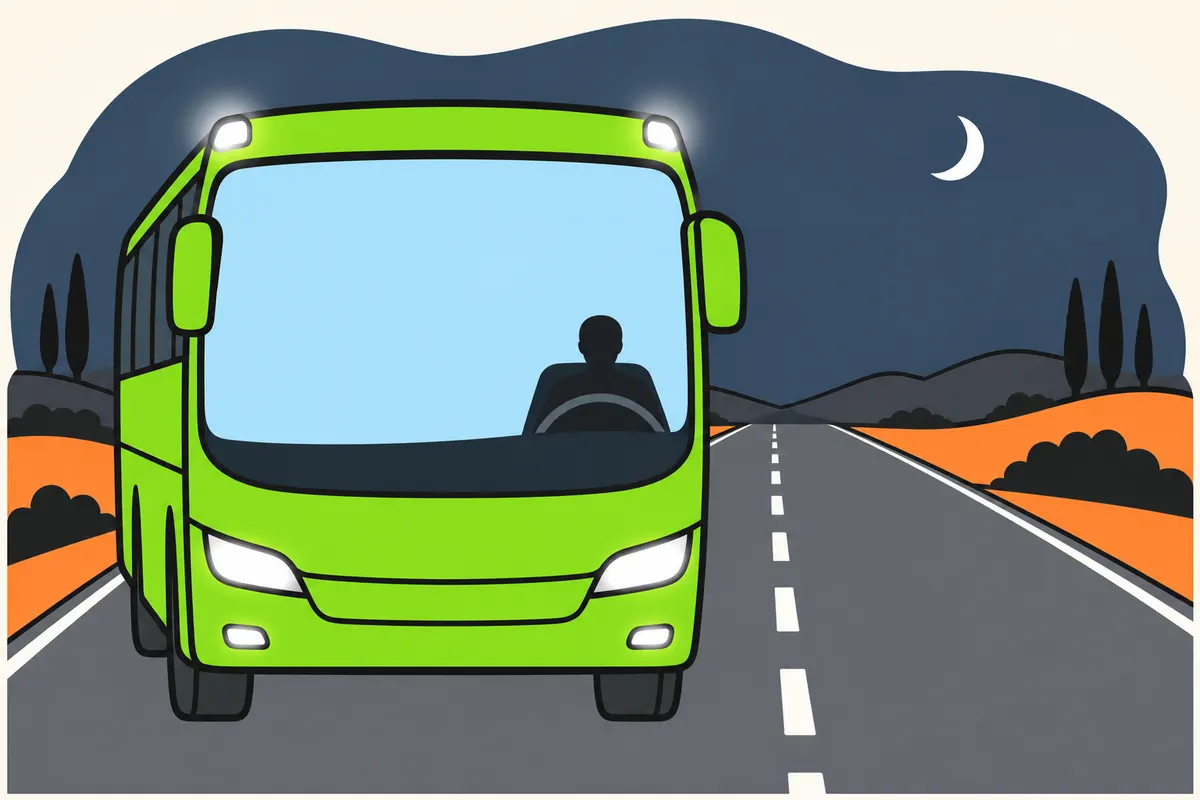
Wide buses use marker lamps to show their full width.
Remember
- They are high and near the outer edges.
- The front lamps are white; the rear lamps are red.
- Switch them on with position lights when required.
- They are not compulsory at exactly 2.10 m.
Exam trap: Wrong: exactly 2.10 m makes them compulsory. Right: the bus must be wider than 2.10 m.
Read the full explanation
- If your bus is more than 2.10 m wide, it must have end-outline marker lamps: two visible from the front, in white, and two visible from the rear, in red. They are fitted as high as the vehicle allows and close to its outer edges to show its total width and supplement the position lights. [RGV, Annex X](https://www.boe.es/buscar/act.php?id=BOE-A-1999-1826#anx).
- For vehicles in the general table, fitting end-outline marker lamps is optional when the width is between 1.80 and 2.10 m. At exactly 2.10 m wide, end-outline marker lamps are not compulsory: the rule requires a width greater than 2.10 m. [RGV, Annex X](https://www.boe.es/buscar/act.php?id=BOE-A-1999-1826#anx).
- If your bus is more than 2.10 m wide, you must switch on the end-outline marker lamps together with the position lights at night, in tunnels and when visibility is significantly reduced. [RGC, Art. 99](https://www.boe.es/buscar/act.php?id=BOE-A-2003-23514#a99).
5Side position lights and reflectors
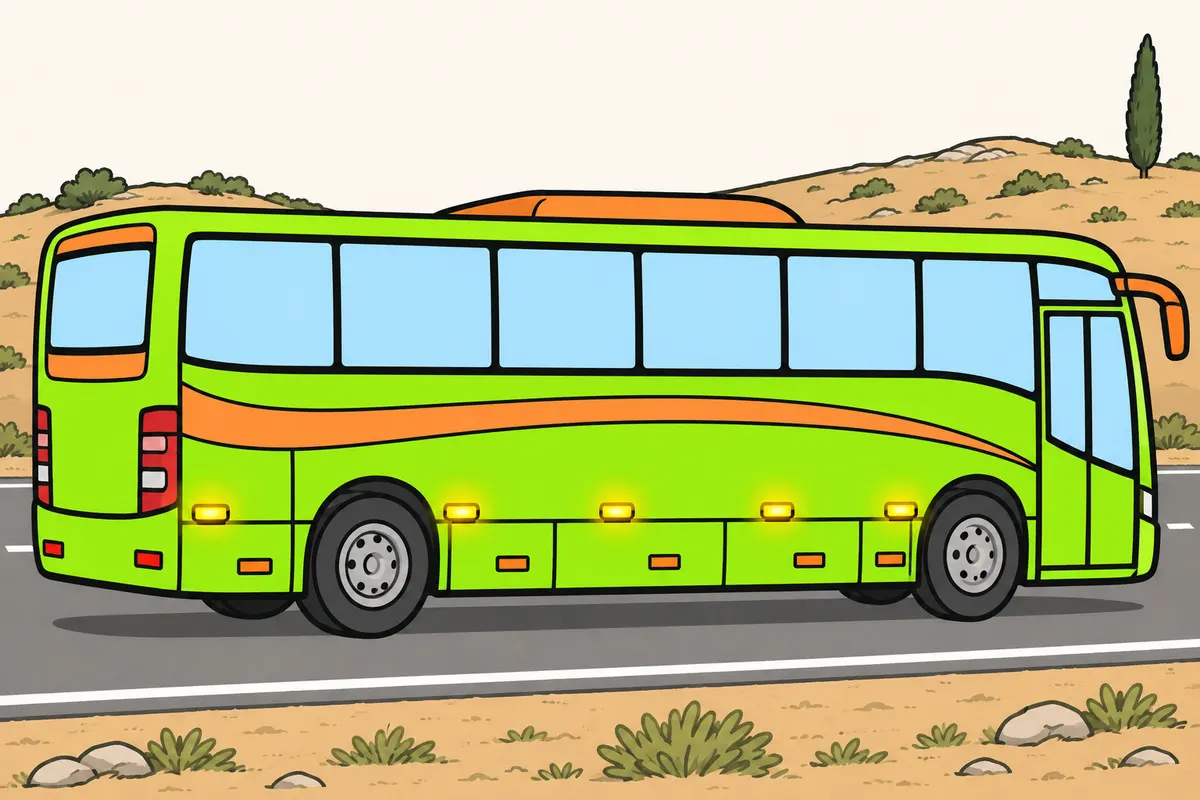
Buses longer than 6 m need side lights and reflectors, with a chassis-cab exception for lights.
Remember
- Side position lights are amber and run along the side.
- They are required above 6 m, except for chassis-cabs.
- Side reflectors are required above 6 m.
- The rear reflectors are red and not triangular.
Exam trap: Wrong: the side devices depend on width. Right: they depend on length, and side lights have a chassis-cab exception.
Read the full explanation
- If your bus is more than 6 m long, it must have side position lights, except for the regulatory exemption for cabs with a chassis. Length determines whether these side lights are required. [RGV, Art. 16](https://www.boe.es/buscar/act.php?id=BOE-A-1999-1826#a16).
- The side lights are amber and are distributed along the side; the table sets a minimum of two and a maximum depending on the length and applicable regulations. In exceptional cases, they may be red if they are grouped, combined or incorporated with certain rear devices. [RGV, Annex X](https://www.boe.es/buscar/act.php?id=BOE-A-1999-1826#anx).
- Your bus must also have non-triangular side reflectors if it is more than 6 m long. If it is no longer than 6 m, side position lights and side reflectors are optional under the general rule. [RGV, Art. 16](https://www.boe.es/buscar/act.php?id=BOE-A-1999-1826#a16).
- Your bus must have two non-triangular red rear reflectors. [RGV, Annex X](https://www.boe.es/buscar/act.php?id=BOE-A-1999-1826#anx).
6Dipped beam: the usual lights for driving
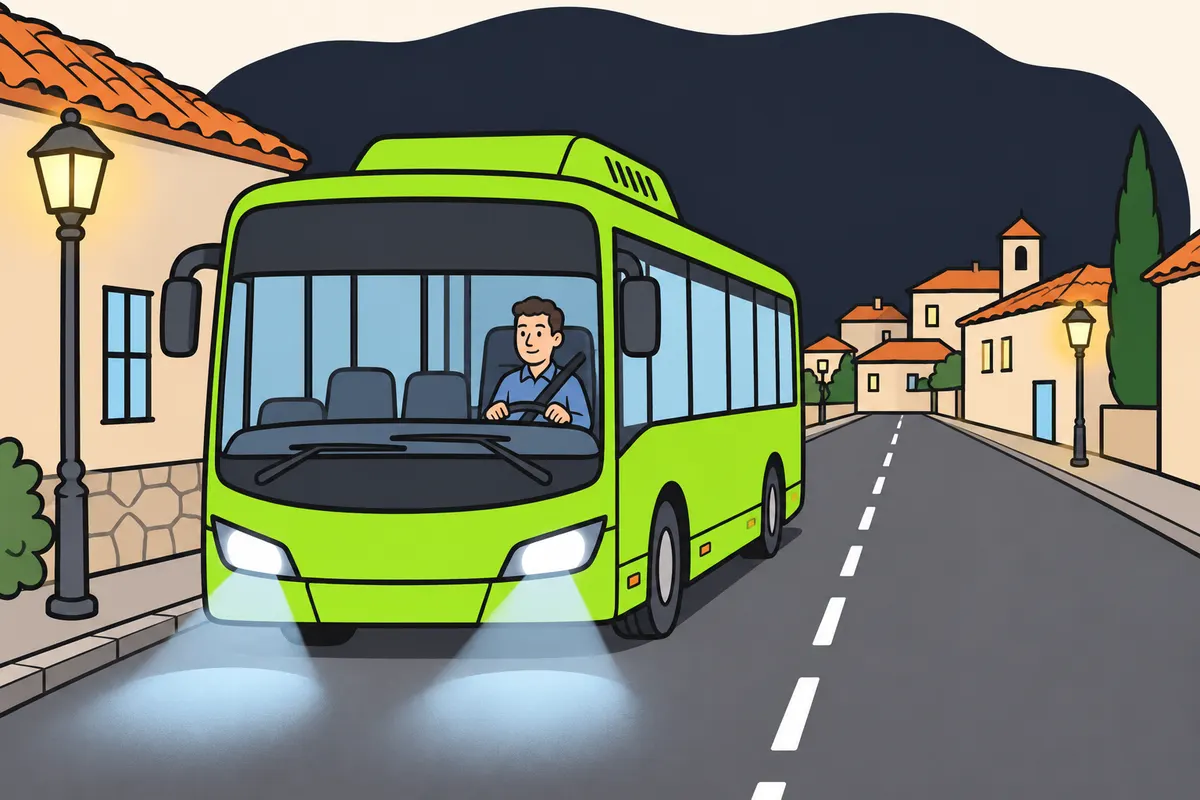
Use dipped beam when you need to light the road without dazzling others.
Remember
- Dipped headlights are white and at the front.
- At night, use them on lit roads in towns and between towns.
- In a town, use them even if the road is poorly lit.
- Outside towns, use dipped at 40 km/h or less without main beam.
- Without long-range lights, use dipped on dark roads and in dark tunnels.
Exam trap: Wrong: main beam is fine on a dark street in town. Right: use dipped beam in built-up areas.
Read the full explanation
- Your bus must have two white front dipped-beam headlights. They are also called low-beam headlights; they illuminate the road ahead without the range of main beam and are the driving lights you use in the situations specified to avoid dazzling others. [RGV, Annex X](https://www.boe.es/buscar/act.php?id=BOE-A-1999-1826#anx).
- At night, you must use dipped beam as well as the position lights on urban roads and on interurban roads that are sufficiently lit. In built-up areas, you must also use it if the road is insufficiently lit. [RGC, Art. 101](https://www.boe.es/buscar/act.php?id=BOE-A-2003-23514#a101).
- At night on an insufficiently lit interurban road, you must use dipped beam if you are travelling at no more than 40 km/h and are not using main beam. Exactly 40 km/h is included in this situation. [RGC, Art. 101](https://www.boe.es/buscar/act.php?id=BOE-A-2003-23514#a101).
- If your bus does not have long-range headlights, use dipped beam on insufficiently lit interurban roads at night. The same applies at any time of day in tunnels, underpasses and sections marked as a tunnel that are insufficiently lit. [RGC, Art. 101](https://www.boe.es/buscar/act.php?id=BOE-A-2003-23514#a101).
7Main beam: range and limits on use
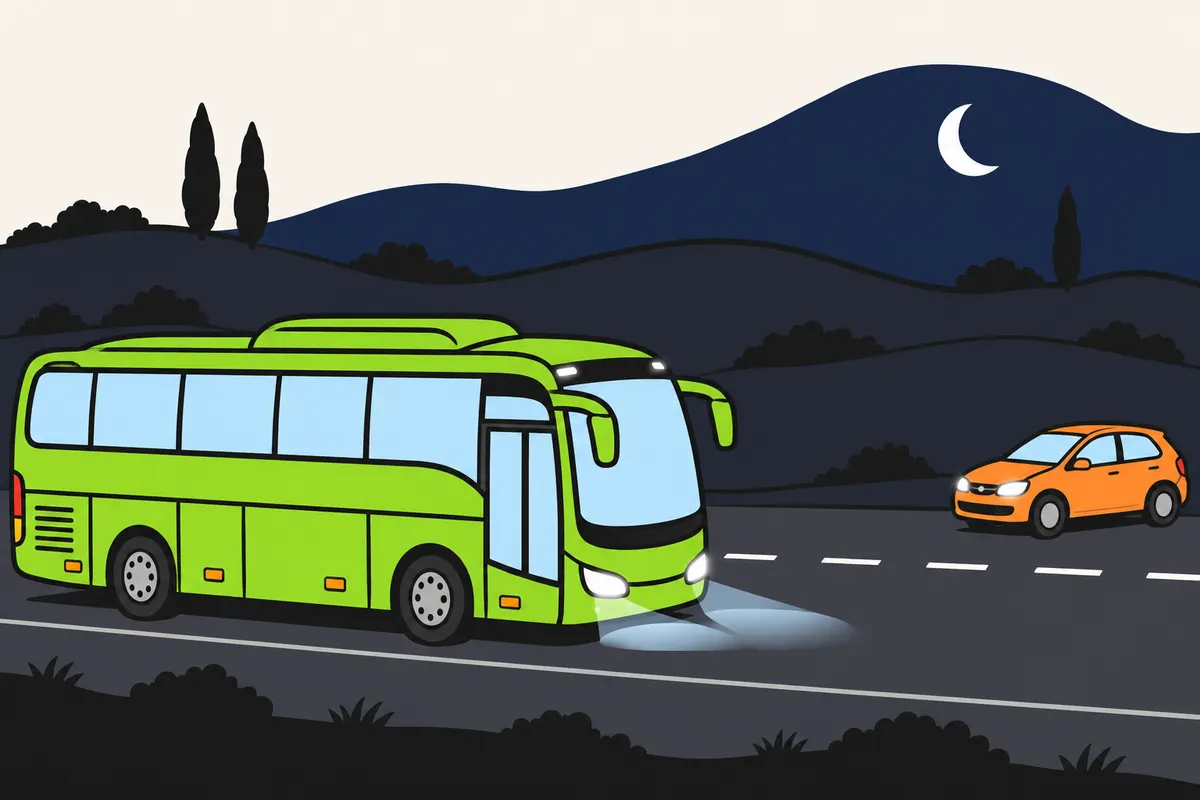
Use main beam at night on poorly lit roads when it will not dazzle anyone.
Remember
- Main beam lights the road further ahead.
- Outside towns at night, use it above 40 km/h on dark roads if safe.
- Keep the required position lights on.
- Do not leave main beam on when stopped or parked.
- Either poor-visibility reference means the road is poorly lit.
Exam trap: Wrong: main beam is required at exactly 40 km/h. Right: above 40 km/h, use it on a dark road outside built-up areas at night unless you must dip to avoid dazzling.
Read the full explanation
- Main beam is white and is fitted at the front; the general table specifies an even number according to the category and regulations. Its function is to illuminate a long distance, but having it does not mean you may keep it on on every road. [RGV, Annex X](https://www.boe.es/buscar/act.php?id=BOE-A-1999-1826#anx).
- Outside built-up areas, at night and on an inadequately lit road, you must use main beam when travelling at more than 40 km/h and when you do not need to use dipped beam to avoid dazzling others. [RGC, art. 100](https://www.boe.es/buscar/act.php?id=BOE-A-2003-23514#a100).
- You may use main beam on its own or together with dipped beam, provided you keep the required position lights on. The wording about using main beam alone refers to its relationship with dipped beam; it does not allow you to switch off the lights that show the bus's presence and width. [RGC, art. 100](https://www.boe.es/buscar/act.php?id=BOE-A-2003-23514#a100).
- You must not keep main beam on while the bus is stopped or parked. You may flash your headlights only for the purposes allowed by the regulations. [RGC, art. 100](https://www.boe.es/buscar/act.php?id=BOE-A-2003-23514#a100).
- There are two ways to assess the road's lighting: you cannot read a number plate at 10 m, or you cannot distinguish a dark vehicle at 50 m, with normal vision from some point on the carriageway. Either circumstance is enough for the road to be considered inadequately lit. [RGC, art. 100](https://www.boe.es/buscar/act.php?id=BOE-A-2003-23514#a100).
8How to avoid dazzling others
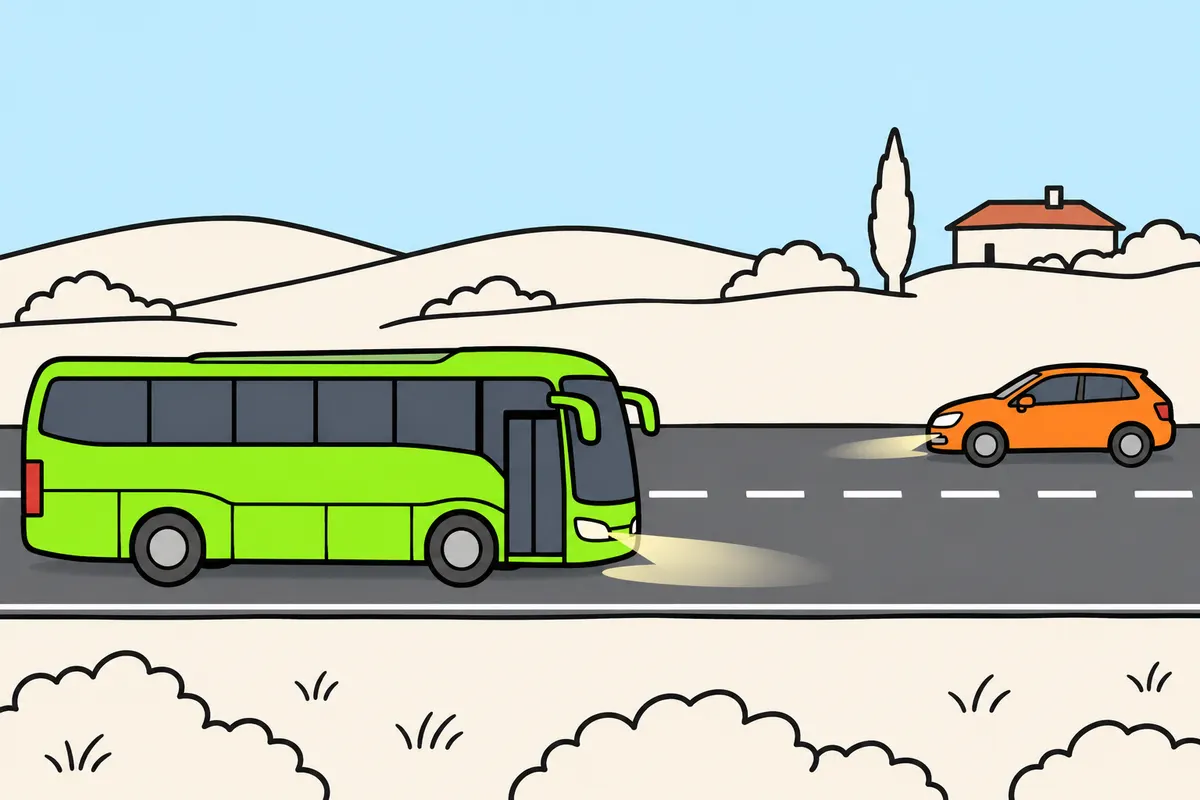
Dip your headlights as soon as your main beam could dazzle someone.
Remember
- Do not wait for a set distance or a flash from another driver.
- Keep dipped beam on until you pass an oncoming vehicle.
- Main beam can dazzle drivers ahead through their mirrors.
- If dazzled, slow down as much as needed, even to a stop.
Exam trap: Wrong: only oncoming drivers can be dazzled. Right: drivers ahead can be dazzled through their mirrors too.
Read the full explanation
- You must switch from main beam to dipped beam as soon as you see a risk of dazzling any user of the same road or another road. Act as soon as you notice the risk; do not wait for the other driver to ask you. [RGC, art. 102](https://www.boe.es/buscar/act.php?id=BOE-A-2003-23514#a102).
- When you meet another vehicle, you must keep dipped beam on until you have passed it. This applies even if the other driver is using main beam improperly. [RGC, art. 102](https://www.boe.es/buscar/act.php?id=BOE-A-2003-23514#a102).
- You must also protect anyone travelling ahead of you: your main beam may dazzle them through their mirrors. Consider this risk when following or overtaking another vehicle. [RGC, art. 102](https://www.boe.es/buscar/act.php?id=BOE-A-2003-23514#a102).
- If you are dazzled, you must reduce your speed as much as necessary, even stop, to avoid colliding with vehicles or pedestrians. [RGC, art. 102](https://www.boe.es/buscar/act.php?id=BOE-A-2003-23514#a102).
9Tunnels and underpasses
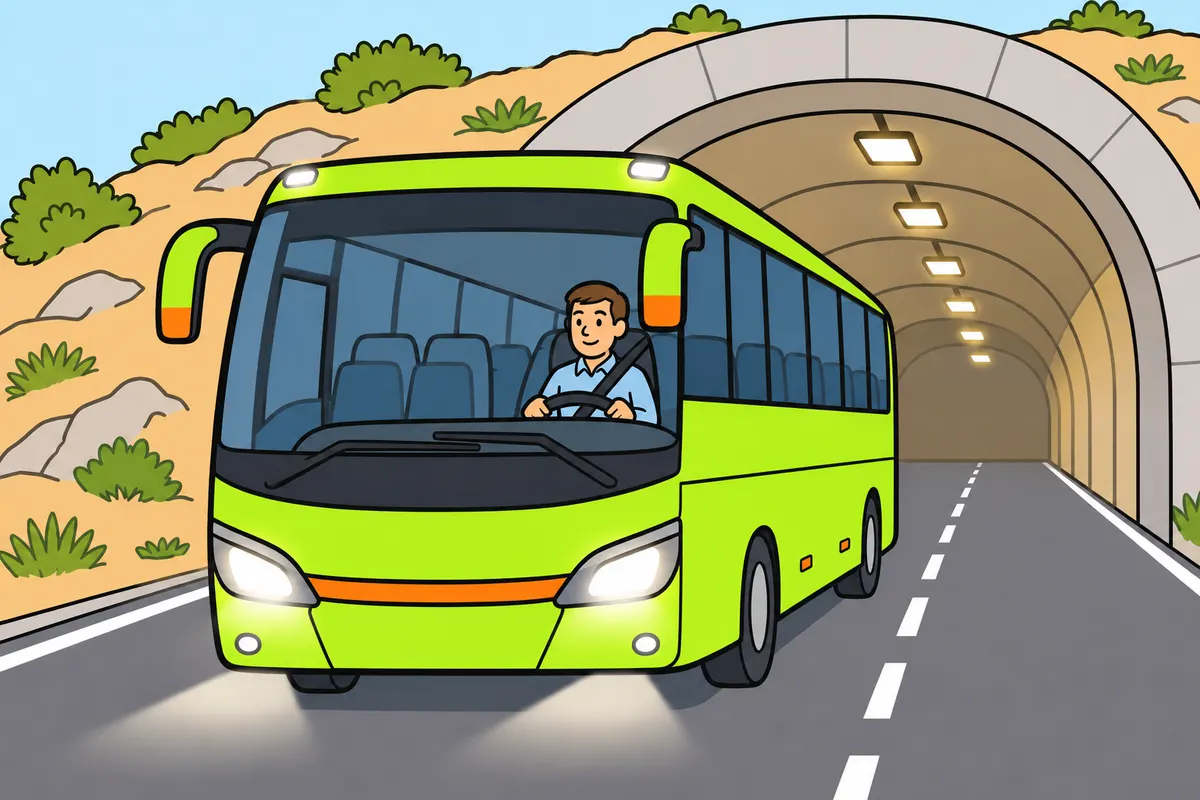
Choose tunnel lights before entry and adjust them to lighting and traffic.
Remember
- Choose the lights before entering, even in daylight.
- Keep position lights on; buses wider than 2.10 m also use marker lamps.
- In a well-lit tunnel, use dipped beam.
- In a dark interurban tunnel, use main beam above 40 km/h if safe.
- Otherwise, use dipped beam.
- In an emergency, use hazards and position lights. In a queue, use hazards briefly.
Exam trap: Wrong: every tunnel requires main beam. Right: choose lights for the tunnel, speed and risk of dazzling.
Read the full explanation
- Before entering, you must select the required lighting, even during the day and if the tunnel appears well lit. You must keep the position lights on and, if your bus is more than 2.10 m wide, the end-outline marker lamps on; the front daytime running lights alone do not meet these requirements for the bus. [RGC, art. 99](https://www.boe.es/buscar/act.php?id=BOE-A-2003-23514#a99).
- If the tunnel is adequately lit, you must use dipped beam as well as the position lights. [RGC, art. 101](https://www.boe.es/buscar/act.php?id=BOE-A-2003-23514#a101).
- Outside built-up areas, in an inadequately lit tunnel you must use main beam if you are travelling at more than 40 km/h and there is no risk of dazzling others, subject to the exceptions that require dipped beam. If you are travelling at 40 km/h or less and are not using main beam, you must use dipped beam. [RGC, art. 100](https://www.boe.es/buscar/act.php?id=BOE-A-2003-23514#a100).
- If an emergency immobilises you in a tunnel or underpass, you must switch on the hazard warning lights and keep the position lights on. In a traffic queue, switch on the hazard warning lights temporarily to warn those approaching from behind. Further actions are covered in “Bus speed and following distances”, section “Traffic queues inside tunnels”, and in “Passenger safety and emergencies” for evacuation. [RGC, art. 97](https://www.boe.es/buscar/act.php?id=BOE-A-2003-23514#a97).
10Dipped beam by day in special lanes
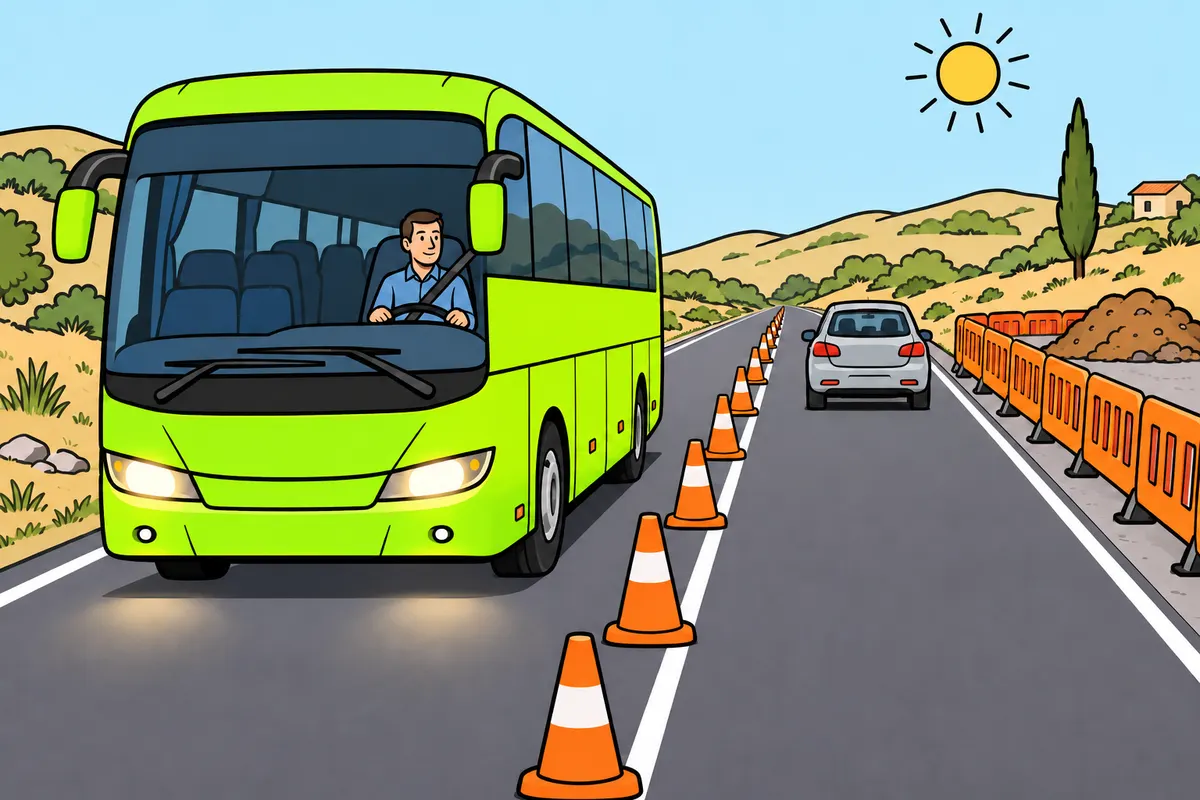
Use dipped beam day and night in reversible and temporary special lanes.
Remember
- Use dipped beam in reversible lanes and temporary extra lanes, by day and night.
- Use it in a lane opened against normal traffic.
- The adjacent lane in the normal direction also needs dipped beam.
- On roadworks lanes, use dipped beam if your bus is allowed there.
- An opposite-flow lane opened only to improve flow is for cars and motorcycles.
Exam trap: Wrong: daytime running lights replace dipped beam in these lanes. Right: use dipped beam by day and night.
Read the full explanation
- You must use dipped beam by day and by night when travelling in a reversible lane, a temporary additional lane or a lane opened for traffic travelling in the opposite direction to the usual flow. Daytime running lights do not replace the express requirement to switch on dipped beam in these lanes. [RGC, art. 104](https://www.boe.es/buscar/act.php?id=BOE-A-2003-23514#a104).
- You may not use your bus in a lane opened for traffic travelling in the opposite direction to the usual flow solely to improve traffic flow: that arrangement is limited to cars and motorcycles. If the lane is opened because of roadworks, vehicles authorised to use the road may use it unless expressly prohibited, and you must keep dipped beam on. [RGC, art. 41](https://www.boe.es/buscar/act.php?id=BOE-A-2003-23514#a41).
- The requirement to use dipped beam also applies in the adjacent lane travelling in the normal direction, both by day and by night. [RGC, art. 41](https://www.boe.es/buscar/act.php?id=BOE-A-2003-23514#a41).
- When a temporary additional lane is created using the arcenes (hard shoulders), vehicles travelling on them and in the additional lane must use at least dipped beam by day and by night. You must follow the full traffic arrangement, not just the lane in the centre. [RGC, art. 42](https://www.boe.es/buscar/act.php?id=BOE-A-2003-23514#a42).
11Daytime running lights and automatic switching
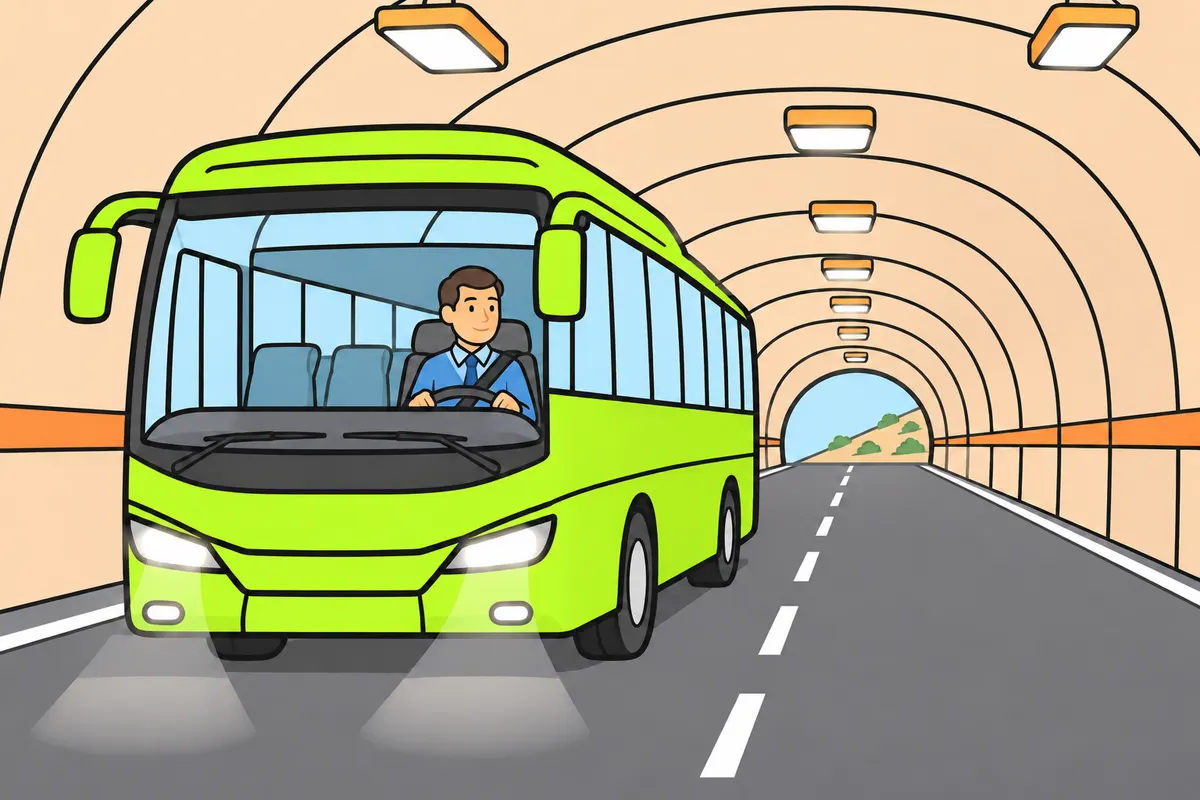
Daytime running lights show the bus, but do not light the road like dipped beam.
Remember
- A bus need not use dipped beam all day because it is a bus.
- Use dipped beam when a specific rule requires it.
- Check that automatic lights match the actual conditions.
- Daytime running lights may leave rear position lights off.
Exam trap: Wrong: automatic lights always choose the right setting. Right: check which lights are on and select those required.
Read the full explanation
- Daytime running lights make the bus visible during the day. Their function is to show its presence, while dipped beam illuminates the carriageway. [DGT, Lights: what they are and how to use them](https://revista.dgt.es/es/educacion-formacion/conducir-mejor/2023/0608-Luces.shtml).
- Article 104 does not require you to use dipped beam all day simply because you are driving a bus; you must select it when one of the specific cases requiring its use applies. [RGC, art. 104](https://www.boe.es/buscar/act.php?id=BOE-A-2003-23514#a104).
- If your vehicle has automatic lights, you must check that the lighting actually switched on meets the driving conditions. The sensor may interpret the ambient light as sufficient even when the circumstances require you to select different lighting. [RGC, art. 101](https://www.boe.es/buscar/act.php?id=BOE-A-2003-23514#a101).
- Daytime running lights may operate without switching on the rear position lights; you must check which lights are on and select those required by the driving conditions. [UN Regulation 48, installation of lighting](https://www.boe.es/doue/2021/347/L00001-00122.pdf).
12Front fog lights: when you may use them
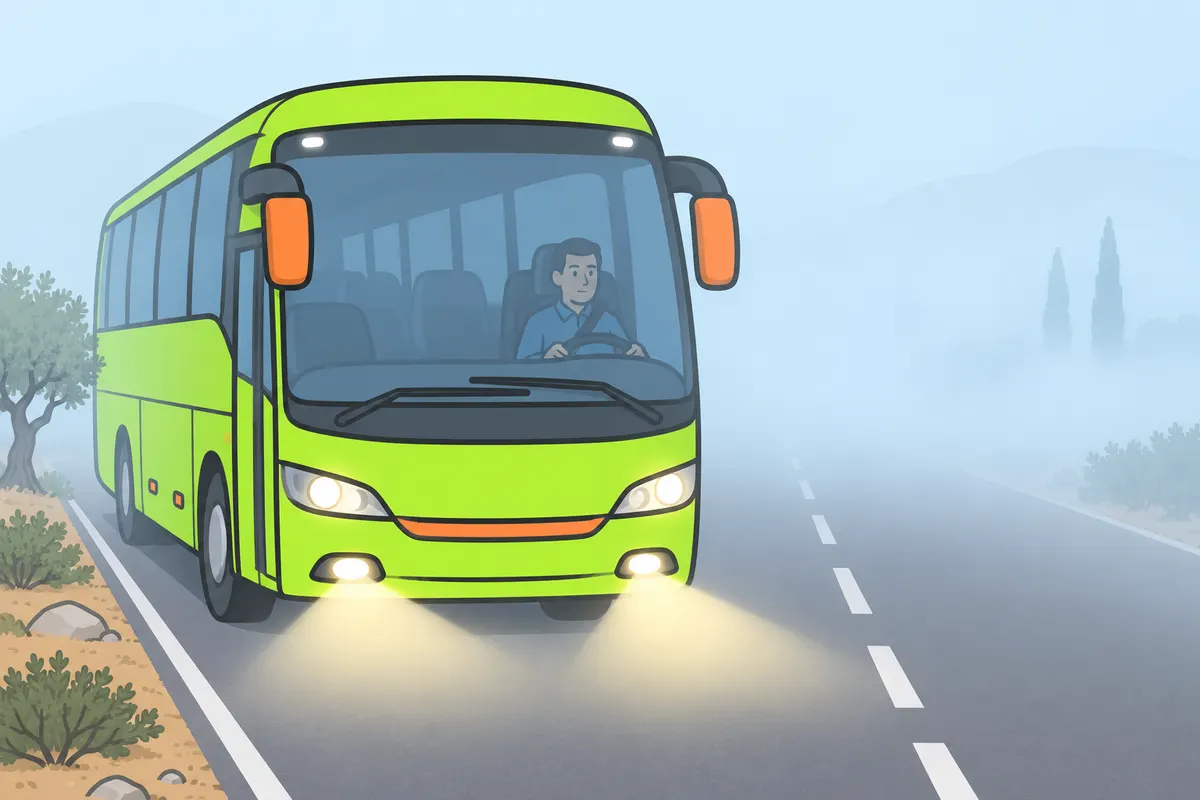
Use front fog lights in poor visibility or on a narrow road with marked close bends.
Remember
- They are optional and, if fitted, are white or selective yellow.
- Use them in fog, heavy rain, snow, smoke or dust that greatly reduces visibility.
- Then use front fog, dipped or main beam as suitable.
- Keep position lights and all other required lights on.
- Narrow roads: use only with signed close bends and width up to 6.50 m.
Exam trap: Wrong: any road with bends allows front fog lights. Right: without poor visibility, the road must be no wider than 6.50 m and signs must show a series of close bends.
Read the full explanation
- Front fog lights are optional on a bus and, if fitted, the general table specifies two, either white or selective yellow. [RGV, Annex X](https://www.boe.es/buscar/act.php?id=BOE-A-1999-1826#anx).
- You may use them in weather or environmental conditions that considerably reduce visibility: fog, heavy rain, snowfall, smoke or dust. In these circumstances you must use front fog lights, dipped beam or main beam, as appropriate; position lights alone are not enough. [RGC, art. 106](https://www.boe.es/buscar/act.php?id=BOE-A-2003-23514#a106).
- You may use front fog lights without dipped beam, or together with dipped beam and even with main beam when permitted. You must keep the position lights on and use any other required lighting: using them without another front light for illuminating the road does not mean you may switch off all lights that show the vehicle's presence. [RGC, art. 106](https://www.boe.es/buscar/act.php?id=BOE-A-2003-23514#a106).
- You may also use them on a narrow road with many bends if both conditions apply: the carriageway is 6.50 m wide or less, and signs indicate a series of successive bends. [RGC, art. 106](https://www.boe.es/buscar/act.php?id=BOE-A-2003-23514#a106).
13Rear fog lights: particularly adverse conditions
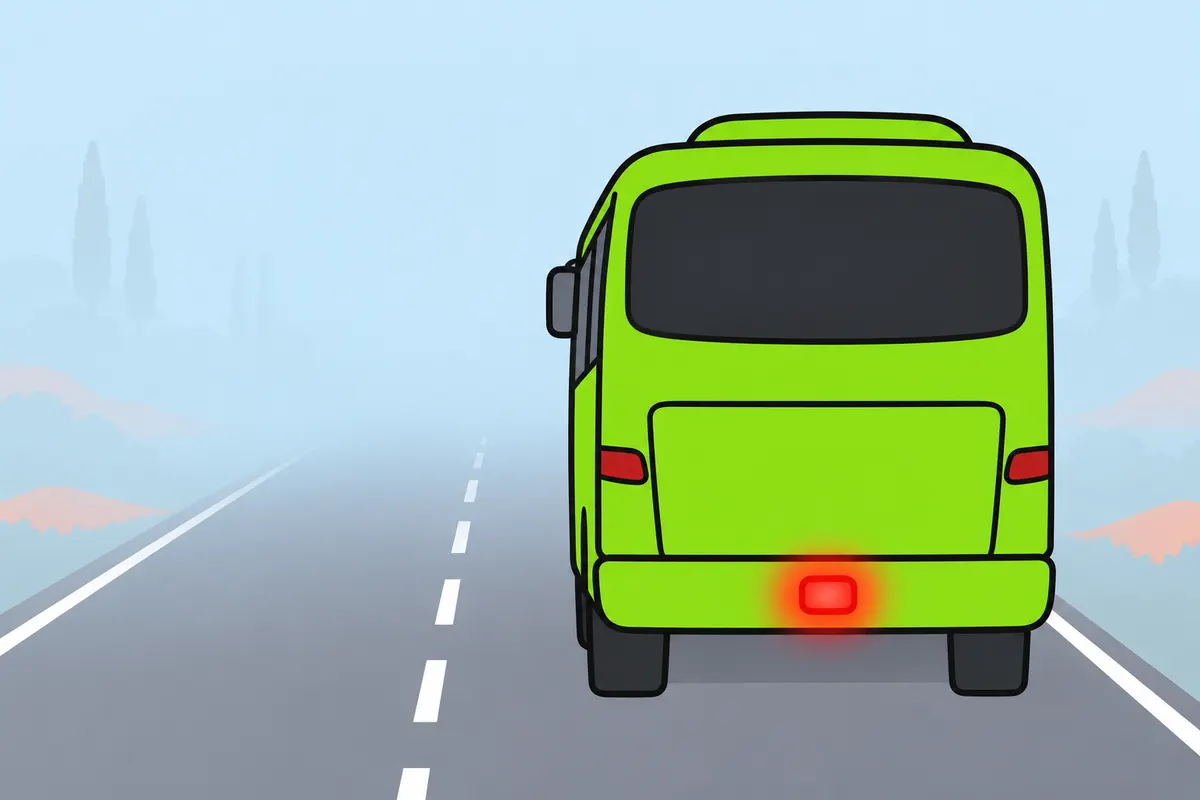
Use rear fog lights only in particularly bad weather or visibility conditions.
Remember
- The bus must have one or two red rear fog lights.
- Use only in thick fog, very heavy rain, heavy snow, dense smoke or dust.
- There is no general 50 m rule for using them.
- Main beam, dipped beam or front fog lights must also be on.
- Switch them off when the particularly bad conditions end.
Exam trap: Wrong: any rain or a general 50 m limit allows rear fog lights. Right: use them only in particularly bad conditions, and switch them off when those conditions end.
Read the full explanation
- Your bus must have one or two red rear fog lights. If it has one, it may be fitted on the left or in the centre; if it has two, they are positioned towards the outer edges in accordance with the applicable regulations. [RGV, Annex X](https://www.boe.es/buscar/act.php?id=BOE-A-1999-1826#anx).
- You must switch them on only in particularly adverse conditions: thick fog, very heavy rain, heavy snowfall, or dense clouds of dust or smoke. [RGC, art. 106](https://www.boe.es/buscar/act.php?id=BOE-A-2003-23514#a106).
- For rear fog lights, Article 106 sets out particularly adverse weather or environmental conditions without setting a general visibility threshold of 50 m. [RGC, art. 106](https://www.boe.es/buscar/act.php?id=BOE-A-2003-23514#a106).
- You may switch on the rear fog light only if main beam, dipped beam or the front fog lights are also on. Both the technical connection and the visibility conditions must be met. [RGV, art. 15](https://www.boe.es/buscar/act.php?id=BOE-A-1999-1826#a15).
- When the particularly adverse conditions no longer apply, you must switch it off. Its intense light can disturb drivers following the bus, and a dark or winding road on its own is not a reason to keep the rear fog light on. [RGC, art. 106](https://www.boe.es/buscar/act.php?id=BOE-A-2003-23514#a106).
14Direction indicators
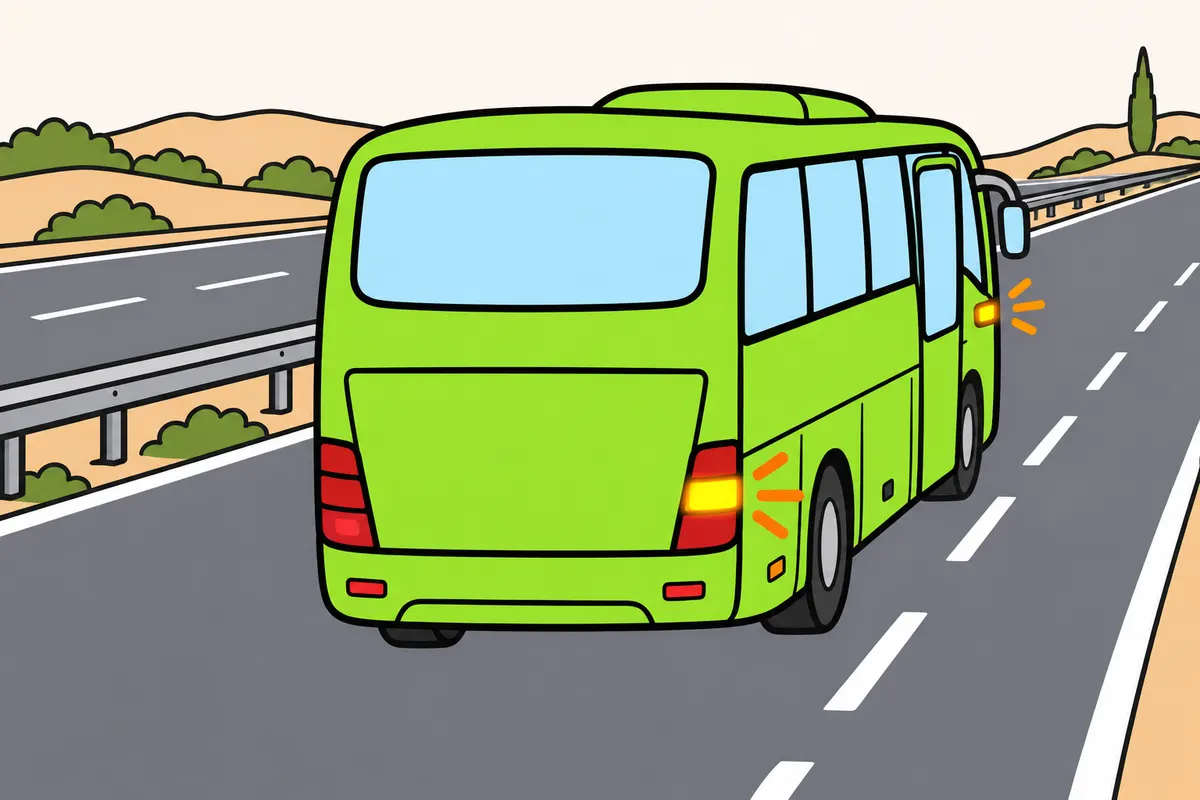
Use indicators to show a sideways move or turn.
Remember
- Indicators flash amber.
- They are placed around the bus, including along its sides.
- Signal sideways movements with the correct indicator.
- Remember that side position lights may also be amber.
Exam trap: Wrong: amber side lights always mean a turn. Right: indicators flash to signal a movement.
Read the full explanation
- Bus direction indicators emit amber light and are positioned at the outer edges and on the sides in accordance with the regulations. The general table specifies an even number greater than two; you must distinguish their flashing from the side position lights, even though both may be the same colour. [RGV, Annex X](https://www.boe.es/buscar/act.php?id=BOE-A-1999-1826#anx).
- You must signal your movements with the appropriate indicator; the timing, duration of the signal and hand signals are explained in ‘Manoeuvres with the bus’, sections ‘How to signal your movements’ and ‘Arm signals, horn and headlight flashes’. [RGC, art. 109](https://www.boe.es/buscar/act.php?id=BOE-A-2003-23514#a109).
15Braking and reversing
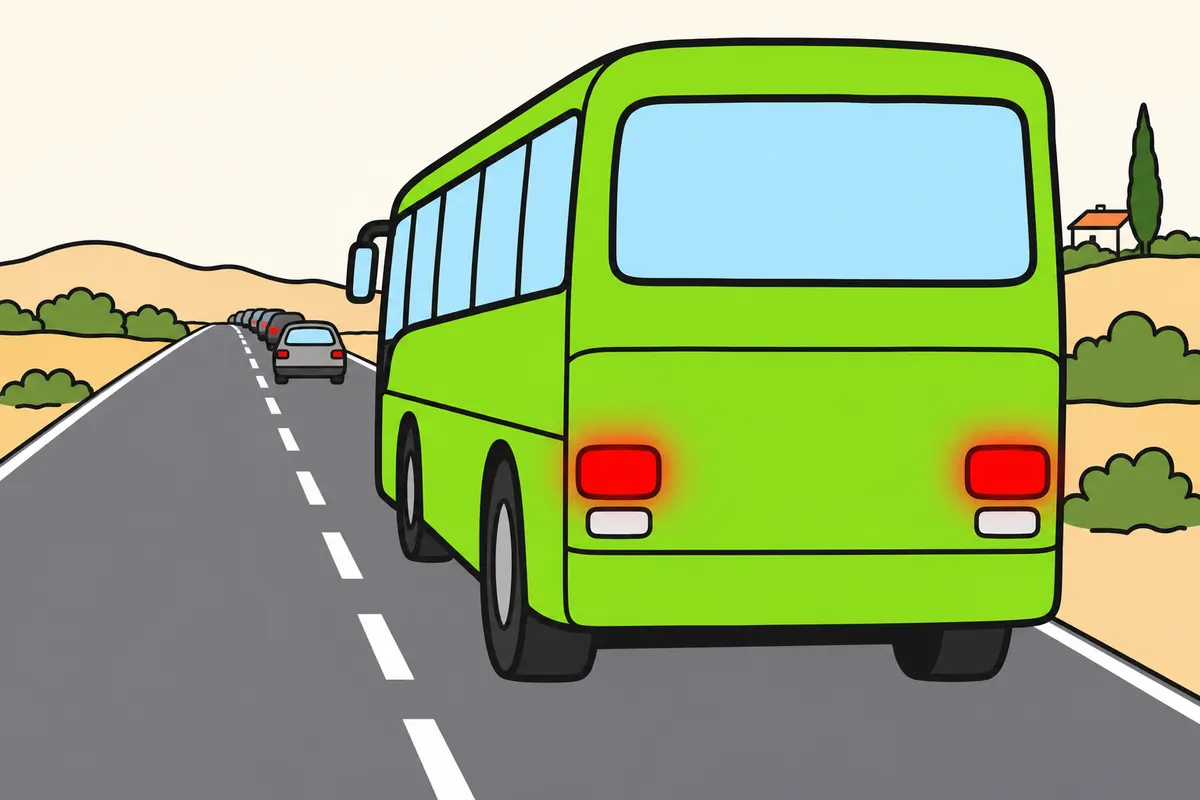
Brake lights warn of braking; reversing lights warn that you are reversing.
| Light | Colour | Purpose |
|---|---|---|
| Brake | Red | Warn of braking |
| Reversing | White | Light and warn behind |
Remember
- Brake lights are red and at the rear.
- Reversing lights are white and at the rear.
- The bus must have reversing lights.
- A third brake light is optional in the table, subject to vehicle approval.
Exam trap: Wrong: every bus must have a third brake light. Right: its status depends on vehicle category and approval.
Read the full explanation
- Brake lights are red and are fitted at the rear. The general table requires two; the third brake light is listed as optional equipment for the motor vehicle in that table, subject to its category and type approval. You must not automatically apply the requirements for a car to a bus. [RGV, Annex X](https://www.boe.es/buscar/act.php?id=BOE-A-1999-1826#anx).
- Your bus must have a reversing light: the general table lists one or two white rear lights. They illuminate the area behind you and warn others that you are reversing; you can recognise them by their function and white colour, unlike the red rear position and fog lights. [RGV, Annex X](https://www.boe.es/buscar/act.php?id=BOE-A-1999-1826#anx).
- You must use the appropriate lights to warn of considerable braking or reversing; repeated use of the brake and alternative hand signals are covered in ‘Manoeuvres with the bus’, section ‘How to signal your movements’. [RGC, art. 109](https://www.boe.es/buscar/act.php?id=BOE-A-2003-23514#a109).
16Hazard warning lights: indicators flashing together
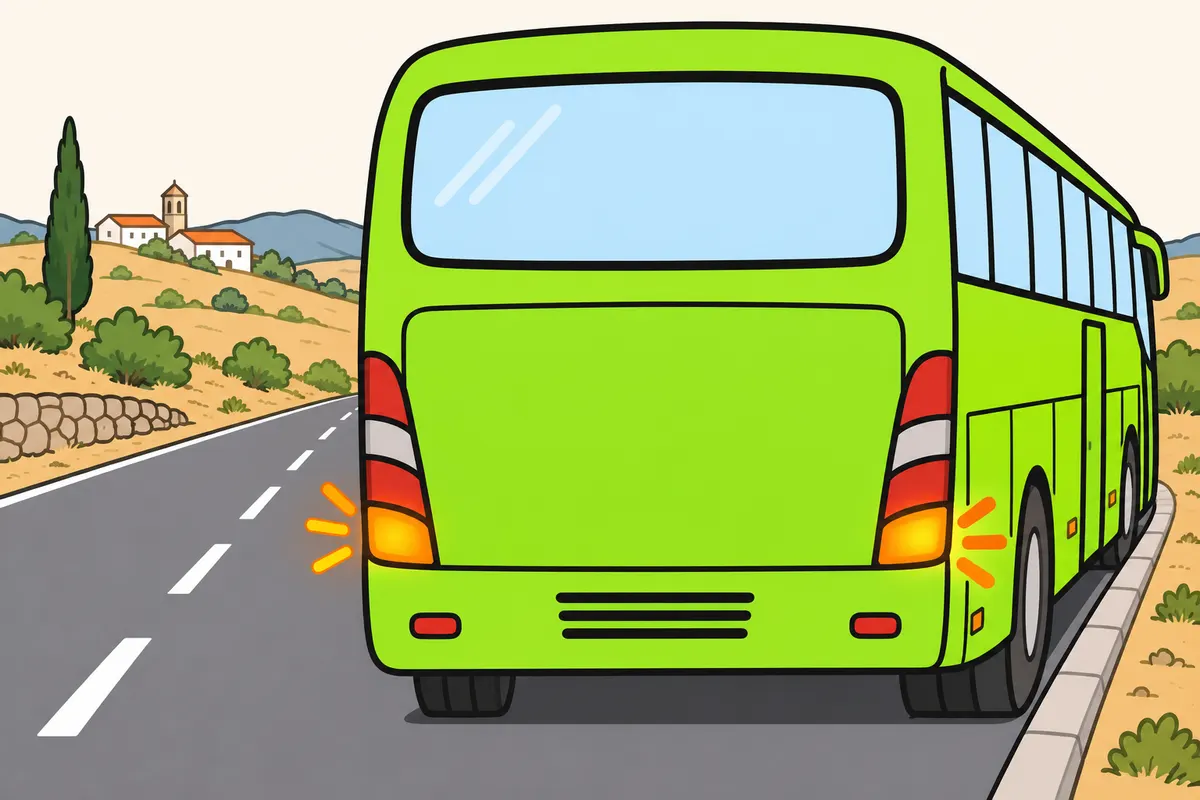
Use hazard lights to warn others in the stated situations.
Remember
- All bus indicators flash together as hazard lights.
- When immobilised on a motorway or dual carriageway, use them.
- Also use them when the place or conditions greatly reduce visibility.
- If justified reasons prevent minimum speed and collision risk exists, use them while moving.
- When stopping or parking, also signal the side where you will move.
Exam trap: Wrong: use hazard lights whenever you drive slowly. Right: while moving, use them only if a justified reason prevents minimum speed and there is a risk of a rear-end collision.
Read the full explanation
- All buses must have hazard warning lights, which operate by making the direction indicators flash simultaneously. They emit amber light and use the same indicators; you must distinguish them from the portable V-16 beacon and the illuminated school transport pictogram. [RGV, art. 16](https://www.boe.es/buscar/act.php?id=BOE-A-1999-1826#a16).
- If you become immobilised on a motorway or dual carriageway, or in a place or circumstances that significantly reduce visibility, you must warn others of your presence with the hazard warning lights and, where appropriate, the position lights. [RGC, art. 109](https://www.boe.es/buscar/act.php?id=BOE-A-2003-23514#a109).
- If, for a justified reason, you cannot reach the required minimum speed and there is a risk of a rear-end collision, you must use the hazard warning lights while driving. [RGC, art. 49](https://www.boe.es/buscar/act.php?id=BOE-A-2003-23514#a49).
- When you intend to stop or park, you must also use the indicator for the relevant side. You must not use all four indicators instead of signalling a lateral movement: the hazard warning lights warn of a general hazard, while an indicator tells others which way you intend to move. [RGC, art. 109](https://www.boe.es/buscar/act.php?id=BOE-A-2003-23514#a109).
17Bus immobilised or parked
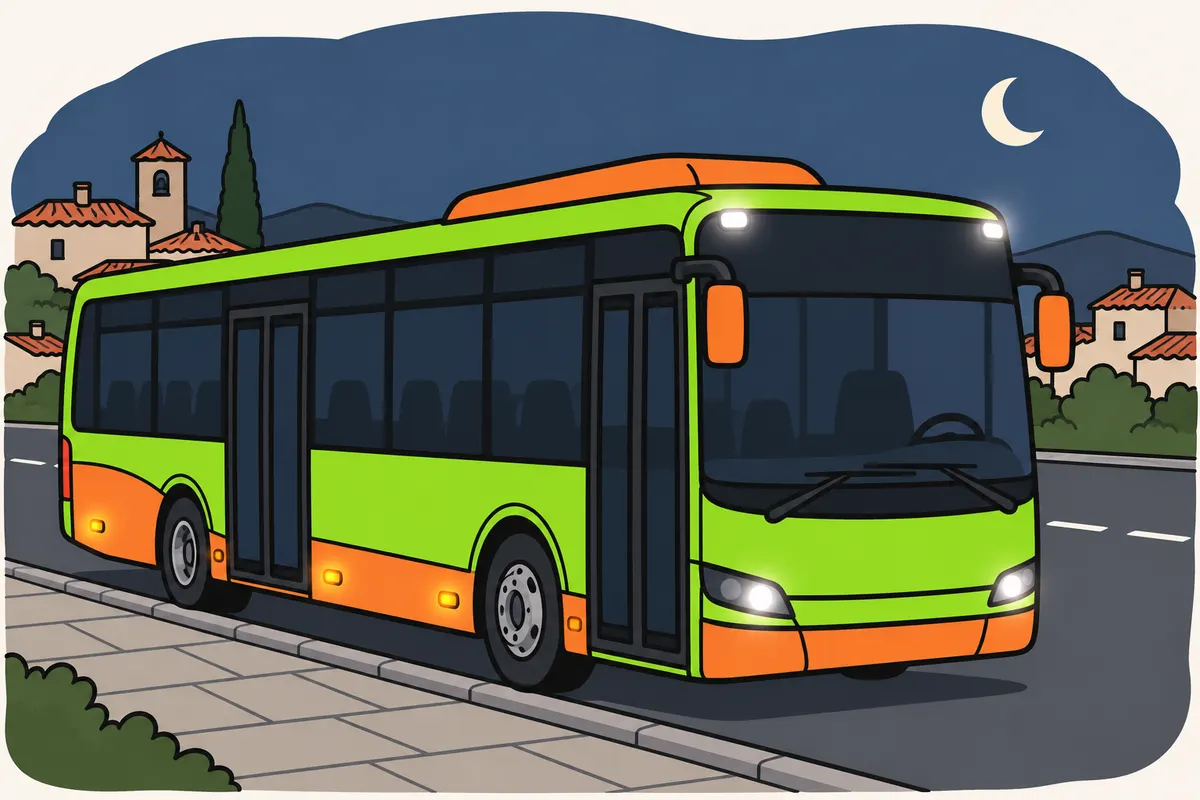
Keep position lights on when an immobilised or parked bus is in the stated conditions.
Remember
- When immobilised on-road at night or in reduced visibility, keep position lights on.
- Use end-outline marker lamps too where appropriate.
- At night on a poorly lit through-road in town, keep position lights on.
- If parked in line, use the two position lights facing the carriageway instead.
- A bus over 6 m long or 2 m wide cannot use parking lights.
- On other urban roads, good lighting may make position lights unnecessary.
Exam trap: Wrong: parking lights can replace position lights on a bus. Right: a bus parked in line uses the two position lights facing the carriageway; parking lights are not permitted above 6 m long or 2 m wide.
Read the full explanation
- If you become immobilised on the carriageway or arcén (hard shoulder) between sunset and sunrise, or when visibility is reduced, you must keep the position lights on and, where appropriate, the end-outline marker lamps. The lighting requirement remains in force when the engine is switched off. [RGC, art. 105](https://www.boe.es/buscar/act.php?id=BOE-A-2003-23514#a105).
- If you stop or park at night on the carriageway or hard shoulder of an inadequately lit through-road in a built-up area, you must keep the position lights on. When a bus is parked in line, you may replace them with the two position lights on the side facing the carriageway; parking lights are not permitted on vehicles more than 6 m long or 2 m wide. [RGC, art. 105](https://www.boe.es/buscar/act.php?id=BOE-A-2003-23514#a105). [RGV, art. 17](https://www.boe.es/buscar/act.php?id=BOE-A-1999-1826#a17).
- On urban roads that are not through-roads in built-up areas, you may leave a parked vehicle without its position lights on if the lighting makes it visible from a sufficient distance. [RGC, art. 105](https://www.boe.es/buscar/act.php?id=BOE-A-2003-23514#a105).
18Connected V-16 beacon
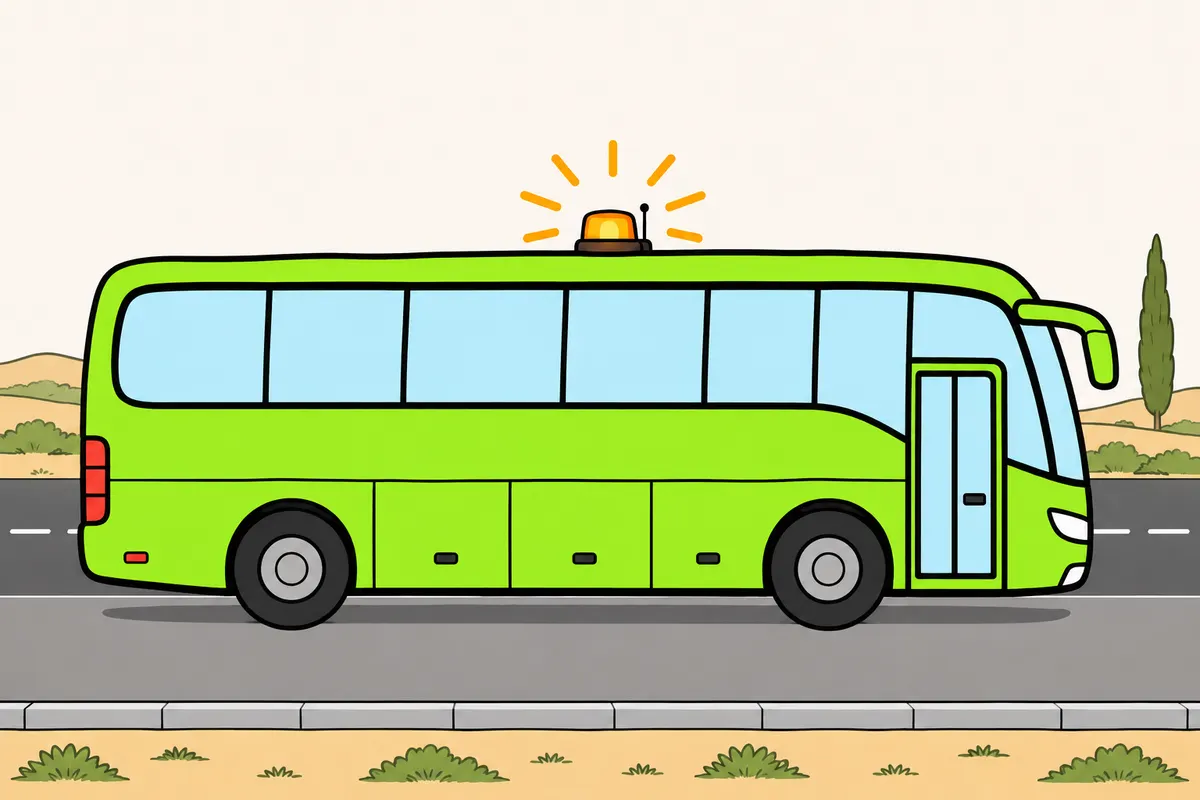
Use a certified connected V-16 if a breakdown or collision immobilises your bus and creates danger.
Remember
- Carry a certified connected V-16; choose a model on the DGT list.
- Use it if breakdown or crash immobilises your bus on-road and creates danger.
- It flashes yellow light in every horizontal direction for at least 30 minutes.
- It sends your location every 100 seconds until you deactivate it.
- Connection is included for at least 12 years.
- V-27 receives a nearby hazard warning; V-16 sends your bus’s position.
Exam trap: Wrong: warning triangles or a beacon without connection meet the requirement. Right: use a certified connected V-16 when a breakdown or crash immobilises your bus on the road and creates a hazard.
Read the full explanation
- You must carry a certified connected V-16 beacon on your bus and use it when a breakdown or collision immobilises the bus on the road and creates a hazard. Warning triangles and a beacon without connectivity do not meet this requirement. You must choose a make and model from the DGT's official list. [RGC, art. 130](https://www.boe.es/buscar/act.php?id=BOE-A-2003-23514#a130). [RGV, Annex XII](https://www.boe.es/buscar/act.php?id=BOE-A-1999-1826#anxii). [DGT, V-16 devices](https://www.dgt.es/muevete-con-seguridad/tecnologia-e-innovacion-en-carretera/Dispositivos-de-presenalizacion-V16/).
- The beacon emits flashing amber light with 360-degree horizontal coverage. It must maintain the required luminous intensity for at least 30 minutes so that the immobilised bus is visible from every direction. [RGV, Annex XI, V-16, sections 2 and 3](https://www.boe.es/buscar/act.php?id=BOE-A-1999-1826#v-16).
- When activated, the beacon sends its activation and position to the national traffic and mobility access point; it sends its location every 100 seconds until it reports that it has been deactivated. Connectivity is included in the price for at least 12 years and works through components integrated into the beacon. The service expiry date must appear on both the device and its packaging. [RGV, Annex XI, V-16, sections 4 to 8](https://www.boe.es/buscar/act.php?id=BOE-A-1999-1826#v-16).
- Your on-board system may display the optional V-27 signal, Virtual Triangle, which warns of a nearby hazard reported to the connected vehicle platform. This information is received by the vehicle; the V-16, by contrast, transmits the position of your own immobilised vehicle. [RGV, Annex XI, V-27](https://www.boe.es/buscar/act.php?id=BOE-A-1999-1826#v2-3).
- The bus's high body means you must plan how to place the beacon so that you can give warning without exposing yourself to traffic. Where and how to place it on the bus is explained in ‘Accidents and assistance’, section ‘The connected V-16 beacon on your bus’. [DGT, V-16 devices](https://www.dgt.es/muevete-con-seguridad/tecnologia-e-innovacion-en-carretera/Dispositivos-de-presenalizacion-V16/).
19Placing the beacon on a bus
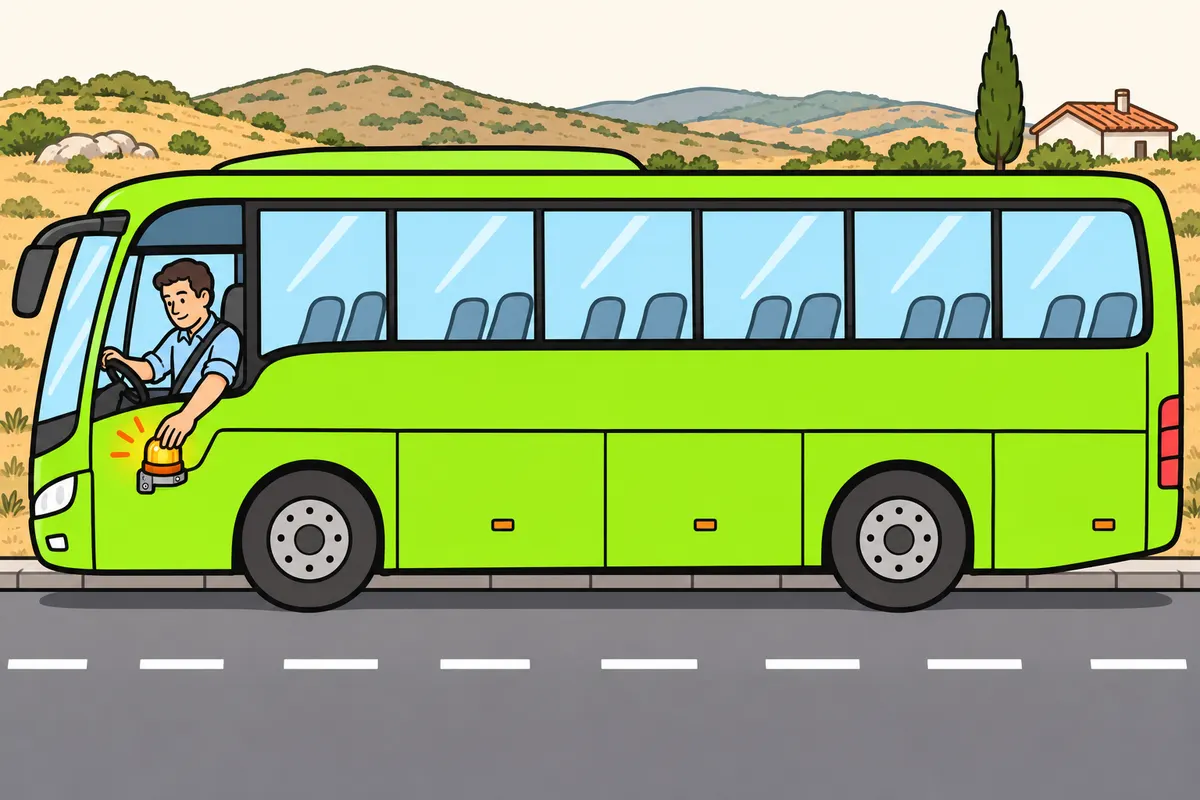
Use hazard lights and the required bus lights while placing the beacon and waiting.
Remember
- Before placing the beacon, switch on hazard lights and the required immobilised-bus lights.
- Keep these warning lights on while you place the beacon.
- While waiting, keep hazard lights on until the road is clear.
- If darkness or poor visibility begins, adjust position and marker lights.
- The beacon adds to these warnings.
Exam trap: Wrong: switch off the bus lights while placing the beacon or waiting. Right: keep hazard lights on, and adjust the other required lights if conditions worsen.
Read the full explanation
- Before placing the V-16 beacon because of a breakdown or accident, switch on the hazard warning lights and select the lighting for an immobilised bus explained in the section “Bus immobilised or parked”. Keep these warnings on while placing the beacon. [RGC, art. 130.4](https://www.boe.es/buscar/act.php?id=BOE-A-2003-23514#a130).
- While waiting, keep the hazard warning lights on until the road is clear. If it gets dark or visibility worsens, adjust the position lights and end-outline marker lamps to the conditions; the beacon remains an additional warning. [RGC, arts. 105.1 and 130.4](https://www.boe.es/buscar/act.php?id=BOE-A-2003-23514#a130).
20Registration plates, interior and doors
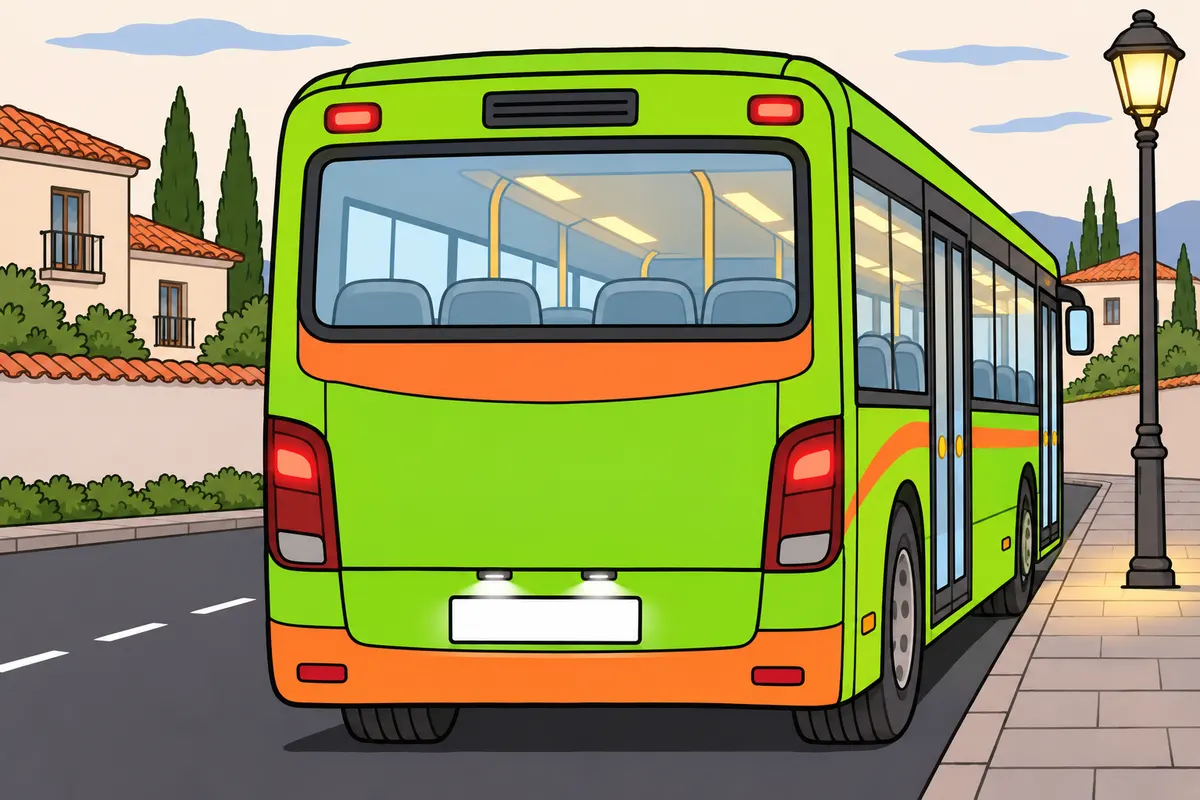
Keep registration plates, interior lights and door devices visible and working.
Remember
- The bus has flat, rectangular registration plates at the front and rear.
- Light the rear plate when position lights or reduced-visibility lighting are required.
- The white rear plate light makes the characters readable.
- Public passenger buses need passenger-compartment lighting; no colour is specified.
- Interior lights must not dazzle or unduly inconvenience others.
- Optional door devices show only while doors are open.
Exam trap: Wrong: the rear plate light replaces another rear light. Right: it makes the registration characters readable and has its own purpose.
Read the full explanation
- Your bus must have two registration plates, one at the front and one at the rear, both flat and rectangular. They are generally positioned centrally in relation to the longitudinal plane; if this is not possible, the rear plate may be on the left, and the front plate is subject to the construction-related exceptions set out in the regulations. [RGV, Annex XVIII, III](https://www.boe.es/buscar/act.php?id=BOE-A-1999-1826#iii-3).
- You must illuminate the rear registration plate whenever position lights or lighting for reduced visibility are required. Depending on the service, this obligation may also cover other regulated illuminated markings. [RGC, art. 103](https://www.boe.es/buscar/act.php?id=BOE-A-2003-23514#a103).
- The rear registration plate lamp is white and must illuminate the plate. Its purpose is to make the identification characters readable. [RGV, Annex X](https://www.boe.es/buscar/act.php?id=BOE-A-1999-1826#anx).
- If your bus is used for public passenger services, it must have lighting in the passenger compartment. This equipment requirement is not limited to night services, and article 16 does not require the interior lighting to be a particular shade of blue or white. [RGV, art. 16](https://www.boe.es/buscar/act.php?id=BOE-A-1999-1826#a16).
- You must use the interior lighting so that it does not dazzle or unduly inconvenience other road users. You may find optional illuminated or reflective door-opening devices, visible only while the doors are open. [RGV, art. 17](https://www.boe.es/buscar/act.php?id=BOE-A-1999-1826#a17). The regulatory definition of interior lighting appears in [RGV, Annex X](https://www.boe.es/buscar/act.php?id=BOE-A-1999-1826#anx).
21V-6: vehicle over 12 metres long
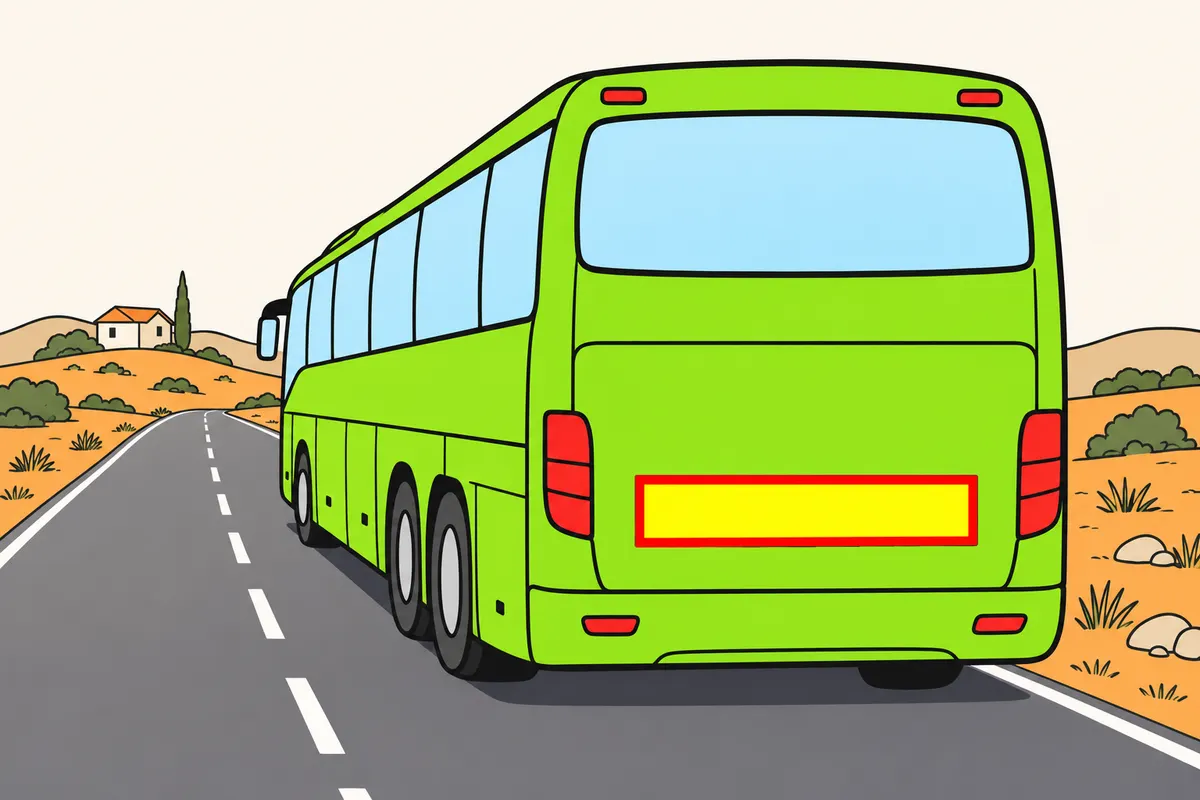
Display V-6 when your bus or vehicle combination is longer than 12 m.
Remember
- Count the full length, including a trailer.
- Put V-6 at the rear, centred on the vehicle.
- Two similar plates may replace one for better positioning.
- The plate is reflective yellow with a fluorescent red border.
- Keep it between 500 mm and 1,500 mm above ground.
- Exactly 12 m does not meet the length threshold.
Exam trap: Wrong: exactly 12 m requires V-6. Right: the bus or combination must be longer than 12 m.
Read the full explanation
- If your bus or vehicle combination is more than 12 m long, you must display the V-6, Long Vehicle sign. If you tow a trailer, consider the total length of the combination; the requirement does not depend on whether the bus is articulated or on the type of service you provide. [RGV, Annex XI, V-6](https://www.boe.es/buscar/act.php?id=BOE-A-1999-1826#v-6).
- You must place the V-6 at the rear, centred in relation to the vehicle's axis. If it is advisable for better positioning, you may replace it with two similar plates, arranged symmetrically and as close to the edges as possible. [RGV, Annex XI, V-6](https://www.boe.es/buscar/act.php?id=BOE-A-1999-1826#v-6).
- V-6 plates must be between 500 and 1,500 mm above the ground and type-approved. Their surface is reflective yellow and their border is fluorescent red. [RGV, Annex XI, V-6](https://www.boe.es/buscar/act.php?id=BOE-A-1999-1826#v-6).
- A 13.50 m coach meets the definition of a long vehicle; a vehicle exactly 12 m long does not meet it on length alone. The threshold refers to the total length; side marker devices and end-outline marker lamps are subject to the measurements explained in their respective sections. [RGV, Annex XI, V-6](https://www.boe.es/buscar/act.php?id=BOE-A-1999-1826#v-6).
22V-9 and other bus markings
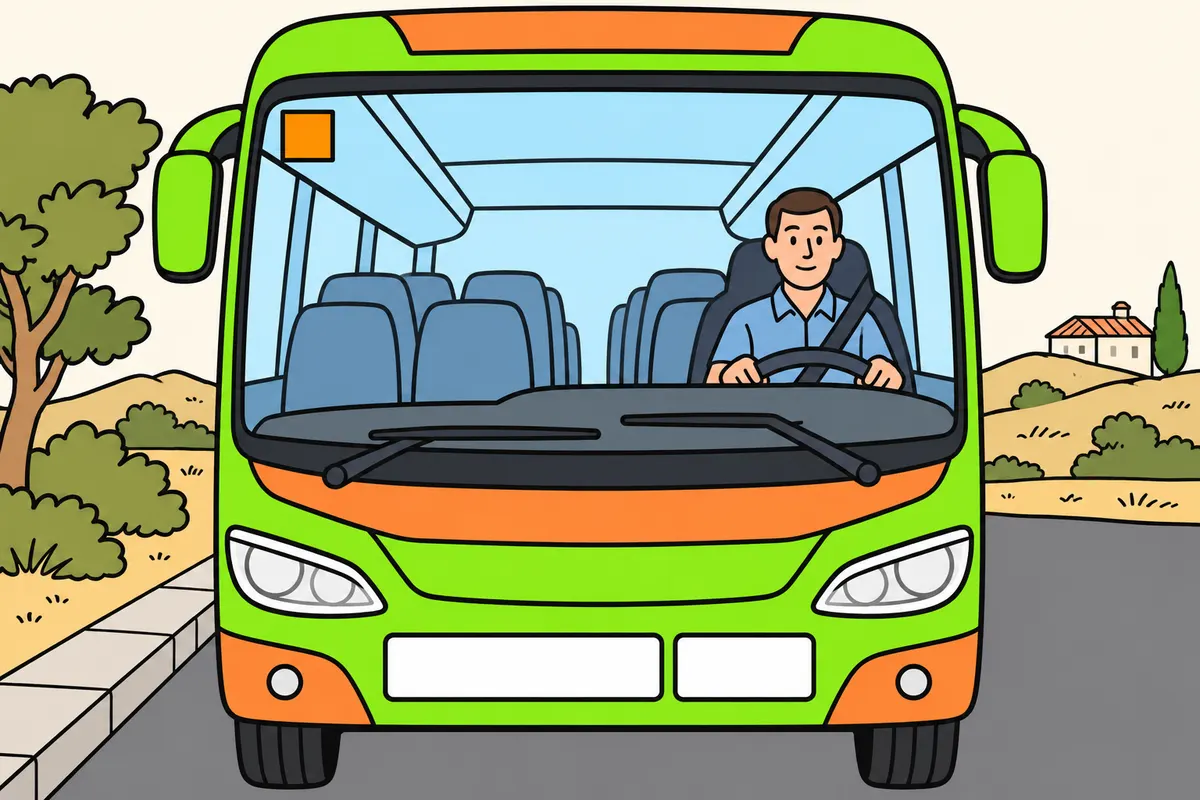
Display each required marking in its correct place and only for its stated purpose.
| Marking | Place or use |
|---|---|
| V-9, public service | S.P. plates beside front and rear number plates |
| V-19, roadworthiness test | Inside top right of windscreen |
| V-14, instruction or test | Front and rear during those activities |
| V-13, novice driver | Visible at rear left when required |
| V-4, speed limit | Visible at rear when required |
| V-25, environmental | Inside bottom right of windscreen when required |
Remember
- When V-9 is required, put S.P. plates beside both registration plates.
- Light the rear S.P. plate when the rear registration plate must be lit.
- V-19 goes inside the windscreen at the top right.
- V-14 is for instruction or tests; V-13 identifies new drivers.
- V-4 shows the speed limit when your circumstances or an authorisation require it.
- V-25 goes inside the windscreen at the bottom right when required.
Exam trap: Wrong: V-19 and V-25 go in the same place. Right: V-19 goes at the top right; V-25 goes at the bottom right, inside.
Read the full explanation
- When your bus is required to display the V-9, Public Service, you must place the two S.P. plates at the front and rear, beside the respective registration plates. They identify the vehicle's use for public services. [RGV, Annex XI, V-9](https://www.boe.es/buscar/act.php?id=BOE-A-1999-1826#v-9).
- The rear S.P. plate must be illuminated under the same conditions as the rear registration plate. [RGV, Annex XI, V-9](https://www.boe.es/buscar/act.php?id=BOE-A-1999-1826#v-9).
- You must place the V-19 showing a favourable ITV (vehicle roadworthiness test) result inside the top right-hand corner of the windscreen. It also indicates when the next inspection is due; inspection intervals are covered in “Bus and passenger transport documentation”. [RGV, Annex XI, V-19](https://www.boe.es/buscar/act.php?id=BOE-A-1999-1826#v-19).
- If you drive a driving-school bus for instruction or a test, you must display V-14 at the front and rear, visible only while performing those functions. V-14 identifies instruction or testing, whereas V-13 refers to a newly qualified driver. [RGV, Annex XI, V-14](https://www.boe.es/buscar/act.php?id=BOE-A-1999-1826#v-14).
- For V-13, consider when you obtained your first licence and whether you previously held another licence for at least one year, not only the date you obtained category D. If you are required to display it, place it visibly at the rear left. [RGV, Annex XI, V-13](https://www.boe.es/buscar/act.php?id=BOE-A-1999-1826#v-13).
- The V-4, Speed Limit, indicates the speed the vehicle must not exceed. You must display it visibly at the rear if required because of your personal circumstances or a special circulation authorisation. [RGV, Annex XI, V-4](https://www.boe.es/buscar/act.php?id=BOE-A-1999-1826#v-4).
- If you must display V-25, the Environmental Label, place it inside the lower right-hand corner of the windscreen. The competent authority may make its display compulsory through its regulations. Low Emission Zone requirements are covered in “Preventive and efficient bus driving”. [RGV, Annex XI, V-25](https://www.boe.es/buscar/act.php?id=BOE-A-1999-1826#v2).
23V-10 and school transport lights
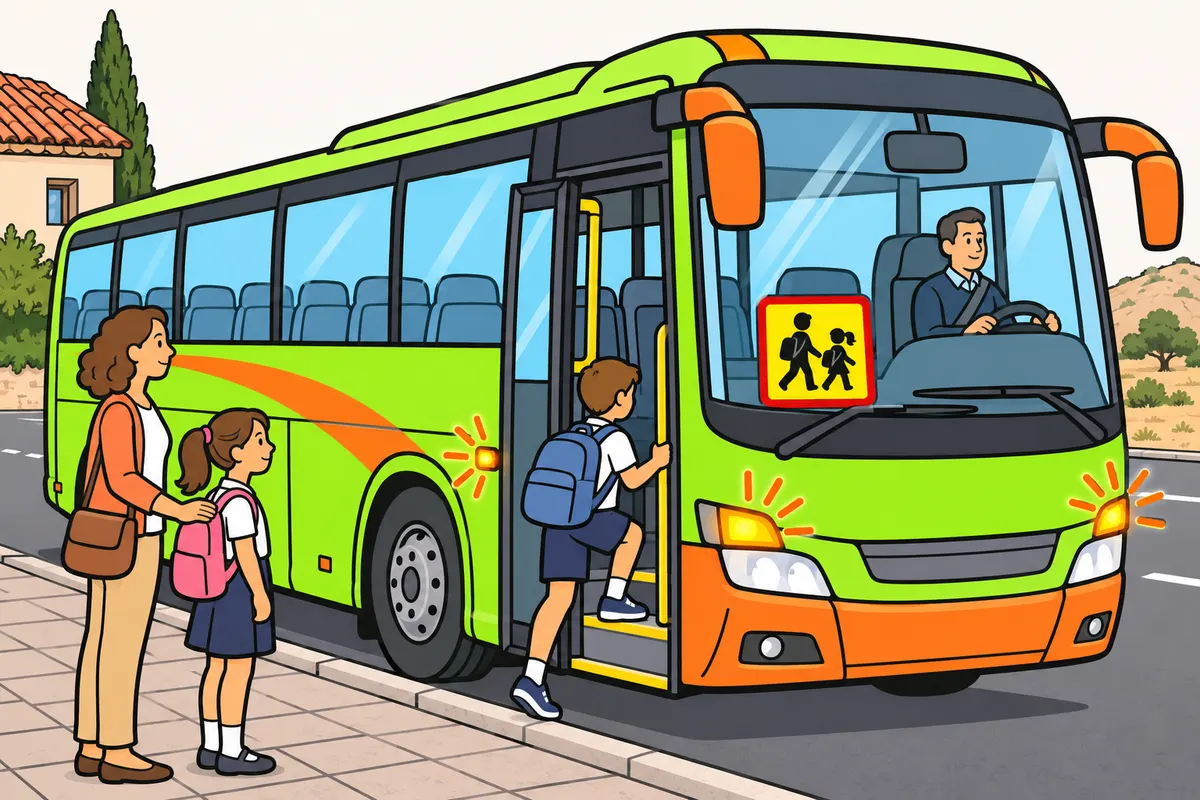
Use V-10 and the required warnings while providing covered school transport.
Remember
- For covered school transport, display V-10 inside at the front and rear.
- A minor on an ordinary service does not by itself require V-10.
- Secure it squarely so it can be removed without tools.
- Use hazard lights while passengers board or leave at stops, by day and night.
- The pictogram is allowed; its outline may stay lit for 20 seconds after moving.
- Where required, the reversing audible warning works with the reversing lights.
Exam trap: Wrong: a child on any bus service requires V-10. Right: display it for the covered school transport, not merely because a minor is travelling on an ordinary service.
Read the full explanation
- During school transport and transport of minors covered by RD 443/2001, you must display the V-10, School Transport sign. Place it inside at the front and rear, visible from outside; it must be displayed when carrying out that transport, not simply because a minor is travelling on an ordinary service. [RD 443/2001, art. 5](https://www.boe.es/buscar/act.php?id=BOE-A-2001-8503#a5).
- Secure the school transport marking firmly and perpendicular to the bus's axis, using a system that lets you fit or remove it easily without tools. [RGV, Annex XI, V-10](https://www.boe.es/buscar/act.php?id=BOE-A-1999-1826#v-10).
- At stops on these services, you must switch on the hazard warning lights while passengers board or alight, both by day and by night. [RD 443/2001, art. 4](https://www.boe.es/buscar/act.php?id=BOE-A-2001-8503#a4).
- You may use the alternative marking with the illuminated pictogram provided for in the regulations. The outline is illuminated only while passengers are boarding or alighting at stops, with a tolerance of up to 20 seconds after the vehicle moves off. [RD 443/2001, art. 5](https://www.boe.es/buscar/act.php?id=BOE-A-2001-8503#a5).
- On school buses subject to the requirement in article 4.4, the reversing audible warning operates in sync with its lights, under the conditions that apply to that paragraph. [RD 443/2001, art. 4](https://www.boe.es/buscar/act.php?id=BOE-A-2001-8503#a4).
24Flashing headlights and brief warnings
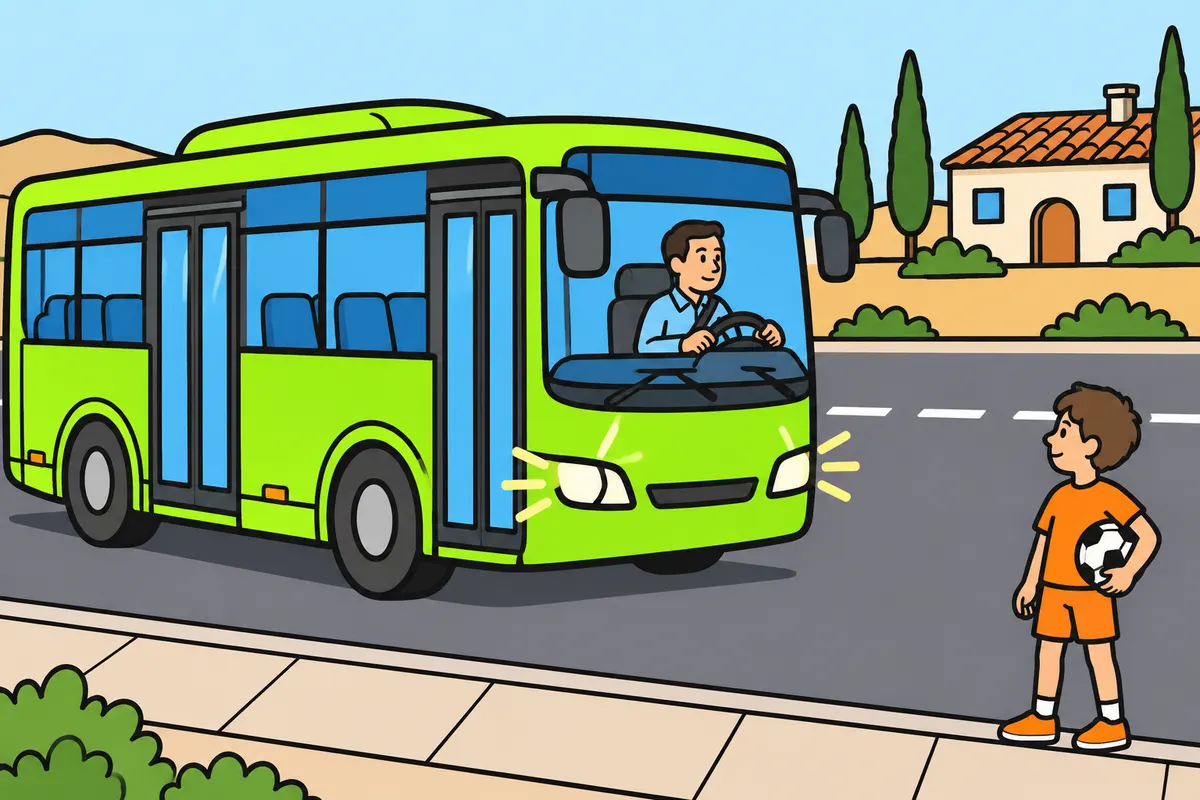
Use brief headlight flashes only for permitted warnings and avoid dazzling people.
Remember
- A brief flash may use dipped beam, main beam or both.
- Do not dazzle anyone.
- Use flashes only for permitted purposes; see “Manoeuvres with the bus”.
Exam trap: Wrong: flash your headlights whenever you want. Right: use them only for permitted warnings and avoid dazzling.
Read the full explanation
- Flashing headlights are brief light warnings made with dipped beam, main beam or both; you must avoid dazzling others. The permitted purposes and use are explained in “Manoeuvres with the bus”, section “Arm signals, horn and headlight flashes”. [RGC, art. 109](https://www.boe.es/buscar/act.php?id=BOE-A-2003-23514#a109).
25Visibility of devices and breakdowns
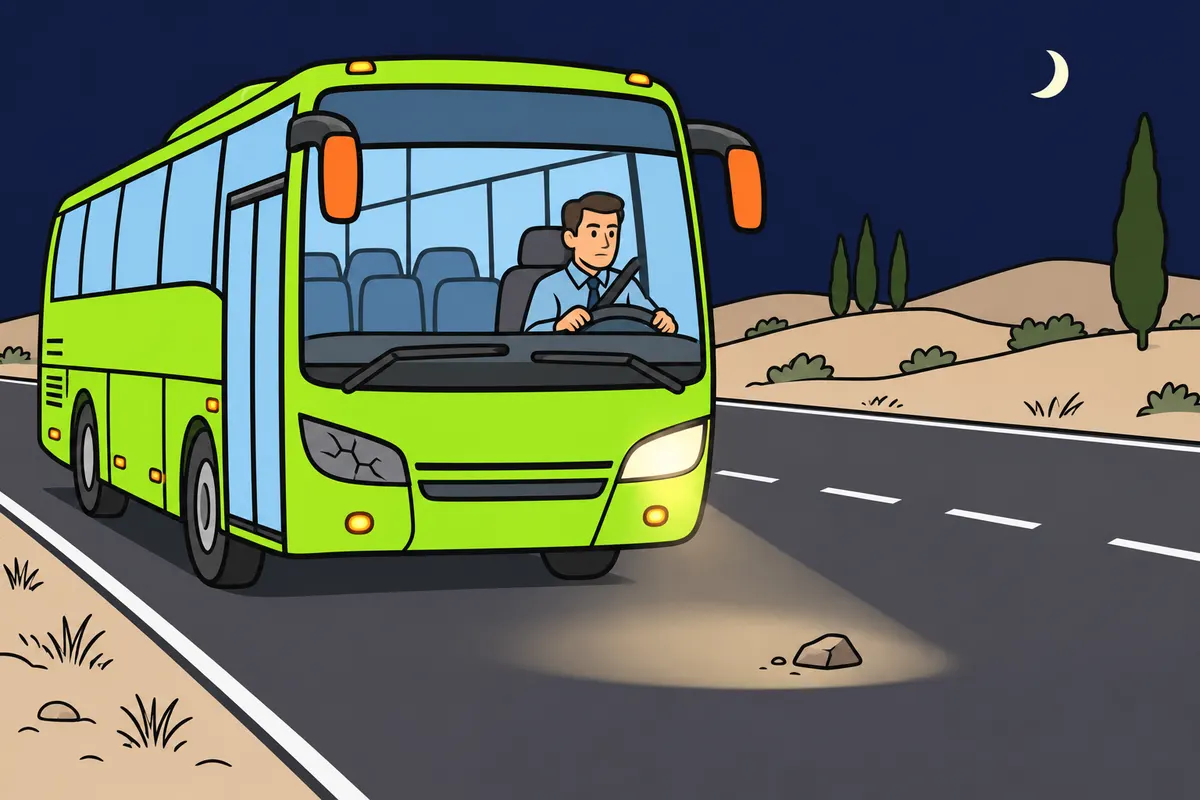
Keep lights visible and working; slow down if a fault reduces their reach.
Remember
- If an irreparable fault leaves only lower-intensity lights, slow down.
- Stop within the area lit by your lights.
- Keep headlamps clean and correctly aimed within the vehicle specifications.
- Check side lights, marker lamps, indicators and rear lights too.
- Fitted optional devices must meet approval and operating rules.
- No spare bulbs or tools are required; keep lights, plates and markings visible.
Exam trap: Wrong: spare bulbs are required, or luggage may cover lights. Right: spares are not required, but required devices must work and remain visible.
Read the full explanation
- If an irreparable breakdown on the road forces you to drive with lower-intensity lighting, you must reduce your speed until you can stop the bus within the illuminated area. [RGC, art. 107](https://www.boe.es/buscar/act.php?id=BOE-A-2003-23514#a107).
- As a practical check, make sure the headlamps are clean and not aimed in a way that dazzles other road users or illuminates the road too close to the bus. Adjusting them means setting the beam, not changing the physical width of the headlamp or lowering it as far as possible; you must keep the vehicle within the required technical specifications. [RGV, art. 15](https://www.boe.es/buscar/act.php?id=BOE-A-1999-1826#a15).
- You must also keep the side marker lamps, end-outline marker lamps, direction indicators and rear lights working: being able to see the road from the driving position does not show that the bus is visible from every side. Any optional device fitted must also meet the requirements for type approval and operation. [RGV, art. 15](https://www.boe.es/buscar/act.php?id=BOE-A-1999-1826#a15).
- Annex XII does not require your bus to carry a set of replacement bulbs or tools to change them. [RGV, annex XII](https://www.boe.es/buscar/act.php?id=BOE-A-1999-1826#anxii).
- You must arrange luggage and its accessories so that they do not obscure lights, light signals, number plates, mandatory markings or hand signals. This precaution also applies to removable ski racks. [RGC, art. 14](https://www.boe.es/buscar/act.php?id=BOE-A-2003-23514#a14).
Choosing lights during a journey
Check the situation and select the lighting before you need it.
- Identify night-time, a tunnel, reduced visibility or a lane that requires dipped beam during the day.
- Switch on the position lights and, where required, the end-outline marker lamps; select dipped beam according to the conditions.
- Outside built-up areas, at night and with insufficient lighting, use main beam if you are travelling above 40 km/h and cannot dazzle anyone; in insufficiently lit tunnels this applies at any time.
- In poor visibility, consider the front fog lamps; reserve the rear fog lamp for particularly adverse conditions.
- Review your selection when leaving a tunnel, changing roads or visibility improves.
Switching from main beam to dipped beam without dazzling
Act as soon as there is a possibility of dazzling other road users.
- Look for oncoming vehicles, vehicles you are following and road users on nearby roads who may be in the beam.
- Switch from main beam to dipped beam as soon as you could dazzle them.
- Adjust your speed to the available field of vision.
- When passing another vehicle, wait until you have passed it before returning to main beam, if appropriate.
Warning others when the bus is immobilised
Use the vehicle warning lights together with the regulatory warning beacon.
- Switch on the hazard warning lights and, at night or in reduced visibility, the position lights and end-outline marker lamps where required.
- Activate the certified connected V-16 beacon carried on your bus.
- Follow the placement instructions in “The connected V-16 beacon on your bus” in “Accidents and assistance”.
- Keep the warnings on while the situation is being dealt with and follow the passenger safety and assistance request procedure.
Finished this module?
Mark it as read and you will see your progress on the theory list.