
Theory · A1 Licence - 125 cc Motorcycle · Module 7 of 18
Motorcycle mechanics and maintenance
You learn to identify and maintain the systems on your A1 motorcycle or scooter, check its condition before setting off and interpret fault warnings. You prepare for questions on the engine, transmission, brakes, steering, suspension, tyres and electrical systems, distinguishing regulatory requirements from adjustments specific to each model.
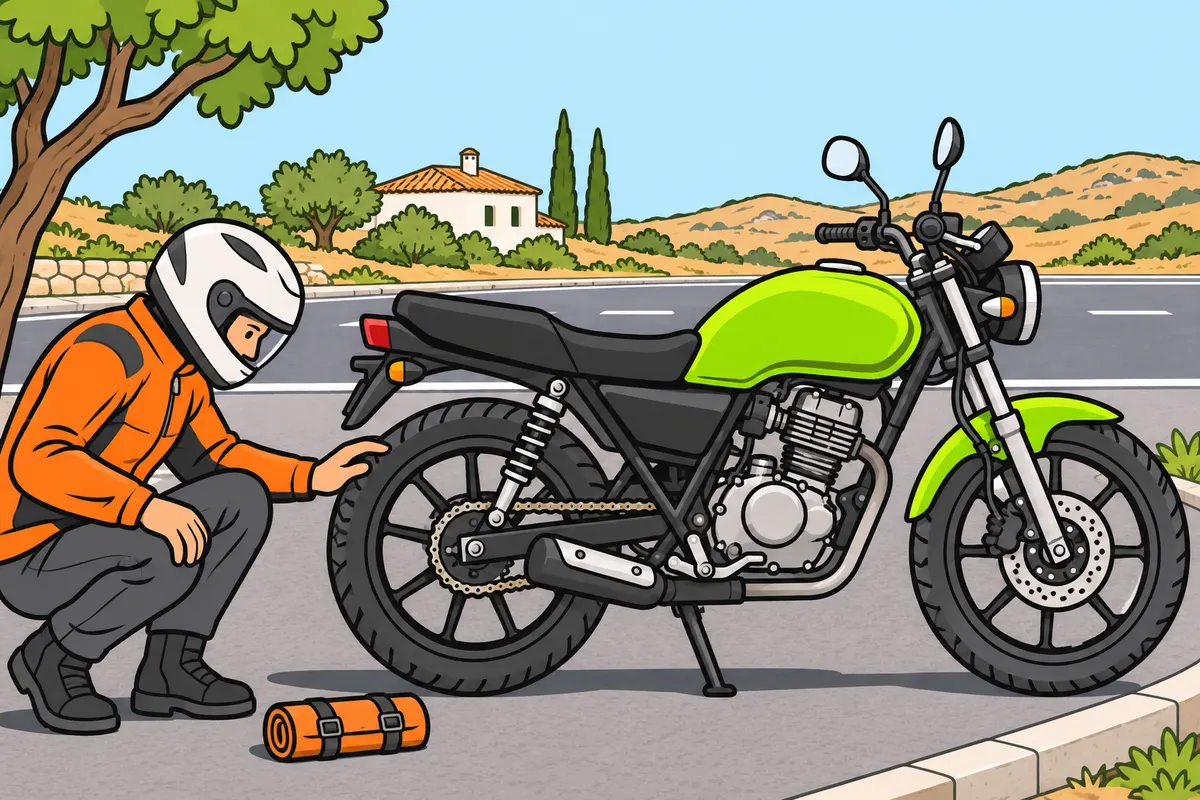
1Pre-ride checks and responding to a breakdown
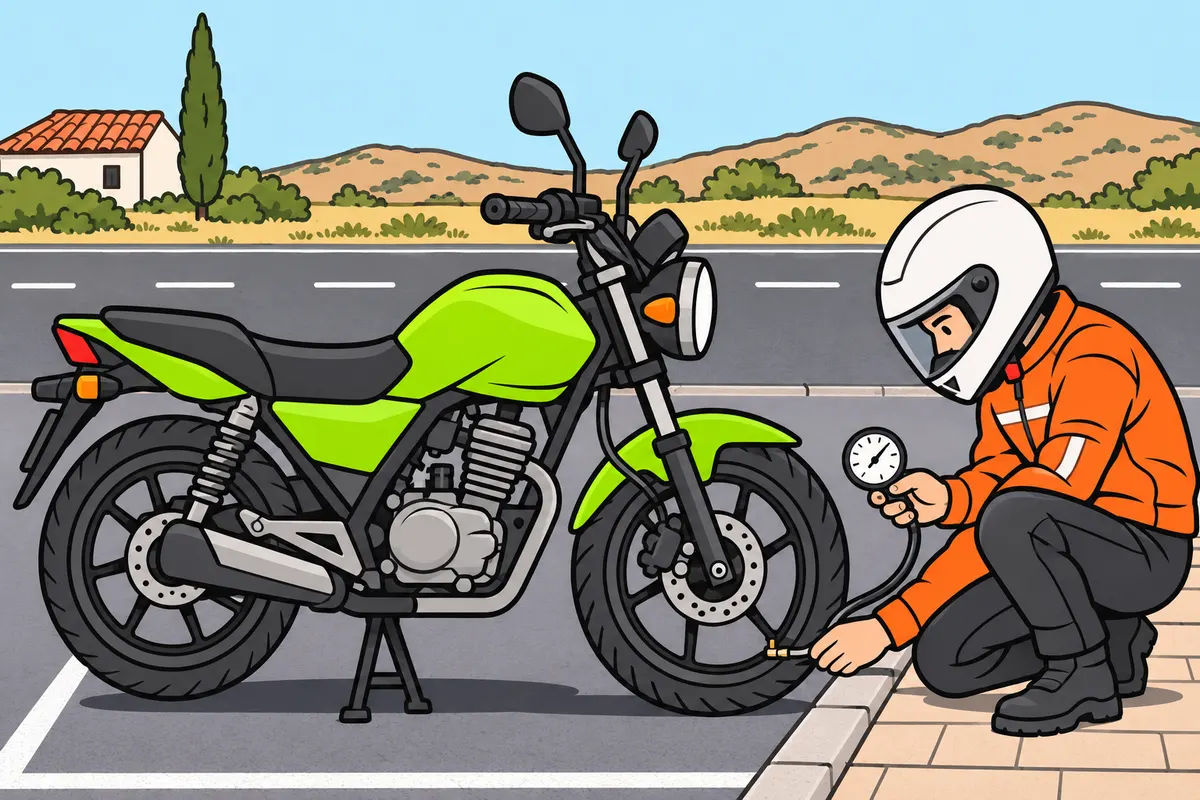
Check your motorcycle before riding and stop if serious faults appear.
| Safety type | What you need to know |
|---|---|
| Active | Brakes, steering, suspension, tyres and lights help you avoid crashes. |
| Passive | Distinguish protection that reduces injuries. |
Remember
- Check wheels, brakes, steering, suspension, controls, transmission and possible leaks.
- Check fluid levels, fuel or battery charge, lights, mirrors and horn.
- Follow your manual when checking and maintaining your motorcycle.
- Basic checks do not replace servicing or the ITV roadworthiness test.
- If a serious fault appears, stop safely and check the cause.
- Do not ride with unresolved faults in essential parts; request assistance when needed.
Exam trap: Wrong: accelerating removes strange noises. Right: they may indicate faults; check their cause.
Read the full explanation
- Before setting off on your A1 motorcycle or scooter, check the tyres and pressures, wheels, brakes, steering, suspension, controls, fluid levels, fuel or battery charge, transmission, leaks and fastenings. Check the headlights, brake light, reflectors, indicators, mirrors and horn. Follow the manual's procedures for each item.
- Before the A1 test manoeuvres, you must be able to check at random the tyres, brakes, steering, emergency stop switch if fitted, drive chain, oil level, headlights, reflectors, indicators and audible warning device. [RGCond, Annex V.B.3.2](https://www.boe.es/buscar/act.php?id=BOE-A-2009-9481#anv).
- A basic check helps you detect faults, but it does not replace periodic maintenance or the ITV (vehicle roadworthiness test), and it does not guarantee that a breakdown will never occur. Follow the manufacturer's intervals and procedures. [DGT, instructors' guide, maintenance](https://www.dgt.es/export/sites/web-DGT/.galleries/downloads/nuestros_servicios/para-colaboradores-y-empresas/GUIA-MONITORES-MOTOCICLETA-NIPO.pdf).
- If an important fault warning appears, stop safely and check its cause. If it affects the brakes, steering or another essential component, do not set off or continue until it is resolved; request assistance when necessary.
- Abnormal noises and vibrations can signal a breakdown. If they occur, reduce the demands you place on the vehicle, find a safe place to stop and request a diagnosis before continuing if they affect your control of the motorcycle.
- The brakes, steering, suspension, tyres and lighting are part of active safety: they help prevent collisions. For protection that reduces injuries, see ‘Motorcyclist protective equipment’, section ‘Passive safety and equipment limitations’.
2Conventional controls and familiarisation
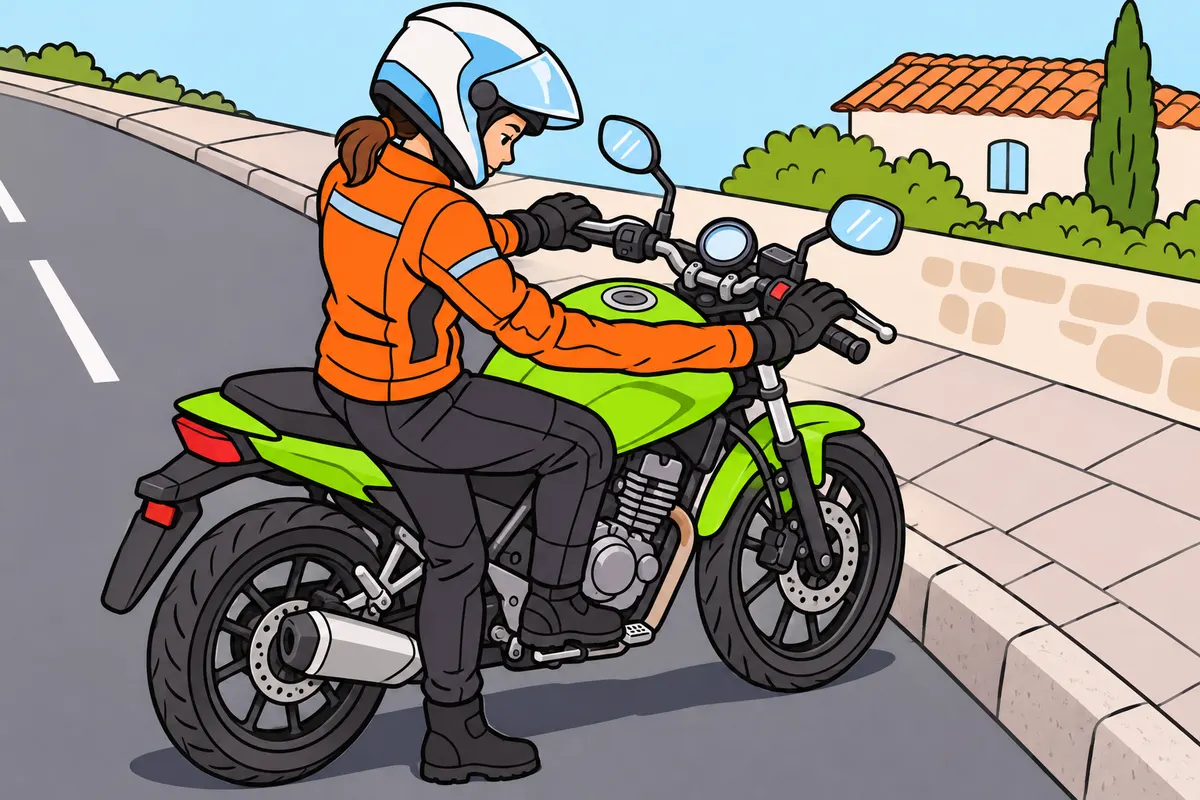
Know your model’s controls before you ride.
| Control on a conventional manual motorcycle | What you operate |
|---|---|
| Right hand | Throttle and front brake |
| Left hand | Clutch; usually horn and dipped/main beam selector |
| Right pedal | Normally the rear brake |
Remember
- Use the throttle smoothly to help keep your motorcycle stable.
- Identify your scooter’s brakes and any combined braking system.
- Adjust controls only where their design allows, following your manual.
- Check that adjusted controls still have their full working travel.
- Use your speedometer for road speed; your odometer records distance.
Exam trap: Wrong: every motorcycle has the same controls. Right: check your model’s controls.
Read the full explanation
- On a conventional motorcycle with gears, you operate the throttle grip and front brake lever with your right hand; with your left, you operate the clutch lever and usually the horn and dipped/main beam selector.
- The pedal beside the right footrest normally operates the rear brake when you press it down.
- Operate the throttle smoothly and progressively. Opening and closing it abruptly can destabilise the motorcycle or make the driven wheel skid, especially when grip is poor.
- Check the controls on your model before riding: some motorcycles are automatic, have no manual clutch, have combined braking or have adaptations.
- The speedometer shows your riding speed and the odometer records the distance travelled. Two motorcycles travelling at the same speed can have different engine speeds depending on their transmission and selected gear ratio.
- If your scooter has two brake levers, identify which wheel each one operates and how combined braking works, if fitted. Adjust the lever reach and other controls only if the design allows it, following the manual and checking that they retain their full useful travel.
3The engine and its operating cycle
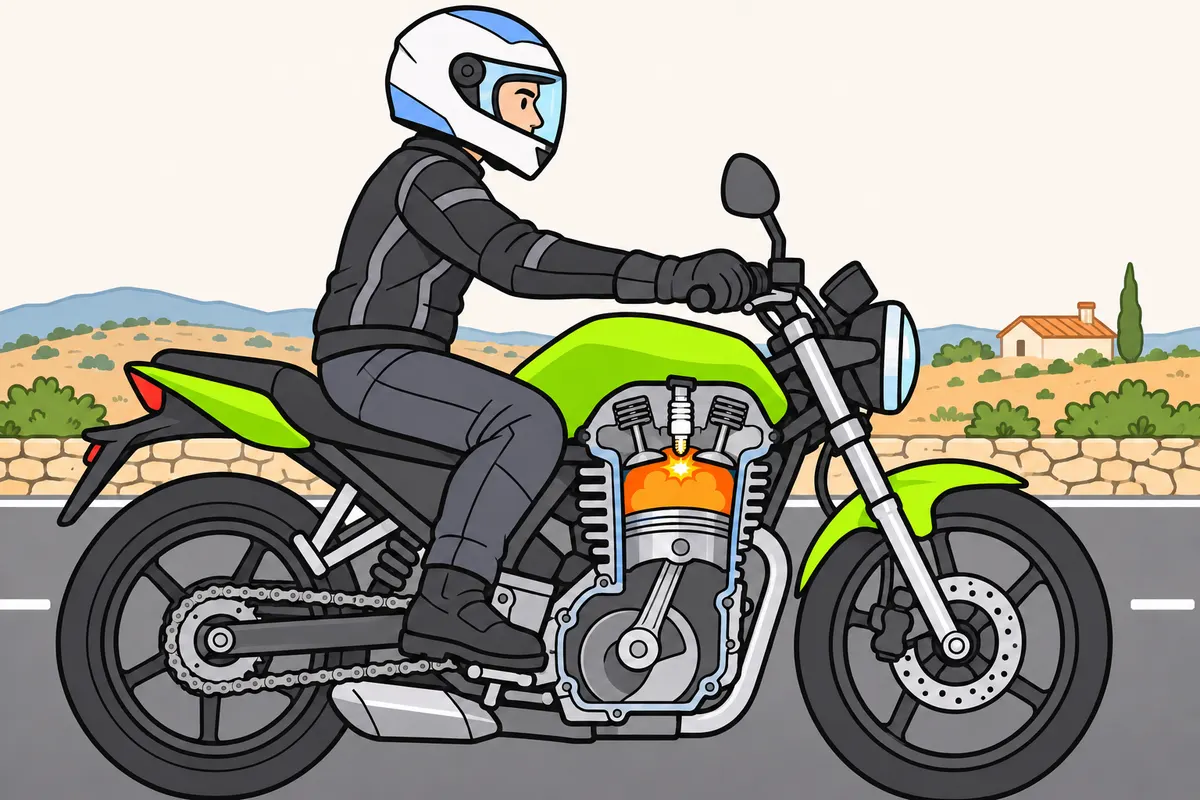
Distinguish engine cycles and understand what your rev counter shows.
| Engine | Piston strokes per cycle | Crankshaft revolutions per cycle |
|---|---|---|
| Four-stroke | Four | Two |
| Two-stroke | Two | One |
Remember
- Identify the piston inside the cylinder and the cylinder head above it.
- Recognise the connecting rod and crankshaft: they turn piston movement into rotation.
- In a four-stroke petrol engine, the spark plug ignites the mixture.
- Remember the order: intake, compression, combustion-expansion and exhaust.
- Use your rev counter to check engine speed.
- Keep within permitted engine speeds and avoid revving a cold engine.
Exam trap: Wrong: your rev counter measures road speed. Right: it shows engine speed.
Read the full explanation
- In an internal combustion engine, the piston moves inside the cylinder and the cylinder head closes its upper end. The connecting rod joins the piston to the crankshaft and, together with it, converts reciprocating movement into rotation.
- In a four-stroke petrol engine, the sequence is intake, compression, combustion-expansion and exhaust. The cycle comprises four piston strokes and two crankshaft revolutions; useful energy comes from the expansion of the gases, not simply from filling the cylinder. [DGT, Manual VIII, engine operation](https://sede.dgt.gob.es/.galleries/permisos-de-conducir/certificacion-aptitud-profesores-formacion-vial/2024/Manual-VIII-Mecanica-2024.pdf).
- The spark plug starts combustion of the compressed air and petrol mixture with a spark. Keep to the type of spark plug and its setting specified in the manual; a weak spark can make starting difficult or cause the engine to run poorly.
- In a two-stroke engine, the cycle is completed in two piston strokes and one crankshaft revolution. Distinguish the cycle from the lubrication system: it may require petrol premixed with specific oil, or it may have a separate oil tank with its own metering system.
- The tachometer or rev counter shows engine speed in revolutions per minute (rpm). Respect the engine speed permitted by the manufacturer and avoid revving the engine hard when it is cold.
4Fuel supply, fuel and air filter
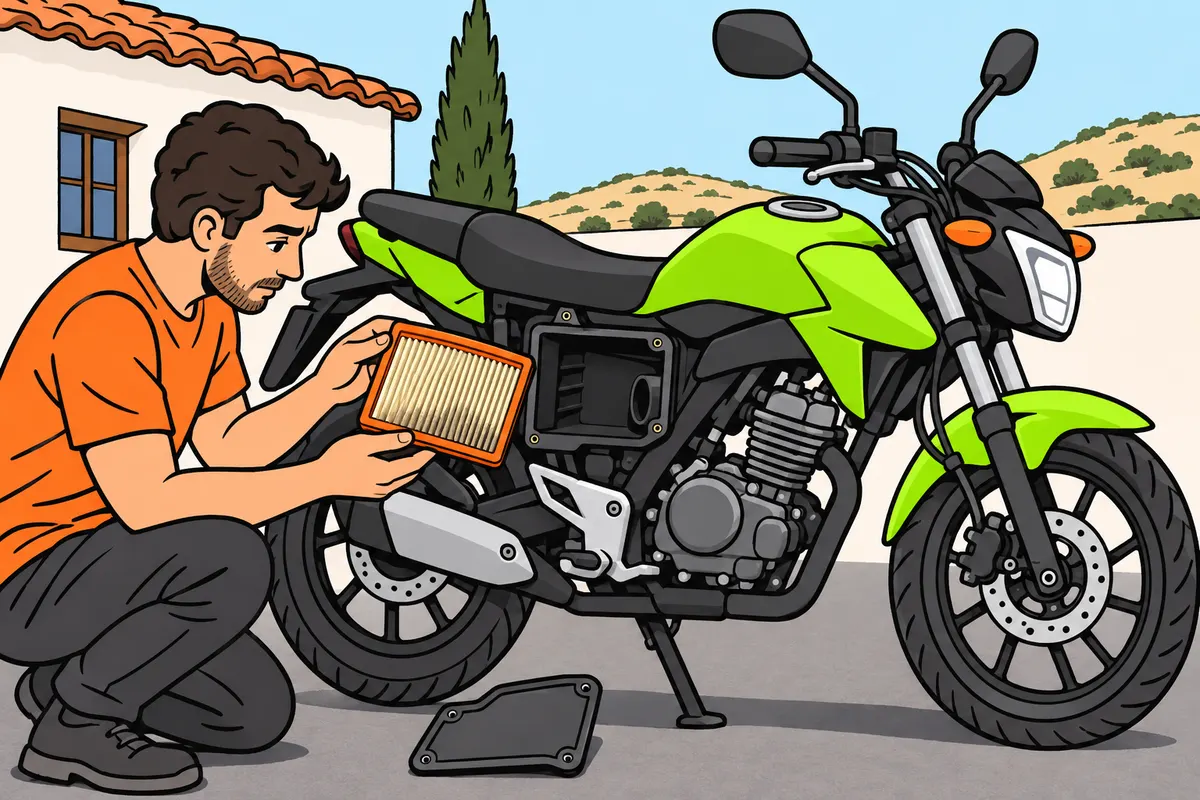
Use the specified fuel and keep your air filter clean.
| System | What you need to know |
|---|---|
| Carburettor | Prepares the air and petrol mixture through passages. |
| Fuel injection | Meters fuel through controlled injectors. |
Remember
- Use fuel and an octane rating approved by your manufacturer.
- If your petrol motorcycle has a catalytic converter, use unleaded petrol.
- Do not add lead substitutes on your own initiative.
- Clean or replace your filter according to its material and your manual.
- Do not ride without a filter: dust can enter your engine.
- With a leak or persistent strong fuel smell, avoid starting; request inspection.
Exam trap: Wrong: you can wash and oil any filter. Right: follow instructions for its material.
Read the full explanation
- Use the fuel, octane rating and composition approved by the manufacturer. In a petrol motorcycle with a catalytic converter, use unleaded petrol: a suitable octane rating does not make leaded fuel compatible, as it can damage the catalytic converter; do not add lead substitutes on your own initiative either.
- The carburettor prepares the air and petrol mixture through jets and passages; fuel injection meters fuel through injectors controlled by its management system. Keep the components clean and have jerking, difficult starting or abnormal consumption checked, without automatically attributing them to a single fault.
- The air filter traps particles before they enter the engine. Clean or replace it according to its material and the manual: a paper element does not necessarily allow the washing and oiling that a foam element may require; riding without a filter exposes the engine to dust.
- In a petrol engine with a carburettor and no electronic mixture correction, a blocked filter restricts the air supply, can enrich the mixture, reduce performance and increase fuel consumption.
- Check hoses, connections and possible fuel leaks without bringing flames near them. If you notice a strong, persistent smell or a leak, do not start the engine and request an inspection; filling the tank does not fix the leak or remove the fire risk.
5Lubrication and choosing oil
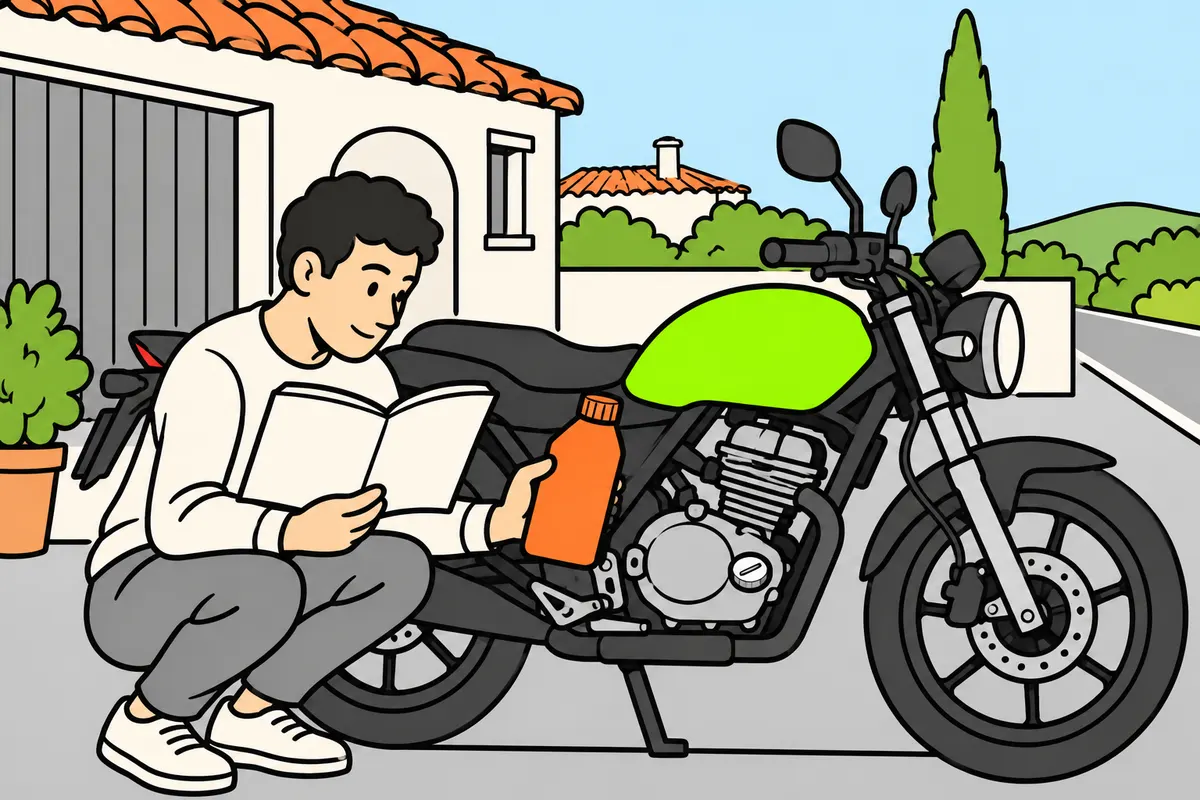
Choose the specified oil to protect your engine’s moving parts.
| Engine lubrication system | What you need to do |
|---|---|
| Four-stroke | Keep oil separate from fuel. |
| Two-stroke with premix | Add specific oil in the manufacturer’s stated proportion. |
| Two-stroke with separate lubrication | Keep oil in its tank and check the system. |
Remember
- Use the viscosity and all other specifications in your manual.
- Do not assume car oil suits your motorcycle.
- Distinguish where oil comes from from its viscosity.
- For multigrade oil, W describes its behaviour at low temperatures.
- The other part describes its viscosity grade when hot.
Exam trap: Wrong: add oil to every engine’s petrol. Right: premix only when your system requires it.
Read the full explanation
- The oil film reduces friction, wear and the risk of seizure between moving parts. It also helps carry away heat, clean and protect against corrosion. As it deteriorates, its protection falls: pay attention to both the condition and the amount of lubricant available.
- In a four-stroke engine, the oil is kept in a circuit separate from the fuel. Use the prescribed viscosity and specifications, especially when the same oil lubricates the engine, gearbox and wet clutch: car oil is not automatically suitable for that motorcycle.
- Oil can be mineral, synthetic or semi-synthetic; its origin and viscosity are different characteristics. Choose it in accordance with all the specifications in the manual.
- In the designation of a multigrade oil, the part followed by W describes its behaviour at low temperatures, while the other number gives its viscosity grade when hot. Interpret both as lubricant classification grades, in accordance with the manual's specifications.
- In a two-stroke engine using premix, add specific two-stroke oil in the proportion stated by the manufacturer. If it has separate lubrication, keep oil in its tank and check the system.
6Oil level, oil changes and waste
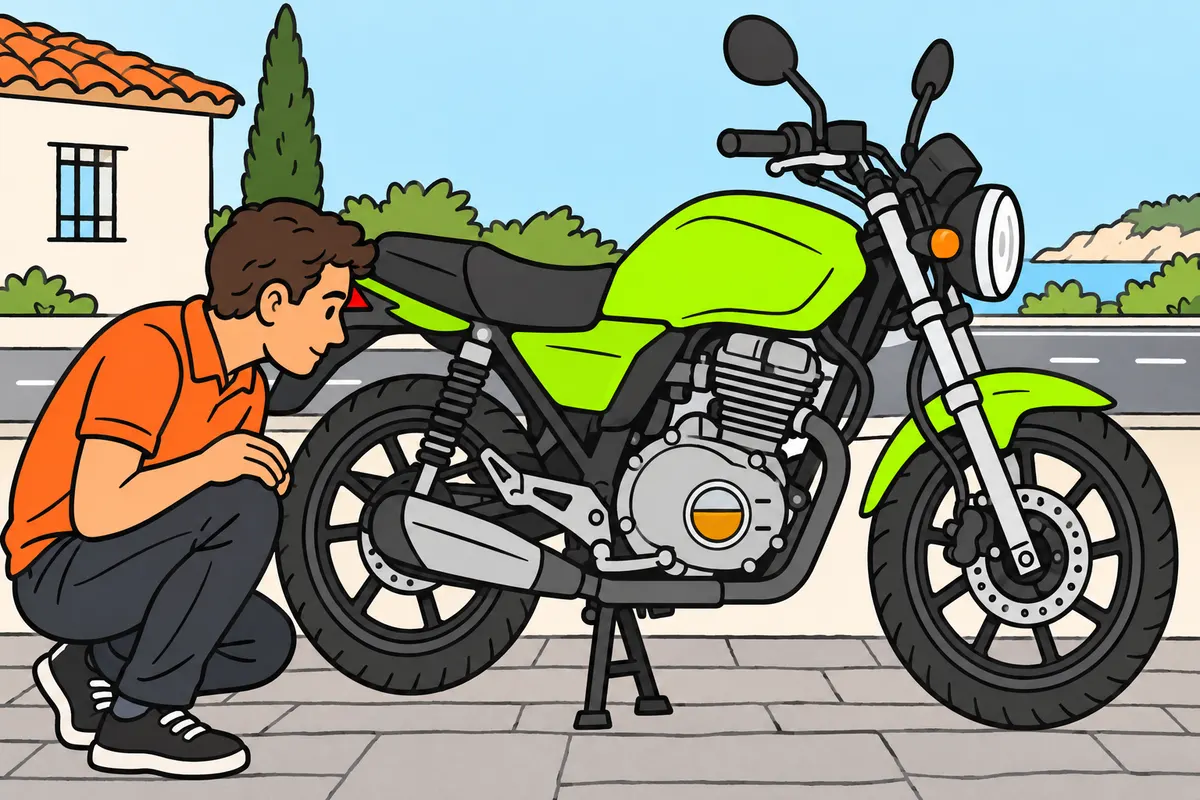
Check and change your oil as instructed, and dispose of used oil correctly.
| Sign | What you need to consider |
|---|---|
| Blue smoke | Oil may be burning: request a diagnosis. |
| Brief white vapour on a cold start | It may be condensation; do not diagnose by colour alone. |
Remember
- Measure on level ground, with your motorcycle stable and in the specified position.
- Check the required temperature, waiting time and dipstick procedure.
- Keep oil between the marks; avoid both too little and too much.
- Change oil and filter at the specified time, mileage and usage intervals.
- Request a diagnosis for persistent smoke, fluid loss or overheating.
- Give used oil to authorised waste handlers; keep it separate from other liquids.
Exam trap: Wrong: topping up replaces an oil change. Right: change your oil as instructed.
Read the full explanation
- Measure the level with the motorcycle stable, on level ground and in the specified position, normally upright. Identify the sight glass or dipstick; the checking temperature, waiting time after switching off and whether the dipstick is screwed in to take a reading depend on the model: a reading taken with the motorcycle tilted can mislead you.
- Keep the level between the marks and add small amounts of a compatible product if needed. Both too little and too much oil can cause problems; filling until it overflows does not provide a safety reserve, and adding oil does not replace changing it.
- Change the oil and filter at the time or mileage intervals and for the usage conditions specified in the manual. There is no single figure for all motorcycles; check for leaks and abnormal consumption even if the next service is not yet due.
- If blue smoke appears, consider that oil may be burning and request a diagnosis. Brief white vapour on a cold start may be condensation; persistent smoke, fluid loss or overheating require investigation, without diagnosing a part from colour alone.
- Collect used oil without pouring it onto the ground, into drains or into water, and hand it over through an authorised waste management channel. Do not mix it with other liquids or put it in a container for cooking oil. [RD 679/2006, art. 5](https://www.boe.es/buscar/act.php?id=BOE-A-2006-9832#a5) and [art. 6](https://www.boe.es/buscar/act.php?id=BOE-A-2006-9832#a6).
7Air and liquid cooling
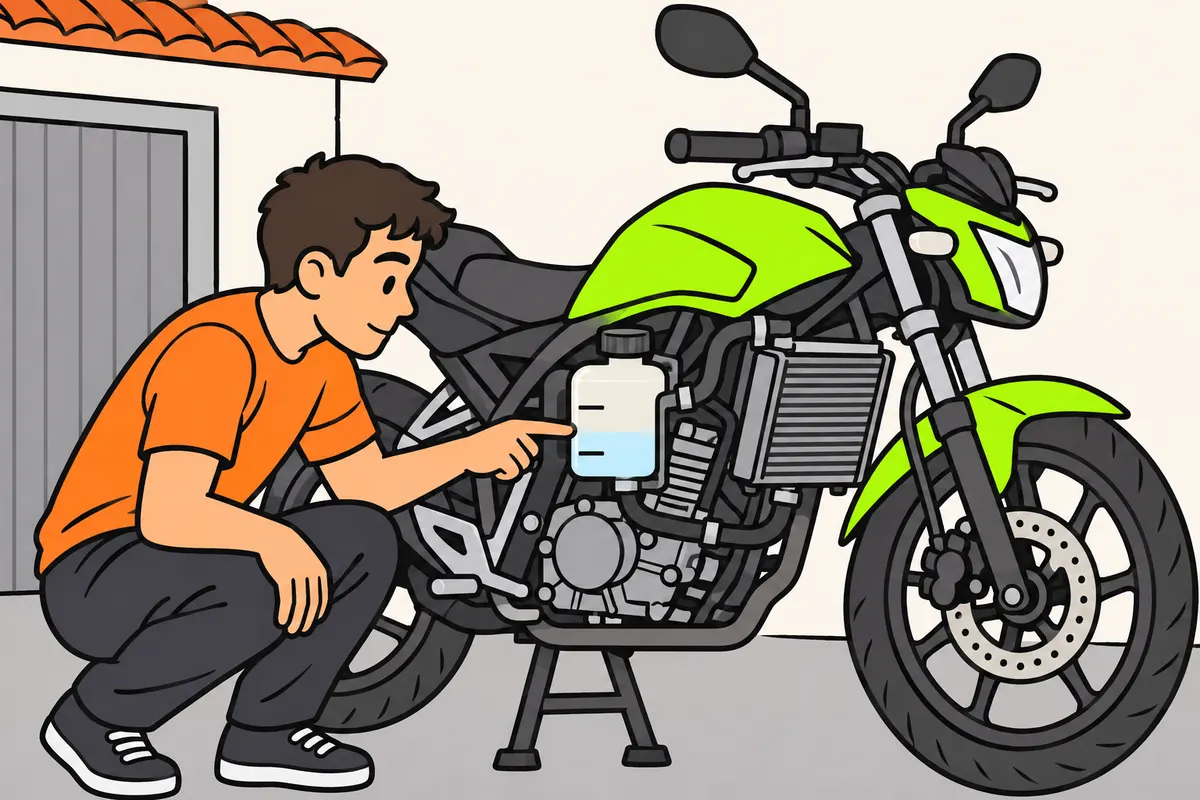
Care for your cooling system and check liquid coolant when cold.
| Cooling system | What you need to care for |
|---|---|
| Natural air cooling | Clean fins with the engine stopped and cold; avoid damaging them. |
| Liquid cooling | Check coolant, hoses and radiator as instructed. |
Remember
- Check your expansion tank level when cold, following your manual.
- Use specified coolant; matching colours do not mean fluids can be mixed.
- Do not open a hot pressurised circuit: you could get burnt.
- If temperature is excessive, stop safely and follow your manual.
- Your fan switching on does not necessarily mean a fault.
- With a cold engine, avoid revving and increase demands gradually.
Exam trap: Wrong: cooling the engine repairs a leak. Right: it allows checks; repair the fault.
Read the full explanation
- Cooling maintains the operating temperature and prevents damage from excessive heat. In an air-cooled engine, heat is released from its surfaces and fins; in a liquid-cooled engine, coolant carries it to a radiator. You must maintain the system fitted to your motorcycle according to the manual.
- On an engine cooled by natural airflow, you must keep the fins clean and their air passages clear. Clean them with the engine stopped and cold, without damaging them.
- In liquid cooling, the pump circulates the coolant, the hoses carry it, the radiator transfers heat to the air and the thermostat regulates the flow according to temperature. The fan helps when airflow is insufficient; its starting does not by itself indicate a fault.
- You must check the expansion tank level when cold, between the marks and following the manual. Use the specified coolant, which also protects against corrosion and freezing; do not routinely replace it with water or mix fluids just because they are the same colour.
- Do not open the cap of a pressurised circuit when it is hot: you may be burned by liquid or steam. If the temperature becomes excessive, you must stop safely and follow the manual; waiting for it to cool allows you to inspect it, but does not repair a leak, faulty pump or faulty fan.
- When the engine is cold, avoid revving it while stationary and putting it under heavy load. After starting, begin riding gently when the manual allows and increase the demand gradually; warming the engine at maximum speed can damage it and does not confirm that it is cooling correctly.
8Clutch and gearbox
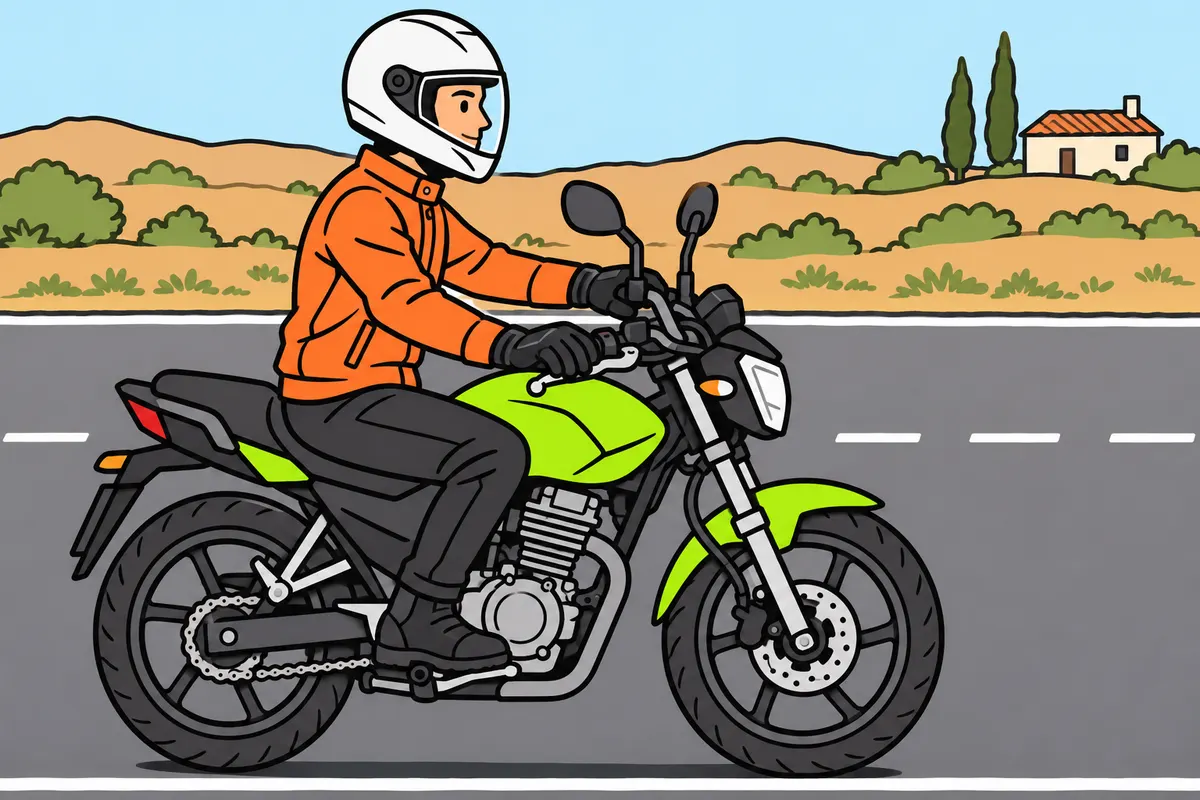
Coordinate your clutch and gears to control your motorcycle smoothly.
| Unsuitable gear | What you may notice |
|---|---|
| Too low when changing down | Engine speed may become excessive. |
| Too high | You may feel jerking or poor response. |
Remember
- On a conventional manual motorcycle, squeeze the left lever to disengage the clutch.
- Release it gradually while coordinating the throttle.
- Check your motorcycle’s gear selection pattern.
- Check the cable or hydraulic circuit; request inspection if your clutch fails.
- Do not keep slipping your clutch to compensate for a fault.
- Recognise engine braking: your engine resists movement when driven by the transmission.
Exam trap: Wrong: a low gear increases engine power. Right: it multiplies torque without creating power.
Read the full explanation
- The clutch allows you to engage or disengage the engine and transmission progressively. With a conventional manual transmission, pulling in the left-hand lever disengages the clutch and releasing it engages it; you must coordinate it with the throttle to move off without jerking or stalling the engine.
- The gearbox selects ratios between engine speed and wheel rotation. A low gear multiplies the available torque more, at the cost of lower wheel speed for the same engine speed. The gearbox multiplies torque at the wheel, but does not increase engine power.
- In the conventional layout, you operate the selector with your left foot; from neutral, you normally press down to select first gear. You must check your motorcycle's gear pattern: gears are usually selected sequentially, and neutral is not the same as holding the clutch lever in.
- You must check the play and condition of the clutch cable, if fitted, or the hydraulic circuit if that is how the clutch is operated. A clutch that slips, drags or makes gear changes difficult needs inspection; compensating by always slipping the clutch increases heat and wear.
- A gear that is too low can make the engine speed rise excessively when you change down; a gear that is too high can cause jerking or a lack of response. Engine braking comes from the engine's resistance as it is driven by the transmission. To choose a gear on a descent, see “Motorcycle riding techniques”, section “Slopes and slippery surfaces”.
- Automating clutch operation does not necessarily mean that gear selection is automatic. Scooters may have a continuously variable transmission and centrifugal clutch: you must identify which system your vehicle has and not look for a clutch lever or pedal that the model does not have.
9Final drive and chain
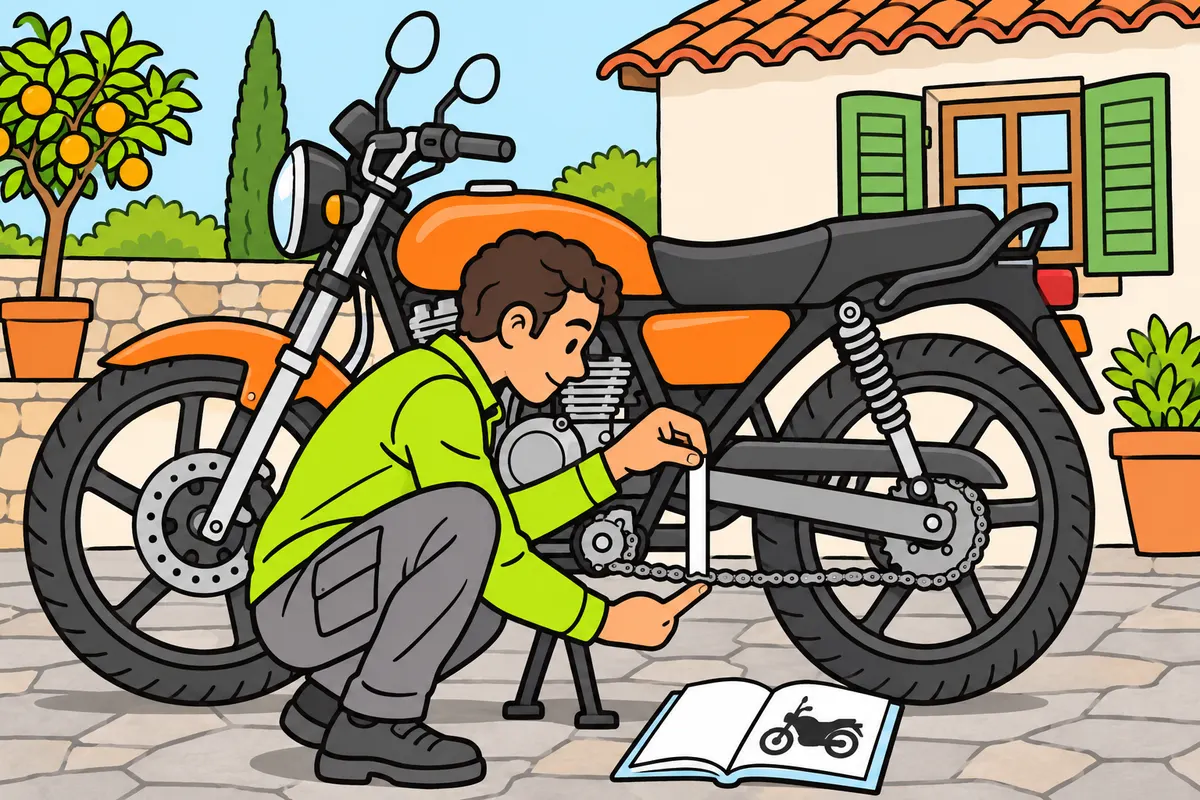
Check and lubricate your chain without removing the slack it needs.
Remember
- Check your manual for chain slack and how to measure it.
- Check wear, tension, links and sprockets.
- Adjust only if slack is excessive or insufficient.
- Clean and lubricate with suitable products, always with the engine stopped.
- Keep lubricant away from brakes and tyres.
- Use a workshop if you lack the knowledge or tools.
Exam trap: Wrong: adjustment and lubrication repair every fault. Right: a damaged chain may need replacement.
Read the full explanation
- The final drive carries movement to the driven wheel, usually the rear wheel. It may use a chain, belt or shaft drive; the latter transmits rotation through shafts and gears. The maintenance you must carry out depends on the system fitted to your motorcycle.
- For the chain, check its slack, wear, condition and lubrication regularly in accordance with the manual. It needs some play: adjust it if it is too loose or too tight, without tightening it until all play is removed. Adjust it only when the measurement shows that it is necessary.
- You must check the specified chain slack for your model and measure it under the stated conditions: the motorcycle's position, load, measuring section and tightest point. A chain that is too tight can damage components as the suspension moves.
- Clean and lubricate it with products and at intervals suitable for that type of chain; do not use petrol as a universal cleaner or use only water and omit lubrication. Keep the product away from tyres and brakes. Do this with the engine stopped, never with the chain driven by the engine.
- Check for changes in tension, seized links, damage and wear to the chain and sprockets: adjustment or lubrication does not repair every defect, and replacement may be needed. If you lack the knowledge or tools, take the motorcycle to a workshop.
10Belt, variator and shaft drive
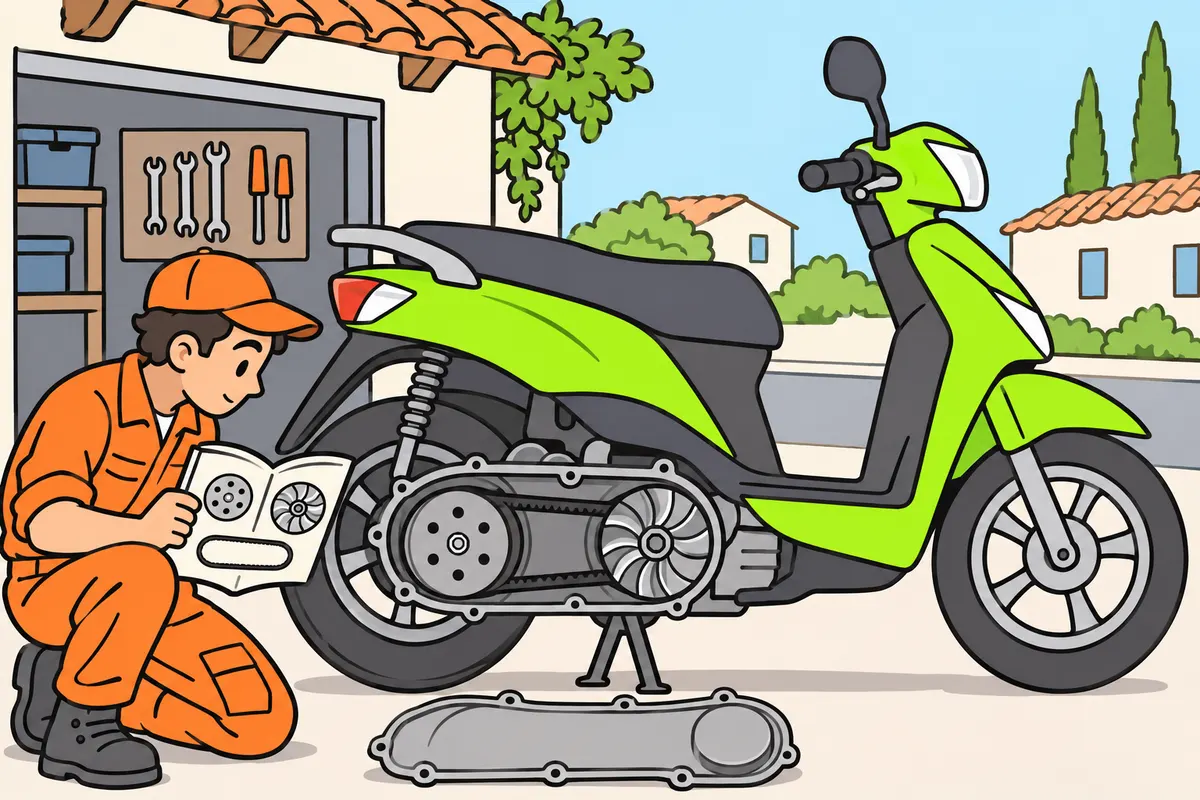
Identify your transmission and follow its specific maintenance instructions.
| System | What you check according to your manual |
|---|---|
| Toothed final-drive belt | Condition, damage and tension |
| Scooter variator | Belt, rollers and other specified parts |
| Shaft drive | Leaks, play and final-drive gear lubricant |
Remember
- Do not apply chain grease to a belt.
- Do not assume all transmissions need the same slack or maintenance.
- Distinguish a variator belt from an external final-drive belt.
- Follow scheduled variator checks, ventilation care and replacement intervals.
- Keep water, dirt and incompatible lubricants out of your variator.
Exam trap: Wrong: automatic transmission needs no maintenance. Right: inspect and replace its parts as instructed.
Read the full explanation
- A toothed final-drive belt carries rotation to the wheel and has different requirements from a chain. You must check its condition, damage, tension and maintenance as specified by the manufacturer; do not apply chain grease to the belt or assume that every belt uses the same slack.
- In a scooter transmission, the variator belt runs between pulleys that change the ratio. You must follow the replacement schedule for the belt, rollers and other specified parts; an automatic system still wears, and you must not ignore noises or loss of response.
- For shaft drive, you must check for leaks and excessive play, and check the lubricant in the final gear unit when the manual requires it.
- Chain, belt and shaft drive require specific products and procedures. Before adjusting or replacing a part, you must identify its part number and the model's fitting conditions; also check the tightening torques and subsequent checks specified in its manual.
- On an A1 scooter, the variator belt and an external final-drive toothed belt serve different purposes. The variator housing protects its components: you must keep its ventilation inlets clear and prevent water, dirt or incompatible lubricants from getting in.
11Brakes and load transfer
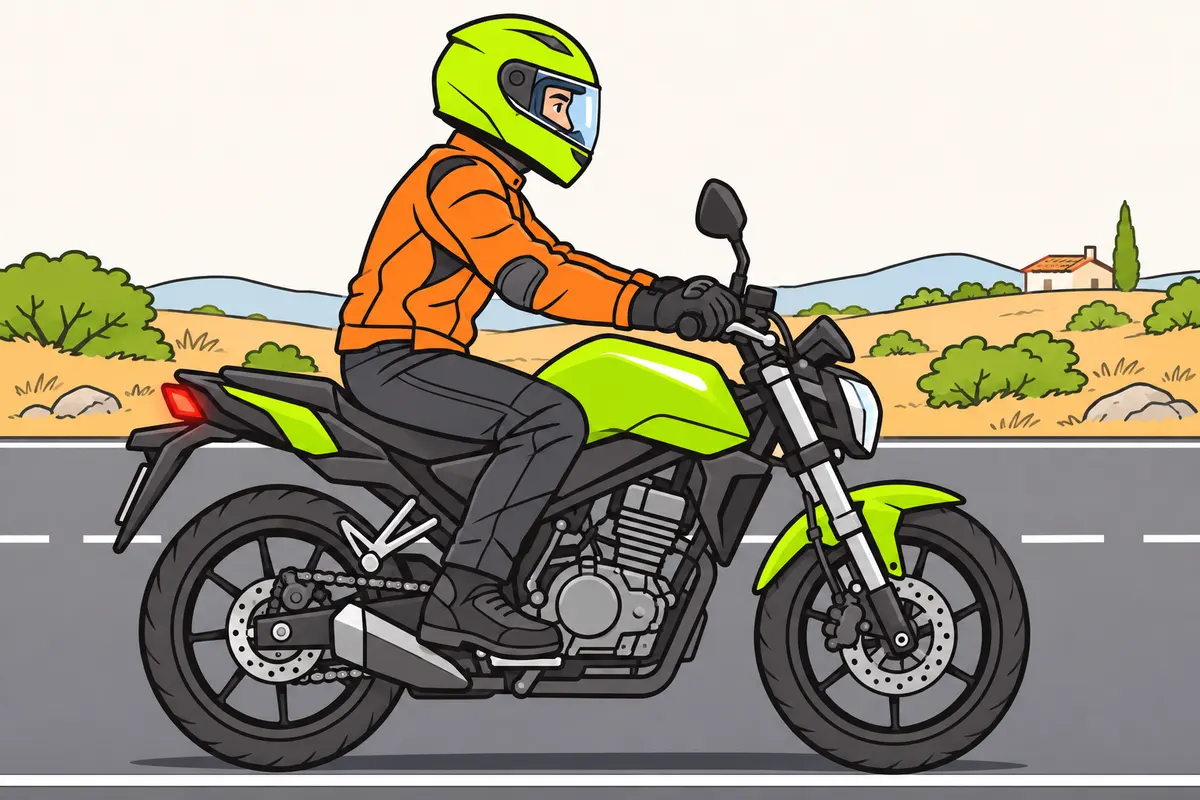
Use both brakes smoothly and adapt your braking force to available grip.
| Situation | How the load changes |
|---|---|
| You brake in a straight line | Load increases at the front. |
| You accelerate forwards on level ground | Load increases at the rear and decreases at the front. |
Remember
- Keep the approved braking devices for your front and rear wheels.
- Do not always divide braking force using fixed percentages.
- Normally, braking straight with good grip puts more work on your front brake.
- Use your rear brake too: it slows you down and helps control.
- Stop riding and request inspection if braking effectiveness drops significantly.
- Braking straight, grip the tank with your knees if posture and tank allow.
Exam trap: Wrong: acceleration always lifts your front wheel. Right: excessive acceleration may; use your throttle progressively.
Read the full explanation
- You must have two braking devices: one acting on at least the rear wheel and another on the front wheel; if there is a sidecar, this provision does not require its wheel to be braked. Keep the approved configuration. [RGV, art. 12.8.4](https://www.boe.es/buscar/act.php?id=BOE-A-1999-1826#a12).
- A disc brake is common on the front wheel and is also used at the rear; you can identify the disc beside the centre of the wheel. A drum is another type of brake. The effectiveness of both depends on their size, condition and ability to dissipate heat.
- When you brake in a straight line, load transfers forwards: in normal conditions and with good grip, the front wheel and brake usually take most of the braking effort. The rear brake also reduces speed and helps you stay in control; it is not used only for balance.
- Use both brakes in coordination, smoothly and progressively, adapting the force to grip, load, system and manual. The appropriate balance varies with these conditions and with load transfer. To practise using them, see “Motorcycle riding techniques”, section “Use both brakes”.
- Check how the brakes respond: an abnormally soft, spongy or loose feel needs inspection. Do not continue riding if there is a significant loss of braking effectiveness.
- When braking in a straight line, if your posture and the fuel tank allow, grip the motorcycle with your knees to hold your body against the forward inertia and reduce the effort on the handlebars. Keep your arms flexible so the steering can respond without abrupt pressure from your body.
- When you accelerate on a level road, the load borne by the rear wheel increases and the load on the front wheel decreases. The amount of this transfer depends on acceleration and the vehicle's geometry. You must control the throttle: excessive acceleration can lift the front wheel.
12Disc, drum and hydraulic maintenance
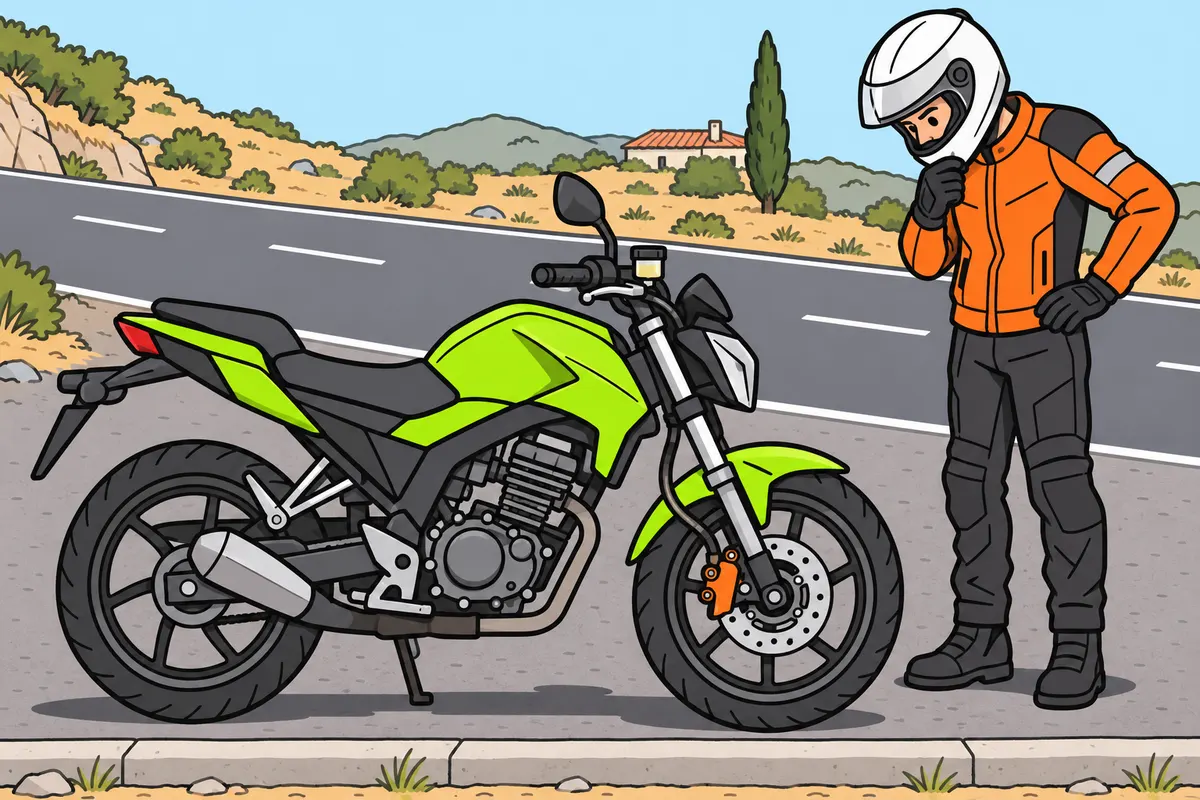
Check brake wear and hydraulics; topping up fluid does not repair faults.
| Brake | Parts you need to recognise |
|---|---|
| Disc | Pads in the calliper press against the disc. |
| Drum | Shoes press against the inside of the drum. |
Remember
- Check brake fluid between the marks, with your motorcycle in the specified position.
- Use specified brake fluid; do not confuse it with oil or coolant.
- Investigate a low level: it may indicate wear or a leak.
- Check parts, hoses and connections; a spongy control needs inspection.
- Renew fluid as instructed; keep grease away from braking surfaces.
- If heat reduces braking effectiveness, stop safely and request inspection.
Exam trap: Wrong: correct fluid level guarantees safe brakes. Right: check their operation and condition too.
Read the full explanation
- In a disc brake, the pads in the calliper press against the faces of the disc, which rotates with the wheel. In a drum brake, the shoes press against its inner surface. When checking wear, identify the affected part so you can tell the workshop where you have noticed the fault.
- Brake friction converts energy of movement into heat. An exposed disc makes it easier to dissipate heat, although it can overheat. Effectiveness also depends on the tyres, grip and condition of the complete system.
- In a hydraulic circuit, the fluid transmits pressure from the control to the calliper or cylinder. You must check the reservoirs, normally associated with each circuit, in the specified position and between their marks; do not confuse brake fluid, engine oil and coolant.
- A falling fluid level may accompany pad wear or indicate a leak. You must find the cause and use only the specified fluid; topping it up without an inspection does not repair the circuit and may conceal a dangerous fault.
- You must have the wear of the pads, shoes and discs checked, as well as the hoses, joints and any leaks. A spongy control may indicate air or another fault; a correct fluid level does not guarantee safe braking, and noise alone does not identify a faulty part.
- Conventional brake fluid can absorb moisture, reduce its resistance to boiling and encourage vapour to form when it heats up. You must replace it as specified by the manufacturer, without imposing a universal interval; keep grease, oil and incompatible cleaners away from the friction surfaces.
- If your motorcycle has a drum brake operated by a cable or rod, you must check its play, travel and adjustment using the manufacturer's procedure. If wear exceeds the permitted limit, you must replace the affected parts.
- Heavy, prolonged use can heat the brakes and reduce their effectiveness, a phenomenon known as brake fade. You must avoid keeping them dragging unnecessarily and use an appropriate gear and engine braking on descents, according to your motorcycle's system. If you notice a loss of effectiveness, find a safe place to stop and arrange an inspection; cooling the brakes does not fix a fault.
13ABS, rain and wet brakes
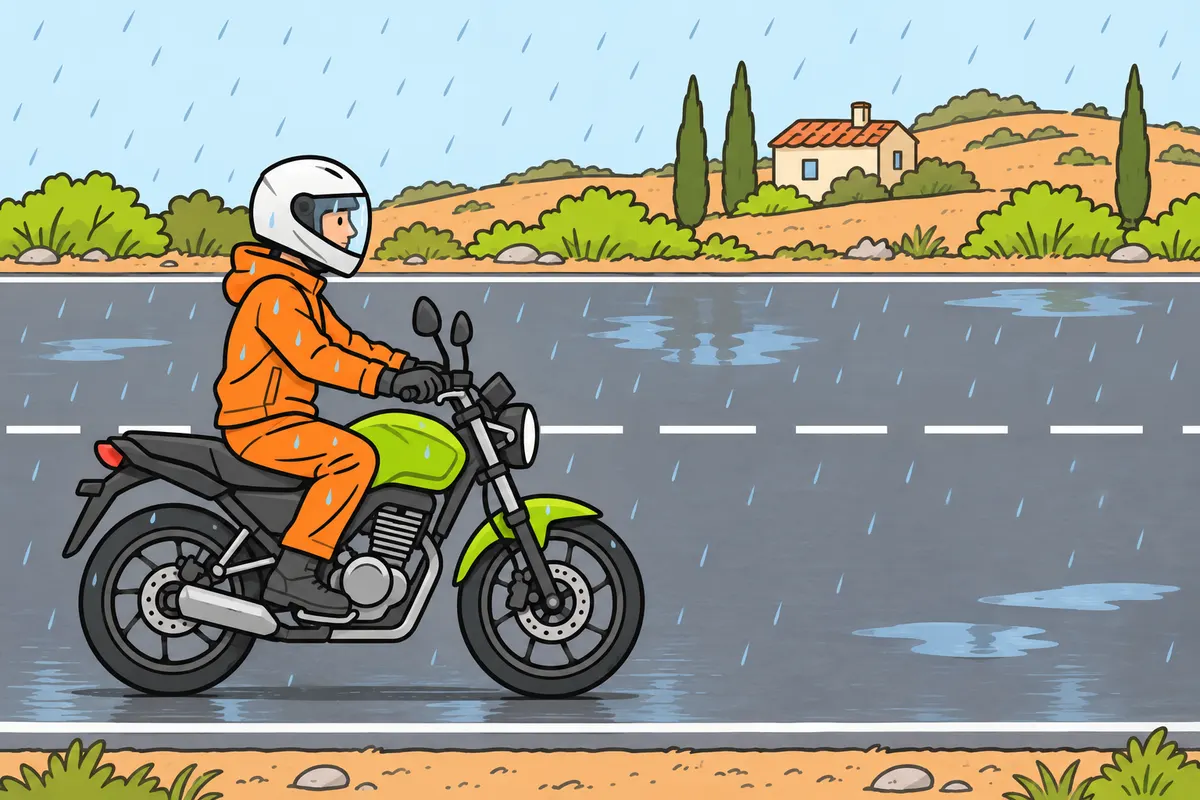
Know your braking aids and take extra care in rain.
| System | What you need to know |
|---|---|
| ABS | Prevents locking of the wheels on which it acts. |
| Combined braking or CBS | Distributes braking between wheels when you use a particular control. |
| Traction control | Limits driven-wheel spin when you accelerate. |
Remember
- In damp conditions, check braking surfaces and how your controls initially respond.
- Check your manual to learn how your model’s ABS responds.
- With wet brakes, slow down cautiously and follow your manual’s procedure.
- At low speed, when safe, brake gently to help dry them.
- If effectiveness does not return, stop and request assistance.
- ABS does not guarantee grip or prevent every fall.
Exam trap: Wrong: combined braking prevents locking like ABS. Right: they have different functions.
Read the full explanation
- ABS regulates braking pressure to prevent the wheels it controls from locking; it helps maintain stability and steering ability during hard braking. Depending on the system design, you may feel it operating as pulses through the control; you must know what response the manual describes. [DGT, reckless riding on a motorcycle](https://www.dgt.es/export/sites/web-DGT/.galleries/downloads/nuestros_servicios/permisos-de-conducir/recupera-puntos/MANUAL-CONDUCTAS-IMPRUDENTES-EN-MOTOCICLETA-DGT-INTRAS.pdf).
- ABS does not guarantee grip, prevent falls or reduce stopping distance on every surface. You must leave suitable margins and retain its approved configuration; do not treat electronic assistance as permission to demand more grip than is available.
- In wet conditions, pay attention to the condition of the braking surfaces and the initial response of the controls. To adapt your riding to rain, see ‘Risks and prevention on a motorbike’, section ‘Rain and wet surfaces’.
- After riding through a puddle, in rain or after washing, wet brakes may lose effectiveness, whether disc or drum brakes. Slow down carefully and, at low speed and when safe, apply them gently to help dry them, as instructed in the manual. Check that they recover; if they do not, stop and seek assistance. Do not make sudden tests that compromise grip or surprise others.
- Combined braking, or CBS, distributes braking between the wheels when you use a particular control; you must know how your model responds. It is not the same as ABS: combining the brakes does not guarantee that they will not lock, and having ABS does not mean that one control necessarily activates both brakes.
- When fitted to your model, traction control limits drive-wheel spin during acceleration through engine management or other intended measures. If a warning shows that it has been switched off, consult the system instructions to find out which functions remain available and what checks are needed.
14Steering, bearings and wheels
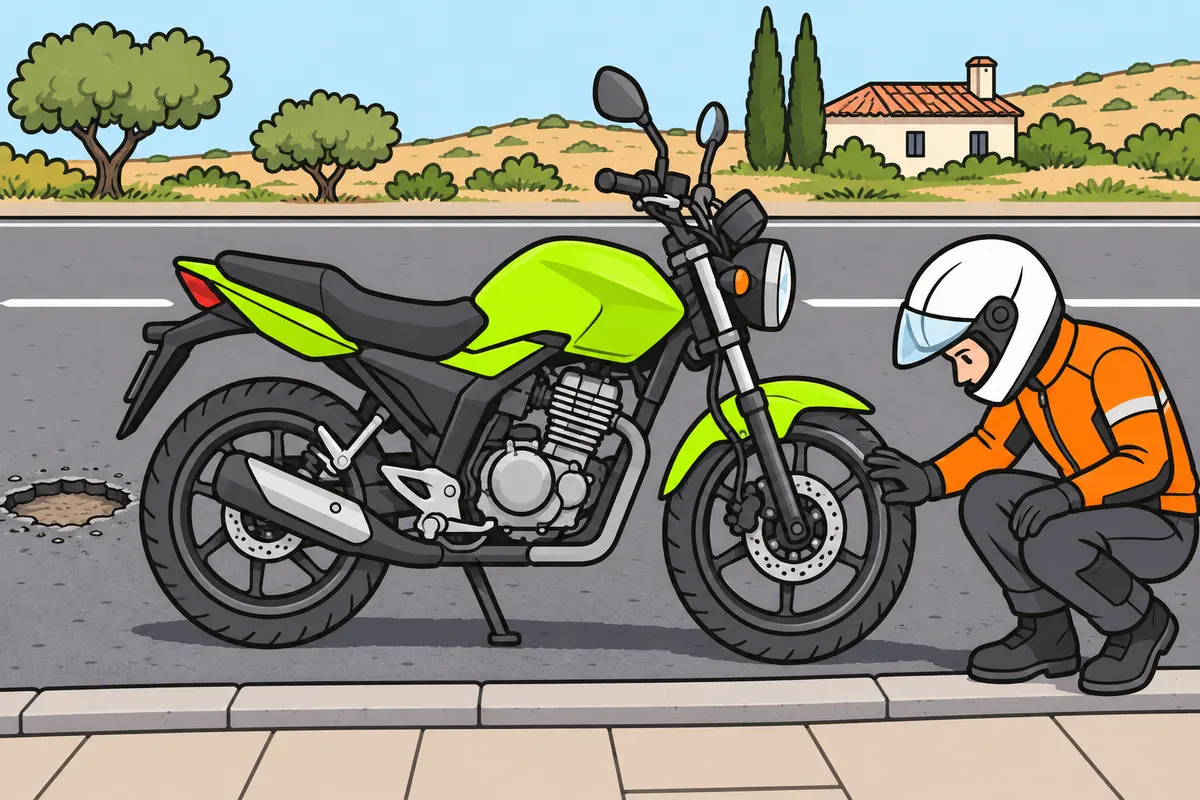
Check steering and wheels for damage or unusual movement.
Remember
- Check that handlebars turn smoothly, without stiff spots or abnormal play.
- Check that cables and hoses do not restrict steering.
- Check play as instructed; use a workshop if you need help.
- For vibration or pulling sideways, investigate tyres, rims, alignment and steering.
- Do not release your handlebars while riding to test steering.
- After an impact, check rims, valves, fastenings and any spokes.
Exam trap: Wrong: a tyre holding air proves the wheel is intact. Right: check rims and bearings too.
Read the full explanation
- You must check that the handlebars turn smoothly, without tight spots or abnormal play, and that cables and hoses do not restrict them. A small movement steers the front wheel; do not try to correct faults by jerking the handlebars or adjusting things by guesswork until steering becomes stiff.
- The steering bearings allow the assembly to turn in the headstock; the yokes hold the fork. You must distinguish play in this assembly from play in the wheel bearings, because they have different locations and repairs.
- You must check steering play using the manufacturer's procedure. If you cannot support or raise the motorcycle safely, arrange for a workshop to inspect it.
- Vibrations, veering or difficulty turning may be caused by tyres, wheel balance, a damaged rim, alignment or steering. You must investigate the cause as a whole, without releasing the handlebars while riding to test whether the motorcycle goes straight.
- You must visually check the rims, valves and fasteners, and the spokes where fitted. After hitting a pothole or kerb, check for damage before continuing: a tyre retaining air does not prove that the rim or bearings are undamaged.
15Suspension and load adjustments
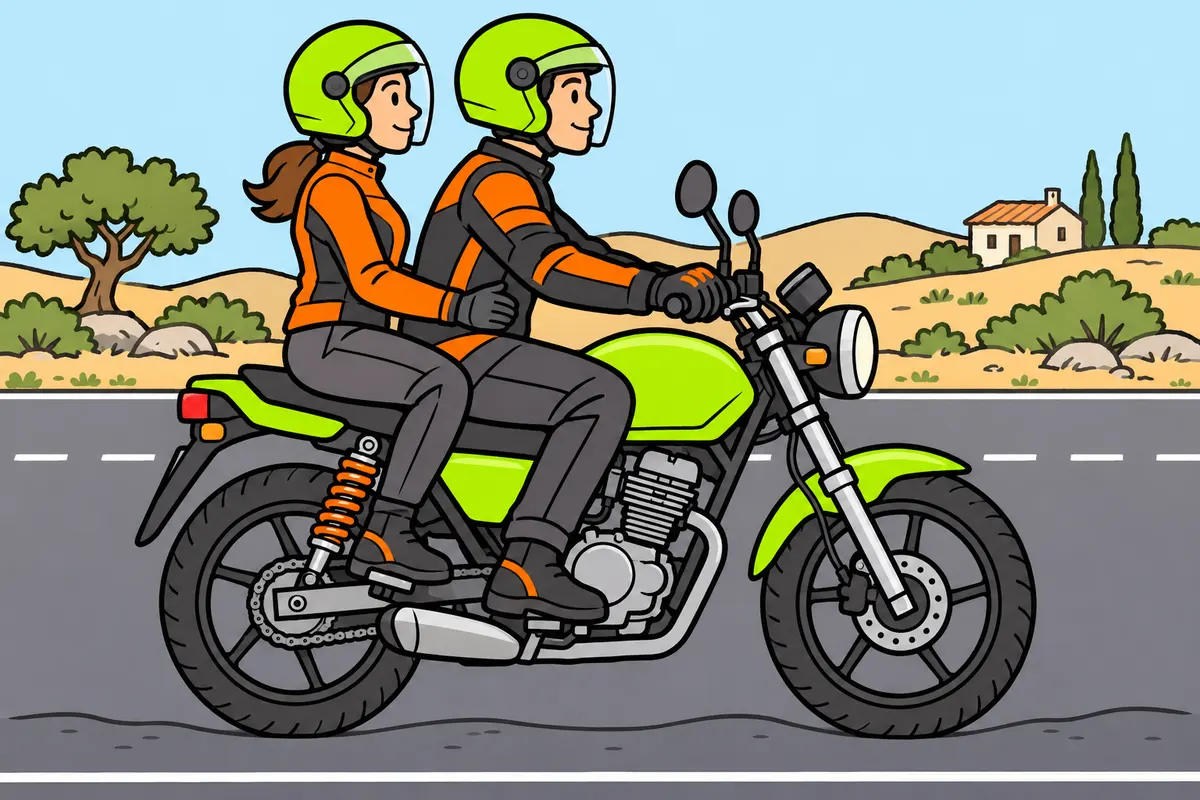
Maintain your suspension and use permitted adjustments for your load, following your manual.
| Part | What you need to know |
|---|---|
| Springs | Support loads. |
| Dampers | Control bouncing. |
Remember
- Check front and rear suspension.
- Request inspection for leaks, persistent bouncing, noises or abnormal sag.
- Keep fork oil away from your brake and tyre.
- With passengers or luggage, check suspension and tyre pressure settings.
- Do not increase settings without guidance or exceed the permitted load.
- Do not assume adjusting preload automatically changes spring stiffness.
Exam trap: Wrong: good front suspension is enough. Right: faulty rear suspension also harms your control.
Read the full explanation
- The suspension absorbs bumps and helps keep the wheels in contact with the road. Springs support the loads and shock absorbers control their movement; you must check that the system continues to operate smoothly and in a controlled way.
- The telescopic fork is usually part of the front suspension; at the rear you may find a swingarm and one or more shock absorbers. You must check both ends: faulty rear suspension harms contact, stability and control even if the front works correctly.
- Leaks from the fork or shock absorbers, persistent bouncing, abnormal sag, noises or uneven wear need inspection. Fork oil must not reach the brake or tyre; you must also attend to dust seals, oil seals and the prescribed maintenance.
- With a passenger or luggage, you may need to adjust preload and other permitted settings, as well as tyre pressure. You must follow the manual: increasing stiffness or damping indiscriminately can worsen the response, and an adjustment does not permit you to exceed the authorised load.
- Preload adapts the spring's working position to the load; it does not automatically change the spring's stiffness. You must check that the motorcycle retains suitable travel and geometry. Correct adjustment helps control and comfort, but does not guarantee grip on every surface.
- Worn suspension may increase oscillations, reduce the wheels' contact with the road and lengthen braking on uneven surfaces. It may also make the headlamp beam oscillate and encourage abnormal tyre wear. Check the whole system instead of attributing every symptom to inflation pressure.
16Tyre pressure and temperature
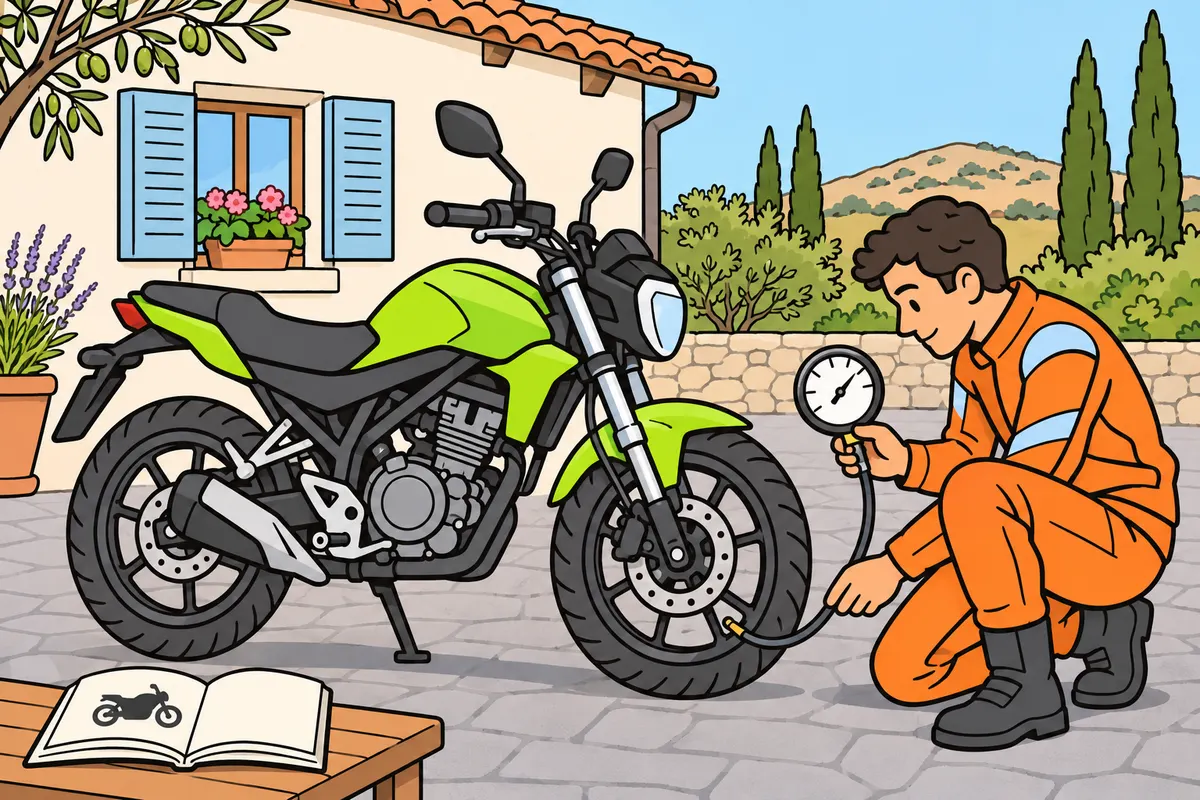
Measure tyre pressure when cold and adjust it for your load as instructed.
Remember
- Use a pressure gauge; looking at your tyre does not replace measurement.
- Follow your manufacturer’s pressures for your motorcycle and load.
- Do not release air from a hot tyre to reach the cold pressure.
- Check regularly and before journeys or changes of load.
- Your front and rear tyres may need different pressures.
- Check both tyres, including shoulders, even if one has better tread.
Exam trap: Wrong: use the sidewall maximum as your normal pressure. Right: use your motorcycle’s specified pressure.
Read the full explanation
- Tyres are the point of contact with the ground. Their condition, pressure and tread affect grip, stability, manoeuvrability and stopping distance. A badly worn tread clears water less effectively and increases the risk of losing control in rain; this is not just a matter of appearance.
- Keep your tyres at the pressure specified for your motorcycle and expected load, checking it as instructed in the manual. Incorrect pressure may cause abnormal wear and instability; it matters on short journeys too. Do not overinflate to save fuel or arbitrarily reduce pressure to increase the contact area.
- You must measure pressure with a gauge when the tyres are cold, before they warm up through riding. Heat raises pressure: do not let air out of a hot tyre to match the cold pressure value; visual inspection does not replace measurement.
- Before a long journey with a passenger and the maximum permitted luggage, check condition and pressure; increase the pressure if the manufacturer specifies this for that load. There is no universal pressure or general ban on increasing it as instructed in the manual.
- The wheel that steers is usually the front wheel, and the driven wheel is usually the rear wheel. Wear depends on the compound, pressure, load, route and use of the throttle and brakes. You must inspect both tyres, including their shoulders, even if one appears to have better tread than the other.
- You must check pressure regularly and before a journey or change of load, without waiting for the motorcycle to become unstable. The front and rear may need different pressures; the figure on the sidewall does not replace the operating pressure specified by the manufacturer for your motorcycle.
17Tyre tread, damage and replacement
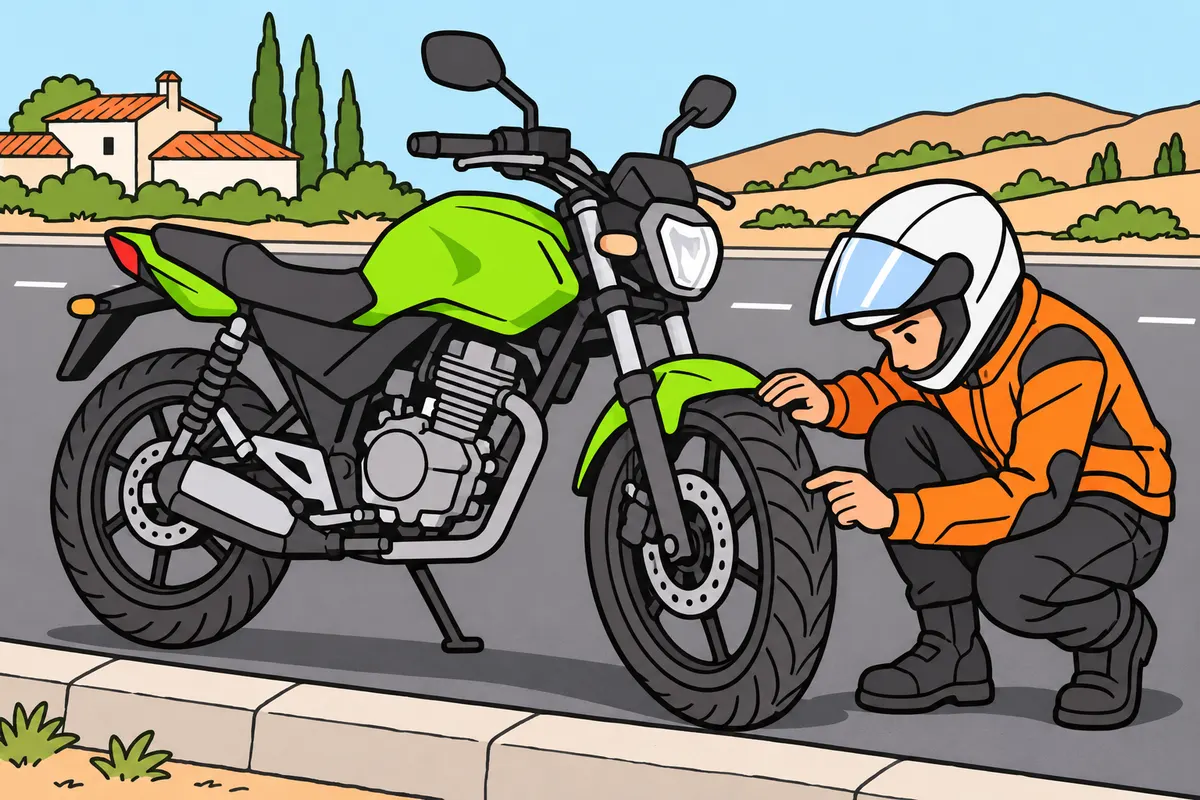
Check tyre tread and damage, and follow replacement instructions for your motorcycle.
| Vehicle category | Minimum tread depth to distinguish |
|---|---|
| M1, N1, O1 and O2 | 1.6 mm |
| M2, M3, N2, N3, O3 and O4 | 1.0 mm |
| L: your motorcycle | No numerical minimum set; follow wear indicators and your manufacturer’s instructions. |
Remember
- Keep approved tyre sizes and characteristics, or permitted equivalents.
- Check all tread; reject cracks, bulges, exposed cords and other damage.
- Follow wear indicators and your manufacturer’s instructions.
- Do not assume a single cause of wear without checking everything.
- With new tyres, increase demands gradually; avoid sudden manoeuvres.
- Use puncture kits only when compatible; respect their limits.
Exam trap: Wrong: your motorcycle must meet the 1.6 mm minimum for other categories. Right: that minimum is not set for category L.
Read the full explanation
- You must retain the approved tyre dimensions and characteristics, or permitted equivalents. Annex VII.2 sets a minimum tread depth of 1.6 mm for M1, N1, O1 and O2, and 1.0 mm for M2, M3, N2, N3, O3 and O4; it sets no numerical minimum for category L, which includes your motorcycle. When replacing its tyres, follow the wear indicators and the manufacturer's guidance. [RGV, Annex VII.1 and 2](https://www.boe.es/buscar/act.php?id=BOE-A-1999-1826#anvii).
- You must check the tread across the full width and retain the required markings. Tyres must have no exposed cords, cracks, bulges, deformities, separation of layers or tread, or damage to the casing. [RGV, Annex VII.4](https://www.boe.es/buscar/act.php?id=BOE-A-1999-1826#anvii).
- Centre wear may be associated with straight-line riding or excessive pressure, and shoulder wear with other conditions, but you must avoid diagnosing the cause from the wear pattern alone. Pressure, compound, load, geometry, acceleration and braking all have an effect; you need to inspect both wheels.
- Tread helps clear water, and wear reduces this ability. For conditions that encourage aquaplaning and how to respond while riding, see ‘Risks and prevention on a motorbike’, section ‘Standing water and aquaplaning’.
- When tyres are new, you must increase demands progressively in accordance with the instructions for use, without rapid acceleration, hard braking or sudden leaning. Do not warm them up by weaving or arbitrarily changing the pressure: no universal distance guarantees maximum grip.
- You must avoid letting rubber come into contact with fuel, oils and solvents. After a puncture, use a repair kit only if it is compatible with the tyre and damage, and observe its limits; sealant does not repair every cut or automatically make a temporary repair permanent.
18Tyre markings and fitting
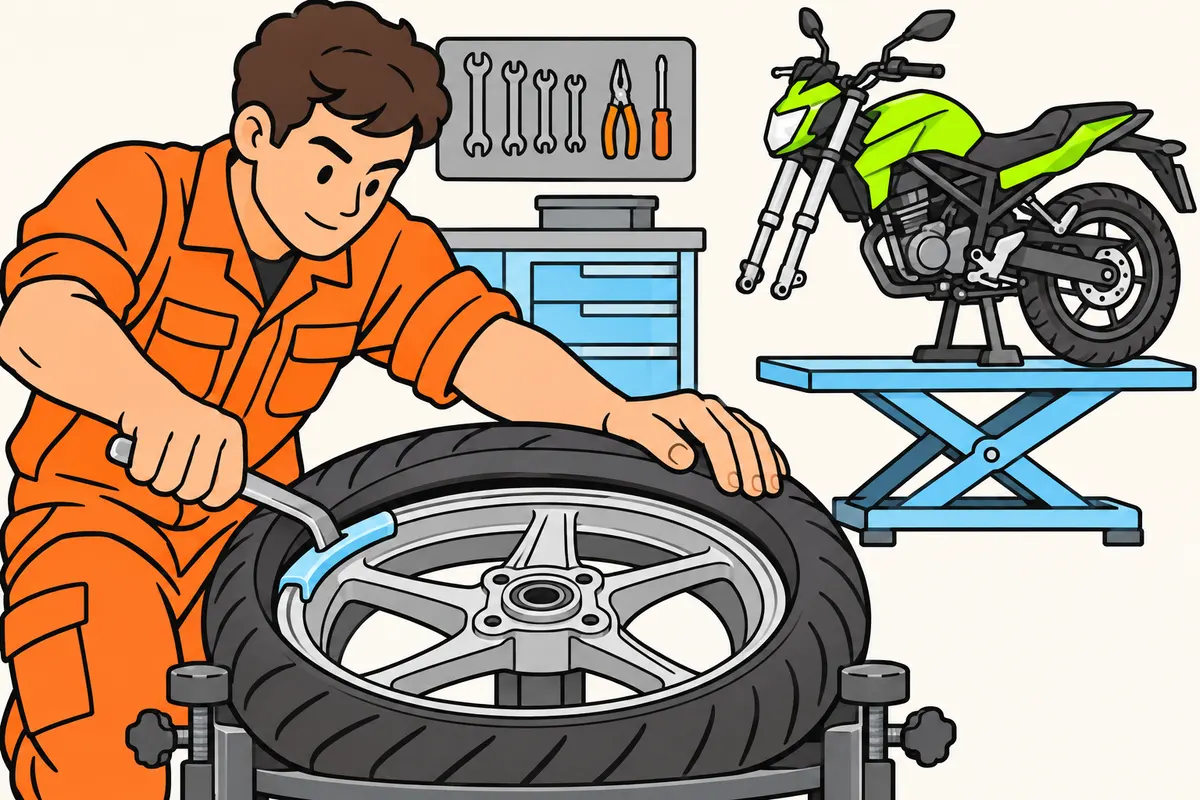
Read tyre markings and check compatibility before fitting.
| Marking or part of example 120/70 R 17 | What you need to understand |
|---|---|
| 120 | Nominal width: 120 mm |
| 70 | Height relative to width: 70 % |
| R | Radial construction |
| 17 | Rim diameter: 17 inches |
| Tubeless | Use without an inner tube |
| Tube type | Use with an inner tube |
Remember
- Check size, load index and speed symbol against your motorcycle’s approval.
- Use load and speed tables when replacing tyres.
- Do not confuse R in the size marking with the speed symbol.
- Read the date as manufacturing week and year, not fitting date.
- Respect the marked direction of rotation and front or rear position.
- Check compatibility of rim, tyre, valve and inner tube where needed.
Exam trap: Wrong: a higher load index lets you overload your motorcycle. Right: respect its permitted load.
Read the full explanation
- As an example, in a marking such as 120/70 R 17 you must interpret it as a nominal width of 120 mm, a height-to-width ratio of 70%, radial construction and a rim diameter of 17 inches. [UNECE Regulation 75, paras. 2.16 and 3.1.3](https://www.boe.es/buscar/doc.php?id=DOUE-L-2011-80563).
- The load index expresses a capacity using a table, and the speed symbol indicates a performance category; they are not the motorcycle's actual weight or its permitted speed. You must choose characteristics compatible with the approval, as well as suitable dimensions.
- The manufacturing date is identified by four digits: the first two give the week and the last two the year. This date does not tell you when the tyre was fitted or how worn it is, and it does not establish a universal expiry date. [UNECE Regulation 75, para. 3.1.8](https://www.boe.es/buscar/doc.php?id=DOUE-L-2011-80563).
- The markings tubeless and tube type identify construction for use without or with an inner tube; you must ensure the rim, tyre, valve and, where applicable, inner tube are compatible. Being able to physically fit a tyre onto a rim does not prove compatibility.
- You must follow the indicated direction of rotation and the front or rear position where the manufacturer distinguishes them. The two wheels may have different sizes; do not swap them because they look similar or mix constructions or combinations without checking that they are permitted.
- You must locate the load index and speed symbol beside the size, and consult their tables when replacing a tyre. The position of each marking helps you interpret it: the R within the size identifies radial construction; the symbol after the load index indicates speed.
19Ignition and battery types
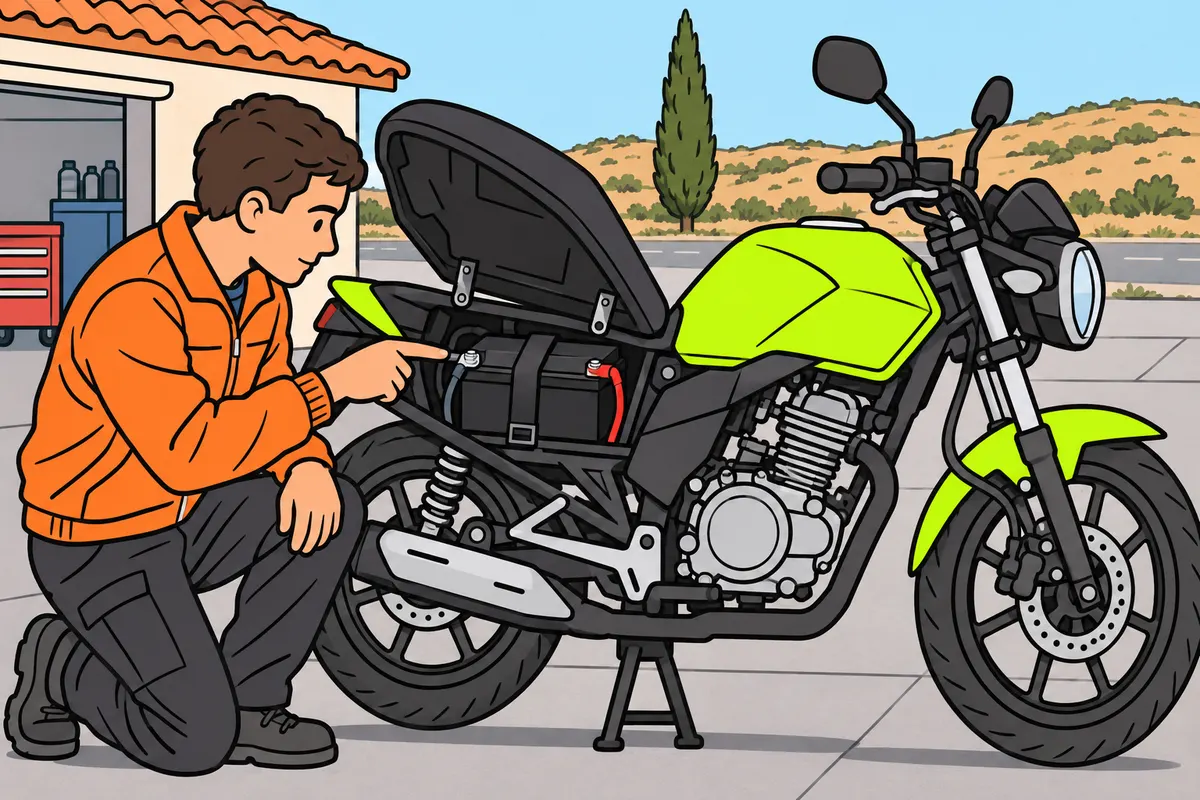
Care for your battery according to its type and understand how sparks are produced.
| Battery type | What you need to do |
|---|---|
| Open lead-acid battery allowing maintenance | Add water only when needed and permitted. |
| Sealed or maintenance-free battery | Do not open it to top it up. |
Remember
- Check your battery, mountings and terminals as instructed.
- Check your spark plug; follow its specified type and replacement interval.
- Do not assume a kick-start removes the need for battery maintenance.
- Do not confuse a kick-start with magneto ignition.
- If topping up water is required, use suitable distilled or deionised water.
- Keep your battery clean and dry, with its intended ventilation.
Exam trap: Wrong: open a sealed battery to add acid. Right: keep it sealed and follow its maintenance instructions.
Read the full explanation
- In a self-contained magneto ignition system, the magneto driven by the engine generates the electrical energy for the spark. It is not produced by oil pressure, nor does it necessarily depend on a separate battery. The motorcycle may have a battery for other equipment.
- If there is a battery, check its condition, mounting, terminals and maintenance requirements according to its type and the manual, even if you have a kick-start as well as electric starting.
- Check the electrolyte and top up with water only when the design and manufacturer allow it. Do not open a sealed or maintenance-free battery to refill it, add sulphuric acid periodically or routinely replace the electrolyte.
- Check the spark plug type, condition and replacement interval according to the manual. A kick-start can be used with different ignition systems; identify the system on your motorcycle to investigate starting difficulties and arrange the appropriate electrical checks.
- For an open lead-acid battery that allows maintenance, use suitable distilled or deionised water when topping it up is necessary. Keep its surface clean and dry and ensure the specified ventilation. Cold weather can reduce its ability to supply current and make starting difficult, especially if it is discharged or deteriorated.
20Electrical charging, fuses and storage
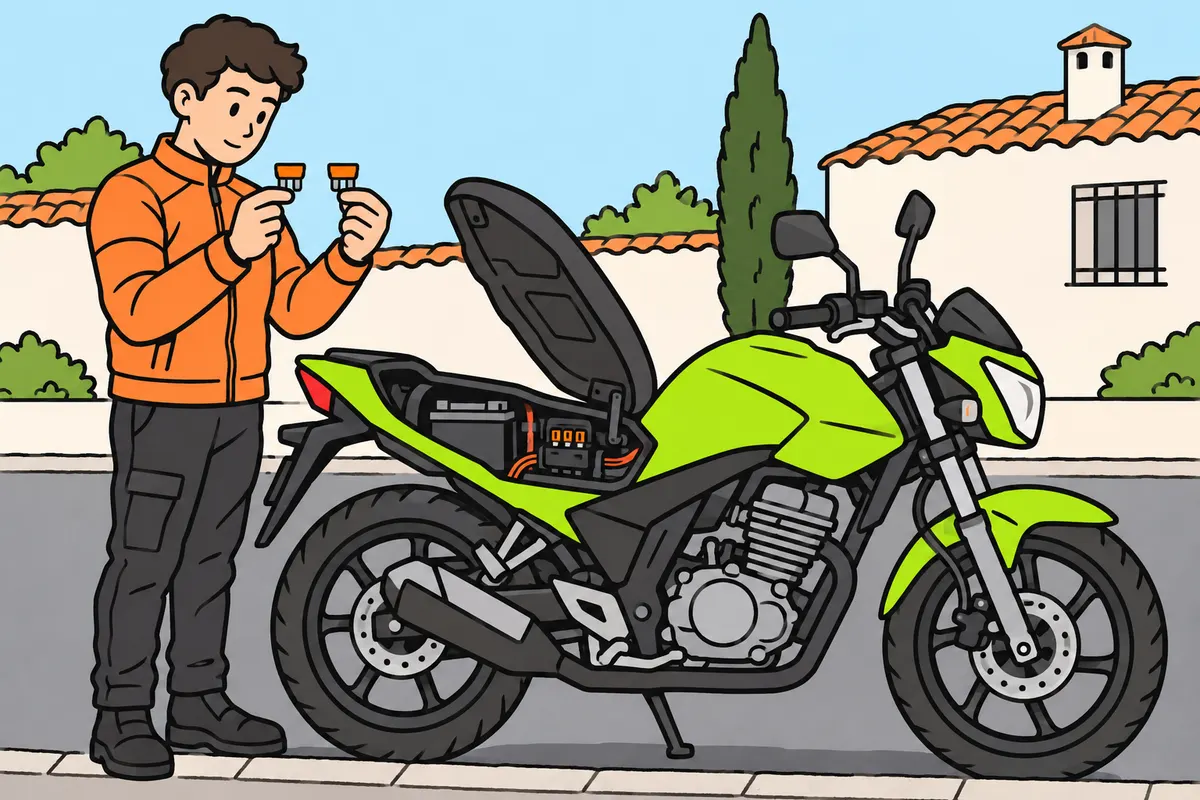
Protect electrical circuits and use the specified parts and chargers.
| Part in a combustion motorcycle’s usual charging system | What you need to know |
|---|---|
| Alternator | Generates alternating current. |
| Rectifier | Converts it to direct current. |
| Regulator | Controls voltage. |
| Battery | Stores and supplies a limited amount of energy. |
Remember
- Check and clean terminals; avoid short circuits with tools.
- Check your manual before disconnecting your battery.
- For lithium batteries, use a compatible charger.
- Replace fuses with the specified rating; investigate why they blow.
- When your motorcycle is unused, follow its battery storage plan.
- Care for connectors and cables; avoid improvised accessory connections.
Exam trap: Wrong: bypass a fuse or fit a higher rating. Right: keep the specified rating to protect wiring.
Read the full explanation
- In a combustion-engine motorcycle with a conventional charging system, the alternator generates alternating current as the engine turns; the rectifier converts it to direct current and the regulator controls the voltage to power equipment and charge the battery. The battery stores energy and supplies it to electrical consumers; its available charge is limited.
- Check that the terminals are secure and clean, and avoid short circuits with tools. If the procedure requires disconnecting a conventional battery with a negative earth, you normally disconnect the negative terminal first and reconnect it last; always check the manual and the vehicle’s electronic requirements.
- For lithium batteries, use a charger compatible with their technology and protection system.
- Fuses protect circuits against overcurrent. Replace them with the specified rating and find out why they have blown; bypassing them or fitting one with a higher rating can leave the wiring unprotected and cause damage.
- If the motorcycle is left unused, follow the battery care plan and use a compatible battery maintainer when recommended. Repeated very brief starts do not guarantee that the energy used will be recovered and may leave the battery discharged when you need to set off.
- When you press the starter, the battery powers the electric starter motor, which turns the combustion engine to start it. The starting circuit, spark ignition and charging circuit perform different functions; starting difficulties can have different causes and require diagnosis.
- Sensors provide data to electronic control units to manage functions such as fuel injection, ignition or ABS. Keep connectors and wiring in good condition and avoid improvised accessory connections: an incompatible extra electrical load can overload the circuit or discharge the battery.
21Fault warning lights and initial checks
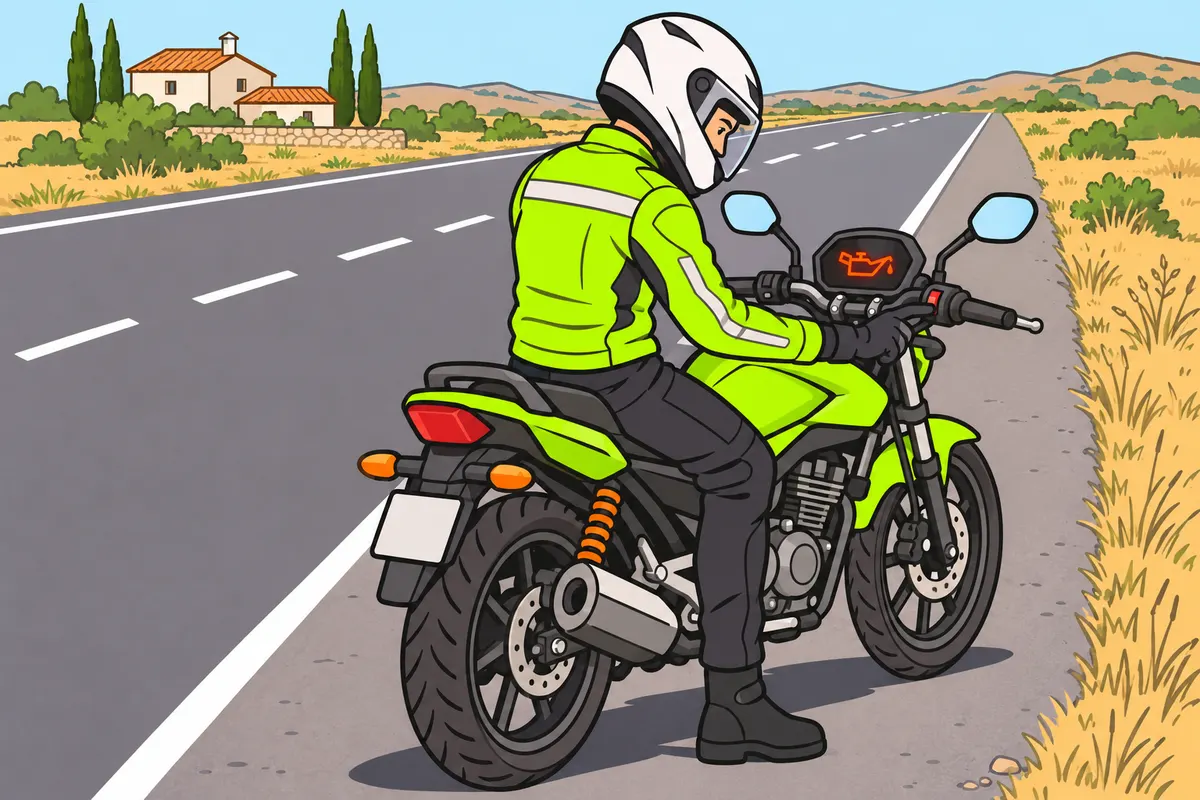
Understand each dashboard warning by following your model’s instructions.
| Warning | What you need to know |
|---|---|
| Charging warning with engine running | Generation or charging may have failed: request inspection. |
| Neutral | Shows your gearbox position. |
| Low fuel | Warns you that fuel is running low. |
| Maintenance | Shows scheduled work, not necessarily a broken part. |
Remember
- Check which lights appear at ignition and when they should go out.
- If oil pressure warning stays on with engine running, stop safely; switch off.
- With excessive temperature, stop safely; wait for cooling before checking the circuit.
- If ABS warning remains after its check, take extra care and request inspection.
- For engine warnings, follow instructions for the light and symptoms.
- Do not assume a fixed range when your low-fuel light comes on.
Exam trap: Wrong: your oil pressure light only measures level. Right: correct level does not rule out low pressure.
Read the full explanation
- When you switch on the ignition, warning lights may come on for a system check and go out after starting or the self-test. Learn what each symbol means and follow your model’s instructions; several lights coming on initially does not show that all those systems are faulty.
- The oil pressure warning indicates a lubrication problem if it stays on while the engine is running. Stop safely and switch off the engine as instructed in the manual. Pressure and level are different measurements: the system can lose pressure even when there is still oil in the sump.
- An excessive temperature warning means you must reduce the risk of damage and stop safely as instructed in the manual. Let the engine cool before checking the cooling system using the procedure in “Air and liquid cooling”.
- A battery charging warning that stays on while the engine is running may indicate a generation or charging fault, even if the motorcycle still starts. Have it checked; it does not simply mean that the battery needs water, and replacing the battery without diagnosing the alternator may leave the problem unresolved.
- An ABS warning that stays on after the specified self-test may indicate that this function is unavailable. Follow the manual, take extra care and have the system checked.
- For an engine management warning, consider whether it is steady, flashing or accompanied by faults. Follow the specific instruction, especially if there is loss of power, noise, smoke or an abnormal temperature; the colour alone does not mean you may continue or identify the faulty part.
- The neutral warning tells you the gear position, and the fuel reserve warning indicates that fuel is low; these are information warnings. The reserve does not represent a fixed range because it depends on the model and fuel consumption. Check the symbols in the manual; a periodic maintenance warning indicates scheduled work and does not by itself diagnose a broken part.
22Lighting, mirrors and external checks
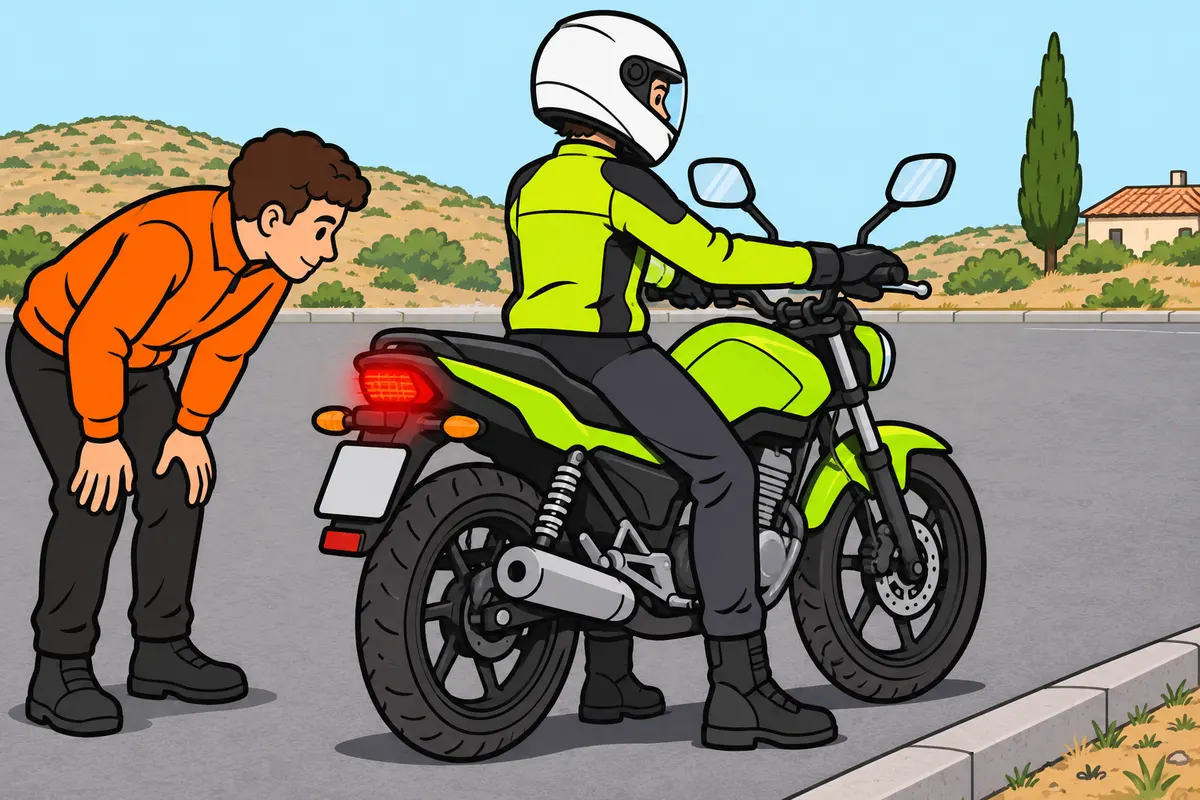
Check lights, mirrors and external parts before riding.
| Equipment on your two-wheeled motorcycle | What you need to remember |
|---|---|
| Spare wheel and spare bulbs | You do not have to carry them. |
| High-visibility reflective vest | You must carry a vest meeting the requirements. |
| Using your vest | Wear it if you get off and occupy an interurban carriageway or hard shoulder. |
Remember
- Check actual lights, indicators and horn; check cleanliness and fastenings.
- With conventional brakes, test your brake light using each control separately.
- Adjust mirrors from your normal riding position; they do not remove blind spots.
- Check accessories and fastenings; remove your disc lock before moving.
- Check throttle return and side stand as instructed.
- On equipped tricycles, check wipers, washers and seat belt condition and operation.
Exam trap: Wrong: a dashboard indicator guarantees the external lamp works. Right: check that it actually lights up.
Read the full explanation
- Before riding, check that the lights and indicators work and that the fittings are clean and secure. On a conventional system, check the brake light by operating each control separately: make sure each operation switches on the light.
- Check the lamps, connections and control response without dazzling anyone or carrying out hazardous tests. The dashboard indicator does not always guarantee that the external lamp is lit; observe the actual response or ask someone to help.
- From your normal riding position, adjust the mirrors to see behind and to the sides, and check that they are secure and do not vibrate. A convex mirror gives you a wider field of view but makes images look smaller and further away; it does not eliminate blind spots and need not show exactly the same view as the other mirror.
- Check the seat, fairing, footrests, mounts and accessories to make sure they cannot come loose or interfere with the steering or controls. Remove the disc lock before moving the motorcycle and check the throttle return and side stand as instructed in the manual.
- You do not have to carry a spare wheel or replacement bulbs on a two-wheeled motorcycle; you must carry a high-visibility reflective vest that meets the requirements for personal protective equipment. [RGV, Annex XII.3](https://www.boe.es/buscar/act.php?id=BOE-A-1999-1826#anxii). You must put it on if you get off the motorcycle and occupy the carriageway or arcén (hard shoulder) of a road outside a built-up area. [RGC, art. 118.4](https://www.boe.es/buscar/act.php?id=BOE-A-2003-23514#a118). See “Motorcyclist protective equipment” and “Accidents, breakdowns and assistance” for details on protection and what to do after a breakdown.
- If you need to replace a replaceable bulb, use the specified type and characteristics and check that it works. Clean the lenses and keep connections and fittings secure; an integrated LED lamp may require a different repair. Do not replace parts with incompatible ones just because they physically fit.
- Check that the horn responds to its control and emits a continuous, even sound of sufficient volume; no sound, interruptions or an abnormal sound require attention. [RGV, art. 11.7](https://www.boe.es/buscar/act.php?id=BOE-A-1999-1826#a11). See “Motorcycle lights and signals”, section “Headlight flashes and audible warnings”, for the uses authorised by [RGC, art. 110](https://www.boe.es/buscar/act.php?id=BOE-A-2003-23514#a110).
- If you ride an A1 tricycle fitted with a windscreen, windscreen wiper and washer, check the sweep, wiper blades and washer fluid outlet as instructed in the manual. [RD 920/2017, Annex I, points 3.4 and 3.5](https://www.boe.es/buscar/act.php?id=BOE-A-2017-12841).
- If you ride an A1 tricycle fitted with a seat belt, check the belt, anchorages, buckle and retractor as instructed in the manual. [RD 920/2017, Annex I, points 7.1.1 and 7.1.2](https://www.boe.es/buscar/act.php?id=BOE-A-2017-12841).
23Exhaust, catalytic converter and refuelling
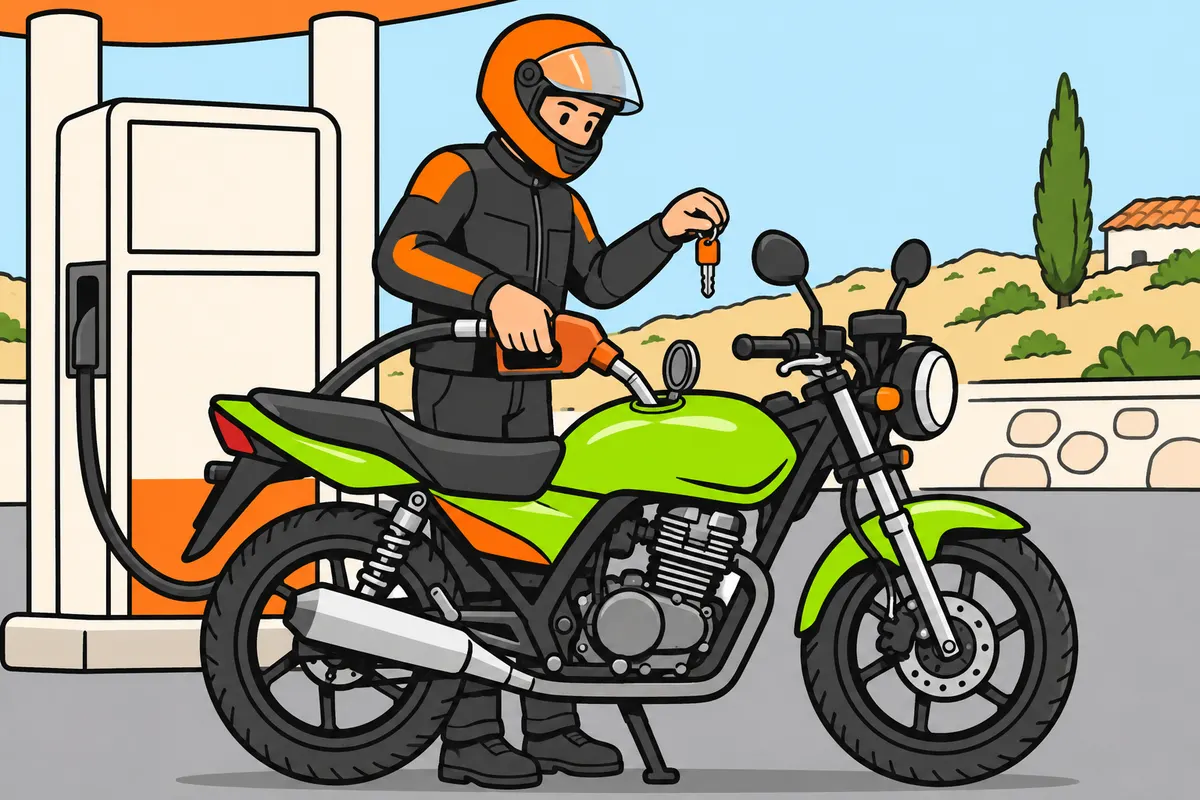
Maintain your exhaust and switch off your engine and equipment before refuelling.
| Part | What you need to know |
|---|---|
| Silencer | Reduces noise. |
| Catalytic converter | Reduces certain exhaust pollutants. |
Remember
- Keep your silencer and catalytic converter in good condition.
- Check mountings, leaks and damage without touching the hot exhaust.
- Do not keep your engine running without adequate ventilation.
- Before refuelling, switch off engine, lights, electrical systems and transmitters, including your mobile.
- At self-service pumps too, follow these rules; avoid spills and close the cap properly.
- If you choose the wrong fuel, do not start; request help.
Exam trap: Wrong: selecting neutral is enough for refuelling. Right: switch off your engine and specified equipment.
Read the full explanation
- The silencer reduces noise and the catalytic converter reduces certain pollutants in the exhaust. Keep both in good condition and check for leaks or damage that could prevent them from working properly. For prohibitions on noise and exhaust systems, see “Preventive and efficient motorcycle riding”, section “Noise and an effective exhaust system”.
- Check the exhaust mountings, leaks, corrosion and damage without touching it when hot. Exhaust gases can cause poisoning in enclosed spaces: do not leave the engine running to carry out checks in a place without adequate ventilation.
- To refuel, you must stop the engine and switch off the lights, electrical systems such as the radio, and transmitting devices such as a mobile phone; you must also follow these conditions at self-service stations. [RGC, art. 115.3 and 4](https://www.boe.es/buscar/act.php?id=BOE-A-2003-23514#a115).
- Avoid spills and overfilling, close the cap securely and follow the station’s instructions. If you have chosen the wrong fuel, keep the engine switched off and ask for help to drain and check the system before starting; keep the information about the product you used.
24Electric motorcycles and preparing for a journey
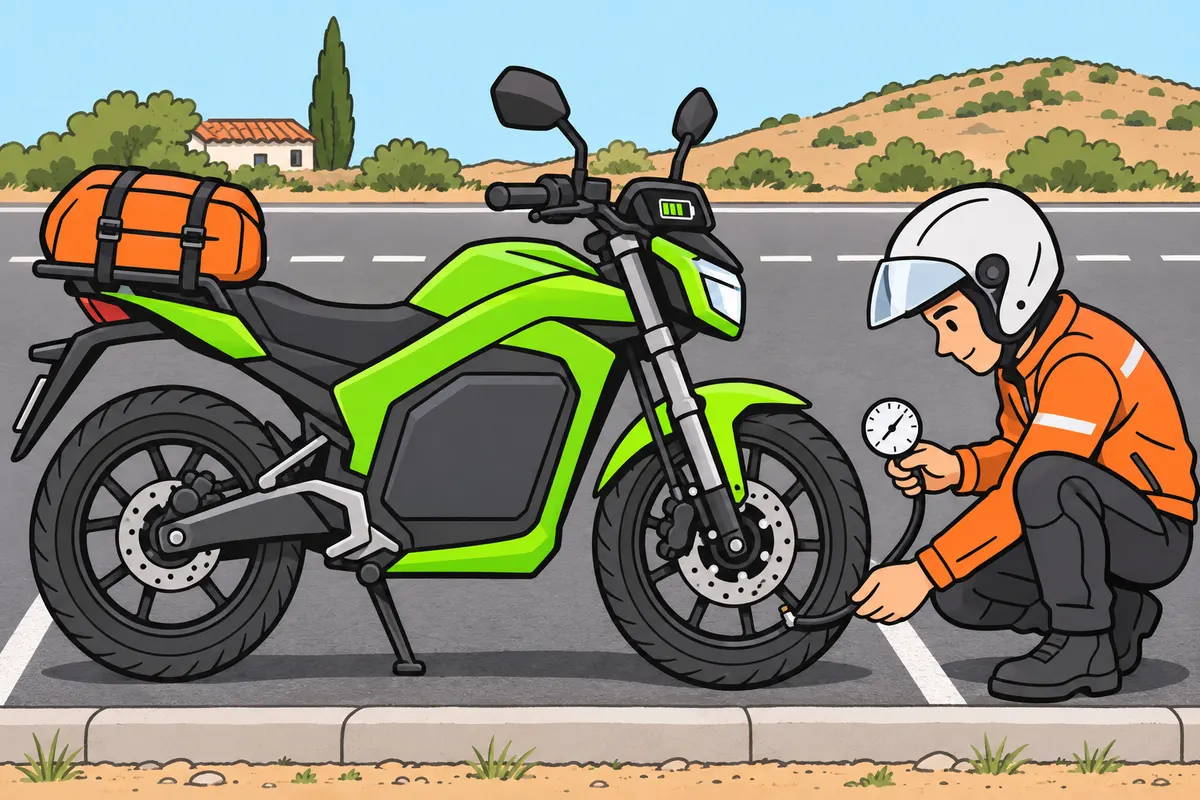
Prepare your motorcycle for each journey and understand the specific care electric motorcycles need.
| Case on an electric motorcycle | What you need to remember |
|---|---|
| Before setting off | Check charge, range, brakes, tyres and any transmission fitted. |
| When slowing down | Energy recovery depends on the system and does not replace brakes. |
Remember
- Before long journeys, check maintenance, levels, transmission and tyre pressures for your load.
- With passengers or luggage, make the manufacturer’s specified adjustments.
- After washing, storage or falling, check brakes, controls, steering, wheels, lights and leaks.
- For damage or doubts you cannot check safely, request assistance.
- On electric motorcycles, use compatible chargers and connections; leave high-voltage parts alone.
- Check whether your electric motorcycle is ready to ride; avoid throttle use during checks.
Exam trap: Wrong: a silent electric motorcycle is switched off. Right: check its ready-to-ride indicator.
Read the full explanation
- On an electric motorcycle, the traction battery powers the motor through power electronics. Check the charge and expected range, as well as the brakes, tyres and any transmission; it does not have a piston cycle or the oil maintenance of a petrol engine.
- Energy recovery when slowing down can create braking resistance, but this depends on the system, settings and state of charge. Learn how it responds without assuming it replaces friction brakes; do not work on high-voltage wiring or components.
- Before a long journey, check outstanding maintenance, fluid levels, transmission and tyre pressures for the actual load. A passenger and luggage change weight distribution, steering and braking; make the adjustments specified by the manufacturer even if the load is balanced.
- After washing, prolonged storage or a fall, check the controls, brakes, steering, wheels, lights and leaks before setting off again. Being uninjured or being able to start the motorcycle does not show that it is safe; if there is damage, doubt or you cannot inspect it safely, request assistance.
- On an electric motorcycle, use a compatible charger and connections and follow the instructions for charging and storing its battery. Identify the ready-to-ride indicator: the absence of noise from a combustion engine does not show that the vehicle is switched off. Avoid operating the throttle during checks.
Check the motorcycle before setting off
Check the parts that affect control, grip and operation.
- With the motorcycle stable, inspect the tyres, wheels, damage and leaks; measure tyre pressures when cold, taking the load into account.
- Check fluid levels and the transmission using the procedures in the manual, with the engine switched off where applicable.
- Operate the throttle, clutch, brakes and steering; check their return, feel and freedom from obstructions.
- Check the lights, indicators, brake light with each control and mirror adjustment.
- Start the engine as instructed in the manual and observe the warning lights; do not set off if there is a serious fault.
Measure and correct the oil level
The motorcycle's position and the conditions for taking a reading depend on the model.
- Consult the manual to identify the sight glass or dipstick, the motorcycle's position, temperature and waiting time.
- Stabilise the motorcycle on level ground; switch off the engine and wait as instructed by the procedure.
- Read the level without mistaking a reading taken while the motorcycle is tilted for an actual lack of oil.
- If you need to top it up, use the specified product and add it gradually without exceeding the maximum level.
- Close everything correctly, check for leaks and dispose of any waste through the appropriate system.
Check the chain safely
Check chain slack, lubrication and wear without starting the engine.
- Switch off the engine, remove the key and stabilise the motorcycle as instructed in the manual.
- Measure slack at the specified section and position, safely checking different areas by moving the wheel by hand.
- Inspect the links, seals, front sprocket and rear sprocket; look for stiff links and abnormal variations in tension.
- Clean and lubricate with compatible products, keeping them off the brakes and tyres and your fingers clear of trapping points.
- If the chain needs adjustment or replacement, follow the procedure and tightening torques, or take the motorcycle to a workshop; check the result before riding.
Respond to a fault warning light
Interpret the warning without making a mechanical fault worse.
- Identify the symbol and check whether it indicates the expected self-diagnostic check or remains on when it should not.
- If it warns of oil pressure, overheating or a fault that compromises safety, stop in a safe place and follow the manual.
- Switch off the engine where appropriate; do not open hot circuits or handle dangerous components.
- Check only what you can inspect safely and request assistance if the cause persists or you do not know how serious it is.
Check what you know
Real questions from the bank on this topic. Pick an answer to see the explanation.
Finished this module?
Mark it as read and you will see your progress on the theory list.