
Theory · D Licence - Bus · Module 13 of 18
Safe bus driving
You learn to drive a bus smoothly, approach stops and control the doors, blind spots and swept space. You examine how the bodywork limits your view and that of other road users, and how to use the mirrors. You practise decisions that protect standing and seated passengers when turning, reversing, descending, in crosswinds and in adverse conditions.
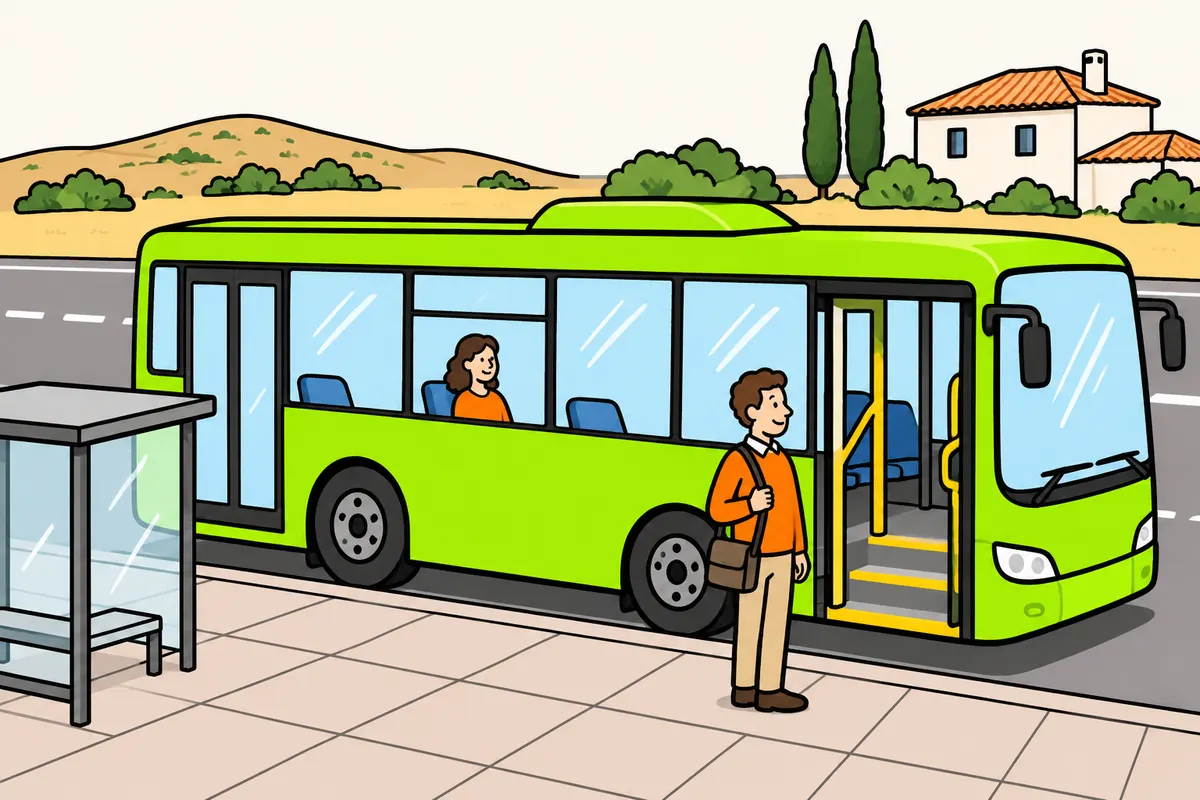
1Smooth driving to protect passengers
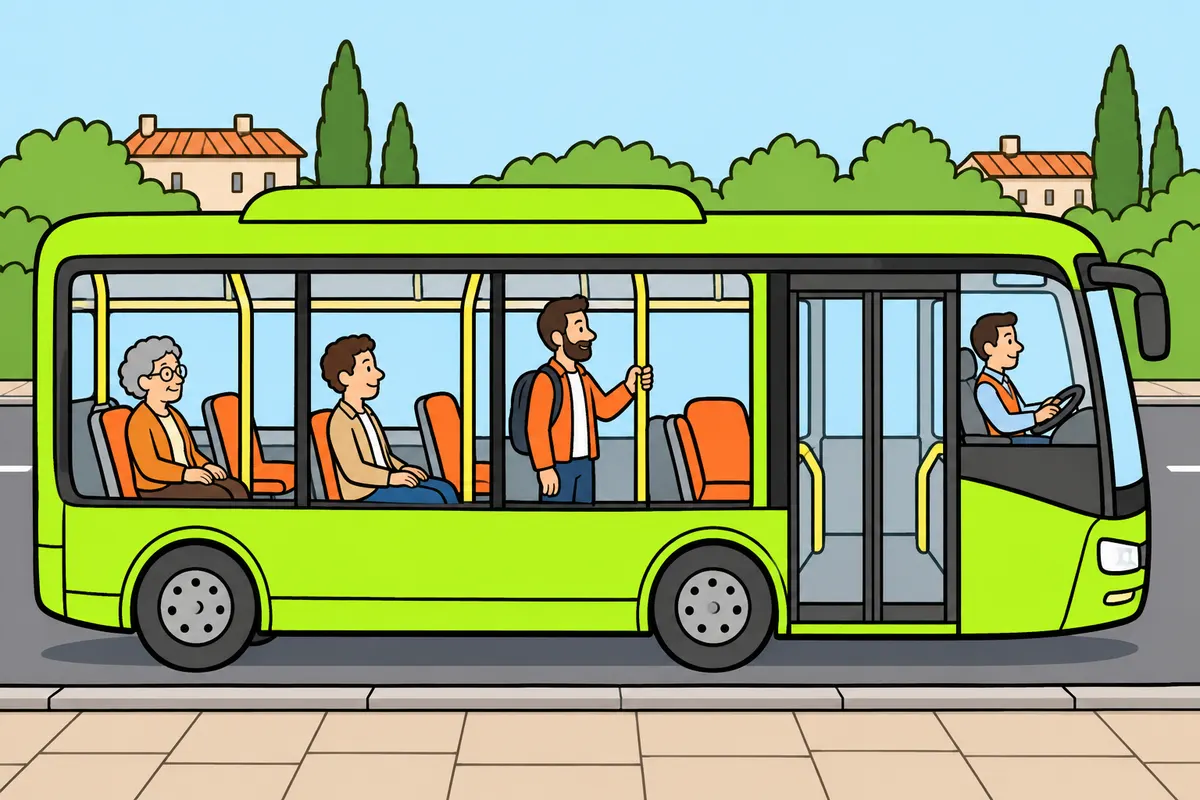
Drive smoothly to protect all your passengers.
| When you… | Your passengers tend to move… |
|---|---|
| Accelerate | Backwards |
| Brake | Forwards |
| Take a bend | Outwards |
Remember
- Move off and stop without sudden movements.
- Protect seated passengers too.
- Look ahead to avoid jolts throughout the journey.
- In an emergency, brake as firmly as necessary.
Exam trap: Wrong: you must never brake hard. Right: in an emergency, brake as needed to prevent a collision.
Read the full explanation
- When driving a bus, make stops and move-offs without jolts or sudden movements, and protect passengers while the bus is moving and as they board or alight. [RGC, art. 11](https://www.boe.es/buscar/act.php?id=BOE-A-2003-23514#a11)
- When you accelerate, passengers tend to move backwards relative to the vehicle; when you brake, forwards; and on a bend, towards the outside. Anticipate these movements, especially when carrying authorised standing passengers, older people or people with balance difficulties.
- Seated passengers can also be struck, drop objects or experience sudden body movements. Drive smoothly throughout the service, even when the bus is nearly empty or all passengers are seated.
- Smooth driving requires anticipation and precision, not indiscriminate slowness or a longer reaction time. Avoid harsh acceleration and violent steering corrections, but act with the necessary force in an emergency: preventing a collision takes priority over avoiding a jolt.
2Preparation and effective observation
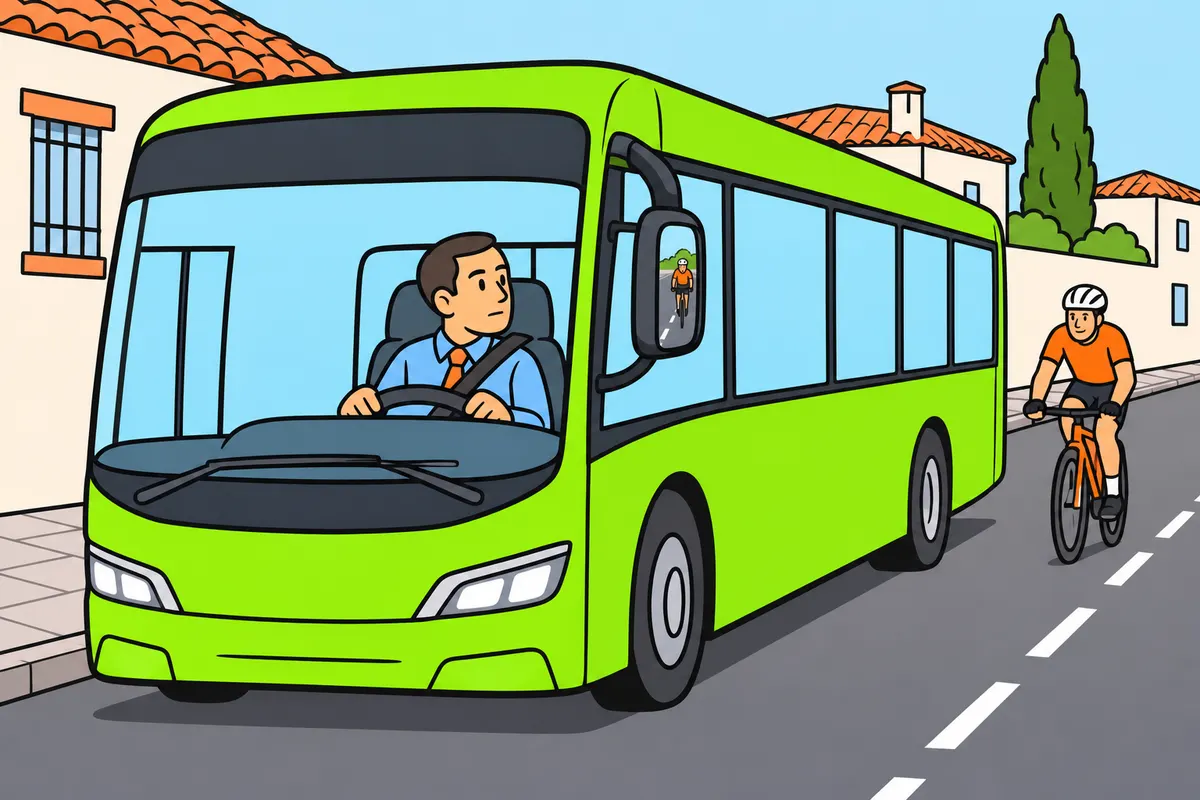
Prepare your driving position and check your surroundings before every manoeuvre.
Remember
- Adjust your seat and mirrors before moving.
- Know your bus’s size and adapt your route.
- Look far ahead, nearby and in your mirrors.
- Check the space again before manoeuvring.
- Keep passengers and luggage clear of your view and controls.
- Do not look backwards to help passengers while driving.
Exam trap: Wrong: knowing the route means you can stop checking. Right: check your surroundings even when you have priority.
Read the full explanation
- Before moving, adjust your seat and mirrors so you can reach the controls without stretching and maintain the necessary field of vision. Keep free movement and remain alert; do not deal with a passenger's request by looking backwards while driving. [RGC, art. 18](https://www.boe.es/buscar/act.php?id=BOE-A-2003-23514#a18)
- Know the bus's actual dimensions, its overhangs, axle positions and the operation of its manoeuvring aids. Adapt your route to these characteristics and anticipate narrow streets, bends, bus shelters and overhead obstacles.
- Combine looking well ahead, observing your immediate surroundings and brief checks of the mirrors. Spot traffic lights, queues, pedestrians and vehicles approaching from behind early; watching only the vehicle in front makes it harder to anticipate braking and leaves the sides unobserved.
- Before each manoeuvre, update your information: an area that was clear moments ago may now be occupied by a bicycle or pedestrian. Keep observing even when you have priority and on familiar routes.
- Position passengers and luggage so they preserve your field of vision and do not interfere with the controls. A suitcase by the windscreen or a person blocking your side view can prevent you from detecting a hazard as you leave the stop. [RGC, art. 18.1](https://www.boe.es/buscar/act.php?id=BOE-A-2003-23514#a18)
3Moving off and accelerating progressively
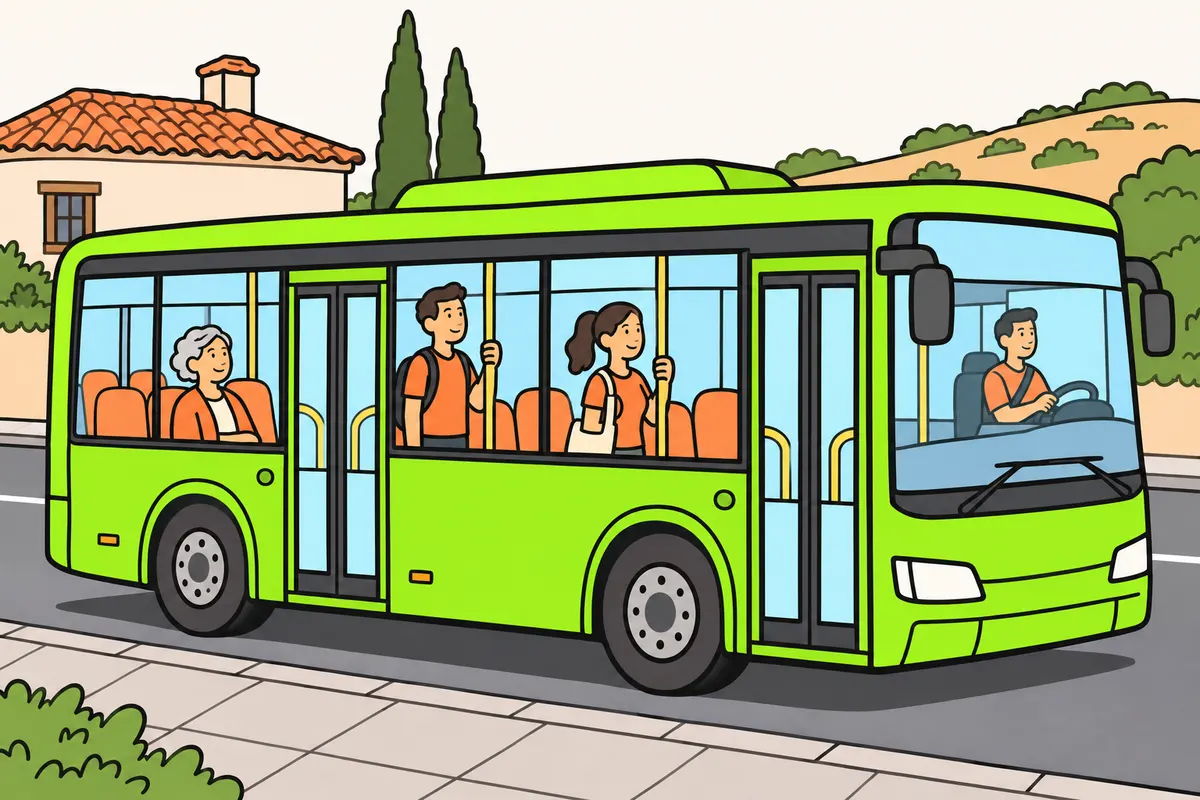
Move off when everyone is safe and accelerate gently.
| Your bus’s gearbox | What you must do |
|---|---|
| Manual | Coordinate clutch and accelerator without jolts |
| Automatic | Know how it moves when you release the brake |
Remember
- Check that everyone has finished boarding and getting off.
- Allow time for passengers to reach a handhold or seat.
- Accelerate gently and avoid jolts.
- Know how your bus’s movement prevention aids work.
- Leave enough space to brake smoothly afterwards.
Exam trap: Wrong: driving aids prevent every dangerous movement. Right: know their limits and check safety.
Read the full explanation
- Before moving off, check that boarding and alighting have finished and that no passenger is trapped, halfway on board or in a dangerous position. Protect anyone who needs more time to reach a handhold or their seat. [RGC, art. 11](https://www.boe.es/buscar/act.php?id=BOE-A-2003-23514#a11)
- Apply the accelerator progressively and avoid transmitting all the available force at once. If your bus has a manual gearbox, coordinate the clutch and accelerator without jerking; if it is automatic, know how it responds when you release the brake and avoid being surprised by its initial movement.
- If you use hill hold, a bus-stop brake or door interlocks, know how they work on that bus: having these aids does not guarantee that they prevent every unintended movement.
- As you increase speed, leave enough room to stop progressively before the next stop or queue. Accelerating hard only to brake immediately afterwards worsens comfort and reduces your ability to respond smoothly if someone enters the carriageway.
4Braking without jolts
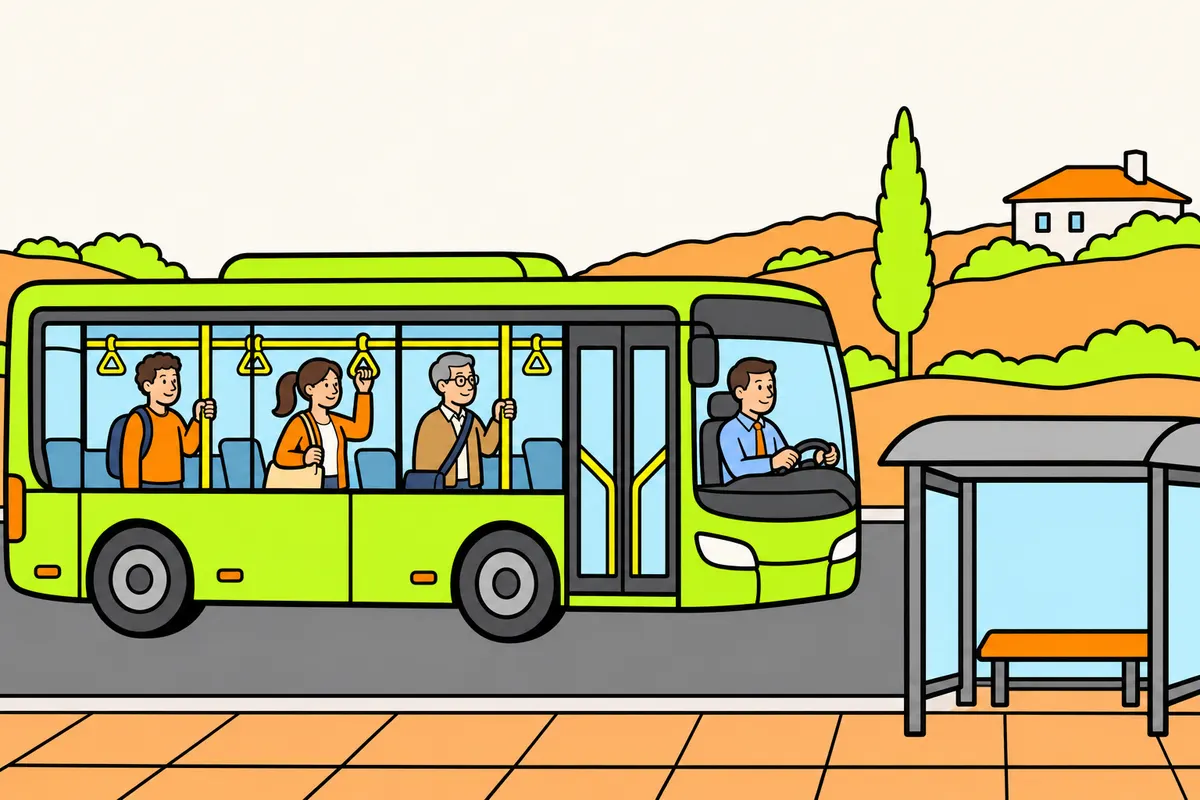
Plan your braking early and leave enough space to stop safely.
Remember
- Prepare to stop early and brake gently.
- Leave space in case the vehicle ahead brakes suddenly.
- Consider load, gradient, tyres and brakes.
- If someone follows too closely, increase the gap ahead.
- In an emergency, brake as needed and control your direction.
Exam trap: Wrong: accelerate if someone follows too closely. Right: increase the gap ahead and slow down early.
Read the full explanation
- Look ahead to where you will stop, release the accelerator when appropriate and apply the brake progressively. Adjust the pressure as you approach so you reach the stopping point slowly, avoiding the final pitch that can unbalance passengers.
- Keep enough distance to stop without running into the vehicle ahead if it brakes sharply, taking account of speed, grip and braking capacity. On a bus, this gap also lets you give warning and brake more smoothly when carrying standing passengers. [RGC, art. 54](https://www.boe.es/buscar/act.php?id=BOE-A-2003-23514#a54)
- The load, its distribution, the gradient and the condition of the tyres and brakes affect the response. Do not assume that large wheels, the number of axles or an electronic aid guarantee a short stopping distance in every situation.
- If the vehicle behind is following too closely, increase your front safety margin and anticipate slowing down to avoid braking late. This lets you slow progressively without being trapped between the two vehicles.
- In an emergency, brake with the necessary force and maintain control of your path. The limits of ABS and specific braking techniques are covered in the Bus brakes and retarders module.
5Approaching a stop
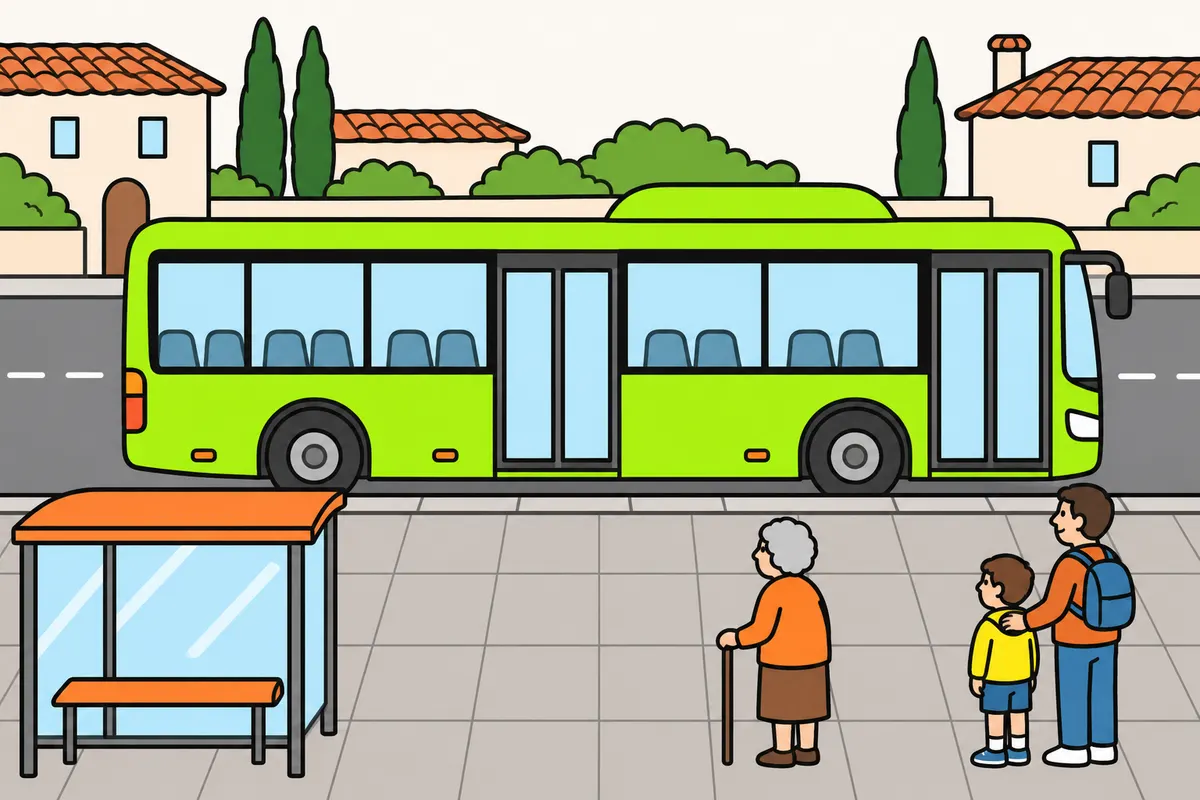
Approach the stop slowly and keep every door accessible.
Remember
- Watch people waiting who might cross.
- Slow down and stop if necessary.
- Check mirrors and signal before moving sideways.
- Align the whole bus without sharp turns.
- If an obstacle blocks your approach, stop and find a safe solution.
- Do not let passengers get off into danger.
Exam trap: Wrong: indicating lets you block someone’s path. Right: respect anyone occupying the space you need.
Read the full explanation
- Spot the stop in good time and check for people waiting near the edge, vehicles occupying the space or pedestrians who may cross. Reduce speed and stop if necessary in case someone steps out, especially children, older people or people with disabilities. [RGC, art. 46](https://www.boe.es/buscar/act.php?id=BOE-A-2003-23514#a46)
- Check the mirrors and signal your intention sufficiently early before moving laterally. Slow progressively so others understand the manoeuvre and passengers keep their balance; indicating does not give you the right to cut off anyone occupying the space you need. [RGC, art. 109](https://www.boe.es/buscar/act.php?id=BOE-A-2003-23514#a109)
- Plan your approach so the whole bus can line up with the edge without a sharp turn at the end. Allow for the position of the doors and rear axle: positioning the front correctly does not ensure that the centre or rear door is accessible.
- If an obstacle prevents you from approaching correctly, stop and consider a safe solution in line with the service and signs. Do not force your way past by scraping another vehicle, or open the doors so passengers alight between obstacles or directly into a dangerous traffic area.
6Kerbs, doors and accessibility
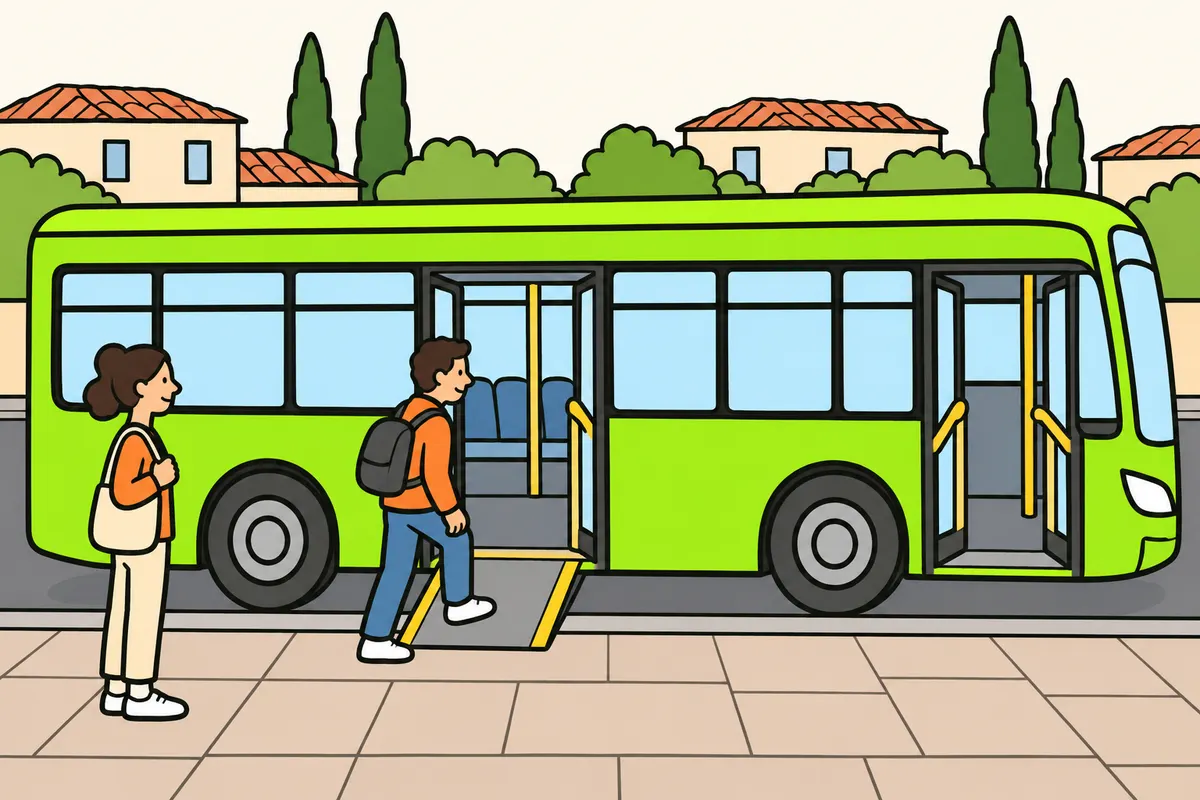
Bring your bus close to the right edge and ensure safe access through the doors.
| Your bus’s situation | Position you must ensure |
|---|---|
| Stop during service | As close as possible to the right edge, with safe access |
| Test manoeuvre L | Right side, parallel, maximum 20 cm; rear door access clear |
Remember
- Approach the right edge without hitting it or mounting the pavement.
- Normally park parallel; change position if the road or circumstances make it advisable.
- Check safe access at every door you use.
- Keep the bus stationary while using the ramp or lift.
- Before raising the bodywork, check it cannot hit people or objects.
- Stow the access device before moving off.
Exam trap: Wrong: every stop requires a maximum gap of 20 cm. Right: this figure applies to manoeuvre L in the test.
Read the full explanation
- Make stops and move-offs in public passenger transport as close as possible to the right edge of the carriageway. This reduces the gap passengers have to cross, but does not allow you to hit the kerb, mount the pavement or put people waiting at risk. [RGC, art. 11](https://www.boe.es/buscar/act.php?id=BOE-A-2003-23514#a11)
- As a general rule, position the vehicle parallel to the edge of the carriageway; another position is permitted when road features or other circumstances make it advisable. At a stop, ensure the rear is not left too far away and that every door in use has safe access. [RGC, art. 92](https://www.boe.es/buscar/act.php?id=BOE-A-2003-23514#a92)
- In the L manoeuvre in the practical test, you must park on the right, parallel to and no more than 20 cm from the kerb, with no obstacles to boarding or alighting when operating the rear door; you must then close it and move off. This distance applies to that test and is not a universal gap for every service stop. [RGCond, Annex VI, C.4.L](https://www.boe.es/buscar/act.php?id=BOE-A-2009-9481)
- If you use kneeling suspension, a ramp or a lift, follow the sequence specified for that bus and keep it immobilised. Before raising it back to travelling height, check that body movement will not reach people, kerbs or objects; before moving off, check that the access device is stowed.
7Opening, monitoring and closing doors
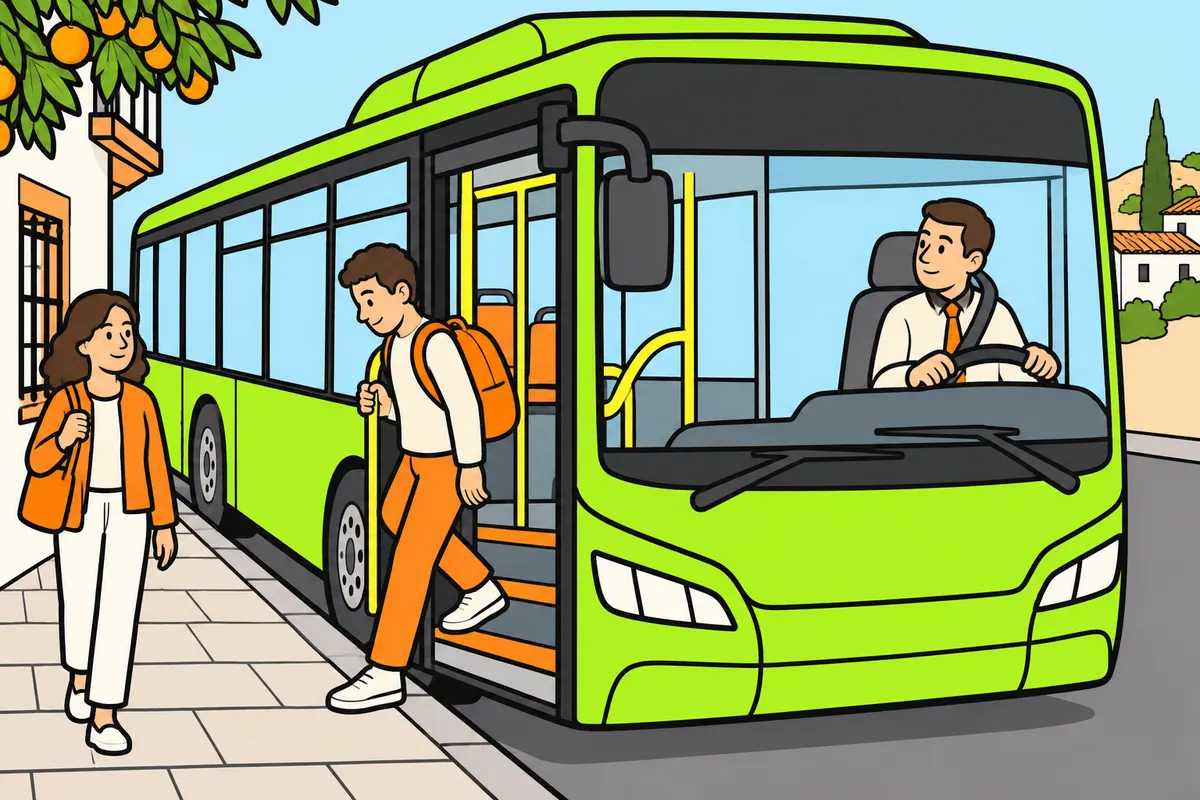
Stop completely and check for people before opening or closing doors.
Remember
- Open doors only when the bus has stopped completely.
- Check you cause no danger or obstruction, especially to cyclists.
- Keep the bus stationary while passengers board or get off.
- Before closing, check for people and objects that could become trapped.
- Check the doors are closed, even with sensors and cameras.
- For a fault, follow the manufacturer’s and service operator’s procedure.
Exam trap: Wrong: you can drive with doors open in hot weather. Right: keep doors closed while driving.
Read the full explanation
- Bring the bus to a complete stop before opening the doors. You must not leave them open while driving, or open them or allow passengers to get off without checking that this creates no danger or obstruction, especially for cyclists. [RGC, art. 114](https://www.boe.es/buscar/act.php?id=BOE-A-2003-23514#a114)
- Throughout boarding and alighting, monitor the entrance directly, using mirrors or the monitors provided. Check both inside and outside: someone may be beside the door leaf, on a step or behind a group that has got off.
- Before closing the doors, check for people, rucksacks, clothing, walking sticks and other objects that could get trapped. Contact-sensitive devices and cameras help you, but verify that the doors have closed properly; do not assume they are safe just because you have operated the control.
- If a door fault occurs, follow the manufacturer's and operator's procedure before continuing. Do not disable a safety feature to keep to the timetable, and do not assume that a door that appears closed is properly latched; passenger safety requires you to check.
8Leaving a signed bus stop
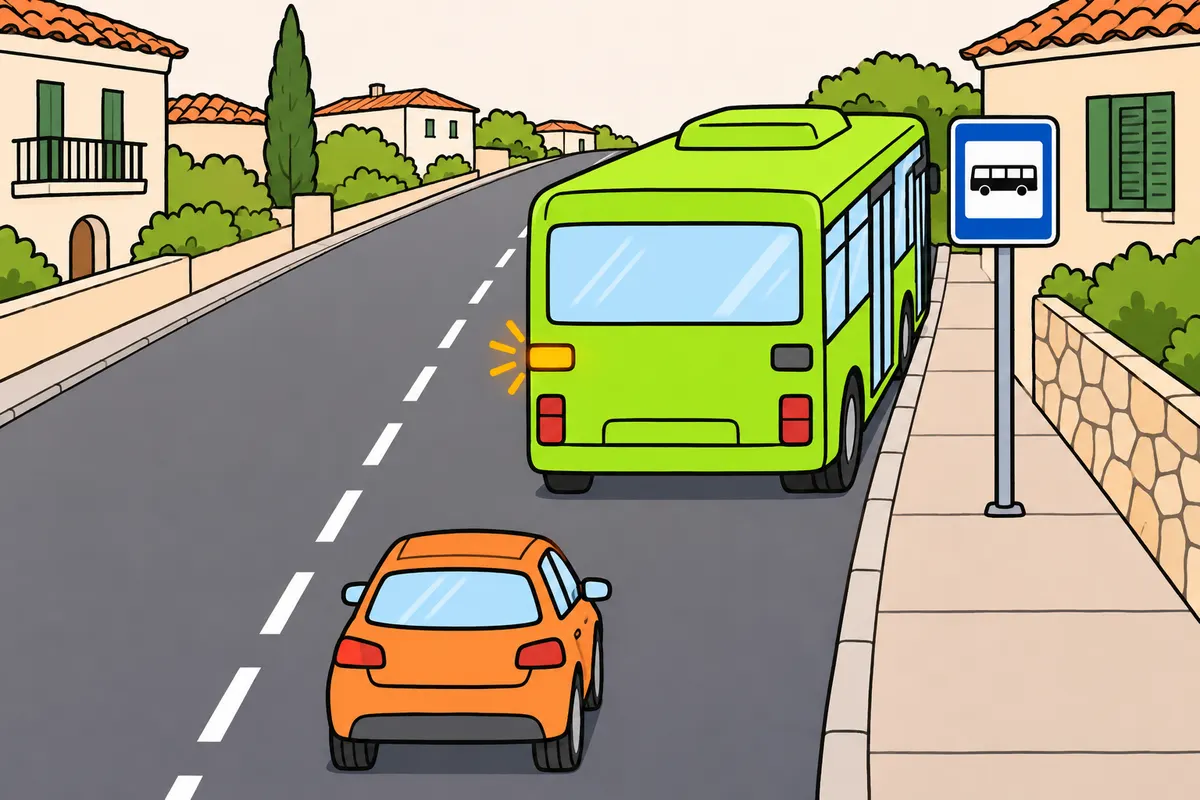
Signal when leaving the stop and check you can join traffic safely.
Remember
- Check the doors, surroundings and left side.
- Signal and judge other vehicles’ speed and direction.
- Other drivers must help you pull out as far as possible.
- In towns, they must move aside if possible or slow down, stopping if necessary.
- Wait if you cannot pull out safely.
- Watch pedestrians, cyclists and the rear as you leave the kerb.
Exam trap: Wrong: others must help, so you can move without checking. Right: always signal and check you can pull out safely.
Read the full explanation
- Before moving off again, check that the doors are closed, the immediate surroundings, the left-hand side and your path into traffic, and signal the manoeuvre. Before joining traffic, make sure you can do so safely, taking account of the position, path and speed of other vehicles. [RGC, art. 72](https://www.boe.es/buscar/act.php?id=BOE-A-2003-23514#a72)
- Other drivers must make it easier for you to join traffic where possible, especially when you leave a signed public transport stop. In built-up areas, they must move sideways if possible or slow down, stopping if necessary. [RGC, art. 73](https://www.boe.es/buscar/act.php?id=BOE-A-2003-23514#a73)
- Their duty to make it easier for you to leave does not remove your need to take care: wait while a vehicle is in your path into traffic or is approaching at a speed that prevents you from moving off safely. [RGC, art. 73.3](https://www.boe.es/buscar/act.php?id=BOE-A-2003-23514#a73)
- As you pull away from the kerb, watch the rear of the bus sweep towards the pavement and check again for pedestrians and cyclists near the front. Accelerate progressively only when the bus is ready and your path is clear; do not pull away sharply to take advantage of an insufficient gap.
9Swept space and rear wheels
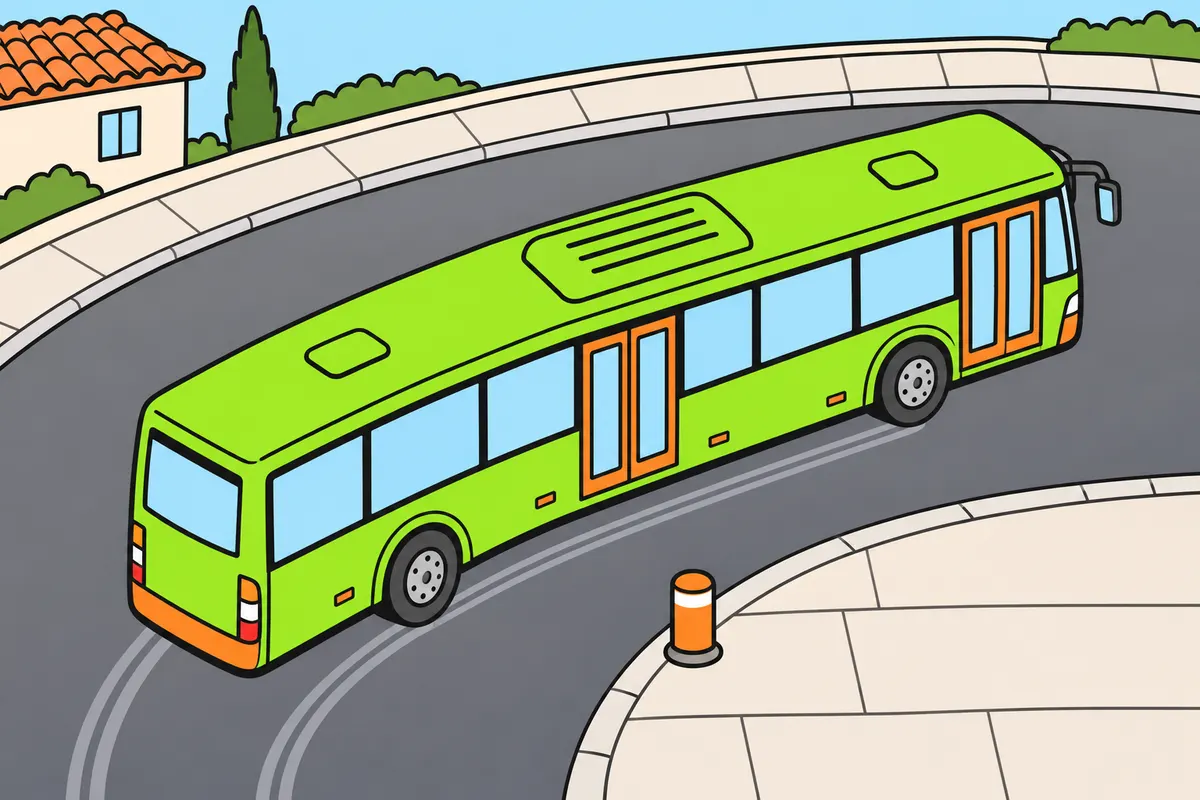
When turning, check the space needed by your whole bus.
| Wheels on your rigid bus | Usual path when turning |
|---|---|
| Front | Further out |
| Rear | Further in |
Remember
- Check bodywork, mirrors, wheels and both ends.
- In a rigid bus, leave space inside for the rear wheels.
- Learn the reference points for the bus you drive.
- Watch the side throughout the turn.
- If unsure about clearance, stop before touching anything.
Exam trap: Wrong: if the cab fits, everything fits. Right: check rear wheels, bodywork and both ends too.
Read the full explanation
- The swept path is the entire area occupied by the bus during a manoeuvre, not just the line followed by its front wheels. Check the bodywork, mirrors, wheels and extremities; if the cab fits between two obstacles, that does not mean the rest of the bus will.
- When turning, the rear wheels of a rigid bus normally follow a path further inside the turn than the front wheels. Leave space beside the kerb and do not turn in too soon: you could hit a corner, an island or a road user beside the inner side of the bus.
- The wheelbase and vehicle configuration affect how much the rear wheels cut in during a turn. Familiarise yourself with the turning reference points for the vehicle you drive.
- Watch the side of the bus throughout the manoeuvre, moving slowly and with control. If you are unsure there is enough room, stop before making contact: a small correction made in a hurry can bring the rear closer to an obstacle even if the front appears to be moving away from it. [RGC, art. 76.1](https://www.boe.es/buscar/act.php?id=BOE-A-2003-23514#a76)
10Overhangs and overhead obstacles
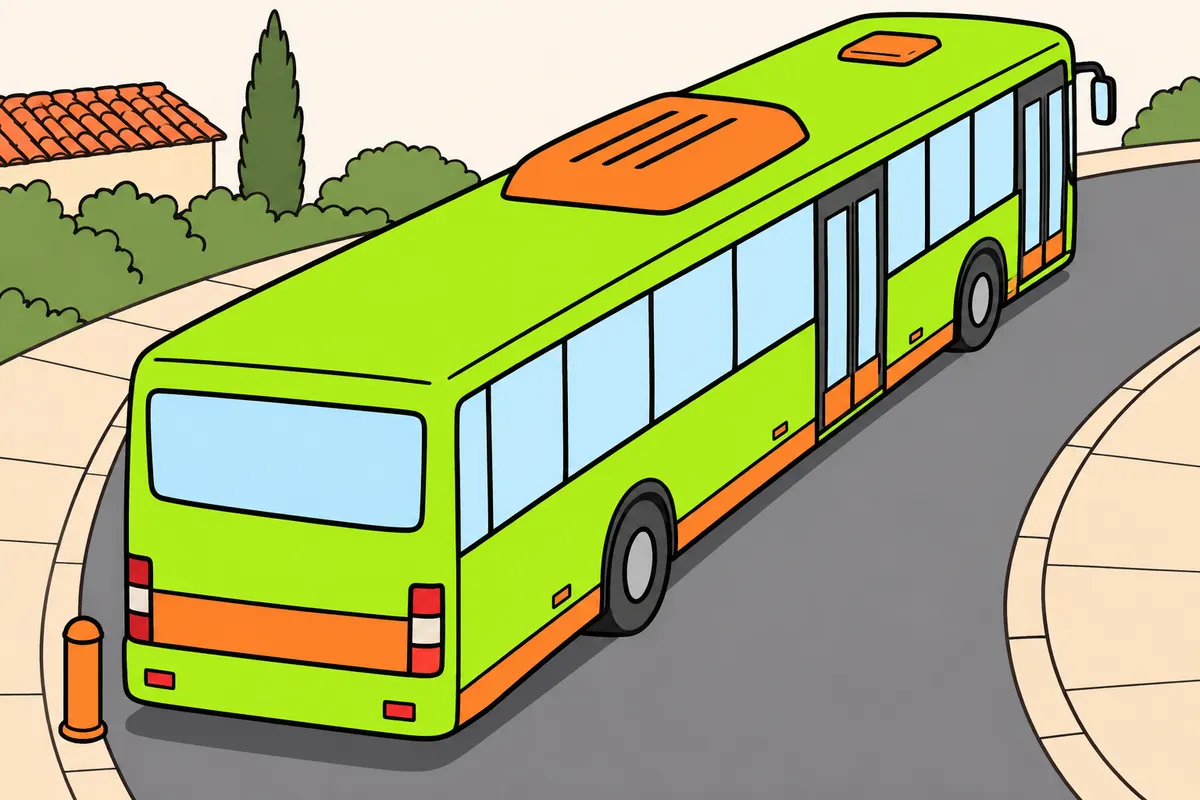
Watch your bus’s ends and check for obstacles above and below.
| Turn in your rigid bus | Your rear end may swing… |
|---|---|
| Right | Left |
| Left | Right |
Remember
- Overhangs are the body parts extending beyond the axles.
- Watch the rear end outside the turn.
- Check the front’s sideways movement too.
- Watch branches, balconies and other overhead obstacles.
- On ramps, check the underside and ends cannot touch the ground.
- Remember that suspension changes the height.
Exam trap: Wrong: watching the wheels is enough. Right: check the ends, height and underside too.
Read the full explanation
- An overhang is the part of the bodywork that projects ahead of the front axle or behind the rear axle. When turning, expect these ends to follow paths different from those of the tyres and to reach obstacles outside the wheel tracks.
- When you begin a right turn, the rear overhang of a rigid bus may sweep to the left; on a left turn it may sweep to the right. Watch the outside of the turn as well as the inner rear wheel, especially when leaving a stop close to people.
- The front of the bus also sweeps sideways and may encroach on the space beside a shelter, a post or a parked vehicle. Check your mirrors and the height of obstacles: branches, balconies and projecting structures may reach the upper part of the bus even when the ground is clear.
- On ramps, changes of gradient and garage entrances, anticipate the underside or an overhang making contact with the ground. Slow down and check the clearance; the body height can change with the suspension and kneeling system, so a fixed reference does not work in every situation.
11Tight turns and articulated buses
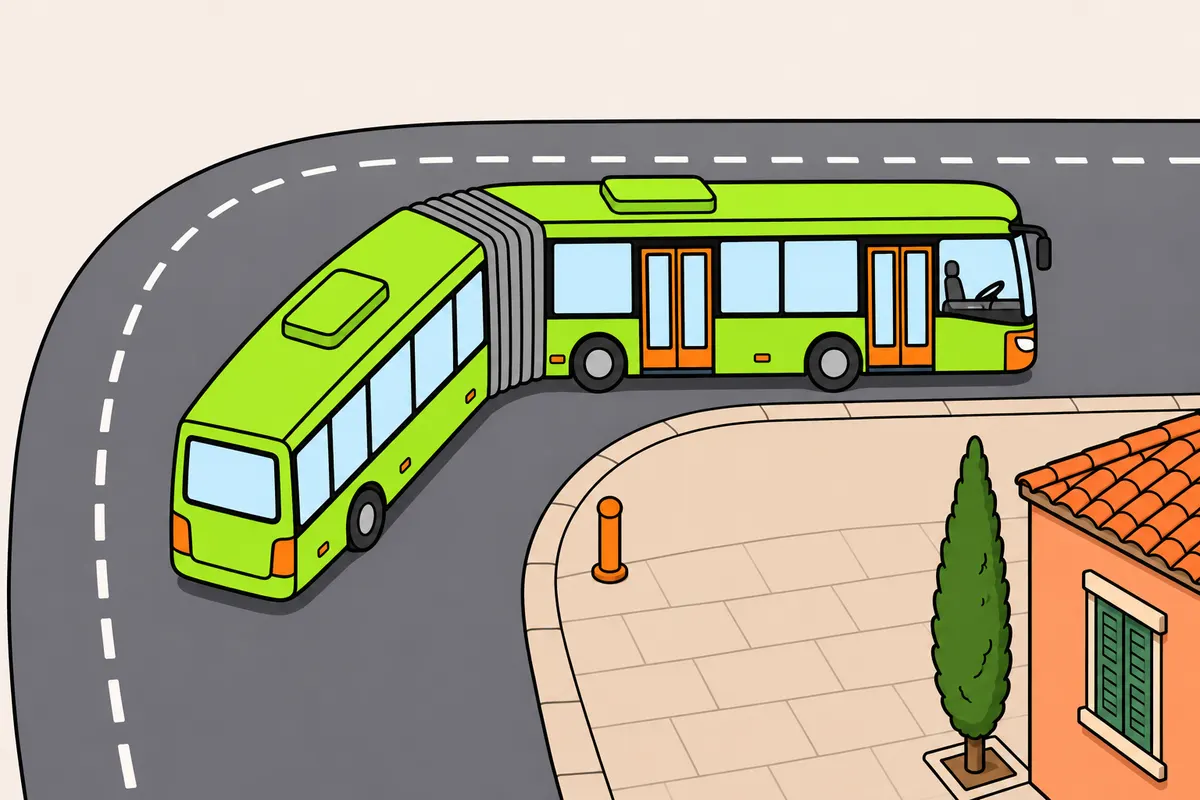
Plan each turn for the space available and the type of bus you drive.
| Part of the turn you must watch | Risk |
|---|---|
| Inside | Moving too close to the kerb |
| Outside | The ends swinging out |
Remember
- Slow down before turning and watch both sides.
- Avoid sharp steering to gain space.
- If size prevents normal positioning, take precautions to avoid all danger.
- In an articulated bus, watch both sections and their joint.
- The rear may still turn when the front is straight.
- Follow your model’s turning and reversing limits.
Exam trap: Wrong: your size lets you occupy another lane without looking. Right: if size prevents normal positioning, avoid all danger.
Read the full explanation
- Before turning, slow down enough to see and control the whole path without trying to make room by swerving sharply. Watch both sides: the inside is at risk of being dragged towards the kerb, while the ends may sweep out on the outside.
- The usual position for turning is governed by the direction of the turn and the type of road. If the vehicle's dimensions make it impossible to follow that position strictly, take the necessary precautions to avoid any danger; this is not general permission to use another lane without checking. [RGC, art. 75](https://www.boe.es/buscar/act.php?id=BOE-A-2003-23514#a75) [RGC, art. 76](https://www.boe.es/buscar/act.php?id=BOE-A-2003-23514#a76)
- In an articulated bus, consider the paths of both sections and the articulation. The front section may be aligned with the exit while the rear is still turning; keep watching and do not bring the first section close to an obstacle too soon.
- Know the turning and reversing restrictions for the articulated model and the warnings from its protection system. Plan a continuous path within those limits to avoid corrections in areas you have not checked.
12Blind spots and vision aids
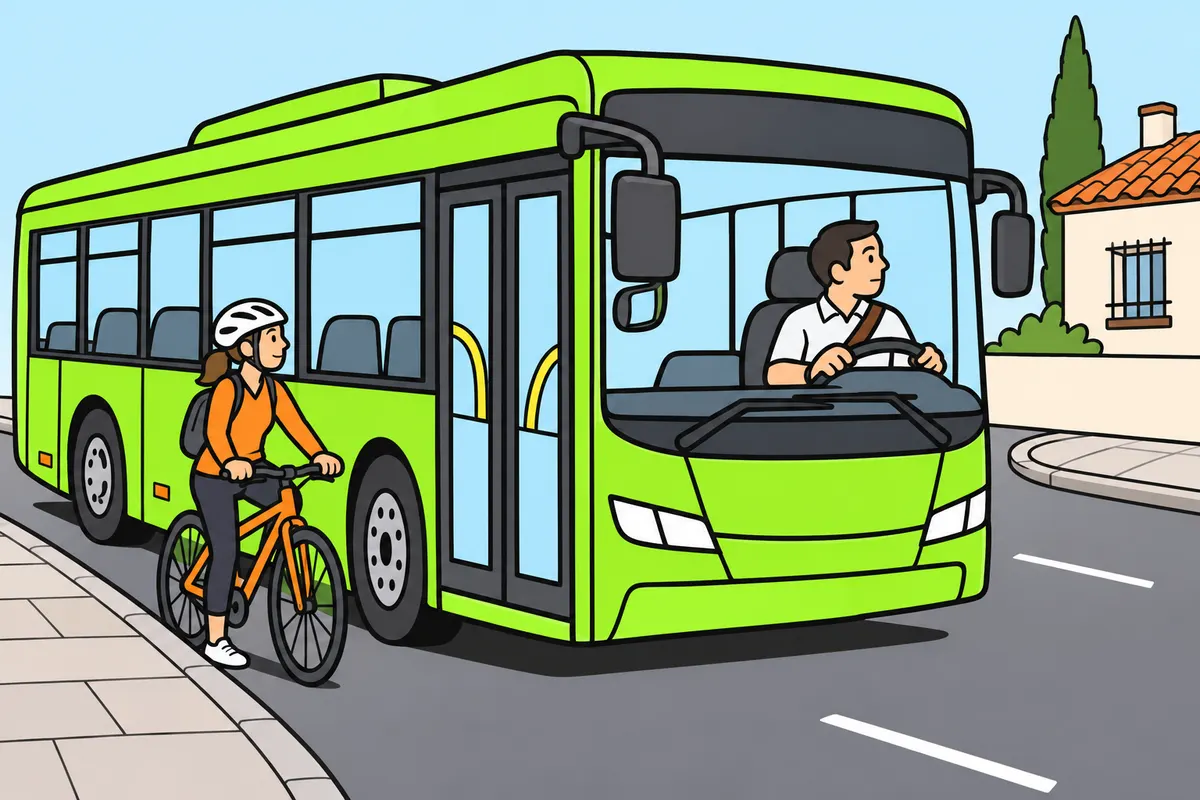
Check hidden areas: your mirrors and cameras cannot show everything.
| Mirror on your M2 or M3 bus | Purpose or requirement |
|---|---|
| Class II | Main exterior mirror required on each side |
| Class IV | Optional wide-angle mirror: wider side view |
| Class V | Optional close-proximity mirror: immediately beside you |
| Class VI, if fitted | Area immediately ahead of you |
Remember
- Before moving, check for hidden people ahead, behind and beside you.
- Look again just before turning or moving sideways.
- Keep mirrors clean and know their limits.
- Do not let screens unrelated to driving distract you.
- If someone nearby disappears from view, stop and find them before continuing.
- Fit class V above 2 m, including mountings, with the bus fully laden.
Exam trap: Wrong: M2 and M3 buses need class III main mirrors. Right: they need class II mirrors on both sides; cameras leave blind spots.
Read the full explanation
- Windscreen pillars, the bodywork and the position of the driving seat can hide road users in front of, behind and beside the bus. Check these areas before moving: from the raised driving seat, you may lose sight of a child near the front of the bus.
- M2 and M3 buses must have two main class II exterior mirrors, one on each side. Annex III lists a class IV wide-angle mirror and a class V close-proximity mirror as optional. The M2/M3 table does not include a class I interior mirror. Class III identifies the main mirrors for M1 and N1 vehicles. [RGV, annex III, sections 1 and 2](https://www.boe.es/buscar/act.php?id=BOE-A-1999-1826#aniii)
- The class IV wide-angle mirror gives you a wider view of the side; the class V close-proximity mirror lets you check the area immediately beside the bus. If you have a class V mirror, make sure it is installed more than 2 m above the ground, including its adjustments and mountings, with the vehicle fully laden; if this cannot be achieved, its installation is prohibited. [RGV, annex III, section 2, note 2](https://www.boe.es/buscar/act.php?id=BOE-A-1999-1826#aniii)
- The class VI front mirror lets you see the area close to the front. If your bus has one, check it before moving off; its purpose differs from that of the class V side close-proximity mirror. The specific equipment for school transport is covered in “Passenger transport and minors”. [UNECE Regulation 46, section 15.2.4.6](https://www.boe.es/buscar/doc.php?id=DOUE-L-2014-81759)
- Before turning or moving sideways, check your mirrors and nearby areas using the means available, moving your head slightly when helpful and without losing control of the bus. Look again just before entering the space; a bicycle may move alongside you while you wait.
- Wide-angle mirrors change the apparent size and distance of objects, and cameras have a limited field of view. Learn their reference points, keep their surfaces clean and know which areas are outside each image; an empty monitor does not prove that the whole area around the bus is clear.
- You may use the monitors needed to watch boarding and alighting, or rear manoeuvring cameras, under the conditions provided for. This exception does not allow you to be distracted by screens unrelated to driving; check the images without stopping your watch on the surroundings. [RGC, art. 18](https://www.boe.es/buscar/act.php?id=BOE-A-2003-23514#a18)
- When turning right, pay particular attention to the space between the bus and the edge of the road before turning in. If you lose sight of a nearby cyclist or pedestrian, do not assume they have moved away: stop and confirm where they are before continuing.
13The bus obstructing other people's view
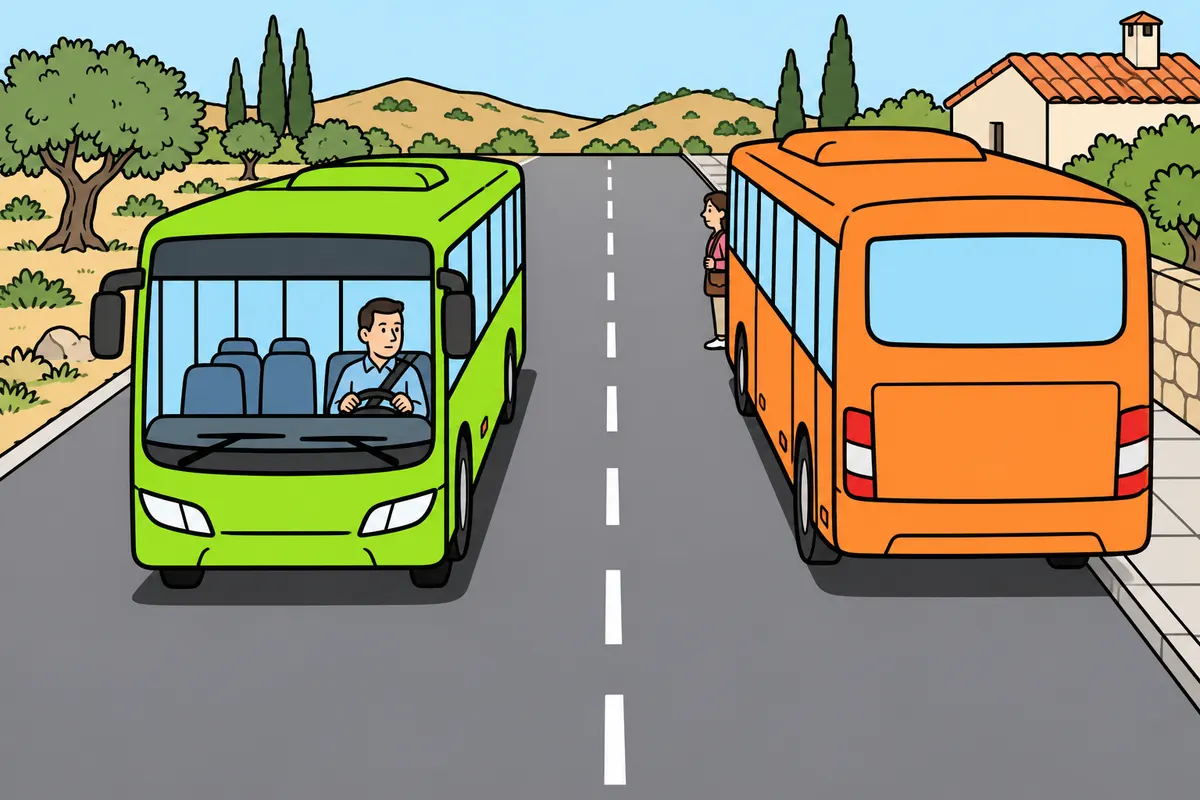
Remember that your bus also hides people and signs from others.
Remember
- Expect other drivers to miss people crossing beside your bus.
- Slow down near another stopped bus, especially a school bus.
- Stop if safety requires it.
- Do not stop where your bodywork hides signs from affected road users.
Exam trap: Wrong: your bus only limits your own view. Right: consider what it hides from others too.
Read the full explanation
- Your bus can hide pedestrians and traffic from people travelling behind it or approaching from the other side. Anticipate that a passenger crossing beside one end may remain hidden from another driver until they enter that driver's path.
- Slow down as you approach another stationary bus, especially a school bus: it may hide people about to cross. Stop if safety requires it. [RGC, art. 46.1.a and e](https://www.boe.es/buscar/act.php?id=BOE-A-2003-23514#a46)
- You must not stop where the bodywork prevents affected road users from seeing signs. Take the bus's height and length into account when choosing where to stop. [RGC, art. 94.1.f](https://www.boe.es/buscar/act.php?id=BOE-A-2003-23514#a94)
14Reversing: when and how far
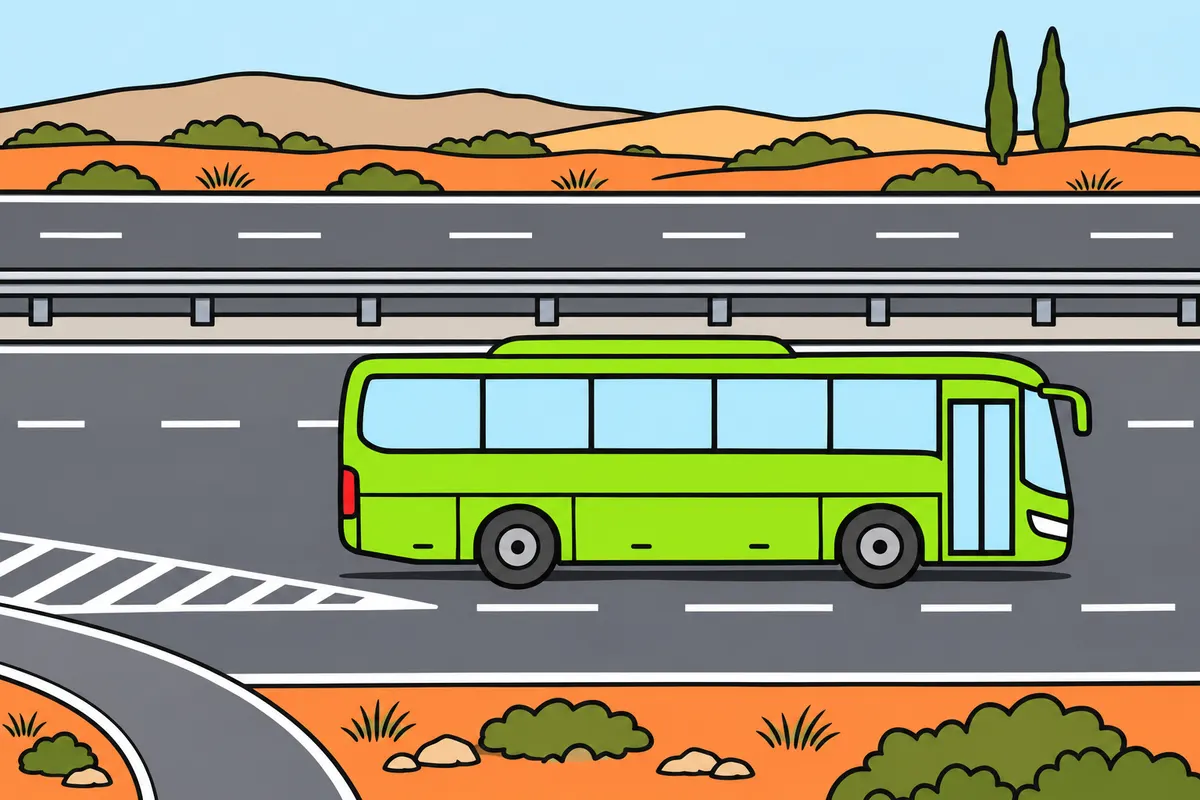
Reverse only when allowed and travel only the minimum distance needed.
| Your reason for reversing | Condition you must meet |
|---|---|
| You cannot move forwards, turn or turn round | Travel only the minimum distance needed |
| Another manoeuvre requires you to reverse | Travel only the minimum distance needed |
| Helping you stop, park or join traffic | Maximum 15 m; do not enter junctions |
| On motorways or dual carriageways | You must not reverse |
Remember
- Prefer moving forwards whenever this lets you complete your route.
- Do not reverse on motorways or dual carriageways.
- If you miss an exit, continue to a permitted alternative.
- Before entering a stop or parking area, plan how you will leave.
Exam trap: Wrong: you can always reverse 15 m. Right: this maximum applies when helping you stop, park or join traffic, without entering junctions; never reverse on motorways or dual carriageways.
Read the full explanation
- Avoid reversing if you can complete the manoeuvre forwards. Reversing is permitted when you cannot move forwards or change direction or turn around, and as a complementary manoeuvre when another manoeuvre requires it; in all cases, cover only the minimum distance necessary. [RGC, art. 80](https://www.boe.es/buscar/act.php?id=BOE-A-2003-23514#a80)
- If you reverse as a complement to stopping, parking or joining traffic, you must not travel more than 15 m or enter a junction. [RGC, art. 80](https://www.boe.es/buscar/act.php?id=BOE-A-2003-23514#a80)
- You must not reverse on motorways or dual carriageways. If you pass an exit or an entrance to a service area, continue to a permitted alternative. [RGC, art. 80](https://www.boe.es/buscar/act.php?id=BOE-A-2003-23514#a80)
- Before entering a bus bay or parking area, anticipate how you will leave and choose an arrangement that reduces reversing between passengers. Check the entire route, not just the final space: a legal manoeuvre can be unsafe if there is not enough space or visibility.
15Reversing while monitoring your surroundings
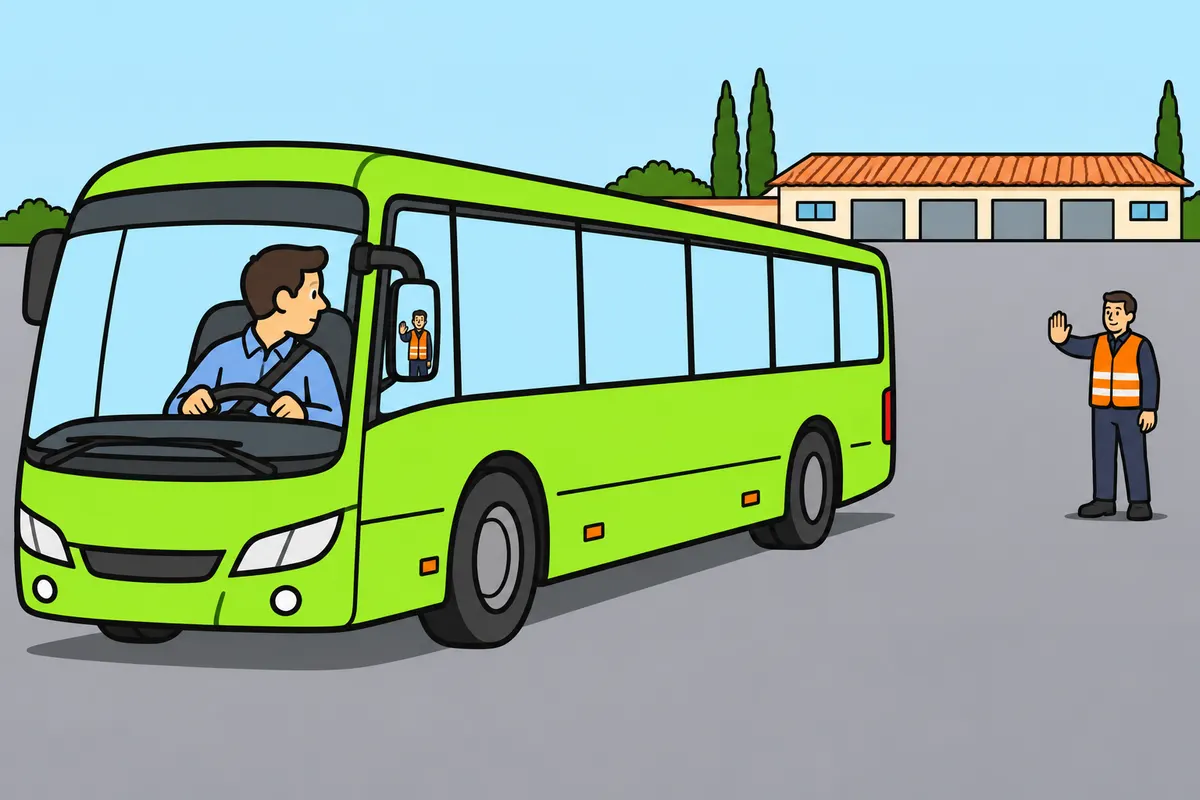
Reverse slowly and stop whenever you cannot confirm the space is clear.
Remember
- Give warning and check visibility, space and time before reversing.
- Secure the bus before getting out to check.
- Check again before moving.
- Agree clear signals with your guide and keep them outside danger areas.
- Watch the front and sides too.
- Stop for warnings, nearby people, animals or vehicles; abandon the manoeuvre if necessary.
Exam trap: Wrong: keep reversing when your guide disappears from view. Right: stop if you cannot see them or understand their signal.
Read the full explanation
- Reverse slowly, after signalling and checking that visibility, space and time allow you to do so without danger. If you need more information, get out and check or follow another person's directions. [RGC, art. 81](https://www.boe.es/buscar/act.php?id=BOE-A-2003-23514#a81)
- If you get out to inspect, secure the bus against movement first and check again before moving it. Look for low objects, high obstacles and pedestrians who may enter from the side; the route may change while you return to the driving seat.
- If someone helps you, agree clear signals and place them where you can see them, outside the swept area and not between the bus and an obstacle. Stop if you lose sight of them or do not understand the signal; your guide does not take on your responsibility as the driver. [RGC, art. 81](https://www.boe.es/buscar/act.php?id=BOE-A-2003-23514#a81)
- Also watch how the front of the bus moves as you reverse while turning, and monitor the sides as they approach obstacles. Do not focus all your attention on the central camera image: the front end may sweep through an occupied space while the rear moves away.
- Stop immediately if you hear a warning, detect a nearby person, animal or vehicle, or safety requires it, and abandon the manoeuvre if necessary. The reversing alarm, if fitted, warns others that you are moving but does not prove they have noticed. [RGC, art. 81](https://www.boe.es/buscar/act.php?id=BOE-A-2003-23514#a81)
16Bends, load and stability
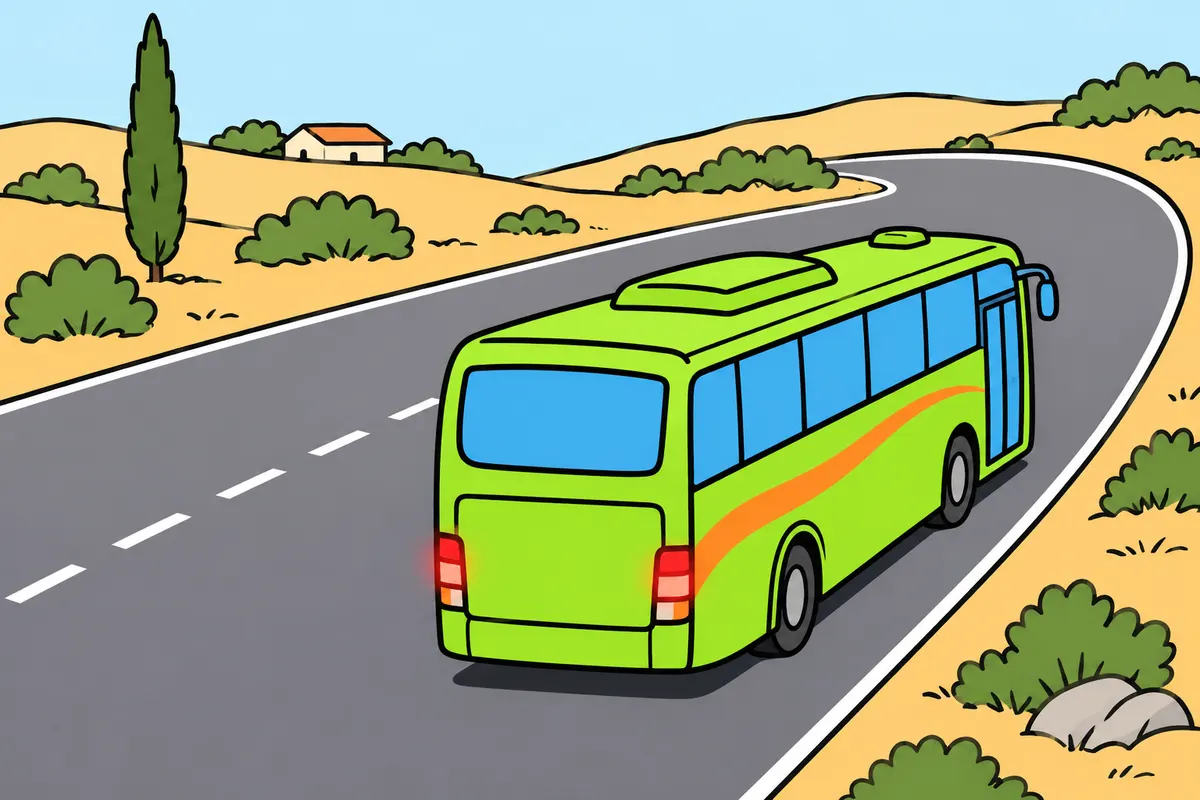
Slow down before bends and adapt your driving to the load.
Remember
- Choose your speed before entering the bend.
- Use steering, accelerator and brakes smoothly.
- Consider the load’s height and distribution.
- Position luggage carefully, even inside a closed luggage hold.
- Link bends without sudden shifts of weight.
- Do not rely on electronic aids to compensate for excessive speed.
Exam trap: Wrong: luggage inside a closed hold has no effect. Right: its weight and position affect stability and braking.
Read the full explanation
- Choose your speed before entering a bend and steer, accelerate and brake progressively. Entering too fast and trying to correct by braking or steering sharply increases the demand for grip and can compromise the bus's stability.
- The height of the centre of gravity and the distribution of the load affect body roll and the risk of overturning. Adapt your driving to the bus and its occupancy; do not rely on a familiar road or electronic assistance to compensate for excessive entry speed.
- The mass and position of luggage affect axle load distribution, stability and braking, even when it is inside a compartment and does not change the body's external shape. Take account of where the luggage is concentrated when preparing for bends and braking.
- On successive bends, link your paths without sudden transfers of load from one side to the other. Maintain a speed that lets you keep the bus stable between bends; with standing passengers, a sudden change in lateral force can cause falls even without skidding.
17Preparing for a long descent
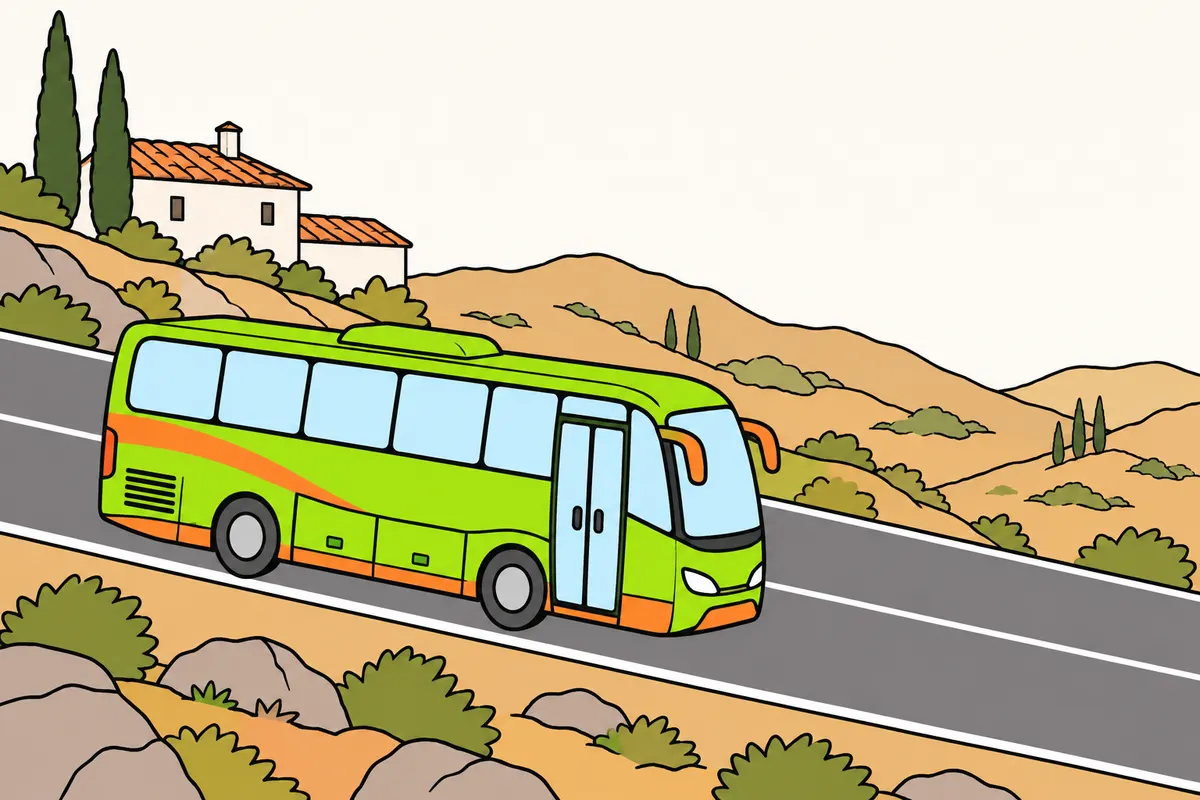
Choose your speed and gear before starting a long descent.
Remember
- Assess gradient, bends, load and grip before descending.
- Start slowly and choose a gear that helps hold the bus back.
- Use engine braking and driving aids as the manufacturer instructs.
- Do not descend in neutral or with the clutch pressed down.
- With an automatic gearbox, learn how to select suitable engine braking.
- Keep braking capacity available for bends and unexpected situations during the descent.
Exam trap: Wrong: descend in neutral to use the slope. Right: keep a suitable gear engaged to hold the bus back.
Read the full explanation
- Before starting a long descent, assess the gradient, length, bends, load and grip. Choose a moderate initial speed and a gear that allows the bus to be held back; waiting until it has gained a lot of speed makes it harder to regain control without placing excessive demands on the brakes.
- Use a suitable gear and the engine braking and auxiliary systems available, as specified by the manufacturer. Do not descend in neutral or with the clutch depressed: you lose the braking effect you need to prevent your speed from increasing continuously.
- With automatic transmission, learn the descent mode or gear selection available on that model. Do not force a downshift that takes the engine outside its permitted operating range, and do not assume the automatic system will always select the braking effect needed for the weight and gradient.
- Preserve braking capacity for bends and unexpected events during the descent, adjusting your speed before each stretch; heating and loss of effectiveness are covered in “Bus brakes and retarders”. [DGT: using brakes on gradients](https://www.dgt.es/comunicacion/noticias/frenos-como-usarlos-correctamente/)
18Using the retarder correctly
Use the retarder according to your bus, available grip and the manufacturer’s instructions.
Remember
- Apply the retarder gradually.
- Know your model’s controls and limits.
- You can use it beyond descents if the manufacturer allows.
- On slippery roads, follow the manual’s procedure and any ban on use.
- Watch temperature and operating warnings.
- If you cannot control your speed, find somewhere safe to stop.
Exam trap: Wrong: use a lower setting despite the manufacturer’s ban on slippery roads. Right: if the manufacturer bans use, do not use it.
Read the full explanation
- During the descent, use the retarder to hold your chosen speed and leave room to slow down before a bend. Set its intensity according to the gradient and the bus's response, keeping a stable path and avoiding jolts to passengers.
- Learn the controls of the equipment fitted and select its levels progressively according to the bus manual; engine braking and electric and hydraulic retarders are covered in “Bus brakes and retarders”.
- You may use the retarder in other situations permitted by the manufacturer, for example when approaching a visible traffic queue well in advance. Assess whether you need to keep slowing down or maintain speed and adjust the control to the distance available; do not wait until you are beside the obstacle.
- In rain, snow, ice or on slippery surfaces, pay particular attention to the grip of the wheels on which the retarder acts. Follow the manual: if it prohibits using the retarder in those conditions, do not use it; if it permits use, follow its procedure and avoid sudden actions.
- Watch for warnings and temperature or operating limits, and reduce the demand in accordance with the vehicle procedure. If you cannot maintain a safe speed, find a safe place to stop.
19Gradients and securing the bus
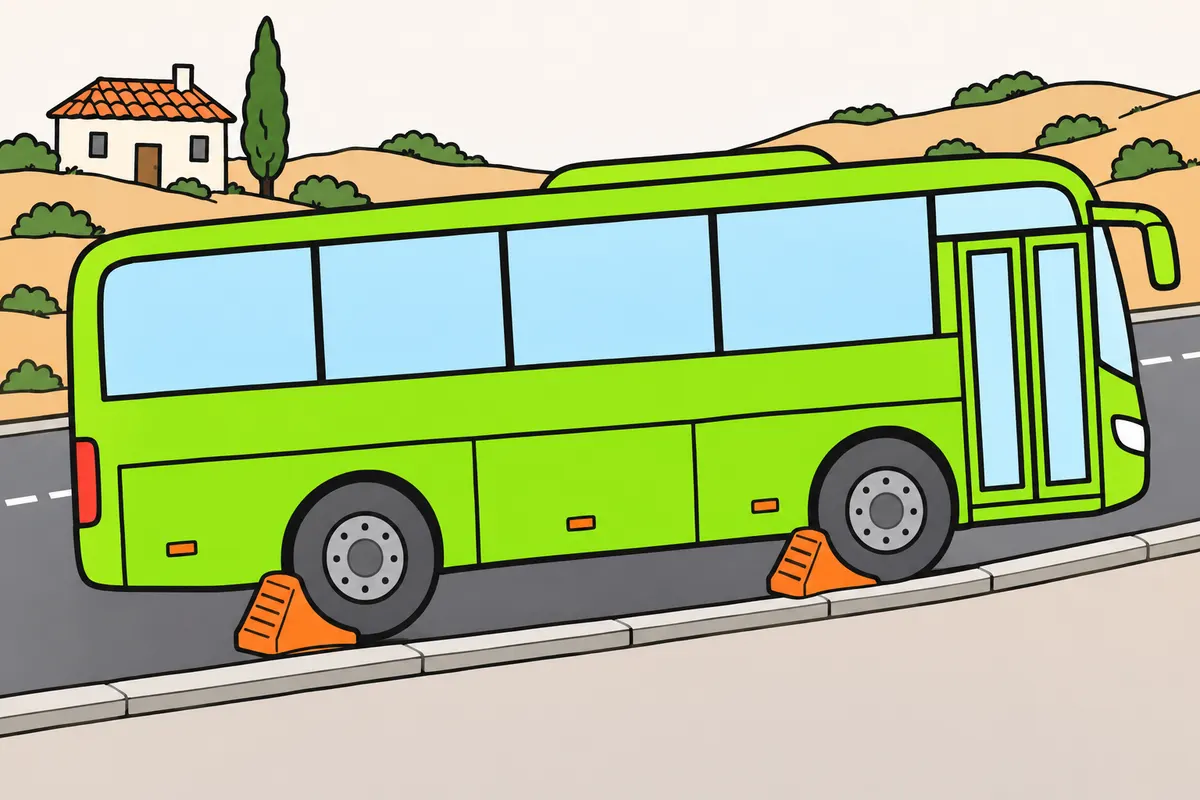
Secure your bus on slopes using the systems and supports provided.
Remember
- When moving off, hold the bus until you can advance without rolling backwards.
- Do not hold it still using the accelerator and clutch.
- When leaving your bus on a slope, follow the guidance on securing it.
Exam trap: Wrong: hold your bus still using the accelerator and clutch. Right: use the intended system until you can move off without rolling backwards.
Read the full explanation
- When moving off on a gradient, hold the bus with the system provided until you can start moving without rolling back unintentionally. Coordinate the controls and avoid keeping it stationary by using the accelerator and clutch: you need a controlled start that does not surprise passengers or anyone behind you.
- When leaving the bus on a gradient, take the precautions in “Manoeuvres with the bus”, section “Securing the bus and chocking it on a gradient”. [RGC, art. 92.3](https://www.boe.es/buscar/act.php?id=BOE-A-2003-23514#a92)
20Crosswinds and the shielding effect
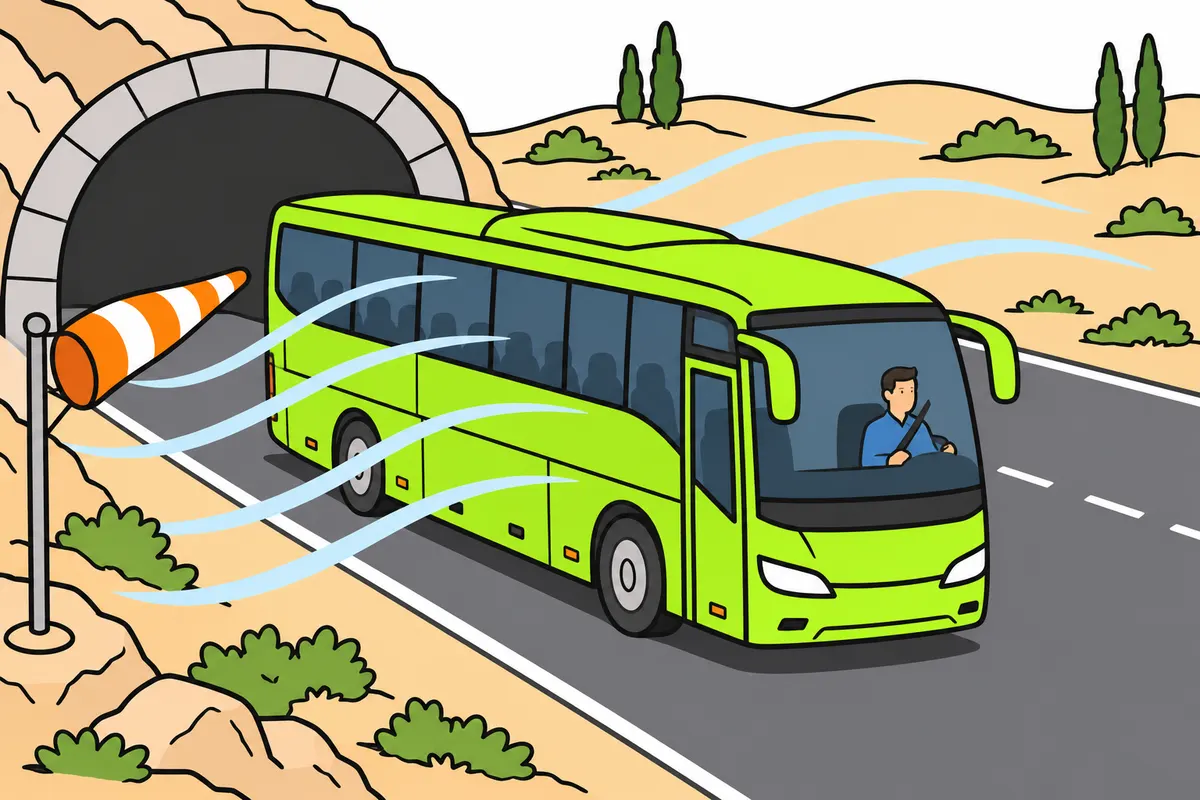
Slow down in crosswinds and expect gusts when shelter ends.
| Wind affecting your bus | Effect you must expect |
|---|---|
| Crosswind | Can push you off course and affect stability |
| Headwind | Opposes your progress and makes acceleration harder |
Remember
- Reduce speed and hold the steering wheel firmly.
- Keep space ahead and to both sides.
- Correct your steering gently, without sudden movements.
- Expect gusts after tunnels, buildings or large vehicles.
- Give cyclists and motorcyclists space when they lose your bus’s shelter.
- If you cannot stay on course, find somewhere safe to stop.
Exam trap: Wrong: accelerating or following closely makes you stable. Right: slow down and keep your distance.
Read the full explanation
- Because of its large side area, the bus is sensitive to gusts from the side, which can push it off course and affect its stability. A headwind opposes forward movement and can make acceleration more difficult; crosswinds call for particular attention to your path.
- In strong winds, reduce your speed, hold the steering wheel firmly and keep a safe distance ahead and to the side. Correct your course gradually and avoid becoming so tense that you make sudden steering movements; reducing speed gives you more margin, but does not remove the effect of gusts. [RGC, art. 45](https://www.boe.es/buscar/act.php?id=BOE-A-2003-23514#a45)
- When leaving a tunnel, passing buildings, crossing a viaduct or passing another large vehicle, expect your exposure to the wind to change. In the shielding effect, temporary protection can disappear suddenly: do not mistake the sheltered stretch for the end of the danger. [DGT: winter driving, wind](https://revista.dgt.es/es/educacion-formacion/conducir-mejor/2024/1712-Conduccion-invernal.shtml)
- Do not accelerate to stabilise the bus or move closer to the vehicle ahead to use its slipstream. If gusts prevent you from keeping a safe course, find a safe place to stop and obey any restrictions.
- Your bus can also shield a nearby cyclist or motorcyclist from the wind. Anticipate that they may be pushed off course by a gust when that protection ends, and keep a safe lateral clearance.
21Rain and slippery surfaces
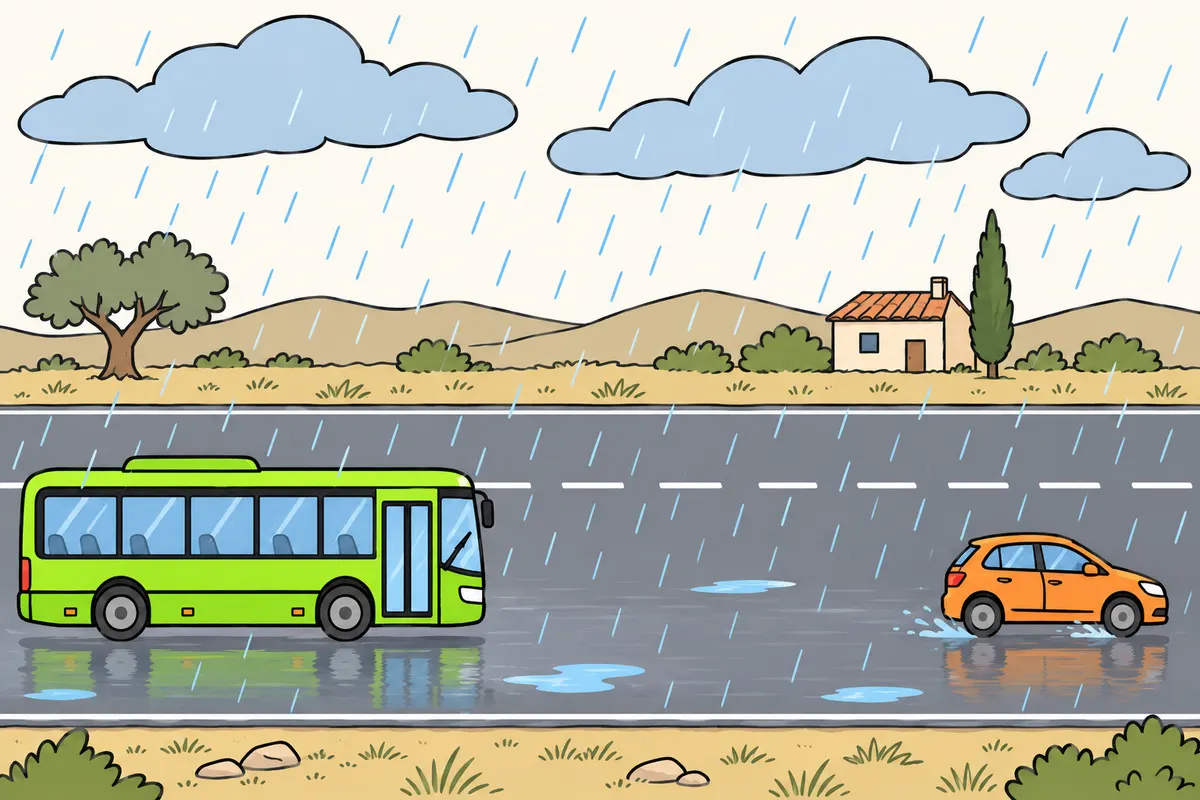
In rain, slow down and leave more space because you have less grip.
Remember
- Take special care with the first drops of rain.
- Prepare early for braking and turns.
- Use controls gently on wet markings, metal and leaves.
- Keep your windscreen, mirrors and cameras clean.
- Do not manoeuvre if you cannot see where you will finish.
- Adapt your gap to water, speed, load, tyres and road surface.
Exam trap: Wrong: wet braking distances always increase by the same proportion. Right: adapt speed and separation to the conditions.
Read the full explanation
- In rain, reduce your speed and increase the distance to compensate for reduced grip and visibility. The first drops can make dirt on the road surface particularly slippery.
- Anticipate braking and turns, and be especially gentle on road markings, metal covers, wet leaves and polished surfaces. Changes in grip can affect your path and the passengers’ balance.
- Water thrown up by other vehicles can temporarily hide the road and dirty mirrors or cameras. Keep the windscreen clean, use the wipers and demister, and increase your observation range; do not start a manoeuvre if you cannot see where it will end.
- Do not apply a fixed multiplier to every wet-road braking distance: speed, tyres, water, load and the road surface all affect the result. You need enough distance to stop and a speed that lets you do so within the distance you can see. [RGC, art. 45](https://www.boe.es/buscar/act.php?id=BOE-A-2003-23514#a45) [RGC, art. 54](https://www.boe.es/buscar/act.php?id=BOE-A-2003-23514#a54)
22Standing water and loss of contact
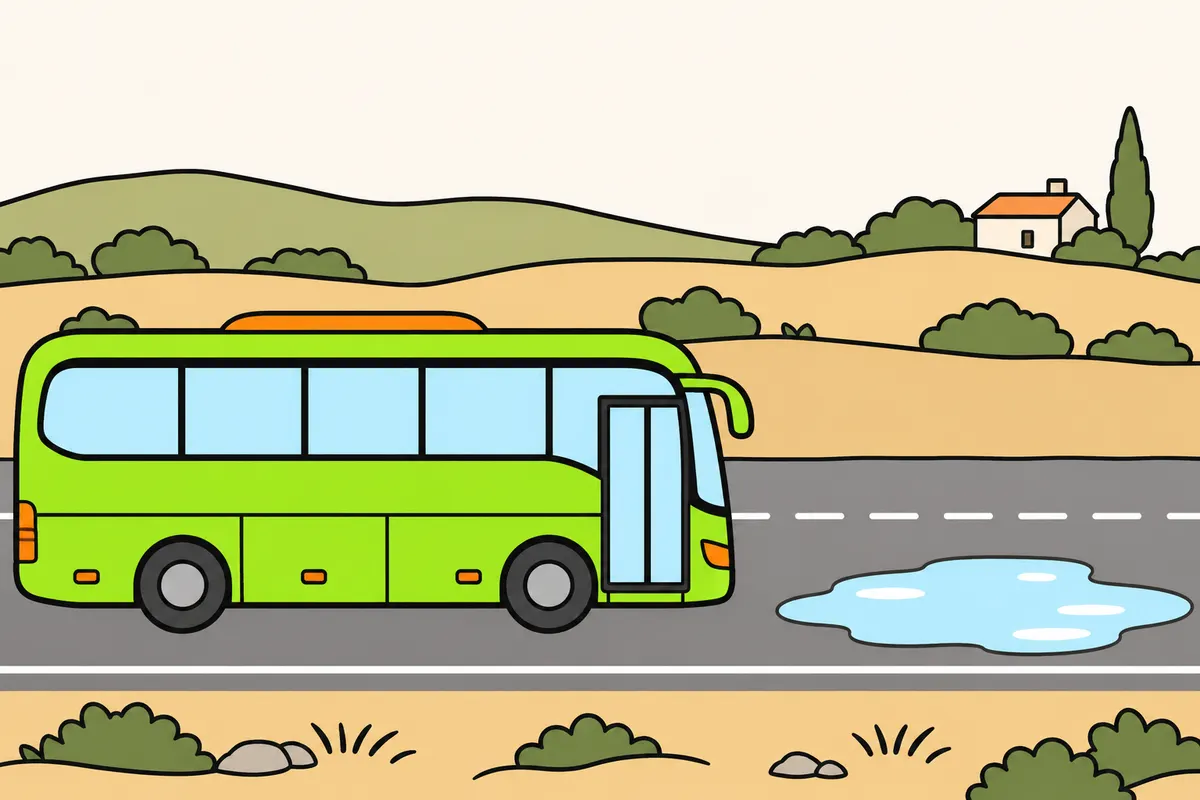
Slow down before standing water to avoid losing contact with the road.
Remember
- Slow before puddles and keep your tyres in good condition.
- If grip disappears, hold the wheel steady and gently ease off the accelerator.
- Avoid sudden braking or steering.
- Wait for grip to return before correcting gently.
- Do not enter flooded areas without knowing depth, current and road condition.
- If you cannot see safely, slow down and find somewhere safe to stop.
Exam trap: Wrong: your bus’s weight guarantees safe passage through any puddle. Right: you can still lose grip and control.
Read the full explanation
- Aquaplaning occurs when water prevents the tyre from making proper contact with the road surface and you lose the ability to steer or brake effectively. Prevent it by reducing your speed before reaching standing water and keeping the tyres in the condition specified for the bus.
- If you notice this loss of contact, avoid harsh braking, acceleration and steering; keep the steering wheel steady and ease off the accelerator gently. Wait until grip returns before making gradual corrections; turning more and more can cause a sharp deviation when the wheels regain grip.
- The bus’s mass does not guarantee that you can cross a puddle without losing control. If you encounter a flooded stretch and cannot assess the depth, current and road surface, do not drive into it relying on the height of the bodywork.
- If water, hail or spray prevents you from seeing safely, slow down before you lose your visual references and find a safe place to stop if necessary. Your priority is to maintain control and visibility, without stopping unexpectedly somewhere that puts passengers and those following you at risk.
23Fog and effective lighting
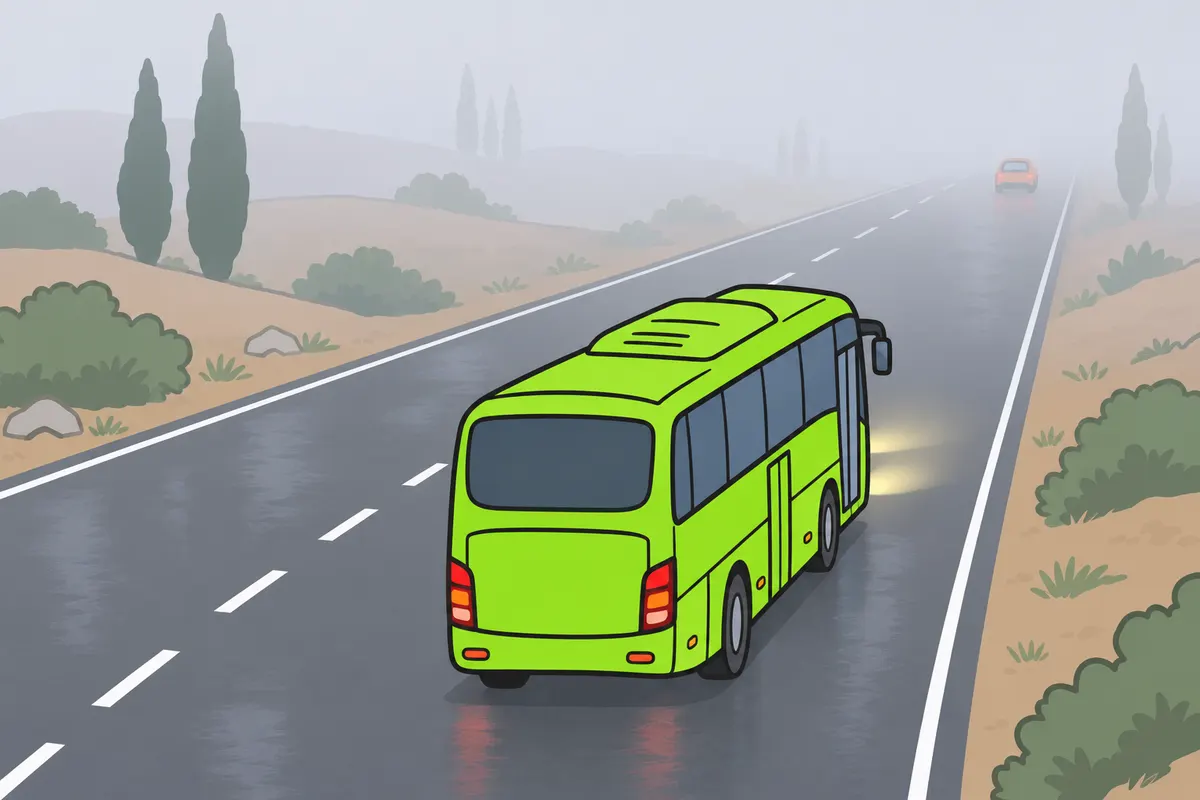
In fog, adapt your speed to visibility and use suitable lights.
| Light on your bus | Use in these conditions |
|---|---|
| Dipped beam | Helps you avoid strong reflection from main beam |
| Front fog lamps, if fitted | Can improve your view |
| Rear fog lamp | Only particularly adverse conditions: thick fog, very heavy rain, heavy snow, dense smoke or dust |
Remember
- Slow down and leave more space.
- Do not follow close to the lights ahead.
- Use the required lights when visibility drops significantly.
- Dipped beam avoids the strong reflection caused by main beam in fog.
- Do not drive using position lights alone.
- Check moisture, misted windows and mirrors.
Exam trap: Wrong: any fog allows rear fog lamps. Right: use them only in especially adverse conditions; keep them off when these conditions are absent.
Read the full explanation
- In fog, reduce your speed to match the actual visibility, increase the distance ahead and avoid following close to the lights of the vehicle in front. It may leave the road or stop.
- When weather conditions significantly reduce visibility, use the lighting required by the regulations. Article 106 allows front fog lights, dipped beam or main beam; as a technique in fog, dipped beam avoids the intense reflection from main beam, and front fog lights can supplement your view if fitted. [RGC, art. 106](https://www.boe.es/buscar/act.php?id=BOE-A-2003-23514#a106)
- Use the rear fog light only in particularly adverse conditions, such as thick fog, very heavy rain, heavy snowfall or dense clouds of smoke or dust. Keep it switched off when those conditions are not present. [RGC, art. 106](https://www.boe.es/buscar/act.php?id=BOE-A-2003-23514#a106)
- Position lights alone do not let you drive with the lighting required to see and be seen. Also watch for a damp road surface, misted windows and mirrors: fog limits what you can see and may coincide with reduced grip.
24Snow, ice and restrictions
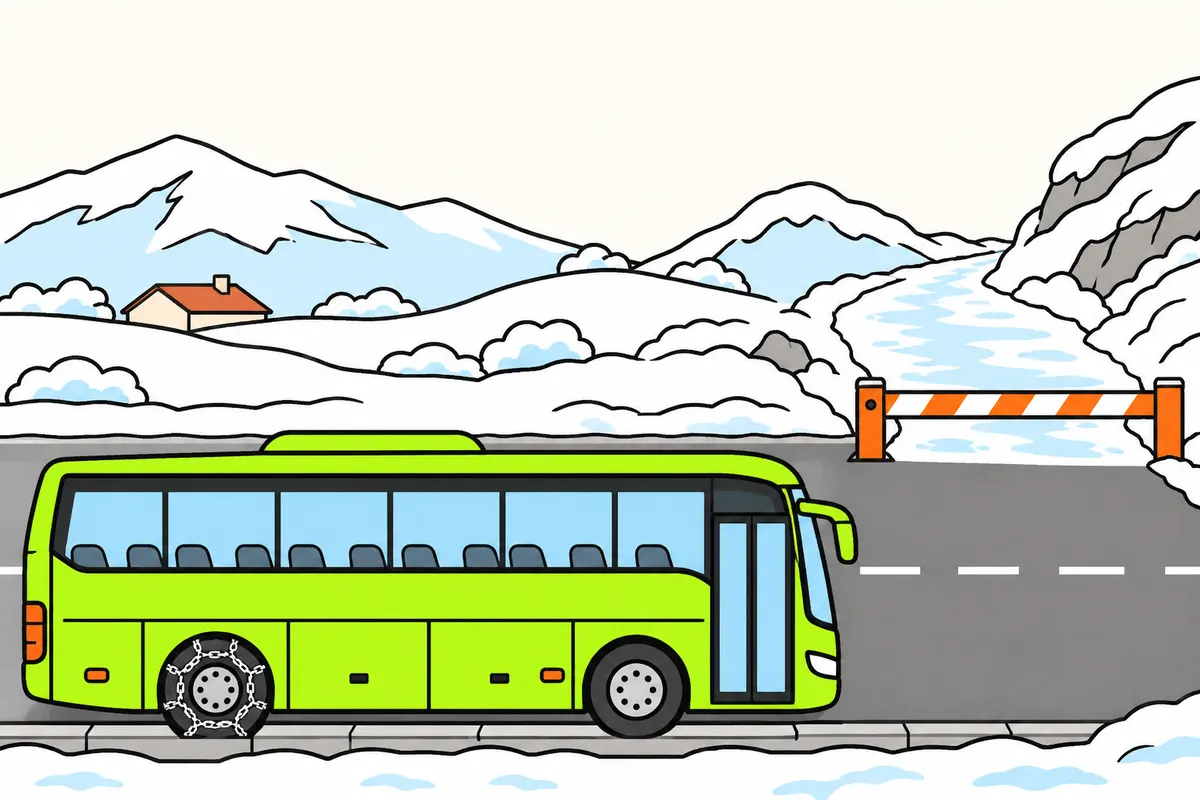
Check bus restrictions and drive very gently on snow or ice.
Remember
- Check your route and restrictions before setting off.
- Do not assume you can pass because a car can.
- On snow, prepare to slow down before bends and slopes.
- At red level, bus traffic is restricted; chains alone do not authorise your bus.
- Near or below zero, suspect ice in shade, on bridges and damp roads.
- On ice, avoid sudden movements and use braking assistance as the manual instructs.
Exam trap: Wrong: chains let you continue at red level. Right: bus traffic is restricted; check the exception and required equipment in “Chains and winter equipment”.
Read the full explanation
- Before setting off when snow is possible, check the route conditions and restrictions for buses, not just whether a car can get through. Whether the journey can go ahead depends on orders and conditions on the stretch, the equipment available and whether you can look after passengers safely if the journey is interrupted.
- In snow, accelerate, brake and steer gently, and prepare to change down before bends or gradients. Compacted snow can be very slippery and hide road markings, kerbs or obstacles; do not approach the edge based only on the apparent width of the cleared area.
- Red level restricts bus traffic; the exception and the equipment required are explained in “Chains and winter equipment”, in “Bus maintenance and checks”. [DGT: buses and red level](https://www.dgt.es/nuestros-servicios/autorizaciones-obras-y-usos-excepcionales-de-la-via/autorizaciones-especiales-de-circulacion/comunicaciones-para-circulacion-excepcional-con-nivel-rojo/)
- At temperatures near or below zero, suspect ice especially in damp, shaded areas, on bridges and where water has run across the road. It can be difficult to see and may persist even when a nearby stretch is clear; slow down in good time and avoid demanding hard steering and braking at the same time.
- If you cross a patch of ice, stay calm and avoid sudden corrections with the steering wheel, accelerator or brake. Keep a steady course until grip returns and follow the guidance on using the retarder in “Using the retarder correctly”.
25Night driving, dazzle and stops
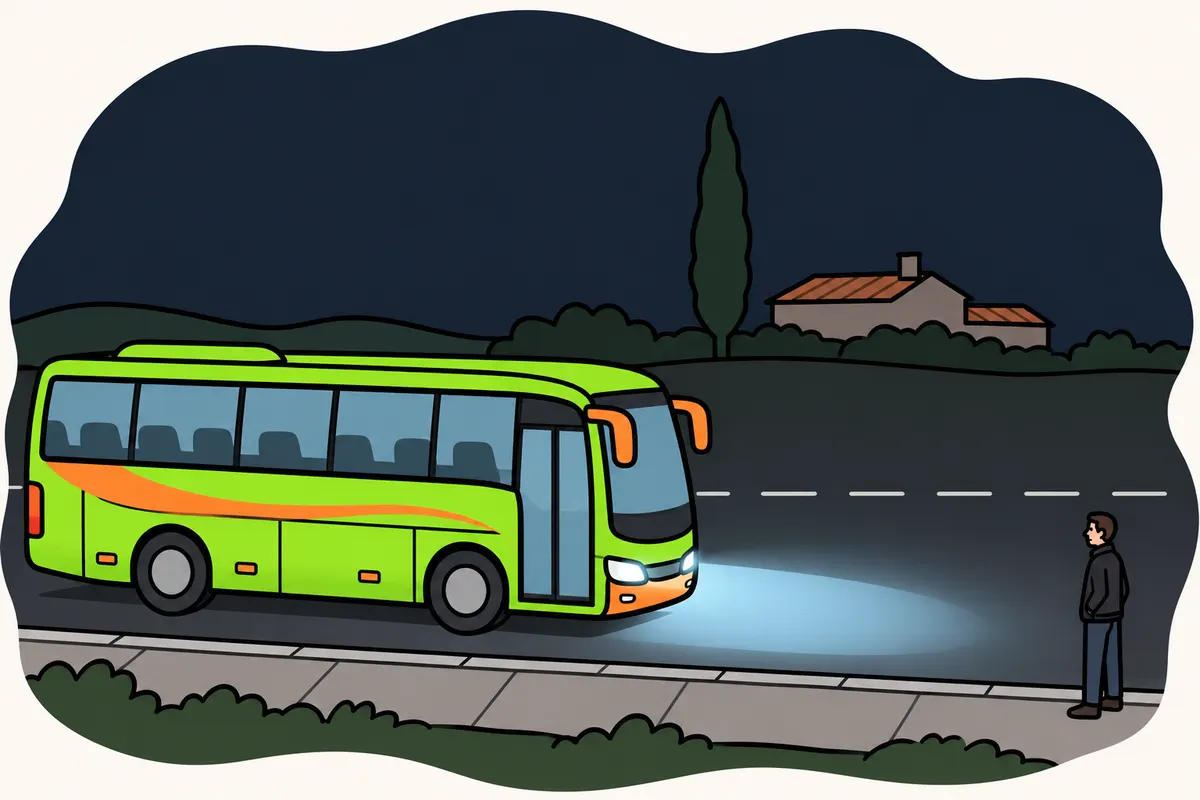
At night, choose a speed that lets you stop within the distance you can see.
Remember
- Adapt speed to visible distance, even if the limit allows more.
- Keep windows, mirrors, cameras and headlights clean.
- At dark stops, check edges, steps and people beside each door.
- Dip your headlights as soon as you might dazzle someone, even through mirrors.
- If dazzled, avoid looking at the lights; slow down, stopping if necessary.
- If sleepy or losing attention, find somewhere safe to stop.
Exam trap: Wrong: wait for the other driver to dip their lights. Right: dip yours as soon as you might dazzle someone, even if they do not.
Read the full explanation
- At night, adjust your speed so that you can stop within the area you can actually see. The driver's elevated position and the coach's headlights do not guarantee that you will detect a person wearing dark clothing or an obstacle outside the beam. [RGC, art. 45](https://www.boe.es/buscar/act.php?id=BOE-A-2003-23514#a45)
- Keep the windscreen, mirrors, cameras and headlights clean, and avoid interior reflections that obscure the view outside. At poorly lit stops, check the kerb, steps and people near each door; seeing someone under a streetlamp does not mean you can see someone waiting in the shadows.
- Switch from main beam to dipped beam as soon as there is a possibility of dazzling someone, including through rear-view mirrors and even if the other driver does not change their lights. If you are dazzled, slow down as much as necessary, even stopping if needed, to avoid hitting vehicles or pedestrians. [RGC, art. 102](https://www.boe.es/buscar/act.php?id=BOE-A-2003-23514#a102)
- When lights dazzle you, avoid looking directly at them and keep safe visual references along the edge of the road without taking your attention away from your lane. Take extra care on bends and at changes in gradient, where lights may appear suddenly. [DGT: night driving](https://revista.dgt.es/es/reportajes/2021/12DICIEMBRE/1214-Conduccion-nocturna.shtml)
- Anticipate entering and leaving areas with very different lighting, and do not accelerate until you have regained your visual references. If you become sleepy or cannot maintain your attention, find a safe place to stop; consult “The driver’s condition” to recognise sleepiness and “Driving times and rest periods” to plan your breaks.
Stopping and moving off again
A sequence for controlling the bus, doors and surroundings without jolts.
- Observe the stop, any obstacles and nearby people; check your mirrors and signal your approach.
- Slow down progressively and line up the doors with an accessible area beside the right-hand edge.
- Bring the bus to a complete stop before opening the doors and keep watching while passengers board and alight.
- Check that nobody is trapped or in a dangerous position; close the doors and stow the access equipment.
- Signal before moving off and check your path, blind spots and the swept path of the overhangs.
- Join the traffic only when you can do so safely, and accelerate progressively.
Reversing when necessary
Check that it is legal and keep monitoring your surroundings throughout.
- Check that reversing is permitted and that there is no safe way forward.
- Inspect the route and any obstacles; if you need to get out, secure the bus first.
- Arrange for another person to help if needed, and agree signals and a visible position outside the vehicle’s path.
- Warn others of the manoeuvre and reverse slowly, watching the rear, sides and front swing.
- Stop if you lose your reference points, receive a warning or someone comes close; check again or abandon the manoeuvre.
Descending a mountain pass with braking capacity in reserve
Set up your braking before the bus gains speed.
- Assess the gradient, bends, load, grip and restrictions before starting the descent.
- Reduce your speed and select a suitable gear within the permitted engine speed range.
- Use engine braking and the retarder in accordance with the manual and available grip.
- Monitor your speed and warning indicators; use the service brake when needed, without continuously overloading it.
- If you cannot maintain a safe descent, find a safe place to stop and resolve the cause before continuing.
Check what you know
Real questions from the bank on this topic. Pick an answer to see the explanation.
Finished this module?
Mark it as read and you will see your progress on the theory list.