
Theory · LCM Licence - Reduced Mobility Vehicle · Module 5 of 15
Your vehicle: characteristics and maintenance
You learn to identify a vehicle for people with reduced mobility, its technical limits and the seats you can use. You get to know its controls, lights and mirrors, and practise a systematic inspection to detect defects that may appear in exam questions.
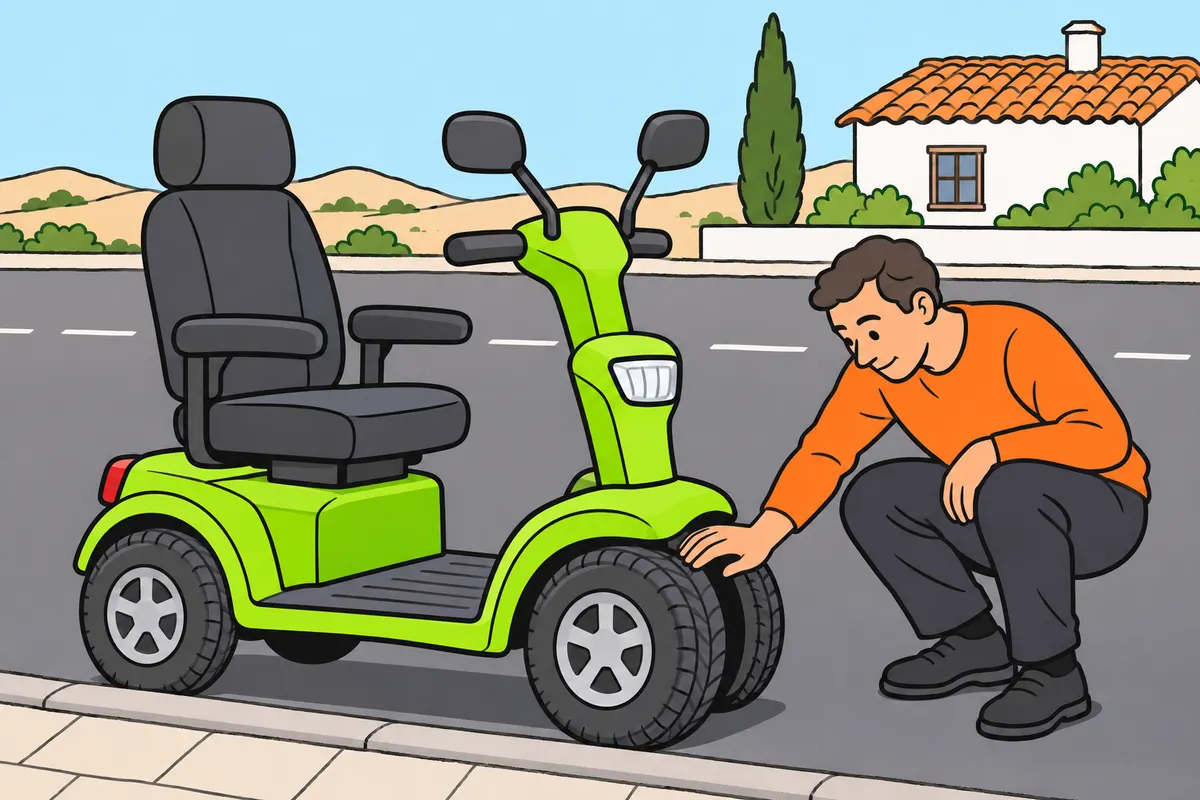
1What vehicle you drive
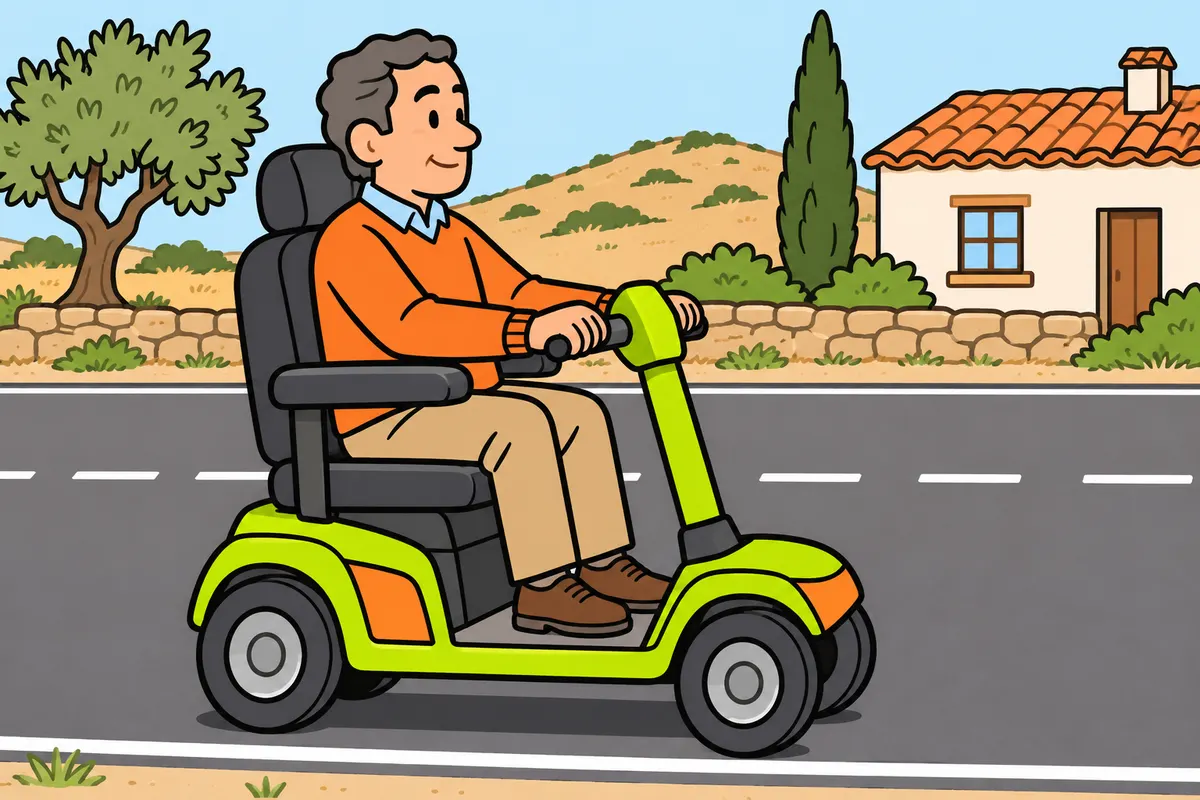
Identify your vehicle by its construction and authorised characteristics.
| Vehicle | Classification to recognise |
|---|---|
| Built specifically for reduced mobility | Must also meet the technical limits |
| Passenger car with adapted controls | Remains a passenger car |
Remember
- Check it was built specifically for people with physical dysfunction or disability.
- Recognise its technical equivalence to three-wheeled mopeds.
- Do not decide its category from its appearance or advertising.
- Check the actual classification of electric wheelchairs and mobility scooters.
Exam trap: Wrong: you classify every adapted car in this category. Right: an adapted passenger car remains a passenger car.
Read the full explanation
- With an LCM licence, you drive a vehículo para personas de movilidad reducida (vehicle for people with reduced mobility). This is the technical designation you must recognise in the exam; LCM identifies the licence. To classify a vehicle, you must consider its construction and authorised characteristics, as well as its appearance or the use you make of it.
- Its construction must be specifically intended for people with a physical impairment or disability. Its other technical characteristics are treated as equivalent to those of three-wheeled mopeds; its unladen mass and design speed limits are explained in the next two sections. [RGV, Annex II](https://www.boe.es/buscar/act.php?id=BOE-A-1999-1826#anii)
- A passenger car with adapted controls remains a passenger car: adaptation alone does not place it in this category. When you compare examples, look for a vehicle designed and built specifically for that purpose; a commercial advertisement saying “for people with disabilities” does not in itself prove its classification. [RGV, Annex II](https://www.boe.es/buscar/act.php?id=BOE-A-1999-1826#anii)
- You must not automatically equate this category with any electric wheelchair, mobility scooter or personal mobility vehicle. To use a particular model, you need to know its actual classification; commercial names are not enough to decide which rules and driving entitlement apply to it.
2The 350 kg refers to unladen mass
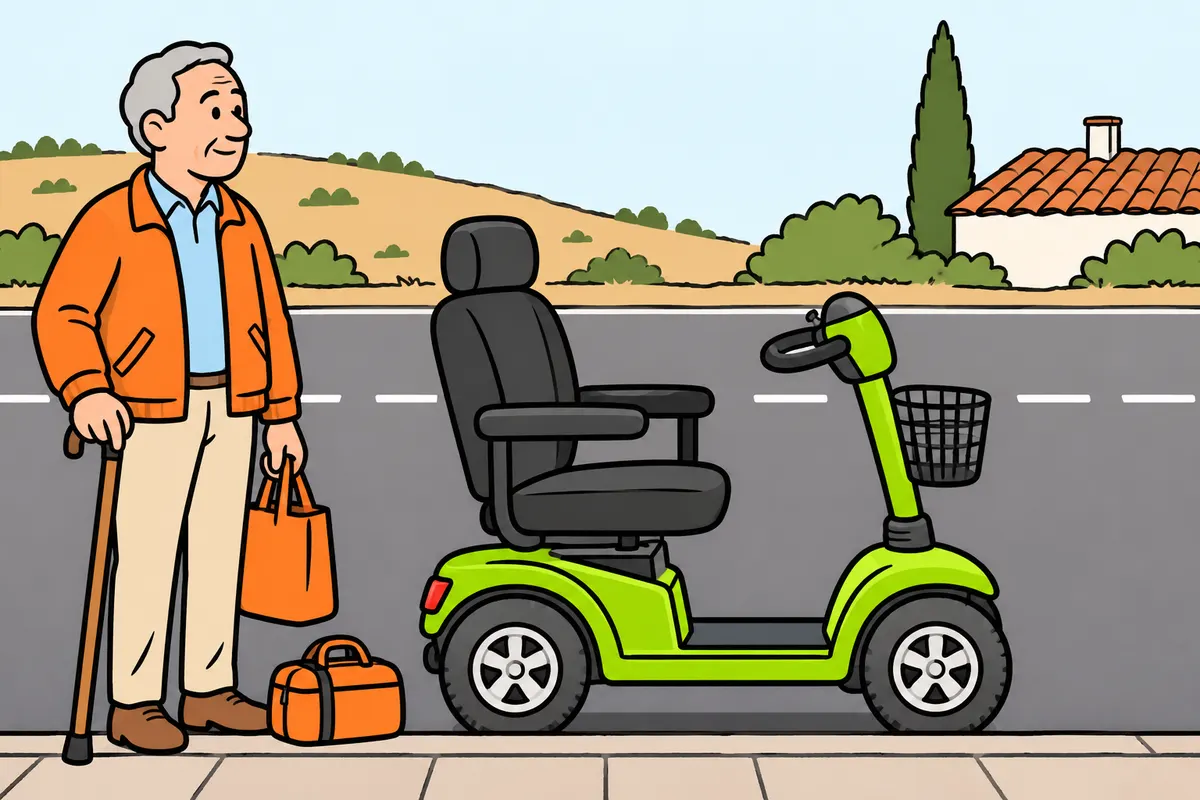
Distinguish unladen mass from the weight you can carry.
| Term | What it means |
|---|---|
| Unladen mass | Vehicle ready for use, with fixed equipment and supplies |
| Maximum authorised mass | Limit for the loaded vehicle |
Remember
- Unladen mass includes your vehicle ready for use, with fixed equipment and supplies.
- It excludes people and objects carried.
- Check the authorised masses before loading.
- Count accessories and objects you normally keep on board.
- Do not exceed maximum authorised mass with occupants and luggage.
Exam trap: Wrong: you can add 350 kg of luggage. Right: this figure limits unladen mass, not your load.
Read the full explanation
- The figure of 350 kg refers to unladen mass, not to maximum authorised mass or the weight you can add. Unladen mass is the mass of the vehicle with its fixed equipment and supplies, without people or a load; the authorised masses determine how you can use it. [RGV, Annex II](https://www.boe.es/buscar/act.php?id=BOE-A-1999-1826#anii) [RGV, Annex IX](https://www.boe.es/buscar/act.php?id=BOE-A-1999-1826#anix)
- You may come across a vehicle whose unladen mass meets the definition and whose total mass increases when you get in and put your belongings on board. This increase does not make the 350 kg an allowance for luggage: to find out how much you can carry, you must check the model’s authorised masses.
- Before adding equipment or a mounting bracket, check its compatibility and how it affects the overall mass. When planning your journeys, also count the objects you usually leave on board; a tool bag, shopping or an accessory still has weight, however useful it is.
- You must not exceed the maximum authorised mass with the combined weight of occupants and luggage. The figure you must observe when loading is the one for your vehicle; do not infer a universal carrying capacity from the maximum unladen mass that defines the category. [RGV, art. 14 and Annex IX](https://www.boe.es/buscar/act.php?id=BOE-A-1999-1826#a14)
3Design speed and performance
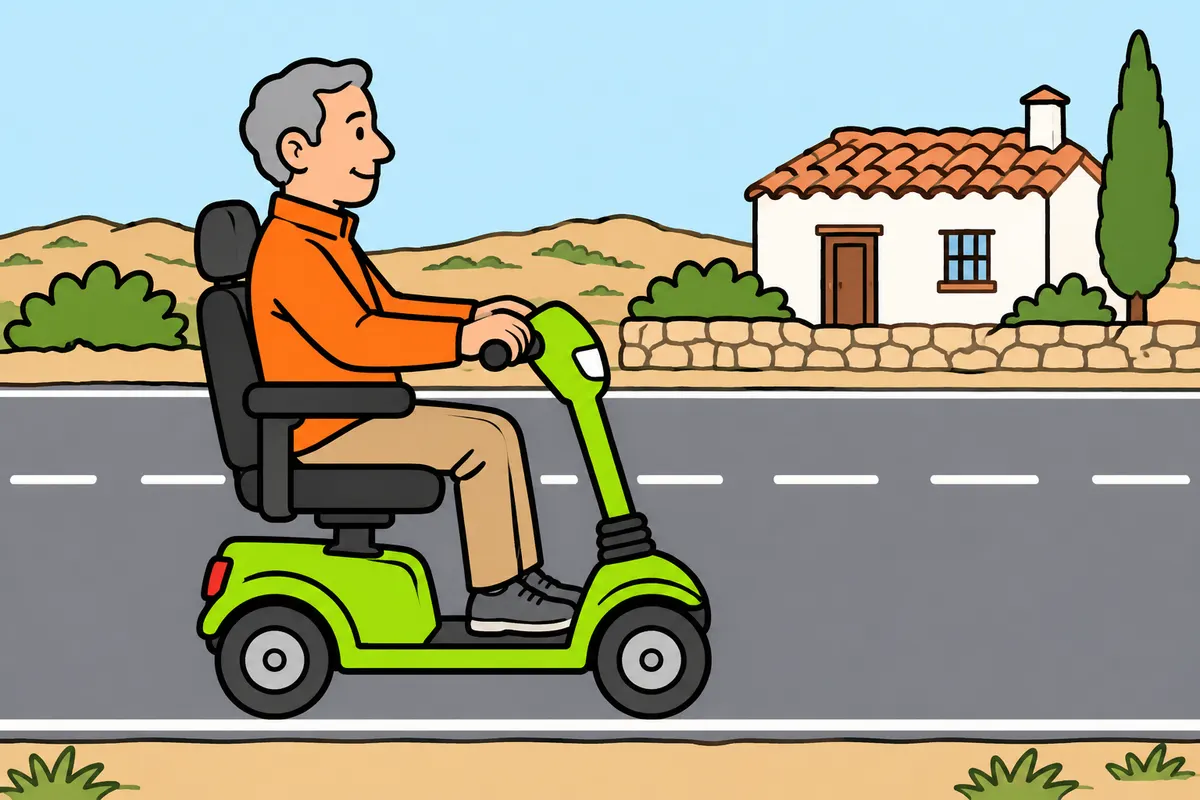
Distinguish design speed from a safe and legal driving speed.
| Term | What you must remember |
|---|---|
| Design speed | Technical limit of your vehicle |
| Driving speed | Depends on speed limits and hazards |
Remember
- The maximum design speed on level ground is 45 km/h.
- You do not have to reach or maintain this speed.
- Respect road speed limits and slow down for hazards.
- Check the manufacturer’s permitted loads and slopes.
- Check the requirements before changing performance.
Exam trap: Wrong: you must always drive at 45 km/h. Right: this is a technical limit on level ground.
Read the full explanation
- The vehicle must be built so that it cannot exceed 45 km/h on level ground. In a question about its definition, this figure is a technical limit; it does not describe a speed that every model must reach or a speed you must maintain during your journey. [RGV, Annex II](https://www.boe.es/buscar/act.php?id=BOE-A-1999-1826#anii)
- Do not confuse the speed permitted by the design with road speed limits. The fact that your vehicle can reach a certain speed does not tell you how fast you may drive on a street or when facing a hazard; study how these limits apply in the “Speed and safe following distances” module.
- Keep the devices that limit the performance of the type-approved model. If you want to work on them, first check the technical feasibility and the procedure in the “Maintenance and vehicle modifications” section; a modification to the accelerator or electronic control system can affect the vehicle’s response and authorised characteristics.
- You must know the specific performance stated by the manufacturer, including loading conditions and permitted gradients. Do not assume that two vehicles in this category respond in the same way when accelerating, braking or climbing a hill: the legal definition does not replace their operating instructions.
4Seats and authorised passengers
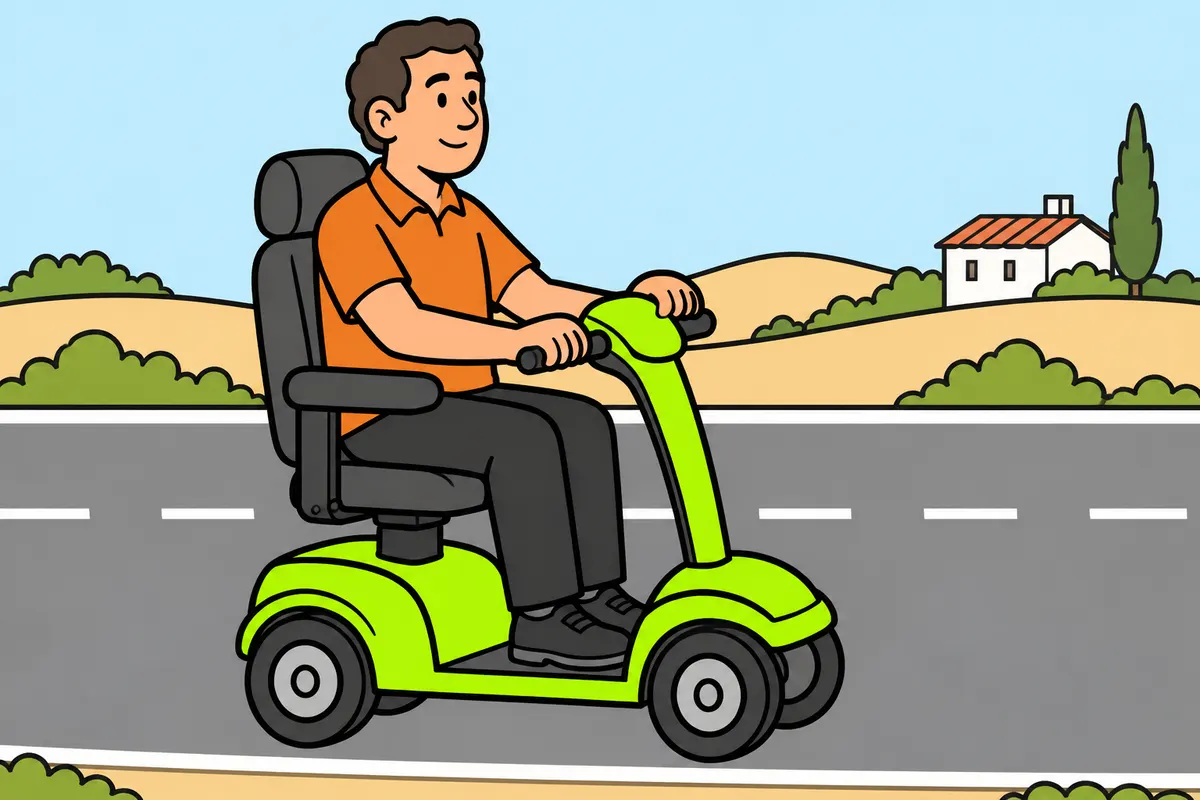
You can carry a passenger only if you are old enough and have an authorised seat.
| Your situation with an LCM licence | Passenger |
|---|---|
| Only one seat | You cannot carry a passenger |
| Extra authorised seat, under 16 | You cannot carry a passenger |
| Extra authorised seat, from 16 | You must meet the other conditions |
| Child up to 135 cm | Check “Restraints, occupants and objects” in “Drive safely and make yourself visible”. |
Remember
- Count your own seat among the authorised seats.
- Before you turn 16, your LCM licence does not allow passengers.
- From 16, you need an extra authorised seat and must meet other conditions.
- Do not create seats with cushions or by sharing.
- Check access, fastenings and the position of movable supports.
- For children up to 135 cm, check “Restraints, occupants and objects”.
Exam trap: Wrong: turning 16 is enough to carry a passenger. Right: you also need an authorised seat and must meet the other conditions.
Read the full explanation
- You must check how many seats your vehicle is authorised to have, including the driver’s seat. You cannot create a seat by adding a cushion, sharing a seat or using a storage space; people must occupy places intended and equipped for them. [RGC, art. 9](https://www.boe.es/buscar/act.php?id=BOE-A-2003-23514#a9) [RGC, art. 10](https://www.boe.es/buscar/act.php?id=BOE-A-2003-23514#a10)
- If your vehicle has only one seat, you must use it without a passenger. If it has an additional authorised seat, this does not remove the personal conditions of the licence: until you reach 16 years of age, the LCM licence does not authorise you to carry passengers. [RGCond, art. 6](https://www.boe.es/buscar/act.php?id=BOE-A-2009-9481#a6)
- Check how the additional seat is equipped: the foot space, supports and restraints must allow your passenger to travel without interfering with your driving position. You can consult “Drive safely and make yourself visible”, in the “Restraints, occupants and objects” section, to prepare protection for those travelling with you. [RGC, art. 18](https://www.boe.es/buscar/act.php?id=BOE-A-2003-23514#a18)
- Before your passenger gets in, check that access allows them to reach their seat and that catches or movable supports are in the position specified by the manufacturer. To stow their belongings, apply the “Objects and load distribution” section of this module.
- If you carry a child who is 135 cm tall or less, apply “Restraints, occupants and objects” in “Drive safely and make yourself visible”. [RGC, art. 117](https://www.boe.es/buscar/act.php?id=BOE-A-2003-23514#a117)
5Recognise your model’s configuration
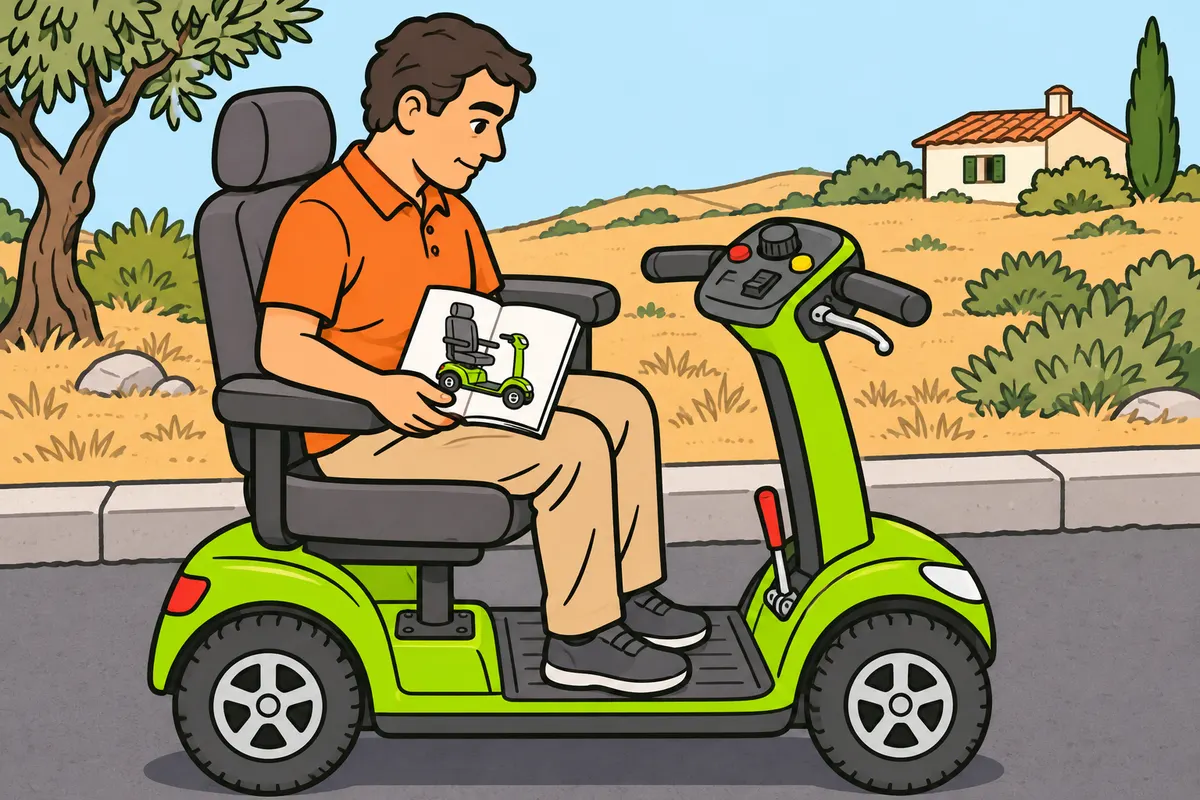
Learn your model’s controls before moving.
Remember
- Read the manual for your version and its adaptations.
- Find the starting control, accelerator, brakes, lights and device that prevents movement.
- Learn the controls with your vehicle secured against movement.
- Do not use supports as driving controls.
- Do not assume another model works the same way.
Exam trap: Wrong: every model has pedals and manual gears. Right: check your own model’s actual controls.
Read the full explanation
- Before using a different vehicle, identify its bodywork, driving position, steering system and control layout. Not all models have a steering wheel, pedals or a gear lever like those of a passenger car; learn the actual function of each control from the manual.
- You must locate the control for activating the vehicle, the accelerator, the brakes, the device for securing the vehicle against movement, and any lighting and signalling controls fitted. Familiarise yourself with these while the vehicle is secured, without causing unintended movement as you look for a control.
- Distinguish an item that enables you to drive from one that helps with access or posture. An armrest, a support or a transfer mechanism may help you, but you must not use it as a control or as a support point for which it is not designed.
- Use the instructions for the version and adaptations actually fitted to your vehicle. A video of another model may provide guidance, but it does not allow you to infer how your brake works, how you select the direction of travel or how you secure the vehicle against movement.
6Adjust your driving position before setting off
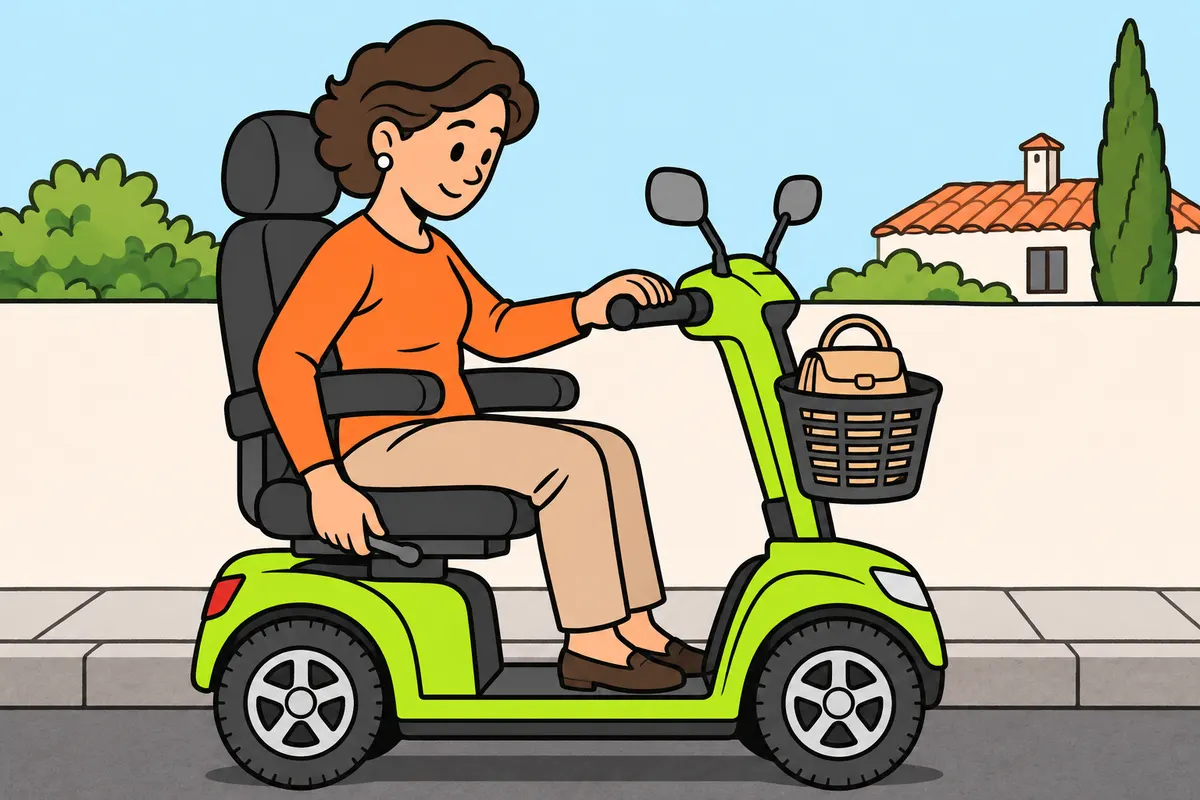
Adjust your posture and mirrors before setting off.
Remember
- Reach the controls without stretching unsteadily.
- Check that your seat and supports lock in place.
- Practise steering and braking movements with your vehicle secured against movement.
- Keep clothing, straps and objects away from controls and moving parts.
- Adjust your mirrors after your seat.
- Do not infer protective clothing duties from technical equivalence alone.
Exam trap: Wrong: mirrors adjusted by someone else suit you. Right: adjust them from your final driving position.
Read the full explanation
- You must maintain a posture that allows freedom of movement, a clear view and control of the vehicle. Adjust the seat and available supports before driving so that you can reach the controls without having to raise yourself, stretch in an unstable position or repeatedly look away from the road. [RGC, art. 18](https://www.boe.es/buscar/act.php?id=BOE-A-2003-23514#a18)
- Check that the adjustments are locked and that the seat does not move when you operate the controls. As a practical check, with the vehicle secured, go through the movements you need to steer and brake; if anything interferes, correct your position before setting off.
- You must check that clothing, laces, straps and personal belongings are kept away from moving parts and controls. A bag hanging from a lever can affect its operation; put your belongings in the designated space, even if you need them when you arrive.
- The height of your eyes changes when you adjust the seat and supports. Finish adjusting your driving position first, then make the adjustments described in “Adjust the mirrors and recognise their limits”; this allows you to check the field of view you have while driving.
- For your personal protection, consult the “Drive safely and make yourself visible” module. Article 118.1 lists mopeds, three-wheeled vehicles and quadricycles, among others, but does not expressly mention the vehicle for people with reduced mobility; its technical equivalence does not automatically make all the clothing requirements for those categories apply to you. [RGC, art. 118.1](https://www.boe.es/buscar/act.php?id=BOE-A-2003-23514#a118) [RGV, Annex II](https://www.boe.es/buscar/act.php?id=BOE-A-1999-1826#anii)
7Controls and adaptations
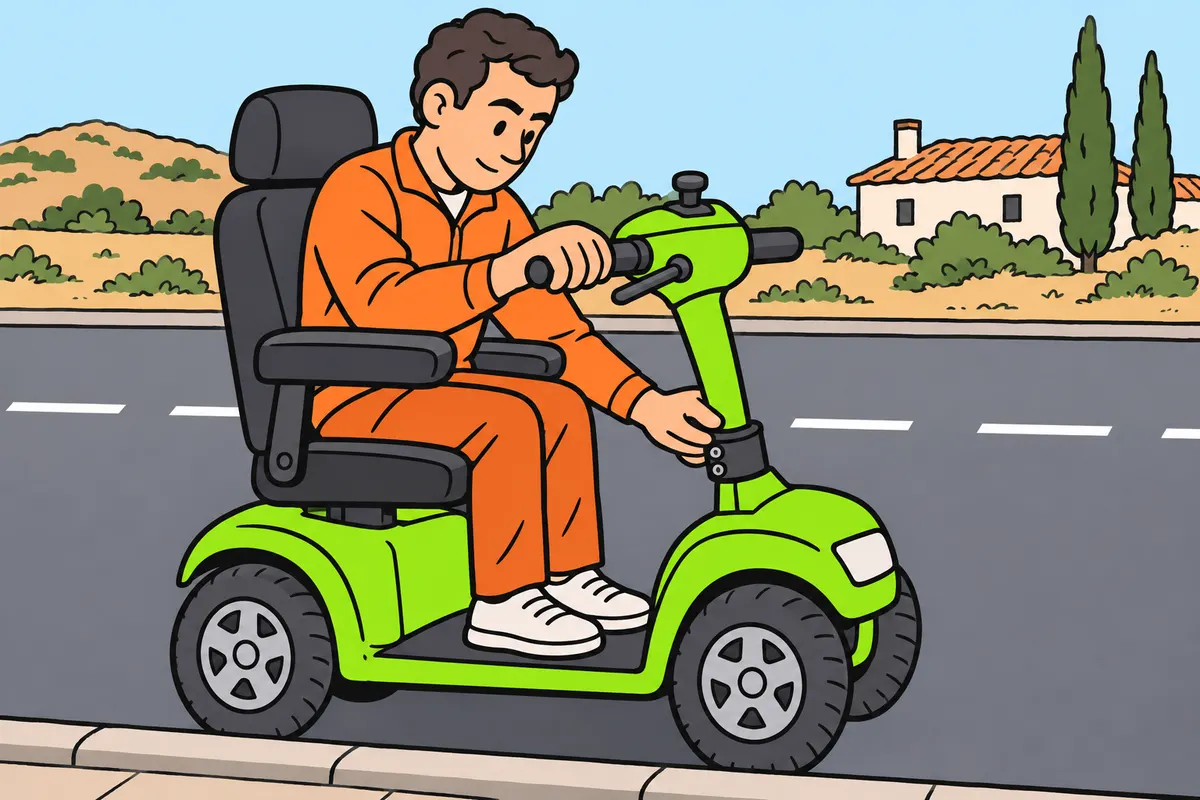
Keep your adaptations secure and your controls working properly.
Remember
- Check the mountings and keep controls clear.
- Learn what happens when you release each control.
- Do not assume releasing the accelerator automatically brakes.
- Find the cause of sticking or unusual responses before setting off.
- Use professionals for repairs and changes.
- Before changing controls, consult “Maintenance and vehicle modifications”.
Exam trap: Wrong: every model brakes when you release the accelerator. Right: check how your model responds.
Read the full explanation
- You must keep the adaptations you need for driving in working order. Check that their mountings are secure and that the controls operate without obstruction; an adaptation forms part of your control of the vehicle and requires the same attention as the mechanisms to which it transmits your inputs.
- Operate the accelerator and brakes according to the manufacturer's procedure. Before moving off, you must be clear about which action increases speed, which reduces it and what happens when you release each control; do not assume that every vehicle brakes automatically when you stop accelerating.
- If a control requires unusual force, jams or responds differently from normal, you must find out why before using the vehicle. Do not compensate for a fault by adopting an unsafe posture or keeping another control pressed throughout the journey.
- Have controls repaired by professionals who know the system. A part that appears to fit must be compatible with the mechanism and preserve its safe operation; if you want to modify a control or add an adaptation, follow the section «Maintenance and vehicle modifications» in this module.
8Steering: keeping your course under control
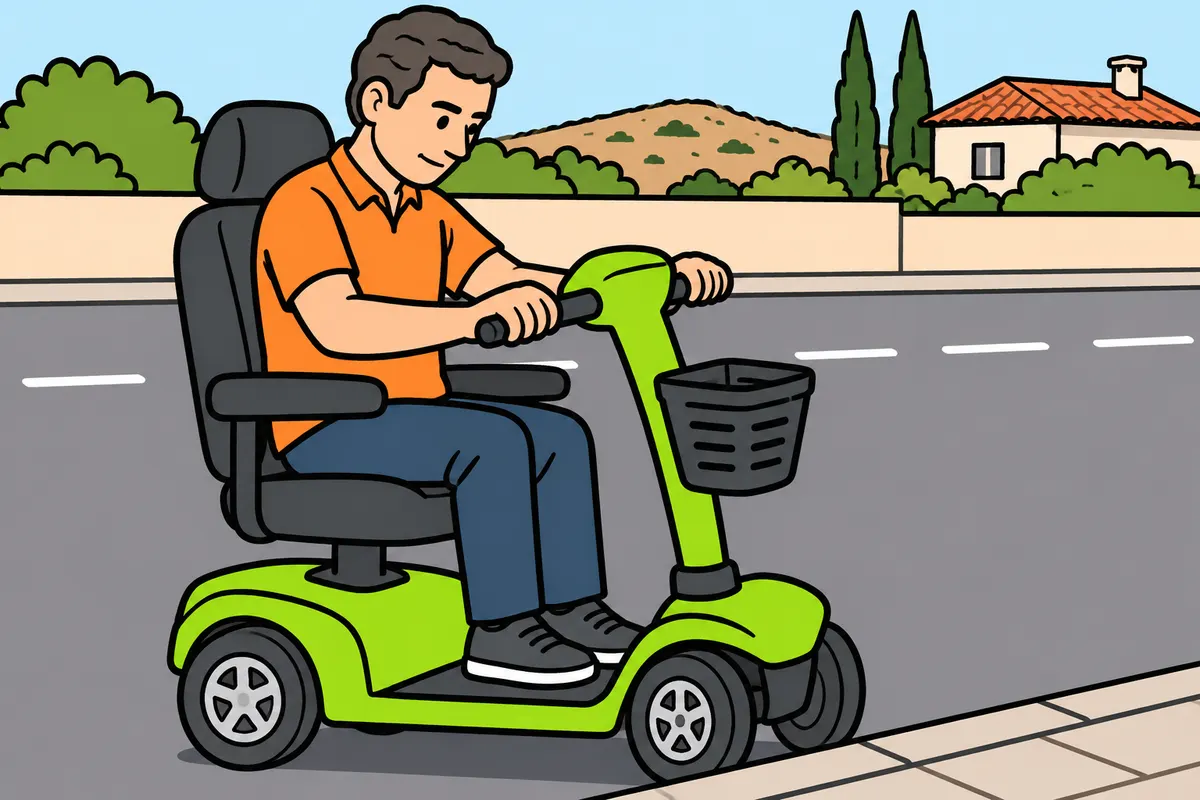
Do not set off unless you can control your steering.
Remember
- Check that accessories allow you to complete turns.
- Check unusual movement, locking or stiffness as the manual explains.
- Tell your workshop about pulling to one side or new vibrations.
- Do not test a fault by increasing speed.
- Do not blame a particular part without checking.
Exam trap: Wrong: you can drive slowly with faulty steering. Right: do not set off without proper control of your course.
Read the full explanation
- The steering allows you to maintain and change your course. Familiarise yourself with its response and check that you can move its control through the necessary range; supports or accessories must not restrict movement or force you to release the control to complete a turn.
- As a practical check before setting off, look for abnormal play, stiffness, jamming or unusual movements. Carry out the checks permitted by the manufacturer in safe conditions; do not try to diagnose a steering fault by driving among other road users or increasing speed to see whether it disappears.
- You must pay attention if your vehicle veers off course without a clear cause or you feel new vibrations through the steering control. Finding the cause may require checks on the wheels, steering or other components; identify the symptom and report it to the workshop instead of attributing it to a single part without checking.
- A steering fault affects safety even when you drive slowly on a dry surface. If you cannot properly control your course, you must not set off; low speed and a short distance are no substitute for being able to control the vehicle. [RGC, art. 17](https://www.boe.es/buscar/act.php?id=BOE-A-2003-23514#a17)
9Brakes: function and checks
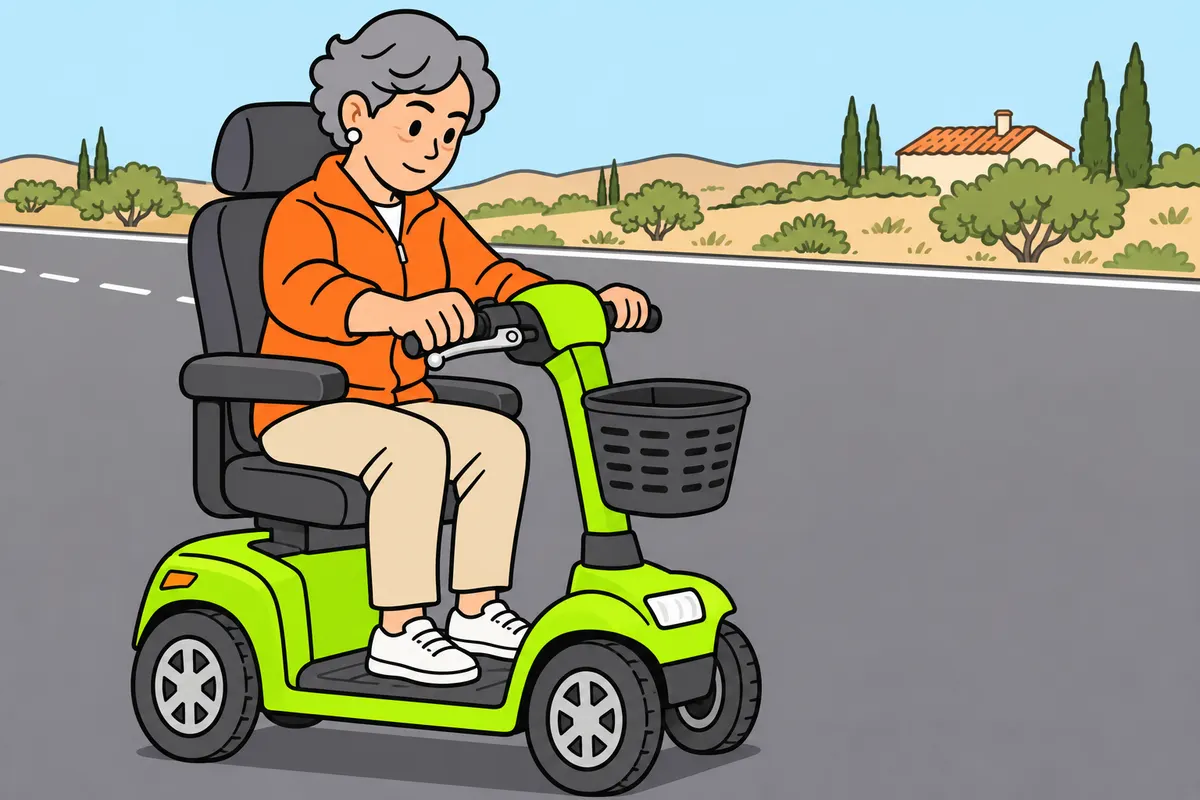
Check your brakes before starting your journey.
Remember
- Learn which control brakes and how it responds.
- Check the controls as the manual explains.
- If a moving test is needed, go very slowly in a safe, clear space.
- If a fault threatens safety, stop using your vehicle until repaired.
- Follow the manufacturer’s procedure to secure your vehicle against movement.
Exam trap: Wrong: every model has ABS. Right: identify the systems fitted to your vehicle.
Read the full explanation
- The service brake allows you to reduce speed and stop the vehicle. You must know which control operates it and how your model responds; if there are several braking controls, learn how to use them together or separately according to the instructions, without automatically applying what you learnt in another vehicle.
- Before setting off, check the travel and response of the controls according to the manual. If a moving check is appropriate, you must carry it out at very low speed in a safe, clear space; do not begin your normal journey relying on checking the brakes at the first junction.
- You must pay attention to reduced effectiveness, abnormal control travel, jerking or new noises when braking. If the response compromises your safety, stop using the vehicle until it is repaired; being able to stop by forcing the control does not show that the system is in good condition.
- Do not assume that all these vehicles have ABS, regenerative braking or a parking brake identical to that of a passenger car. Identify the systems fitted and their functions; to secure your model against movement, you must use the device and procedure specified by the manufacturer, without improvising with the accelerator.
10Transmission and control on slopes
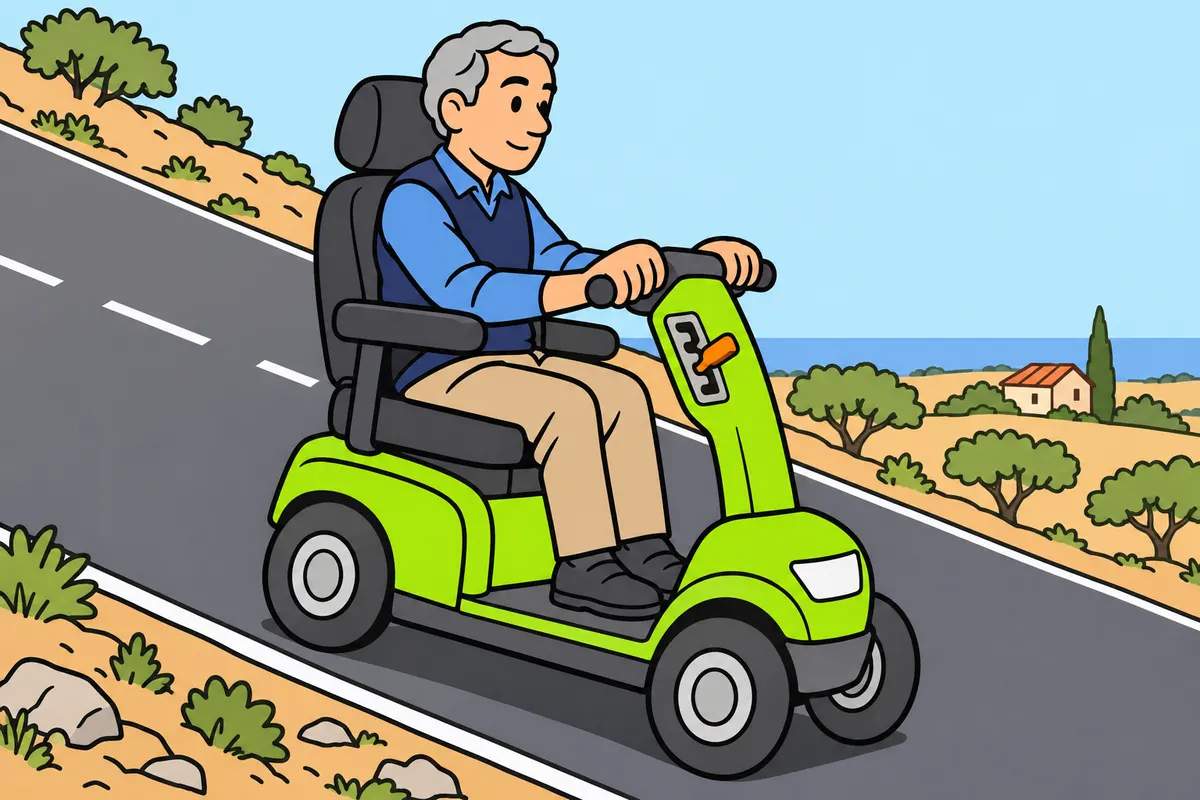
Control downhill speed and secure your vehicle before leaving it.
Remember
- Recognise the forward setting and reverse, if fitted.
- Check which mode you should use downhill.
- Respect the manufacturer’s slope and load limits.
- Do not disconnect the transmission to coast downhill.
- If the drive system helps you brake, use it as instructed.
- Before leaving your seat, check that your vehicle cannot move.
Exam trap: Wrong: stopping acceleration secures your vehicle. Right: use the specified procedure and check that it cannot move.
Read the full explanation
- You must know whether your model has automatic transmission, selectable gears or specific modes. Learn to recognise the forward drive position and, if fitted, the reverse position; selecting the wrong direction of travel can cause a dangerous movement even before you reach any appreciable speed.
- For a descent, check which gear or mode allows you to control speed without overloading the brakes. Not every vehicle offers a selectable low gear; use the solution specified for your model and also check that the gradient and load are within its operating limits.
- As a safe driving practice, you must not disengage the transmission to coast downhill or rely on braking sharply at the bottom. If the manufacturer provides for a braking effect from the drivetrain, use it as instructed; a light vehicle still requires you to maintain control throughout the descent.
- Identify how your model confirms that the device that secures it against movement is applied: this may require a mechanical action or a specific indication on the instrument panel. Practise operating it according to the manual; for parking and leaving the driving position, consult «Manoeuvres with your LCM vehicle», section «Securing your vehicle and getting out».
11Tyres: visual inspection
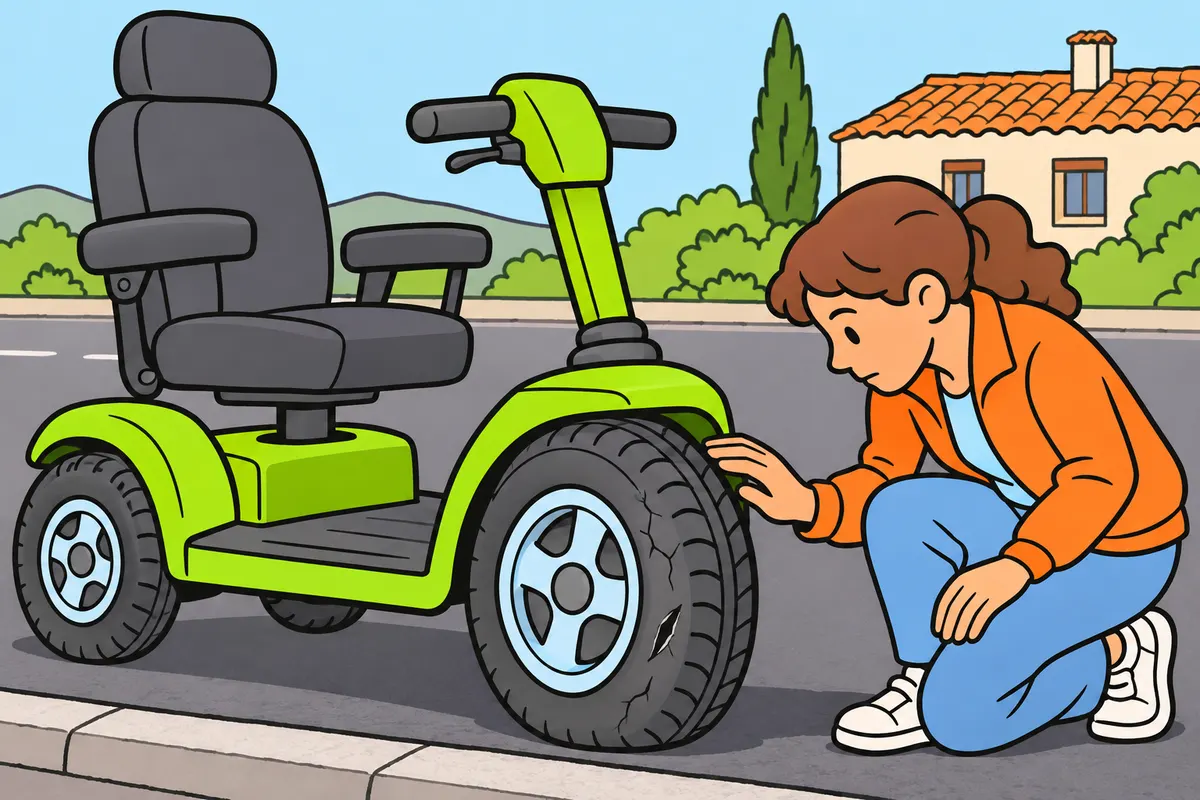
Check your tyres even when they still have tread.
Remember
- Use tyres with approved characteristics or permitted equivalents.
- Look for cracks, cuts, bulges and exposed cords.
- Also check tyre sidewalls, wheels and valves.
- Ask your workshop about uneven wear.
- Do not automatically apply the 1.6 mm minimum from other categories.
Exam trap: Wrong: tread guarantees safety. Right: also check for damage and follow your vehicle’s specifications.
Read the full explanation
- You must use tyres with the dimensions and characteristics specified in the type approval, or permitted equivalents. When replacing them, consult the vehicle specification; do not choose a tyre just because its diameter looks similar or because it is advertised as suitable for a mobility vehicle. [RGV, Annex VII](https://www.boe.es/buscar/act.php?id=BOE-A-1999-1826#anvii)
- Inspect the tread and sidewalls for damage, deformation, cracks, cuts or exposed cords. The condition of the rubber matters as well as the tread pattern: a tyre that still has grooves may have damage that makes continued use unsafe. [RGV, Annex VII](https://www.boe.es/buscar/act.php?id=BOE-A-1999-1826#anvii)
- You must not automatically apply to this category the minimum of 1.6 mm specified in Annex VII for certain categories of automobiles and trailers. You must keep your vehicle's tyres in a safe condition and follow their specifications; do not wait until the tread is worn out before checking their condition. [RGV, Annex VII](https://www.boe.es/buscar/act.php?id=BOE-A-1999-1826#anvii)
- Uneven wear means you need to check the assembly and consult a workshop: it may be related to pressure or other adjustments. Do not try to compensate by swapping parts without a sound basis; also check that the wheel and valve are undamaged and that there are no obviously loose components.
12Tyre pressure and grip
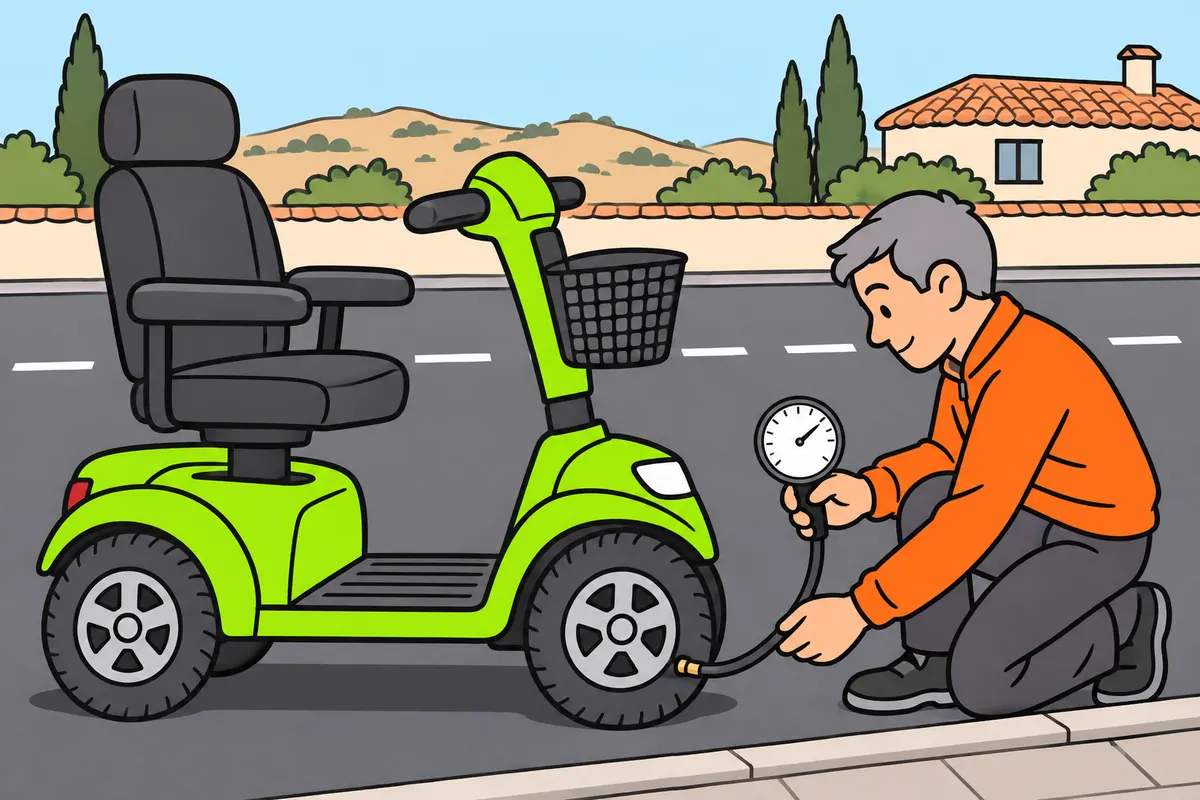
Check cold tyre pressures against the instructions for your vehicle and load.
Remember
- Use a suitable pressure gauge.
- Do not judge pressure by looking at a wheel.
- Check whether the manufacturer gives different pressures for wheels or loads.
- If a tyre keeps losing air, find and repair the cause.
- Keep tyres in good condition for braking and steering.
Exam trap: Wrong: a similar vehicle’s tyre pressure will do. Right: use the pressure specified for your model and load.
Read the full explanation
- Check the pressure specified by the manufacturer for the operating conditions and load. As a maintenance practice, measure it when the tyres are cold using a suitable pressure gauge; looking at the wheel alone does not tell you accurately whether it is correctly inflated. [DGT, tyre maintenance](https://www.dgt.es/export/sites/web-DGT/.galleries/downloads/conoce-el-estado-del-trafico/vigilancia-y-control/campanas/2023_06-CCyV-Condiciones-del-vehiculo-Argumentario.pdf)
- There is no single pressure for every vehicle in this category. Note down or locate the recommendation specific to your model and check whether it varies by wheel or load; do not use the figure for a passenger car, bicycle or similar vehicle as a substitute for these instructions.
- Correct pressure helps the tyre behave as intended. If a tyre repeatedly loses air, find the cause and have it repaired; inflating it each time you set off does not fix a leak and may leave you unable to control the vehicle during the journey.
- You must understand how tyre condition affects grip and the response when braking or steering. A damaged tyre does not improve grip in the rain; keep the assembly in good condition and study «Drive safely and make yourself visible», section «Rain and slippery road surfaces», to learn how to adapt your driving to a slippery surface.
13Wheels and suspension
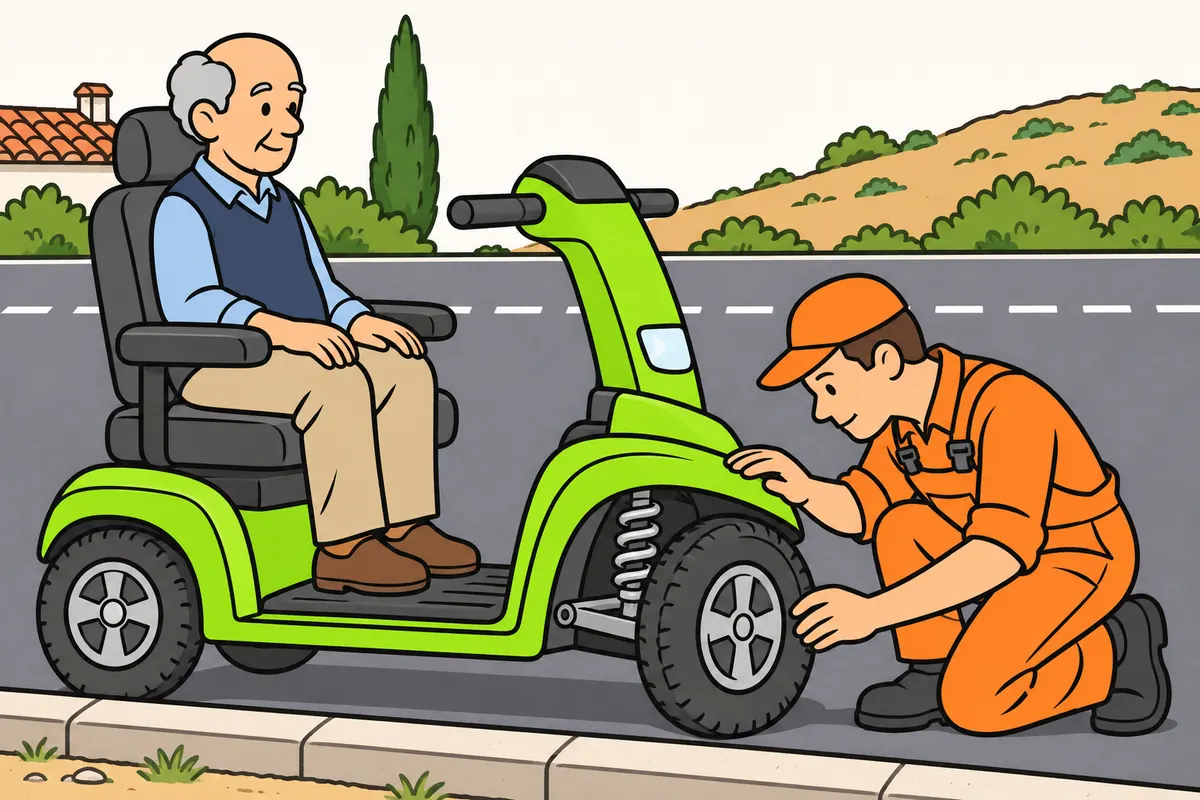
Pay attention to knocks, vibrations and changes in your wheels.
Remember
- Look for damaged wheels or wheels that seem out of line.
- Do not adjust fixings without knowing the procedure and tools.
- Request inspection for hard knocks, swaying or an unusual lean.
- After a severe impact, seek inspection if steering, vibration or braking changes.
- Do not increase speed to hide noises or vibrations.
Exam trap: Wrong: if your vehicle still moves, it is undamaged. Right: an impact can cause damage you cannot see.
Read the full explanation
- During your exterior inspection, check whether any wheel appears misaligned, has visible damage or behaves differently from usual. Do not tamper with its fastenings unless you know the correct procedure and have the appropriate tools; any wheel repair must follow the vehicle's technical instructions.
- You must regard the suspension and supporting components as part of the system that keeps your vehicle stable. If you notice sharp knocks, oscillations or unusual leaning, arrange an inspection; try to describe when the symptom occurs and whether it coincides with changes in load or a recent impact.
- Hitting a kerb or a deep pothole can justify a check even if your vehicle still moves. Do not assume there is no damage because you cannot see anything broken on the outside; if you notice changes in steering, vibrations or braking, have a professional assess the extent of the damage.
- For the test, link tyres, steering, brakes and suspension to vehicle control. You must not regard their maintenance as merely a matter of comfort: a new noise or vibration requires attention, and increasing your speed to make it less noticeable does not resolve it.
14Which lights must be fitted
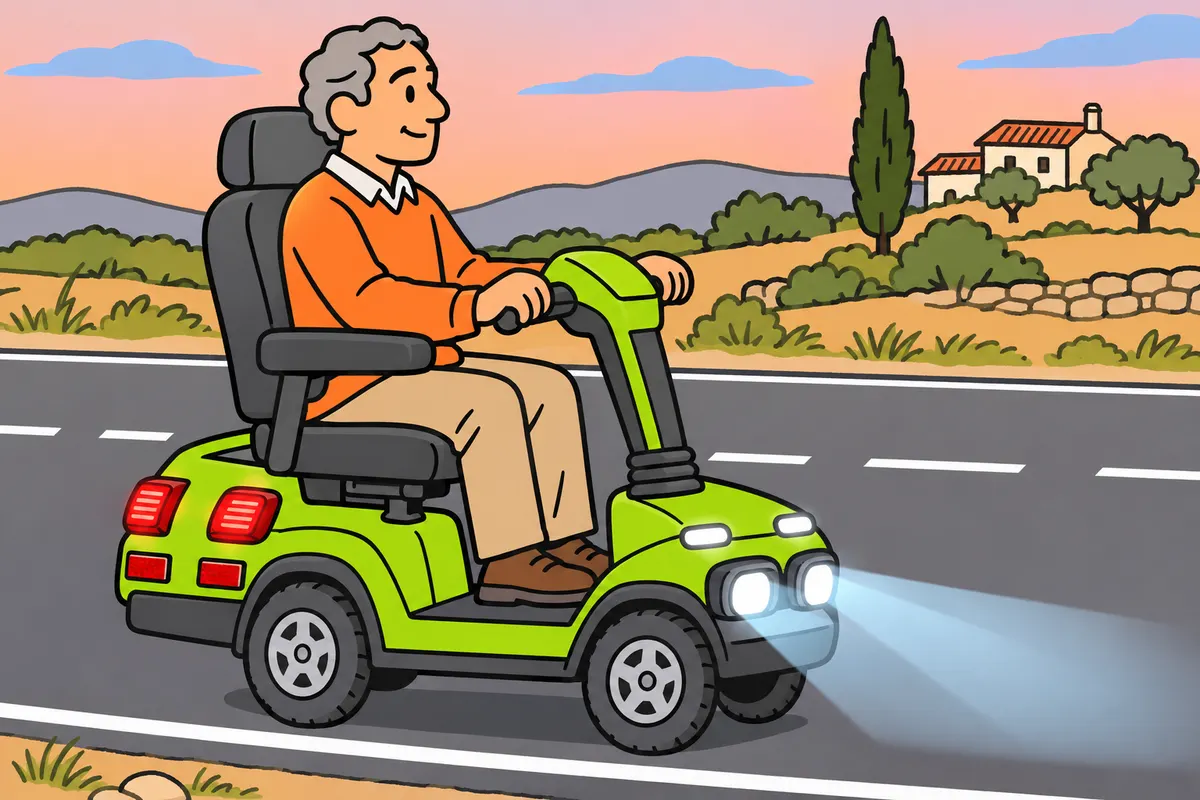
Check required lights according to your vehicle’s width, bodywork and age.
| Equipment on your LCM vehicle | Requirement |
|---|---|
| Dipped beam and front/rear position lights | Compulsory |
| Brake lights | Compulsory, except vehicles first put into circulation up to 1 November 1999 |
| Indicators with enclosed bodywork | Compulsory |
| Indicators without enclosed bodywork | Optional |
| Main beam, rear number plate lighting and side reflectors | Optional |
Remember
- Recognise dipped beam, position lights, brake lights and non-triangular rear reflectors.
- Above 1,300 mm wide, you need paired dipped-beam, front/rear position and brake lights.
- You need indicators if your vehicle has enclosed bodywork.
- Main beam and rear number plate lighting are optional.
- Keep fitted, authorised devices working.
Exam trap: Wrong: brake lights are compulsory without exception. Right: check the exception for vehicles first put into circulation up to 1 November 1999.
Read the full explanation
- Because your vehicle is technically treated as a three-wheeled moped, you must recognise dipped-beam headlights, front and rear position lights, brake lights and non-triangular rear reflectors as its basic lighting equipment. Direction indicators are compulsory if it has enclosed bodywork. [RGV, art. 21](https://www.boe.es/buscar/act.php?id=BOE-A-1999-1826#a21) [RGV, Annex II](https://www.boe.es/buscar/act.php?id=BOE-A-1999-1826#anii)
- The technical table provides for one or two dipped-beam headlights, position lights and brake lights; it requires two when the maximum width exceeds 1,300 mm. You must apply the equipment requirements corresponding to your vehicle's width and type approval, without assuming that all such vehicles have a single headlight because they are small. [RGV, Annex X](https://www.boe.es/buscar/act.php?id=BOE-A-1999-1826#anx)
- Main-beam headlights and rear number plate lighting are listed as optional in the technical regulations for three-wheeled mopeds. Direction indicators on vehicles without enclosed bodywork and side reflectors are also optional; do not assume that all the compulsory equipment for a passenger car applies to your vehicle. [RGV, art. 21](https://www.boe.es/buscar/act.php?id=BOE-A-1999-1826#a21)
- The table in Annex X lists brake lights as optional for mopeds first put into circulation up to 1 November 1999. If you study or use a vehicle of that age, you must check which equipment requirements apply; keep the fitted and authorised devices operational. [RGV, Annex X](https://www.boe.es/buscar/act.php?id=BOE-A-1999-1826#anx)
15Recognise the function of each light
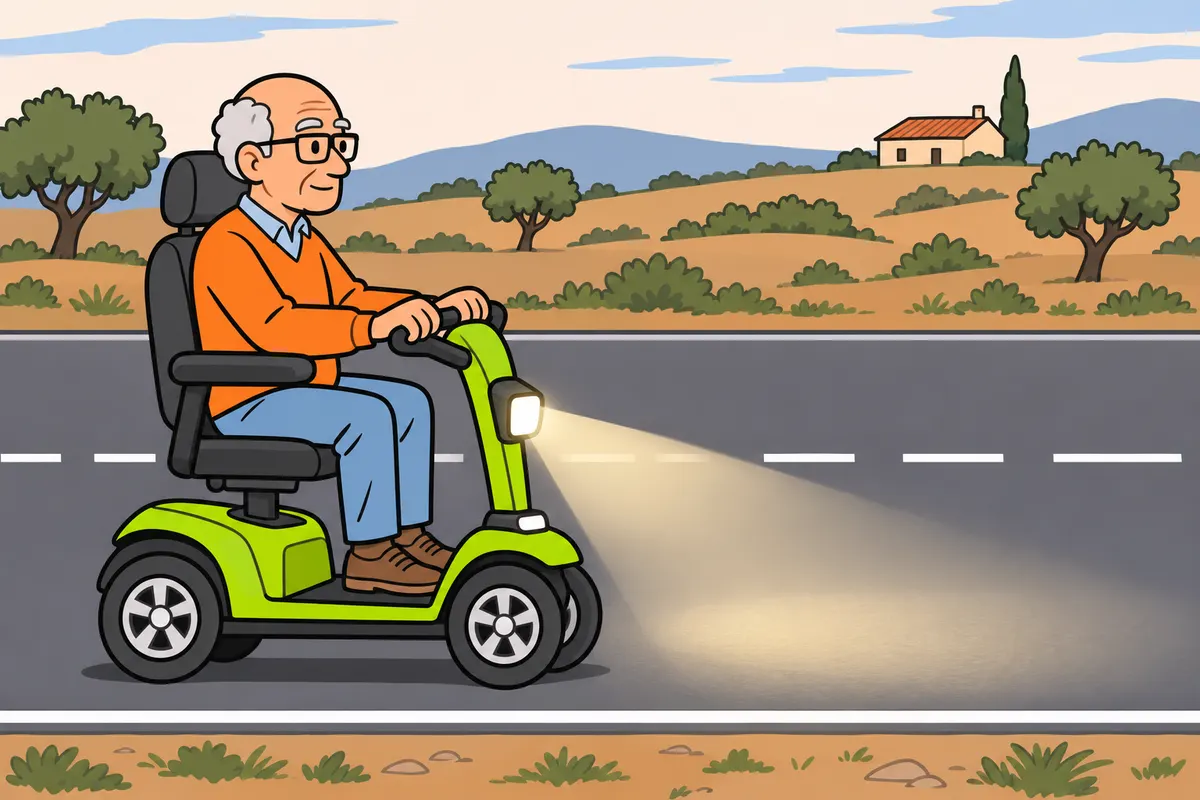
Learn what each light on your vehicle does.
| Light on your vehicle, if fitted | Function |
|---|---|
| Dipped beam | Lights the road ahead while avoiding dazzle |
| Main beam | Lights far ahead |
| White front and red rear position lights | Show your presence and width |
| Red brake light | Shows you are applying the service brake |
| Amber indicators | Show your intention to change direction |
| Hazard warning lights | Activate all indicators together |
Remember
- Find the controls and check the exterior lights.
- Do not confuse a dashboard indicator with an exterior light.
- Check your brake light, with help if needed.
- If you have hazard warning lights, find their control.
Exam trap: Wrong: position lights illuminate your route like dipped beam. Right: they show your presence and width.
Read the full explanation
- Dipped beam lights the road ahead and is designed to avoid dazzling others; main beam provides long-range illumination if your vehicle has it. You must locate the controls and recognise which lights are on, without confusing a dashboard indicator with the exterior light that must work. [RGV, Annex X](https://www.boe.es/buscar/act.php?id=BOE-A-1999-1826#anx)
- Position lights indicate your presence and width; their purpose is not to illuminate your route as dipped beam does. When checking your vehicle, identify the white front position lights and red rear position lights; switching on an interior cabin light does not fulfil the function of the exterior lights. [RGV, Annex X](https://www.boe.es/buscar/act.php?id=BOE-A-1999-1826#anx)
- The red brake light tells those following you that you are applying the service brake. You must check that it works safely, with help if necessary, because from your driving position you may not see a faulty rear light even though the brake control responds normally. [RGV, Annex X](https://www.boe.es/buscar/act.php?id=BOE-A-1999-1826#anx)
- Direction indicators are amber and signal your intention to change direction. If your vehicle has hazard warning lights, identify the control that activates all the direction indicators simultaneously; knowing where it is avoids having to look for it when you need to warn others of a danger. [RGV, Annex X](https://www.boe.es/buscar/act.php?id=BOE-A-1999-1826#anx)
16Reflectors and visible width
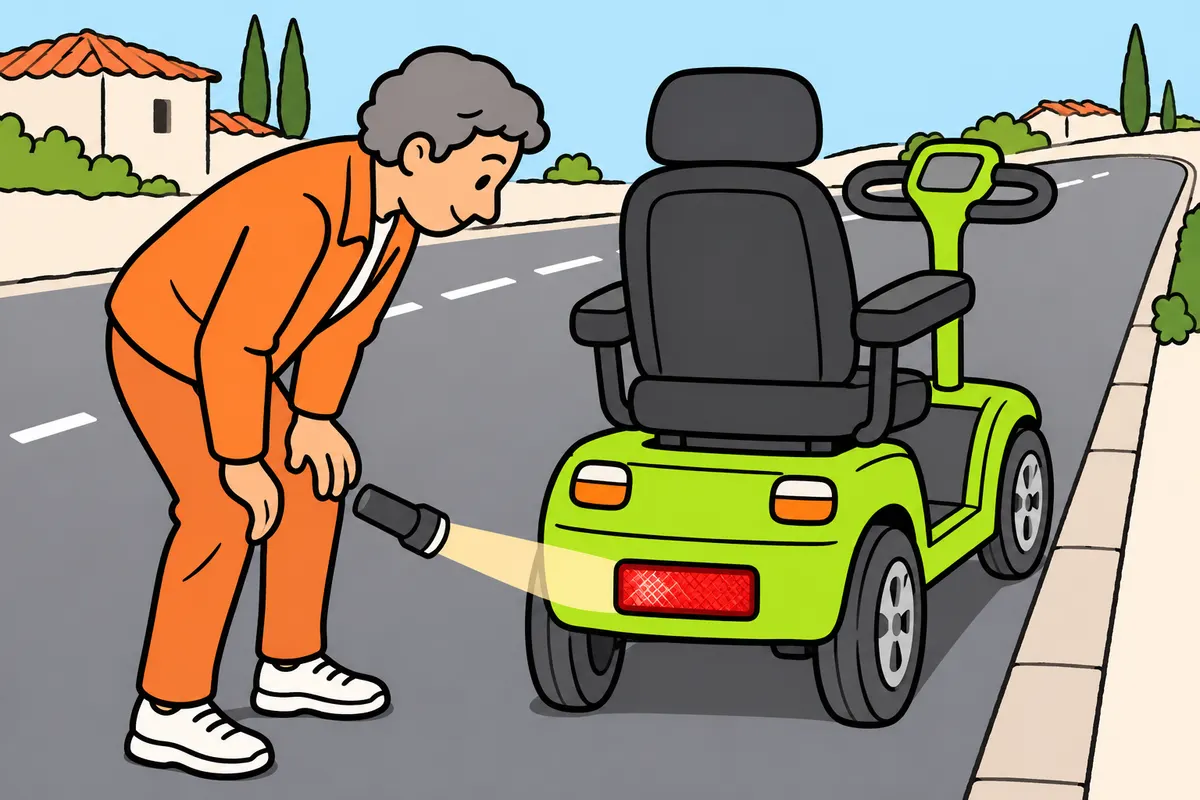
Keep reflectors visible: they reflect light rather than producing it.
| Width of your LCM vehicle | Required rear reflectors |
|---|---|
| Up to 1 m | One |
| More than 1 m | Two |
Remember
- Recognise red, non-triangular rear reflectors.
- Keep their surfaces clean and do not cover them with objects.
- If you have non-retractable pedals, they need the specified reflectors.
- Check that reflectors are secure and aligned as the manufacturer specifies.
Exam trap: Wrong: your rear reflector must be triangular. Right: it must be red and non-triangular.
Read the full explanation
- A reflector is a device that reflects light from an external source and does not need to be switched on to do so. Its effectiveness depends on its surface remaining intact and being able to receive light; a reflector covered in mud or obscured by a bag is less effective. [RGV, Annex X](https://www.boe.es/buscar/act.php?id=BOE-A-1999-1826#anx)
- The rear reflectors included in this equipment are red and non-triangular. The table requires one on vehicles up to 1 m wide and two on wider vehicles; do not use the triangular shape specified for other equipment configurations as a guide when choosing a replacement for your vehicle. [RGV, art. 21](https://www.boe.es/buscar/act.php?id=BOE-A-1999-1826#a21) [RGV, Annex X](https://www.boe.es/buscar/act.php?id=BOE-A-1999-1826#anx)
- If your vehicle has non-retractable pedals, it must have the reflectors specified for them. This rule depends on those pedals being present; you must not assume that all vehicles for people with reduced mobility have pedals or add them to match an illustration in the test. [RGV, art. 21](https://www.boe.es/buscar/act.php?id=BOE-A-1999-1826#a21)
- Check from outside that the reflectors are firmly attached and aligned as specified by the manufacturer. A fastening that allows a component to rotate changes the direction from which it can reflect light; when replacing it, also respect its authorised shape, colour and position.
17Maintain and check the lights
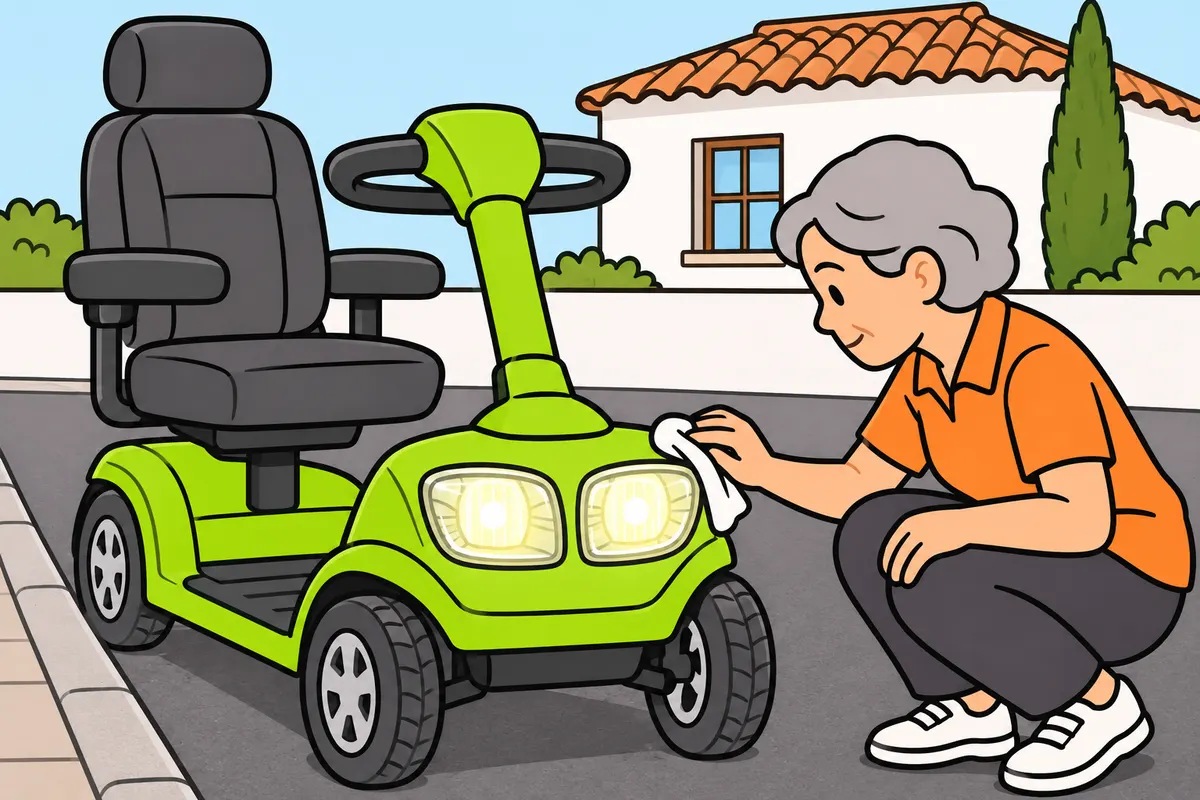
Check your exterior lights and repair faults.
Remember
- Secure your vehicle against movement before operating controls.
- Check both sides when lights come in pairs.
- Keep lamps clean and check their covers and mountings.
- Do not adjust light direction by eye.
- Do not fit unauthorised lights or reflective devices.
- Do not disconnect necessary lights to save energy.
Exam trap: Wrong: a dashboard indicator proves your lamps work. Right: check the exterior lights.
Read the full explanation
- With your vehicle secured, inspect the exterior devices fitted to it and operate their controls in an orderly sequence. Check both sides where devices are fitted in pairs; a dashboard indicator lighting up does not by itself prove that all the exterior lights and connections work correctly.
- Keep the headlights and other lamps clean, and check that their lenses are not broken and their mountings are not loose. A light that works but points in the wrong direction can provide poor illumination or disturb others; do not adjust its aim by eye to obtain a longer range without checking its alignment.
- Do not fit unauthorised lights, paints or reflective devices. To repair or extend the equipment, you must check compatibility and the applicable requirements; low energy consumption or ease of attachment is not enough to authorise fitting a lamp. [RGV, art. 15](https://www.boe.es/buscar/act.php?id=BOE-A-1999-1826#a15)
- You must repair faults and correctly use the appropriate lights; do not disconnect them to save energy when you need to use them. The module ‘LCM vehicle lights and signalling’ explains when you must switch on each device, visibility conditions and the rules for using them while driving.
18Mirrors according to bodywork
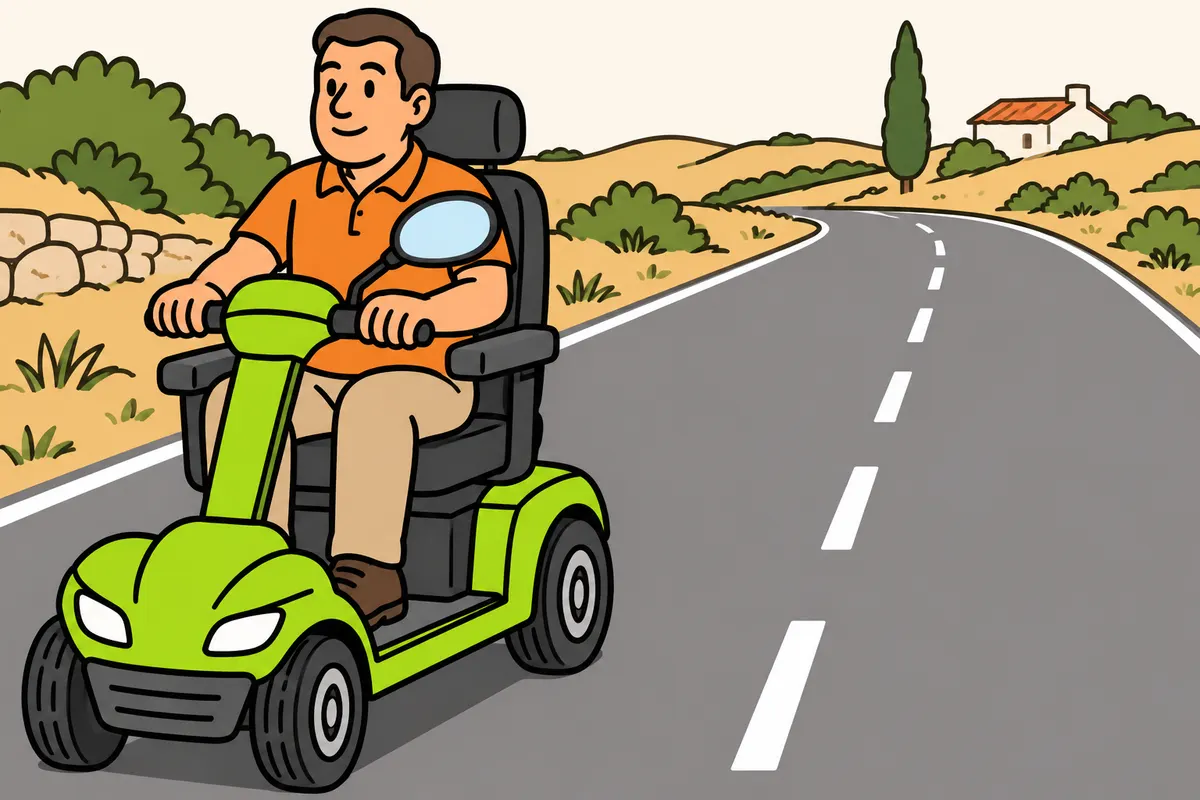
Check required mirrors according to bodywork and the interior mirror’s view.
| Situation for your LCM vehicle | Compulsory mirrors | Right exterior mirror |
|---|---|---|
| No bodywork covering you | Left exterior | Optional |
| Bodywork fully or partly covering you; interior view meets requirements | Left exterior and interior | Optional |
| Bodywork covering you; interior view fails requirements | Left and right exterior; interior not required | Compulsory |
Remember
- You must have a left exterior mirror.
- Check whether bodywork fully or partly covers your driving position.
- If the interior mirror cannot provide the required view, you need the right exterior.
- Check your vehicle’s authorised mirror arrangement.
- Do not use the motorcycle rule based on speed.
Exam trap: Wrong: the right exterior mirror is always optional. Right: it is compulsory when the interior mirror cannot meet visibility requirements.
Read the full explanation
- Because your vehicle is treated as a three-wheeled moped, you must recognise the left exterior mirror as compulsory. On a model without bodywork covering the driver, the right exterior mirror is listed as optional in the table; always check the authorised configuration of your particular vehicle. [RGV, Annex II](https://www.boe.es/buscar/act.php?id=BOE-A-1999-1826#anii) [RGV, Annex III](https://www.boe.es/buscar/act.php?id=BOE-A-1999-1826#aniii)
- If the bodywork fully or partially covers you as the driver, the table also requires an interior mirror, in addition to the left exterior mirror. The right exterior mirror is listed as optional, subject to the visibility condition explained in the next point. [RGV, Annex III](https://www.boe.es/buscar/act.php?id=BOE-A-1999-1826#aniii)
- When the interior mirror cannot meet the visibility requirements, that interior mirror is not required and the right exterior mirror becomes compulsory. This does not mean that you can dispense with a rearward view; you must have the combination of mirrors that meets the applicable requirement. [RGV, Annex III](https://www.boe.es/buscar/act.php?id=BOE-A-1999-1826#aniii)
- Do not use the rule for motorcycles based on their speed as the answer for your vehicle. You must identify the technical category your vehicle is treated as and whether it has bodywork; a similar appearance does not place two vehicles in the same row of the table. [RGV, Annex II](https://www.boe.es/buscar/act.php?id=BOE-A-1999-1826#anii) [RGV, Annex III](https://www.boe.es/buscar/act.php?id=BOE-A-1999-1826#aniii)
19Adjust the mirrors and recognise their limits
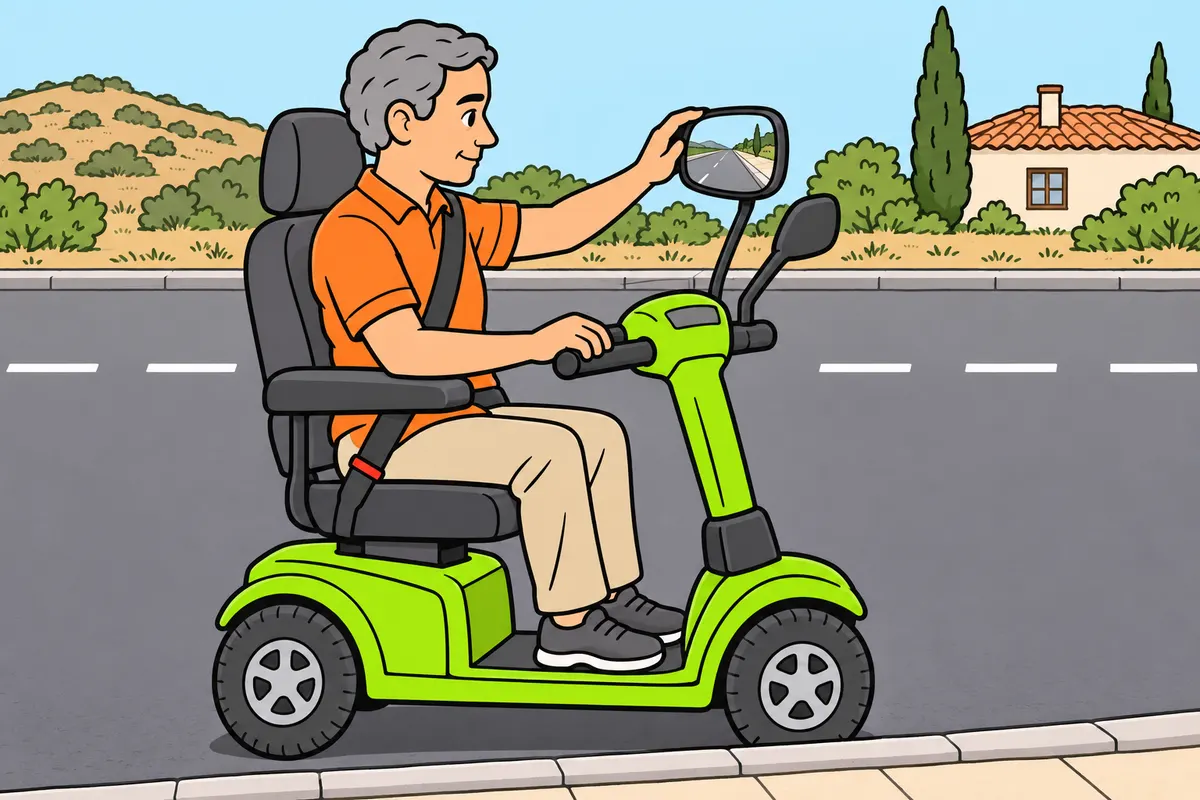
Adjust and secure your mirrors, and remember the areas they cannot show.
Remember
- Adjust mirrors while stopped, with your vehicle secured against movement.
- Use your normal driving posture.
- Check that vibrations do not move your mirrors.
- Recognise blind spots: areas you cannot see in your mirrors.
- Look around as needed without losing control or attention ahead.
- A camera does not replace checking the rest of your surroundings.
Exam trap: Wrong: knowing the road makes poorly adjusted mirrors acceptable. Right: adjust them for a useful view.
Read the full explanation
- You must adjust the mirrors from your normal driving position, with the vehicle stationary and secured. Aim for a useful view behind and to the sides according to the system fitted; do not adjust a mirror to get a better view of your own clothing or leave it set for someone of a different height.
- Check that the mirrors remain secure and retain their adjustment. A joint that moves with vibration can cause you to lose your view while driving; a clean reflective surface is not enough if its mounting does not maintain the field of view you have set.
- Mirrors do not eliminate all blind spots. You must know which areas lie outside their field of view and make the necessary additional observations without losing control or attention to the road ahead; the specific checks before each manoeuvre are covered in the «Manoeuvres with your LCM vehicle» module.
- A scratched, broken or damaged surface can distort the image or prevent you from seeing details. Check the condition of the glass and arrange for its replacement when it affects your view; if your model has an additional camera, also check that its lens is clean and its screen is readable.
20Glazing and your view of the surroundings
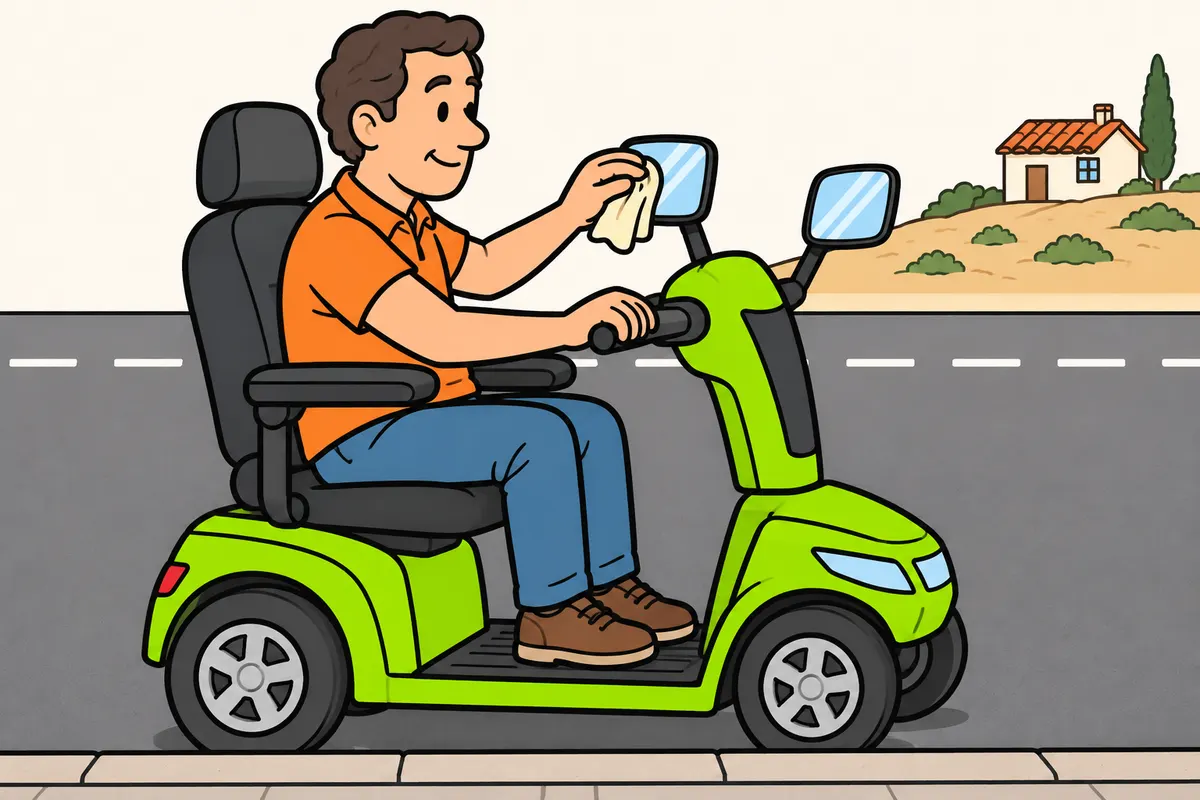
Keep your view through the glass clear.
Remember
- Clean your windscreen, windows and mirrors, if fitted.
- Keep stickers and mounts out of your line of sight.
- Do not use unapproved tinted or coloured glass.
- If you normally see forwards only through the windscreen, you need wipers and washers.
- Check the cleaning system and wiper blades.
- If you cannot see properly, stop and correct the cause.
Exam trap: Wrong: clearing a small patch of glass is enough. Right: you need an adequate field of view.
Read the full explanation
- Keep the windscreen, windows and mirrors clean, if your model has them. Remove dirt that obstructs your view and avoid placing objects in front of the area you need to see through; cleaning the outside bodywork without attending to these surfaces does not resolve a loss of visibility from your driving position.
- You must maintain an unobstructed view and avoid tinted or coloured glass that is not type-approved. Stickers, mounts or badges must not obstruct your view; check their effect from your driving position, rather than only looking at the vehicle from outside. [RGC, art. 19](https://www.boe.es/buscar/act.php?id=BOE-A-2003-23514#a19)
- If the shape and dimensions of the windscreen mean that you can only see normally ahead through it, the vehicle must have the appropriate windscreen wipers and washers. You must check that they work and inspect the wiper blades before relying on them during a journey. [RGV, art. 11](https://www.boe.es/buscar/act.php?id=BOE-A-1999-1826#a11)
- As a practical guideline, check that you can keep your view clear in the conditions expected for your vehicle. If the glass mists up or the cleaning system does not allow you to see properly, correct the cause with the vehicle stationary; clearing a small area to see through does not give you the necessary field of view.
21Objects and load distribution
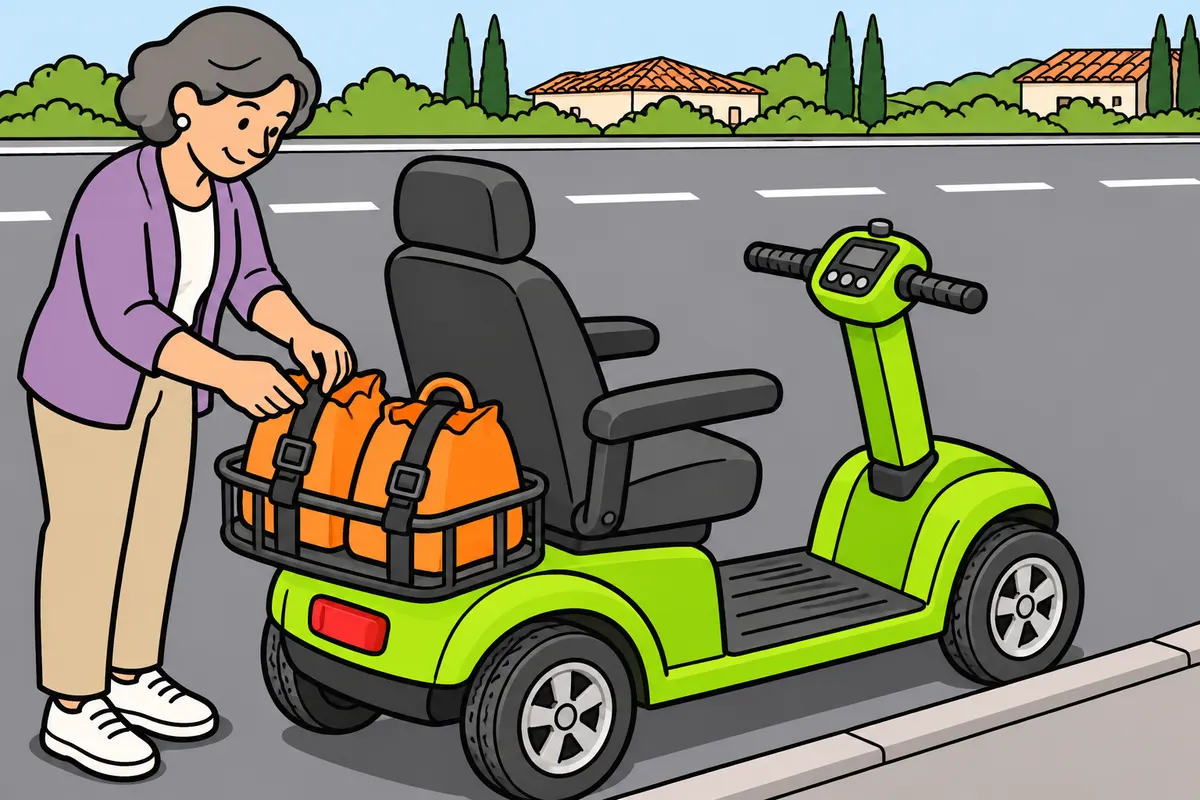
Secure and distribute your belongings without exceeding the authorised mass.
Remember
- Use the spaces and supports provided for your model.
- Distribute the load to keep your vehicle stable.
- Prevent objects from falling or shifting dangerously.
- Do not cover compulsory lights, plates or markings.
- Count the weight of belongings and authorised occupants.
- Check the loaded vehicle from outside.
Exam trap: Wrong: you can carry anything that fits. Right: respect mass limits, balance and securing requirements, without obscuring lights, plates, markings or hand signals.
Read the full explanation
- You must secure objects using means suited to their size and the available storage space. A bag can tip over even if it seems stable when you set off; check how it is held in place under braking, especially in open spaces or near the driving position. [RGC, art. 14](https://www.boe.es/buscar/act.php?id=BOE-A-2003-23514#a14)
- Distribute the load to maintain stability, within the mass explained in «The 350 kg refers to unladen mass». Use the attachment points and supports provided for your model; the fact that an object fits or that you can hold it with one hand does not mean you can transport it safely. [RGV, art. 14 and Annex IX](https://www.boe.es/buscar/act.php?id=BOE-A-1999-1826#a14) [RGC, art. 14](https://www.boe.es/buscar/act.php?id=BOE-A-2003-23514#a14)
- You must arrange the load so that it does not drag, fall, move dangerously, cause avoidable nuisance or obscure lights, plates, badges or hand signals. Before setting off, check from outside the vehicle how the bags and accessories are positioned. [RGC, art. 14](https://www.boe.es/buscar/act.php?id=BOE-A-2003-23514#a14)
- Poor weight distribution can alter how the vehicle responds when turning and braking. You must take account of the weight of your belongings and any authorised occupant when preparing the vehicle and its load; do not wait until you notice instability before correcting an obviously unbalanced arrangement.
22Energy, fluid levels and warning lights
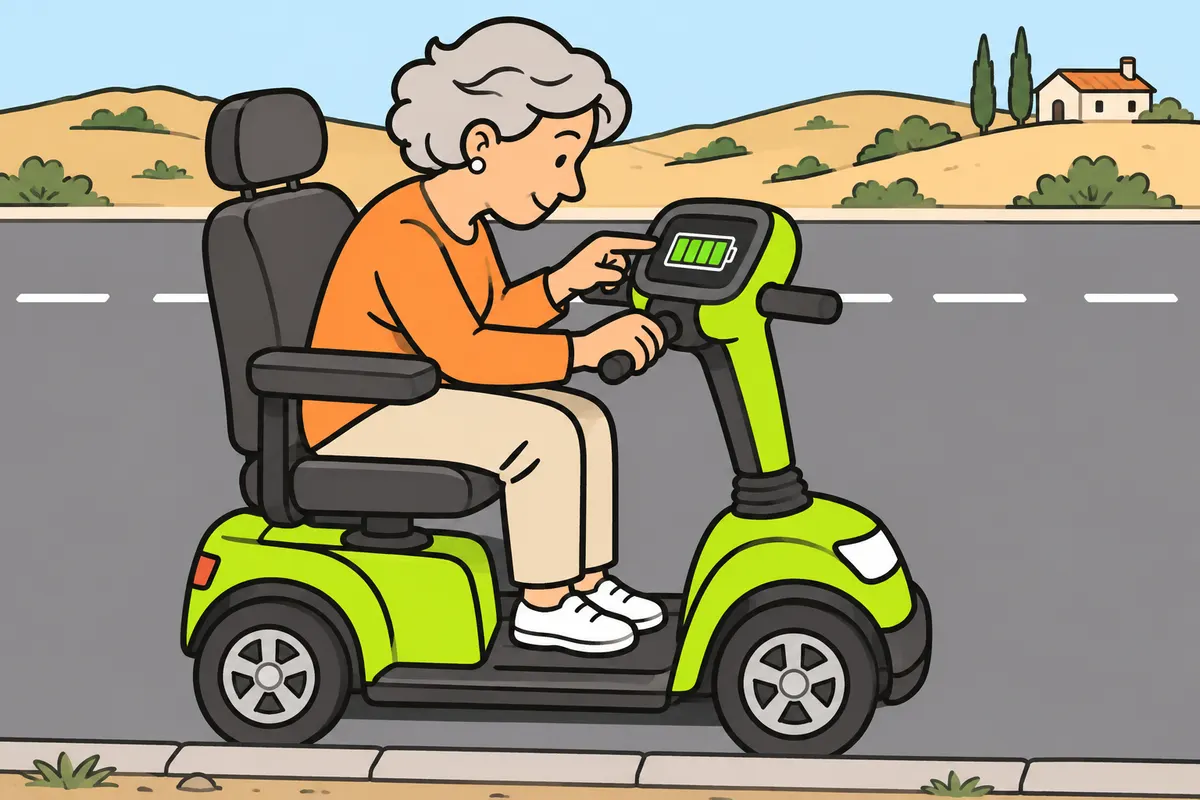
Check available energy and act on dashboard warnings.
| Your vehicle’s engine or motor | What you must check |
|---|---|
| Electric | Use the specified charger and connections; consult technical service about damage |
| Internal combustion | Check levels and consumables as instructed; leave specialist work to your workshop |
Remember
- Allow enough fuel or charge for your journey, with a margin.
- Do not rely on the range from another journey.
- Read your manual to learn what each warning light means.
- Deal with important warnings before continuing.
- Do not clear alarms without fixing their cause.
Exam trap: Wrong: disconnecting an indicator resolves an alarm. Right: find and fix the cause.
Read the full explanation
- Before setting off, check the fuel or battery charge available according to the propulsion system, and allow a margin when estimating your range. You must not treat the distance you remember from another journey as a guarantee; the load carried, the route and the conditions of use can change your energy needs.
- On an electric model, use the procedure, charger and connections specified by the manufacturer. Visually check their condition and do not improvise repairs to the battery or wiring; if you notice damage or abnormal behaviour, consult the technical service before continuing to use them.
- On a model with an internal combustion engine, check the relevant fluid levels and consumables following its manual. Not all vehicles have the same reservoirs or systems; identify what you can check yourself and which operations you must leave to a workshop to avoid using the wrong product or procedure.
- You must know what the warning lights on your instrument panel mean and what response the manual requires. A major warning about the brakes, steering or operation of the vehicle requires attention before you continue; do not clear an alarm or disconnect an indicator to stop seeing it without resolving its cause.
23Exhaust and horn
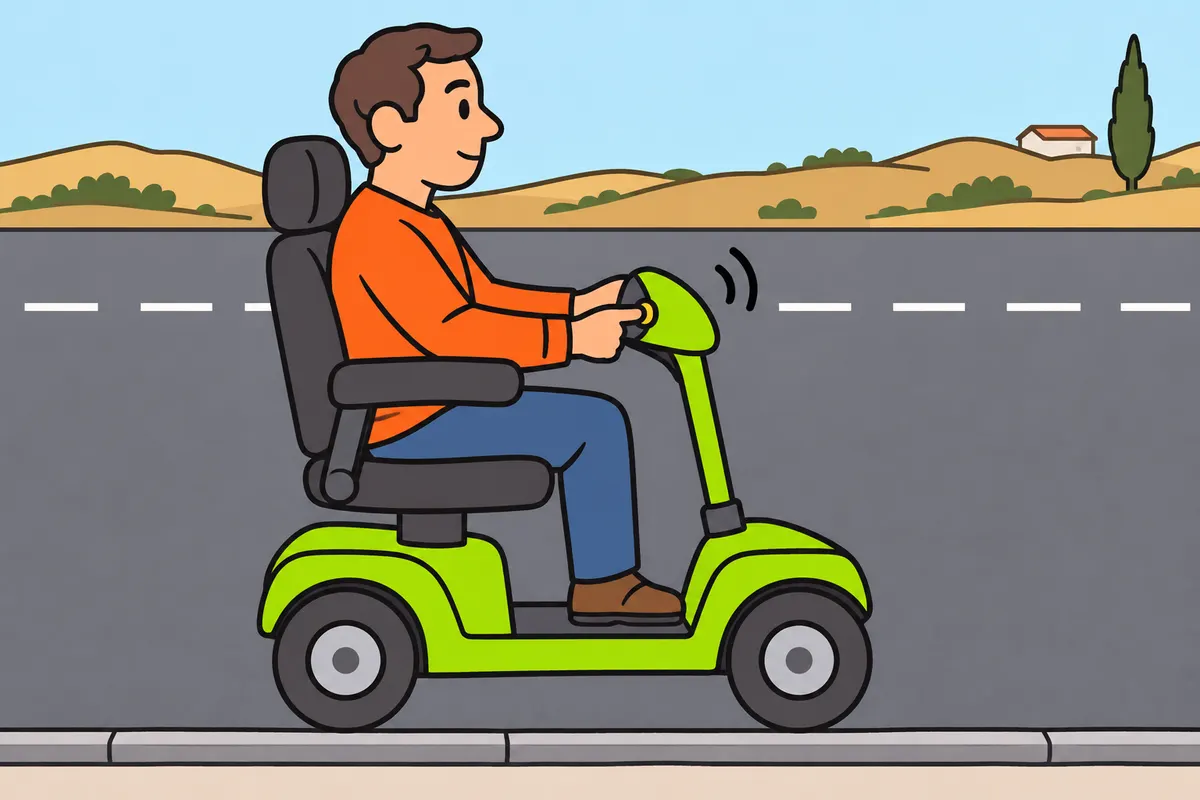
Check your horn and, if you have a combustion engine, your exhaust.
Remember
- If fitted, inspect your exhaust with the engine stopped and cold.
- Request inspection for leaks, loose parts or unusual noise.
- Do not drive with an open exhaust or ineffective silencer.
- Briefly test your horn safely without causing unnecessary disturbance.
- If it fails, request repair.
Exam trap: Wrong: any horn sound is enough. Right: its sound must be continuous, uniform and loud enough.
Read the full explanation
- If your vehicle has an internal combustion engine, visually check the exhaust and its mountings with the engine switched off and cold. If you detect loose parts, leaks or abnormal noise, arrange an inspection; you must not drive with an unsilenced exhaust or an ineffective silencer. [RGC, art. 7.2](https://www.boe.es/buscar/act.php?id=BOE-A-2003-23514#a7)
- Check that the horn works with a brief test in safe conditions, without causing unnecessary nuisance. If it does not sound or sounds irregular, arrange a repair; the horn must produce a continuous, uniform sound of sufficient volume. [RGV, art. 11.7](https://www.boe.es/buscar/act.php?id=BOE-A-1999-1826#a11)
24Maintenance and vehicle modifications
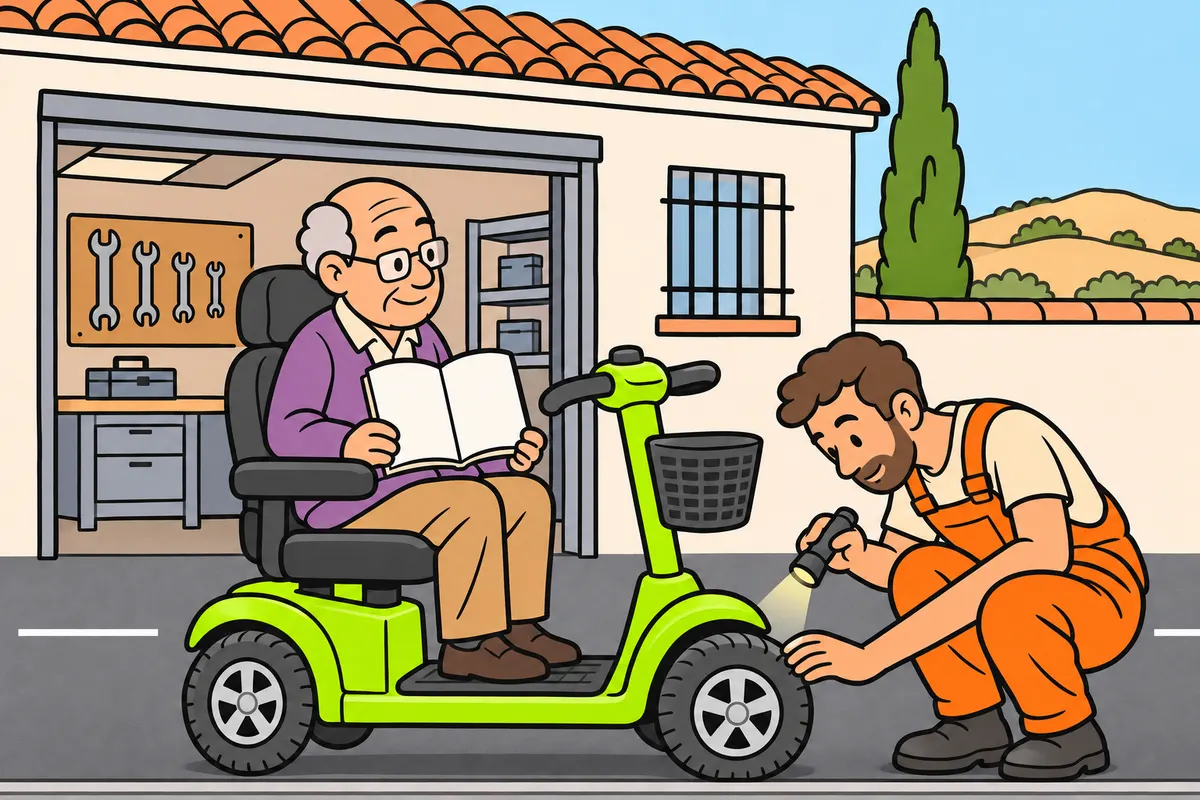
Follow the maintenance schedule and complete approval procedures for vehicle modifications.
| Check | What you must remember |
|---|---|
| Before setting off | Does not replace regular maintenance |
| Regular maintenance | Does not prevent later damage |
| After a modification requiring approval | Requires inspection and documents |
Remember
- Combine checks before setting off with regular maintenance.
- Record defects and repairs to inform your workshop.
- Describe when noises, vibrations or reduced effectiveness occur.
- Check requirements before changing characteristics or controls.
- Use professionals who can provide evidence for modifications requiring approval.
- After a modification requiring approval, present your vehicle for ITV with the relevant documents.
Exam trap: Wrong: a modification requiring approval only needs your daily check. Right: as registered keeper or authorised person, present your vehicle for ITV within 15 days, with the relevant documents.
Read the full explanation
- You must arrange servicing according to the manual and how you use the vehicle. Today's inspection and periodic maintenance complement each other: looking at the wheels before setting off does not replace a technical inspection of their components, and a workshop visit does not prevent damage from occurring afterwards.
- Keep a record of defects and work carried out so that you can explain to the workshop what is happening. As a practical guideline, describe noise, vibration, loss of effectiveness and the conditions in which they occur; provide information without dismantling safety components to try to confirm a theory yourself.
- A change to characteristics or regulatory requirements may constitute a vehicle modification. You must check the requirements of the Manual de Reformas (Vehicle Modifications Manual) and the required documentation, rather than treating an alteration to the controls as a simple accessory; use professionals who can provide supporting evidence for the work. [RD 866/2010, arts. 3, 5 and 7](https://www.boe.es/buscar/act.php?id=BOE-A-2010-11154)
- When a modification has been carried out, you, as the registered keeper or authorised person, must present the vehicle for technical inspection within a maximum of 15 days, with the relevant documentation. The «Driver and vehicle documentation» module covers the ITV (vehicle roadworthiness test); you must not confuse this modification procedure with routine checks before setting off. [RD 866/2010, art. 8](https://www.boe.es/buscar/act.php?id=BOE-A-2010-11154#a8)
25Final checks and defects that prevent you setting off
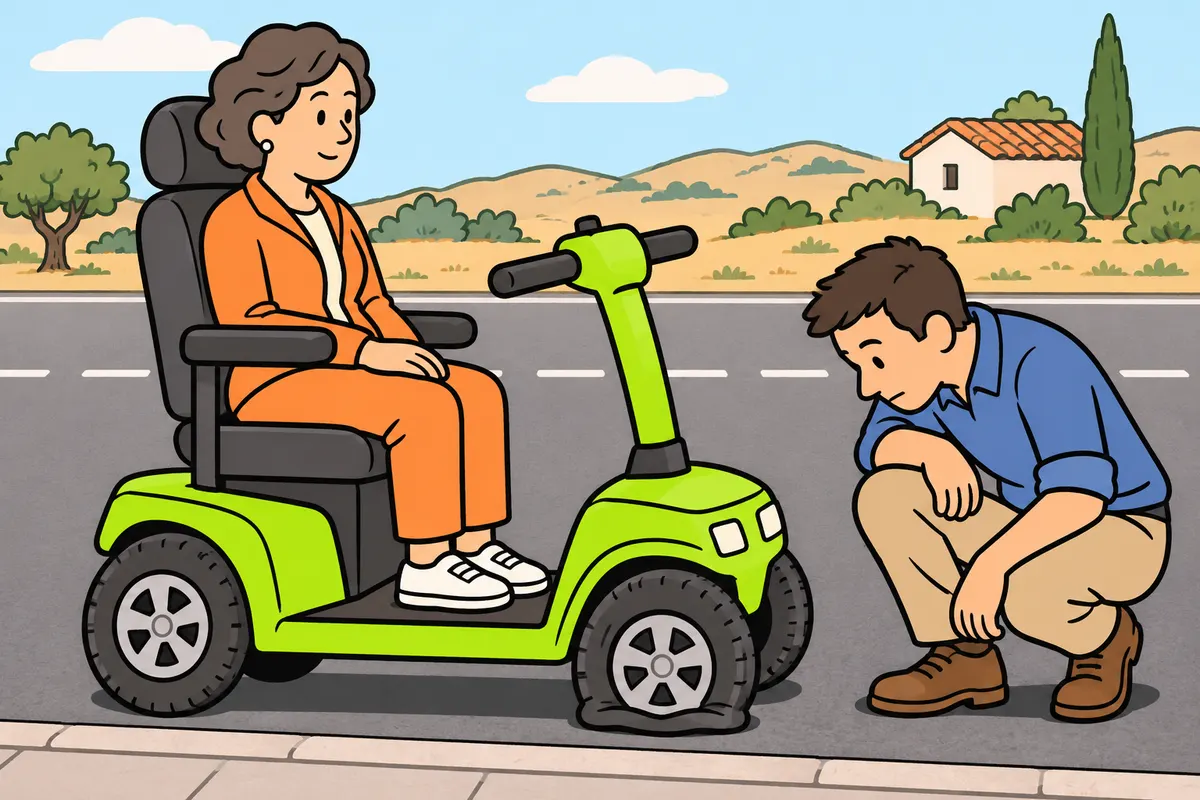
Do not set off with a fault that threatens your safety.
| Item you check | Purpose |
|---|---|
| Brakes | Slow down and stop |
| Steering | Control your course |
| Tyres | Maintain contact with the road |
| Mirrors | Observe your surroundings |
| Lights | See and be seen |
Remember
- Check your position, controls, steering, brakes, tyres, lights, visibility and horn.
- If you have a combustion engine, also check the exhaust.
- Resolve a dangerous fault before setting off.
- If it appears during your journey, find a safe way to stop.
- Request help when you need it.
- After repair, check that the problem is resolved.
Exam trap: Wrong: you can continue with a dangerous fault if your destination is close. Right: stop safely and resolve the fault.
Read the full explanation
- You must finish your preparations by checking your driving position, controls, steering, brakes, tyres, lights, visibility, horn and, if your vehicle has a combustion engine, exhaust. Work through these checks in order so that you do not assume you have checked one item just because you have spent time on another; organising documents or setting up a sat nav does not establish that your vehicle is fit to drive.
- If you detect a fault that compromises control or safety, you must not move off until you resolve it. If it occurs during your journey, find a safe place to stop and seek help when you need it; warning others and taking protective measures after a breakdown are covered in the «Accidents and breakdowns» module.
- After a repair, check that the problem is resolved before you resume normal use. Explain to the garage the conditions in which the fault occurred so that they can verify the repair: for example, when you applied a brake, turned a control or drove over an uneven surface.
- For the test, link each check to its purpose: brakes to slow down and stop, steering to control your course, tyres for contact with the road surface, mirrors to observe and lights to see and be seen. Each system performs its own function and requires its own check.
Prepare your vehicle before setting off
Follow a sequence to check the systems without forgetting the adapted controls.
- Secure your vehicle and carry out an external inspection of the wheels, damage, lights and reflectors.
- Check the energy available and any servicing due according to the manual.
- Adjust the seat and supports, check that you can reach the controls and adjust the mirrors.
- Check the steering, brakes, adaptations, horn and, where applicable, exhaust, using the manufacturer's procedure and in safe conditions.
- Position and secure objects; check the seats, mass and visibility.
- Rectify any safety defect before moving off.
Check tyres and pressure
Combine observation with measurement; neither replaces the other.
- Find the manufacturer's specifications and pressures for your vehicle and its load.
- With the tyres cold, inspect the tread, sidewalls, valves and any visible damage.
- Measure with a suitable pressure gauge and adjust to the specified pressure.
- Consult a workshop if you find damage, uneven wear or repeated loss of air.
Check lights and mirrors
Check their operation and your field of view with your vehicle secured.
- Clean the surfaces of the headlamps, other lamps, reflectors, windows and mirrors.
- Operate the fitted lights and indicators in sequence and check from outside that they work.
- Check the brake lights, with help if you need it.
- From your final driving position, adjust the mirrors and check that they are secure.
- Rectify faults, loose mountings or visibility defects before setting off.
Check what you know
Real questions from the bank on this topic. Pick an answer to see the explanation.
Finished this module?
Mark it as read and you will see your progress on the theory list.