
Theory · AM Licence - Moped · Module 7 of 18
The moped and its equipment
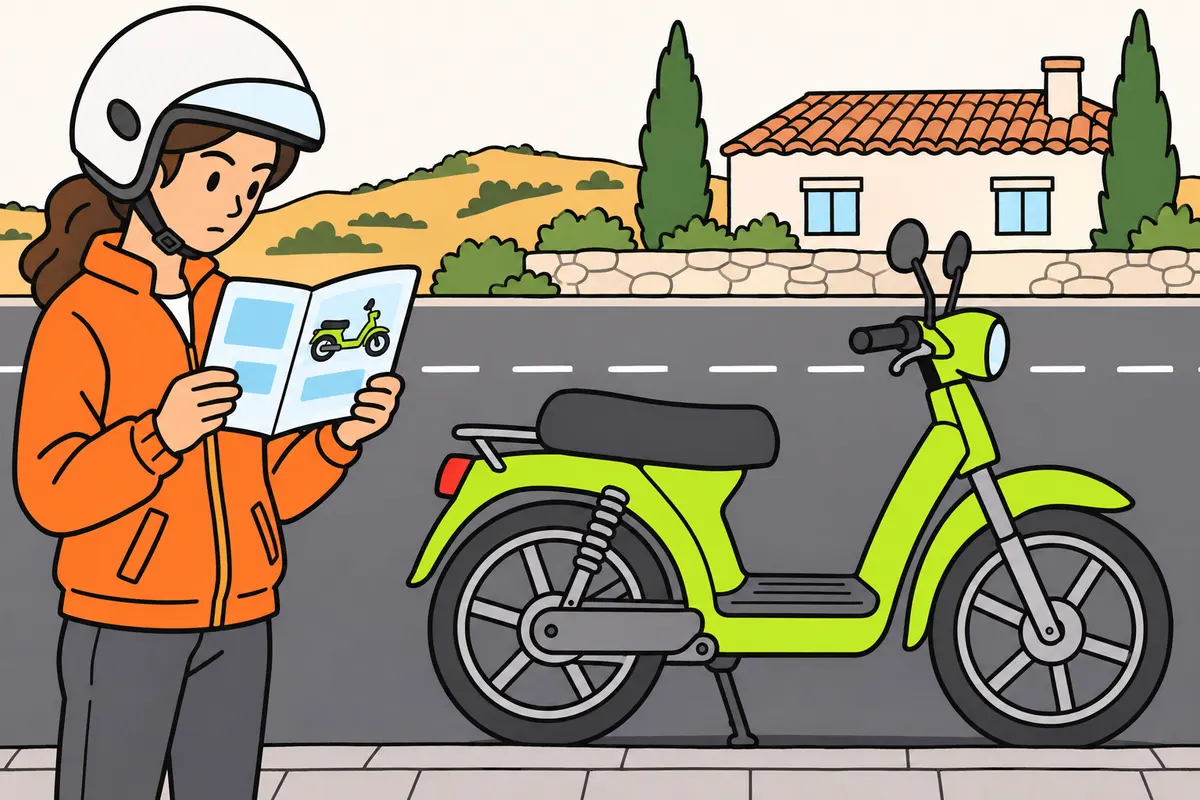
You learn to identify your moped or light quadricycle and its technical limits, recognise its registration plate, lights, mirrors and controls, and check its safety components. You can distinguish AM-specific rules from those for passenger cars and carry out maintenance in accordance with your obligations and the manufacturer’s recommendations.
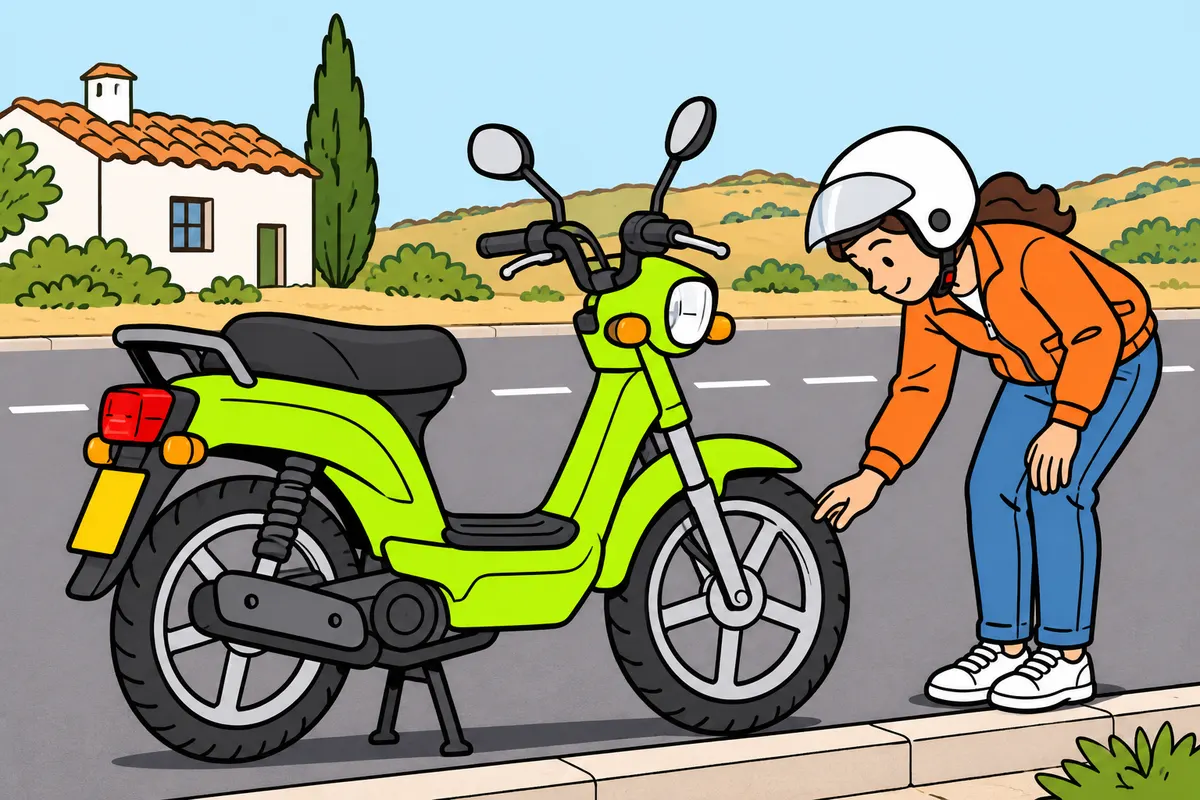
1Identify your AM vehicle
Check your vehicle category and technical limits.
| Moped | Engine | Engine limit |
|---|---|---|
| Two wheels | Internal combustion | Up to 50 cm³ |
| Two wheels | Electric | Up to 4 kW continuous rated power |
| Three wheels | Spark ignition | Up to 50 cm³ |
| Three wheels | Other combustion | Up to 4 kW maximum net power |
| Three wheels | Electric | Up to 4 kW continuous rated power |
Remember
- Check your documents: appearance does not determine the category.
- You must meet both the speed limit and the applicable engine limit.
- For electric motors, check approved continuous power, not advertised peak power.
Exam trap: Wrong: riding slowly turns a motorcycle into a moped. Right: check its approved characteristics.
Read the full explanation
- The AM licence covers three groups: two-wheeled mopeds, three-wheeled mopeds and light quadricycles. A fairing, roof or steering wheel is not enough to classify them: check the category in the technical documentation. A small vehicle that looks like a car may belong to another category. [RGCond, art. 4](https://www.boe.es/buscar/act.php?id=BOE-A-2009-9481#a4).
- For a two-wheeled moped, the maximum design speed is 45 km/h and the engine capacity does not exceed 50 cm³ if it has an internal combustion engine. If it is electric, its maximum continuous rated power does not exceed 4 kW. You must meet both the speed limit and the applicable engine limit. [Traffic Act, Annex I.9](https://www.boe.es/buscar/act.php?id=BOE-A-2015-11722).
- For a three-wheeled moped, the limits depend on the engine type: up to 50 cm³ for spark ignition, up to 4 kW maximum net power for other combustion engines and up to 4 kW continuous rated power for electric motors, within the maximum design speed of 45 km/h. [Traffic Act, Annex I.9](https://www.boe.es/buscar/act.php?id=BOE-A-2015-11722).
- Do not confuse engine capacity with power, or continuous power with an advertised peak power figure. An electric motor has no engine capacity; you must consult its approved specifications. A motorcycle with a larger engine capacity does not become a moped simply because you ride slowly or temporarily restrict its speed. [Traffic Act, Annex I.9 and 14](https://www.boe.es/buscar/act.php?id=BOE-A-2015-11722).
2Light quadricycles and category L6e
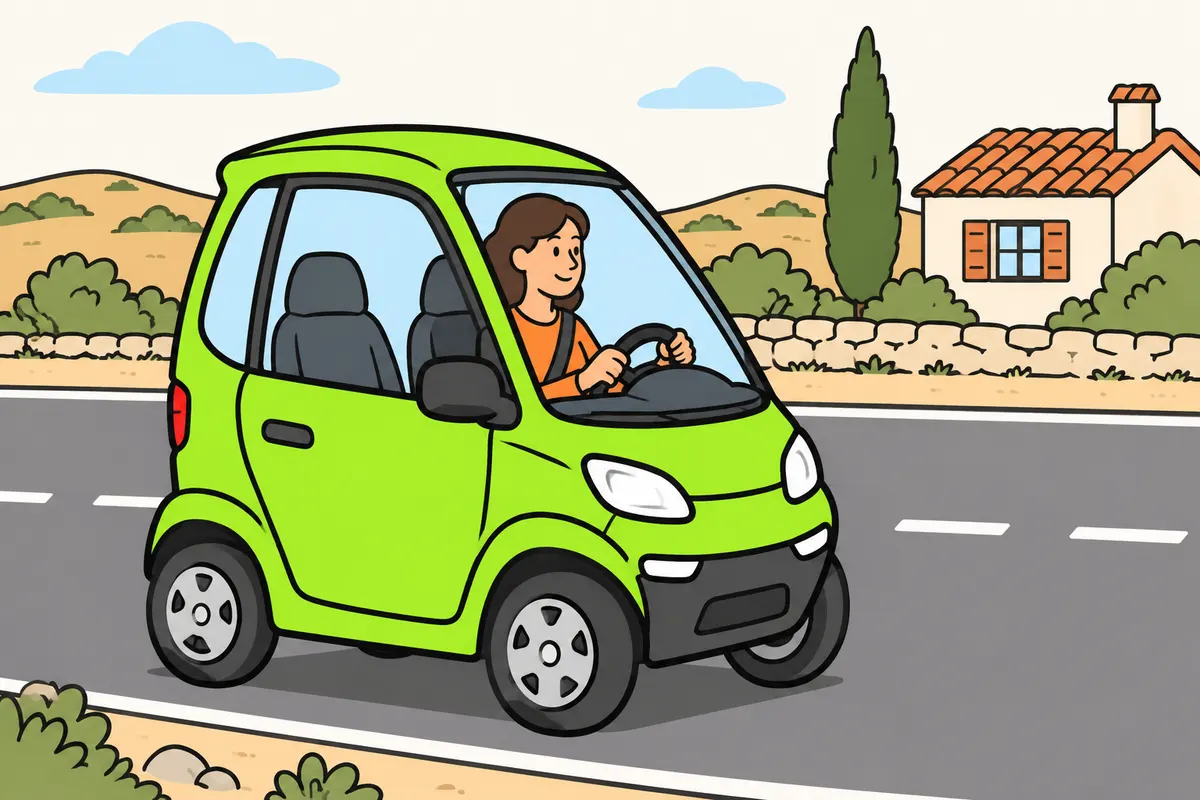
Distinguish the Traffic Act definition from European L6e approval.
| Quadricycle definition or category | Limits to distinguish |
|---|---|
| Traffic Act: four wheels | 350 kg unladen, excluding electric batteries; 45 km/h |
| Traffic Act: spark ignition | Up to 50 cm³ |
| Traffic Act: other combustion | Up to 4 kW maximum net power |
| Traffic Act: electric | Up to 4 kW continuous rated power |
| L6e | 425 kg in running order; 45 km/h; two seats |
| L6e: spark / compression ignition | Up to 50 cm³ / up to 500 cm³ |
| L6e-A | Up to 4 kW maximum continuous rated or net power |
| L6e-B: enclosed compartment meeting approval rules | Up to 6 kW |
Remember
- Check the category on your technical data sheet.
- Do not classify your vehicle just because it is called a microcar.
- L6e allows at most two seats, including yours.
- For L6e spark ignition, the limit is 50 cm³.
- Exclude electric batteries from legal unladen mass; L6e excludes electric and hybrid propulsion batteries.
- Do not confuse mass in running order with maximum authorised mass.
Exam trap: Wrong: every definition has the same limits. Right: distinguish the Traffic Act from L6e and its subcategories.
Read the full explanation
- To check the technical limits of a four-wheeled moped, use the definition in the Traffic Act: an unladen mass of up to 350 kg, excluding the batteries of electric vehicles, and a design speed of up to 45 km/h; up to 50 cm³ with spark ignition, 4 kW maximum net power with other combustion engines or 4 kW continuous rated power with an electric motor. [Traffic Act, Annex I.9.c](https://www.boe.es/buscar/act.php?id=BOE-A-2015-11722).
- Under L6e type approval, to which the RGV refers, the technical limits are a design speed of 45 km/h, a mass in running order of 425 kg and two seats, including the driver’s; up to 50 cm³ with spark ignition or 500 cm³ with compression ignition. Maximum continuous rated or net power is 4 kW for L6e-A and 6 kW for L6e-B, with an enclosed passenger compartment as defined by the type-approval criteria. [RGV, Annex II](https://www.boe.es/buscar/act.php?id=BOE-A-1999-1826). [Regulation (EU) 168/2013, Annex I](https://www.boe.es/buscar/doc.php?id=DOUE-L-2013-80407).
- Check the category and subcategory on the technical data sheet before choosing spare parts or accessories for your quadricycle: use the specifications for that model. The classification differences between L6e and L7e are covered in “Essential definitions for AM”, in “L6e light quadricycles” and “Four-wheeled vehicle limits and type approval”.
- The European calculation of mass in running order excludes propulsion batteries in electric and hybrid vehicles. When consulting the technical data sheet, keep the name of the quantity alongside its figure; the definitions of unladen mass, MMA (maximum authorised mass) and mass in running order are explained in “Essential definitions for AM”. [Regulation (EU) 168/2013, art. 5](https://www.boe.es/buscar/doc.php?id=DOUE-L-2013-80407).
3Keep the approved characteristics
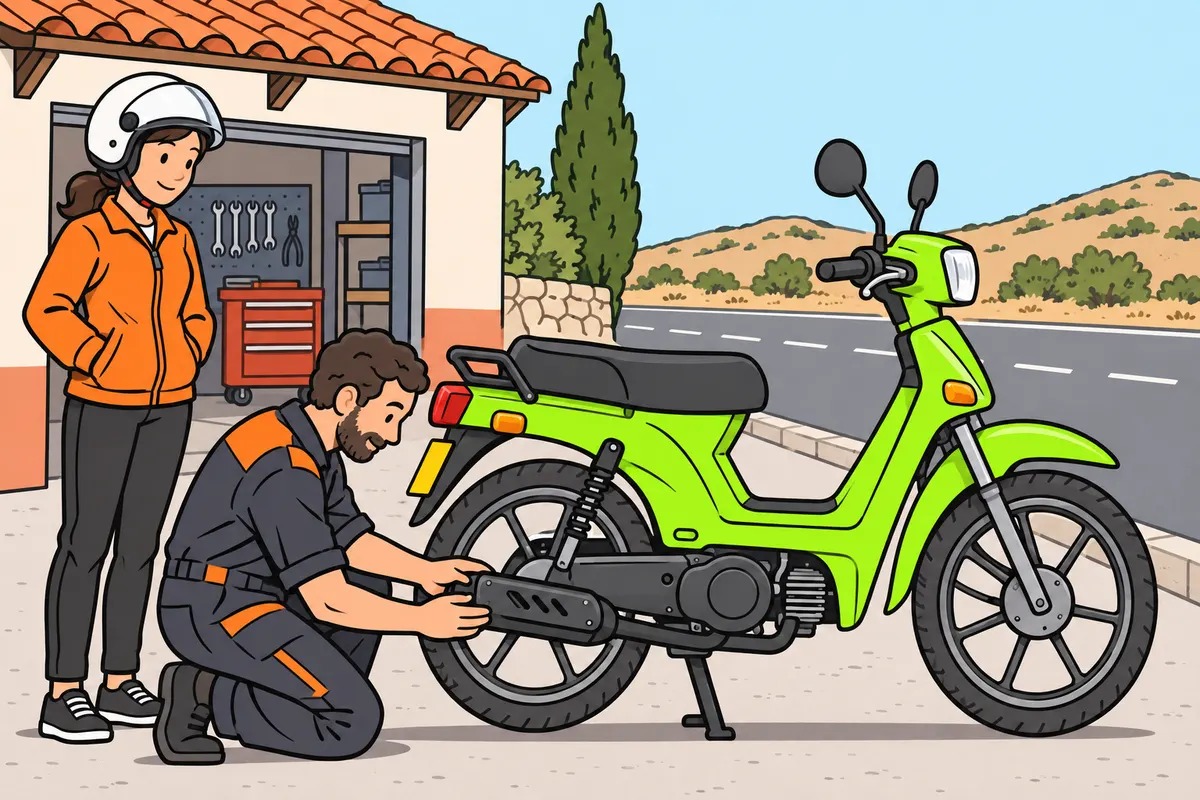
Keep approved characteristics and check the procedure before changing them.
Remember
- Do not remove restrictors to increase performance outside the legal procedure.
- Before changing parts, check whether you need alteration approval.
- For alterations requiring approval, take the required documents to inspection.
- The technical 45 km/h does not suit every situation.
- Tow only in daylight, without conditions that reduce visibility.
- Trailer mass must not exceed 50 % of your moped’s unladen mass.
Exam trap: Wrong: you can tow without conditions. Right: for a trailer or semi-trailer, keep its mass within 50 % of your moped’s unladen mass. Travel in daylight, without conditions that reduce visibility. Reduce the applicable generic speeds by 10 %. Carry no people in the towed vehicle. In urban traffic, follow municipal ordinances.
Read the full explanation
- The design speed of 45 km/h describes a technical characteristic. It does not mean you must reach that speed or can maintain it on every road. Speed limits and adapting to each situation are covered in the Speed and safe following distances module; here you must identify the vehicle as authorised. [Traffic Act, Annex I.9](https://www.boe.es/buscar/act.php?id=BOE-A-2015-11722).
- You must retain the systems and components covered by its type approval. Do not remove stops or restrictors or replace parts to increase performance outside the legal procedures. A component fitting physically or being sold for competition use does not prove you can use it on the road. [RGV, arts. 7 and 21](https://www.boe.es/buscar/act.php?id=BOE-A-1999-1826).
- A modification can affect safety, emissions, noise or classification. Before changing the engine, exhaust, lighting, wheels or transmission components, check whether it constitutes a vehicle alteration requiring approval and what documentation it requires. Do not assume that a successful periodic ITV (vehicle roadworthiness test) authorises any subsequent modification. [RD 866/2010, arts. 3 and 7](https://www.boe.es/buscar/act.php?id=BOE-A-2010-11154).
- If you make an alteration requiring approval, you must present the vehicle for inspection within a maximum of fifteen days with the required documentation. Distinguish replacing a part with a suitable spare from changing characteristics: whether you need to follow the alteration approval procedure depends on the specific change. [RD 866/2010, art. 8](https://www.boe.es/buscar/act.php?id=BOE-A-2010-11154#a8).
- You may tow a trailer or semi-trailer whose mass does not exceed 50 % of the moped’s unladen mass, in daylight and with sufficient visibility, with no people in the towed vehicle and with a 10 % reduction from the generic speeds in article 48; municipal ordinances apply on urban roads. The transport conditions are covered in “Passengers and loads on a moped”, in its section “Trailers: mass, time of day and occupants”. [RGC, art. 12.3](https://www.boe.es/buscar/act.php?id=BOE-A-2003-23514#a12).
4Registration and identification
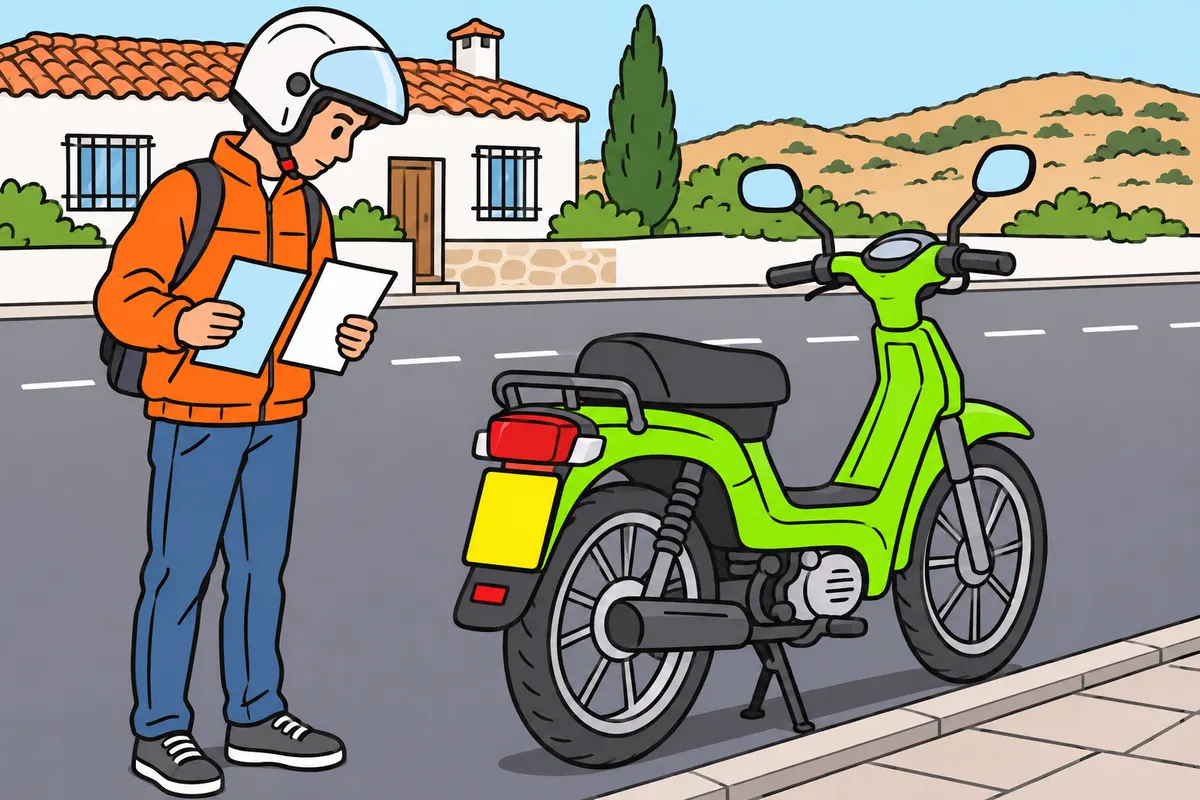
Register your moped and check that its identification matches the documents.
| Identification or document | What you check |
|---|---|
| Chassis number | Identifies your individual vehicle |
| Registration plate | Allows identification from outside |
| ITV card or certificate of technical characteristics | Approved technical details |
| Vehicle registration certificate | Administrative permission for road use |
Remember
- Under the ordinary system, register your vehicle before using public roads.
- Check the registration and chassis number.
- Resolve any differences before setting off.
- Do not rely only on a used vehicle’s appearance.
Exam trap: Wrong: an invoice is enough for road use. Right: you need registration under the ordinary system.
Read the full explanation
- Under the ordinary system, you must register your moped before using public roads. This obligation also applies to three-wheeled mopeds and light quadricycles. An invoice, a chassis number or low vehicle power is not enough. [RGV, arts. 25 and 28](https://www.boe.es/buscar/act.php?id=BOE-A-1999-1826).
- Match the registration number to the specific vehicle and check that it agrees with the documentation. The chassis number identifies the individual vehicle; the plate allows external identification. Do not confuse these details with the make, model or registration number of another similar vehicle.
- The tarjeta ITV (vehicle technical inspection card) or certificado de características (certificate of technical characteristics) contains the technical information you need to know how your moped is authorised. The permiso de circulación (vehicle registration certificate) proves its administrative authorisation for road use. Details of documents, insurance and procedures are covered in the AM licence and documentation module. [RGV, art. 26](https://www.boe.es/buscar/act.php?id=BOE-A-1999-1826).
- When buying or using a second-hand vehicle, check its identification and actual configuration. If you find an illegible plate, a chassis number that does not match or modified components without supporting documentation, clarify this before riding or driving. Bodywork in good condition does not resolve those discrepancies.
5A visible registration plate
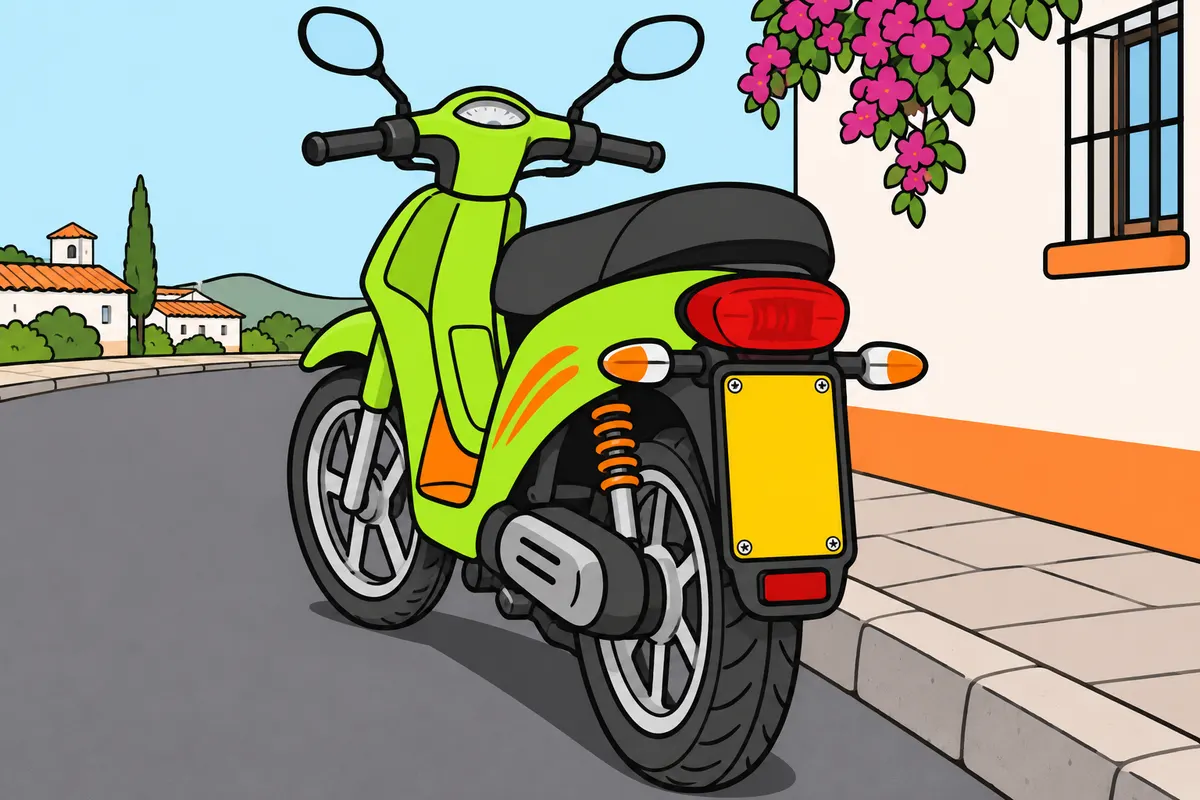
Keep your rear registration plate visible, clean and securely attached.
Remember
- Recognise the reflective yellow background and black characters.
- Fit the rear plate vertically or almost vertically, including on your light quadricycle.
- Keep mud, accessories and the holder from hiding your plate.
- Check mountings for cracks or parts that could come loose.
- If the holder is bent, request repair without changing approved components.
Exam trap: Wrong: a plate matching your documents can be illegible. Right: keep it clean, legible, visible and securely attached.
Read the full explanation
- An ordinary moped registration plate has a retroreflective yellow background and black characters. The registration format is covered in “Moped lights and signals”, in “Number plates and their lighting”. [RGV, Annex XVIII.I](https://www.boe.es/buscar/act.php?id=BOE-A-1999-1826).
- You must have a plate at the rear, in a vertical or almost vertical position, including on a light quadricycle; the option of adding a front plate is explained in “Moped lights and signals”, in “Number plates and their lighting”. [RGV, Annex XVIII.III](https://www.boe.es/buscar/act.php?id=BOE-A-1999-1826).
- You must keep it clean, legible and securely attached. Check that the plate holder, mud and accessories do not make it difficult to read. Also check its visibility after fitting a top box or any accessory. [RGV, art. 49](https://www.boe.es/buscar/act.php?id=BOE-A-1999-1826).
- When checking the registration plate holder, examine its mountings and check for cracks or edges that could come loose through vibration. If it is bent following an impact, request a repair without altering the assembly’s type-approved components. Registration plate lighting is covered in “Moped lights and signals”.
6Systems and preventive maintenance
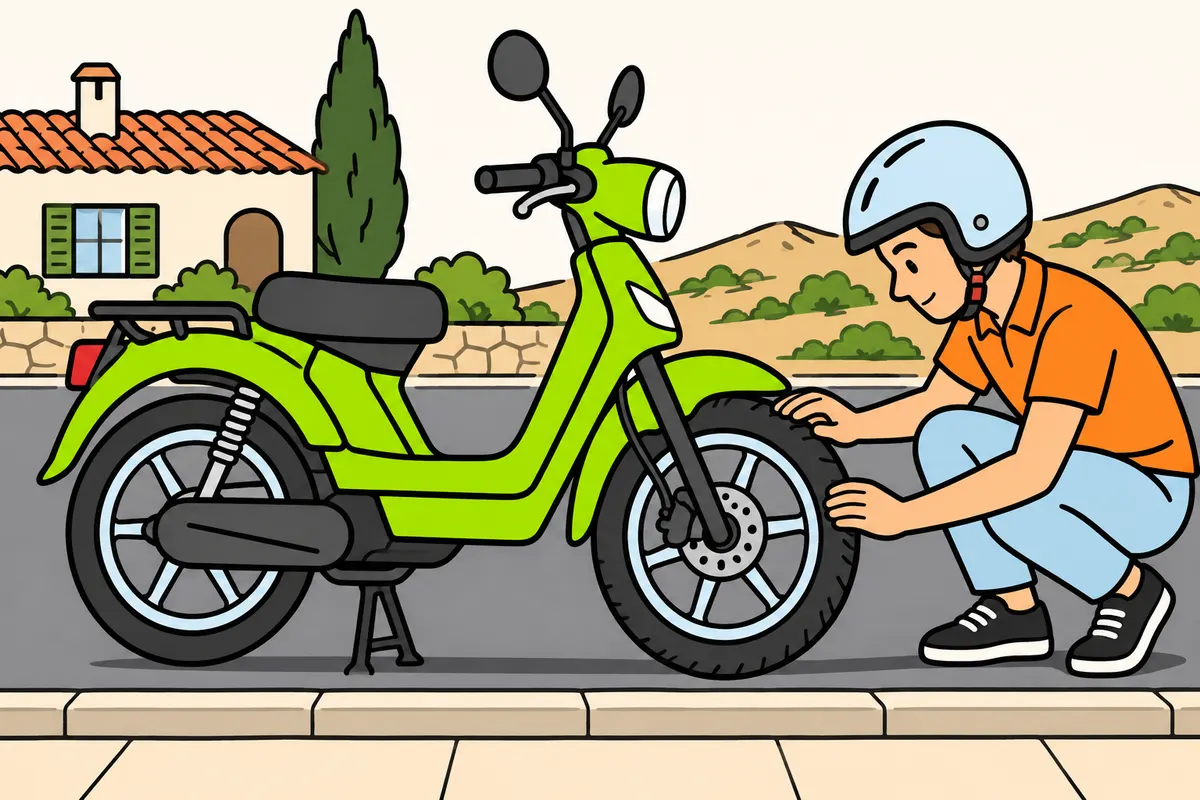
Follow the manual and check your vehicle before faults develop.
Remember
- Follow the manufacturer’s intervals, products and care instructions.
- Combine your checks, regular maintenance and required inspections.
- Use a workshop for work beyond your knowledge or tools.
- Do not improvise adjustments to safety components.
- Stay alert even with electronic aids.
Exam trap: Wrong: the ITV replaces maintenance. Right: keep checking your vehicle afterwards.
Read the full explanation
- Organise maintenance operations by system and by how you access them on your model. Locate the reservoirs, inspection covers and wear components that the manual allows you to check. On a moped with a fairing, a cover may conceal components; identify the access procedure before removing it to avoid damaging mountings or connections.
- Preventive maintenance means checking, adjusting or replacing components before deterioration causes a breakdown. Follow the manual for time intervals, mileage, products and conditions of use. Repeated short journeys, dust or prolonged disuse may require specific care.
- You must combine pre-journey checks with periodic maintenance and the required inspections. The ITV checks the vehicle’s condition at the inspection; workshop servicing and your own checks serve other purposes. None alone guarantees that a component does not deteriorate afterwards. [RD 920/2017, art. 8](https://www.boe.es/buscar/act.php?id=BOE-A-2017-12841).
- You do not need to dismantle mechanisms to carry out every basic check. You can look for leaks, read accessible fluid levels and check controls as instructed in the manual; leave work requiring knowledge or tools you do not have to a workshop. Do not improvise adjustments to safety components just so you can set off.
- Recognise brakes, tyres, steering, suspension and lighting as active safety components: they help prevent accidents. Personal protection is covered in the Protective equipment for moped riders module. No component replaces your attention or maintenance; an electronic aid also depends on mechanical condition and the wheels’ contact with the ground.
7Checks before setting off
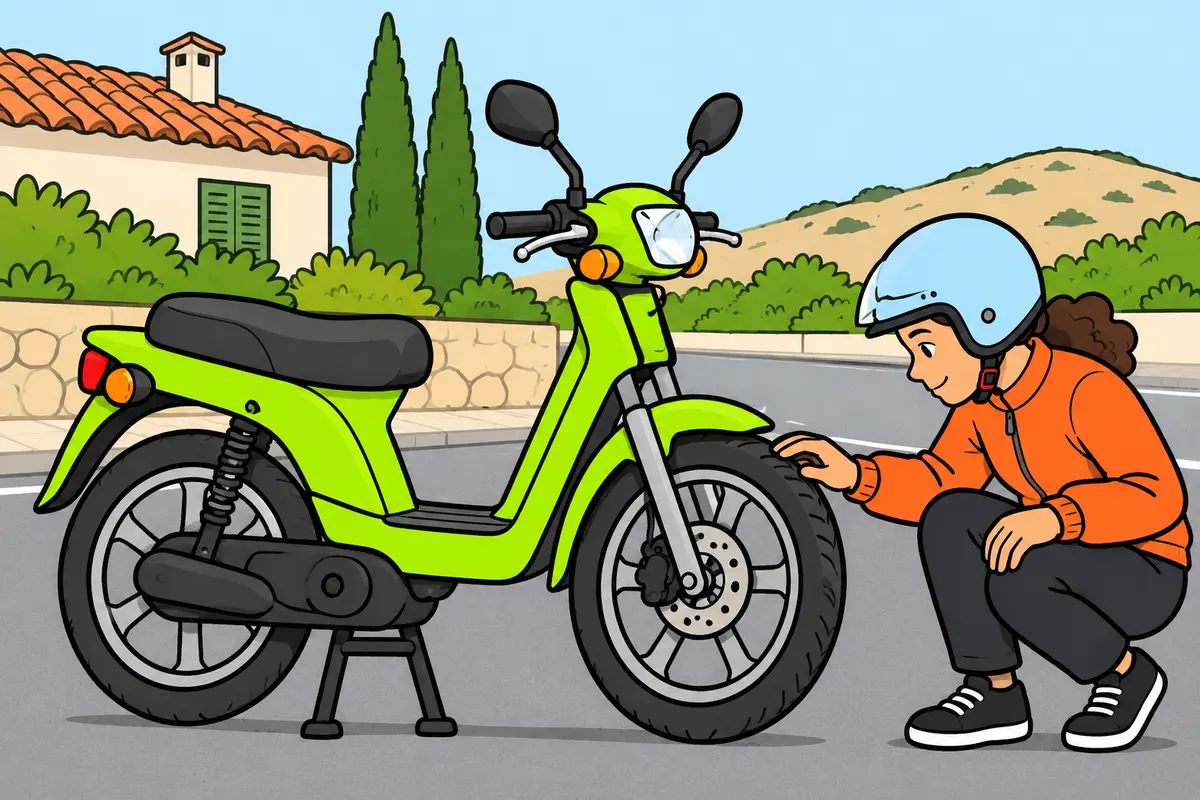
Check the basic components before setting off.
Remember
- Check tyres, brakes, steering, lights, mirrors and controls.
- Check fuel or charge and the relevant fluid levels.
- Look for leaks, damage and loose parts.
- Test controls with your vehicle stationary and stable.
- When finished, close covers and remove the tools you used.
- Retract the stand before setting off, as your vehicle requires.
Exam trap: Wrong: starting the engine proves everything works. Right: check safety components and possible leaks too.
Read the full explanation
- Before setting off, check tyres, brakes, steering, lights, mirrors and controls. Also check the available fuel or charge, the relevant fluid levels and possible leaks. This routine helps you detect problems you cannot discover simply by seeing whether the engine starts.
- Examine the ground and accessible areas for leaks, loose parts or damage. A new stain requires you to find its source: not all stains come from the same fluid. If it appears near a brake or tyre, do not continue until you rule out a problem that compromises safety.
- Carry out the pre-journey check with the vehicle stationary and stable, in a place where you can examine it without exposing yourself to traffic. Separate checks that require the ignition to be switched on from those carried out with everything switched off, following the manual. When you finish, check that you have closed the covers and removed the tools you used.
- Before setting off, retract the stand as required by the vehicle’s design: a stand that is not properly retracted can create a danger while riding. If your model has a system that prevents starting or transmitting motion with the stand extended, keep it working and follow the manufacturer’s procedure.
8Mirrors according to bodywork
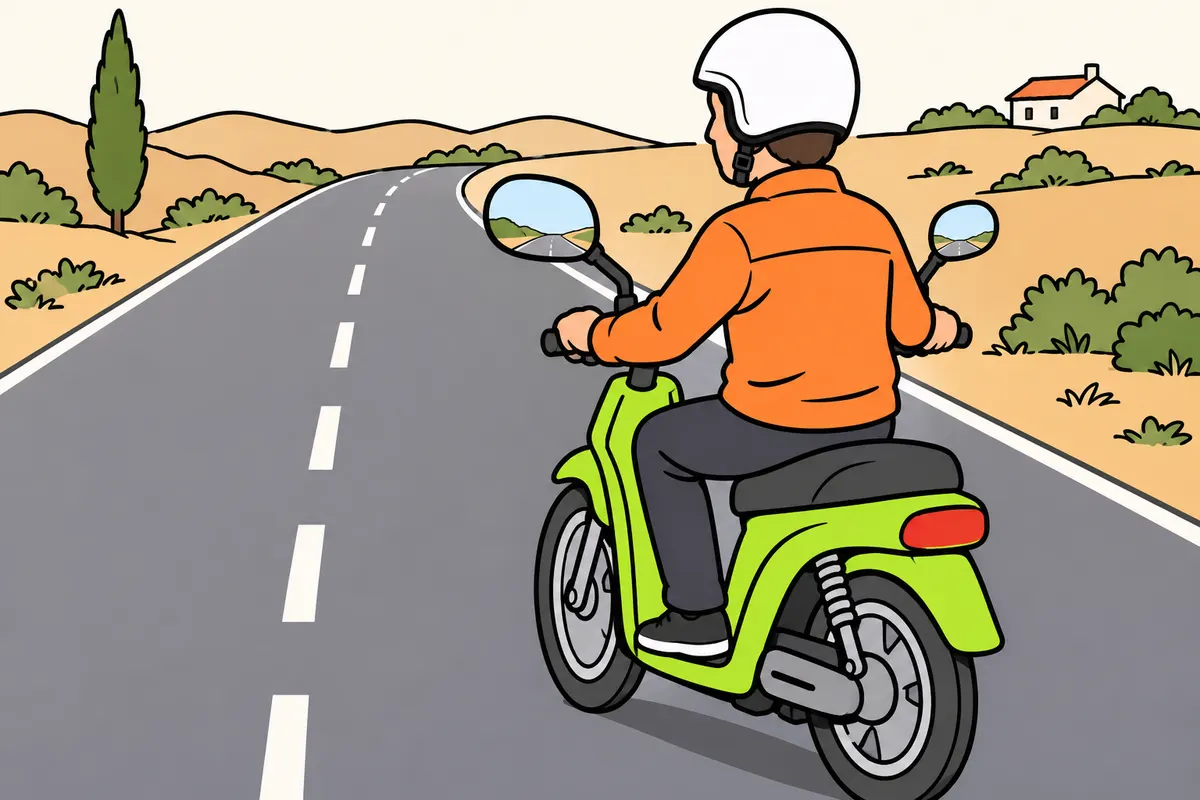
Check which mirrors you need for your bodywork and visibility.
| Moped or light quadricycle | Mirrors required by the table |
|---|---|
| Two-wheeled moped | Left exterior; right optional |
| Three-wheeled moped or light quadricycle: no bodywork covering driver | Left exterior; right optional |
| Three-wheeled moped or light quadricycle: bodywork partly or wholly covering driver | Interior and left exterior |
| Same covered vehicles: interior mirror cannot meet required visibility | Left and right exterior; interior not required |
Remember
- Also keep the equipment required by your vehicle’s specific approval.
- Keep mirrors clean, secure and unbroken.
- Check that vibration does not prevent you from seeing.
- Do not replace a useful mirror with a merely decorative one.
Exam trap: Wrong: you can remove the interior mirror for convenience. Right: it is not required only when it cannot meet regulatory visibility; you then need the right exterior mirror.
Read the full explanation
- On a two-wheeled moped, you must have at least a left exterior mirror as the regulatory minimum; the right one is listed as optional. You must also comply with the equipment required by the specific type approval: do not remove components without checking it. [RGV, Annex III.3](https://www.boe.es/buscar/act.php?id=BOE-A-1999-1826).
- On a three-wheeled moped or light quadricycle without bodywork that wholly or partly covers the driver, the table requires a left exterior mirror and allows a right one. Do not apply the row for heavy quadricycles or other three-wheeled vehicles to these vehicles. [RGV, Annex III.3](https://www.boe.es/buscar/act.php?id=BOE-A-1999-1826).
- With bodywork that wholly or partly covers the driver, you must have an interior mirror and a left exterior mirror. If the interior mirror cannot meet the visibility requirements, it is not required and the right exterior mirror becomes compulsory. The exception depends on regulatory visibility, not your preference. [RGV, Annex III.3](https://www.boe.es/buscar/act.php?id=BOE-A-1999-1826).
- Check that the glass is not broken, the mounting is secure and vibration does not prevent observation. A small or decorative mirror does not guarantee an adequate field of view. Dirt and accessories that obstruct the image reduce its usefulness even if it remains fitted.
9Adjustment and visibility
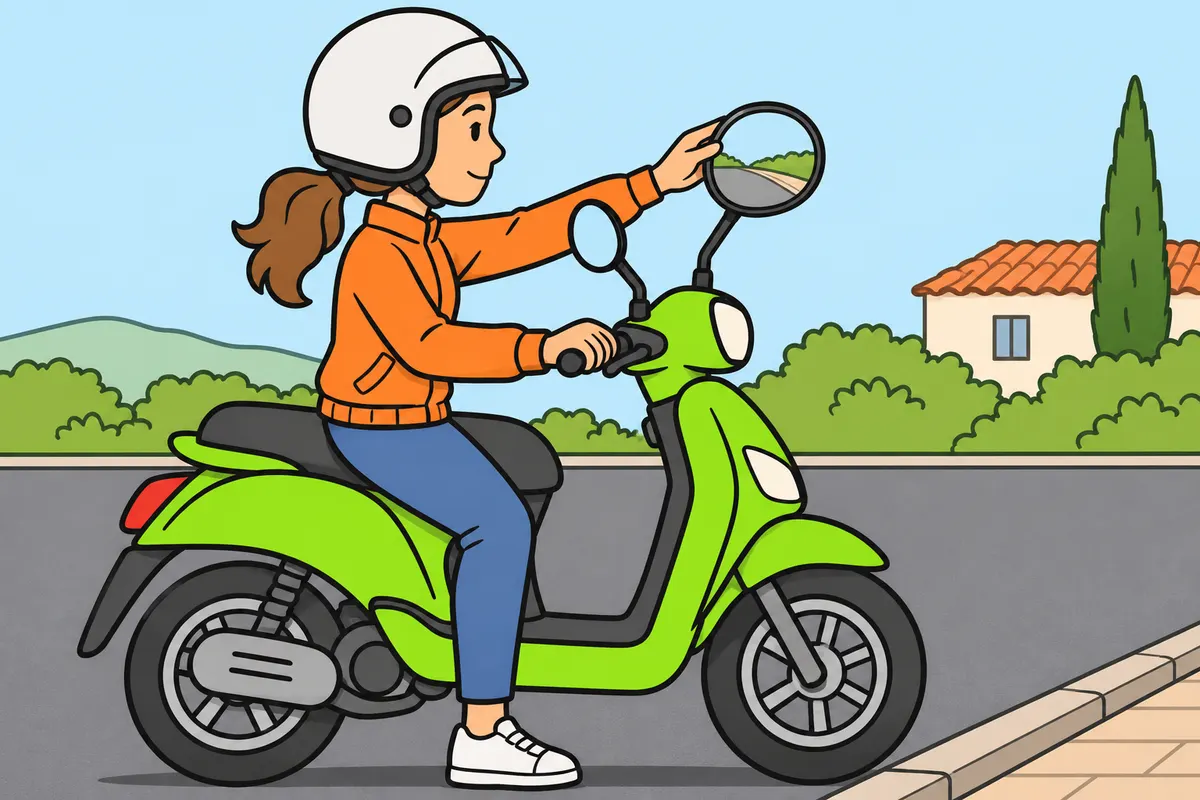
Adjust your mirrors and position before setting off to see and reach the controls.
Remember
- Adjust mirrors while stationary, in your normal riding or driving position.
- Aim for a view behind and to the sides.
- Check that you can reach controls without straining.
- Remember that mirrors leave blind spots.
- If you have a windscreen, clean it and check its visibility systems.
Exam trap: Wrong: correctly adjusted mirrors show everything. Right: also check the areas they cannot show.
Read the full explanation
- Adjust your mirrors before setting off, with the vehicle stationary and in your normal riding or driving position. Aim for a useful view behind and to the sides; do not centre the entire image on your arms. Check them again if someone moves them or your riding or driving position changes.
- Reach the controls without adopting a strained posture. On a moped with handlebars, maintain a position that allows you to turn and operate the levers naturally. In a quadricycle with an adjustable seat, check your reach to the steering wheel and pedals before setting off.
- Mirrors do not necessarily show everything around you: there are blind spots. Correct adjustment improves the information available, but does not replace the observation you need when manoeuvring. Observation technique and riding posture are covered in the Moped riding techniques module.
- If your quadricycle has a windscreen, keep it clean and free of obstructions to your view. Check the wipers, washers and demisting system according to its equipment. Detecting a worn wiper blade while stationary lets you deal with it before you need it in the rain.
10Recognise the installed lighting
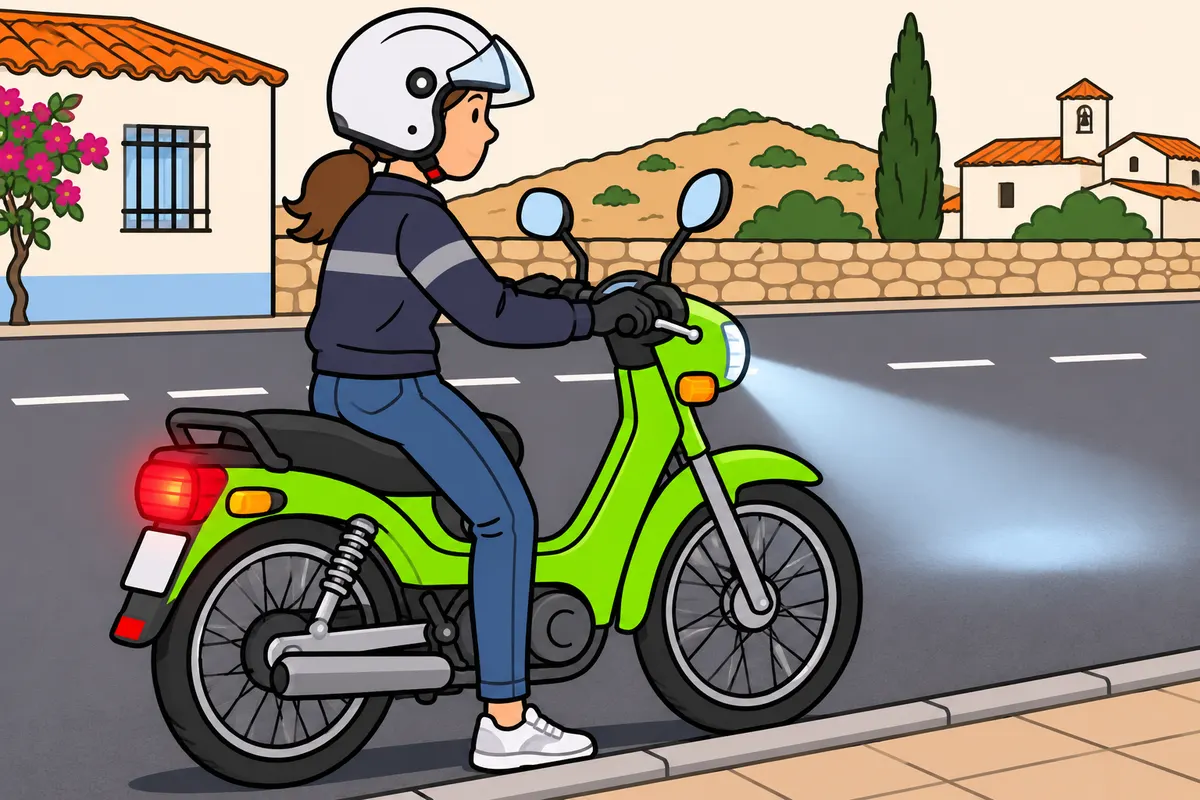
Keep the lighting required for your vehicle in working order.
Remember
- Check the lights and visual signals required for your vehicle.
- Follow your model’s type approval.
- Check that each control activates the correct light.
- See “Moped lights and signals” for equipment, colours and use.
Exam trap: Wrong: having lights fitted is enough. Right: keep them working and check their controls.
Read the full explanation
- You must keep the lighting and visual signalling devices required for your vehicle and its type approval in working order; check that each control activates the corresponding device. Equipment requirements for two-, three- and four-wheeled vehicles, colours, exceptions and circumstances of use are covered in “Moped lights and signals”. [RGV, art. 21.2 and Annex X](https://www.boe.es/buscar/act.php?id=BOE-A-1999-1826#a21).
11Two-wheeled moped lights
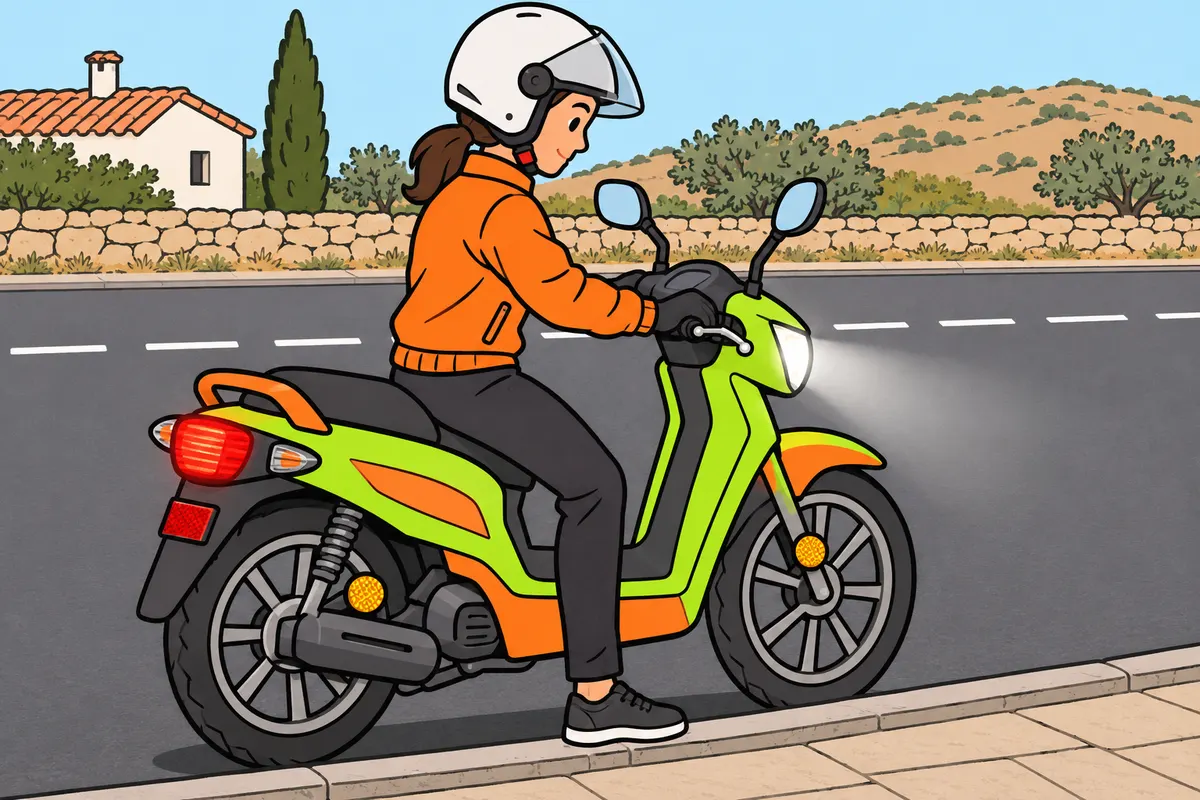
Check that your two-wheeled moped’s headlamp is secure and correctly aligned.
Remember
- Keep your headlamp securely attached.
- Check its alignment according to the manual.
- Check whether an impact or vibration has moved your headlamp.
- If the headlamp moves or is misaligned, request inspection before using it.
Exam trap: Wrong: a headlamp that lights up needs no further checks. Right: check its mounting and alignment according to the manual too.
Read the full explanation
- On a two-wheeled moped, check that the headlamp remains securely attached and aligned according to the manual: vibration or an impact can move it and alter the beam. Examine the mounting and adjustment points; if the assembly moves or is misaligned, request an inspection before using it. [RGV, art. 21.2 and Annex X](https://www.boe.es/buscar/act.php?id=BOE-A-1999-1826#a21).
12Lights on three- and four-wheeled vehicles
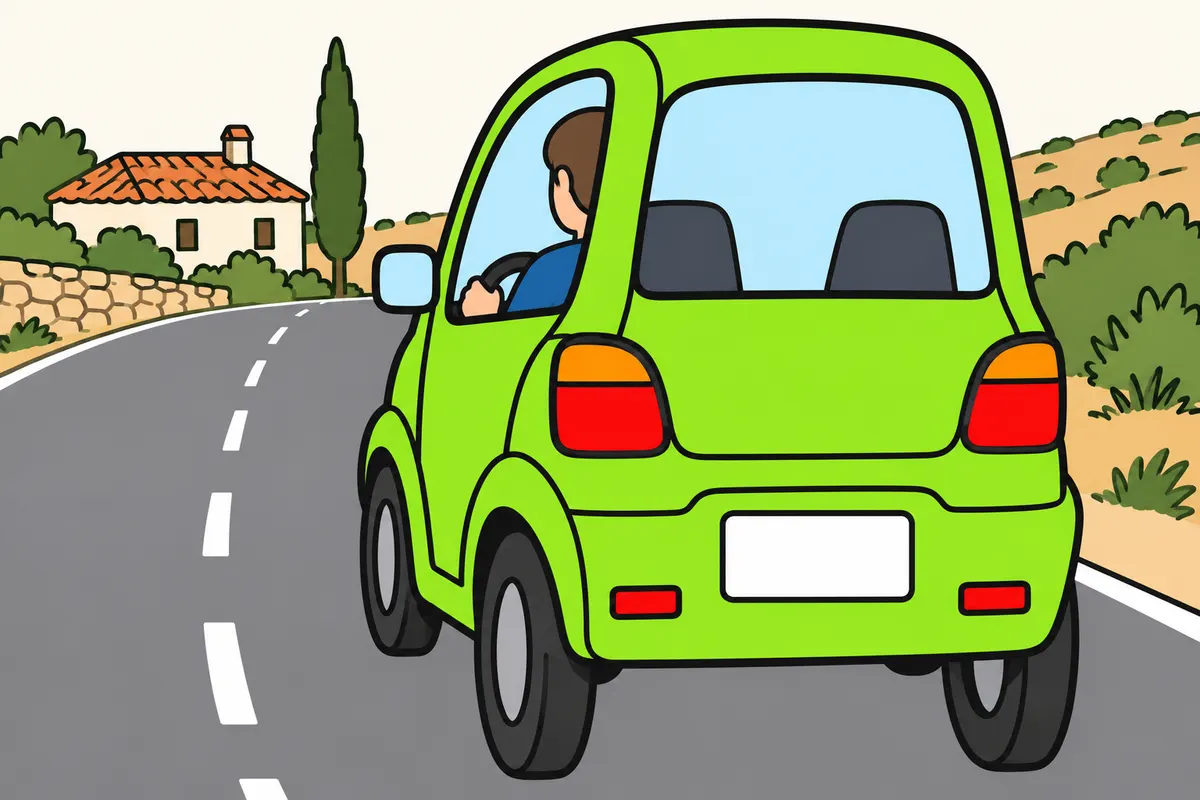
On your three-wheeled moped or light quadricycle, check the lights on both sides.
Remember
- Check the lights on both sides.
- Ask someone to watch behind while you operate the controls with your vehicle stationary.
- If a light does not respond, find and repair the fault.
- Checking only the accessible side does not check the whole assembly.
Exam trap: Wrong: checking the lights on one side is enough. Right: on your three-wheeled moped or light quadricycle, check both sides.
Read the full explanation
- On a three-wheeled moped or light quadricycle, check from outside that the light units installed on both sides work. You can ask someone to help you observe the rear while you operate the controls with the vehicle stationary. If only one of two equivalent units responds, identify and repair the fault; checking the accessible side does not verify the whole assembly. [RGV, art. 21.2 and Annex X](https://www.boe.es/buscar/act.php?id=BOE-A-1999-1826#a21).
13Reflectors and light maintenance
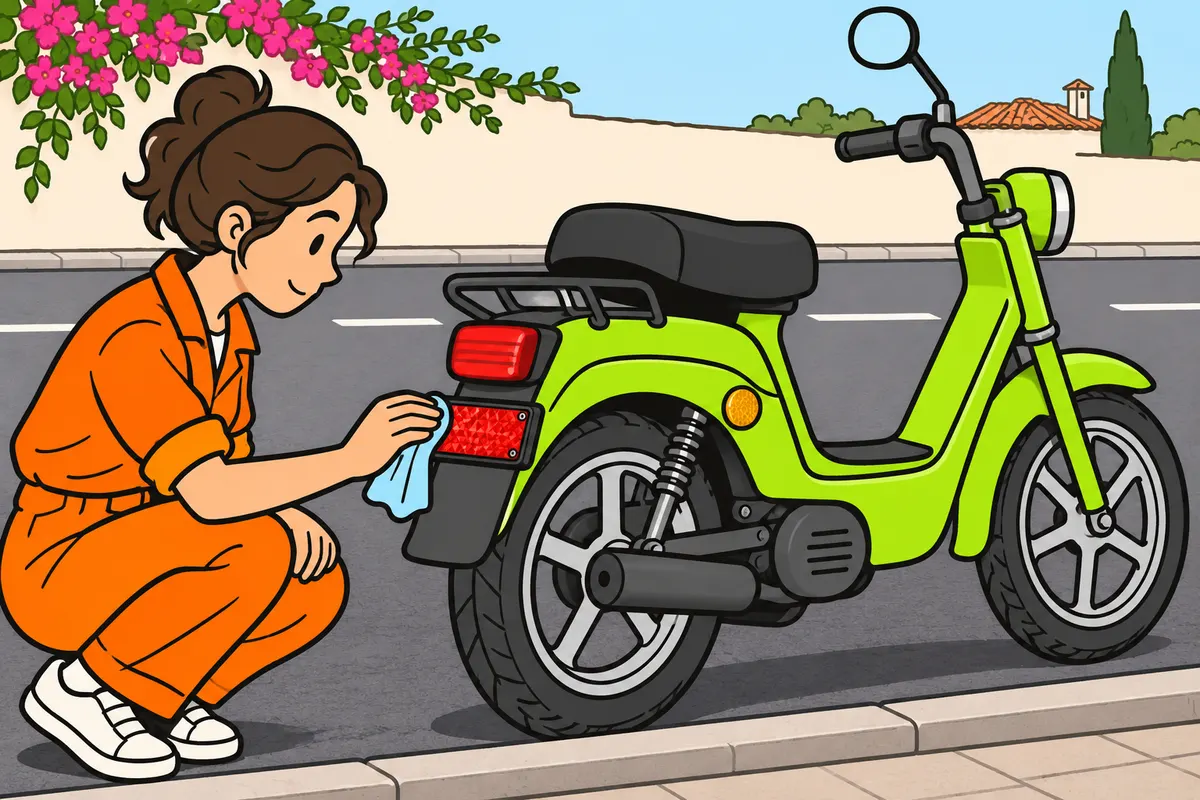
Keep lights and reflectors clean, secure and as approved.
Remember
- A reflector returns received light; it does not light the road.
- Check for dirt, damage and loose mountings.
- Use the specified bulb if you can replace it.
- Check approval before changing lenses or lighting technology.
Exam trap: Wrong: a reflector lights the road. Right: it returns received light; keep it clean and securely attached.
Read the full explanation
- A reflector returns some of the light it receives: you can recognise it by its operation without an electrical supply. It can help make you visible when it receives another vehicle’s light, but does not illuminate the carriageway. Keeping it clean is as necessary as checking that it remains securely attached.
- Keep light covers and lenses clean, with no damage that alters the light. Clean them with products compatible with their materials and avoid covering them with stickers or accessories; a scratched surface or damaged lens requires you to consider replacement.
- If you replace a replaceable bulb, use the correct specification and check its operation. Some assemblies need professional attention. A coloured lens, sticker or conversion to a different technology can change the authorised characteristics: check them before modifying the equipment.
14Moped controls
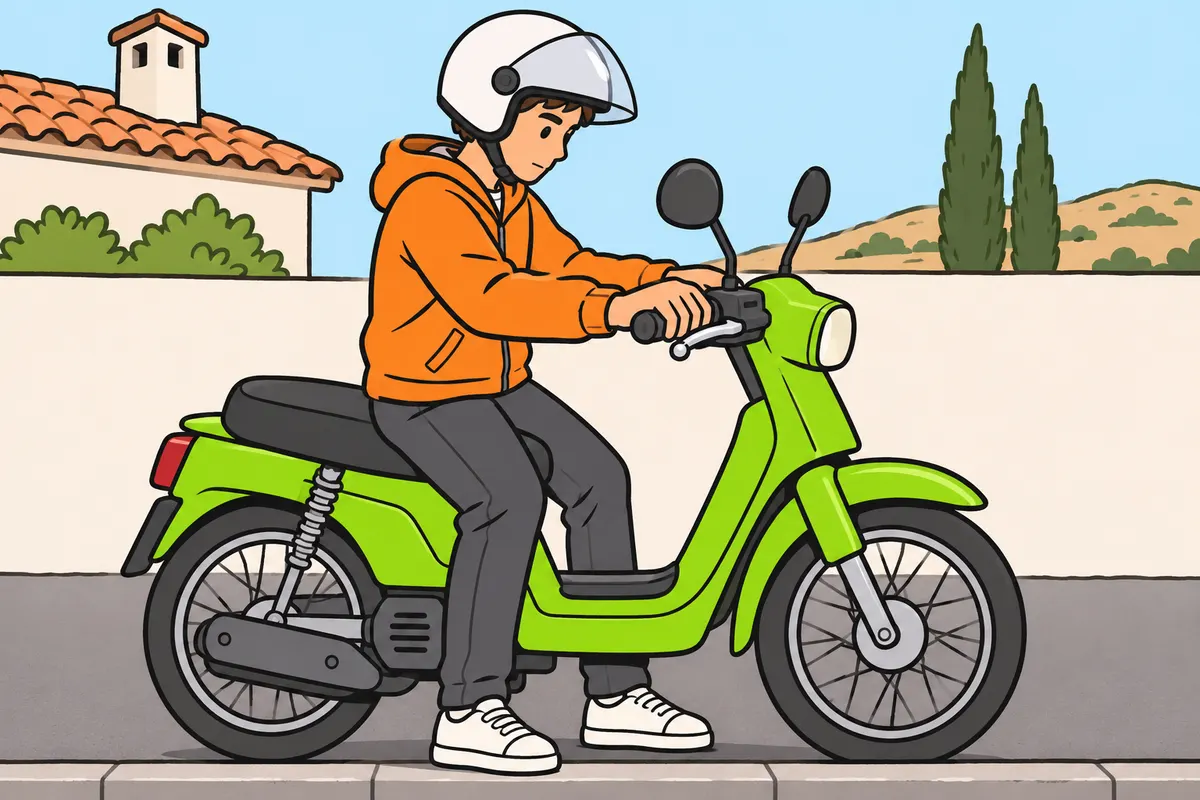
Identify your model’s controls before riding or driving.
| Moped layout | Controls to recognise |
|---|---|
| Conventional | Right hand: throttle and front brake lever |
| Many automatic mopeds | Left lever: rear brake |
| Manual clutch | Left lever: clutch; right foot: rear brake |
Remember
- Locate starting, stopping, horn, indicator and lighting controls while stationary.
- With combined braking, a control may brake several wheels.
- In a quadricycle, follow the manual’s gear selection sequence.
- Check the selected gear before allowing your vehicle to move.
Exam trap: Wrong: the left lever always does the same thing. Right: check whether yours operates the brake or clutch.
Read the full explanation
- In the conventional layout, you use your right hand to operate the twist-grip throttle and front brake lever. Recognise them without looking while riding and check their operation before setting off. Combined braking may mean that one control acts on more than one wheel. [UNECE Regulation 60, Table 1](https://www.boe.es/doue/2014/297/L00023-00040.pdf).
- On many automatic mopeds, the left lever operates the rear brake. On one with a manual clutch, the left lever disengages the clutch and you operate the rear brake with your right foot. Identify your model’s system; do not memorise that every left lever always does the same thing. [UNECE Regulation 60, Table 1](https://www.boe.es/doue/2014/297/L00023-00040.pdf).
- Locate the ignition, starter, engine stop switch if fitted, horn, direction indicators and lighting switch. Test your reach with the vehicle stationary. Do not confuse the engine stop switch with a hazard warning light or the brake control.
- In a quadricycle, recognise the steering wheel, pedals, selector and parking brake according to its design. An automatic transmission may require you to press a brake to select a gear. Follow the manual’s sequence and check the selected position before allowing the vehicle to move.
15Brakes and signs of faults
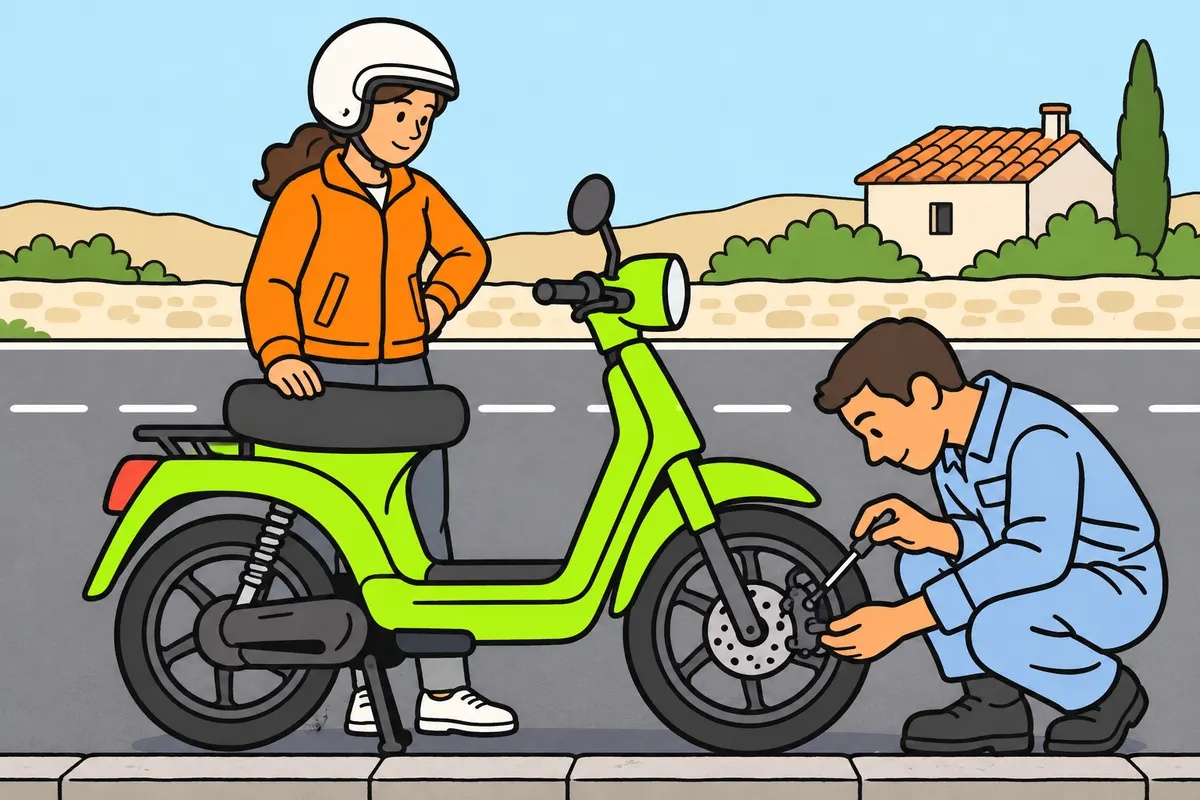
Investigate any unusual brake response and find its cause.
| Brake operation | What you check |
|---|---|
| Hydraulic | Fluid level and possible leaks, following the manual |
| Cable | Condition, travel and adjustment, following manufacturer instructions |
Remember
- Check brake response and wear.
- If fluid drops, find the cause.
- Do not mix incompatible brake fluids.
- Follow your model’s specified control travel and adjustment.
- Request inspection for weaker braking, pulling, vibration or persistent noise.
- If the problem affects safety, do not continue.
Exam trap: Wrong: keep topping up brake fluid without investigating. Right: find out whether wear or leaks caused the drop.
Read the full explanation
- Brakes allow you to reduce speed and stop the vehicle; you also need them to work on level ground, in dry conditions and at low speed. Check their response and wear components. Discs and pads or drums and shoes work through friction, which generates heat during braking.
- If the control is hydraulic, check the fluid level and possible leaks according to the manual. A drop in fluid may relate to wear or leaks and requires you to find the cause. Do not simply top it up repeatedly or mix products with incompatible specifications.
- With cable operation, monitor condition, travel and adjustment according to the manufacturer. A lever with excessive travel, an abnormal feel or poor return requires inspection. There is no single correct travel for every braking system.
- Request an inspection if braking becomes less effective, the vehicle pulls abnormally, or you hear persistent noises or feel vibrations when braking. If the problem compromises safety, do not continue. After the brakes get wet, check their response cautiously and according to the manual; braking techniques are covered in the Moped riding techniques module.
16Steering, suspension and wheels
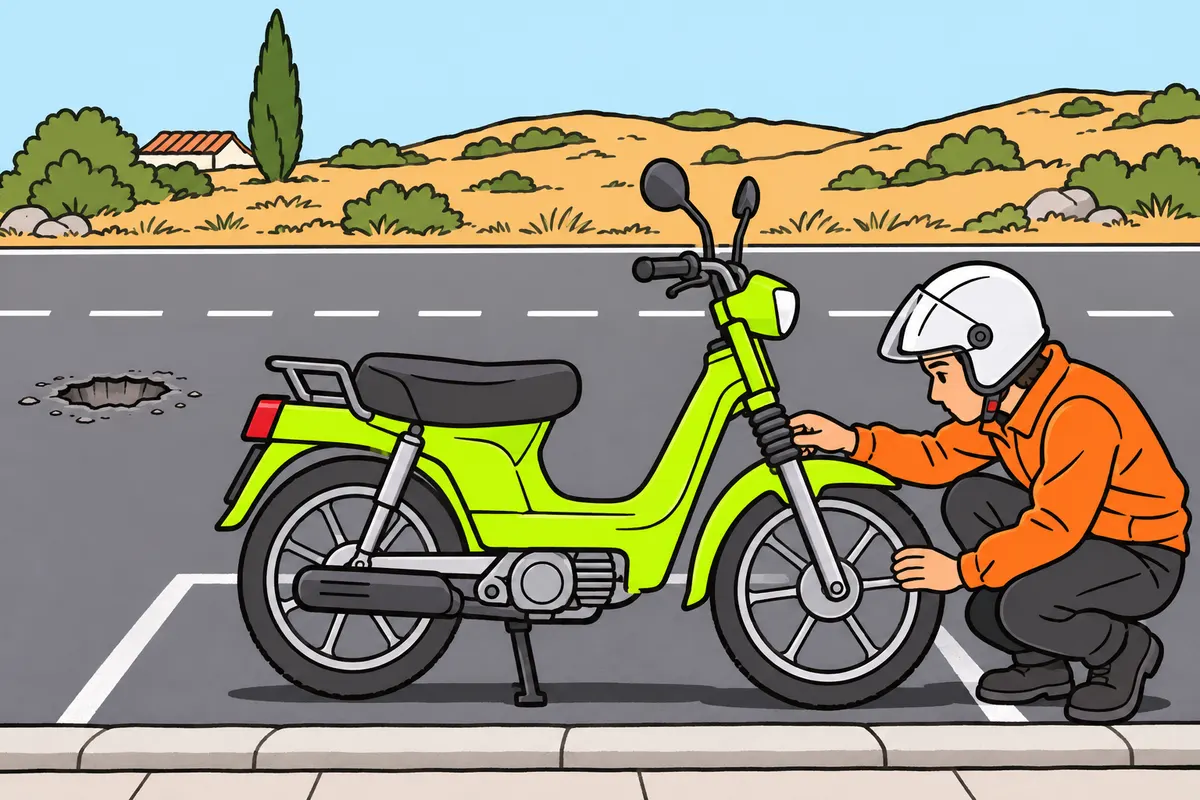
Check steering, suspension and wheels to keep your vehicle stable.
Remember
- Look for stiffness, looseness, locking or unusual steering movement.
- Check that cables and accessories do not obstruct the handlebars.
- Suspension helps keep your wheels on the ground.
- Request inspection for leaks, bouncing or uneven wear.
- After a major impact, check wheel rims, fixings and damage.
- Arrange an inspection if a new vibration appears.
Exam trap: Wrong: suspension only provides comfort. Right: it also affects stability, braking and contact with the ground.
Read the full explanation
- Steering allows you to direct the vehicle; detect stiffness, play, locking or abnormal movements. On two wheels, check that the handlebars turn without cables or accessories getting in the way. You do not correct a steering defect simply by holding on more tightly.
- Suspension absorbs uneven surfaces and shock absorbers control oscillations. Associate them with stability and keeping the wheels in contact with the ground. Their function includes safety: they are not merely comfort components to make the journey more pleasant.
- A worn shock absorber can worsen braking, encourage oscillations and cause uneven tyre wear. Check for leaks and abnormal behaviour. Do not attribute every wear pattern solely to pressure: steering, suspension or alignment can also contribute.
- Inspect wheel rims, fixings and wheel damage after a significant impact with a kerb or pothole. Deformation can affect rotation and the tyre’s airtight seal. If a new vibration appears, arrange an inspection before assuming it comes from the road surface.
17Tyres: tread and damage
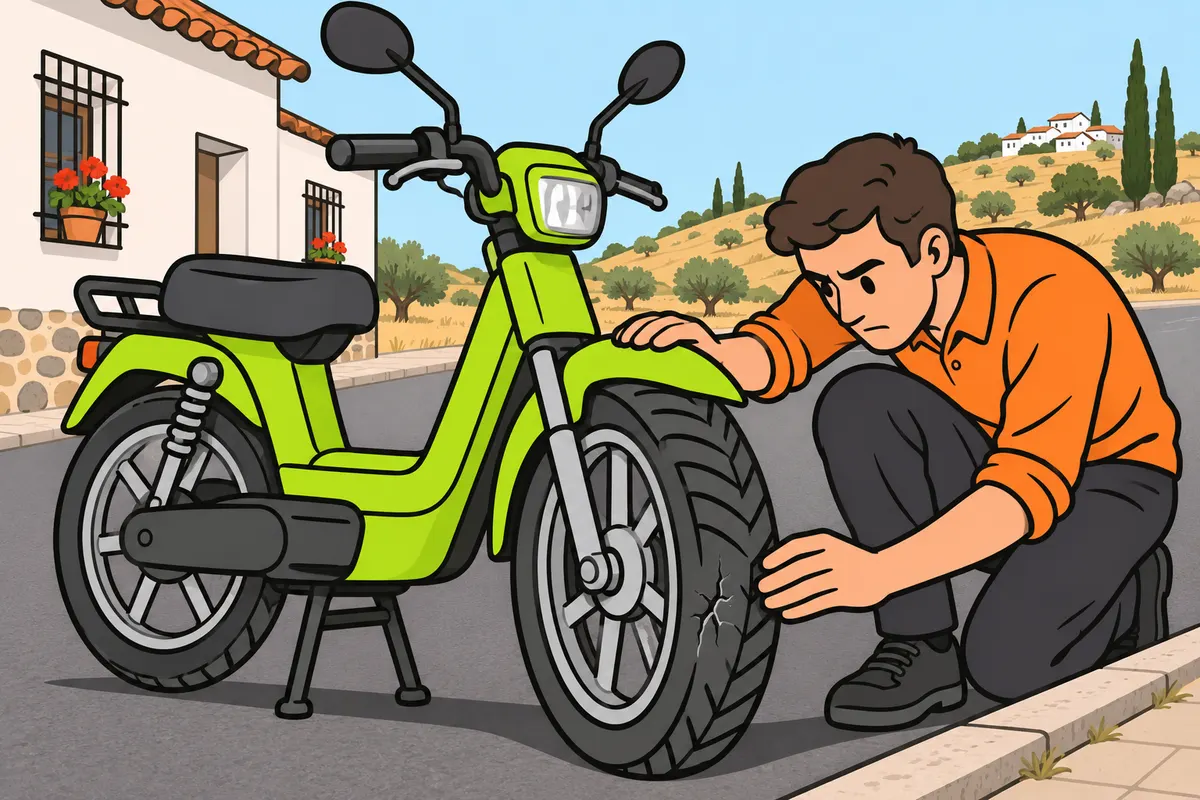
Check tyre tread and damage even if you rarely use your vehicle.
Remember
- Check tyre tread and sidewalls.
- Replace the tyre if tread disappears from the main grooves.
- Do not ignore cuts, bulges, cracks, deformation or air loss.
- Visible tread does not guarantee that the rubber is sound.
- Ask the manufacturer and a professional about ageing and replacement.
Exam trap: Wrong: automatically apply the passenger car minimum of 1.6 mm to AM vehicles. Right: this is not the general minimum for category L; keep tread and safe tyre condition.
Read the full explanation
- Tyres support the vehicle and transmit acceleration, braking and steering forces to the ground. Check their entire accessible surface: tread and sidewalls. Apparently deep tread does not compensate for cuts, bulges, cracks, deformation or air loss.
- You must maintain tread in the main grooves and safe conditions of use. The minimum of 1.6 mm in Annex VII for passenger cars and certain categories is not set there as a general minimum for category L AM vehicles. To assess wear on your moped’s tyres, consider the tread, damage and the manufacturer’s replacement instructions. [RGV, art. 12.5 and Annex VII](https://www.boe.es/buscar/act.php?id=BOE-A-1999-1826).
- Tread helps remove water from the contact area. If it disappears, replace the tyre: you do not need to wait for cracks as well. Grooves do not guarantee grip in every situation; speed, standing water, pressure and the condition of the rubber also matter.
- Take ageing into account even if you rarely use the vehicle: have a professional assess cracks, hardening and deformation, and follow the manufacturer’s inspection and replacement instructions. Visible tread alone does not allow you to assess the condition of the rubber. Annex VII does not set a general expiry age in years for tyres. [RGV, Annex VII](https://www.boe.es/buscar/act.php?id=BOE-A-1999-1826).
18Tyre pressure and wear
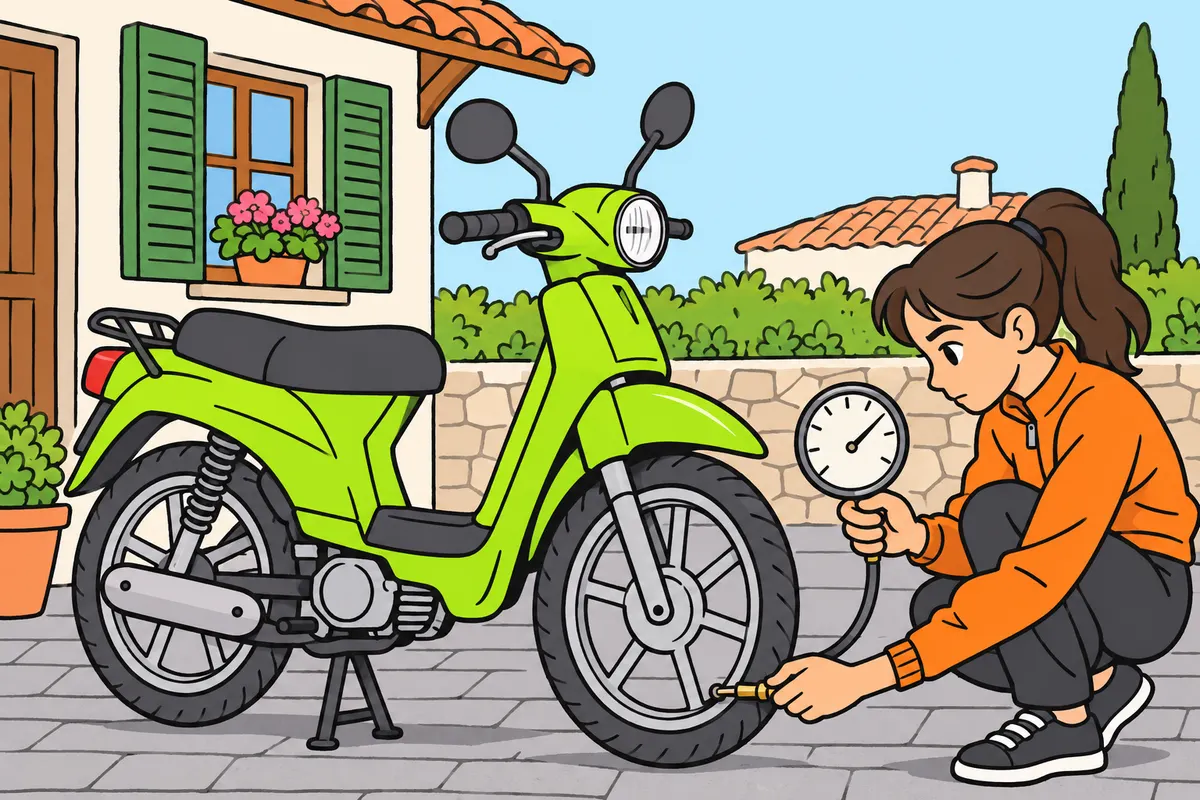
Measure pressure with cold tyres and use the specified value for your load.
| Tyre pressure | Effects to recognise |
|---|---|
| Too low | More deformation, heat and rolling resistance; may wear shoulders |
| Too high | May wear the centre |
Remember
- Use a pressure gauge: looking or squeezing does not measure pressure.
- Do not release hot tyre air to match the cold pressure value.
- Investigate repeated pressure loss; check the valve and cap.
- Do not lower pressure on your own initiative when it rains.
- Replacement tyres must meet approved specifications or permitted equivalents.
- Do not assume front and rear tyres are interchangeable.
Exam trap: Wrong: wear alone tells you the cause. Right: measure pressure and check other causes.
Read the full explanation
- Measure pressure with a pressure gauge and cold tyres, using the manufacturer’s value for the intended load. Looking at the tyre or squeezing it by hand is not the same as measuring. Also check the valve and cap; repeated pressure loss requires you to investigate its cause.
- Pressure rises as the tyre heats up during use. Do not release air from a hot tyre to match its reading to the cold specification: you may leave it underinflated when it cools. Distinguish a check because you suspect a fault from routine adjustment.
- Insufficient pressure increases deformation, heating and rolling resistance, and can impair stability and braking. It can also increase fuel consumption. Do not reduce pressure on your own initiative for riding or driving in rain: follow the specified pressure for the vehicle and load.
- Low pressure can encourage shoulder wear; excessive pressure can encourage centre wear. Measure it and check other causes, because appearance alone does not identify the fault. Harsh acceleration and braking also shorten tyre life.
- If you need to replace a tyre, you must comply with the approved dimensions and characteristics or permitted equivalents. Check fitting, load and speed requirements with a professional; do not choose solely by price or appearance. On two wheels, do not assume that front and rear tyres are interchangeable. [RGV, Annex VII.1](https://www.boe.es/buscar/act.php?id=BOE-A-1999-1826).
19Engine, fuel supply and ignition
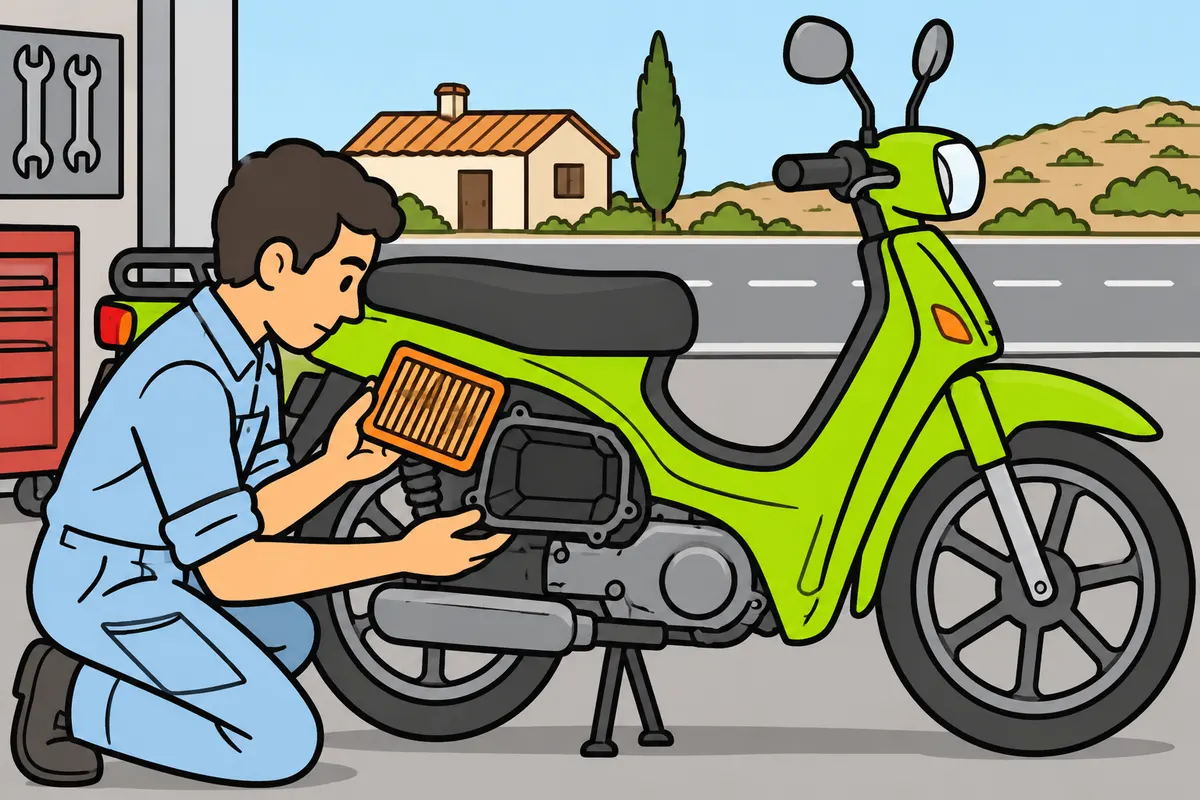
Identify your engine to use the correct care and starting procedure.
| System or engine | How it works |
|---|---|
| Carburettor | Meters fuel and mixes it with air |
| Other models | Use injection |
| Spark-ignition petrol engine | The spark plug produces the spark |
| Diesel | Uses compression ignition |
Remember
- In petrol engines, the fuel supply provides air and fuel.
- Ignition produces the spark at the spark plug.
- Do not confuse the petrol pump with lubrication.
- Follow your model’s starting procedure.
- Check the air filter according to manufacturer instructions and conditions of use.
- Do not clean a filter that needs replacing.
Exam trap: Wrong: every engine needs a spark plug to start combustion. Right: diesel uses compression ignition.
Read the full explanation
- In a petrol engine, fuel supply and ignition have different functions: the former supplies fuel and air; the latter produces the spark at the spark plug. The petrol pump, where fitted, belongs to the fuel circuit and does not lubricate the engine.
- If your moped has a carburettor, it meters fuel and mixes it with the intake air. Other models use injection. Follow its starting procedure: not all have a manual choke or need the same operations when the engine is cold.
- Check the air filter according to the manufacturer and conditions of use. Dust can require additional attention; do not associate it exclusively with summer or an annual service. Some filters are cleaned using a specific procedure and others are replaced: these operations are not interchangeable.
- In a conventional four-stroke engine, recognise intake, compression, combustion and expansion, and exhaust. A diesel quadricycle uses compression ignition rather than a spark plug to initiate each combustion. Identifying the engine prevents you from applying petrol-engine care to a different engine type.
20Lubrication in two- and four-stroke engines
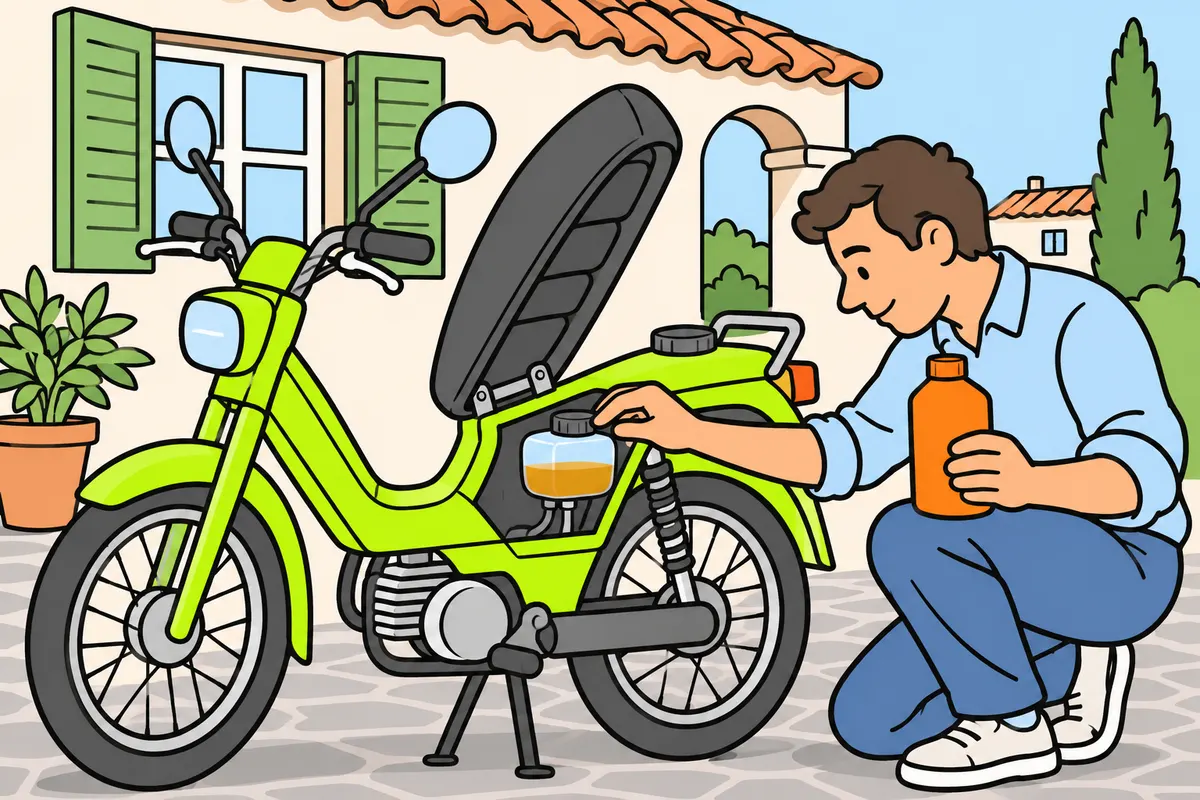
Use the correct oil for your engine’s lubrication system.
| Engine or system | What you do |
|---|---|
| Two-stroke petrol engine using premix | Add specific oil in the manufacturer’s proportion |
| Separate lubrication | Monitor the oil tank; do not add premix on your own initiative |
| Conventional four-stroke engine | Check and change oil in its separate circuit; do not mix with petrol |
Remember
- Oil reduces friction and wear, and helps remove heat.
- Having fuel does not prevent damage from too little oil.
- Follow the manufacturer’s specified product and proportion.
- Distinguish the oil warning from the fuel reserve warning.
- Topping up used oil does not replace changing degraded oil.
Exam trap: Wrong: add oil to any petrol. Right: prepare premix only for engines using it; do not duplicate it with separate lubrication.
Read the full explanation
- Oil forms a film between parts to reduce friction and wear and also helps remove heat. Lubrication and fuel supply have different functions. A lack of suitable oil can damage the engine even if you still have enough fuel.
- In a two-stroke petrol engine using premix, add specific two-stroke oil in the proportion specified by the manufacturer. Do not invent a percentage common to all mopeds or replace the lubricant with alcohol, benzol or diesel.
- With separate lubrication, monitor the oil tank and use the specified product. Its system meters the oil: do not also prepare premix on your own initiative. Distinguish the fuel reserve from the oil warning; one does not tell you about the other.
- In a conventional four-stroke engine, the engine oil has its own separate circuit: do not add it to the petrol as an operating mixture. Monitor its level and renew it according to the manufacturer. Topping up oil used and changing degraded oil are different operations.
21Oil level and cooling
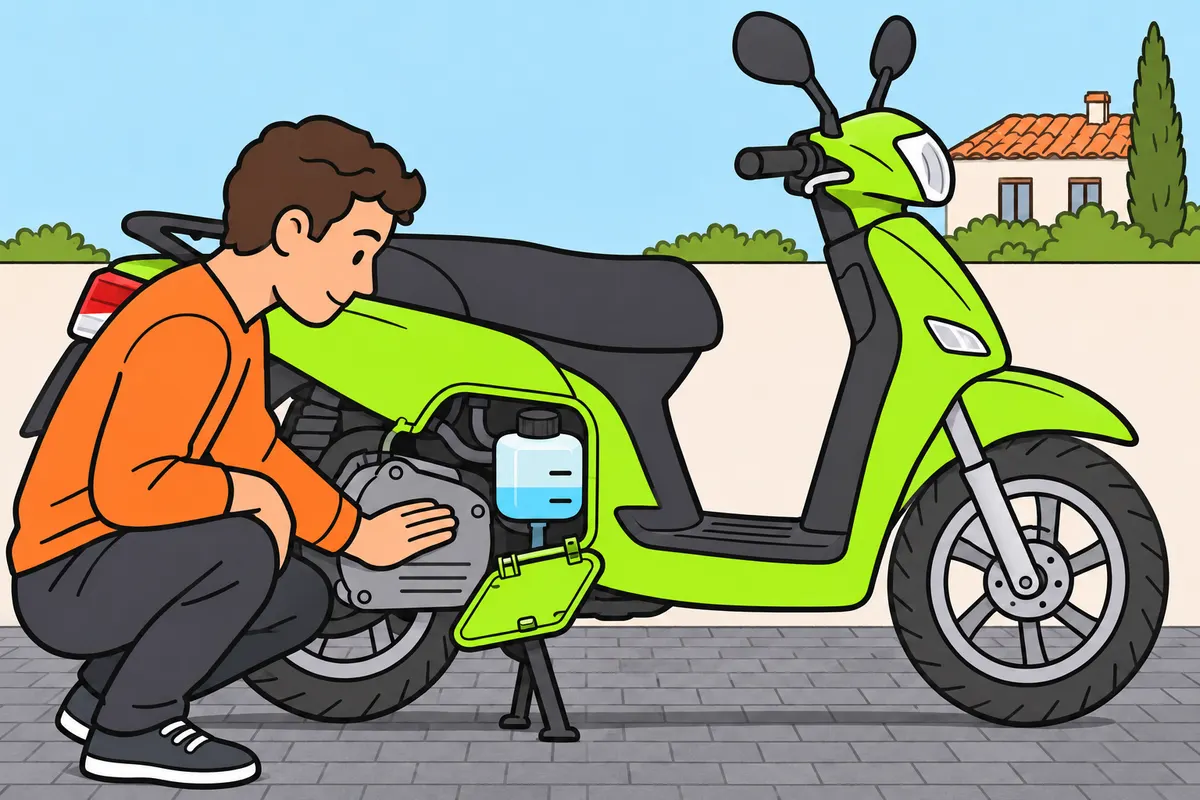
Check oil and cooling under the conditions specified in your manual.
| Cooling system | What you check |
|---|---|
| Air | Keep the intended surfaces and air inlets clear |
| Liquid | Check level and leaks when cold; follow specified coolant and service intervals |
Remember
- Check oil with the engine stopped, under the conditions in your manual.
- Keep the level between the marks.
- Do not exceed the maximum.
- A pressure warning may require you to stop and switch off safely.
- With liquid cooling, check the level and leaks when the engine is cold.
- Do not open a pressurised cap while the engine is hot.
Exam trap: Wrong: oil on the dipstick rules out lubrication problems. Right: pressure can fail even when oil is present.
Read the full explanation
- Check the oil with the engine stopped, the vehicle in the specified position and observing the temperature and waiting time in the manual. If it uses a dipstick, follow its instructions, including how to insert it. Check that the reading is between the marks; exceeding the maximum does not improve protection.
- The level indicates the quantity of oil; pressure depends on the circuit’s operation. A pressure warning during operation may require you to stop and switch off the engine safely. Do not assume everything is fine because there is oil on the dipstick: there may be another lubrication fault.
- Cooling maintains a suitable operating temperature; its aim is not to cool the engine as much as possible. It may use air or liquid. With air cooling, keep the intended surfaces and inlets clear; liquid cooling involves a circuit, radiator and regulating components.
- With liquid cooling, check the level and look for leaks with the engine cold, according to the manual, and use the specified coolant. Do not open a pressurised cap while hot. There is no universal coolant change interval for every vehicle: follow the one for your model.
22Transmission, chain and belt
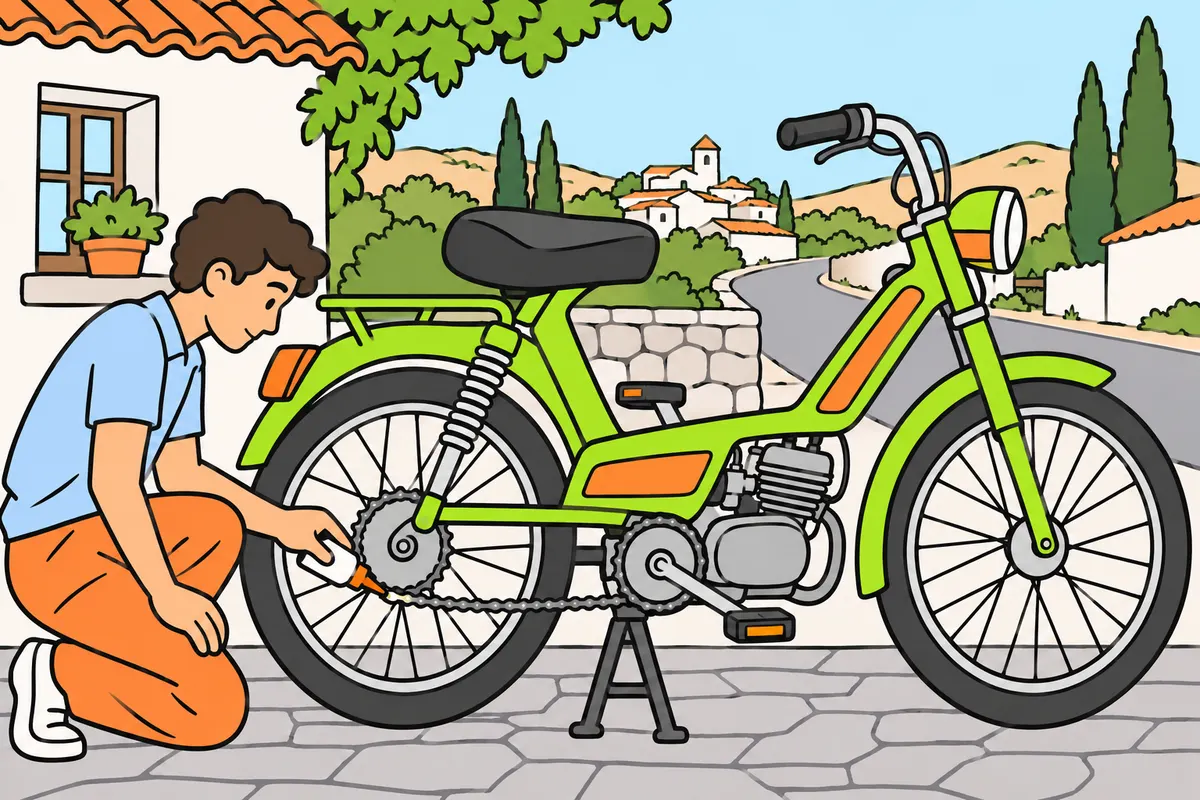
Maintain your transmission according to its system and the manufacturer’s instructions.
| Transmission component | How it works |
|---|---|
| Manual gearbox clutch | Disconnects and reconnects the drive |
| Chain | Engages with sprockets |
| V-belt | Works on pulleys through friction |
| Toothed belt | Engages with pulleys |
Remember
- The transmission transfers engine force to the driven wheels.
- Do not assume every AM vehicle has the same driven wheel.
- Keep the chain slack specified by the manufacturer.
- Check wear on the front and rear sprockets.
- Do not maintain the chain while the engine turns the wheel.
- Do not automatically apply chain lubricant to a belt.
Exam trap: Wrong: all transmissions need the same care. Right: identify your system and follow its maintenance instructions.
Read the full explanation
- The transmission transfers engine torque to the driven wheel or wheels. A driven wheel receives force to propel the vehicle and a steering wheel directs it. On many mopeds, the rear wheel is driven and the front wheel steers; do not turn this arrangement into a rule for every AM vehicle.
- With a manual gearbox, the clutch allows you to interrupt and restore the transmission of motion. A low gear multiplies torque at the wheels more, in exchange for a lower rotational speed. With an automatic, recognise that the system changes the ratio without you operating a conventional manual gearbox.
- If you have a chain, keep it clean, lubricated and with the slack specified by the manufacturer. Both excessive tension and a chain that is too loose can cause problems. Also check wear on the front and rear sprockets and do not attempt maintenance with the engine turning the wheel.
- A chain engages with sprockets. A V-belt works on pulleys through friction; a toothed belt engages with them. Inspect and replace belts according to their system, without automatically applying chain lubricant to them. Not all transmissions need the same care.
23Battery and electrical system
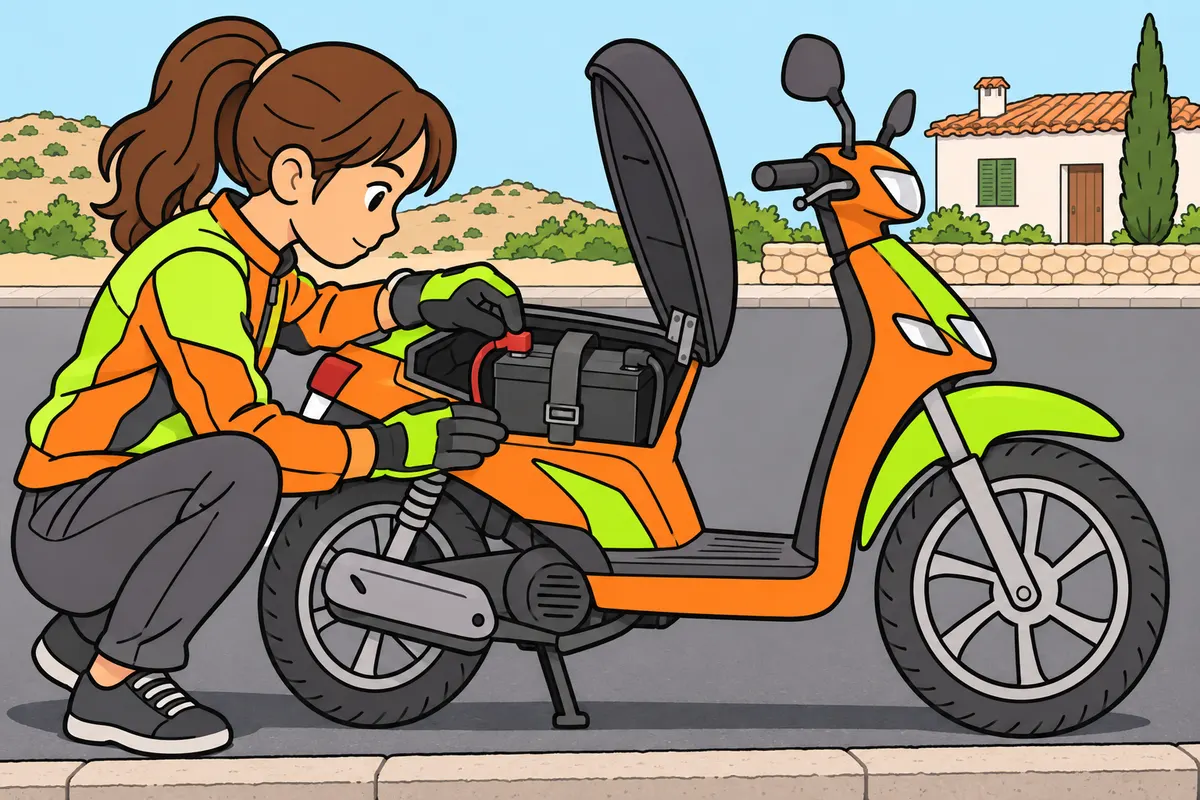
Care for your battery and keep electrical circuits protected.
| Component | Function to distinguish |
|---|---|
| Battery | Stores energy |
| Starter motor | Starts the engine |
| Charging system | Replenishes energy during operation |
| Fuse | Protects the circuit |
Remember
- Check mounting, connections and accessible condition following the manual.
- Do not open sealed batteries.
- For serviceable lead-acid batteries, check electrolyte according to the manual.
- When water needs topping up, use distilled or deionised water; do not add acid.
- Avoid contact with corrosive battery fluid.
- If a fuse blows again, investigate the cause.
Exam trap: Wrong: a higher-rated fuse fixes the problem. Right: use the specified type and rating; do not bypass it.
Read the full explanation
- The battery stores energy for starting and electrical equipment according to the design. The charging system replenishes that energy during operation. The battery, starter motor and generator are different components: lights failing does not prove on its own which component is faulty.
- Check the starter battery’s mounting, connections and accessible condition according to the manual. Dirt, corrosion or a loose terminal can hinder its operation. In cold conditions, a deteriorated or discharged battery can cause more starting problems.
- With a conventional serviceable lead-acid battery, check the electrolyte in the battery itself. If topping up is appropriate due to normal use, use distilled or deionised water according to the manual, without adding acid or exceeding the levels. Electrolyte is corrosive: avoid contact and do not open sealed batteries.
- Fuses protect circuits; use the prescribed type and rating when replacing one. If it blows again, you need to find the cause. Do not bypass it or fit a higher-rated one on intuition: you could leave the wiring without its intended protection.
24Electric mopeds and charging
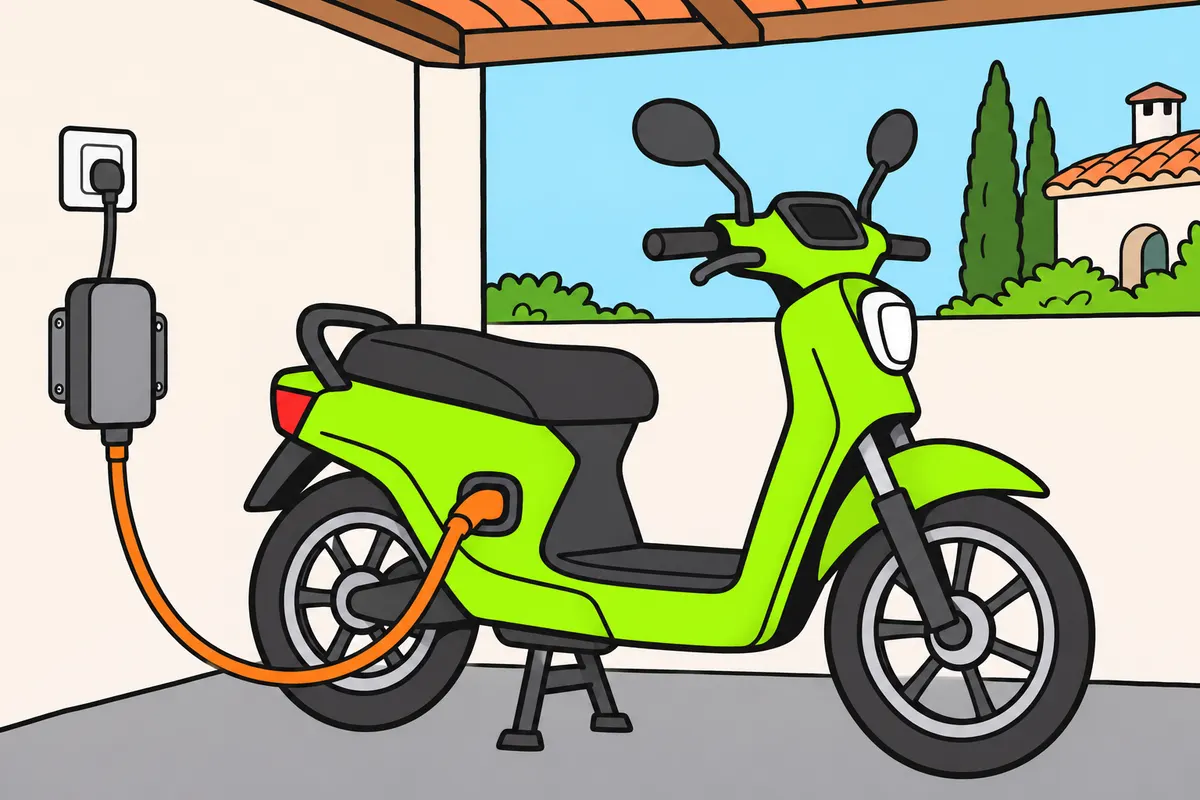
Charge your electric moped as instructed and check that propulsion is deactivated.
Remember
- Use a compatible charger and sound connections.
- Charge and store where the manufacturer specifies.
- Do not top up traction batteries with water as for open lead-acid batteries.
- Deactivate propulsion before handling your moped or pushing it on foot.
- Maintain brakes, tyres, steering, suspension and lights too.
- For battery damage, abnormal heat or serious warnings, stop using it and request assistance.
Exam trap: Wrong: silence proves it is switched off. Right: check the ready-to-ride indicator and deactivate propulsion.
Read the full explanation
- On an electric moped, you can identify the traction battery, electric motor and auxiliary equipment as different assemblies. You do not need a petrol-and-oil mixture or a spark plug to propel it. Still maintain tyres, brakes, steering, suspension, lights and the other equipment it has.
- Follow the specific charging and storage instructions: a compatible charger, connections in good condition and the location specified by the manufacturer. Do not apply the water top-up procedures for an open lead-acid battery to a traction battery.
- Before handling it or pushing it on foot, check that propulsion is deactivated. Silence does not prove it is switched off; an accidentally operated throttle can make it move forwards. Check the ready-to-ride indicator according to your model’s manual.
- If you notice battery damage, abnormal heating or serious warnings, stop using it and request assistance. Do not open the battery or improvise repairs or connections. To charge and maintain an electric vehicle, follow its specific instructions and leave specialist work to qualified personnel.
25Exhaust, refuelling and serious warnings
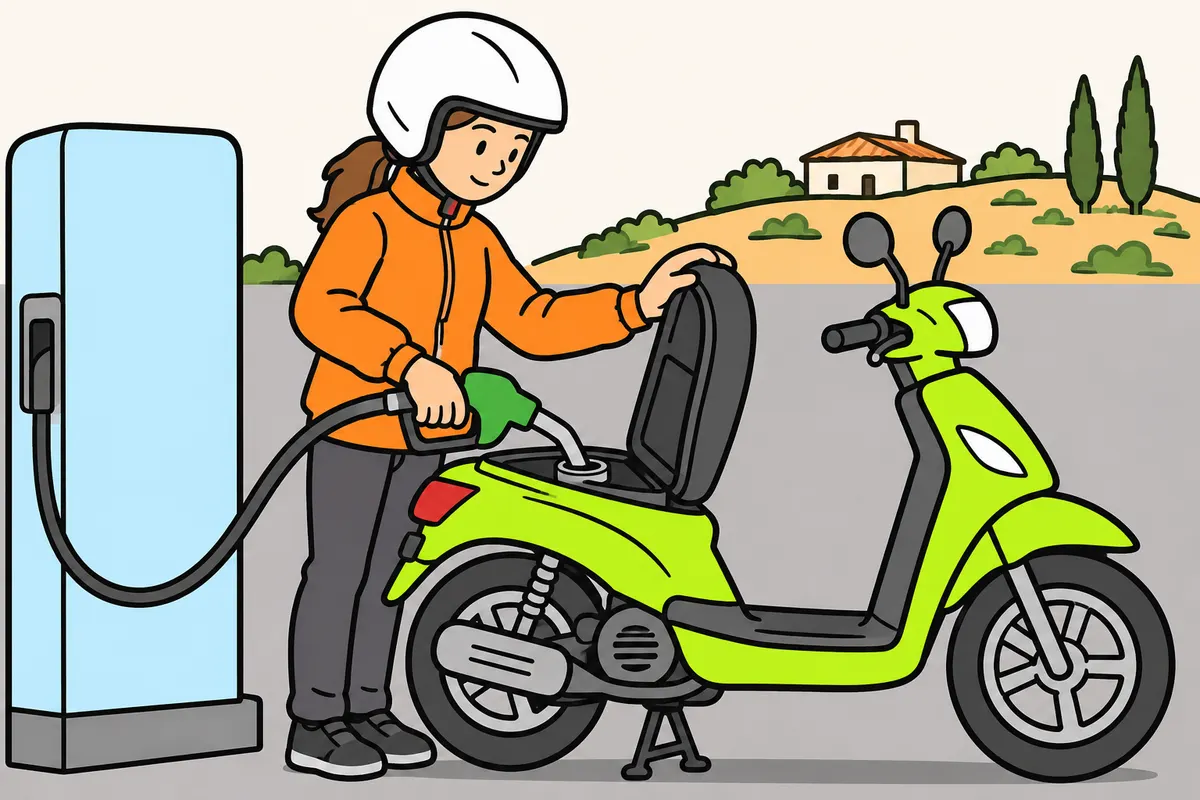
Refuel safely and resolve dangerous faults before continuing.
Remember
- Keep your exhaust and silencer in good condition.
- Do not use an unsilenced exhaust or an ineffective silencer.
- Use specified fuel; check the cap, tank and connections.
- Close the cap securely; have fuel leaks repaired before using your vehicle.
- For serious warnings, stop safely and consult your manual or assistance service.
- Collect spills; take used oil to an authorised collection point that accepts it.
Exam trap: Wrong: compensate for a dangerous fault by going slowly. Right: resolve it before continuing.
Read the full explanation
- You must keep the exhaust and silencer in good condition. You cannot ride or drive with an unsilenced exhaust or an ineffective silencer, or exceed regulatory noise and emissions limits. Good maintenance helps control these problems but does not guarantee complete freedom from faults. [RGC, art. 7](https://www.boe.es/buscar/act.php?id=BOE-A-2003-23514#a7).
- Use the fuel specified for your moped’s engine and check the condition of the cap, tank and its connections; a leak requires repair before you use the vehicle. Precautions for switching off lights and equipment during refuelling are explained in “Moped lights and signals”. [RGC, art. 115.3–4](https://www.boe.es/buscar/act.php?id=BOE-A-2003-23514#a115).
- Respond to temperature, lubrication or brake warnings, significant leaks, new vibrations or abnormal smoke. Stop safely and consult the manual or assistance service. Smoke colour can guide an inspection, but does not prove a single specific fault or authorise you to keep accelerating.
- If you carry out maintenance, you must collect spills and take used oil to an authorised waste operator or collection point that accepts it. Do not pour it onto the ground or down a drain. Once you detect a dangerous fault, do not compensate by riding or driving more slowly: resolve it before continuing. [RD 679/2006, arts. 5 and 6](https://www.boe.es/buscar/act.php?id=BOE-A-2006-9832).
Check the vehicle before setting off
Carry out an orderly check with the vehicle stable.
- Check tyres, possible damage and leaks; measure pressure when cold where appropriate.
- Check brakes, steering, controls and transmission without causing the vehicle to move.
- Check fluid levels, fuel or charge and instrument panel warnings according to the manual.
- Check lights, reflectors, horn, registration plate and mirrors; adjust the mirrors in your normal riding or driving position.
- Resolve any dangerous defect and retract the stand before setting off.
Check the pressure
Use the value appropriate to the vehicle and its load.
- Consult the prescribed pressures for each wheel and the intended load.
- With the tyres cold and the vehicle stationary, examine the tyre and valve.
- Measure with a pressure gauge and adjust to the relevant specification.
- Refit the cap and request an inspection if you detect repeated losses or damage.
- Do not deflate hot tyres to obtain the value specified for cold tyres.
Check oil and coolant
Identify the circuit before opening a reservoir.
- Consult which fluid levels your vehicle has and the manufacturer’s procedure.
- Secure the vehicle in the specified position and stop the engine.
- Check the oil at the prescribed temperature and after the prescribed waiting time, without confusing a two-stroke oil tank with a four-stroke sump.
- Check coolant when cold if there is a liquid circuit; do not open a hot pressurised cap.
- Use the specified product, observe the marks and request an inspection if there are leaks or serious warnings.
Check what you know
Real questions from the bank on this topic. Pick an answer to see the explanation.
Finished this module?
Mark it as read and you will see your progress on the theory list.