
Theory · C Licence - Truck · Module 14 of 18
Lorry brakes and retarders
You learn to use the lorry’s brakes and retarders, interpret the air circuit and its warnings, and prevent overheating on descents. You also learn about the accelerator, load-dependent control and the braking requirements for the light trailer you can tow with category C.
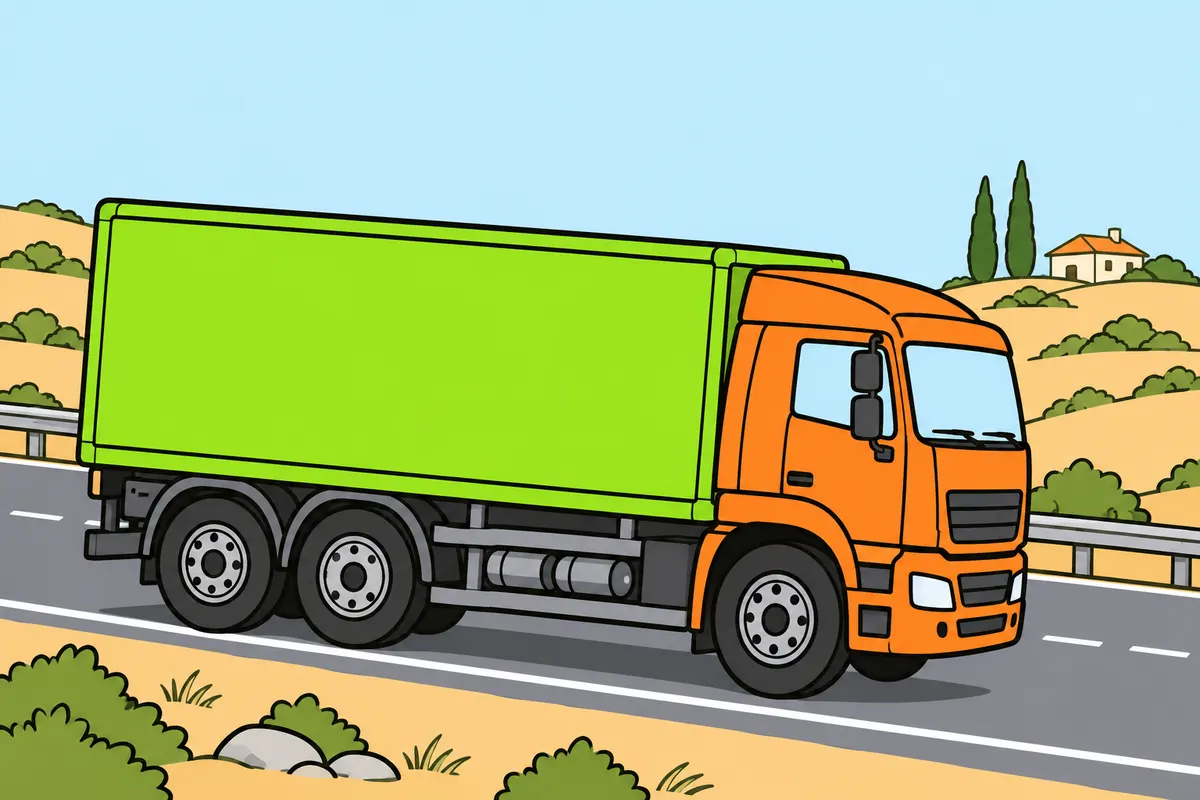
1Three braking functions
You use each braking function for a different need.
| Function | Why you use it |
|---|---|
| Service brake | Slow down and stop |
| Secondary brake | Stop if the service brake fails |
| Parking brake | Keep your lorry still |
Remember
- You give the braking command through the pedal.
- Pipes and valves carry and control that command.
- Pads or shoes slow you down through friction.
- Look after your brakes to help prevent accidents.
Exam trap: Wrong: disc brakes always use fluid. Right: they can also use compressed air.
Read the full explanation
- You use the service brake to control your speed and stop your lorry; the secondary brake lets you stop if the service brake fails; the parking brake keeps it stationary. Your lorry must provide these functions, although they may share some components. [RGV, art. 12.8 and Annex VIII](https://www.boe.es/buscar/act.php?id=BOE-A-1999-1826#a12).
- In the braking system, you can identify the control, the transmission and the wheel brake: the pedal gives the command; pipes and valves transmit and regulate it; pads or shoes generate friction.
- You may find pneumatic or hydraulic actuation and disc or drum mechanisms. These are separate classifications: a disc brake can be pneumatically actuated.
- Brakes are active safety components: they help you avoid accidents. You must use them correctly and carry out preventive maintenance.
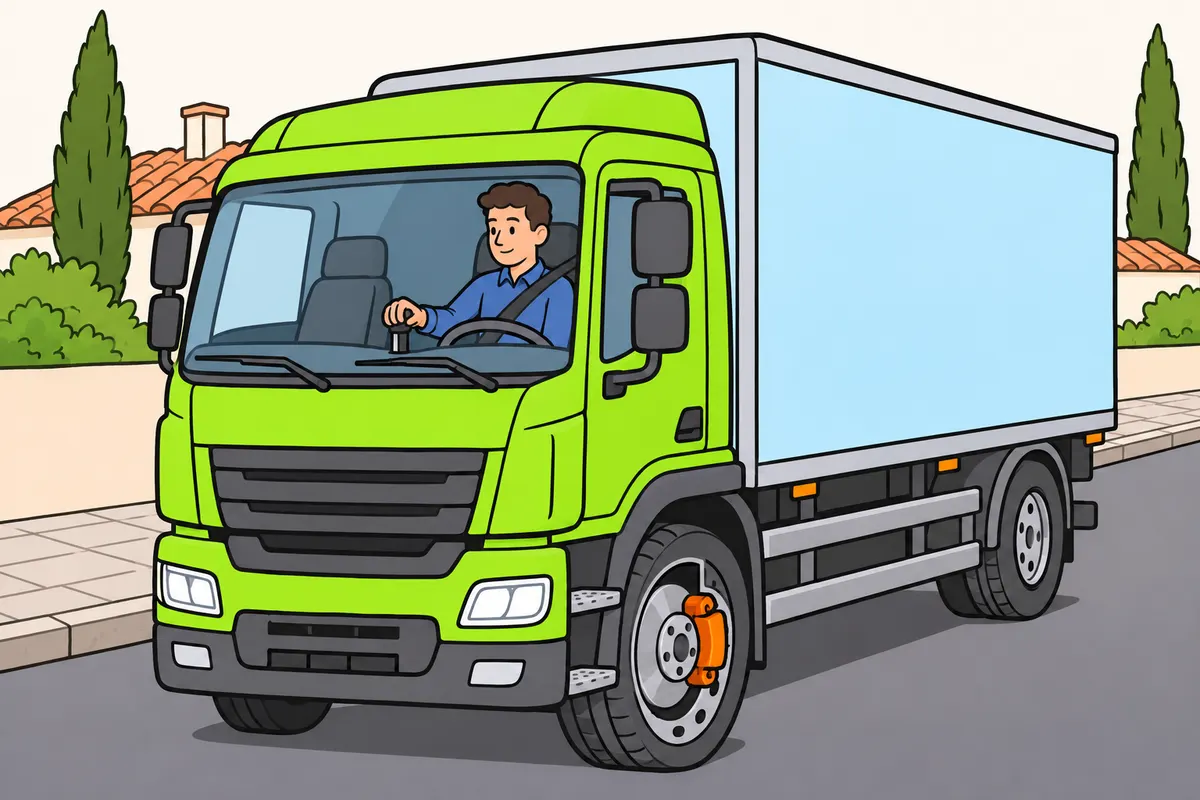
2Service brake and controlled application
You control braking with the pedal and avoid overheating your brakes.
Remember
- Press the pedal gradually during normal braking.
- Brake firmly in an emergency.
- Adapt your braking to traffic, load and road conditions.
- At the same speed, your loaded lorry produces more heat when braking.
- Anticipate queues without delaying urgent braking.
- Keep your foot off the pedal when you do not need to brake.
Exam trap: Wrong: normal pressure means your brakes cannot lose effectiveness. Right: overheating can reduce braking.
Read the full explanation
- You use the pedal to regulate the force of the service brake to slow down or stop. In normal braking, you must apply it progressively according to the traffic, load and road surface; in an emergency, use the available braking capacity decisively.
- Friction brakes convert movement into heat. At the same speed, your loaded lorry requires more energy to be dissipated than when it is unladen. You can lose braking effectiveness through repeated braking without sufficient cooling, even with normal pressure.
- You must anticipate traffic queues and check the traffic behind you whenever you can do so without delaying urgent braking. Distances and separation margins are covered in the module «Speed and safe following distances».
- Keep your foot off the pedal when you do not need to brake: habitually resting it on the pedal can apply the brake, cause heating and wear, and confuse drivers behind you.
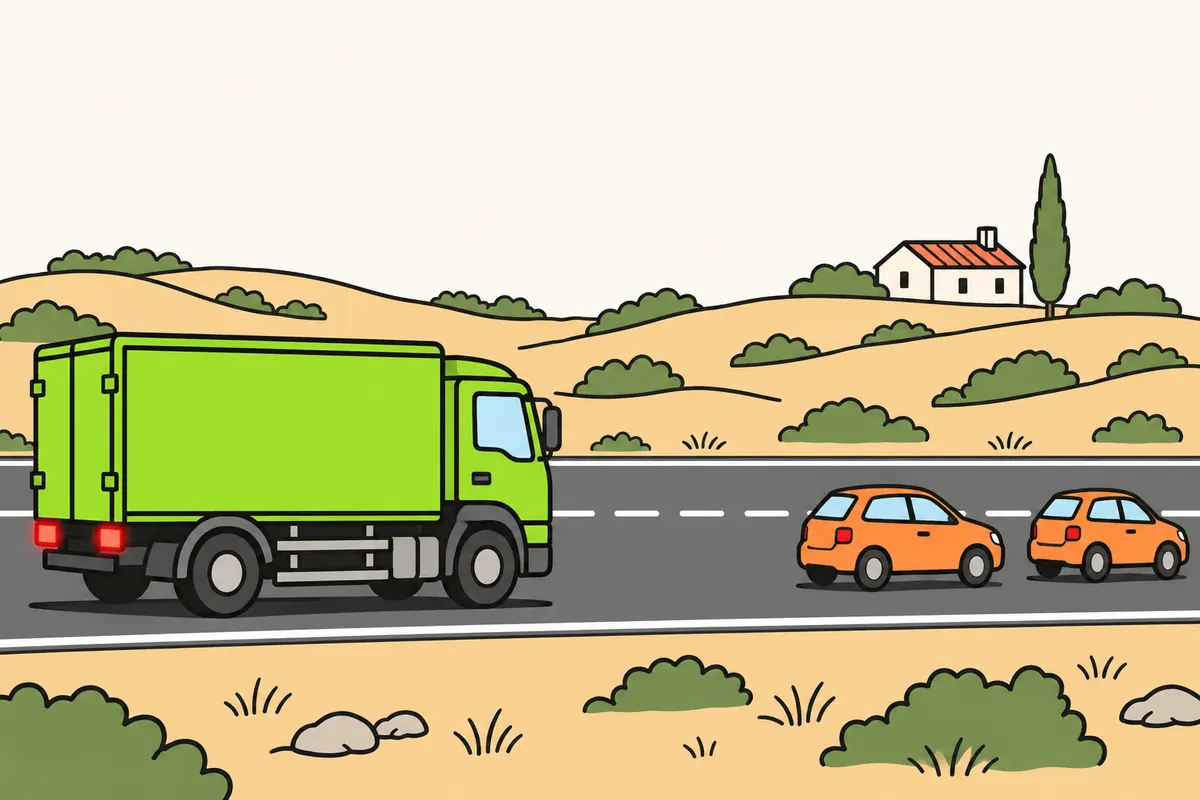
3Secondary braking
You use secondary braking to stop if the service brake fails.
| System | What it helps you do |
|---|---|
| Secondary brake | Stop if the service brake fails |
| Retarder | Control speed, especially downhill |
Remember
- Secondary, emergency and safety braking name the same function.
- Know your lorry’s secondary brake control.
- Control its force as the manufacturer tells you.
- You may need more stopping distance with a failed circuit.
- Do not confuse ABS with a backup braking circuit.
Exam trap: Wrong: any retarder replaces secondary braking. Right: their functions are different.
Read the full explanation
- Emergency, secondary and safety braking name the same function: stopping your lorry if the service brake fails. You must be able to control its braking force. [RGV, Annex VIII, section 1.2.2](https://www.boe.es/buscar/act.php?id=BOE-A-1999-1826#anviii).
- You must know your lorry's secondary brake control. Depending on the design, it uses the functioning part of the service brake or a control associated with the parking brake; apply it with the degree of control specified by the manufacturer.
- Separate circuits can preserve reduced braking capacity if a fault occurs. You must use it to stop safely: the distribution of braking force and the distance needed can differ greatly from normal operation.
- You must distinguish secondary braking from a retarder. A retarder helps you control speed, especially downhill; it does not automatically perform all the functions of secondary braking. ABS is not a secondary braking circuit either: it controls wheel locking within the available braking system.
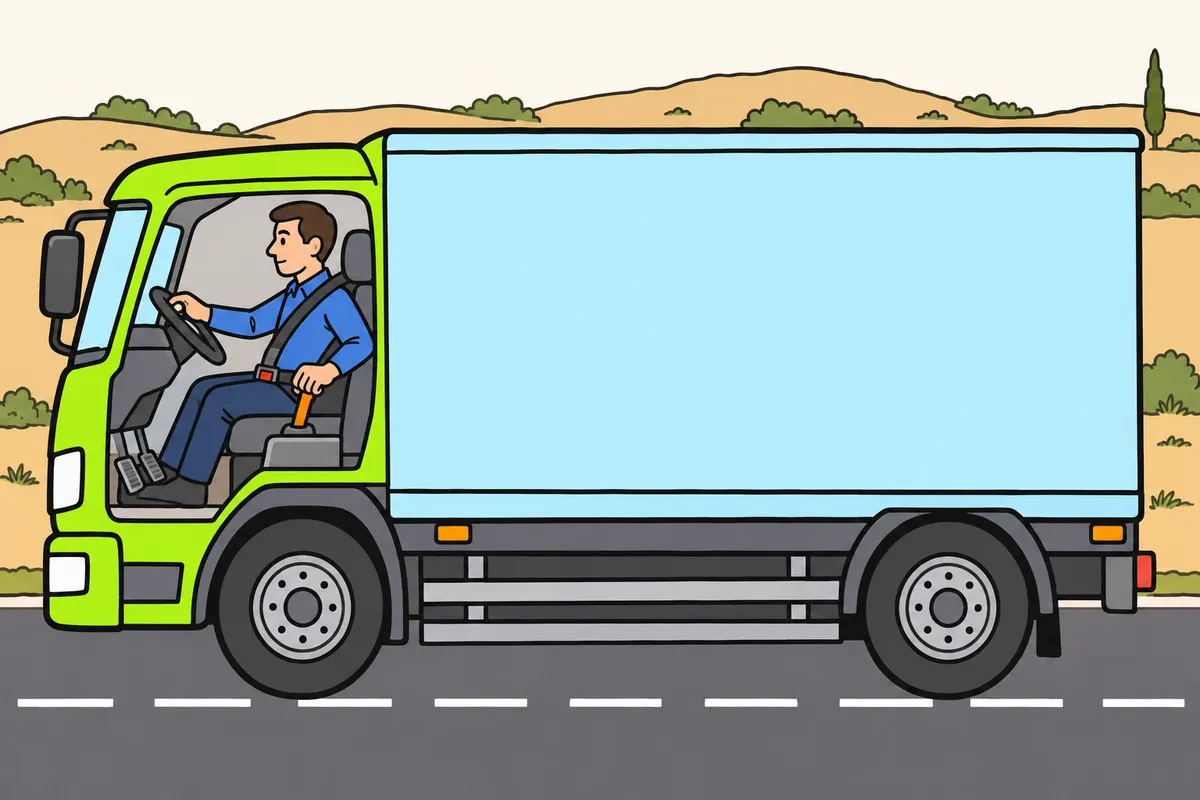
4Parking and securing your lorry
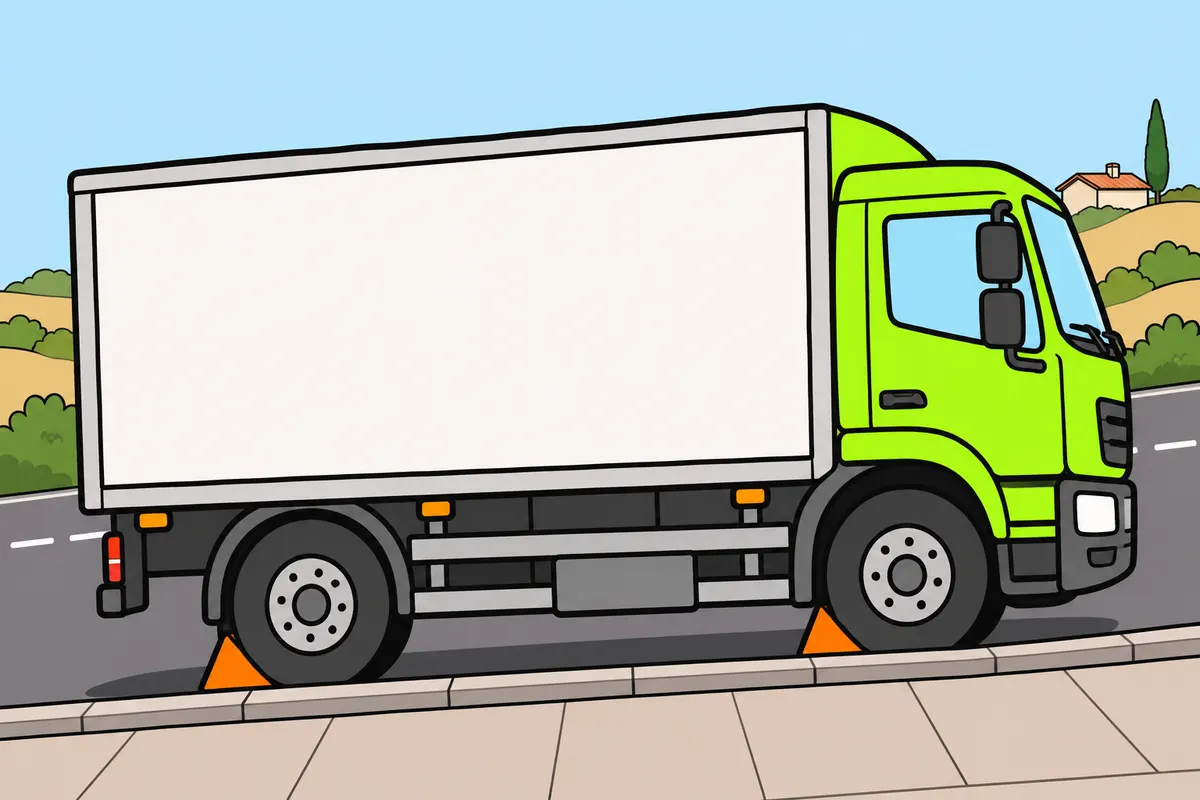
You apply the parking brake and check that your lorry stays still.
Remember
- Apply the parking brake before leaving the cab.
- Check your lorry stays still, even when the parking brake light is on.
- Do not rely on holding the pedal down or keeping air pressure indefinitely.
- On slopes, follow «Manoeuvres with a lorry», section «Secure your lorry on a gradient».
- Do not use the parking brake to control downhill speed.
Exam trap: Wrong: holding the pedal down is enough. Right: apply parking and check your lorry stays still.
Read the full explanation
- You must apply the parking brake to keep your lorry stationary, including when you leave the cab. Its holding force must be maintained mechanically; you cannot rely on keeping the pedal pressed or on retaining service-brake air in the chambers indefinitely. [RGV, Annex VIII, section 1.2.3](https://www.boe.es/buscar/act.php?id=BOE-A-1999-1826#anviii).
- To secure your lorry on a gradient, follow the procedure in «Manoeuvres with a lorry», section «Secure your lorry on a gradient». [RGC, art. 92.3](https://www.boe.es/buscar/act.php?id=BOE-A-2003-23514#a92).
- You must check that your lorry is securely immobilised before leaving the cab. The indicator light tells you the state detected by the system, but does not replace this check. Do not use the parking brake as your usual means of controlling speed downhill or as a substitute for the service brake while driving.
5Discs, drums and grip
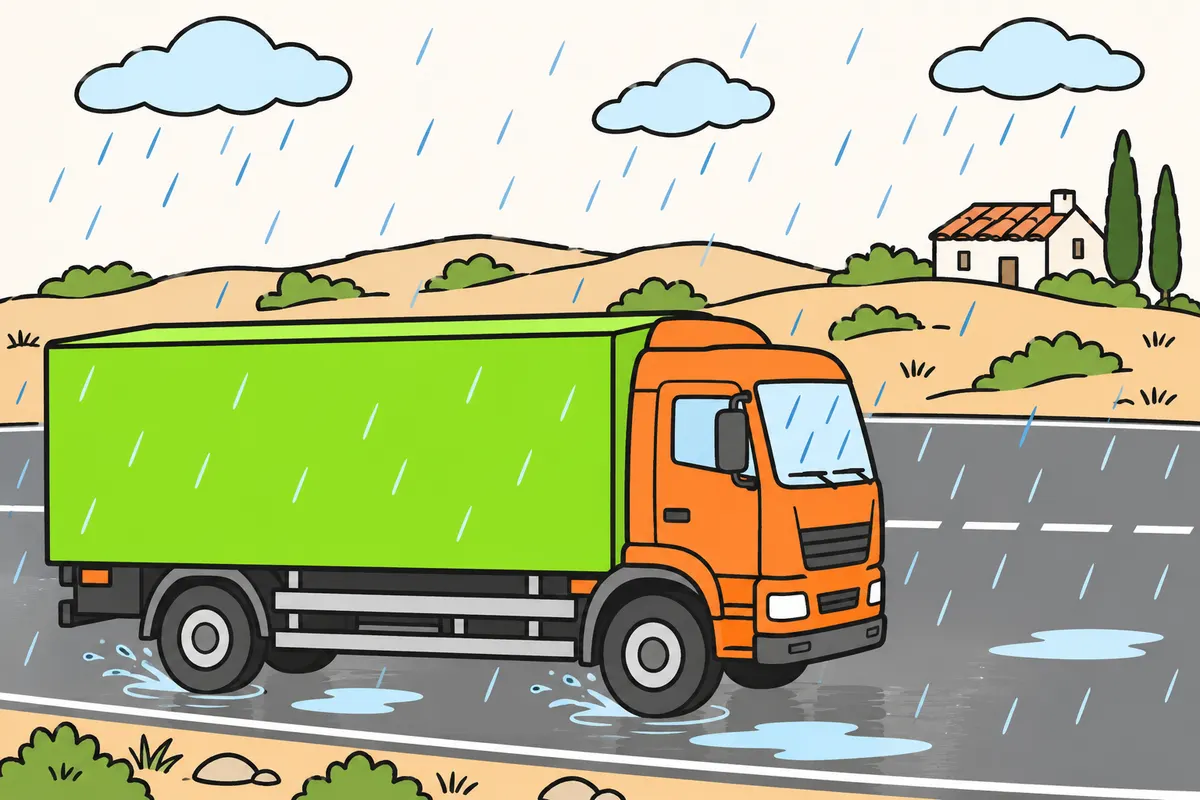
You adapt braking to road grip and check for wear.
| Mechanism | How it brakes |
|---|---|
| Drum | Shoes rub against its inside |
| Disc | Pads press against its faces |
Remember
- Adapt your braking on ice or wet roads.
- You can lock the wheels by braking harder than the available grip allows.
- Ask for an inspection after noise, vibration or uneven wear.
- Do not improvise adjustments to hide a problem.
Exam trap: Wrong: sound brakes prevent skidding on ice. Right: you must still adapt to grip.
Read the full explanation
- In a drum brake, you must identify the drum as the part that rotates with the wheel and the shoes as the components that move towards its inner surface. The linings provide the friction surface. The backplate supports the shoes and the other fixed components.
- In a disc brake, you can identify the disc, caliper and pads. The disc rotates with the wheel and the pads press against its faces. Its ventilation helps dissipate heat; you must check for wear and avoid overheating.
- If you demand more braking force than the grip between the tyre and the road allows, you can cause skidding and wheel locking. On ice or a wet road surface, adapt your braking even if the brakes are in good condition.
- You must recognise vibrations, noises and uneven wear as signs that an inspection is needed. Technical inspection of the mechanism and maintenance are tasks for trained personnel; do not improvise adjustments to hide the symptom.
6The compressed-air path
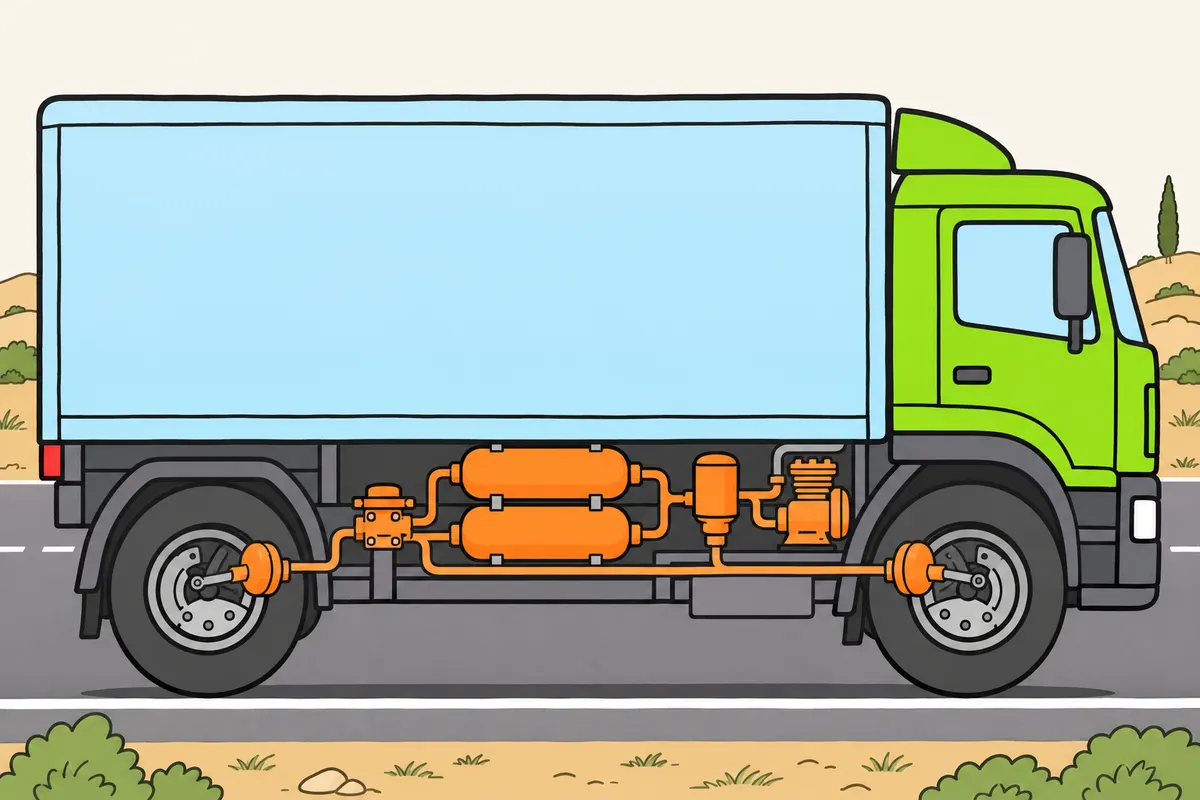
You need stored air and enough pressure for normal braking.
| Circuit | Role of air | What draining or bleeding removes |
|---|---|---|
| Pneumatic | You need it for operation | Condensed water from the reservoir |
| Hydraulic | It can cause faults | Air from the brake fluid |
Remember
- Identify the compressor: it draws air into the system.
- Air treatment reduces dirt and moisture.
- Reservoirs give you a reserve of air.
- When you brake, valves send pressure to the chambers.
- You control braking pressure through the pedal.
- Use the correct connections for each circuit.
Exam trap: Wrong: draining or bleeding always removes air. Right: draining an air reservoir removes condensed water.
Read the full explanation
- You must follow the functional path: the compressor draws in air, air treatment reduces impurities and moisture, reservoirs store energy, and valves deliver pressure to the chambers when you demand braking. This is an outline to help you understand the functions; the location and exact order of some assemblies depend on the manufacturer.
- Air pressure acting on the actuator produces the application force. You use the pedal to regulate that pressure; you need a sufficient reserve for normal braking conditions.
- In a pneumatic circuit, air is the working medium; in a hydraulic circuit, its presence can cause faults. When you read «bleed» or «drain», identify whether this means removing condensate from an air reservoir or air from the brake fluid.
- The suspension and other equipment may share the air supply. You must respect the connections of each circuit: circuit protection preserves priority functions if air leaks occur.
7Compressor and pressure regulation
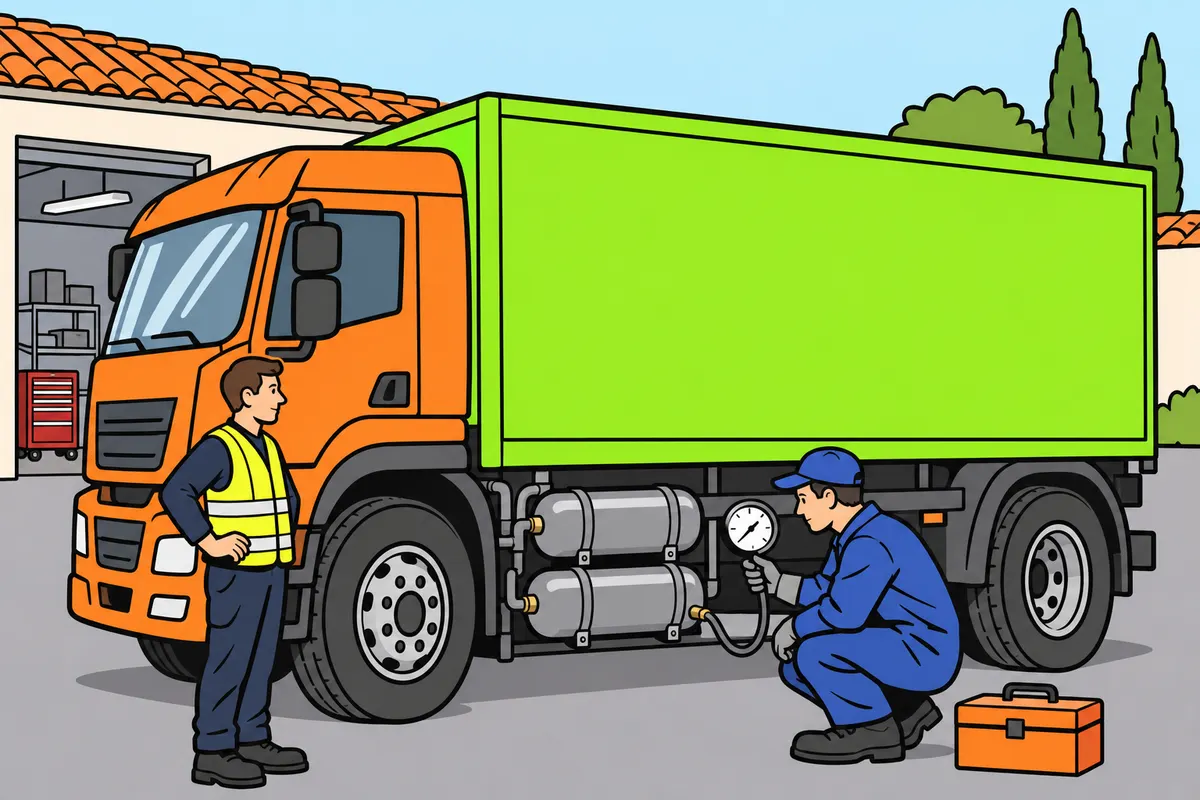
You check that the compressor replaces used air and maintains the required pressure.
| Part | Function |
|---|---|
| Governor | Maintains the specified pressure |
| Safety valve | Limits abnormal pressure rises |
Remember
- The compressor produces compressed air; reservoirs only store it.
- Check your lorry’s manual for the correct pressure.
- Do not change settings to increase pressure.
- Ask for inspection if pressure takes too long to recover.
- Have the fault fixed before starting your journey.
Exam trap: Wrong: the pressure example applies to every lorry. Right: follow your own lorry’s manual.
Read the full explanation
- The compressor produces compressed air and replenishes the air used; in a conventional system, your lorry's engine drives it. You can use the reserve held in the reservoirs, which store air without producing it.
- As a technical reference, the DGT manual describes a supply pressure of around 8,000 to 10,000 hPa, equivalent to 8 to 10 bar. You must understand this range as an example of operation, rather than a universal legal pressure or a pressure threshold for moving off in any lorry. [DGT, Mechanics 2025, topic 10, section 3](https://sede-org.dgt.gob.es/export/sites/dgt/.galleries/permisos-de-conducir/certificacion-aptitud-profesores-formacion-vial/2025/Manual-VIII-Mecanica-2025.pdf).
- The regulator controls air production or unloading to maintain the intended pressure; the safety valve limits abnormal excess pressure. You must keep their settings unchanged: increasing them can damage the system without improving grip.
- If the compressor runs almost continuously or the pressure takes too long to recover, you must have air production, regulation and possible leaks checked. Wait until the fault is resolved before starting your journey.
8Air dryer, moisture and drainage
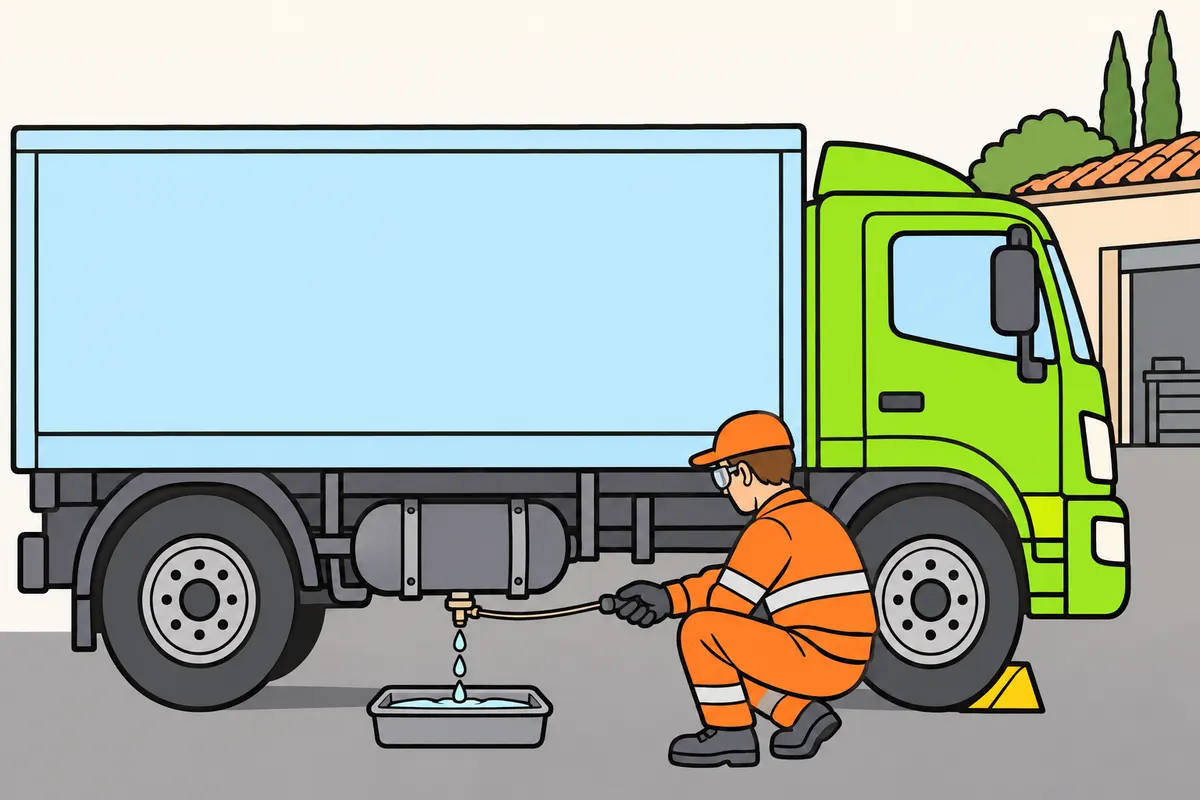
You keep the air system dry to prevent faults.
Remember
- The dryer reduces moisture in the air you use.
- Collected water can cause rust and freeze in cold conditions.
- Maintain the dryer as the manufacturer specifies.
- Ask for inspection if you repeatedly find water in reservoirs.
- Drain water from reservoirs as your vehicle’s instructions require.
- Do not add oil, alcohol or coolant yourself.
Exam trap: Wrong: hearing a purge proves the dryer works properly. Right: check its condition.
Read the full explanation
- The air drawn in contains moisture, which can condense as the air is compressed and cooled. Accumulated water encourages corrosion and, in sufficiently cold conditions, can freeze and affect valves or pipes. The air dryer reduces moisture in the air.
- Maintain the air dryer and its desiccant according to the manufacturer's instructions. If you repeatedly find water in the reservoirs, request an inspection of the air treatment system; an audible purge alone does not prove that it is in good condition.
- Where the design requires it, you must drain the air reservoirs using the devices provided to remove condensate. The procedure can be automatic or manual; do not apply a single drainage frequency to all vehicles.
- You must not add engine coolant, oil or alcohol to the pipes at will. Some specific systems use antifreeze protection provided for by their manufacturer, but this requires a compatible product and device. You must avoid contaminating the circuit and observe the precautions for any work involving pressurised air.
9Reservoirs and circuit protection
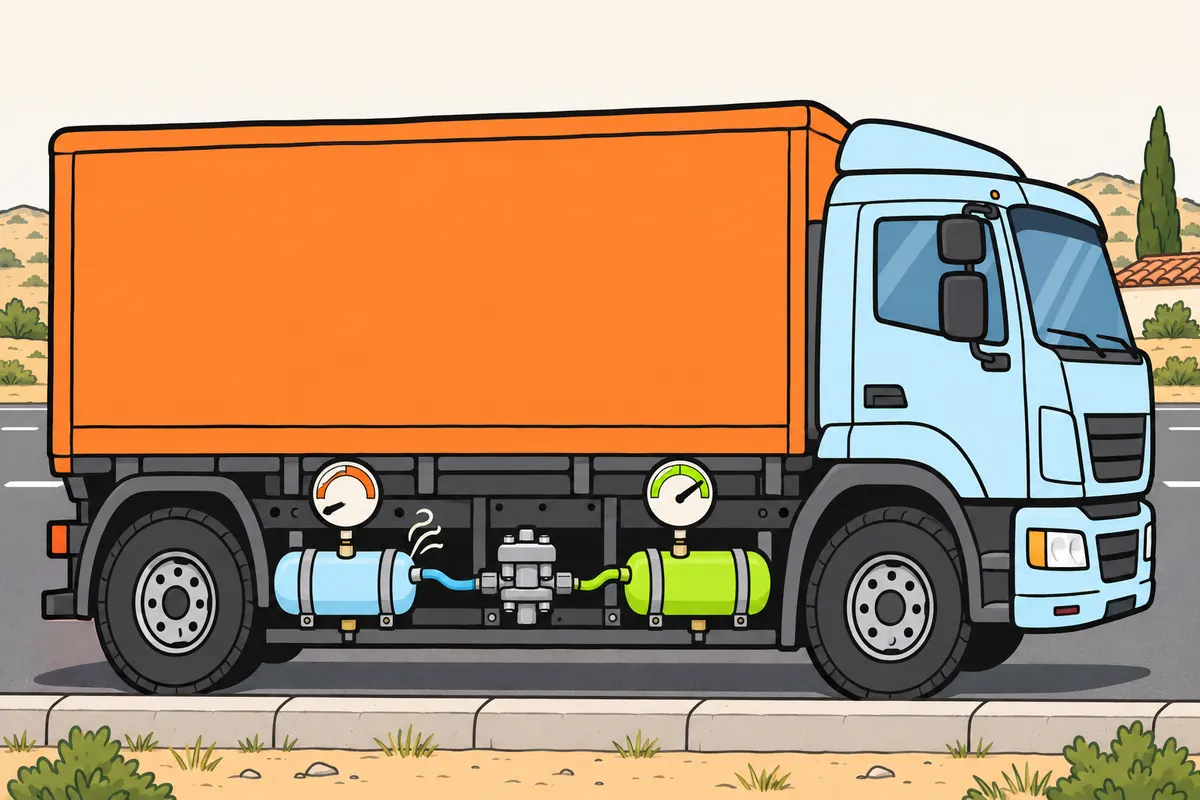
You monitor every circuit even when protection limits the effects of a leak.
| Valve | What it does |
|---|---|
| Multi-circuit protection | Protects unaffected parts during a leak |
| Non-return | Restricts air flowing backwards |
Remember
- Reservoirs store the air you need for braking.
- Your reserve depends on pressure, equipment and leaks.
- Act on pressure loss even if another circuit reads normally.
Exam trap: Wrong: a normal gauge reading proves everything is sound. Right: monitor the other circuits too.
Read the full explanation
- The air reservoir stores the compressed air reserve, so you can brake without relying on the compressor's instantaneous output. The number of brake applications available depends on the equipment, pressure and losses.
- Separate circuits protect your lorry's braking. A multi-circuit protection valve limits the consequences of a leak and helps maintain pressure in the unaffected parts. You can find this protection in a four-way protection valve.
- You must distinguish this protection from a non-return valve. A non-return valve allows air to flow in the intended direction and restricts reverse flow; a multi-circuit valve manages and protects the air supplies.
- You must respond to a loss of pressure in one circuit even if another shows a normal reading. The protection limits the consequences, but a correct reading in one part does not confirm that the entire system is in good condition.
10Pedal, valves and chambers
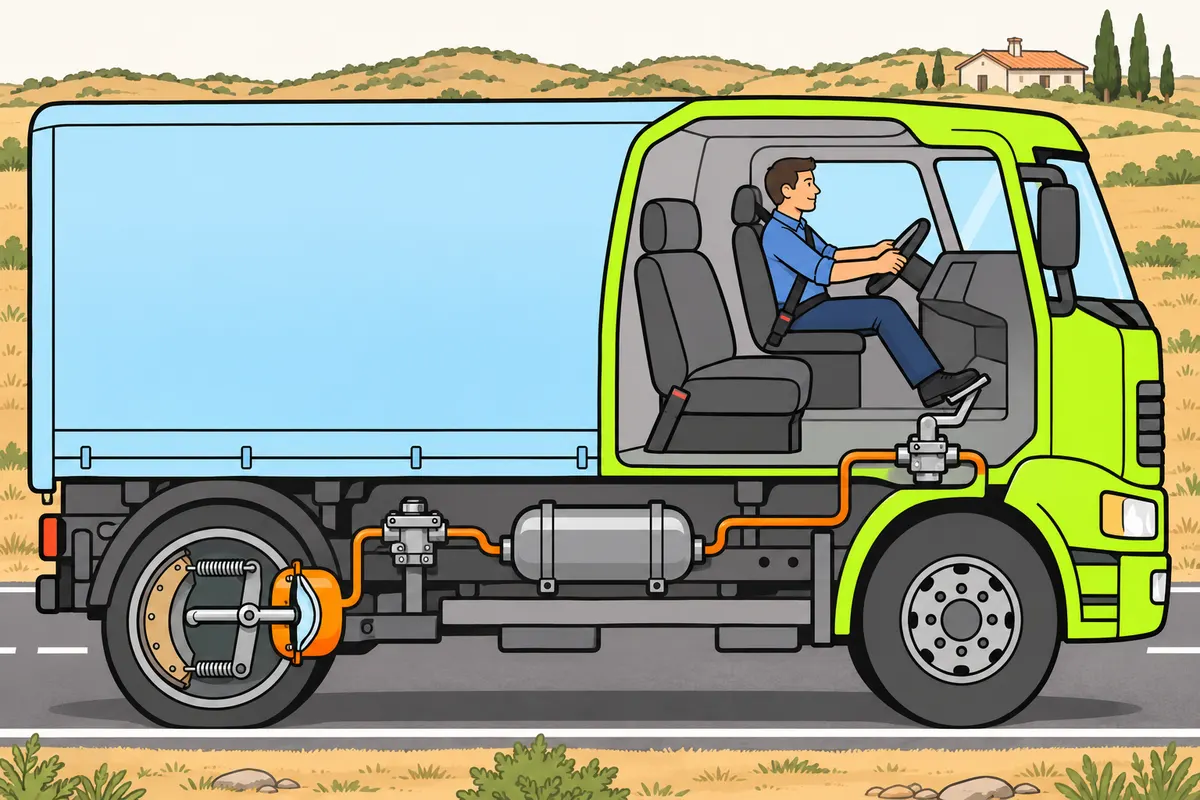
You control pressure with the pedal; brake chambers turn that pressure into braking force.
| Valve | Function |
|---|---|
| Relay | Uses nearby stored air for a quick response |
| Quick-release | Helps air leave the chambers locally |
Remember
- You request pressure through the control valve when pressing the pedal.
- Brake chambers turn pressure into movement and force.
- When you release service braking, air leaves the chambers to release the brakes.
- You may hear normal air discharges when releasing controls or during dryer operation.
- Ask for inspection after continuous air escaping, especially with falling pressure.
Exam trap: Wrong: the quick-release valve limits maximum pressure. Right: it helps release the brake.
Read the full explanation
- When you press the pedal, you must understand that a control valve regulates the pressure demanded. Relay valves, where fitted, allow air stored close to the actuators to be used for a rapid response.
- Brake chambers or cylinders are actuators: they convert pressure into movement and force at the wheel brake mechanism. Depending on the design, they act through diaphragms, pistons and mechanical linkage components.
- When you stop applying the service brake, air is exhausted from the chambers to release the mechanism. The quick-release valve helps exhaust this air locally.
- You can hear a normal discharge when you release controls or the air dryer regenerates. A continuous escape of air, especially with a drop in pressure, requires inspection.
11Pressure gauges and reserve warnings
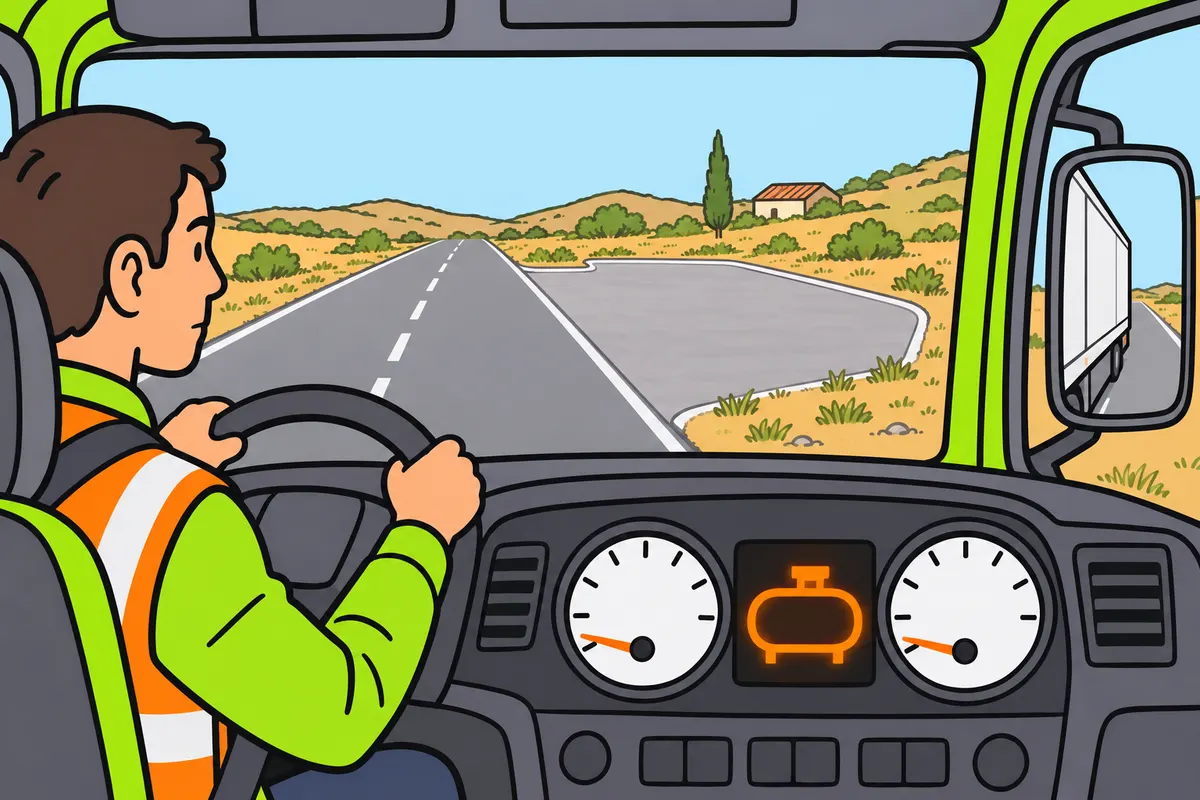
You monitor pressure and prepare to stop safely if the air reserve becomes low.
Remember
- Read the gauges and check normal values in your manual.
- Check that your low-pressure warning works.
- Know your lorry’s minimum operating pressure.
- If the warning appears while driving, prepare to stop safely.
- Stop before air runs out or low pressure applies the spring brakes.
- Seek inspection for unexplained rapid pressure drops or abnormal differences between circuits.
Exam trap: Wrong: checking starting pressure is enough. Right: monitor how pressure changes too.
Read the full explanation
- Read the labelled pressure gauges on the instrument panel: they indicate the pressure in the circuits or reserves being monitored. Interpret their units and normal range according to your lorry's manual.
- Check the self-test of the low-pressure warning, which is visual or audible depending on the equipment. You must know your vehicle's specific normal pressure, minimum operating pressure and warning threshold.
- If the low air reserve warning appears while you are driving, you must prepare to stop safely using the braking capacity available, before the air runs out or the spring brakes apply.
- You must monitor how the pressure changes as well as checking its initial value. A rapid drop without air use to explain it can indicate a leak; an abnormal difference between circuits requires attention. With the vehicle secured, carry out only the checks and apply only the tolerances specified by its manufacturer.
12Spring brake actuators
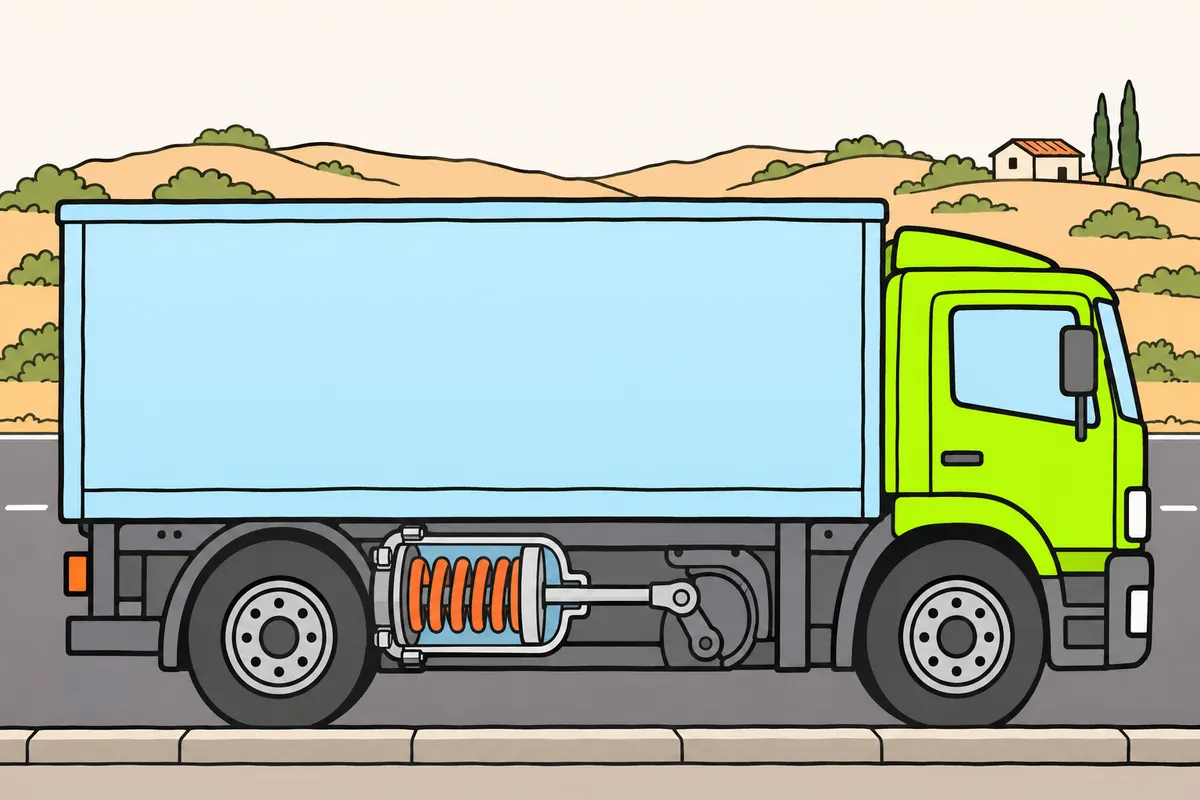
With spring parking brakes, you need air to release the brake applied by the spring.
Remember
- The spring applies the brake; air keeps it released.
- If you lose enough pressure, the spring can apply the brake automatically.
- Do not expect that braking to be smooth or safe.
- Act on leaks before using up your reserve.
- Do not dismantle a spring brake chamber: you could be seriously injured.
- Do not resume transport after manual release: the fault remains.
Exam trap: Wrong: air applies this parking brake. Right: air holds back the spring to release it.
Read the full explanation
- With a spring-operated parking brake, you must reverse the intuitive association: the spring applies the brake and air keeps the spring compressed to release the brake. When air is exhausted from its chamber, the spring exerts mechanical force.
- Combination chambers incorporate both a service brake actuator and a spring brake actuator. You must respect their intended operation: their protective features prevent harmful combinations of forces according to the design.
- If the air pressure holding the spring compressed falls sufficiently, the spring can apply the brake. You must avoid reaching this situation while driving: automatic application due to air loss does not guarantee a smooth stop or a safe course. A leak requires action before you use up the remaining reserve.
- You must not dismantle a spring brake chamber: it contains stored mechanical energy capable of causing serious injury. Release systems for recovery or towing require specific procedures and measures to secure the vehicle. Manually releasing the spring removes its braking restraint; it does not repair the fault or allow you to resume the transport operation.
13Checks before moving off
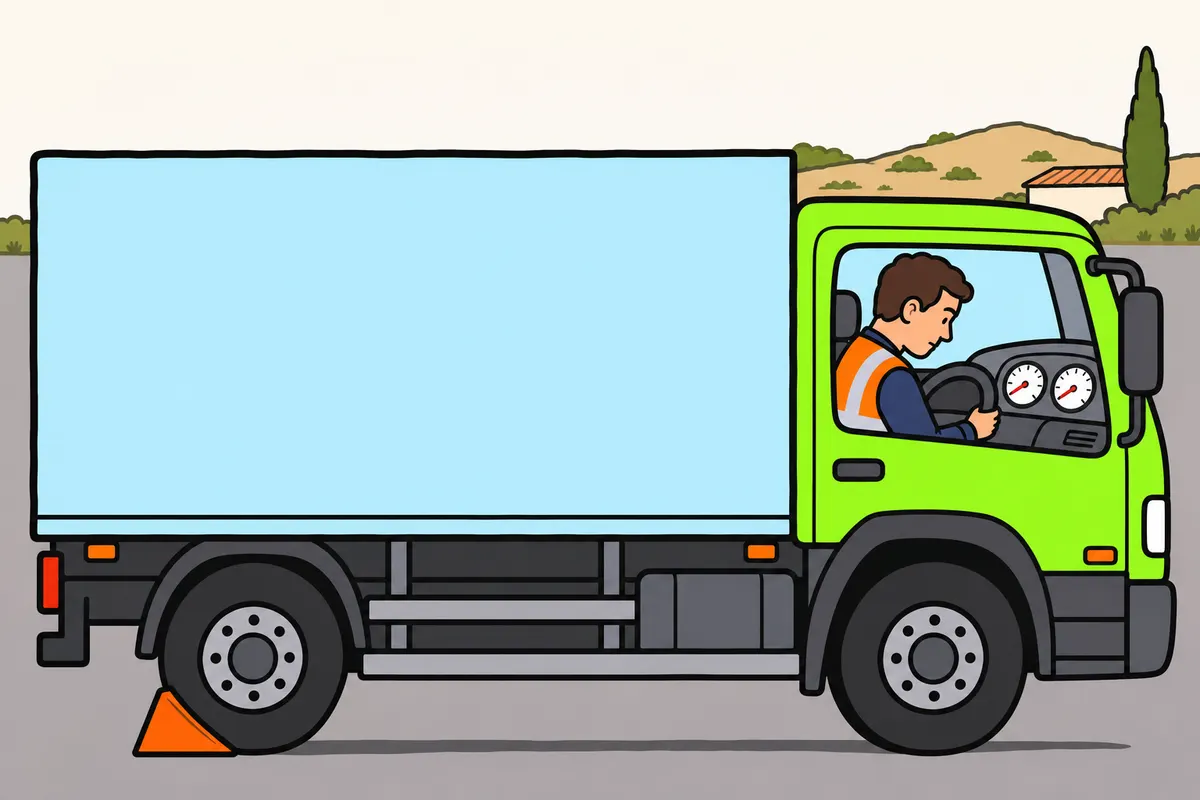
Before driving, you check pressure, warnings and how your brakes respond.
Remember
- Keep your lorry secured while pressure reaches the specified range.
- Check warnings and all circuits.
- Inspect accessible pipes and connections without going underneath an unsecured lorry.
- Do not touch hot parts or put your face near a leak.
- Test the service brake at low speed in a suitable place.
- Know and check your braking and speed reduction controls.
Exam trap: Wrong: releasing parking means you can drive away. Right: check the whole system.
Read the full explanation
- You must secure your lorry while the system reaches its operating conditions. Check that the circuits reach the prescribed range and that the warnings behave as expected during the self-test. Being able to release the parking brake is not enough to confirm that the entire system is ready for driving.
- You must inspect accessible pipes and connections without going underneath an unsecured vehicle. Look for damage, chafing, loose connections and abnormal leaks; also check any available wear indicators. Do not touch hot components or put your face close to a leak to locate it.
- In a suitable place, you must check at low speed that the service brake response is normal, progressive and balanced, following the operating instructions. A test without a load does not allow you to ignore a fault that occurs when loaded. Do not carry out emergency braking tests on a road open to traffic.
- You must familiarise yourself with your lorry's braking and speed reduction controls before driving: locate their positions, understand their indicators and check how to select and cancel each function, following the vehicle manual.
14Leaks and loss of effectiveness
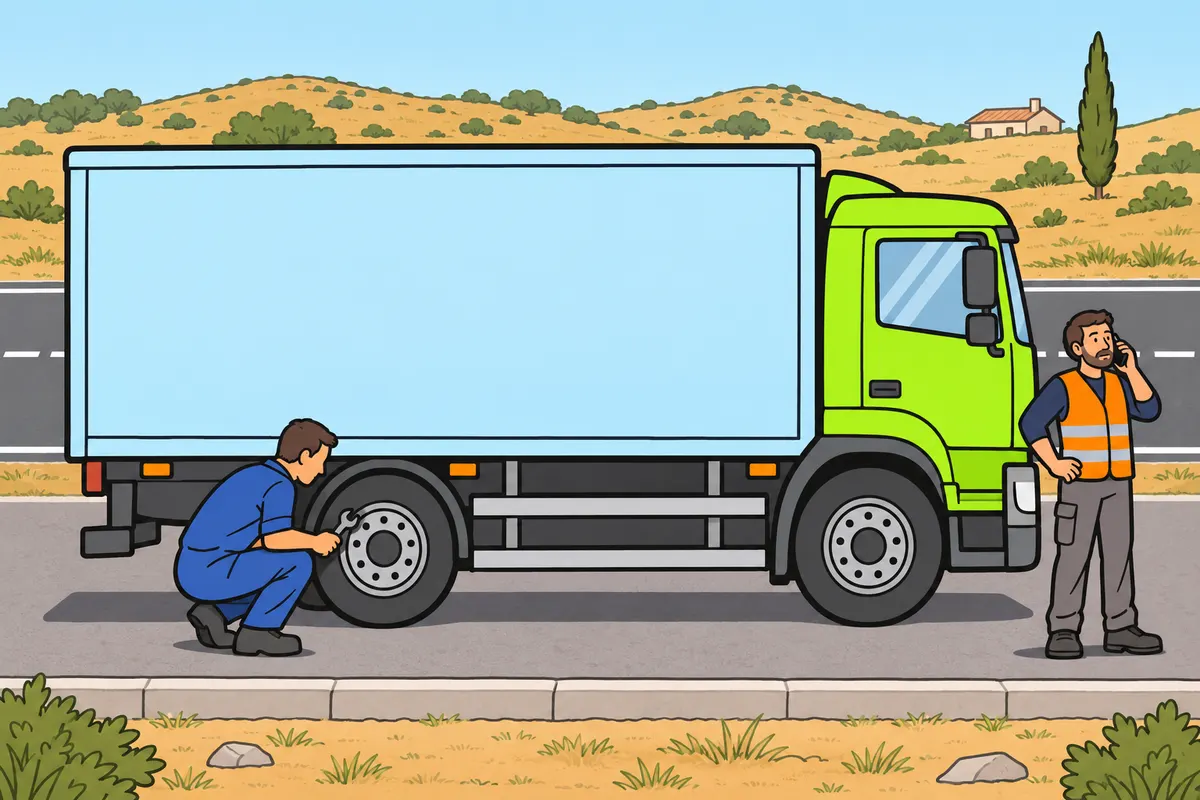
After a major fault, you stop safely and ask for repair.
Remember
- With your lorry secured, unexplained rapid pressure loss may mean a leak.
- Do not pump the pneumatic pedal: you can use up your reserve.
- If your lorry pulls sideways when braking, ask for inspection.
- Keep control and use the available braking systems as your manual explains.
- Do not switch off the engine while moving to try to brake.
- Stop safely and ask for assistance and repair before driving again.
Exam trap: Wrong: pumping builds air pressure. Right: it can use up your remaining air reserve.
Read the full explanation
- With your lorry secured, the engine stopped and no air being used, a rapid, unexplained drop in pressure may indicate a leak. You must assess losses against the manufacturer's tolerances.
- You must not pump the air brake pedal to build up pressure: each application and release can use up the reserve. If air production does not keep up with consumption, repeating them makes the situation worse.
- If your lorry pulls to one side when braking, you must arrange for the braking balance, wheels and tyres to be checked. Continuous pulling to one side even without braking also requires diagnosis; the symptom does not identify a particular component.
- If a major fault occurs, you must maintain control, use the available means of slowing down according to the manual and stop in a safe place. Do not switch off the engine while moving to try to brake, or continue your journey at low speed with the fault. You must arrange assistance and repairs before using your lorry again.
15Hydraulic circuits and wet brakes
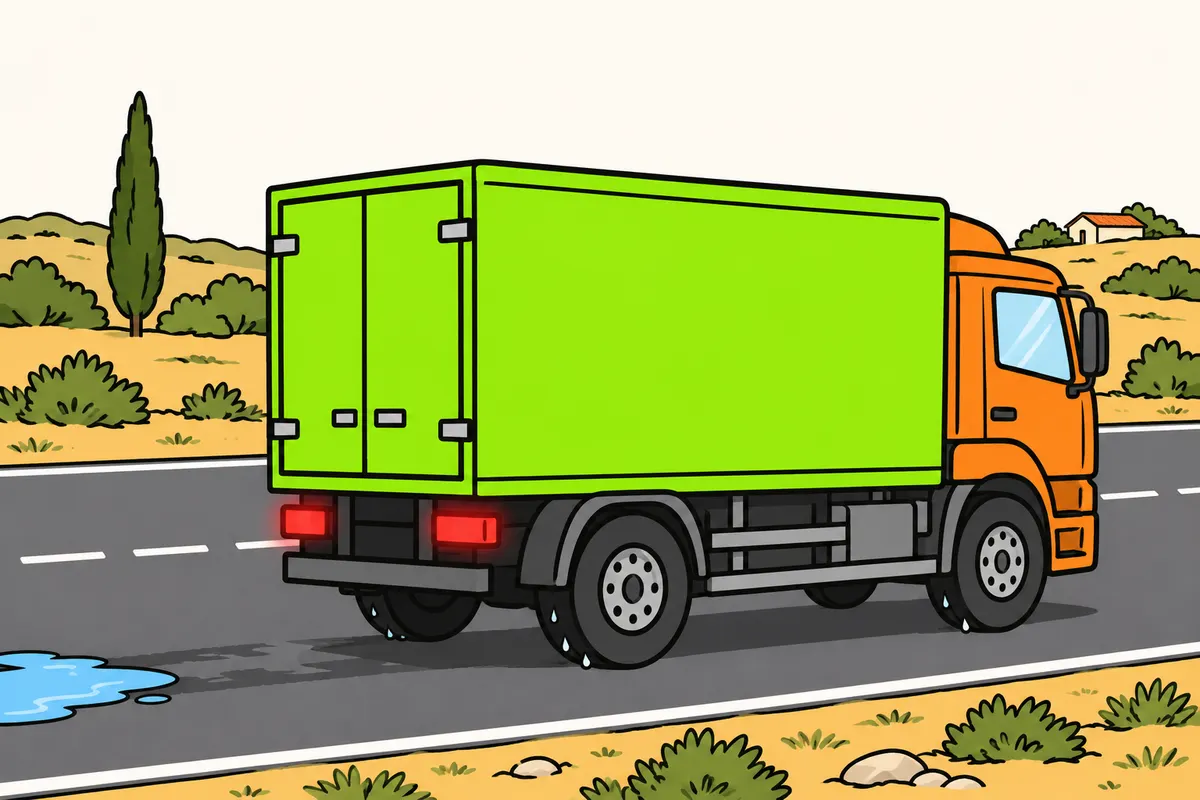
You check brake fluid and safely check your brakes after driving through water.
| Sign in a hydraulic circuit | Possible cause you need checked |
|---|---|
| Spongy pedal | Air in the circuit |
| Abnormally hard pedal | Loss of assistance |
Remember
- Check the fluid level and use the specified fluid.
- Investigate an abnormal level drop before topping up.
- Follow fluid replacement intervals and compatibility instructions.
- After driving through water, check your brakes safely.
- If safe, brake gently as your manual explains to help dry them.
- Do not continue if braking effectiveness does not return.
Exam trap: Wrong: pumping repairs a hydraulic circuit. Right: ask for diagnosis and repair of the cause.
Read the full explanation
- If your lorry has hydraulic or mixed braking, check the reservoir, level and fluid against the specifications. You must investigate any abnormal drop before topping up to avoid concealing a leak.
- A hydraulic brake pedal that feels spongy or temporarily improves after several applications may indicate air in the circuit. An abnormally hard pedal may be linked to loss of assistance. You must arrange a diagnosis to confirm the cause. [DGT, signs of brake faults](https://revista.dgt.es/es/motor/tecnologia-seguridad/2025/1015-N275-vehiculo-al-dia-frenos.shtml).
- You must follow the fluid replacement interval and compatibility specifications. Bleeding the hydraulic circuit removes air where necessary and requires you to locate the cause; pumping the pedal is not a repair.
- After driving through water, you must check that the brakes respond correctly. If conditions allow a safe check, apply the service brake gently according to the manual to help dry them. Do not brake sharply as a test or continue if they do not regain their effectiveness; water can also conceal damage or a dangerous depth.
16ABS and wheel locking
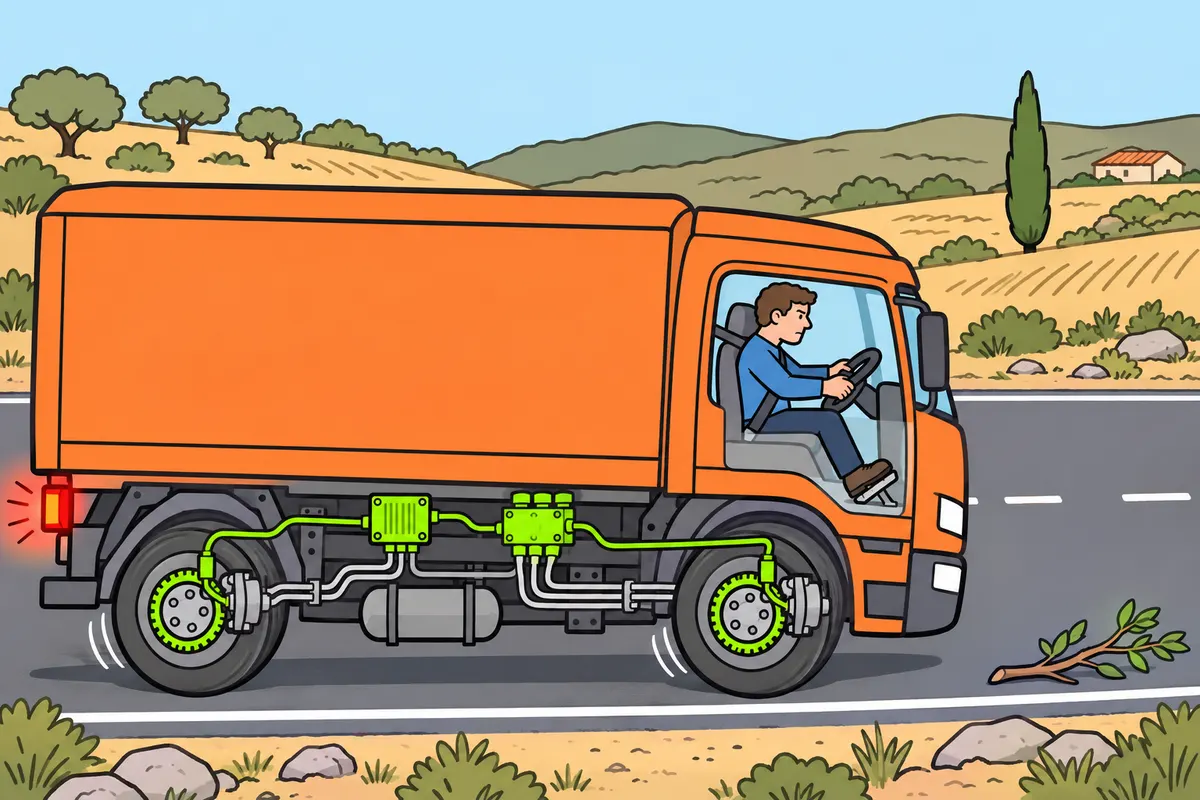
With working ABS, you brake firmly and hold the pedal while steering safely.
Remember
- ABS helps you avoid wheel locking.
- It helps you keep stability and steering during hard braking.
- In an emergency, press firmly and keep braking.
- Do not pump or ease off just because of normal ABS vibrations.
- Keep a safe path and enough clearance from obstacles.
- If a fault warning appears, follow your vehicle’s instructions.
Exam trap: Wrong: ABS always shortens your stopping distance. Right: it does not, and cannot create grip.
Read the full explanation
- You must associate ABS with the anti-lock braking system. Its sensors monitor wheel rotation and its control system adjusts the pressure to limit wheel locking during braking. It does not provide extra grip or increase the air reserve by itself: it works within the physical capabilities of the vehicle and road surface.
- You must understand its main advantage: it helps you maintain stability and steering control while braking hard. This does not allow you to steer in any way you choose; a tyre has a limited capacity to combine braking and lateral force. You need a feasible path and clearance from obstacles.
- In an emergency with ABS working, you must apply the brake firmly and maintain the braking demand while steering your lorry along a safe path. Do not pump the pedal or ease off just because you feel vibrations or hear noises caused by the system's operation. Electronic intervention does not necessarily mean that the brake is faulty.
- You must not answer that ABS always shortens braking distance. On certain surfaces it may not reduce it, and it never eliminates the effects of speed, load and grip. If a fault warning appears, you must interpret the vehicle's message: basic braking may remain available, but you cannot rely on the affected anti-lock function.
17Load-dependent distribution and EBS
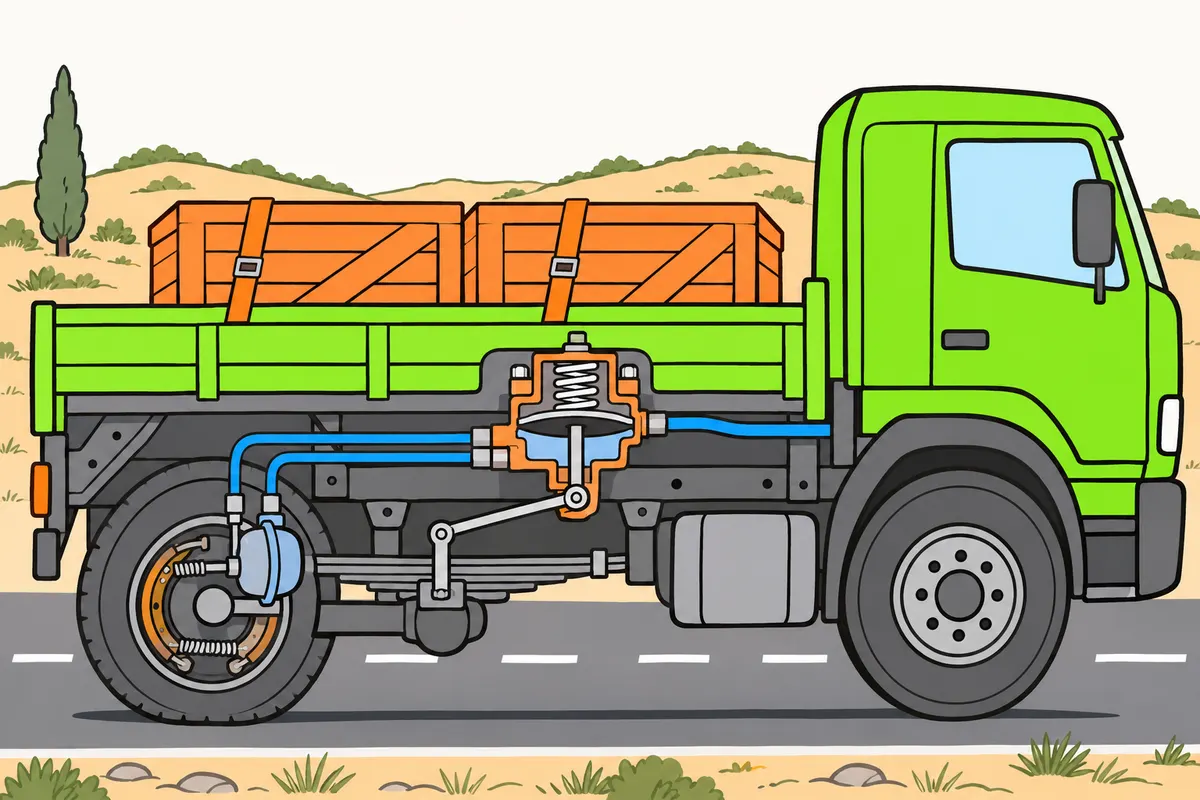
You adapt braking to your load and act on EBS warnings.
| System | What it does |
|---|---|
| ABS | Limits wheel locking |
| EBS | Coordinates braking and reduces response time |
Remember
- The load-sensing valve adjusts rear braking to the load.
- With a light load, it helps you avoid wheel locking.
- In an electropneumatic lorry, EBS sends electrical commands and air provides braking force.
- Respect your permitted load and secure it correctly.
- Follow manufacturer instructions for lorry and trailer warnings.
- Do not assume the backup system keeps every function working.
Exam trap: Wrong: EBS lets you brake without air. Right: air provides force in electropneumatic systems.
Read the full explanation
- In conventional air brake systems, you may find a load-sensing brake compensator or regulator valve: it adjusts the pressure sent to the rear axle brakes according to the weight the axle supports. This limits the risk of locking with a light load. [UNECE Regulation No. 13, annex 10, paragraph 7](https://www.boe.es/buscar/doc.php?id=DOUE-L-2010-81780).
- EBS interprets your braking demand and controls modulators close to the actuators to coordinate braking and reduce response time. In a lorry with an electro-pneumatic system, the command travels electrically and the force is provided by air; ABS is the function that limits wheel locking.
- With EBS, you may have load-dependent brake force distribution and coordination between the service brake and retarders, depending on the equipment. Correct distribution makes use of the available grip; you must comply with the authorised load and its stowage requirements.
- Pay attention to EBS warnings from your lorry and trailer: a fault may reduce performance or electronic functions. You must follow the manufacturer's prescribed response; restarting or unplugging does not repair the fault.
- In trailer equipment, you must distinguish between the electrical power supply, electronic communication and the backup pneumatic control. Whether a backup path is available depends on the equipment and the fault; it does not guarantee that all braking functions remain available. [WABCO, functional description of Trailer EBS](https://doc.wabco-auto.com/ProductFiles/anteros/Document/8150400203.pdf).
18Engine braking and an engaged gear
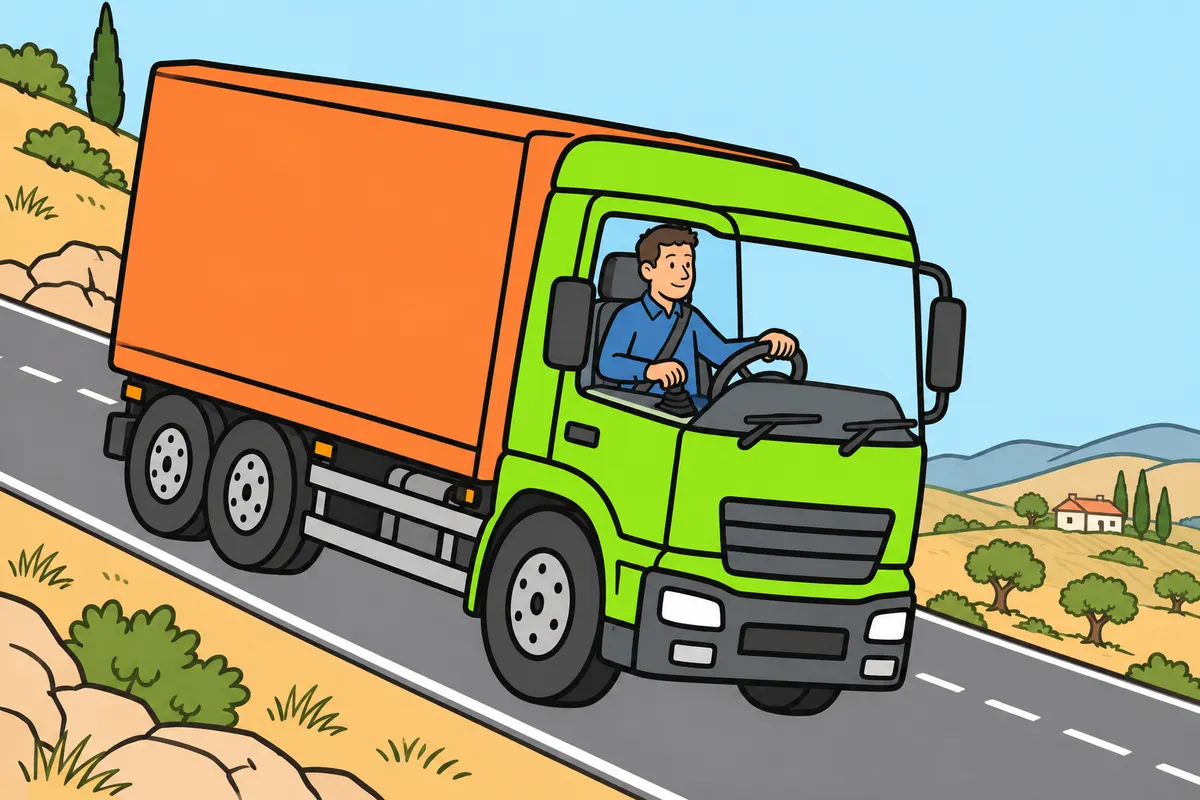
You descend in a suitable gear to use engine braking.
Remember
- Choose your gear before gaining too much speed.
- Do not descend in neutral or with the clutch pressed.
- Watch your rev counter and stay within manufacturer limits.
- Do not change down suddenly if it could make the engine run too fast.
- Choose your gear for weight, slope and available braking effect.
- With automated gears, know how to select gears and the downhill programme.
Exam trap: Wrong: always descend in the gear you used uphill. Right: use it only as a guide.
Read the full explanation
- You must make use of engine braking when you release the accelerator with a suitable gear selected and the transmission engaged. In a diesel lorry, you may also have specific systems that increase this braking effect.
- You must select your gear before your downhill speed becomes excessive. A low gear allows you to maintain an engine speed useful for engine braking, within the manufacturer's permitted range. Do not change down abruptly to a gear that causes the engine to overspeed: the wheels can drive the engine even when you do not accelerate.
- You must not descend in neutral or keep the clutch pedal depressed, because this interrupts the braking effect transmitted by the engine. With an automated gearbox, you must know how to select or hold a gear and select the downhill programme. The useful engine speed range for braking may differ from the range used for fuel-efficient acceleration.
- You must select your gear according to mass, gradient and available engine braking, using the rev counter and the manufacturer's limits. The gear used for climbing only serves as a guide for descending.
19Exhaust brakes and compression brakes
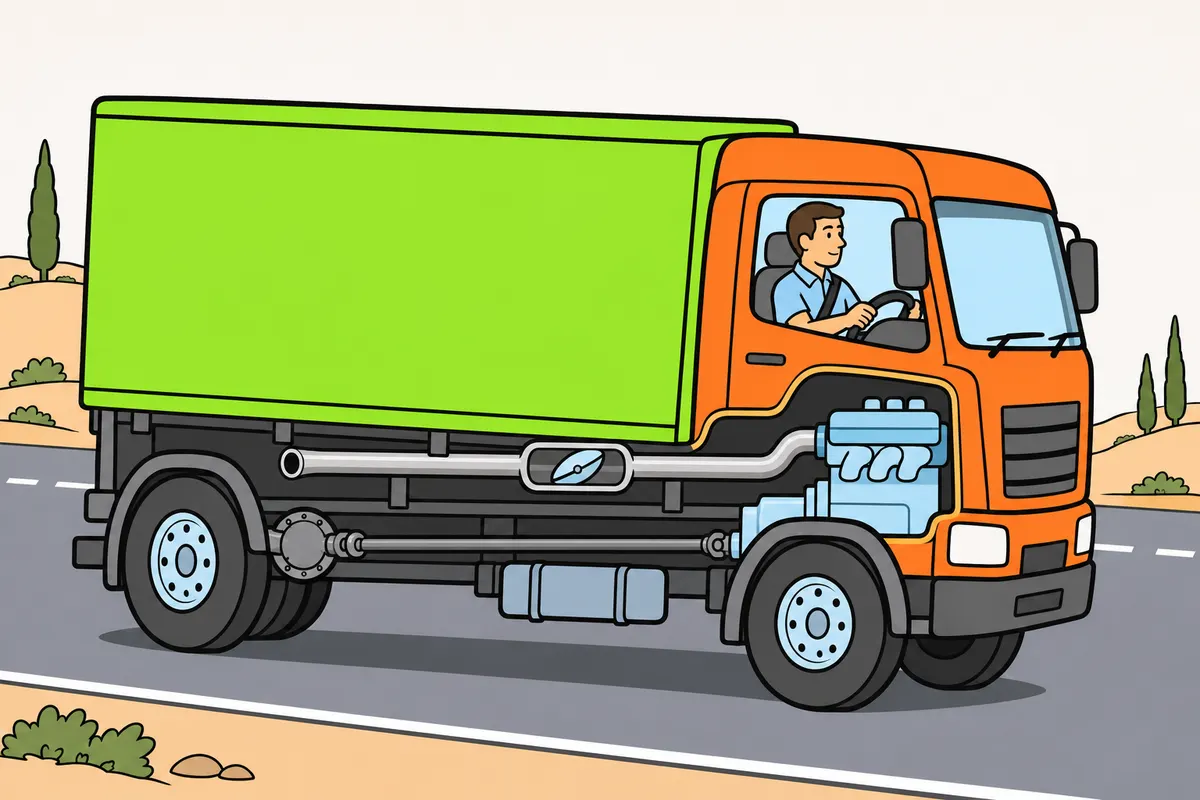
You use these auxiliary brakes to control speed and ease the load on wheel brakes.
| Brake | How it produces braking |
|---|---|
| Exhaust | Restricts exhaust gas flow |
| Compression | Changes engine valve operation to absorb energy |
Remember
- Use the controls as the manufacturer tells you.
- Do not block the exhaust or change its protective devices.
- Their effect depends on engine speed and design.
- Do not rely on them alone to stop completely.
- If braking is insufficient, use the service brake to slow down and adapt.
Exam trap: Wrong: these auxiliary brakes replace service braking. Right: use them to help control speed.
Read the full explanation
- With an exhaust brake, you must recognise that restricting the flow of exhaust gases creates back pressure that opposes the engine's movement. This resistance reaches the driven wheels through the engaged transmission.
- You must use the exhaust brake with the control and under the conditions specified by the manufacturer. Its operation can be coordinated with gear selection. Do not obstruct the exhaust or modify its protective devices to increase the braking effect: you can damage the engine.
- You may encounter a compression engine brake, which changes the operation of the valves so that the engine absorbs energy. You must distinguish its operating principle from that of a simple exhaust butterfly valve.
- These are auxiliary systems for controlling speed and reducing the load on the wheel brakes. Their effectiveness depends on rotational speed and design, and you cannot rely on them as your only means of bringing the vehicle to a complete stop. If the available braking effect is insufficient, you must reduce speed with the service brake and adjust your strategy.
20Hydraulic retarder
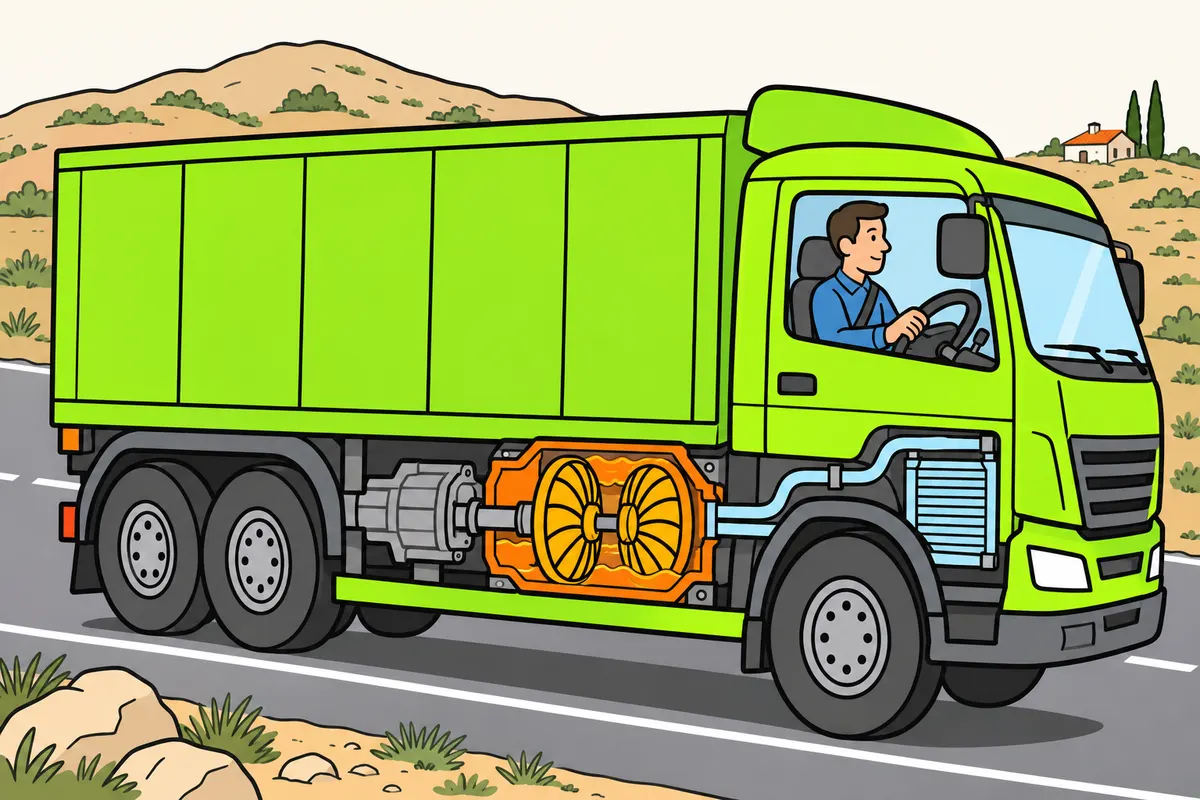
You control speed with an oil-based retarder that needs cooling.
Remember
- In this retarder, oil resists rotation.
- The energy it absorbs becomes heat.
- If it overheats, its braking power may decrease.
- Slow down early to avoid overloading your service brake.
- Know its controls and how its effect changes with rotation speed.
- Use the fluid and maintenance specified by the manufacturer.
Exam trap: Wrong: a retarder produces no heat. Right: it needs cooling and may limit its power.
Read the full explanation
- In your lorry, the hydrodynamic retarder produces a braking effect using a fluid: the rotor moves oil against the stator, generating a resisting torque.
- The absorbed energy turns into heat and requires cooling, which may be shared with the engine depending on the installation. If the retarder overheats, its power may be limited; you must reduce speed in good time to avoid transferring the entire braking load to the service brake.
- You must know its operating stages or integrated control and how its effect varies with transmission speed. It may be integrated into the gearbox or fitted elsewhere in the transmission; use the specified fluid and follow the prescribed maintenance.
21Electric retarder
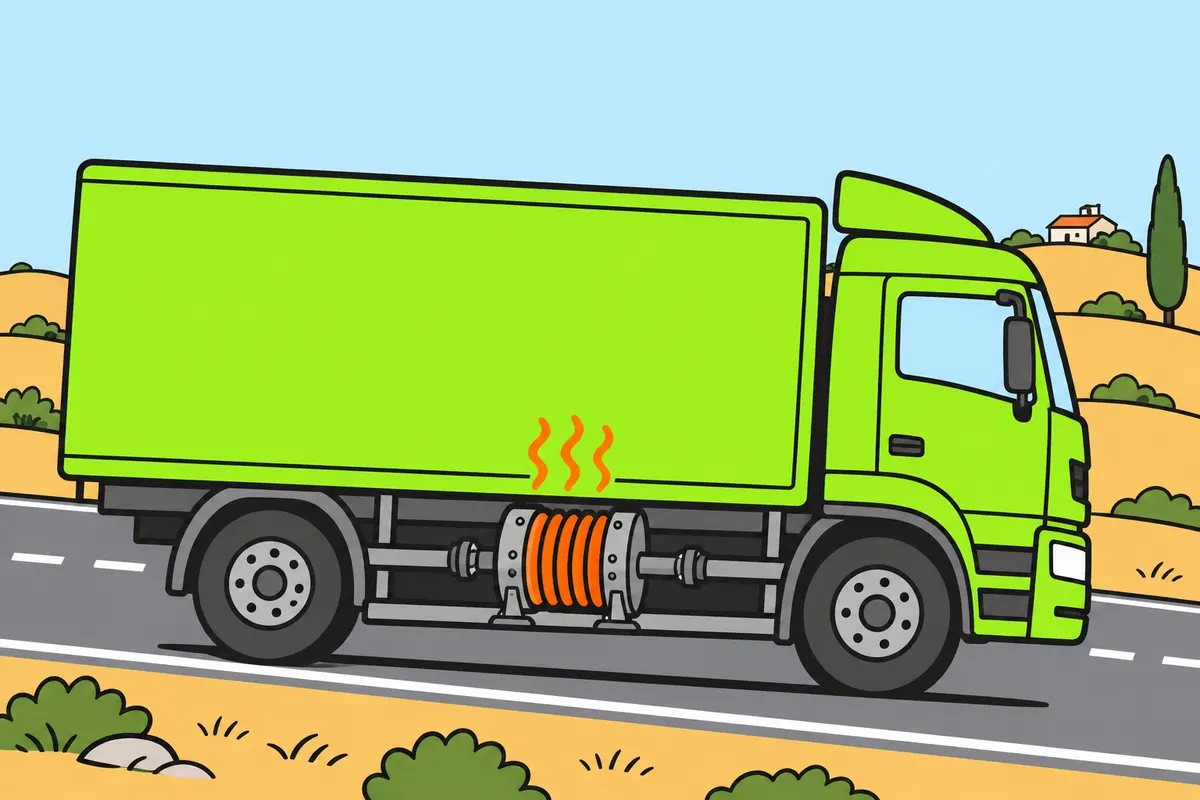
You control an electromagnetic retarder that produces heat and weakens at low speed.
| System | Where the energy goes |
|---|---|
| Electromagnetic retarder | Becomes heat |
| Regenerative braking | Recovers electrical energy |
Remember
- This retarder brakes without friction between its rotating and fixed parts.
- The absorbed energy becomes heat.
- Control its strength and respect its temperature limits.
- Expect less braking effect at low speed.
- Use parking to keep your lorry still.
Exam trap: Wrong: this retarder always charges the battery. Right: distinguish it from regenerative braking.
Read the full explanation
- The electromagnetic retarder uses eddy currents to oppose the rotation of the transmission. You can identify its rotating rotors and fixed stator; it operates without frictional contact between them.
- The absorbed energy turns into heat that must be dissipated. You must distinguish this device from regenerative braking by an electric traction motor, which recovers electrical energy.
- You must regulate its intensity according to the equipment and its thermal limits. Its capacity depends on rotational speed and decreases at low speed; use the parking brake to keep the lorry stationary.
22Retarders and low grip
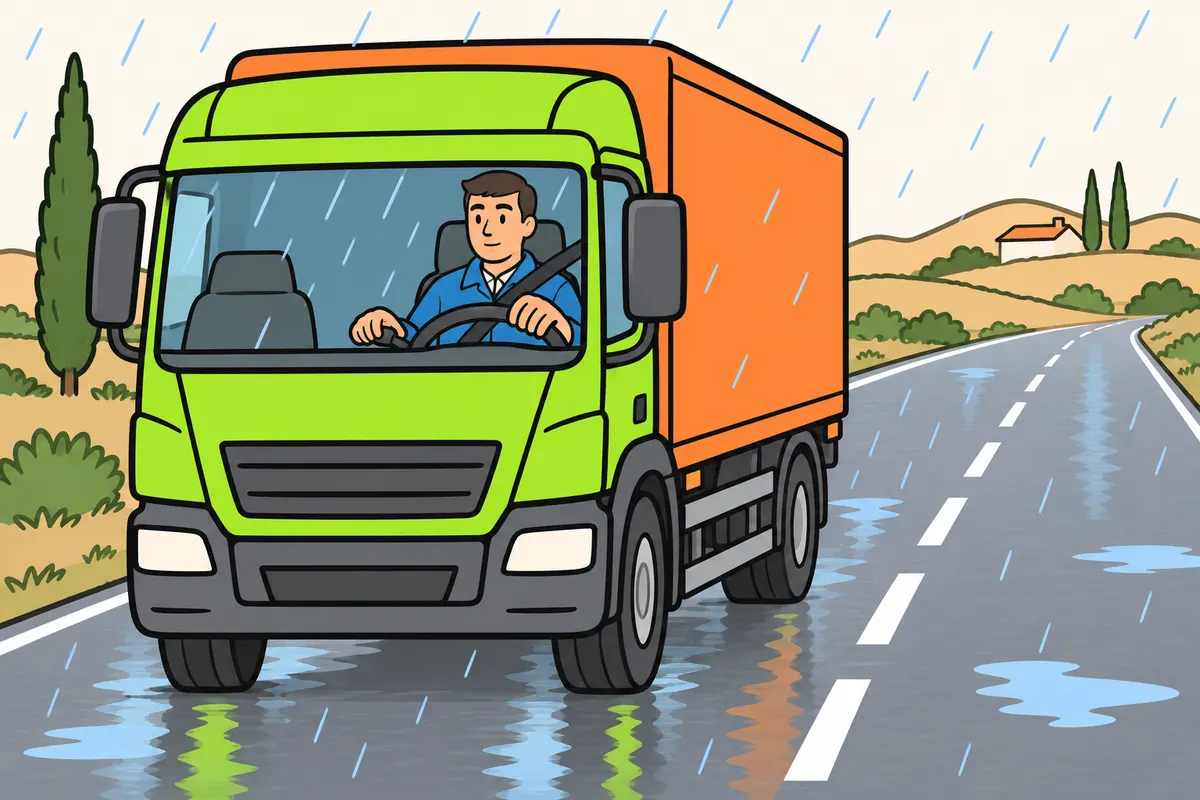
With low grip, you apply auxiliary braking gently and follow restrictions.
Remember
- Braking through the transmission reaches your driven wheels.
- Too much can make them slide without you pressing the service brake.
- Follow manufacturer restrictions when grip is low.
- Check whether your retarder works with ABS and that this coordination is working.
- Know how the lever, pedal and automatic programmes work together.
- In an emergency, use the service brake without delay looking for another control.
Exam trap: Wrong: sharply increase retarder strength on ice. Right: apply it gently and follow restrictions.
Read the full explanation
- The braking effect of auxiliary transmission systems reaches the driven wheels. When grip is low, excessive intensity can cause them to skid even without you pressing the service brake; you must apply this braking effect gently and observe the manufacturer's restrictions.
- A system integrated with ABS can reduce or cut off the retarder when there is a risk of wheel locking. You must know whether your lorry has this coordination and whether it is working; regulation still depends on the available grip.
- You must know how the lever, pedal and automatic programmes work together. Some systems first request auxiliary braking and then add service braking; in an emergency, apply the service brake without delaying to look for another control.
23Brake fade and long descents
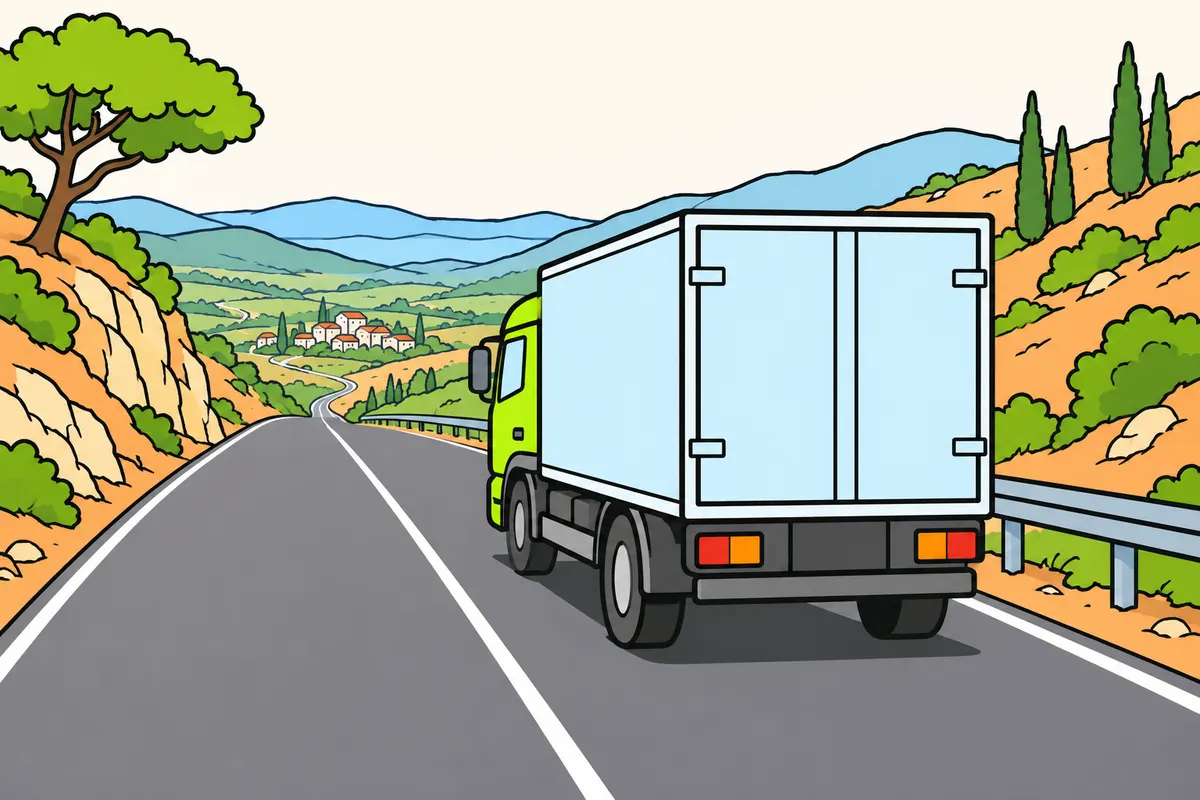
You prepare for descents to prevent heat reducing your braking power.
Remember
- Recognise brake fade: excessive heat reduces braking effectiveness.
- Before descending, slow down and choose a suitable gear.
- Use auxiliary braking and add service braking when you need it.
- Avoid holding the service brake lightly throughout the descent.
- Brake as your manual explains and let the brakes release and cool.
- If you notice smoke, strong smells or weak braking, stop safely and investigate why.
Exam trap: Wrong: normal pressure rules out overheating. Right: your brakes can still overheat; do not pour water on them. Wrong: apply parking abruptly if service braking fails downhill. Right: maintain your course, use available braking and find a safe stopping area; use secondary braking as appropriate for your lorry.
Read the full explanation
- Brake fade is the loss of effectiveness caused by excessive heat. High temperatures can reduce the performance of friction surfaces; in hydraulic systems, boiling brake fluid can also cause problems. Not every loss of braking is brake fade: an air leak and a loss of brake assistance involve different mechanisms.
- Before starting a long descent, you must slow to a speed you can control and select a suitable gear. Use the available auxiliary braking to limit acceleration and supplement it with the service brake when necessary. Do not wait until the lorry gains too much speed before looking for a low gear or maximum retarder effect.
- You must avoid holding the lorry back throughout the descent with light, continuous pressure on the service brake. When you need to adjust your speed, make controlled brake applications as instructed in the manual and allow the brakes to release and cool. Do not memorise a universal interval in seconds: the gradient, mass, design and temperature determine your strategy.
- If you notice a strong smell, smoke, insufficient response or the need for increasing effort, you must find somewhere to stop safely before you lose control. A normal pressure gauge reading does not rule out overheated brakes. Do not cool them by pouring water over them or continue to your destination because they respond again after a pause: you must investigate the cause.
- If the service brake loses effectiveness during the descent, you must maintain your course, use whatever means of slowing down remain available and look for a safe stopping area, including an emergency escape lane if you can reach one. Do not descend in neutral or apply the parking brake abruptly; use the secondary braking controls as appropriate for the vehicle.
24Trailer brakes and pneumatic connections
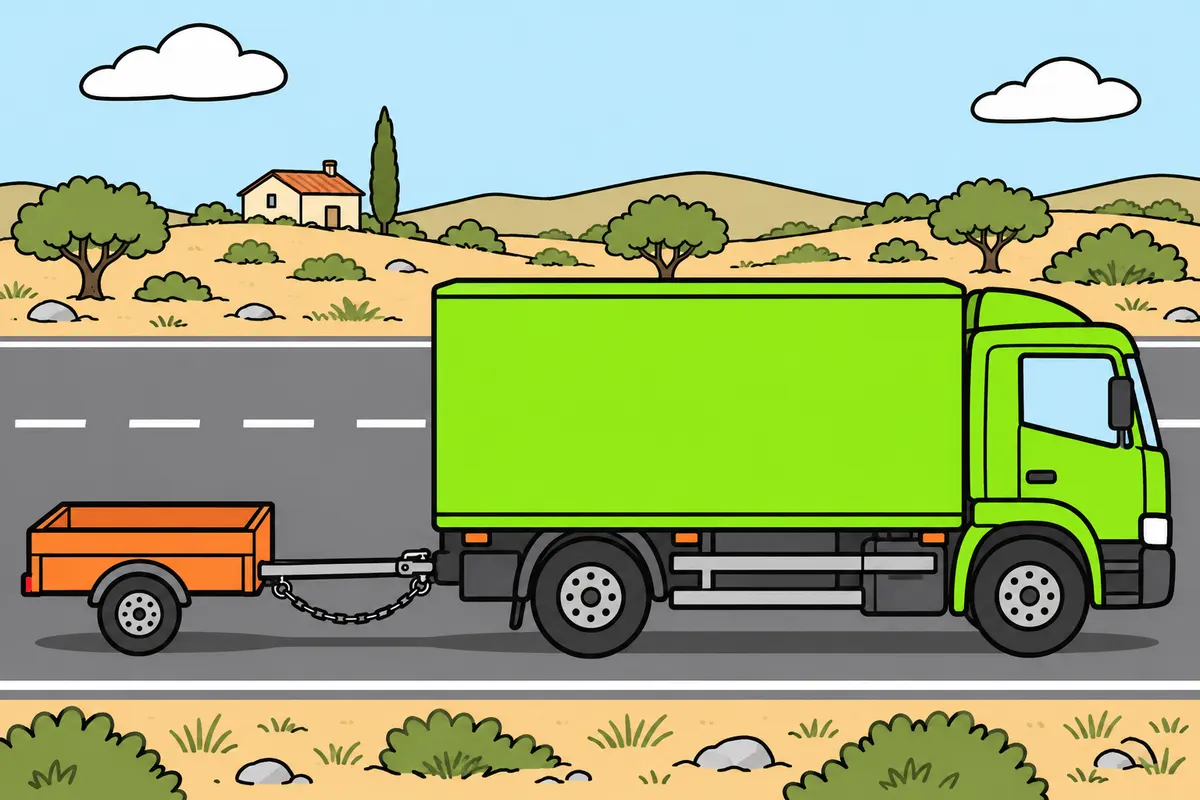
You respect your licence limit and secure your trailer’s connections and braking.
| Vehicle or system | Case | Rule you must follow |
|---|---|---|
| Unbraked trailer | Up to 750 kg MMA | Maximum towable mass: half your lorry’s unladen mass plus 75 kg, never above 750 kg. |
| Centre-axle trailer | Over 750 kg and up to 3,500 kg MMA | You may use an overrun brake if type approval allows. You need C+E. |
| Trailer with only an overrun brake | Maximum towable mass | Maximum towable mass: no more than your lorry’s MMA, with a maximum of 3,500 kg. |
| Trailer over 3,500 kg MMA | Service brake | It must be continuous or semi-continuous, operated from your driving position. |
| Trailer up to 1,500 kg MMA | No braking if the coupling fails | If it has no breakaway braking, use a secondary coupling (chain or cable). Keep the drawbar off the ground and retain some steering. |
| Heavy-duty two-line pneumatic system | Red line | Air supply |
| Heavy-duty two-line pneumatic system | Yellow line | Braking command |
Remember
- With category C, your permitted trailer may have no brakes of its own.
- Above 750 kg trailer MMA, you need C+E.
- Trailers up to 1,500 kg MMA without breakaway braking need secondary coupling (chain/cable).
- Respect your lorry’s and coupling’s towing capacity.
- Secure both vehicles before handling connections; distinguish air, ABS/EBS and lighting.
- For conventional connections, connect control before supply; disconnect supply first, following the manual.
Exam trap: Wrong: breakaway braking is enough for parking. Right: use parking to keep your trailer still.
Read the full explanation
- With a category C licence, you can tow a trailer with an MMA (maximum authorised mass) of up to 750 kg; if it exceeds that mass, you need C+E for the combination with your lorry. [RGCond, art. 4.2](https://www.boe.es/buscar/act.php?id=BOE-A-2009-9481#a4).
- The trailer with an MMA of up to 750 kg that you can tow with category C may have no brakes of its own. To tow it without brakes, its maximum towable mass must not exceed half the lorry's unladen mass plus 75 kg, up to a maximum of 750 kg. You must also observe the technical limits of the lorry and coupling. [RGV, Annex VIII.2 note (3) and Annex IX 4.1.1 and 4.1.2.1](https://www.boe.es/buscar/act.php?id=BOE-A-1999-1826#anix).
- For trailers with an MMA over 750 kg and up to 3,500 kg (O2), the service brake may be an overrun brake on centre-axle trailers where their type approval allows it: the trailer moving towards the lorry activates the brakes. The maximum towable mass with only this brake must also not exceed the lorry's MMA and is limited to 3,500 kg. Above 3,500 kg (O3 and O4), continuous or semi-continuous service braking operated from the driving position is required. [UNECE Regulation No. 13, 5.2.2.2-5.2.2.3](https://www.boe.es/buscar/doc.php?id=DOUE-L-2016-80289); [RGV, Annex IX 4.1.2.2](https://www.boe.es/buscar/act.php?id=BOE-A-1999-1826#anix).
- If your trailer has an MMA of up to 1,500 kg and has no braking system that operates if the coupling breaks, you must have a secondary coupling, such as a chain or cable, that prevents the drawbar from touching the ground and retains some residual steering control. This includes a light trailer without brakes. [RGV, art. 13.4](https://www.boe.es/buscar/act.php?id=BOE-A-1999-1826#a13).
- In heavy-vehicle two-line pneumatic systems, identify the red line as the supply line and the yellow line as the brake control line. The trailer's reservoir supplies the energy and the control line transmits the braking request. You can study this system as a technical basis for heavy-vehicle braking. [ISO 1728:2006, section 3.4](https://cdn.standards.iteh.ai/samples/44103/9dde57923d1643f3979ac97bc5bb13f8/ISO-1728-2006.pdf).
- You must distinguish between the air lines, the ABS/EBS connector and the lighting wiring. Secure both vehicles before handling them and check that connections lock properly, are clean and have an unobstructed run. With conventional connections, connect the control line before the supply line; when disconnecting, remove the red supply line first, following the equipment manual.
- Automatic braking following separation must stop the trailer without cancelling the braking effectiveness of the rest of the combination. You must distinguish this function from the parking brake, which keeps the detached trailer stationary. [RGV, art. 12.8.3 and Annex VIII, section 1.5](https://www.boe.es/buscar/act.php?id=BOE-A-1999-1826#a12).
25Accelerator and speed management
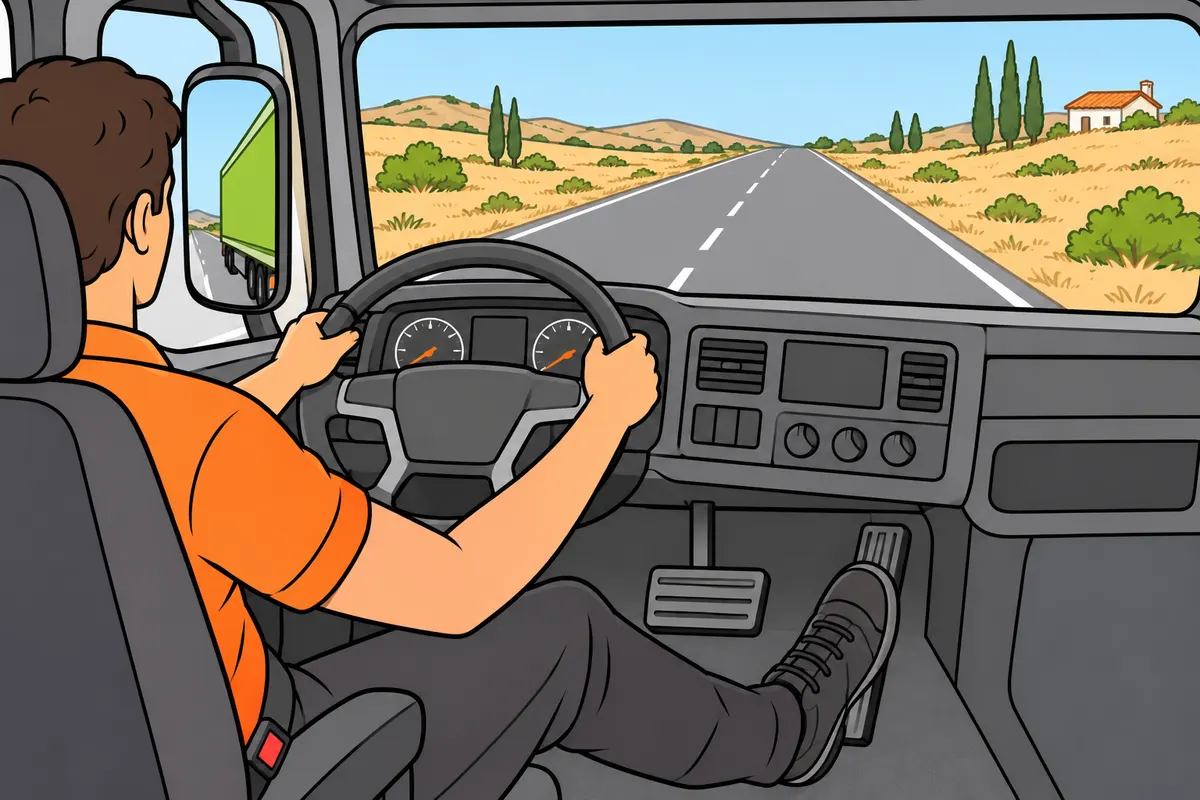
You control speed and know what to do if the accelerator sticks.
| System | What it does |
|---|---|
| Cruise control | Tries to hold your chosen speed |
| Limiter | Restricts acceleration to avoid exceeding its setting |
Remember
- Keep accelerator travel clear and have irregular responses checked.
- Know how to cancel cruise control and the limiter.
- You may need to brake downhill even with these systems active.
- If the accelerator sticks, press the clutch or select neutral as your gearbox requires.
- Brake firmly, keep steering control and stop safely.
- Keep the engine running until stopped; then switch off and ask for repair.
Exam trap: Wrong: switch off while moving if the accelerator sticks. Right: keep assistance working until you stop.
Read the full explanation
- With an electronic accelerator pedal, you request engine torque through sensors that send your demand to the engine management unit; this regulates fuel injection according to operating conditions. Keep the pedal travel unobstructed and have it checked if it sticks or responds irregularly.
- With cruise control, you select a speed that the system tries to maintain; with the speed limiter, you restrict the acceleration demand so that you do not exceed its setting. You must know how to cancel these systems and whether they apply the brakes: you may need to brake on a descent. The rules on compulsory speed limiters are covered in «Lorry dimensions and masses».
- When you release the accelerator with a gear engaged, the engine management system may cut off fuel injection while the engine slows the vehicle. The engine brake or retarder can work in coordination with this system to cancel the demand for propulsion; a hydraulic or electric retarder slows the vehicle through its own mechanism.
- If the accelerator becomes stuck, you must interrupt the transmission of power: depress the clutch if you have one, or select neutral as appropriate for your gearbox. Brake firmly, maintain steering control and stop in a safe place. Keep the engine running until you stop to retain power assistance; then switch it off and arrange repairs.
Prepare the pneumatic system before setting off
Check the air reserve, warnings and response before joining traffic.
- Secure the lorry and visually check accessible components without exposing yourself to movement or pressurised air.
- Activate the system according to the manual and observe the warning self-test.
- Wait until all required circuits reach their operating conditions; interpret any differences or abnormal pressure recovery.
- Check that there are no warnings that prevent you from driving and no abnormal leaks.
- At low speed in a suitable place, check that the service brake responds progressively and evenly.
- If you detect a serious fault, keep the vehicle immobilised and arrange repairs.
Control a long descent
Maintain your speed without exhausting the brakes’ capacity to absorb heat.
- Before the gradient, assess the mass, grip, length of the descent and available braking effect.
- Reduce your speed and select a gear that provides a braking effect within the permitted engine speed range.
- Apply the engine brake or retarder progressively, as appropriate for the grip and equipment.
- Use the service brake to adjust your speed when necessary, according to the manual, and avoid keeping it lightly applied continuously.
- Monitor engine speed, pressure, temperature and warnings; adjust your speed if the retarder limits its power.
- If braking effectiveness decreases or signs of overheating appear, find a safe place to stop and arrange an inspection.
Brake in an emergency with ABS
Maintain braking pressure and steer along a feasible path.
- Press the service brake pedal firmly as soon as you identify the danger.
- Maintain braking pressure even if you feel vibrations or hear the system operating; do not pump the pedal.
- Steer the lorry with controlled movements towards an accessible space, without attempting a turn that exceeds the available grip.
- Once stopped, secure the vehicle and assess any damage or warnings before continuing.
Check a trailer’s pneumatic connections
An outline of braking checks; follow the manufacturer’s full procedure for coupling or uncoupling.
- Immobilise and secure both vehicles before touching the lines.
- Identify the red supply line, yellow control line and ABS/EBS electrical connector; check seals and couplings.
- With conventional connections, prepare and connect the control line before supplying air; connect the electrical equipment according to its manual.
- Check that the connections are locked, hoses can move freely, air pressure builds up, there are no leaks and the brakes respond.
- Before uncoupling, apply the parking brake and the specified securing measures; disconnect the red supply line first, then the control line according to the equipment procedure.
- Protect disconnected connections from dirt and check that the trailer is effectively immobilised.
Finished this module?
Mark it as read and you will see your progress on the theory list.