
Theory · C Licence - Truck · Module 16 of 18
Lorry maintenance and checks
You learn to check your lorry before setting off, interpret its warnings and distinguish simple maintenance from a fault that requires you to immobilise it. You master the specific points about tyres, twin wheels, air brakes and preparation for the ITV (vehicle roadworthiness test) covered in the category C licence exam, and how to act safely if a fault occurs on the road.
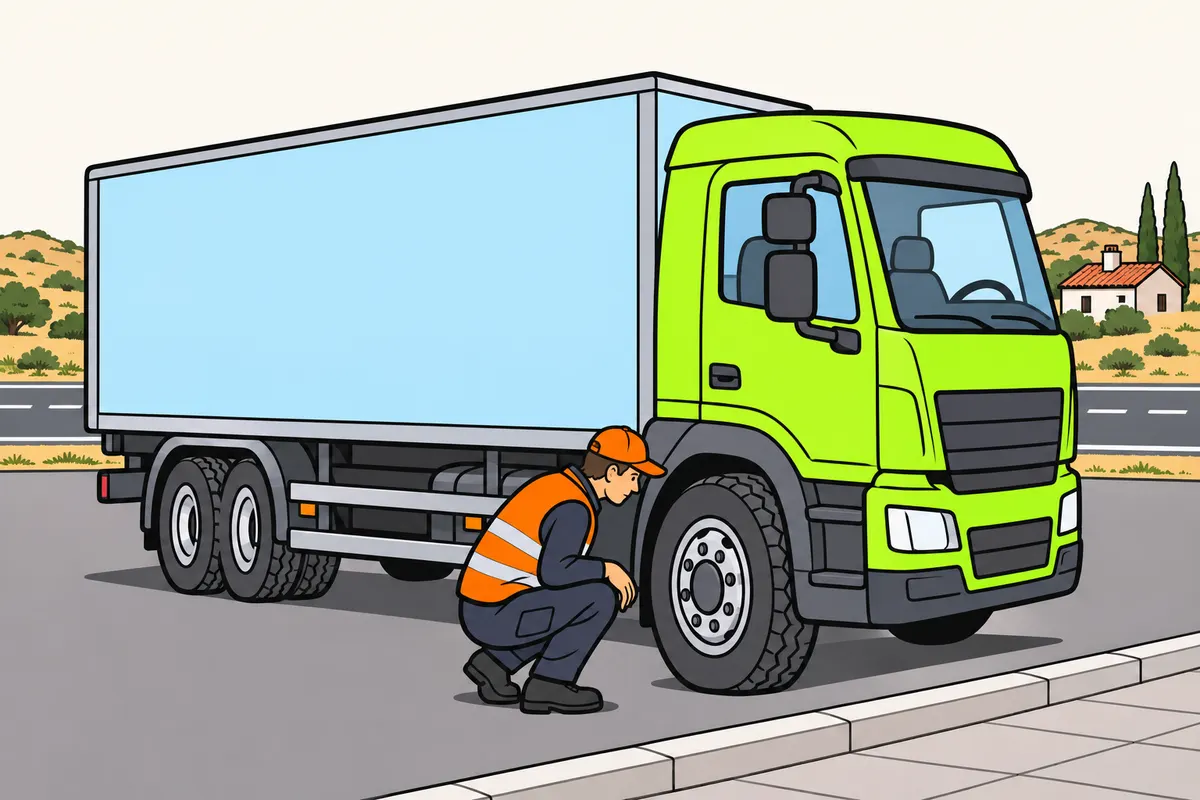
1Check before starting your working day
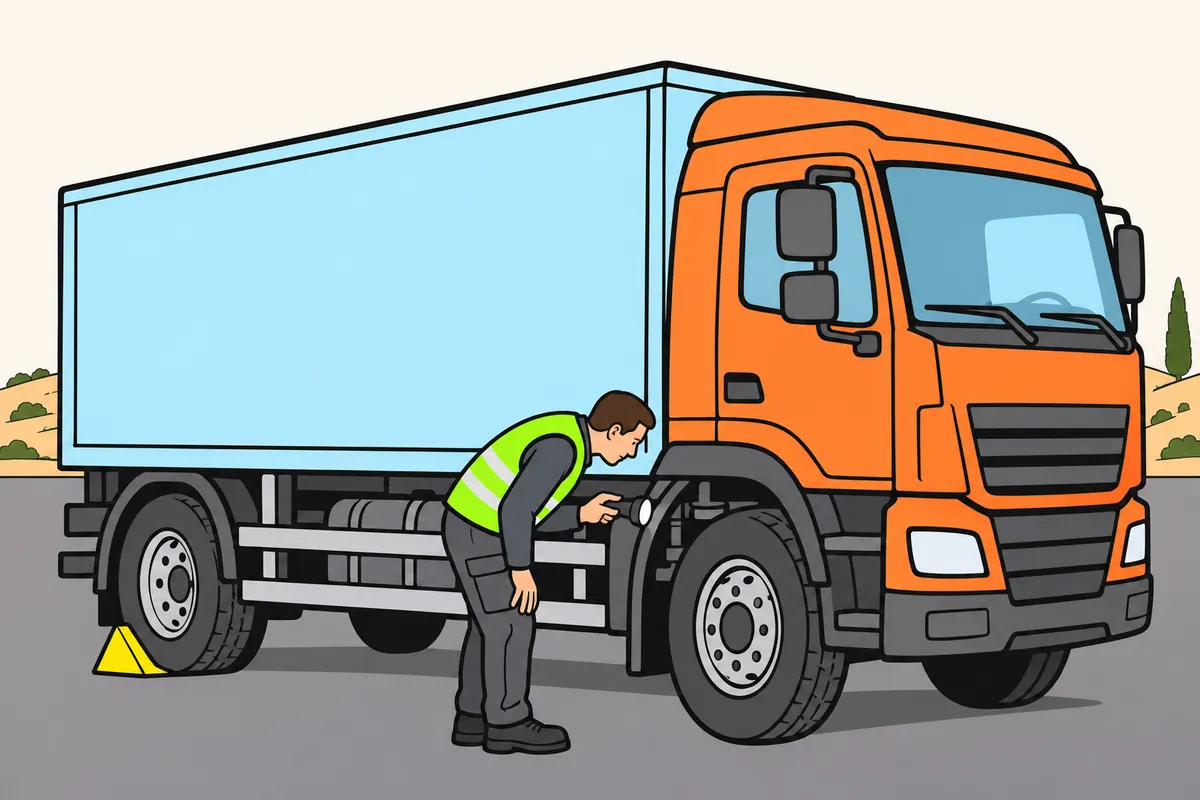
Check your lorry is safe before you set off.
Remember
- Walk around outside, check fluid levels, then check the cab.
- Park on firm, level ground and secure the lorry against movement.
- Look for leaks, damage and loose parts.
- Check the handbook for pressures, fluids and servicing.
- Report faults and fix dangerous ones before driving.
- Monitor due dates and record tasks; leave specialist work to the workshop.
Exam trap: Wrong: a favorable (pass) ITV replaces your daily check. Right: check before setting off too.
Read the full explanation
- Organise your inspection around one question: if you start and drive this lorry, will its safety equipment work? Walk all the way around the outside, check accessible fluid levels and finish in the cab. Having fuel and a favourable ITV (vehicle roadworthiness test) result does not replace this daily check.
- Park on firm, safe and sufficiently level ground for the inspection. Secure the vehicle against movement and prevent anyone else from starting it while you work. Do not go underneath a tipping body, a tilted cab or a chassis with air suspension without the specified supports and locks.
- Look for fresh stains, loose parts, impact damage, chafed pipes and leaks on the ground and visible components. What you see helps guide your investigation, but a stain can have several sources; a significant fuel, oil or air leak requires you to find the cause before using the lorry.
- Consult the vehicle handbook for pressure values, fluids, intervals and checking methods. There is no universal tyre pressure or brake air pressure for all lorries. Record defects and report them to the person responsible for maintenance; recording a dangerous defect does not authorise you to drive with it.
- Distinguish preventive maintenance, which aims to prevent faults, from repairing an existing fault. Follow the appropriate schedule based on time, mileage or operating conditions; dust, frequent stops or intensive work can require specific tasks. Your daily check complements workshop inspections.
- Include these routine tasks in the schedule, following the manufacturer's intervals and the operating conditions: changing the engine oil and its filter; replacing the fuel filter and servicing the water separator; checking or replacing the air filter and belts; renewing the coolant and the brake fluid where there is a hydraulic circuit; changing the air dryer cartridge; greasing the specified points; rotating tyres if the fitment allows it and checking wheel alignment. As the driver, you monitor due dates, levels, leaks and warnings, record incidents and carry out only authorised tasks for which you have the training and equipment; the workshop carries out replacements, adjustments and specialist work. The programme must specify who does each task and keep a record of its completion. These tasks put into practice the preventive maintenance required in the training. [RGCond, annex V.B.2.4.º p)](https://www.boe.es/buscar/act.php?id=BOE-A-2009-9481#anv).
- Also schedule tachograph and speed limiter checks and arrange for the appropriate authorised centre or workshop to carry them out; as the driver, you check their warnings and report faults or damaged seals. Consult “Inspections, seals and coefficients” in “The tachograph and its records” and “Speed limiters” in “Lorry dimensions and masses” for the specific obligations. [RGV, art. 11.12](https://www.boe.es/buscar/act.php?id=BOE-A-1999-1826#a11).
2Exterior, chassis and driving position
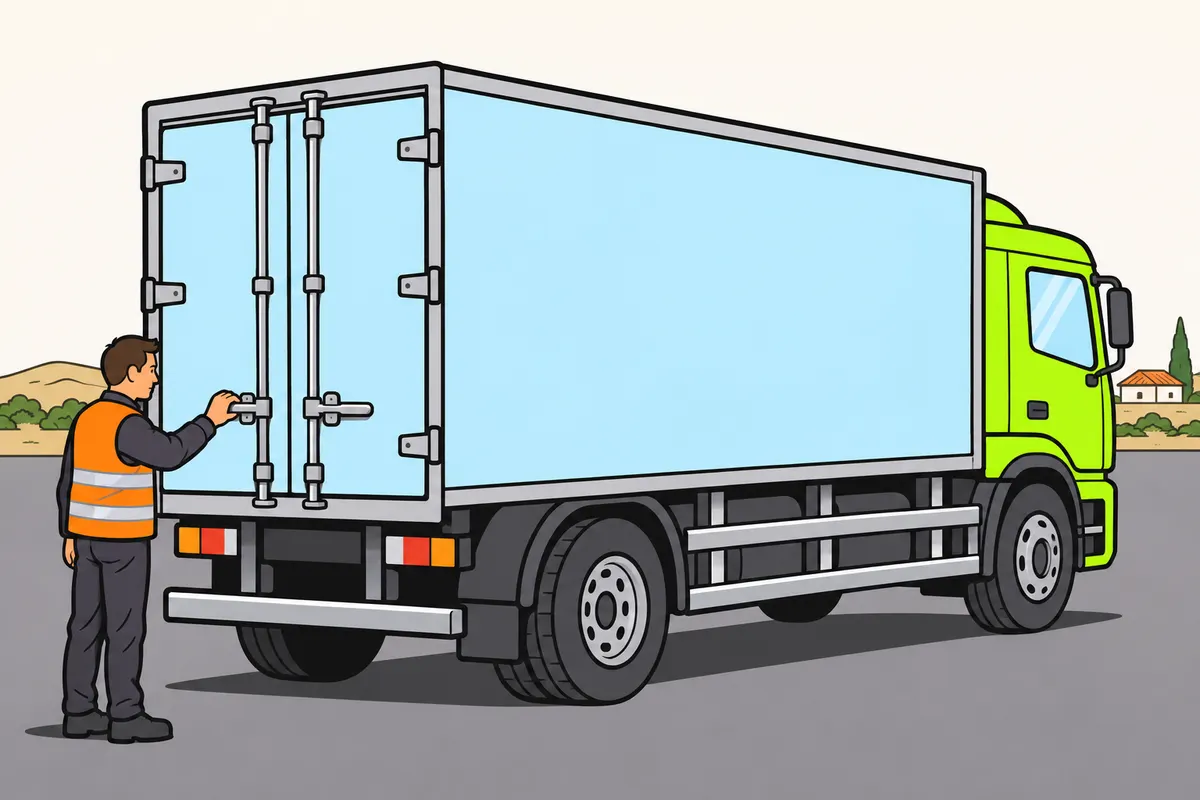
Check outside and adjust your driving position before you drive.
Remember
- Check latches, steps, panels and protective guards.
- Check that the tilting cab is locked.
- Look around before climbing in: someone could be hidden from view.
- Adjust your seat and controls, then your mirrors.
- Check your seat belt and keep objects away from the pedals.
- Test the horn and check exhaust mountings and leaks.
Exam trap: Wrong: you can drive with a damaged silencer. Right: repair the exhaust before driving.
Read the full explanation
- Walk along both sides and around the front and rear, including the less visible areas. Check doors, catches, running boards, steps, mudguards and panels; a detached part can become an obstruction. Visually confirm that the bodywork and its accessories are secured for driving.
- On a rigid lorry, check the condition and attachment of the side protection and rear underrun protection required by its type approval. Rear protection can be provided by a specific device or by the vehicle's construction itself in accordance with the applicable regulations. [RGV, art. 11.16 and 17](https://www.boe.es/buscar/act.php?id=BOE-A-1999-1826#a11).
- Check that the tilting cab is locked, service covers are closed and no tools remain near moving parts. Before climbing in, look at your immediate surroundings: a person, animal or object near the front can be out of sight once you sit down.
- Adjust the seat, steering wheel and pedals so you can operate the controls without stretching or bending your legs excessively; then adjust the mirrors from that position. Check your seat belt, door catches and that there are no objects under the pedals. Secure loose items in the cab so they do not interfere with driving.
- Test the horn in safe conditions and check that it produces a continuous, uniform sound of sufficient volume. If the sound is weak, intermittent because of a fault or absent, report the defect for repair; the check covers both the control and the horn's actual response. [RGV, art. 11.7](https://www.boe.es/buscar/act.php?id=BOE-A-1999-1826#a11).
- Visually check the accessible exhaust system: it must be securely attached, free of leaks and have an intact, effective silencer. Look for loose mountings, damaged joints or signs of gases escaping outside their intended route; do this without touching hot components or going underneath the lorry without supports. Consult the prohibitions concerning the exhaust and silencer in “Reducing transport noise” in “Defensive and efficient lorry driving”. [RGC, art. 7.2](https://www.boe.es/buscar/act.php?id=BOE-A-2003-23514#a7).
3Tyres: tread and damage
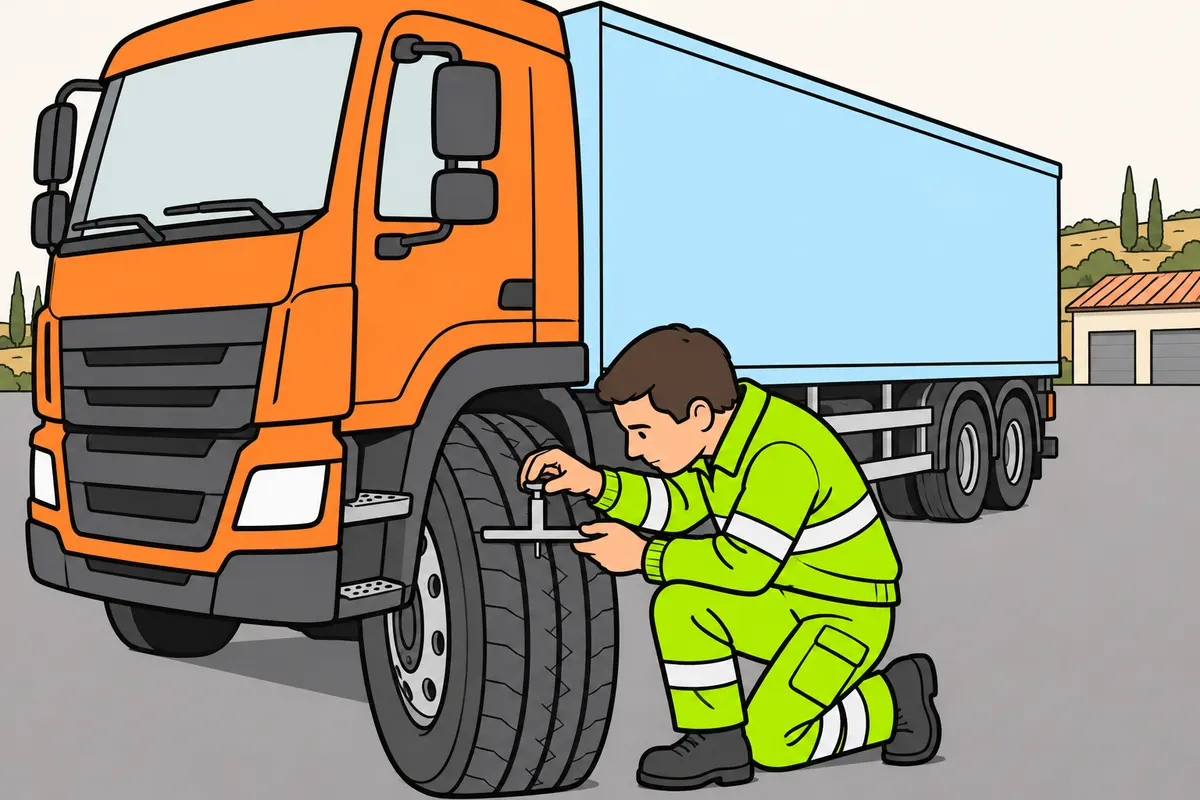
Check your tyres for tread wear and damage.
| Vehicle categories | Minimum tread |
|---|---|
| N2 and N3 | 1.0 mm |
| M1, N1, O1 and O2 | 1.6 mm |
Remember
- Measure the main grooves at different points.
- Do not drive with bulges, exposed cords or structural damage.
- Enough tread alone does not make a tyre safe.
- Use trained staff for regrooving, only with the Regroovable marking or approved symbol.
Exam trap: Wrong: every vehicle needs 1.6 mm. Right: N2 and N3 need at least 1.0 mm.
Read the full explanation
- On category N2 and N3 lorries, you must maintain at least 1.0 mm of depth in the main tread grooves. The 1.6 mm requirement applies to categories including M1 and N1 and trailers in categories O1 and O2; identify the category of the vehicle the question concerns. [RGV, annex VII.2](https://www.boe.es/buscar/act.php?id=BOE-A-1999-1826#anvii).
- Measure the main grooves with a tread depth gauge and check different areas around the circumference. A single measurement in the least worn area can conceal uneven wear. The legal minimum does not guarantee sufficient grip for every combination of rain, load and speed: you must also assess the overall condition and intended use.
- Examine the tread, shoulders and sidewalls; look for cuts, bulges, distortion, cracks and separation. You must preserve the markings and must not drive with exposed cords or signs of carcass failure. Sufficient tread depth does not compensate for this damage. [RGV, annex VII.4](https://www.boe.es/buscar/act.php?id=BOE-A-1999-1826#anvii).
- The grooves help disperse water, but do not eliminate the risk of aquaplaning. A tyre that appears properly inflated can also be damaged by an impact or by being driven while deflated. If there is structural damage, arrange for a specialist assessment instead of relying solely on its outward appearance.
- Regrooving means deepening the grooves and is different from retreading. It is permitted only on tyres for vehicles with a maximum authorised weight of more than 3.5 tonnes that bear the Regroovable marking or the corresponding regulatory symbol; you must have it done by competent personnel. [RGV, annex VII.4](https://www.boe.es/buscar/act.php?id=BOE-A-1999-1826#anvii).
4Cold tyre pressure and wear
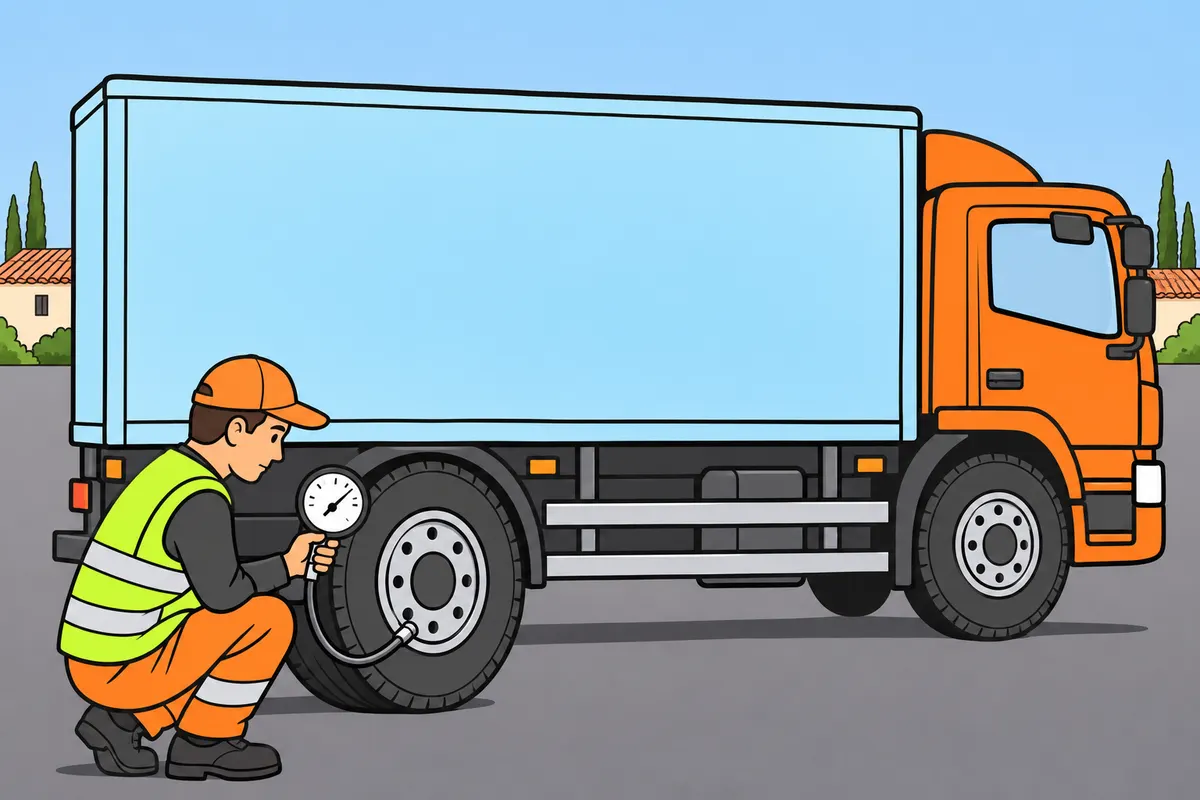
Measure cold tyre pressure using the manufacturer’s instructions.
| Clue | Possible link |
|---|---|
| Low pressure | More heat and shoulder wear |
| Excess pressure | Centre tread wear |
| Wear on one edge | Incorrect wheel alignment |
Remember
- Use an approved, checked pressure gauge.
- Check the pressure specified for each axle, load and use.
- Do not release hot air to reach the cold pressure.
- Investigate repeated pressure loss.
Exam trap: Wrong: wear alone proves a particular fault. Right: check its cause.
Read the full explanation
- You must check tyre pressures regularly with an approved and verified pressure gauge. As a maintenance procedure, compare the cold reading with the manufacturer's table for that axle, fitment, load and use; looking at tyre deformation does not replace measurement. [RGV, annex VII.6](https://www.boe.es/buscar/act.php?id=BOE-A-1999-1826#anvii).
- As you drive, the tyre heats up and its pressure usually rises. Do not release air from a hot tyre to match the recommended cold pressure: the pressure becomes too low when it cools. If you need to assess a hot reading, follow the manufacturer's specific procedure and check again afterwards under the specified conditions.
- Low pressure increases carcass flexing and heating, rolling resistance and the risk of damage. It can increase fuel consumption and encourage shoulder wear. Do not automatically reduce tyre pressure because you are carrying goods or apply a fixed percentage increase in fuel consumption to every lorry.
- Excessive pressure can encourage wear in the centre, alter the contact patch and transmit more road irregularities. Wear on just one edge can also indicate incorrect wheel geometry; patchy wear can require checks on wheel balancing or suspension. You must interpret these patterns as clues requiring investigation, rather than infallible diagnoses.
- Check valves, caps and access to inflation points. Use the value for each axle without assuming that the front axle must always have higher or lower pressure than the rear. If a wheel repeatedly loses pressure, locate the leak: inflating it every working day does not repair the defect.
5Twin wheels and fixings
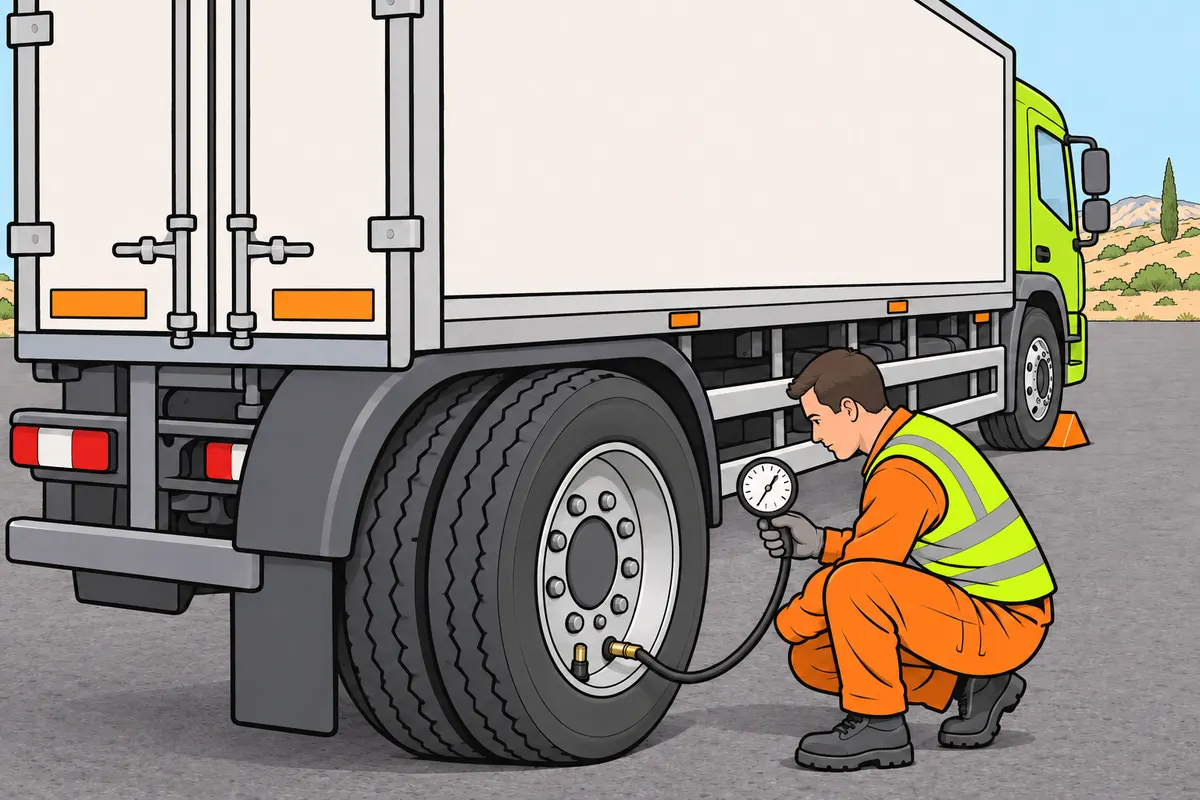
Check both twin wheels and their fastenings.
Remember
- Measure each tyre’s pressure separately.
- Check the inner wheel too.
- Use compatible twin tyres, following the manufacturer’s instructions.
- Check the gap between tyres for trapped stones.
- Fix loose or damaged nuts before driving.
Exam trap: Wrong: checking the outer wheel is enough. Right: check the inner wheel too.
Read the full explanation
- A twin-wheel fitment has two wheels at each end of the axle. You must also inspect the inner wheel: the outer one can conceal a deflated or damaged tyre. Measure both pressures separately and do not assume they are correct because the vehicle does not appear to lean.
- Check that the twin tyres are compatible in size, characteristics and wear in accordance with the manufacturer's instructions. Significant differences in effective diameter or pressure alter load distribution and how the tyres work. A deflated tyre forces its partner to bear excessive stress and can damage it too.
- Look at the gap between the tyres and remove foreign objects only with the vehicle secured and using a safe method. A trapped stone can damage the sidewalls or be thrown out. Check that the tyres do not touch each other or rub against components, including the inner wheel and its valves.
- Inspect wheel rims, nuts and possible signs of loosening, such as movement or unusual marks around the fixings. If you find a loose or damaged fixing, you must rectify it before driving.
6Remove and fit a wheel safely
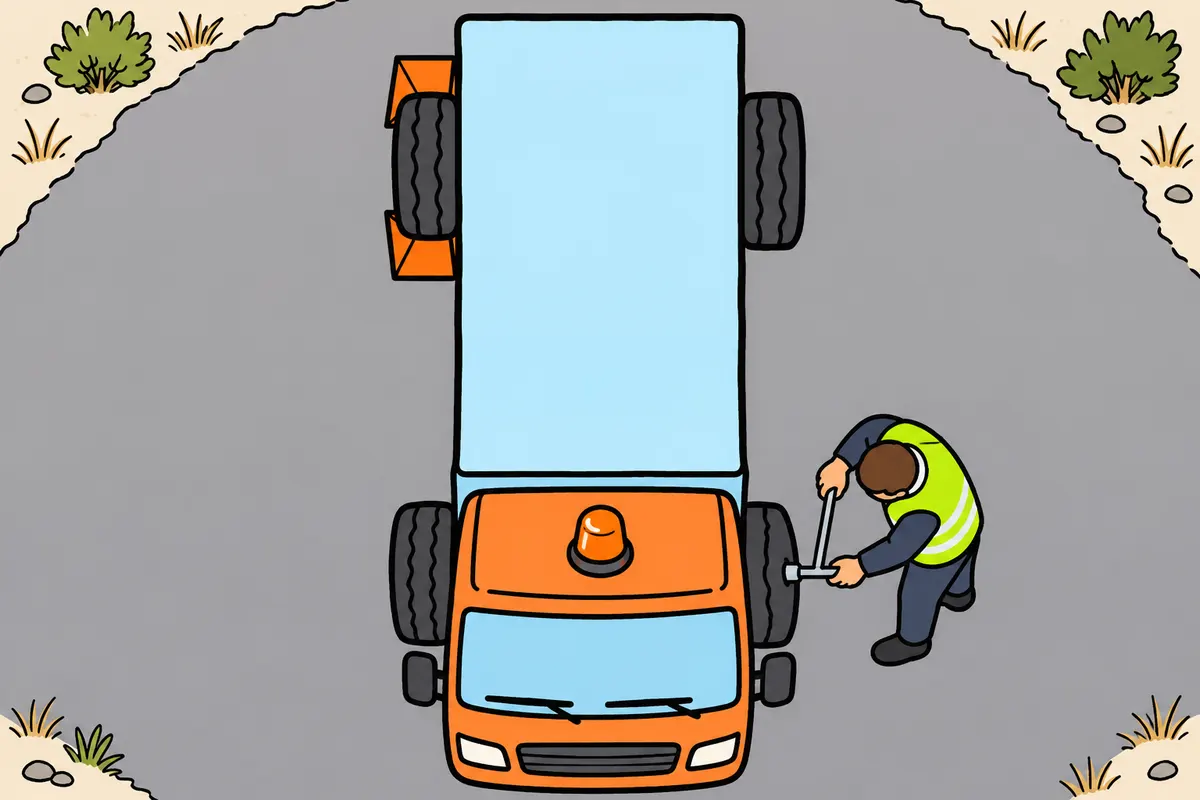
Change a wheel only with the lorry secured and suitable equipment.
Remember
- Keep clear of traffic; use hazards, V-16 and your vest before working.
- Apply the parking brake and chock the diagonally opposite wheel.
- Loosen nuts on the ground; remove them with the wheel raised and secured.
- Use the specified jacking point; never work underneath supported only by a jack.
- Tighten in a cross pattern to the specified torque with a torque wrench.
- For twin tyres or removable rim rings, use a suitable inflation cage or specialist.
Exam trap: Wrong: use an improvised extension for final tightening. Right: use the specified tool and torque.
Read the full explanation
- If you need to change a wheel because of a breakdown, position the lorry on firm, level ground away from traffic. On the road, switch on the hazard warning lights, position the V-16 and put on your high-visibility vest before getting out to work. If you cannot do this without exposing yourself to traffic, request assistance. [RGC, arts. 118.4 and 130](https://www.boe.es/buscar/act.php?id=BOE-A-2003-23514#a130).
- Apply the parking brake and place chocks at the wheel diagonally opposite the one you are removing. For this task, you must have a jack, chocks and wheel brace suitable for the lorry and follow the manufacturer's procedure.
- With the wheel resting on the ground, slightly loosen its nuts with the correct wheel brace without removing them. Finish unscrewing them once the wheel is raised and secured. [DGT, changing a wheel](https://revista.dgt.es/revista/num217/files/basic-html/page49.html).
- Place the jack only at the lifting point specified by the manufacturer and check its capacity and stability. Never go underneath a lorry supported only by a jack; to work underneath, you need the specified safety supports.
- Raise the vehicle only as far as necessary to lift the wheel clear. Use assistance or suitable handling equipment to support, remove and position a heavy wheel without trapping yourself or overexerting yourself; do not try to hold it with your body if it loses balance.
- Fit the wheel onto clean mating surfaces and check that it is seated correctly. With twin wheels, check that the valves line up with the intended access openings and are accessible, without rubbing or trapped components.
- Tighten the nuts progressively in a cross pattern, following the manufacturer's sequence. Carry out the final tightening to the specified torque with a suitable torque wrench and the vehicle in the position specified by the procedure; check again after the first few kilometres as instructed by the manufacturer. Do not use an improvised lever.
- Inflating twin wheels or wheels with detachable rim rings requires a suitable safety cage or a specialist with the specified protective equipment. Do not remove rings or rim components while the tyre is pressurised or stand in front of a damaged tyre during inflation.
7Read tyre markings
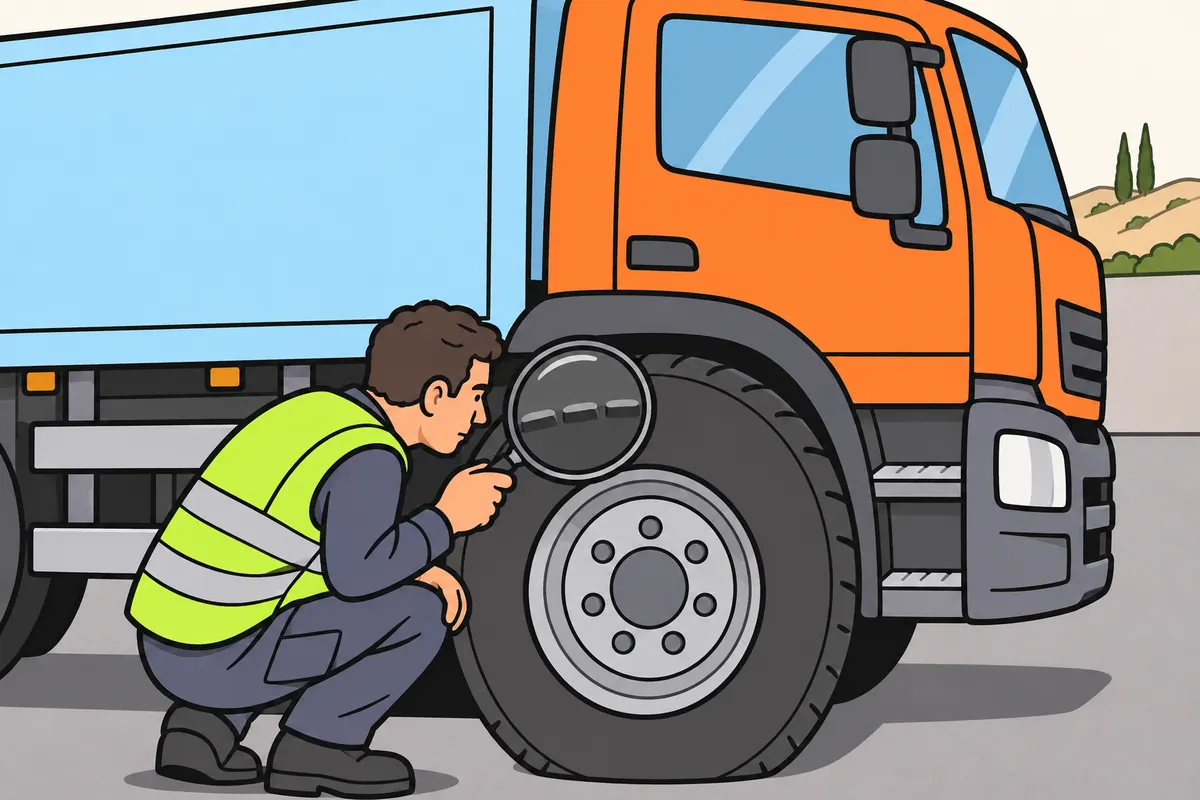
Read tyre markings to choose a suitable tyre.
| Marking | Meaning |
|---|---|
| R | Radial construction |
| 22.5 | Rim diameter in inches |
| First load index | Single fitment |
| Second load index | Twin fitment |
Remember
- Use the load index table to find the load capacity.
- Load indices are not weights written directly in kilograms.
- Distinguish tyre speed capability from your lorry’s legal limit.
- TUBELESS means no separate inner tube; you can still get punctures.
- Fit approved sizes and specifications or permitted equivalents.
Exam trap: Wrong: load indices mean front and rear axles. Right: they mean single and twin fitment.
Read the full explanation
- In 385/65 R22.5, you must interpret 385 as the nominal width in millimetres, 65 as the percentage ratio of section height to width, R as radial construction and 22.5 as the nominal rim diameter in inches. Do not confuse this diameter with the tyre's width, pressure or outside diameter. [UN Regulation 54, paragraphs 2 and 3](https://www.boe.es/doue/2008/183/L00041-00076.pdf).
- In load indices such as 149/145 or 150/146, the first applies to single fitment and the second to twin fitment. You must convert them using the load index table: they are not weights written directly in kilograms and do not identify the front and rear axles. [UN Regulation 54, paragraph 2.27 and Annex IV](https://www.boe.es/doue/2008/183/L00041-00076.pdf).
- The speed symbol expresses the tyre's technical capability: M corresponds to 130 km/h and N to 140 km/h. Its technical capability is distinct from the lorry's legal speed limit; the symbol does not authorise you to reach that speed. [UN Regulation 54, paragraph 2.28](https://www.boe.es/doue/2008/183/L00041-00076.pdf).
- TUBELESS indicates fitment without a separate inner tube, using a compatible, airtight rim and valve. A small puncture can cause a slow loss of air, but major damage can deflate it rapidly. It does not mean that the tyre is exclusively for lorries, puncture-proof or especially suitable for rain.
- You must fit approved sizes and specifications or permitted equivalents. When comparing products, distinguish load and speed capability from the fuel consumption, wet grip and noise performance shown on the label: no label specifies a universal pressure or promises an exact service life. [RGV, Annex VII.1](https://www.boe.es/buscar/act.php?id=BOE-A-1999-1826#anvii).
8Chains and snow equipment
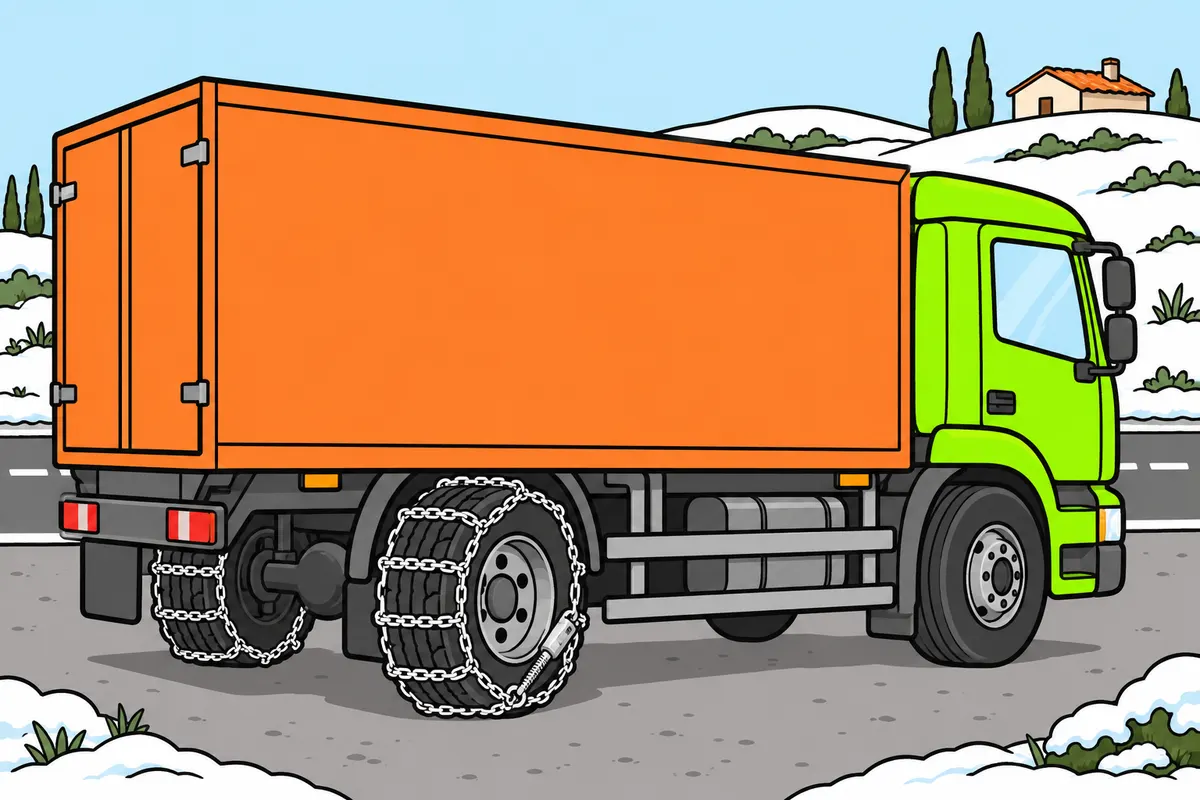
Fit snow equipment to the correct wheels.
| Tyre marking | What you need to recognise |
|---|---|
| 3PMSF | Mountain with three peaks and a snowflake |
| POR | Professional off-road use |
| M+S alone | Not enough for certified winter equipment |
Remember
- When required, fit chains to at least one driven wheel on each side.
- Check compatibility and practise fitting in a safe place.
- Follow fitting, tensioning and speed instructions.
- For winter restrictions above 3,500 kg, fit certified tyres on steering and driven axles.
- Obey road closures for lorries even with chains fitted.
Exam trap: Wrong: chains always go at the front. Right: identify the driven wheels.
Read the full explanation
- When you need to use chains or other authorised anti-slip devices, you must fit them to at least one driven wheel on each side, or use the special tyres specified in the regulations. On a rear-wheel-drive lorry, the fact that the front wheels steer does not make them the wheels on which you fit chains. [RGV, Article 12.5.2](https://www.boe.es/buscar/act.php?id=BOE-A-1999-1826#a12).
- Prepare chains compatible with the tyre size, twin-wheel fitment, wheel arches and nearby components. Check which wheel you must equip at each end of the axle for the system you use; do not improvise with twin wheels or vehicles with several driven axles. Practise fitting them in a safe area before you need them.
- To comply with winter travel restrictions by using special tyres, on vehicles with an MMA (maximum authorised mass) above 3,500 kg you must fit 3PMSF- or POR-certified tyres at least to the steering axle and the driven axles. The M+S marking alone does not establish that you have this certified equipment. [RGV, Annex VII.5](https://www.boe.es/buscar/act.php?id=BOE-A-1999-1826#anvii).
- The 3PMSF pictogram shows a three-peaked mountain with a snowflake; POR identifies professional off-road use, together with the other required markings. Chains or suitable tyres do not allow you to disregard a restriction prohibiting lorries from using the road: check the specific conditions for the stretch concerned. [RGV, Annex VII.5](https://www.boe.es/buscar/act.php?id=BOE-A-1999-1826#anvii).
- Fit and tension them according to the instructions, check that they are seated correctly when required and remove them when conditions require it. Do not adopt an invented maximum speed for all chains: follow the applicable instructions and restrictions. Their help with traction does not guarantee safe braking or steering on ice.
9Oil: level, pressure and topping up
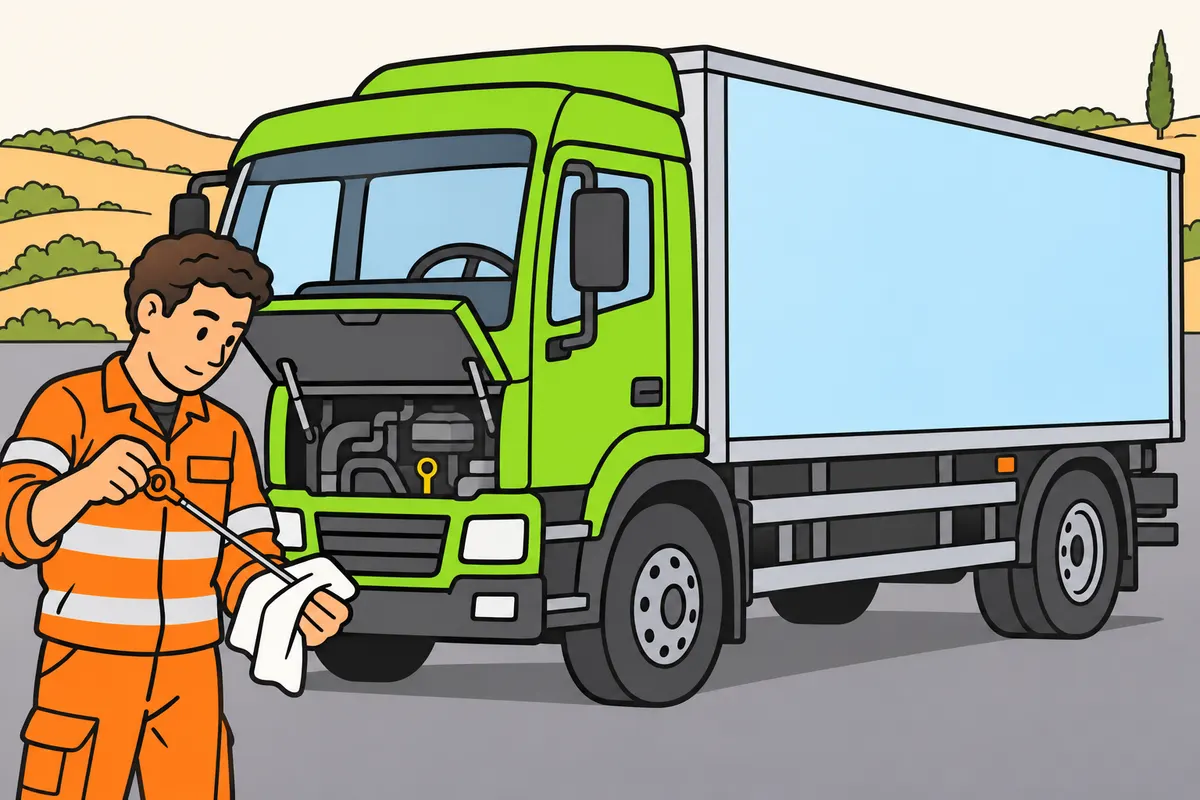
Check oil level and act on an oil pressure warning.
| Check | What it tells you |
|---|---|
| Dipstick or level display | Oil quantity |
| Pressure gauge | Pressure in the circuit |
Remember
- Check the level with the engine stopped, following the handbook.
- Keep oil between minimum and maximum.
- Add approved oil in small amounts.
- For a pressure warning while running, stop safely and switch off the engine.
- Investigate leaks or high consumption; topping up does not repair faults.
Exam trap: Wrong: enough oil guarantees good pressure. Right: quantity and pressure are different.
Read the full explanation
- To check the level, you must park the lorry on level ground, stop the engine and follow the manufacturer's temperature and waiting-time requirements. If you use a dipstick, wipe it clean and reinsert it to obtain a correct reading; if you have electronic measurement, meet its operating conditions. Keep the level between minimum and maximum, without filling above the maximum.
- The level tells you how much oil there is, and the pressure tells you how it circulates through the system. Check each using its own indicator: the dipstick or electronic measurement for the level, and the pressure gauge or relevant warning for the pressure. A pressure warning with the engine running requires you to stop safely and switch off the engine in accordance with the manual.
- Top up through the identified filler opening, adding small amounts and checking the result. Do not confuse the oil filler with the coolant or hydraulic fluid filler, or with the sump drain plug. Use an approved viscosity and specification; mixing products without knowing whether they are compatible can impair lubrication.
- If consumption increases or leaks appear, you must investigate the cause. Persistent blue smoke together with oil consumption can indicate that oil is entering the combustion process, but does not automatically identify piston rings or valves as the cause. Do not keep topping up indefinitely as a substitute for a repair.
- Schedule oil and filter changes according to the maintenance plan. The filter traps solid impurities; it does not generate pressure or remove every contaminant. You study the detailed choice of SAE grades and how lubrication works in «Lubrication: oil, pump, filter and sump» and «Oil pressure and lubricant selection» in «Lorry mechanics».
10Coolant and overheating
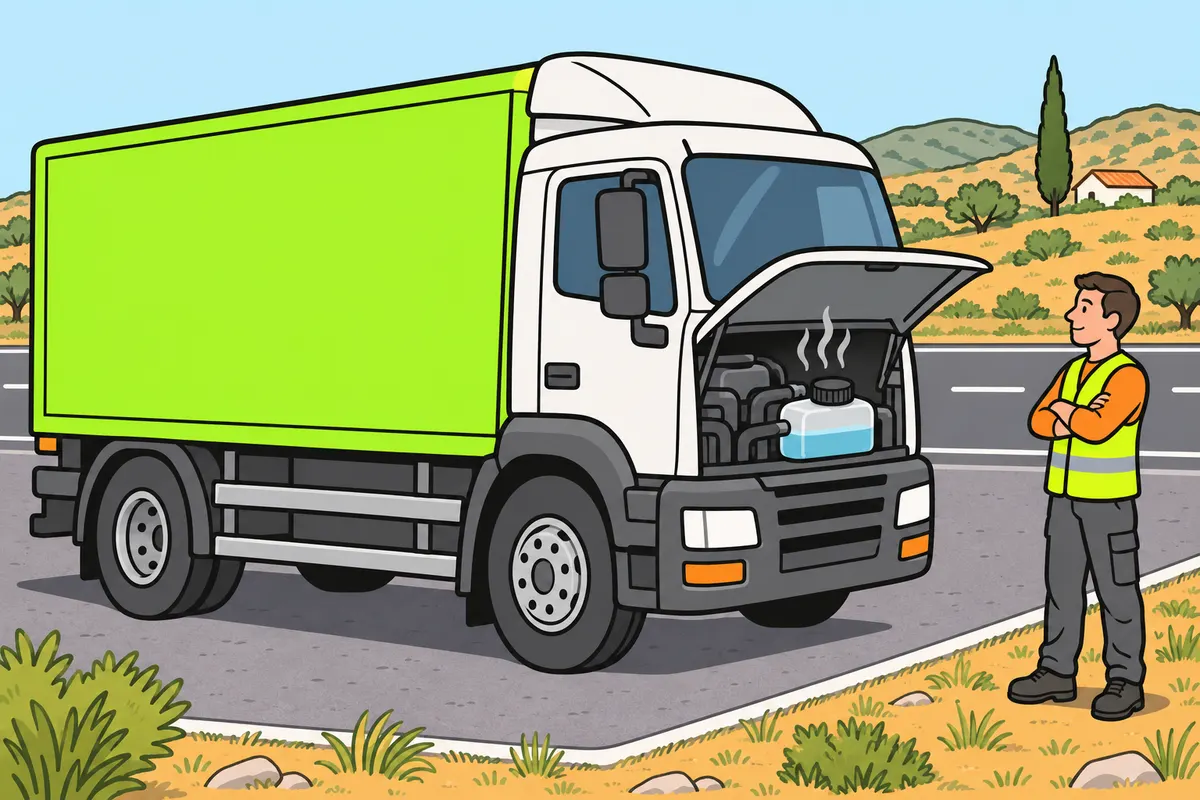
Check coolant when cold and stop if the engine overheats.
Remember
- Check the level and leave the specified space for expansion.
- Use the specified coolant and concentration.
- Do not open the cap while the circuit is hot and pressurised.
- If an overheating alarm appears, stop safely and follow the handbook.
- Check belts and hoses with the engine stopped.
- Ask for diagnosis if you find oil mixed with coolant.
Exam trap: Wrong: matching colours guarantee compatibility. Right: check the product specifications.
Read the full explanation
- You must check the coolant with the system cold and under the conditions specified by the manufacturer, using the marks on the expansion tank. Leave the specified expansion space. A level that drops repeatedly requires you to have the system checked; topping up does not repair a faulty hose, radiator or gasket.
- Use coolant of the prescribed specification and concentration, suitable for the cold conditions you expect. Distinguish concentrated coolant from ready-to-use mixtures; do not add water to the latter unless its instructions allow it. Colour alone does not prove compatibility between different products.
- Do not open a hot, pressurised cooling-system cap: escaping steam and liquid can burn you. You must stop safely if you receive a temperature warning or suffer a major coolant loss, follow the manual and let the system cool before carrying out any authorised check. A fixed temperature figure does not replace the instructions for your engine.
- Inspect accessible hoses, clips, the radiator and belts with the engine stopped. If the pump depends on a damaged belt, coolant circulation can fail; other designs and causes of overheating also exist. Keep your hands away from belts and fans, which can start automatically.
- If you find oil in the coolant, an abnormal emulsion in the oil or leaks accompanied by overheating, seek a diagnosis. There may be an internal connection between the circuits, but these signs alone do not confirm a failed cylinder head gasket. You must resolve the contamination and its cause before using the engine normally.
11Other fluids and filters
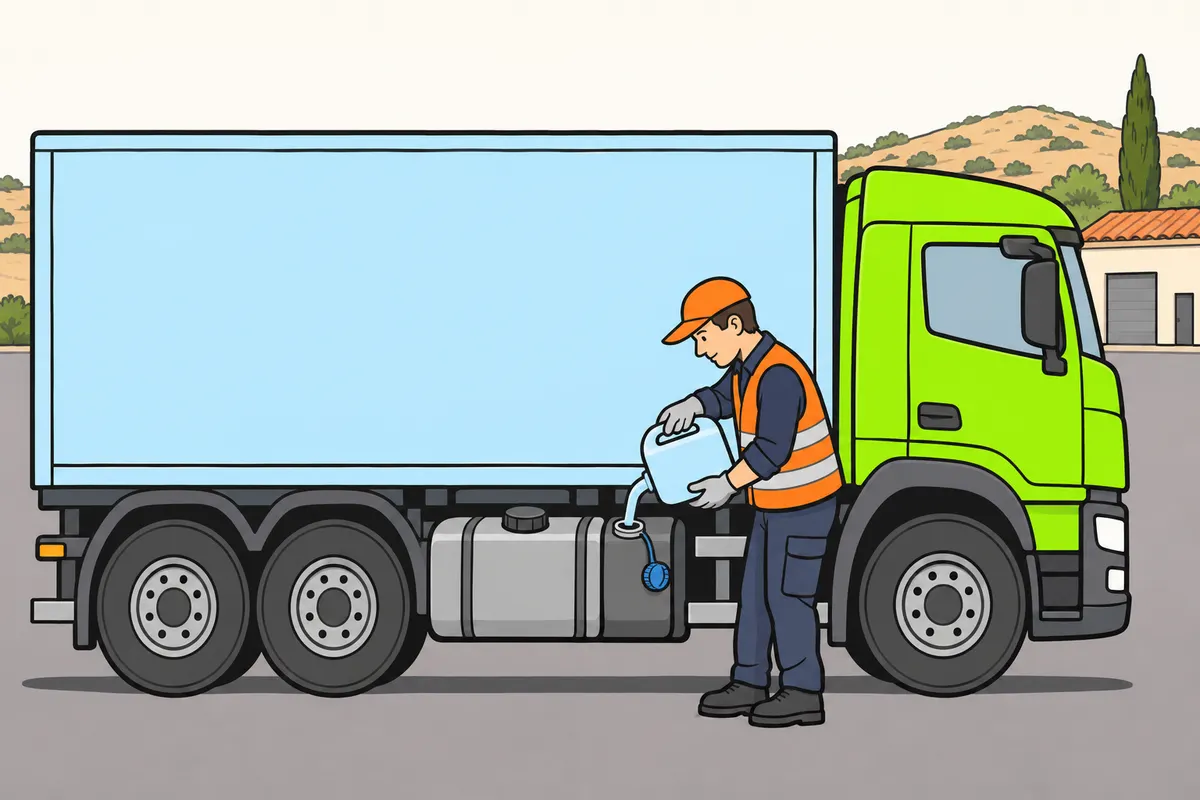
Use the correct fluids and follow filter and belt maintenance schedules.
Remember
- Do not mix AdBlue with diesel; each has its own tank.
- Check hydraulic reservoirs as the handbook says.
- Investigate falling fluid levels.
- Do not remove the air filter to keep working.
- Use the specified lubricant for each mechanism.
- Replace belts at the specified interval; do not grease a toothed timing belt.
Exam trap: Wrong: you can mix AdBlue and diesel. Right: use a separate tank for each.
Read the full explanation
- Check that you have enough fuel for the operation and that there are no leaks in visible tanks and fuel lines. If your lorry uses AdBlue, monitor its level and top up only with the prescribed product through its dedicated filler. Do not mix it with diesel: confusing the tanks can cause damage and requires assistance before you start the engine.
- With hydraulic power steering, you must check the correct reservoir, its marks and the specified procedure. Purely electric steering does not have this fluid. A low level, foam, noise or heavy steering requires investigation; do not fill above the maximum or choose a fluid just because it looks similar.
- If you have a hydraulic clutch or hydraulic brakes, check their reservoirs according to the manual. They may share a reservoir or have separate ones; they are not necessarily next to the pedal. A drop in level requires you to find out whether it results from wear or a leak, and to observe the fluid replacement interval.
- You must follow the maintenance schedule for air filters, fuel filters and filters in other systems. A blocked intake filter can impair operation and be associated with abnormal black smoke from a diesel engine; the smoke alone does not confirm this fault. Do not remove the filter to keep working or clean any element using an unauthorised method.
- The gearbox, differential and hydraulic equipment may require lubricants different from engine oil. Check their levels only at the specified access points and under the stated conditions. Do not replace the specified oil with the thickest one or apply the same procedure to a manual and an automatic gearbox.
- If the valve timing system uses a toothed belt, you must replace it at the specified interval and must not grease it. Also check auxiliary belts according to their maintenance schedule: a break can affect several systems. Do not adopt a single mileage interval for all engines or always wait for a noise before scheduling replacement.
12Exterior lighting and signalling
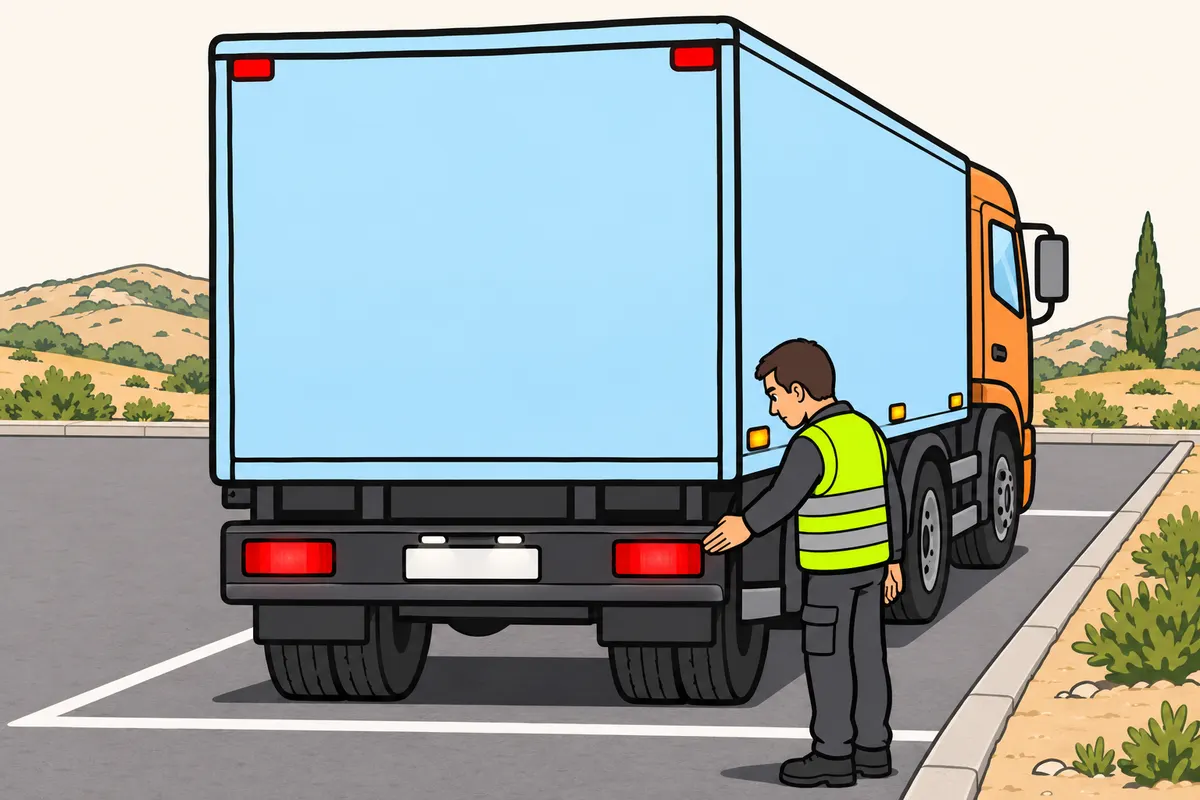
Test and clean all your exterior lights.
Remember
- Check both sides and the rear.
- Do not rely only on dashboard lights.
- Clean headlights and reflectors; check for damage and loose fittings.
- If an indicator flashes unusually fast, check lamps and connections.
- For a fault while driving, see “Lorry lights and signals”.
Exam trap: Wrong: checking headlights is enough. Right: check outline lights too, allowing for chassis-cab exceptions.
Read the full explanation
- You must test the position lights, dipped beam, main beam, direction indicators, hazard warning lights, brake lights, reversing lights and number plate lighting, as well as the other devices fitted. Check both sides and the rear with safe assistance or the lorry's checking system. Seeing the dashboard indicator lit does not prove that all exterior lamps work.
- Clean lamp lenses, retroreflectors and reflective surfaces without damaging them. Check for breakage, moisture and secure mountings; dirt reduces range and visibility. Paired devices serving the same purpose must match in colour and intensity and be symmetrical in accordance with their regulations. [RGV, Article 15](https://www.boe.es/buscar/act.php?id=BOE-A-1999-1826#a15).
- Include end-outline marker lamps in your checks when the lorry exceeds 2.10 m in width, and side marker lights when it exceeds 6 m in length, subject to the regulatory exceptions for chassis cabs. A correctly functioning headlight does not compensate for inadequate marking of the lorry's outline. [RGV, Article 16 and Annex X](https://www.boe.es/buscar/act.php?id=BOE-A-1999-1826#a16).
- If the dashboard indicator flashes unusually quickly, check whether a direction indicator has failed. Also check connections, especially if you tow a trailer; do not automatically attribute the symptom to a short circuit or consider it confirmation that everything works correctly.
- If your lighting fails while driving, follow the instructions in «Brief warnings and system condition» in «Lorry lights and signals». [RGC, Article 107](https://www.boe.es/buscar/act.php?id=BOE-A-2003-23514#a107).
13Bulbs and headlamp alignment
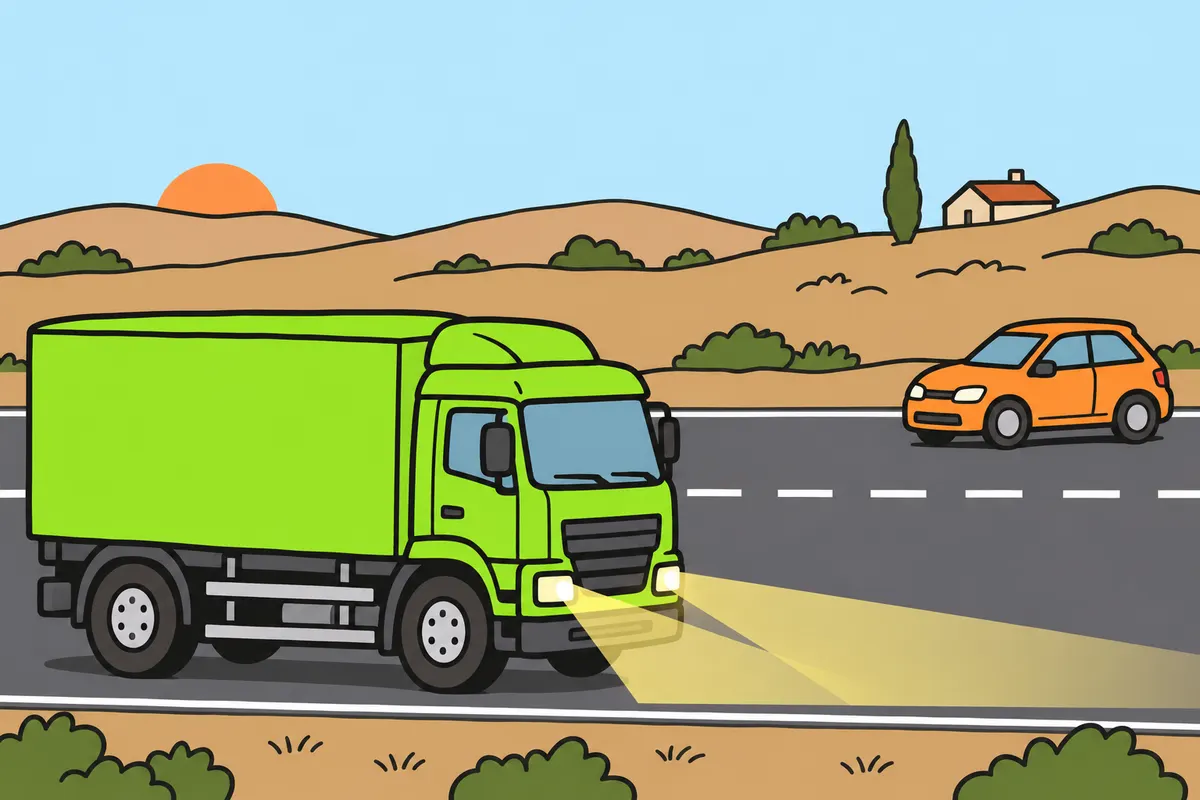
Keep headlights correctly aligned and use only approved replacement bulbs.
Remember
- Follow the manufacturer’s conditions when adjusting headlights.
- Do not guess automatic system settings.
- For authorised halogen replacement, switch off the circuit and let it cool.
- Hold the bulb by its base; do not touch the glass.
- Use the approved type and wattage.
- Leave work beyond your equipment or training to a workshop.
Exam trap: Wrong: lowering headlights fully gives correct alignment. Right: follow the alignment procedure.
Read the full explanation
- You must keep the beam correctly aligned so that you can see without dazzling others. Adjustment may include vertical and horizontal alignment; it does not mean lowering the headlamps as far as possible or changing the physical width of the lamp unit. Before measuring alignment, comply with the load, tyre pressure and suspension conditions specified by the procedure.
- Do not adjust an automatic system by guesswork. Some headlamps require a beam setter, diagnostic equipment or calibration; you can only use a wall if the procedure allows it. A headlamp levelling device compensates for certain changes in load, but does not repair a loose or incorrectly fitted headlamp.
- If the manual allows you to replace a halogen bulb, switch off the circuit, let it cool and handle it by its base without touching the glass with your fingers. Use the approved type and wattage and close the lamp unit correctly afterwards. Grease on the glass can damage the bulb.
- You must have a workshop carry out work beyond your training or available equipment, especially on high-voltage xenon systems and integrated LED units. Do not assume that the procedure for a halogen bulb applies to every headlamp. The absence of a general requirement to carry spare bulbs does not remove your responsibility to maintain the lights.
14Mirrors and vision aids
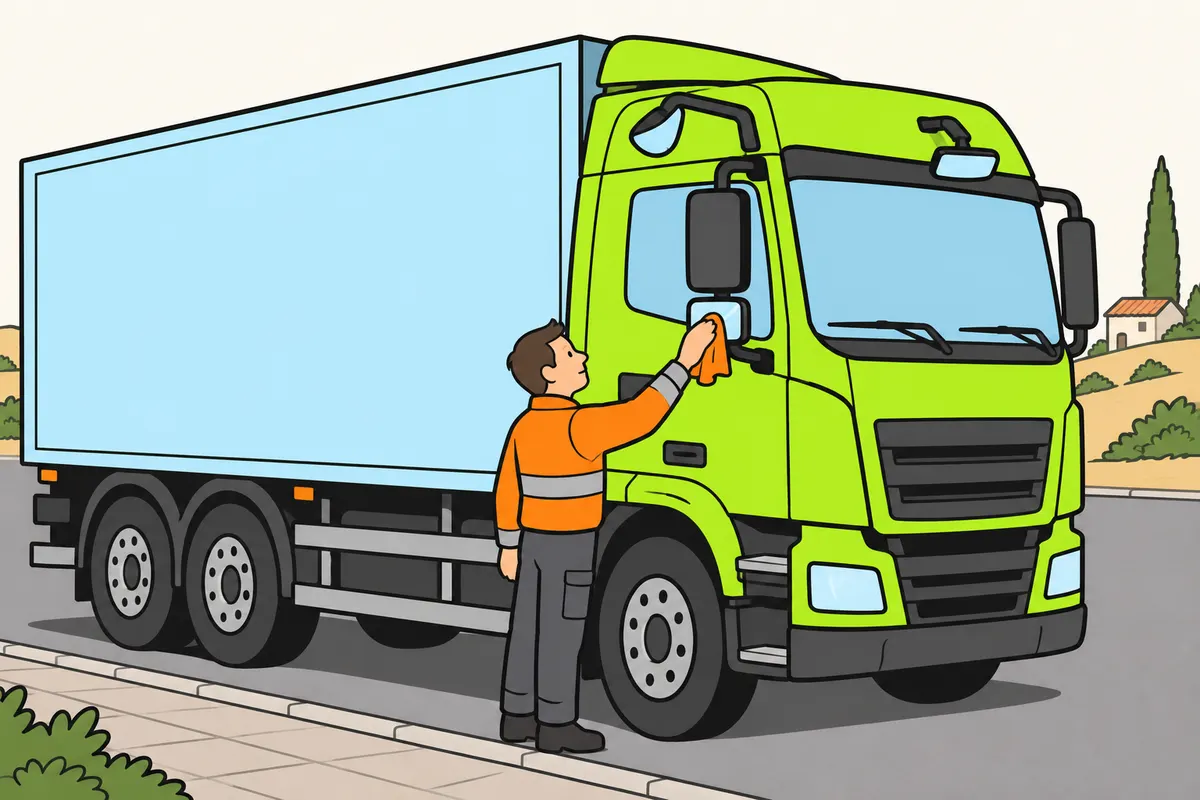
Check your lorry’s required mirrors and vision aids.
| N2 or N3 lorry | Class IV and V requirements |
|---|---|
| N2 over 7.5 t and N3 | Required |
| N2 up to 7.5 t | V optional; IV required if the same-side main II mirror is not convex |
Remember
- Clean, secure and adjust mirrors before setting off.
- On N2 and N3, you need class II main mirrors on both sides.
- If a main class II mirror is not convex, fit class IV that side.
- Fit class V only with all parts more than 2 m above the ground.
- Do not replace a mandatory mirror with just any extra camera.
- Check that height fully laden and in every adjustment position.
Exam trap: Wrong: IV and V are always optional. Right: requirements depend on your lorry and exceptions.
Read the full explanation
- You must check that indirect vision devices are clean, secure and correctly aligned. On N2 and N3 vehicles, two class II main exterior mirrors are compulsory, one on each side. On N2 vehicles over 7.5 t and on N3 vehicles, a class IV wide-angle mirror and a class V close-proximity mirror are also required. [RGV, annex III.2](https://www.boe.es/buscar/act.php?id=BOE-A-1999-1826#aniii).
- On N2 vehicles up to 7.5 t, the class IV mirror is optional unless the compulsory class II main mirror is not convex: you must have a class IV mirror on that same side. The class V mirror is optional on these N2 vehicles. You may only fit a class V mirror if all its parts remain more than 2 m above the ground with the vehicle fully laden, in every adjustment position. [RGV, annex III.2, notes 2 and 3](https://www.boe.es/buscar/act.php?id=BOE-A-1999-1826#aniii).
- The class VI front mirror allows you to see the area immediately in front of the cab. You must check and adjust this device and the other vision aids required by the lorry's type approval. [UN Regulation 46, paragraphs 2 and 15](https://www.boe.es/buscar/doc.php?id=DOUE-L-2014-81759).
- If you have cameras and monitors, check the lenses, image, start-up and absence of faults. An approved system can provide indirect vision functions, but an ordinary auxiliary camera does not automatically replace a compulsory mirror. You must have a faulty screen or lens repaired according to the vehicle's configuration.
- After an impact or a wash, check the adjustment again; a vibrating mounting can make it difficult to see other road users clearly. Even when everything works, some areas still require additional observation and careful manoeuvring. The use of mirrors when turning and reversing is covered in «Safe lorry driving», in «Turn right without trapping anyone» and «Reversing: limits and checks».
15Windscreen, wiper blades and washers
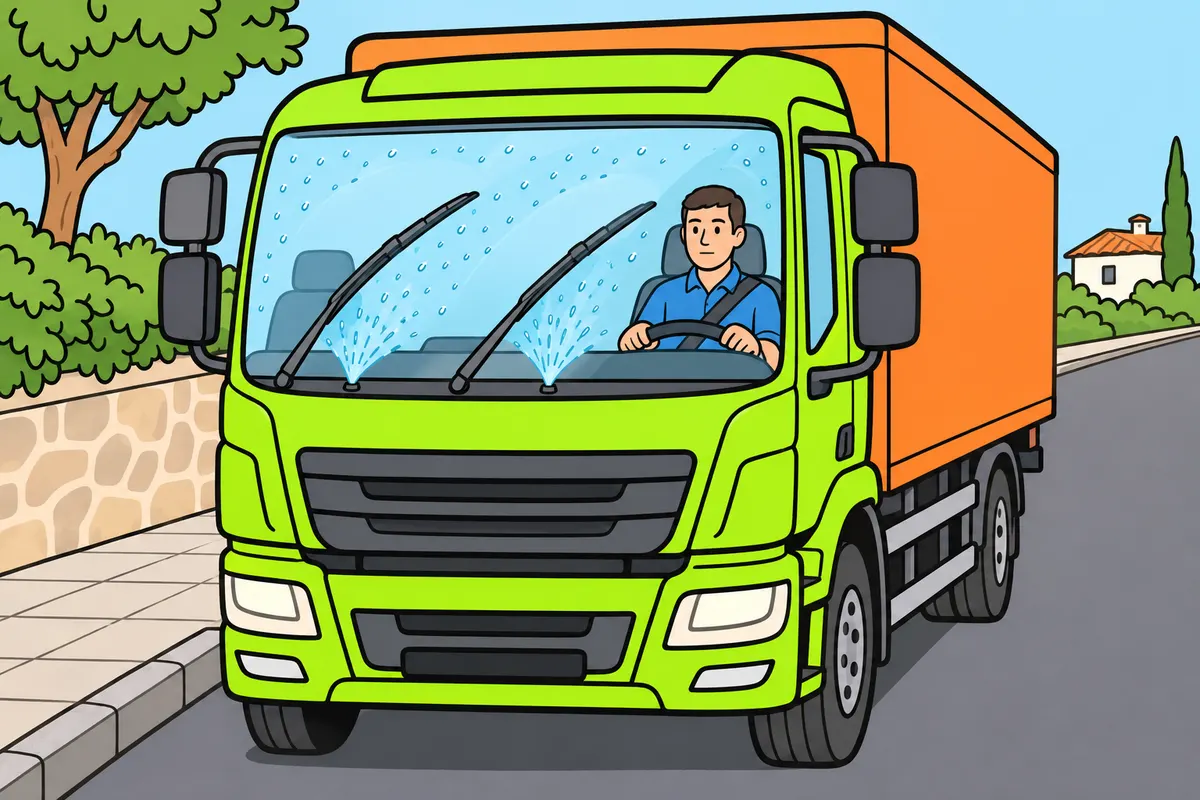
Keep your windscreen clean and check your wipers.
Remember
- Check for cracks, impact damage and objects blocking your view.
- Replace hardened, cracked or torn wiper rubber.
- Check washer fluid, pump and jets.
- Use a compatible product suitable for cold weather.
- Do not use wipers over ice or heavy, dry dirt.
- Check ventilation to clear mist inside.
Exam trap: Wrong: attached glass guarantees visibility. Right: you must also be able to see clearly.
Read the full explanation
- You must keep the glass clean inside and out, with no objects obstructing the necessary field of vision. Check for impact damage, cracks and distortion; laminated glass can hold its fragments together and still obstruct your view. You do not meet the visibility requirement simply because the glass remains in place. [RGC, art. 19](https://www.boe.es/buscar/act.php?id=BOE-A-2003-23514#a19).
- Test the windscreen wipers and check for streaks, juddering or unwiped areas. First check for dirt, adjustment and mechanism faults; if the rubber is hardened, cracked or torn, you must replace it. Do not wait for the blade frame to break or memorise a compulsory replacement interval of every six months for all uses.
- Regularly check the screenwash fluid, pump and jets. Top up with a compatible product with suitable protection against the cold you expect, observing the specified level and dilution. Do not confuse this reservoir with the cooling system or add household detergent or engine antifreeze on your own initiative.
- Avoid operating the wipers over ice stuck to the glass or over a dry, very dirty windscreen. You must remove the obstruction using the correct procedure to avoid damaging the rubber and mechanism. Also check demisting and ventilation: the exterior wipers do not clear condensation inside.
16Steering and suspension: signs of faults
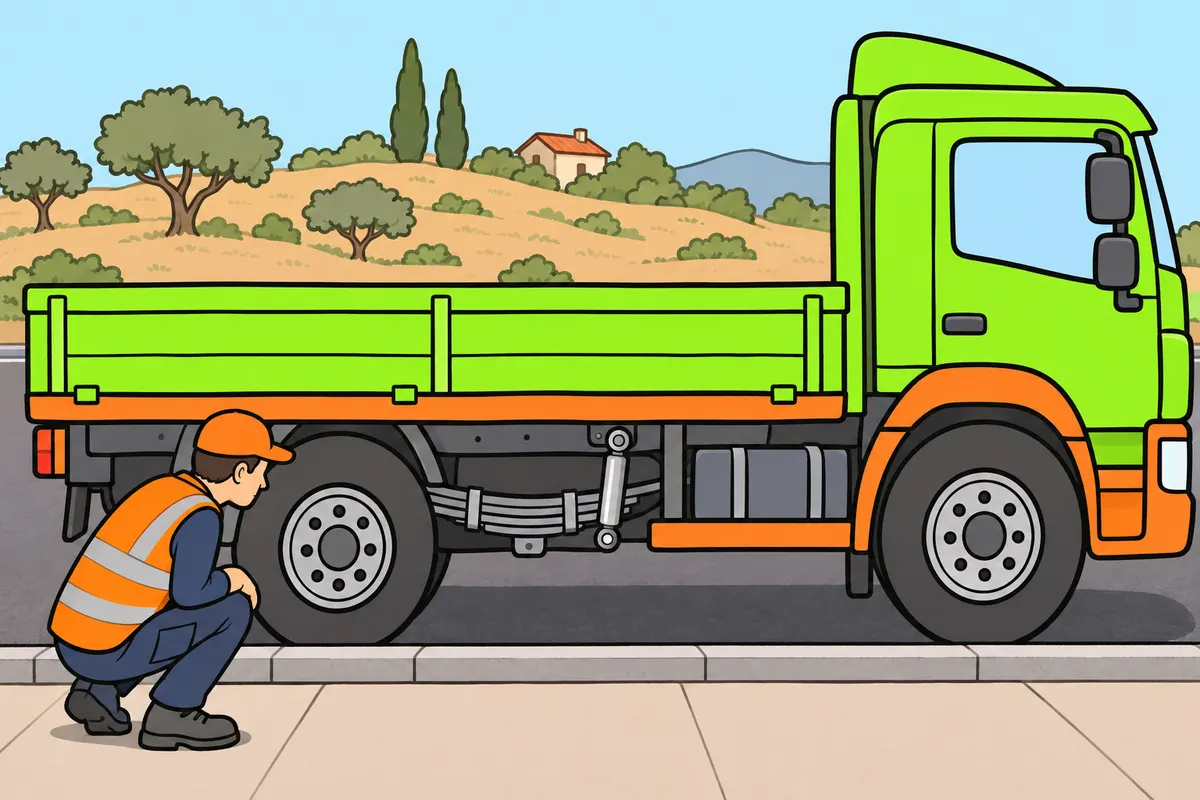
Investigate steering changes, vibration and suspension faults.
Remember
- Stop and request inspection if steering faults affect safety.
- Report vibrations or persistent pulling to one side to the workshop.
- Check springs, shock absorbers and mountings without dismantling loaded parts.
- With air suspension, check leaks and driving height.
- Never work underneath relying on air to maintain height.
Exam trap: Wrong: you can continue with faulty steering. Right: stop and request inspection if safety is affected.
Read the full explanation
- You must investigate stiffness, play, noises and changes in steering response. If power assistance fails, the effort required can increase and compromise control; do not continue a journey relying on your arms to compensate for any fault. Stop in a controlled manner and arrange an inspection when safety is affected.
- If you detect vibrations or persistent pulling to one side, report the symptom to the workshop and consult «Steering, alignment and balancing» in «Lorry mechanics».
- Inspect leaf springs, coil springs, shock absorbers and their mountings without dismantling components under load. The spring components support the vehicle and absorb road irregularities; the shock absorbers damp their oscillations. If the shock absorbers lose effectiveness, wheel contact with the road and stability deteriorate, and braking distance can increase.
- With air suspension, check visible air bellows, leaks and ride height. You must restore the specified driving position after loading or unloading. Automatic adjustment does not permit overloading or guarantee levelling if there is a leak; you must also avoid working underneath while relying on air pressure to maintain the height.
17Brakes: test before driving
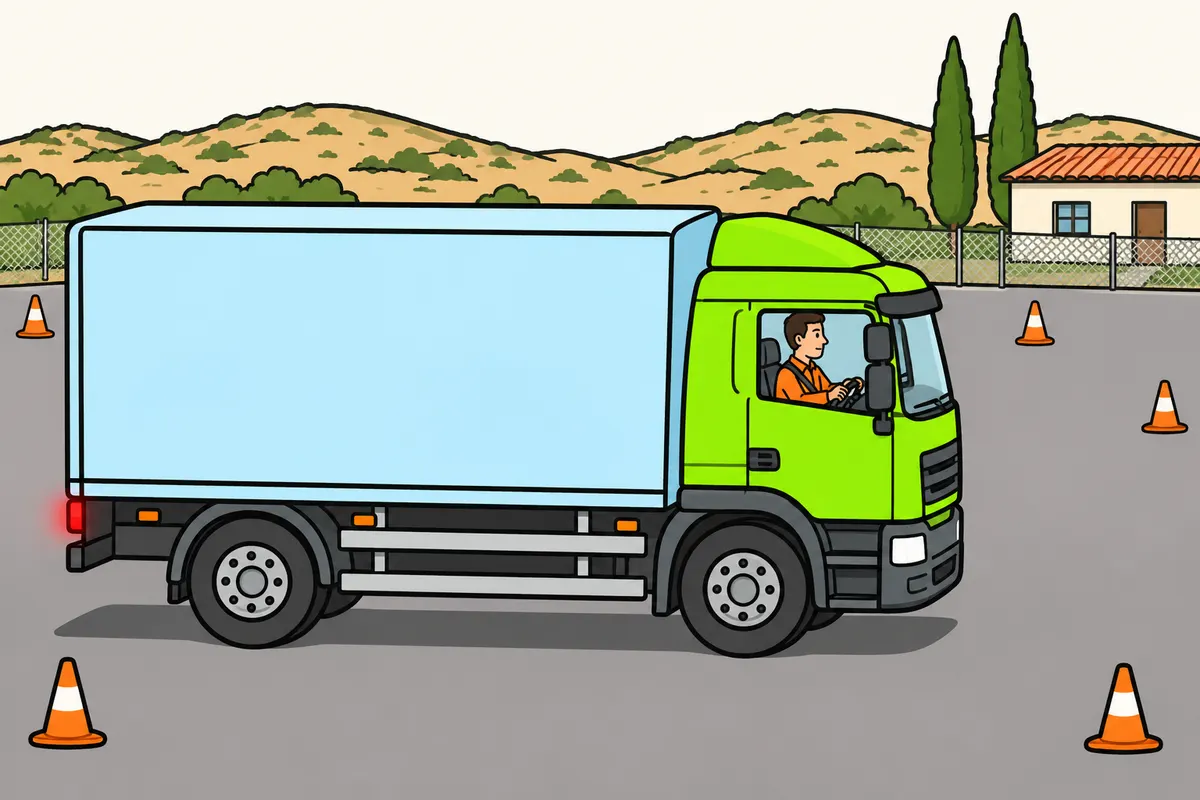
Test your brakes before joining traffic.
Remember
- Check braking and parking brake operation using safe procedures.
- Test very slowly in a clear area where testing is allowed.
- Investigate pulling, noises or an unusual pedal response.
- Do not keep correcting a braking fault with the steering wheel.
- Leave work beyond your training to specialists.
- Request inspection before driving if your hydraulic pedal feels spongy or its travel changes.
Exam trap: Wrong: good braking when empty guarantees good braking loaded. Right: check effectiveness for your load.
Read the full explanation
- Check the response of the service brake and the holding ability of the parking brake using the specified safe procedures; the functions of each system are explained in «Three braking functions» in «Lorry brakes and retarders». [RGV, art. 12.8 and annex VIII](https://www.boe.es/buscar/act.php?id=BOE-A-1999-1826#a12).
- Before joining traffic, carry out the functional check at very low speed in a clear area where you are authorised to do so. You must assess pedal response, braking effectiveness and the absence of pulling to either side or abnormal noises; do not carry out a braking test among other vehicles or on a surface that distorts the results of the check.
- If the lorry pulls to one side only when braking, the braking force may be uneven between the two sides, although you must also have the tyres and components checked. Do not automatically attribute the problem to engine oil. You must report the symptom and have it corrected without continually compensating with the steering wheel.
- Check that the hydraulic brake pedal maintains its normal response; if it feels spongy or its travel changes, arrange an inspection before driving, following «Hydraulic circuits and wet brakes» in «Lorry brakes and retarders».
- Do not work on drums, discs, actuators or automatic adjusters without the appropriate procedure and training. You must maintain the system preventively and heed wear warnings. An acceptable response with the lorry empty does not demonstrate sufficient effectiveness with its working load.
18Air system: pressure and leak-tightness
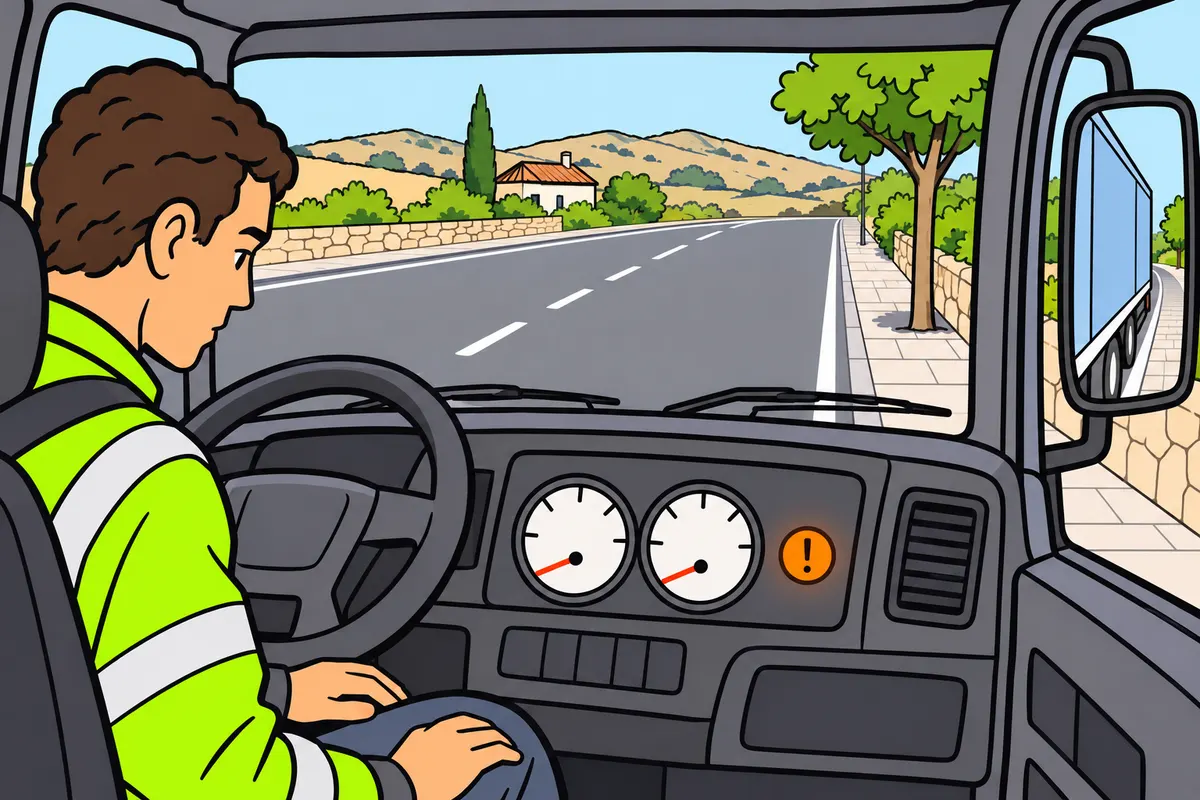
Wait for the correct brake air pressure before setting off.
Remember
- Check the handbook for pressures and conditions for setting off.
- Wait for the relevant warnings to clear.
- Watch filling time and pressure drops.
- Request inspection if pressure cannot reach or maintain the specified value.
- Do not disable alarms or rely on the compressor to compensate for leaks.
Exam trap: Wrong: you can leave because the engine runs. Right: you need sufficient pressure and correct conditions.
Read the full explanation
- Identify the pressure gauges for each air circuit and the associated warnings on the instrument panel, and consult the manual for their normal values; the flow path and component functions are explained in «The compressed-air path» in «Lorry brakes and retarders».
- Start the engine as instructed in the manual and wait until the circuits reach their operating pressures and the corresponding warnings disappear. Do not move off simply because the engine is running or you can release the parking brake. You must consult the manufacturer's limits; there is no single pressure for moving off that applies to every design.
- Check the circuits shown on the instrument panel and monitor pressure build-up time, warnings and pressure behaviour. If pressure takes abnormally long to build up, does not reach the specified value or quickly drops again, arrange an inspection. Do not disable an audible alarm or cover a warning light to continue your working day.
- Check for air leaks with the lorry secured and compare the loss against the manufacturer's times and tolerances, as described in «Leaks and loss of effectiveness» in «Lorry brakes and retarders».
- Inspect accessible pipes and connections, listen for leaks and do not search for leaks by placing your hand near components that could move. A suspension leak can also affect the air supply, depending on the protection system's design. You must have the fault rectified without relying on the compressor to compensate for the loss indefinitely.
19Air dryer, reservoirs and spring brakes
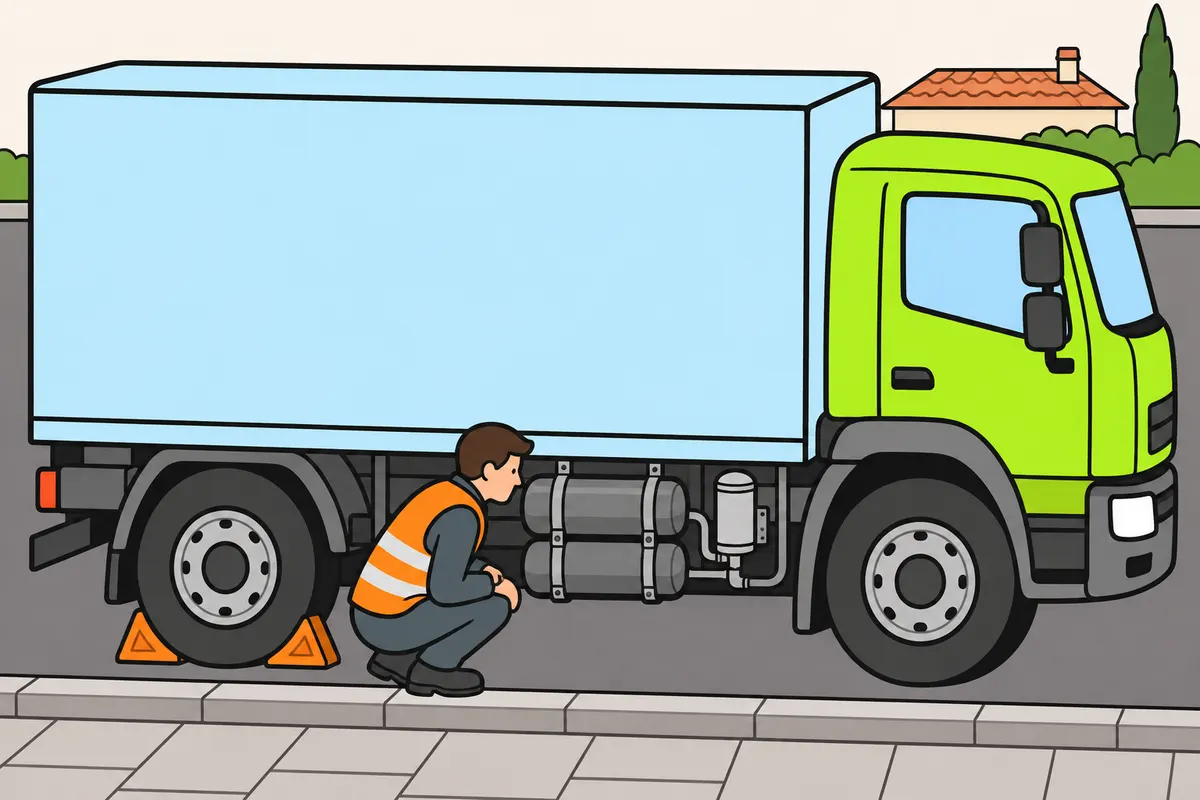
Keep brake air dry and respect the dangers of spring brakes.
Remember
- Maintain the air dryer according to the manufacturer’s schedule.
- Drain reservoirs only as specified for your system.
- Report abnormal water or oil in the drainage to the workshop.
- Leave checks of faulty regulation or protection devices to the workshop.
- Check that the parking brake releases correctly and still holds the lorry.
- Only perform authorised external checks; call for assistance if a spring brake actuator fails.
Exam trap: Wrong: you can work on any spring brake component. Right: only perform authorised external checks.
Read the full explanation
- Check the condition of the air dryer and when its cartridge replacement is due under the manufacturer's schedule. Abnormal amounts of water or oil in the drainage may reveal a problem that requires inspection; report what you observe to the workshop so that it can check the air treatment system.
- Check and drain condensate only using the method specified for your equipment, which may have automatic drainage; see «Air dryer, moisture and drainage» in «Lorry brakes and retarders».
- Check that the regulating and protective devices are intact and have not been tampered with; if you detect a fault, have the workshop check them, as explained in «Compressor and pressure regulation» in «Lorry brakes and retarders».
- Before moving the lorry, check that the parking brake releases under the specified conditions and retains its holding ability, as explained in «Spring brake actuators» in «Lorry brakes and retarders».
- Limit your work to authorised external checks and request assistance if a spring brake actuator fails; the precautions for handling these actuators are explained in «Spring brake actuators» in «Lorry brakes and retarders».
20ABS, moisture and brake heating
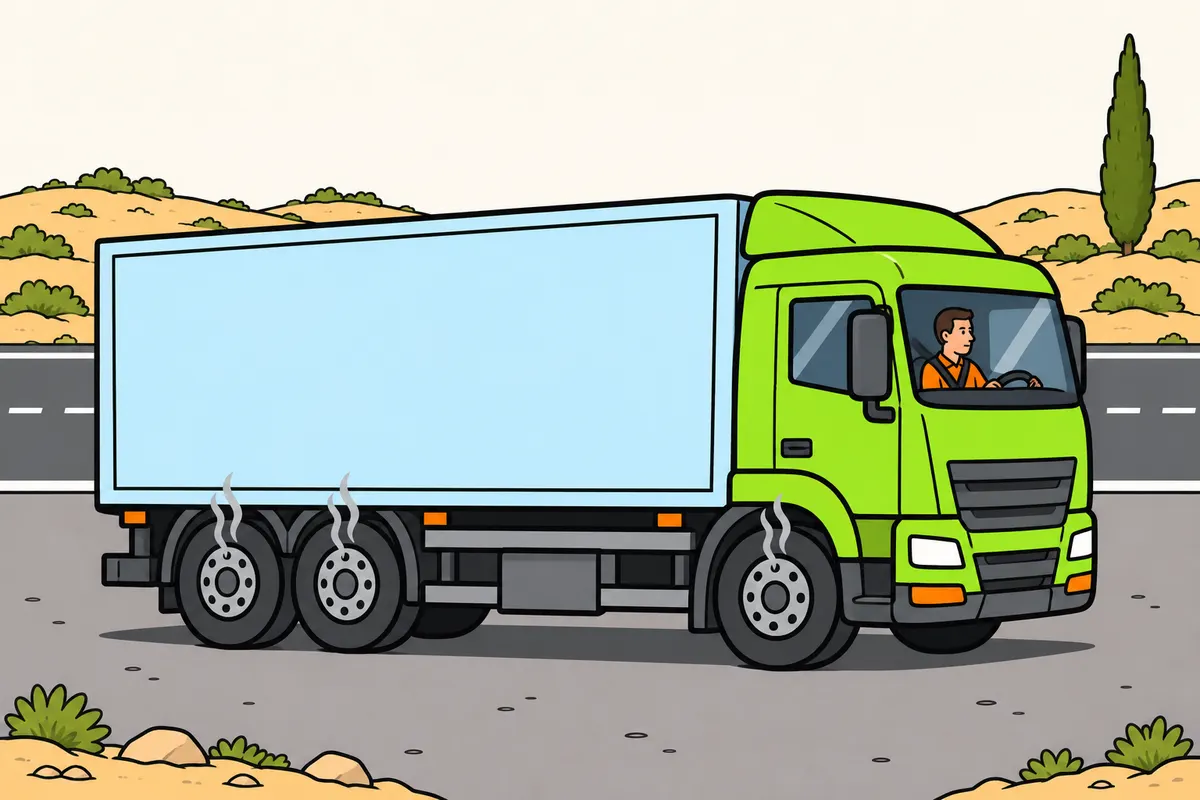
Recognise brake faults and avoid losing braking power.
Remember
- Check the ABS and EBS warning sequence according to the handbook.
- Report any fault with the ABS warning.
- After driving through water, check brakes when safe.
- If braking does not recover, stop and call for assistance.
- For reduced braking, smells or abnormal heat, stop safely and request inspection.
- Do not use the retarder instead of service or parking brakes.
Exam trap: Wrong: an ABS fault means you lose all braking. Right: follow the warning and handbook; for a critical fault, stop and arrange repairs.
Read the full explanation
- You must observe the ABS and EBS self-checks and understand the meaning of the specific warning on your lorry. An ABS failure does not necessarily mean a complete loss of braking, but you lose safety functions and must act according to the manual. A critical braking or pressure fault requires you to stop and have it repaired.
- Check that the ABS warning follows the specified sequence and report any abnormality; what to do during emergency braking is explained in «ABS and wheel locking» in «Lorry brakes and retarders».
- After driving through water, check the brakes' response when you can do so safely. A light, progressive application, in accordance with the manual, can help dry them through friction. If their effectiveness does not recover or they respond unevenly, stop and request assistance.
- If you detect a loss of effectiveness, an unusual smell or signs of abnormal heating, stop safely and request an inspection; see «Brake fade and long descents» in «Lorry brakes and retarders» and «Control a long descent» in «Safe lorry driving».
- Check the retarder warnings and its availability without treating it as a substitute for the service and parking brakes. Integration with ABS and temperature limits depend on the vehicle. Do not assume from the word electric that its operation eliminates all heating or maintenance.
21Trailer coupling and connections
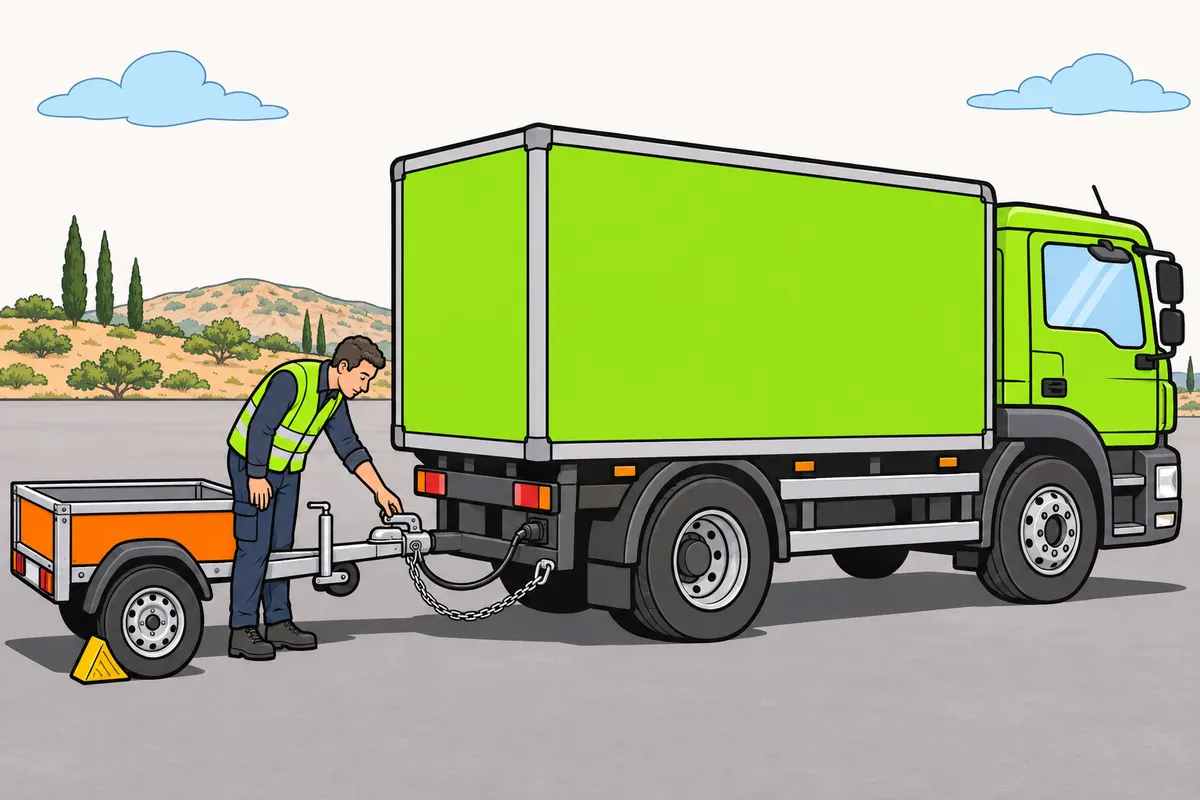
Check the coupling and connections before towing.
Remember
- Secure the trailer and clear the area before approaching.
- Check the coupling is actually locked; hearing a bang is not enough.
- Check the safety device required for your trailer.
- Keep cables and connections from dragging, stretching or becoming trapped.
- Retract supports and check all locks are in their driving position.
Exam trap: Wrong: a compatible coupling extends your licence. Right: you need the correct licence for the combination.
Read the full explanation
- If you tow a trailer, you must check the coupling, locking mechanism and safety device against accidental opening. A category C licence allows a trailer with an MMA (maximum authorised mass) of no more than 750 kg; a technically compatible coupling does not extend that entitlement. You need the appropriate licence for heavier combinations. [RGCond, art. 4.2](https://www.boe.es/buscar/act.php?id=BOE-A-2009-9481#a4).
- Before bringing the vehicles together, secure the trailer and clear the area. You must check the device's compatibility, condition and locking according to its manufacturer's instructions, and confirm that it is actually locked; hearing a clunk is not enough. Do not stand or allow anyone to stand in a crushing zone while bringing the vehicles together.
- Check the condition and attachment of the relevant secondary or safety device, as explained in «Trailer brakes and pneumatic connections» in «Lorry brakes and retarders». [RGV, art. 13.4](https://www.boe.es/buscar/act.php?id=BOE-A-1999-1826#a13).
- Check the plug, lights and cable routing: they must allow movement without dragging, becoming taut or being pinched. If the system includes pneumatic connections, you must check their identification, compatibility, seals, attachment and airtightness, following the sequence for that combination. Do not apply semitrailer connection procedures to a light trailer that does not have those connections.
- Retract the specified supports and confirm that all locks are in their travelling positions. On combinations using a fifth wheel, the inspection covers the coupling plate, kingpin and lock, but knowing about them does not entitle you to drive the combination with category C alone. You must request an inspection if you find cracks, play or excessive wear, without attempting makeshift repairs.
22Interpret instrument panel warning lights
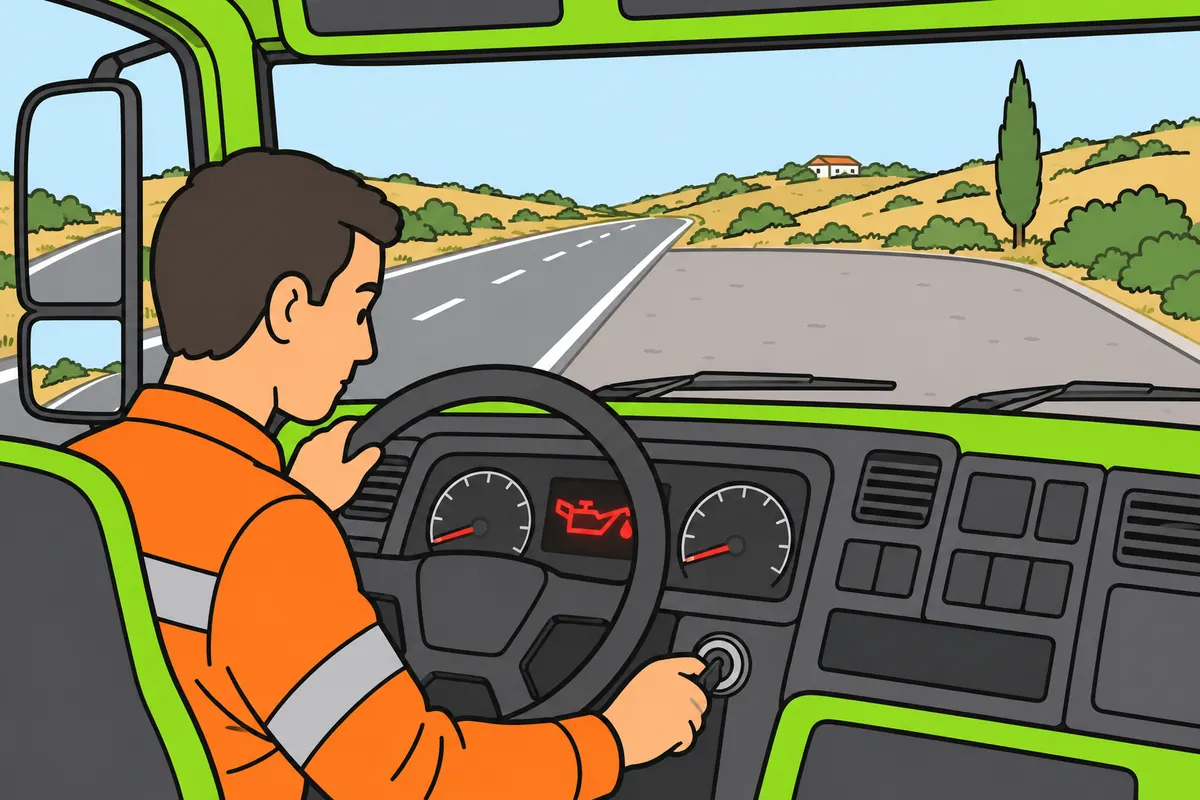
Read the symbol and message for every dashboard warning.
Remember
- Check the warning light sequence when you switch on the ignition.
- Use the handbook to understand each warning.
- For abnormal oil pressure, stop safely and switch off the engine.
- Do not confuse pressure, level and temperature.
- Do not ignore a stop instruction because of the warning light’s colour.
- Report symptoms; do not clear faults by disconnecting the battery.
Exam trap: Wrong: an unlit warning proves everything works. Right: the warning light itself may be faulty.
Read the full explanation
- When you switch on the ignition, you must check that the specified warning lights come on and then follow their self-check sequence. A warning light that never comes on may be faulty; the fact that it goes out does not by itself prove that the system is working properly. Learn the symbols and messages in that vehicle's manual.
- The oil pressure warning must go out when pressure builds up after starting. If it stays on or comes on while driving, stop safely and switch off the engine following the manual. Its meaning differs from a level or temperature warning: it does not indicate that the engine has reached its normal temperature or automatically prove that the oil quantity is low.
- The coolant temperature gauge or cooling system warning indicates temperature or the fault specified by the message. You must not interpret every gauge with a scale as a pressure gauge. An overheating alarm requires a different response from a routine service reminder.
- In a conventional system, the charging warning light usually comes on with the ignition and goes out when you start the engine. If it comes on while driving, the alternator, regulator or wiring may be faulty; you must assess the manufacturer's instructions and the systems affected. If it is off, this does not mean that the battery is fully charged or guarantee that there are no electrical faults.
- Distinguish a parking brake applied warning from a low-pressure, service brake fault or ABS warning. Colour guides you on priority, but you must read the symbol and message: not all red warning lights have the same cause, and an amber light does not always mean you can continue. If you receive an instruction to stop, find a safe place with the appropriate urgency.
- If an engine, emissions or AdBlue level warning appears, check the action indicated and arrange the necessary work. Do not clear faults by disconnecting the battery or continue your journey while ignoring a significant loss of power, abnormal smoke or a risk to road safety. You must report the symptoms to help diagnosis.
23Battery, isolator switch and fuses
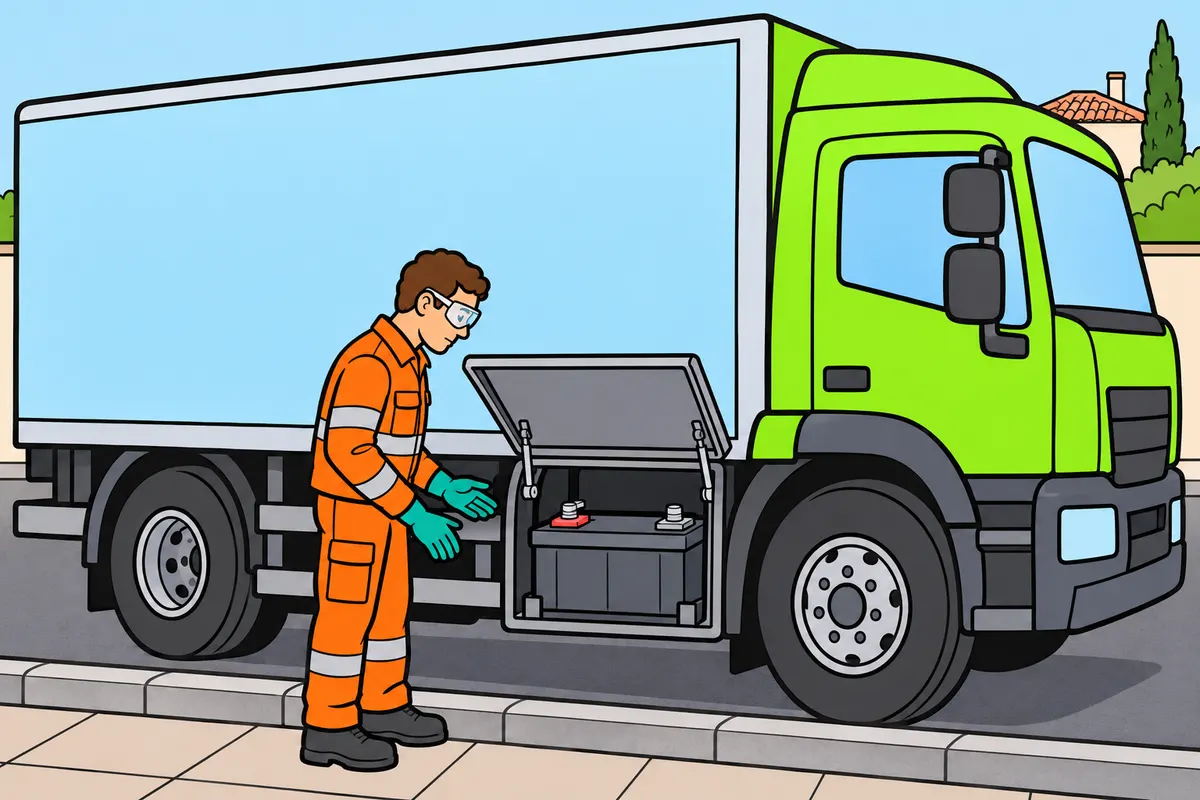
Use the correct electrical voltage and specified fuses.
| Compatible 12 V batteries | Result |
|---|---|
| In series | 24 V; ampere-hours do not add |
| In parallel | 12 V; nominal capacities add |
Remember
- If the dashboard has no power, check the isolator switch as instructed.
- Do not open or top up a sealed battery.
- For serviceable batteries, top up only with the specified water.
- Keep flames, sparks and objects bridging the terminals away.
- For authorised jump starts, use matching voltage and follow the procedure.
- Do not bypass fuses or increase their amperage.
Exam trap: Wrong: a higher-rated fuse fixes the fault. Right: use the specified fuse and find the fault.
Read the full explanation
- If the instrument panel receives no power when you switch on the ignition, you must check the position of the main isolator switch, where fitted, according to the manual. The battery, terminals or protective devices may also be faulty. Do not assume that there is a universal indicator light identifying the cause or operate the isolator switch with the engine running unless an explicit procedure allows it.
- On a serviceable, vented lead-acid battery, check cleanliness, mounting, connections and electrolyte level according to the instructions. Top up only with the specified water, usually distilled, without adding acid or tap water. Do not open or top up a sealed, AGM or gel battery.
- Keep vents clear and avoid flames, sparks and short circuits near batteries. You must protect yourself against electrolyte and avoid working with jewellery or conductive objects that could bridge the terminals. Cleaning connections and protecting them against corrosion does not eliminate all internal sulphation processes.
- Two compatible 12 V batteries connected in series provide a nominal 24 V; in parallel, they retain 12 V and their nominal capacities add together. In series, you do not add the ampere-hours. Check the voltage of the battery bank and the service points in the manual and on the equipment labels; the number of visible batteries alone does not determine how they are connected. [DGT, Manual VIII, topic 6](https://sede.dgt.gob.es/export/sites/dgt/.galleries/permisos-de-conducir/certificacion-aptitud-profesores-formacion-vial/2025/Manual-VIII-Mecanica-2025.pdf).
- For an authorised jump start, use a source with the same nominal voltage, the correct polarity and the specified connection points. Do not connect 24 V to a 12 V system or improvise the earth connection point or the order of connecting the clamps. You must reject damaged or frozen batteries and follow the specific procedure to protect electronics and people.
- A fuse protects against overcurrent. Replace it with the specified type and current rating, with a suitable voltage rating; do not bypass it or increase its current rating to prevent it from blowing. If it blows again, you must locate the fault: replacing it repeatedly does not repair the circuit.
24Locate faults and carry out minor repairs
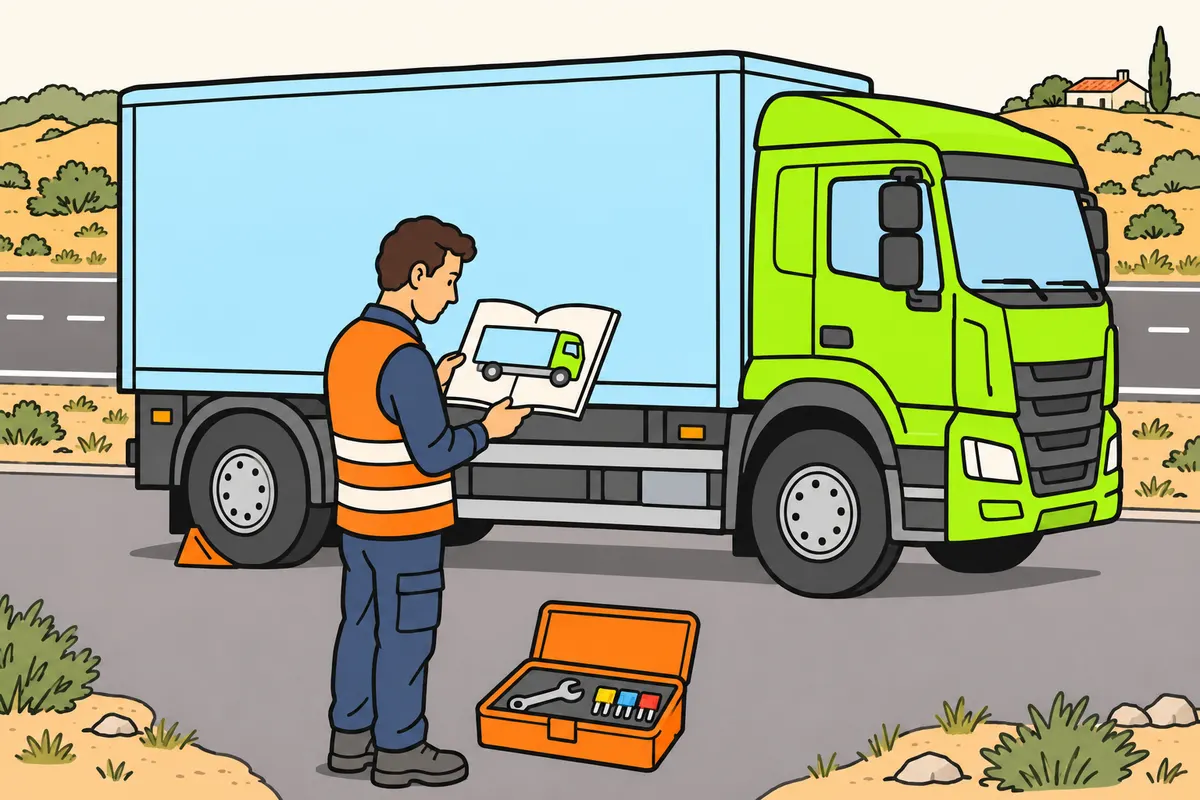
Find the fault’s cause while staying within your skills and equipment.
Remember
- Stop and secure the lorry before checking it.
- Note the symptom, warning and when they appear.
- Consult the handbook; check simple, accessible causes first.
- Do not open hot, pressurised or dangerously live circuits.
- Use suitable tools and compatible parts for authorised replacements.
- Check the result; call for assistance if the fault remains.
Exam trap: Wrong: you can continue if the warning returns after a repair. Right: get help if the fault remains.
Read the full explanation
- With the lorry immobilised and secured, observe the symptom, warning light and instrument panel message. Note when it appears and consult the manual to narrow down the affected system: electrical supply, cooling, lubrication or brake air supply. A stop alarm requires you to stop operation before investigating.
- First check simple, accessible causes: the main isolator switch position, fuses, visible connections, fluid levels and air pressure. Limit your search to the affected system and follow its isolation procedure before touching it: do not disconnect or open circuits that are hot, pressurised or carrying dangerous voltages.
- Prepare suitable tools and spare parts: the specified fuse puller or pliers, an appropriate screwdriver or spanner, and compatible fuses or bulbs. You can carry out simple replacements authorised by the manual, following the precautions in the sections on bulbs and fuses. Visually inspect accessible belts with the engine stopped, keeping clear of fans that may start automatically.
- After a minor repair, check operation using the manufacturer's safe procedure. If the fault persists, the warning returns, or you lack tools, training or a safe place, request assistance and report the checks you have carried out. Faults involving brakes, steering, high voltage or pressurised components require specialist work when they go beyond these basic checks.
25A fault while driving: decide and stop
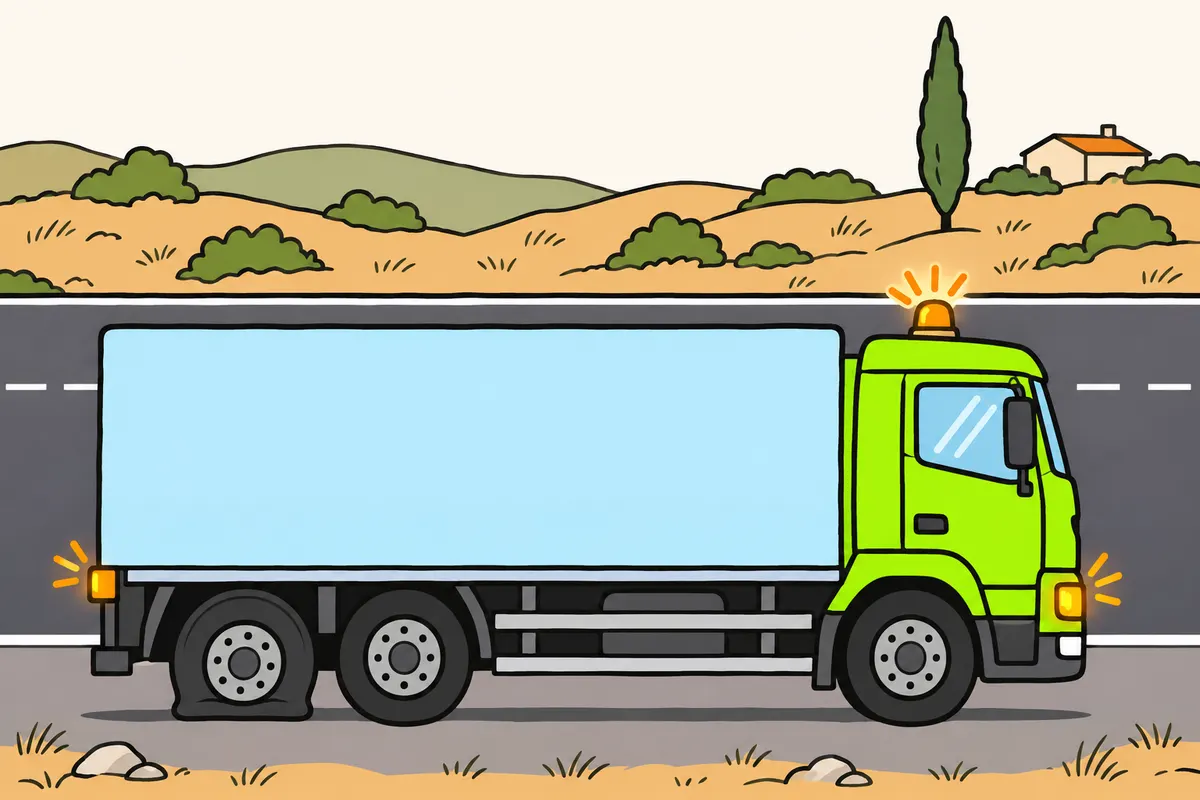
Keep control and stop safely when a fault occurs.
Remember
- After a blowout, hold the wheel firmly; avoid harsh braking or sudden steering.
- Slow down gradually and pull over when safe.
- With twin wheels, check the partner tyre too.
- Signal the breakdown and move off the carriageway whenever possible.
- Do not carry out repairs where traffic puts you at risk.
- Tell assistance your location, symptoms and risks.
Exam trap: Wrong: you can continue because the engine runs. Right: check whether the fault permits safe driving.
Read the full explanation
- If you notice noises, vibrations, a burning smell or changes in how the vehicle responds, maintain control and find somewhere safe to stop. You must stop with particular urgency if braking, steering, lubrication or cooling is compromised. The fact that the engine keeps running does not show that it is safe to continue.
- If a tyre bursts or suddenly loses pressure, hold the steering wheel firmly and avoid harsh braking and violent steering corrections. Reduce your speed progressively and pull aside when you can do so safely. With twin tyres, you must also check the other tyre: it may have been overloaded or damaged.
- You must move the vehicle off the carriageway and arrange its recovery as soon as possible whenever feasible, after providing a warning. Do not attempt repairs in a place where you are exposed to traffic; changing a heavy wheel may require professional recovery assistance. [RGC, art. 130.1](https://www.boe.es/buscar/act.php?id=BOE-A-2003-23514#a130).
- To move your broken-down lorry aside and decide whether you can safely continue or need assistance, follow «Move the lorry aside and secure it» in «Accidents, breakdowns and first aid». [RGC, arts. 130.2 and 130.3](https://www.boe.es/buscar/act.php?id=BOE-A-2003-23514#a130).
- Tell the breakdown assistance service your location, direction of travel, registration number, relevant dimensions and symptoms. You must tell them if there is a fuel leak, a fire risk or dangerous goods, and call the emergency services if there is immediate danger. You study how to help casualties and respond to emergencies in tunnels in «Accidents, breakdowns and first aid», in «Provide help within your knowledge» and «Breakdown, fire and traffic queues in tunnels».
26Breakdown warning and emergency equipment
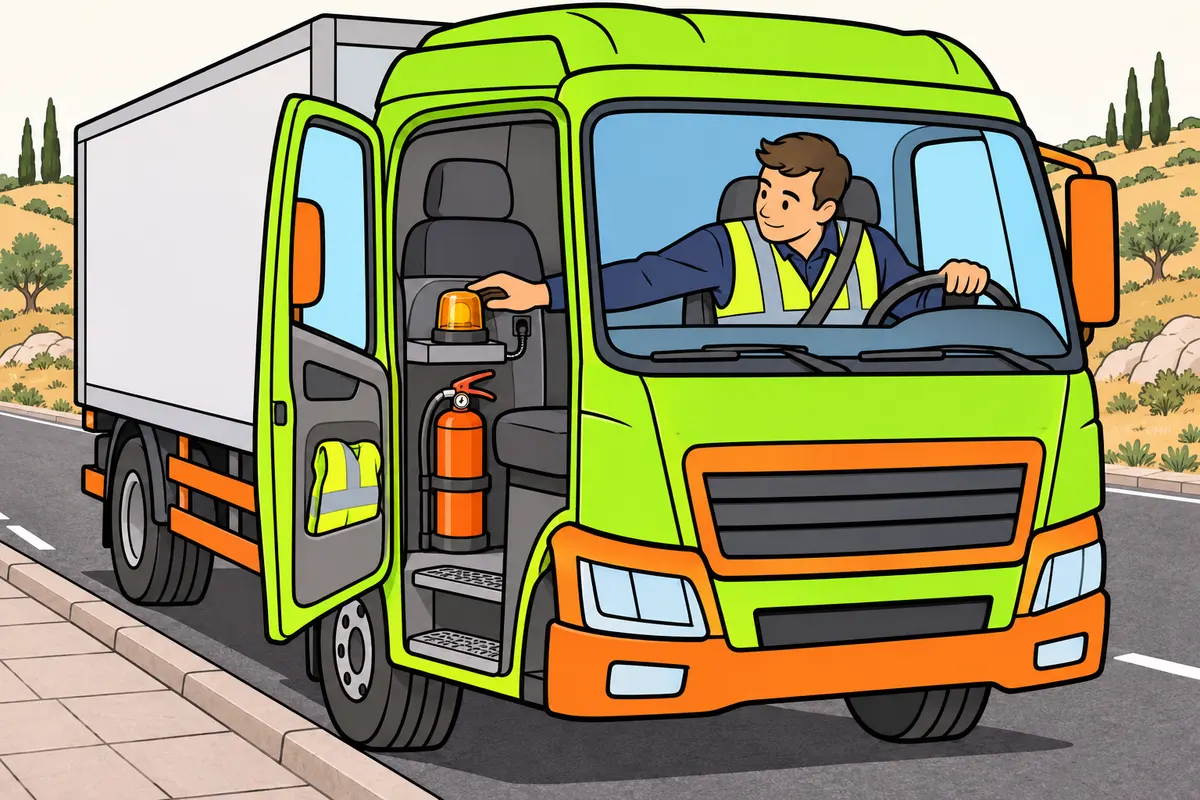
Signal your breakdown and protect yourself from traffic.
Remember
- Check your V-16 certification, power supply and connection validity.
- Check its mounting and that you can reach it from the cab.
- Test hazard warning controls and the lighting you need.
- Check that cab exits are clear and you can open them.
- Check your beacon, vest and approved extinguisher are accessible and in good condition.
- Protect your vest from prolonged sunlight; follow its cleaning and replacement instructions.
Exam trap: Wrong: this lorry must always carry a spare wheel and bulbs. Right: there is no general requirement.
Read the full explanation
- Check the beacon's certification, power supply and connectivity validity period; the device requirements are explained in «Connected and certified V-16» in «Accidents, breakdowns and first aid».
- Check that you have a mounting compatible with your lorry and can reach the beacon from the cab; to choose and reach its location, follow «Position the beacon without putting yourself at risk» in «Accidents, breakdowns and first aid».
- Test the emergency controls and the lights you need when your vehicle is immobilised; their use is covered in «Hazard warning lights, position lights and end-outline marker lamps» in «Accidents, breakdowns and first aid».
- Before starting work, check that you can open the cab exits and that no objects obstruct them; in a breakdown, apply «Decide where to wait» in «Accidents, breakdowns and first aid».
- Check the equipment required for your lorry according to «Emergency equipment and fire extinguishers according to MMA (maximum authorised mass)» in «Accidents, breakdowns and first aid». There is no general requirement to carry a spare wheel or a set of bulbs for this lorry. You must check that the equipment is accessible and in good condition. [RGV, Annex XII.2](https://www.boe.es/buscar/act.php?id=BOE-A-1999-1826#anxii).
- Store your high-visibility vest away from prolonged sunlight and follow its cleaning and replacement instructions; consult «Put on your high-visibility vest before getting out» in «Accidents, breakdowns and first aid» for its use. Also check the fire extinguisher's mounting, seal and maintenance in accordance with its instructions and the maintenance programme applicable to the equipment. [RGC, art. 118.4](https://www.boe.es/buscar/act.php?id=BOE-A-2003-23514#a118).
27ITV (vehicle roadworthiness test): frequency and preparation
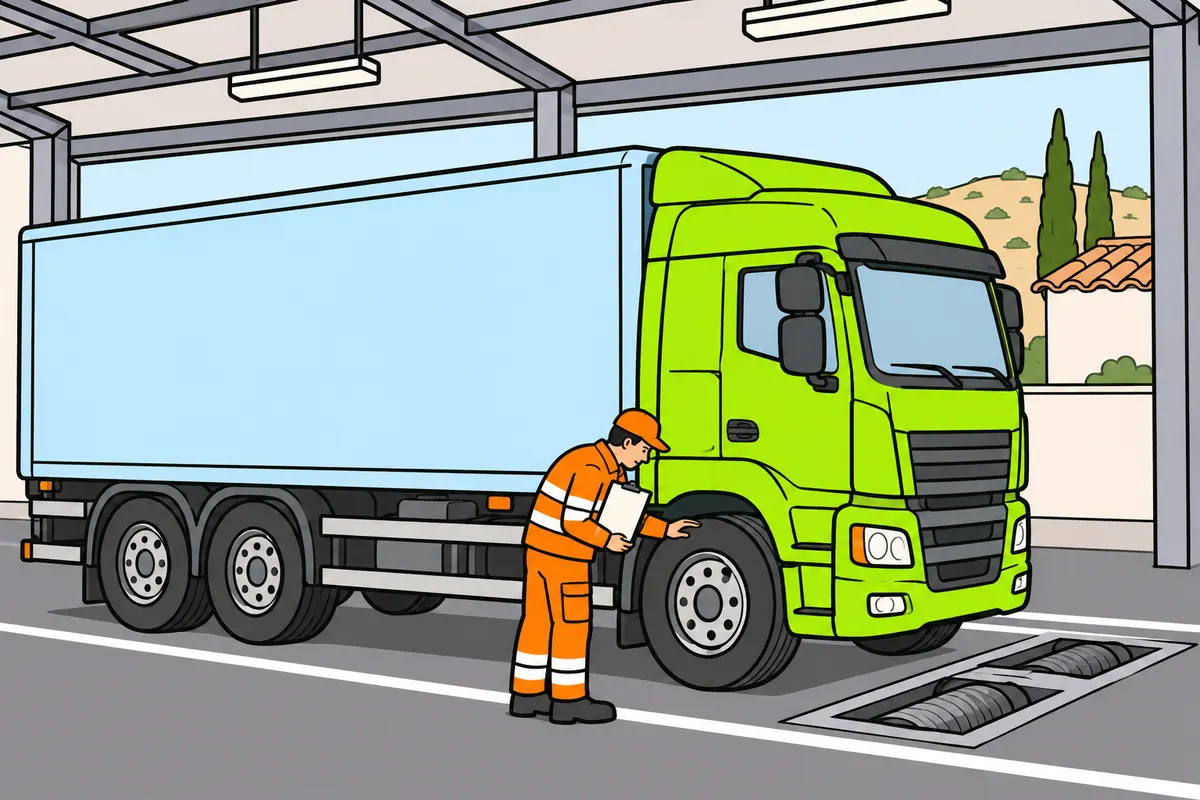
Prepare your lorry and repair known faults before the ITV.
Remember
- Check identification, lights and visibility.
- Check wheels, brakes, steering and suspension.
- Check bodywork and emissions too.
- Repair known faults before the ITV.
- See “Lorry ITV intervals” in “Professional transport documentation”.
Exam trap: Wrong: attend the ITV with known faults left unrepaired. Right: repair them before the inspection.
Read the full explanation
- Prepare for the ITV by checking identification, lights, visibility, wheels, brakes, steering, suspension, bodywork and emissions, and correct any known defects. [RD 920/2017, art. 8.1](https://www.boe.es/buscar/act.php?id=BOE-A-2017-12841#a8). Consult «Lorry ITV intervals» in «Professional transport documentation» for test intervals and planning your appointment.
28ITV: favorable (pass), desfavorable (fail) and negativa (unsafe to drive)
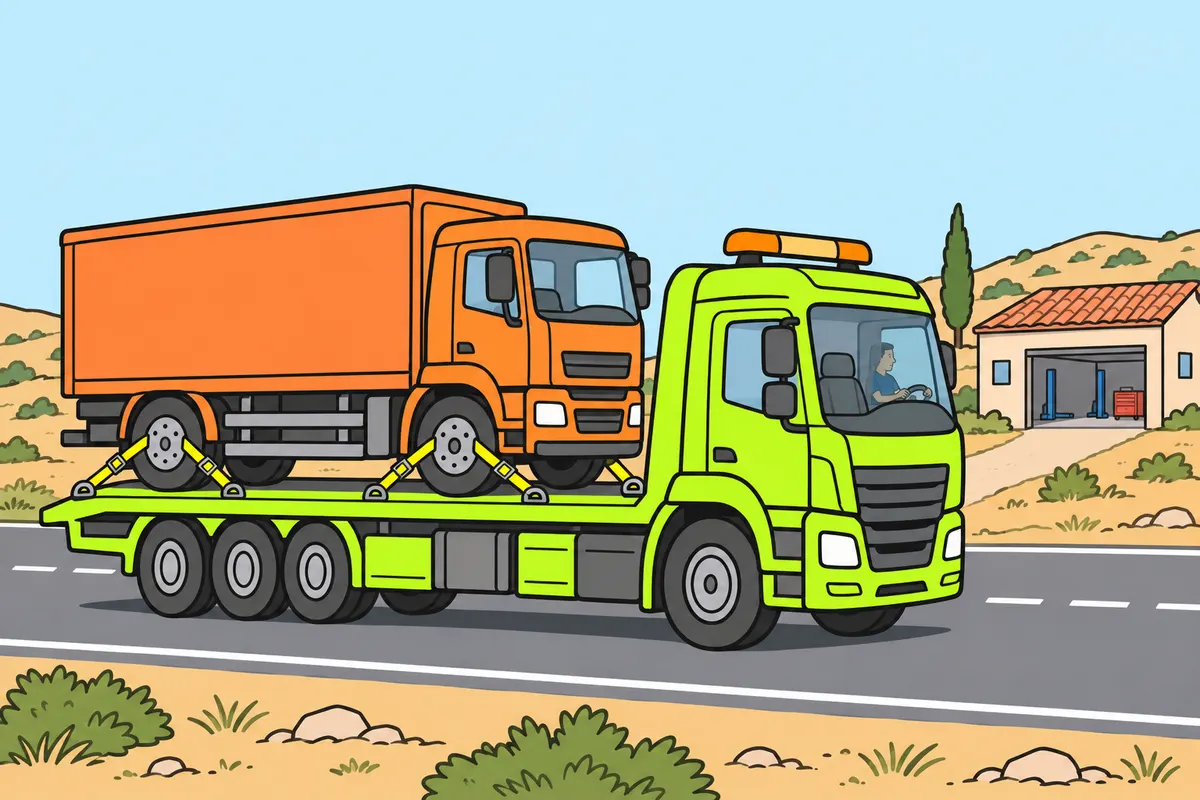
Record ITV defects and arrange their repair with the workshop.
Remember
- Add defects from the report to your maintenance record.
- Arrange repairs and checks with the workshop.
- See “ITV results and repairs” for results, deadlines and transport conditions.
- See “The ITV report and other inspections” for the report and V-19.
- You will find these sections in “Professional transport documentation”.
Exam trap: Wrong: leave report defects without follow-up. Right: record them and arrange repairs and checks.
Read the full explanation
- Enter the defects listed in the report in your maintenance record and coordinate their repair and checking with the workshop. [RD 920/2017, arts. 10.2 and 11](https://www.boe.es/buscar/act.php?id=BOE-A-2017-12841#a1-2). Consult «ITV results and repairs» for results, deadlines and conditions for moving the vehicle, and «The ITV report and other inspections» for the report and the V-19, in «Professional transport documentation».
Daily walk-round check of your lorry
Follow a consistent sequence so you do not overlook anything; finish by checking how the vehicle actually responds.
- Secure the vehicle in a safe area, identify hazards and look for leaks underneath it.
- Walk round the front, both sides and rear: check the bodywork, guards, catches, lights and reflectors. Include exhaust mountings, joints and silencer.
- Inspect every wheel, including the inner twin wheels, fixings, valves and the space between tyres; measure pressures under the specified conditions.
- Check the oil, coolant and other reservoirs at the temperature and after the waiting period specified for each.
- Check the coupling and connections if you tow a trailer, and ensure that supports and locking devices are in their travelling positions.
- Adjust your driving position, mirrors and vision aids; test the windscreen wipers and washers. Test the horn too.
- Observe the self-check, air pressure and alarms; test the brakes safely before joining traffic.
- Report and correct defects: do not set off if they compromise safety.
Checking the brake air system
Use your manufacturer's values and procedure; do not apply generic pressure or leakage figures.
- Secure the lorry against movement and check the test conditions.
- Check the specified indicators and alarms when you switch on the ignition.
- Start the engine and check that the circuits fill normally and reach operating pressure.
- Carry out the specified leak test, distinguishing air used by brake applications from abnormal leakage.
- Check condensate treatment and drainage according to the equipment fitted.
- Check the response of the service and parking brakes in a clear area.
- If an alarm persists, operating pressure is not reached or there is abnormal leakage, immobilise the vehicle and arrange repairs.
Responding to a serious warning on the road
Prioritise controlling the lorry, stopping, warning others and obtaining assistance.
- Identify the warning without diverting your attention from your course, and reduce speed in a controlled way.
- Find a safe place and move the lorry off the carriageway where feasible.
- Immobilise the vehicle and follow the manual’s instructions on switching off the engine and the affected system.
- Switch on the hazard warning lights and use the connected V-16 as described in «Position the beacon without putting yourself at risk» in «Accidents, breakdowns and first aid».
- Assess whether you and your passengers can get out and reach a safe place beyond the road platform without walking along traffic lanes or the arcén (hard shoulder); otherwise, remain in the cab with your seat belts fastened.
- Request suitable assistance and give your location and the symptoms; alert the emergency services if there is immediate danger.
- Resume your journey only when the fault is resolved and the lorry is safe to drive.
What you do after the ITV
The result determines whether you can drive and how you must arrange repairs and reinspection.
- Read the report, defects and result; do not rely solely on being handed the documents.
- If the result is favorable (pass), check the next inspection date and display the sticker; repair minor defects within a maximum of two months.
- If the result is desfavorable (fail), limit journeys to those permitted for repairs and reinspection; do not use the lorry for work.
- If the result is negativa (unsafe to drive), arrange transport from the inspection station by means other than the vehicle itself.
- For a desfavorable or negativa result, rectify the defects and present the vehicle for inspection within the time allowed, which cannot exceed two months from the first corresponding result.
- Keep the new report and confirm that the result allows you to resume normal road use.
Finished this module?
Mark it as read and you will see your progress on the theory list.