
Theory · C+E Licence - Articulated Truck · Module 11 of 13
Maintenance and inspection of the vehicle combination
You learn to inspect the towing and towed vehicles, identify defects in tyres, brakes, connections and visibility equipment, and decide when you must immobilise the combination. You distinguish maintenance checks from ITV (vehicle roadworthiness test) obligations and answer questions about breakdowns without applying passenger-car rules to a lorry.
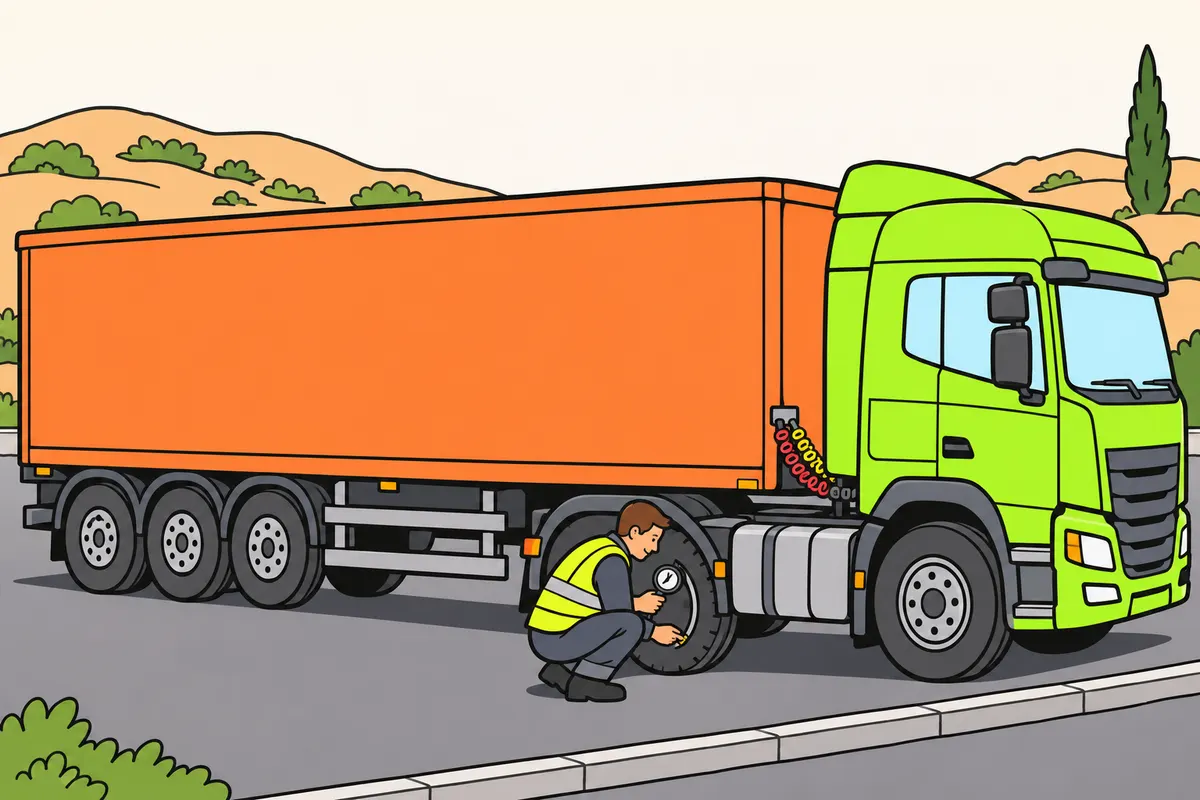
1Inspect both parts of the combination
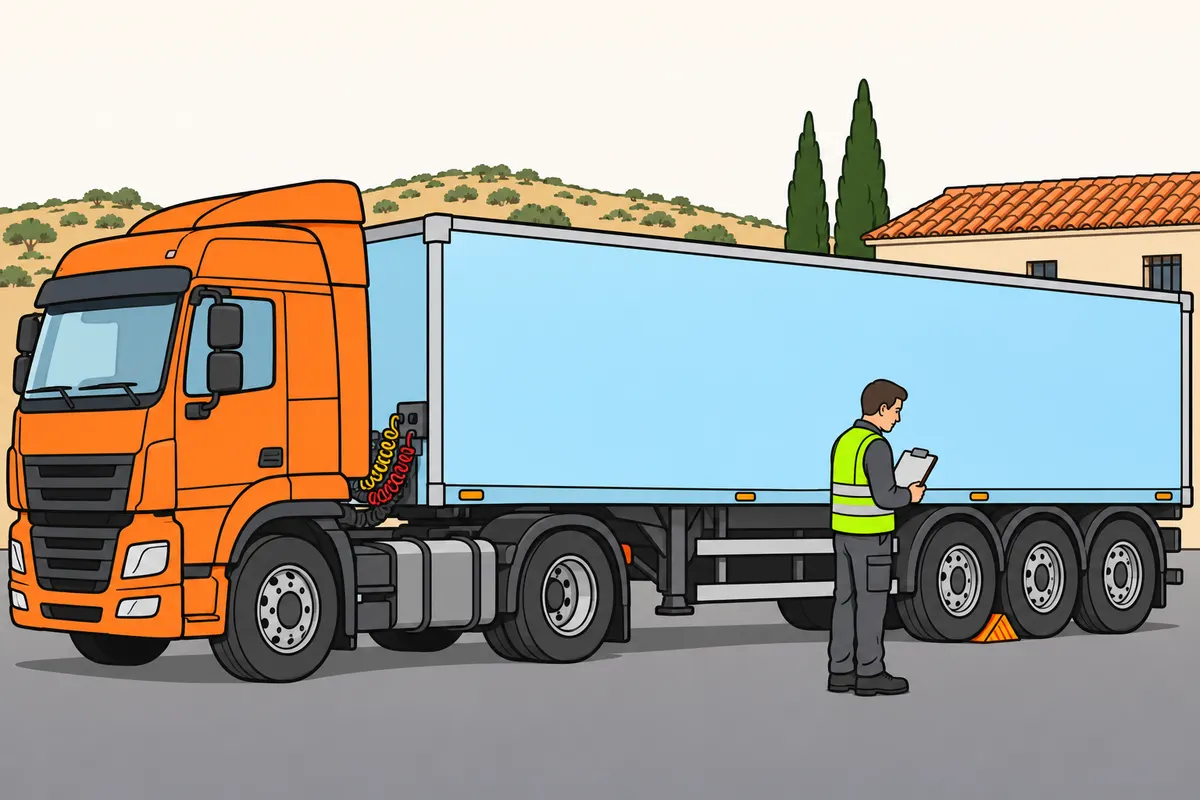
Check your towing vehicle and towed vehicle before setting off.
Remember
- Check each towed vehicle you have just collected.
- Follow an order: exterior, cab, then a check that everything works.
- Make sure nobody can move the combination during your checks.
- Never go underneath if only suspension that can lower supports the semi-trailer.
- Resolve dangerous defects before driving.
Exam trap: Wrong: a short route lets you use a defective towed vehicle. Right: resolve any defect that compromises safety first.
Read the full explanation
- Before setting off, you must carry out a visual walk-round inspection of the tractor unit and the trailer or semi-trailer. Always follow a set order so that you do not miss the inner wheels, side lights or connections; when you change towed vehicles, you must also check the one you have just collected.
- Organise your inspection in three stages: surroundings and exterior, driving position, and functional checks before joining traffic. Check the tyres, steering, brakes, coupling and the towed vehicle's service systems.
- Keep the combination immobilised during the checks. Before going near a wheel, the supports or the articulation point, make sure that nobody can move it or operate its mechanisms; never go underneath a semi-trailer supported only by suspension that can lower.
- Distinguish between the observations you can make as a driver and specialist repairs. If you find a defect that compromises safety, you must have it rectified before driving; a short route, a dry carriageway or an unladen tractor unit does not make a defective towed vehicle safe.
2Exterior and cab inspection
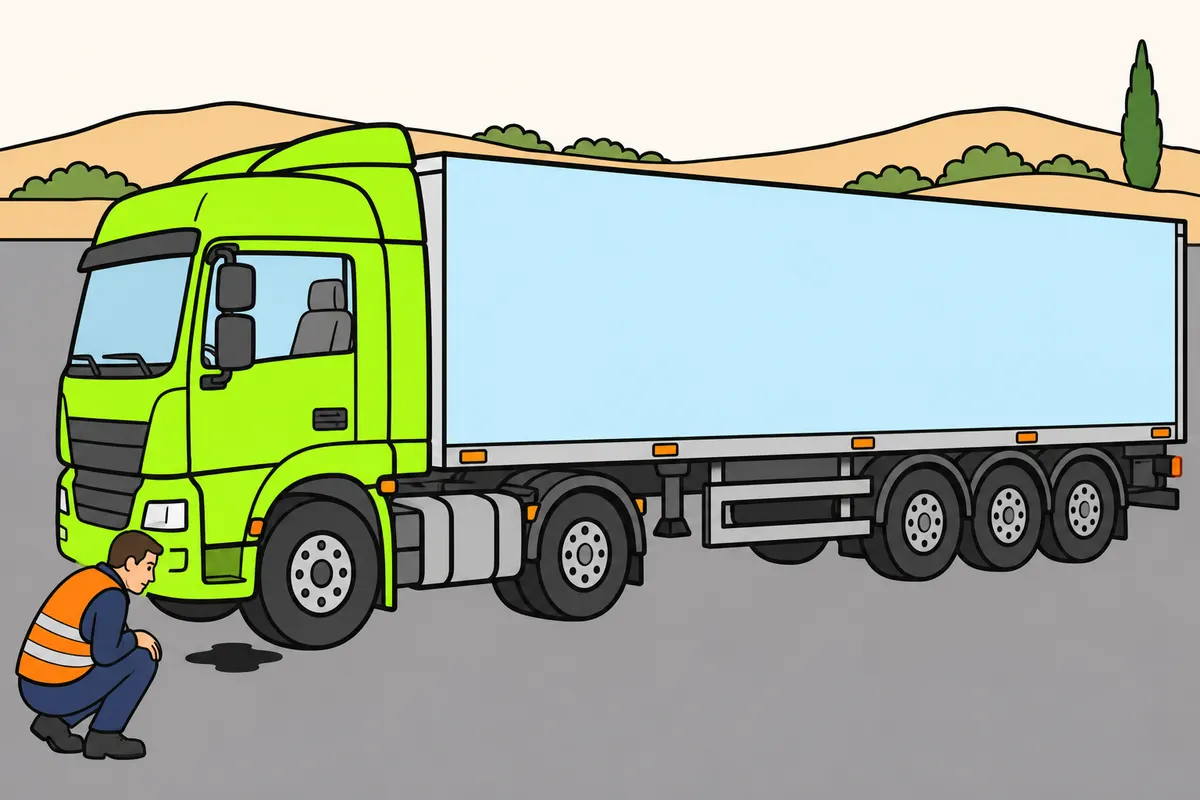
Look for leaks and damage outside, and keep your controls clear inside.
Remember
- Find where stains come from without tasting fluids or touching hot parts.
- Distinguish air-conditioning water from a mechanical leak.
- Check the sides, rear, doors and supports.
- Stow objects to keep your pedals clear.
- Ask for anything hiding lights, plates or your view to be corrected.
Exam trap: Wrong: checking the front is enough. Right: check the sides and rear too.
Read the full explanation
- Start by looking at the ground: a fresh patch may reveal a leak of oil, fuel, coolant or fluid from another system. Locate its source without touching hot parts or tasting the fluid; you must distinguish condensation water from the air conditioning from a mechanical leak.
- Walk along both sides and around the rear. Look for loose parts, doors that are not properly closed, and damage to bumpers, mudflaps or guards, and check that the landing legs and movable components are in their transport position; an inspection limited to the front leaves much of the combination unchecked.
- From the cab, check that you can reach the controls comfortably and see the instruments. Store tools and objects in their designated places to keep the pedals clear.
- When inspecting the load body, check for detached components or accessories that obscure lights, plates or your view. You study load distribution and securing in «Safe, well-distributed loads»; here, you must identify their visible effects on the vehicle and request that any problems are corrected before setting off.
3Tyre pressure
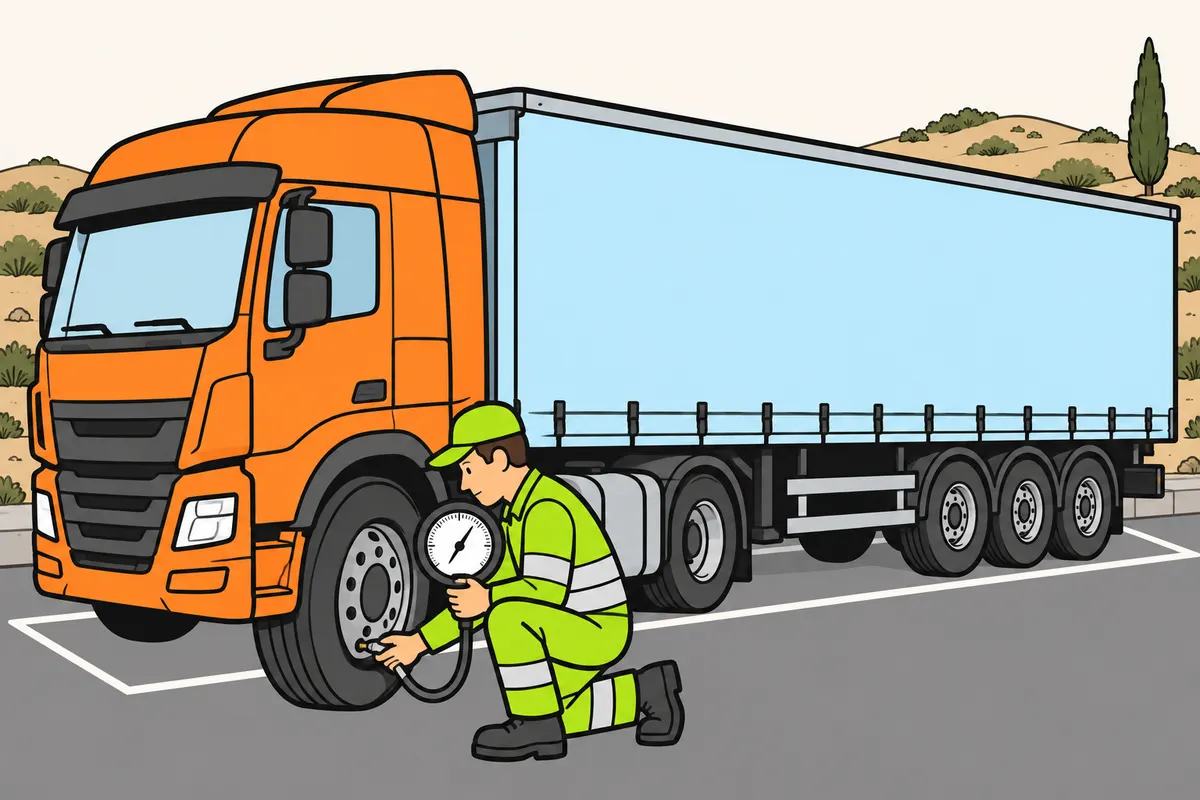
Measure tyre pressure cold and follow the manufacturer’s figures.
Remember
- Use a suitable pressure gauge.
- Check the pressure for your load and each axle’s wheel arrangement.
- Do not release air from hot tyres to reach the cold pressure.
- Check valves, caps and access to inner wheels.
- If you carry a spare wheel, check its pressure too.
- Even with electronic monitoring, inspect damage and carry out scheduled manual checks.
Exam trap: Wrong: you know the pressure by looking at or striking the tyre. Right: measure it with a pressure gauge.
Read the full explanation
- You must check tyre pressure regularly with a suitable pressure gauge; you cannot determine it accurately by looking at the bulge in the sidewall or striking the tyre. The statutory pressure check is set out in [RGV (General Vehicle Regulations), Annex VII.6](https://www.boe.es/buscar/act.php?id=BOE-A-1999-1826#anvii).
- Measure it when the tyres are cold and use the pressure specified by the manufacturer for the load and wheel configuration on each axle. There is no universal pressure suitable for all lorries, semi-trailers or twin wheels; consult the vehicle and tyre specifications, including after any change in loading conditions.
- As you drive, tyre temperature rises and pressure may increase. Do not release air from a hot tyre to bring it down to the specified cold pressure: it may be underinflated when it cools; if you suspect a problem, check it using the manufacturer's procedure.
- Also inspect the valves, valve caps and valve extensions on the inner wheels, and the spare wheel if you carry one. A tyre pressure monitoring system helps you detect pressure loss, but does not replace inspection for cuts and deformation or manual checks when required by the maintenance schedule.
4Incorrect pressure and wear
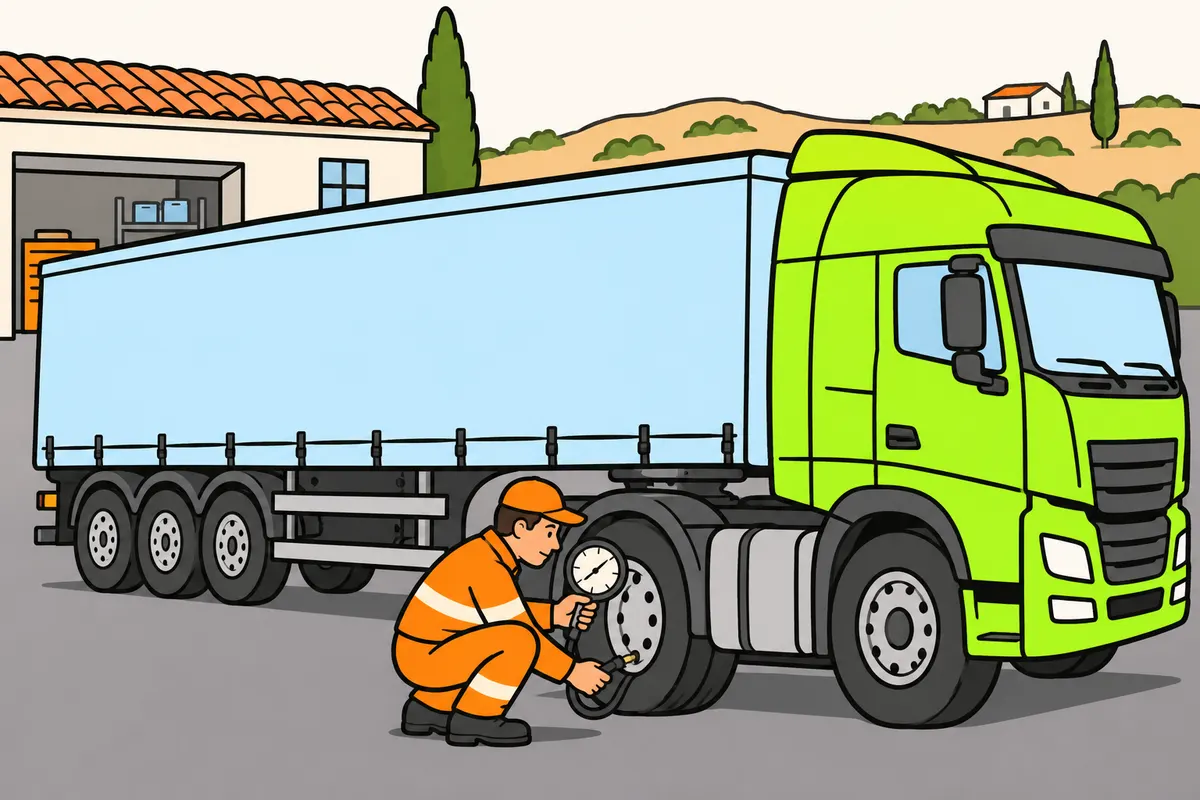
Keep tyre pressure correct to avoid overheating, wear and extra fuel use.
| Your tyre pressure | Effect |
|---|---|
| Too low | More heat, fuel use and risk of failure |
| Too high | May change road contact and wear |
Remember
- Low pressure increases heat and the risk of tyre failure.
- Do not exceed the correct pressure for your wheel arrangement and load.
- Check wear across the whole tread.
- Do not assume the wear pattern proves a single cause.
- If pressure drops again, ask for the leak to be found.
Exam trap: Wrong: reducing pressure saves fuel and prevents blowouts. Right: it increases fuel use and heating.
Read the full explanation
- If you drive with insufficient pressure, the tyre deforms more, heats up more and is more likely to fail. Rolling resistance and fuel consumption also increase; reducing pressure is neither a way to save fuel nor protection against a blowout.
- Excessive pressure does not automatically improve safety either. It can alter the contact patch and encourage abnormal wear; you must use the correct pressure for your wheel configuration and load, rather than the highest pressure the inflation equipment allows or the pressure another driver uses on a different vehicle.
- Check how wear is distributed across the whole tread. Pronounced wear on the shoulders, in the centre or on one side guides your inspection, but does not establish the cause on its own: pressure, alignment, suspension or operating conditions may be involved.
- Do not wait until a long journey to correct an incorrect pressure. If pressure loss recurs after inflation, ask for the leak to be located; repeatedly adding air without checking the valve, rim and tyre leaves the problem unresolved and may conceal internal deterioration.
5Minimum tread depth by category
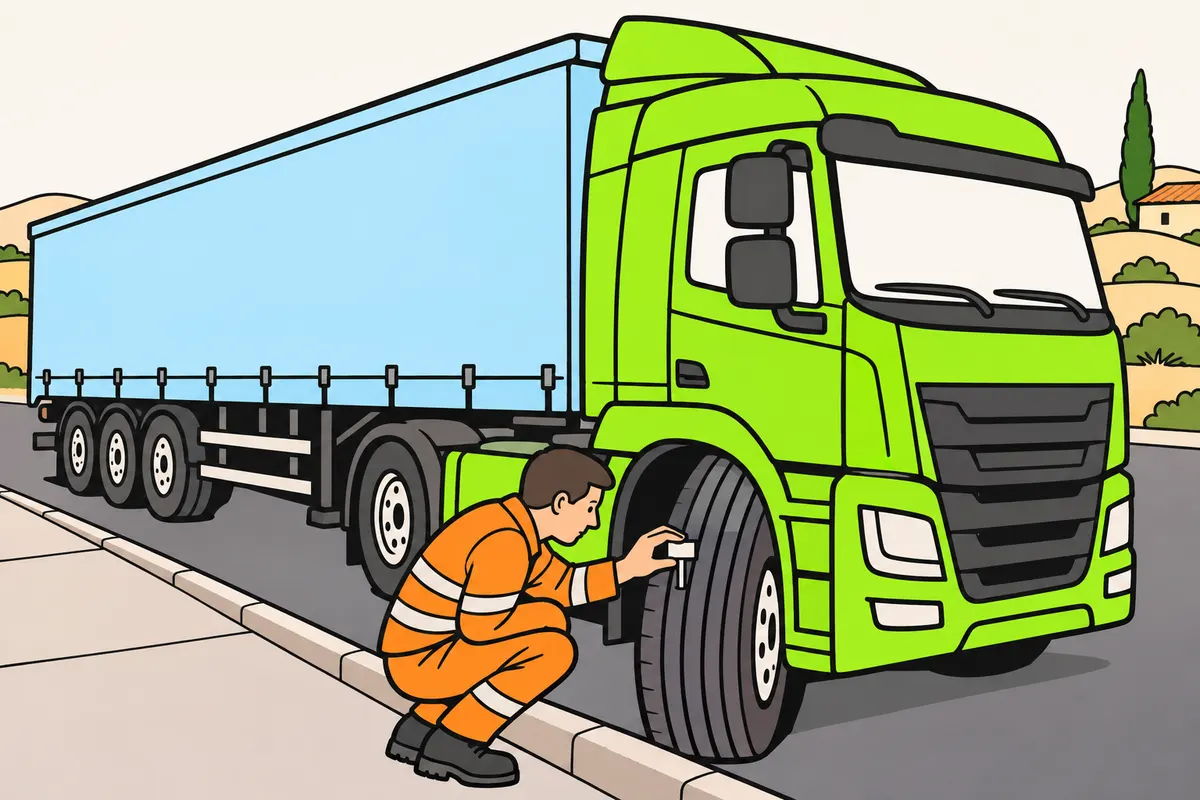
Apply the minimum tread depth for each vehicle’s category.
| Vehicle you check | Minimum tread depth |
|---|---|
| N2 or N3 towing vehicle | 1.0 mm |
| O3 or O4 towed vehicle | 1.0 mm |
| O2 trailer | 1.6 mm |
Remember
- Check each vehicle’s category in its documents.
- Measure the main grooves in different areas.
- Deeper tread elsewhere does not make a worn area acceptable.
- Check the inner area too.
- Do not assume the legal minimum gives enough grip in all rain.
Exam trap: Wrong: the whole combination needs the same minimum tread. Right: apply each category’s minimum.
Read the full explanation
- For a category N2 or N3 tractor unit and a category O3 or O4 heavy towed vehicle, you must maintain at least 1.0 mm in the main grooves throughout use on public roads. This is the minimum applicable to these categories under [RGV, Annex VII.2](https://www.boe.es/buscar/act.php?id=BOE-A-1999-1826#anvii).
- If your lorry tows a category O2 trailer, the tyres on that trailer must have a minimum tread depth of 1.6 mm. Your C+E licence does not change its technical category: identify each vehicle from its documentation and apply the appropriate minimum. [RGV, Annex VII.2](https://www.boe.es/buscar/act.php?id=BOE-A-1999-1826#anvii).
- Measure the tread depth in the main grooves and examine different points around the circumference. Plenty of tread in one area does not compensate for the most worn area; a quick look at the outer face may miss wear on the inner shoulder or localised damage.
- Do not treat the legal minimum as a guarantee of sufficient grip in all rain conditions. You must assess the water, tyre condition and the combination's behaviour; a deteriorated tyre impairs steering and braking, and does not gain better properties by being fitted to a vehicle with a high mass.
6Tyres, rims and fastenings
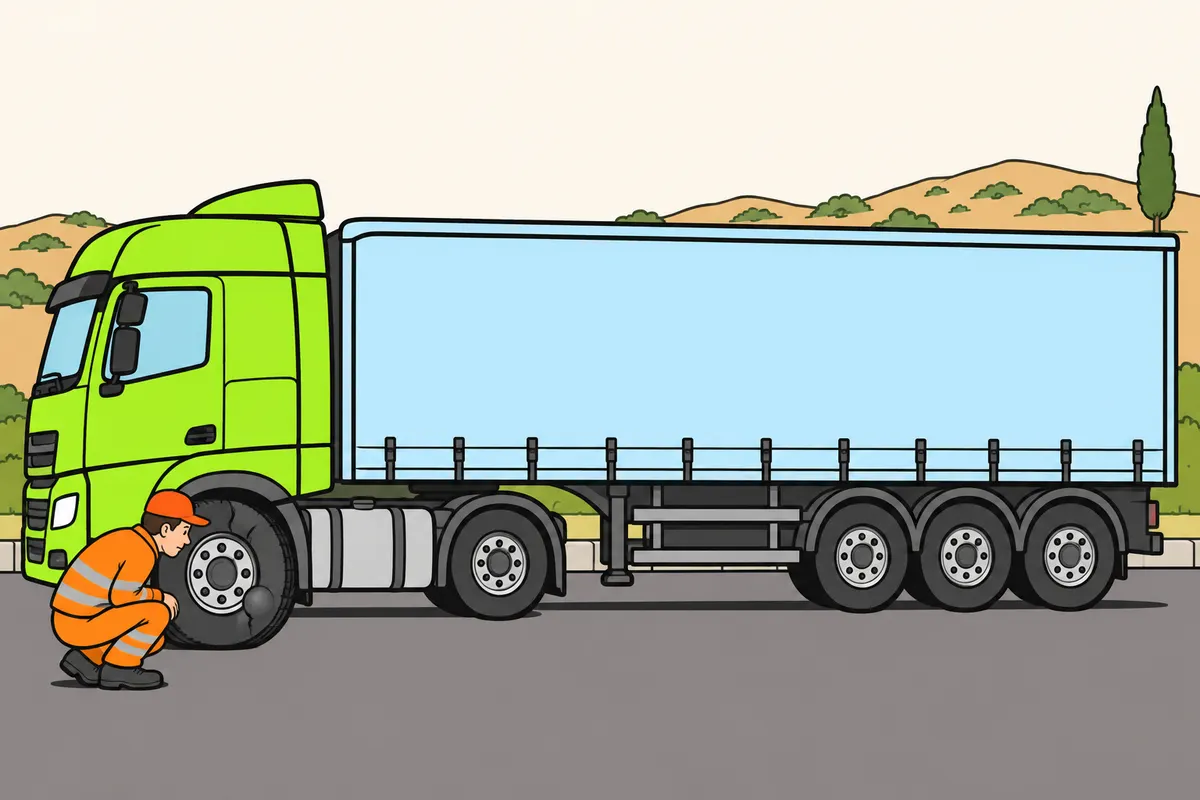
Check tyre damage, fastenings and suitability for your vehicle.
| Tyre treatment | What you must distinguish |
|---|---|
| Retreading | Renews the tread |
| Regrooving | Deepens tread designed for this |
Remember
- Look for bulges, cuts, deep cracks and exposed cords.
- Do not drive with structural damage, even with enough tread.
- Check nuts, rims and signs of movement.
- After removing a wheel, follow the manufacturer’s tightening instructions.
- Check approved sizes, load capacity, speed rating and suitability for twin wheels.
- Use specialists for regrooving and check that you meet its conditions.
Exam trap: Wrong: you can regroove any tyre. Right: only on vehicles above 3.5 t MMA, with tyres marked Regroovable or bearing the statutory symbol.
Read the full explanation
- Examine the tread and sidewalls for bulges, cuts, deep cracks, separation or exposed cords. You must not drive with abnormal deformation or structural damage of the types covered by [RGV, Annex VII.4](https://www.boe.es/buscar/act.php?id=BOE-A-1999-1826#anvii); retaining sufficient tread depth does not compensate for a damaged carcass.
- Visually check the rims and fastenings: a missing nut, a crack or signs of movement require inspection. After removing a wheel, follow the tightening torque, tightening sequence and subsequent check specified by the manufacturer.
- You must fit tyres with sizes and characteristics approved for the vehicle, or permitted equivalents. Check the load index, suitability for single or twin fitment and speed rating; a tyre fitting physically onto the rim does not prove that it is suitable. [RGV, Annex VII.1](https://www.boe.es/buscar/act.php?id=BOE-A-1999-1826#anvii).
- Distinguish retreading from regrooving: one renews the tread and the other deepens tread designed for this purpose. Regrooving is permitted only on vehicles with an MMA (maximum authorised mass) of more than 3.5 t and with tyres marked Regroovable or with the prescribed symbol; have specialists carry out the work. [RGV, Annex VII.4](https://www.boe.es/buscar/act.php?id=BOE-A-1999-1826#anvii).
7Check twin wheels
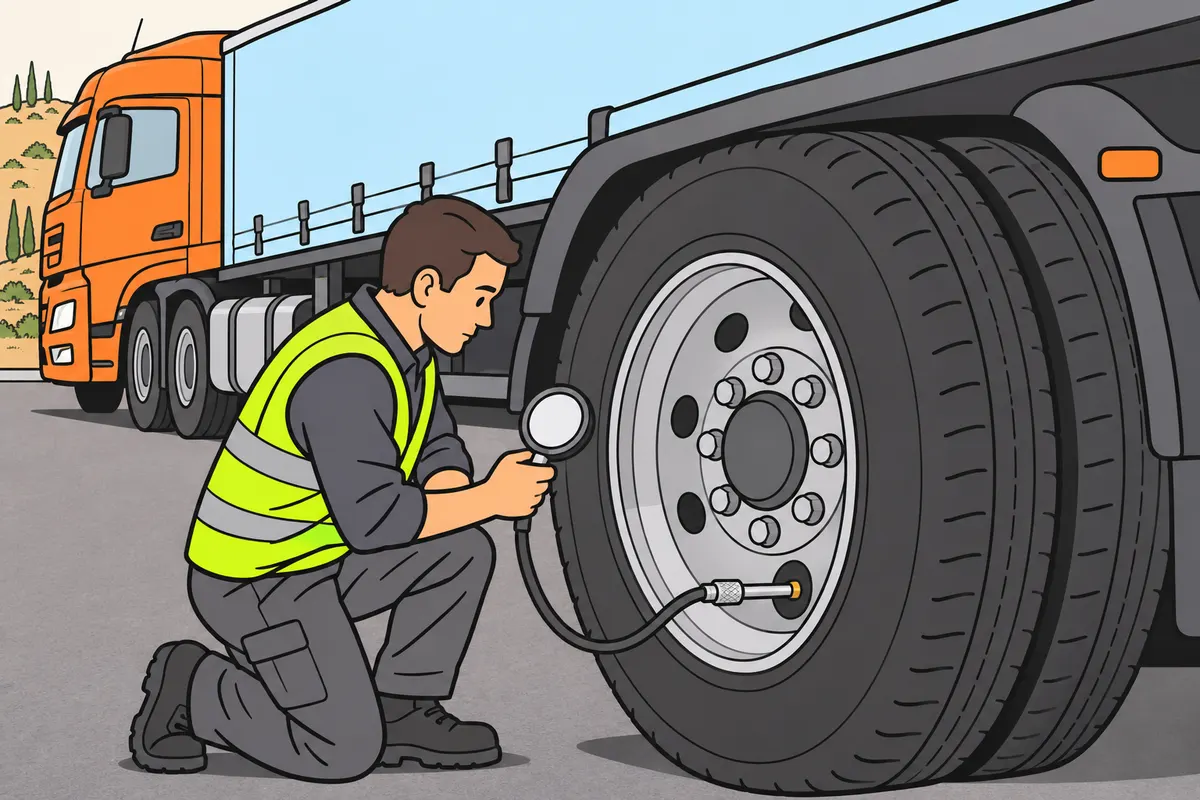
Check the inner tyre in each pair of twin wheels too.
Remember
- Check that paired tyres have compatible dimensions.
- Keep both at the same pressure specified for that arrangement.
- Avoid large differences in wear or diameter.
- Look for trapped objects and check that sidewalls do not rub.
- Use suitable equipment to measure the inner tyre’s pressure.
- Request safe assistance if you find damage or trapped objects.
Exam trap: Wrong: you can continue indefinitely with a flat twin tyre. Right: you overload the tyre that still holds air.
Read the full explanation
- With twin wheels, you must inspect both tyres, including the inner one. The outer tyre can look normal while the other loses air; the sound tyre then takes extra strain and does not allow you to continue indefinitely with its twin deflated.
- Check that the paired tyres have compatible dimensions and maintain the same pressure specified for that arrangement. Avoid significant differences in wear or effective diameter: if they do not work in a similar way, the load is shared unevenly between them and they deteriorate more quickly.
- Look at the gap between the wheels and check for trapped stones or other objects. The intended spacing must be maintained without the sidewalls rubbing; low pressure or overloading can encourage this contact and hinder heat dissipation, even though you can only see one of the tyres from outside.
- Use suitable access equipment to measure the inner tyre's pressure and check its valve. If you find a trapped stone, a deformation or a tyre that has been driven on while deflated, seek safe professional assistance: do not strike or dismantle the assembly while it is under load as part of a routine inspection.
8Chains and winter equipment
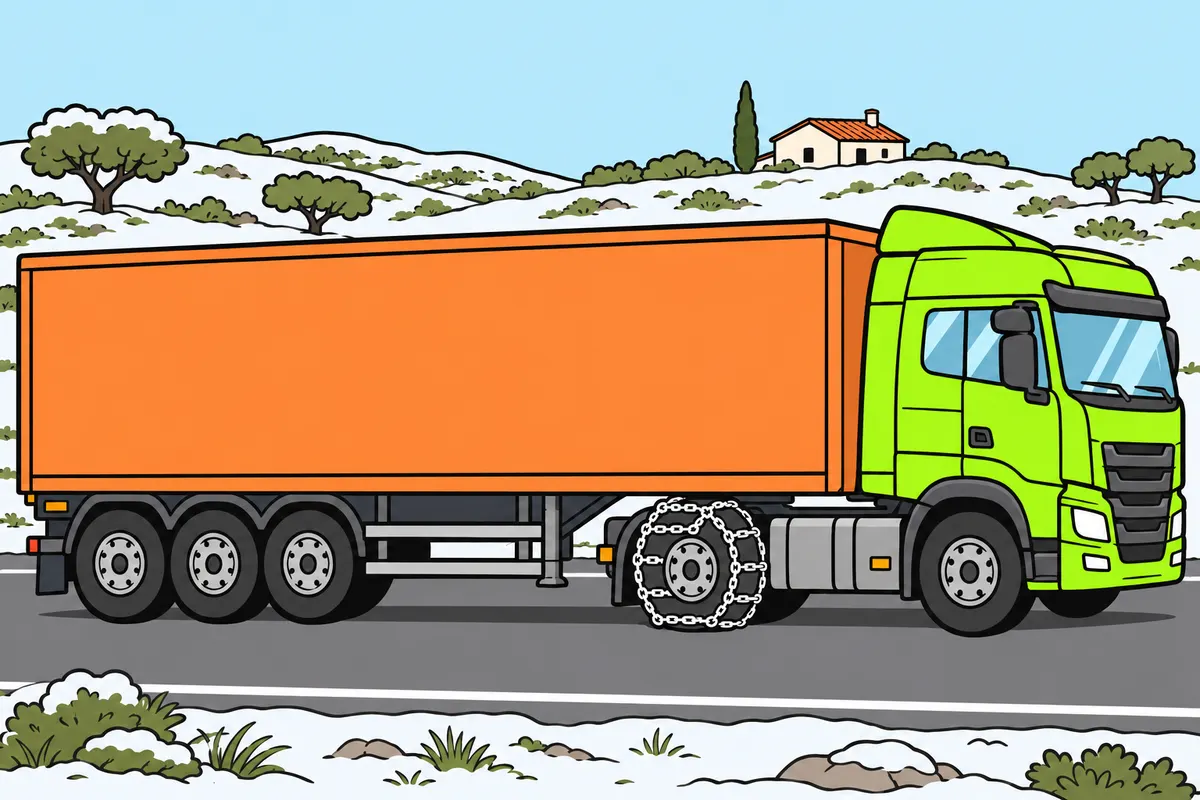
Prepare driven wheels and check the tyre markings required for winter restrictions.
| Special tyre you choose | Markings you must check |
|---|---|
| Snow | M+S, M&S or M.S together with 3PMSF |
| Professional off-road | M+S, M&S or M.S together with POR |
Remember
- When required or recommended, fit authorised devices or use special tyres meeting regulations.
- Fit devices to at least one driven wheel on each side.
- Do not confuse semi-trailer wheels with driven wheels.
- For winter restrictions above 3,500 kg MMA, check tyre certification.
- Fit certified tyres at least on the steering axle and all driven axles.
- Check device size, condition and fitting; chains do not let you pass road closures.
Exam trap: Wrong: M+S alone meets winter restrictions. Right: above 3,500 kg MMA, check all required markings and equip the steering and driven axles.
Read the full explanation
- When the use of chains or other approved anti-slip devices is compulsory or recommended, you must fit them to at least one driven wheel on each side, or use special tyres in accordance with the regulations. Identify the axles that transmit driving force: the semi-trailer's wheels are not driven wheels simply because they support a load. [RGV, art. 12.5.2](https://www.boe.es/buscar/act.php?id=BOE-A-1999-1826#a12).
- To comply with winter travel restrictions in a vehicle with an MMA (maximum authorised mass) exceeding 3,500 kg, you must fit 3PMSF- or POR-certified tyres to at least the steering axle and the driven axles. Check all the required markings on the sidewall; do not assume that any deep tread makes a tyre a special tyre. [RGV, Annex VII.5](https://www.boe.es/buscar/act.php?id=BOE-A-1999-1826#anvii).
- Special snow tyres bear the marking M+S, M&S or M.S together with 3PMSF; tyres for professional off-road use bear that marking together with POR. [RGV, Annex VII.5](https://www.boe.es/buscar/act.php?id=BOE-A-1999-1826#anvii).
- Before your journey, check that the devices match the wheel size, are not broken and that you can fit them following their instructions. Practise in a safe place, check their tension when the manufacturer specifies and respect their conditions of use; having chains does not authorise you to pass a road closure.
9Engine oil and lubrication
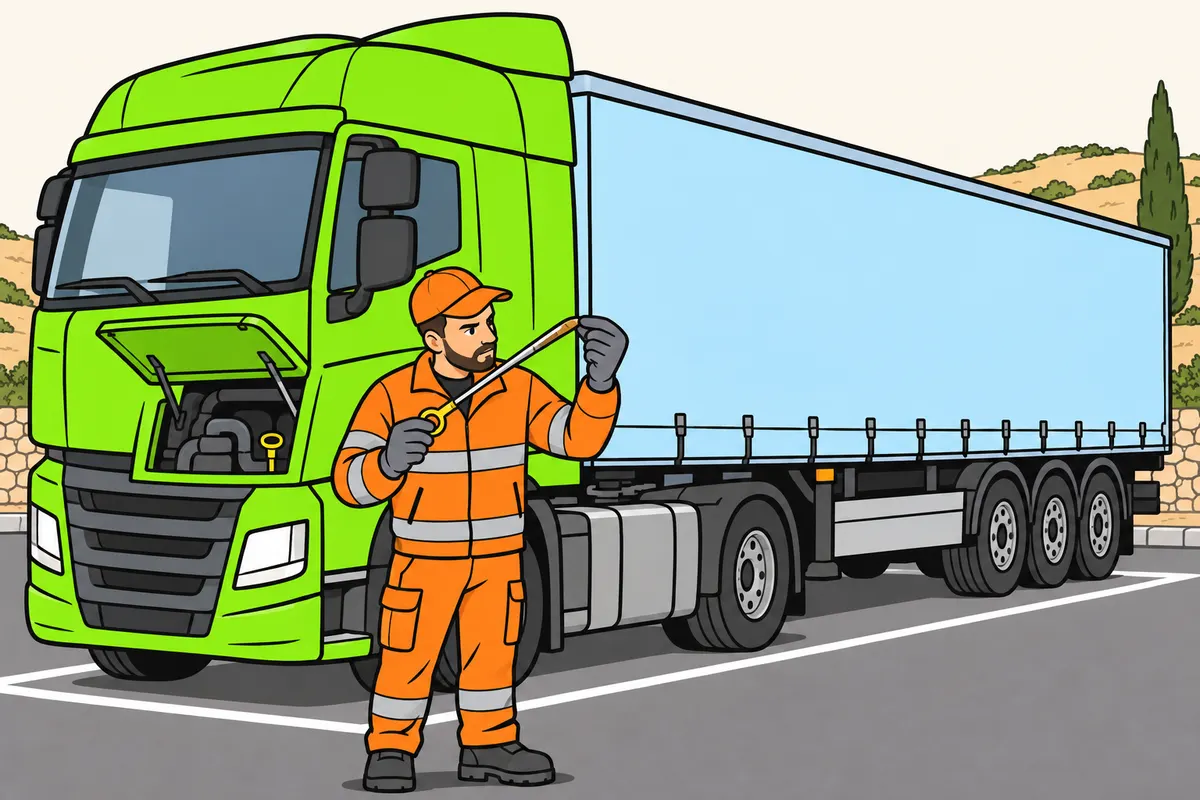
Check your oil level and act if lubrication pressure is too low.
| Oil check | What you must distinguish |
|---|---|
| Level | Amount available |
| Pressure | Lubricant circulation |
Remember
- Measure on level ground with the engine stopped.
- Follow the manufacturer’s temperature and waiting instructions.
- Do not exceed the maximum mark.
- Use the specified oil and add small, controlled amounts.
- If the pressure warning appears with the engine running, stop safely and switch off.
- Follow the oil and filter replacement schedule.
Exam trap: Wrong: enough oil guarantees correct pressure. Right: you can have oil but lack pressure.
Read the full explanation
- Check the oil level with the combination on level ground and the engine switched off, observing the temperature and waiting time specified by the manufacturer. Use the dipstick or the electronic checking system provided and verify that the reading is within the level marks, without exceeding the maximum.
- The level tells you how much oil is available; the pressure warning concerns the circulation of the lubricant. You can have oil in the sump and still lose pressure: if this warning appears while the engine is running, you must stop safely and switch off the engine to prevent damage.
- To top up, use oil that meets the required specifications and add controlled amounts. Do not mix products simply because they share a colour or trade description; if you need to top up frequently or notice stains, abnormal consumption or oil contamination, have the cause diagnosed.
- Follow the manufacturer's oil and filter change schedule, adapted to the work your lorry performs. Topping up does not replace changing degraded lubricant or a clogged filter; record the work carried out so that you do not confuse a top-up with a full service.
10Cooling and temperature
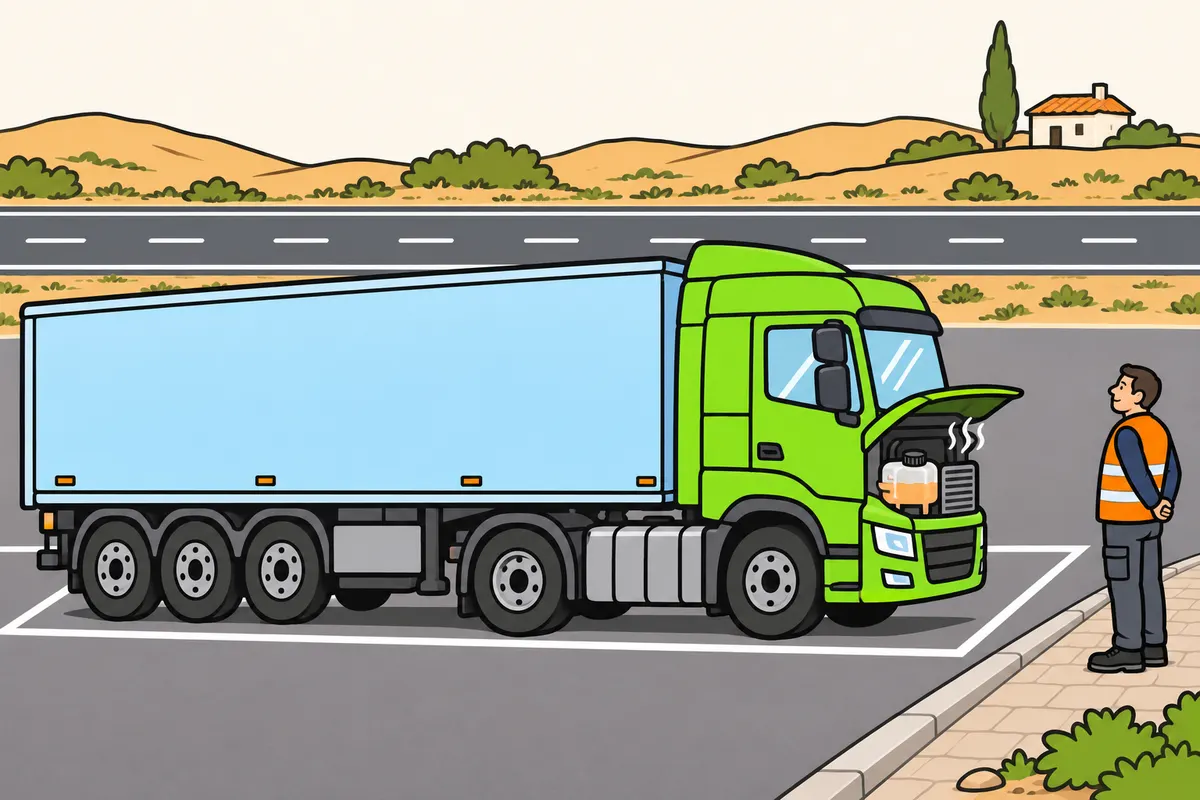
Check coolant cold and stop safely for a serious temperature warning.
Remember
- Check the level and look for leaks in hoses, joints and radiator.
- If the level keeps dropping, ask for the cause to be investigated.
- Do not open a hot coolant cap: you could be burned.
- Keep your hands away from the fan: it may start automatically.
- Use specified coolant and follow its concentration and replacement requirements.
- If temperature leaves its normal range, stop safely and follow the instructions.
Exam trap: Wrong: you can open a hot cooling circuit to check the level. Right: wait until it cools and follow safety instructions.
Read the full explanation
- Check the coolant with the engine cold and check the level in the expansion tank. Inspect hoses, connections and the radiator for leaks or deterioration; a repeated drop in level requires you to investigate the cause, even if you can temporarily restore the level by adding the correct product.
- Do not open the cooling system cap when the system is hot: pressurised liquid can escape suddenly and scald you. Wait for it to cool and follow the safety instructions; also keep your hands away from a fan that can start automatically, even when the vehicle is stationary.
- Use the specified coolant and follow its concentration and replacement requirements. Its functions include controlling temperature and protecting the system; do not treat it as a tank to which you can add any water or product without checking compatibility, especially when preparing your lorry for extreme cold.
- If the temperature rises outside its normal range or a serious alarm appears, find a safe place to stop and follow the manufacturer's procedure. Continuing to demand power can worsen the damage; the warning light alone does not tell you whether the fault concerns the level, ventilation, pump or any other component.
11Other fluid levels, tanks and filters
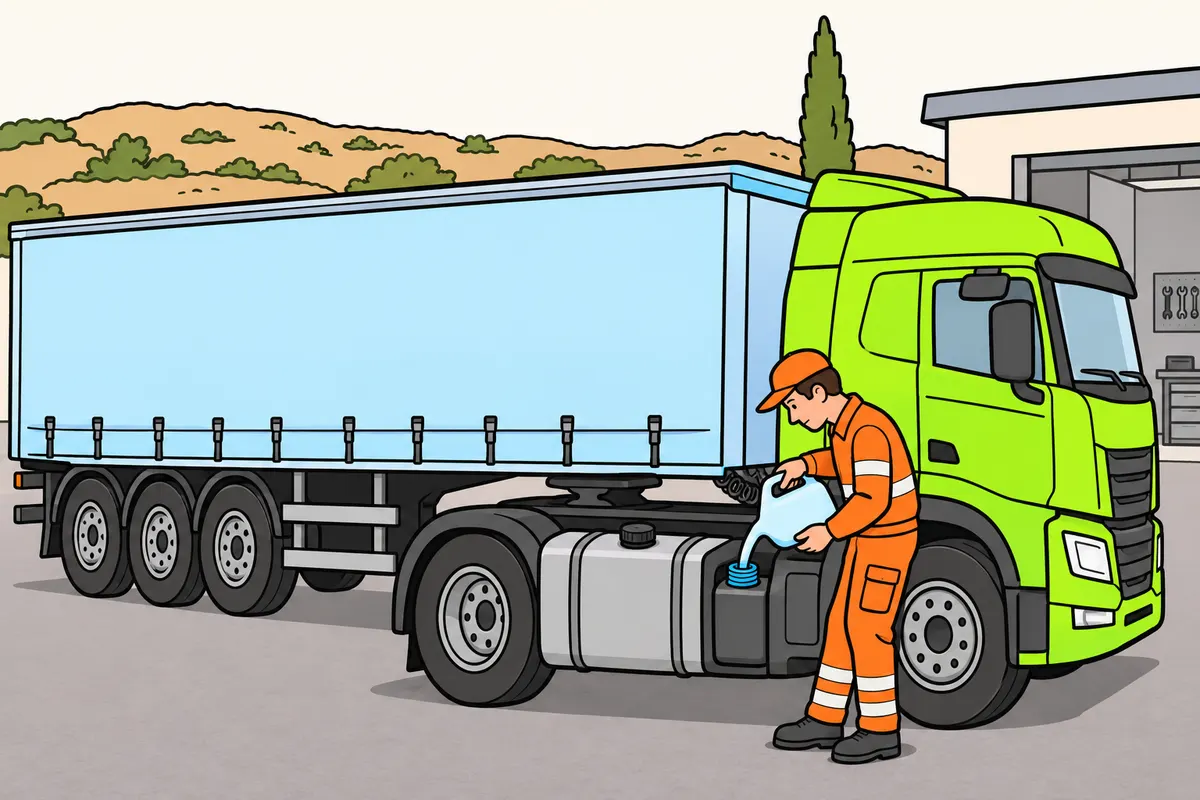
Check tanks and filters according to the systems fitted to your vehicle.
Remember
- Check your fuel and that tanks are closed.
- If you use AdBlue, put only the correct product in its tank.
- Do not put AdBlue in diesel or replace it with water.
- Identify the fitted systems before checking their fluid levels.
- Act on filter warnings without bypassing filters to continue driving.
- Check fastenings and leaks; never bridge fuses or handle terminals without preparation.
Exam trap: Wrong: all brakes have a fluid reservoir. Right: identify the fitted system first.
Read the full explanation
- Check that you have enough fuel and that the fuel tanks are properly closed. If your lorry uses AdBlue, check its level and top up only through the correct filler: it is an exhaust gas treatment product and you must not put it in the diesel tank or replace it with water.
- Inspect any hydraulic systems fitted to the vehicle, such as power steering or auxiliary mechanisms, in accordance with their instructions. When inspecting a combination with air brakes, do not look for a brake fluid reservoir as though all its brakes were hydraulic; first identify the system fitted.
- Check air filters, fuel filters and other components according to the maintenance schedule and the vehicle's indicators. If you receive a restriction or contamination warning, arrange for the specified action; do not remove or bypass a filter to make the symptom disappear so that you can finish the journey.
- Check that tanks, batteries and covers are securely fastened and have no leaks or visible damage. Follow the manufacturer's electrical procedure and do not bridge fuses or handle terminals without the necessary preparation; an improvised repair can cut off power to the lights, brake control units or other essential systems.
12Lights on the towing and towed vehicles
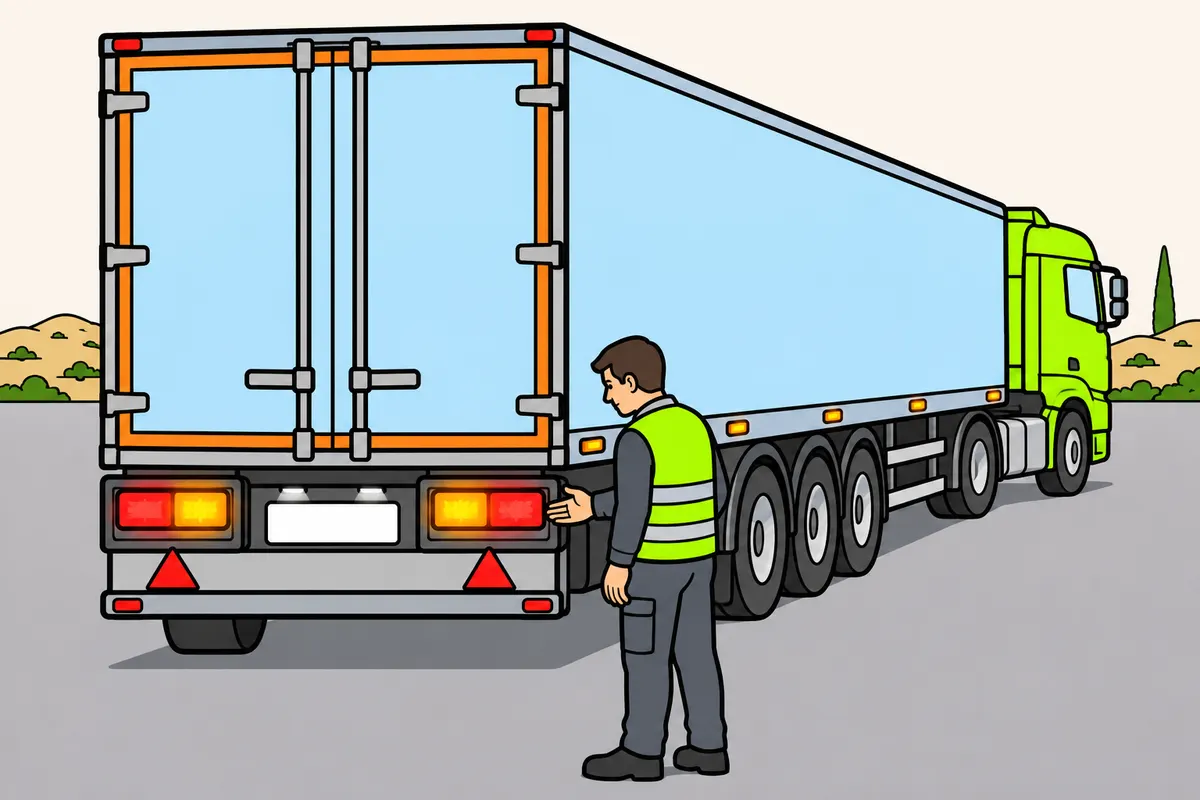
Check your towing and towed vehicles’ lights from outside.
Remember
- Get help or use the lorry’s checking system.
- Check position, brake, indicator, hazard, rear fog and number plate lights.
- Check the required end-outline and side marker lights.
- Keep lights and reflectors clean and secure.
- If several towed-vehicle lights fail, check the connector safely.
- Do not disconnect warnings to hide faults.
Exam trap: Wrong: the towing vehicle’s warning lamp proves all lights work. Right: check the last vehicle’s lights too.
Read the full explanation
- You must check from outside that the lights actually work, with assistance or using the checking system fitted to your lorry. A warning light illuminating on the towing vehicle's dashboard does not by itself prove that the lights on the last vehicle in the combination work.
- Include position lights, brake lights, direction indicators, hazard warning lights, rear fog lights, number plate lights and any required end-outline marker lamps and side marker lamps. Every non-agricultural trailer or semi-trailer must have direction indicators with a hazard warning function, regardless of its MMA. [RGV, art. 16.5](https://www.boe.es/buscar/act.php?id=BOE-A-1999-1826#a16).
- Also check light units, retroreflectors and reflective surfaces: they must be clean, secure and free of damage that reduces their effectiveness. When inspecting a long vehicle, walk along both sides; a light that is dirty or obscured by an accessory can fail to perform its function even though its bulb remains lit.
- If several lights on the towed vehicle fail simultaneously, check the connector safely and report the defect. Do not replace the check by switching on the interior light or disconnect warnings to conceal the fault; the mandatory equipment is covered in detail in «Safety devices for the vehicle combination».
13Mirrors, windows and windscreen wipers
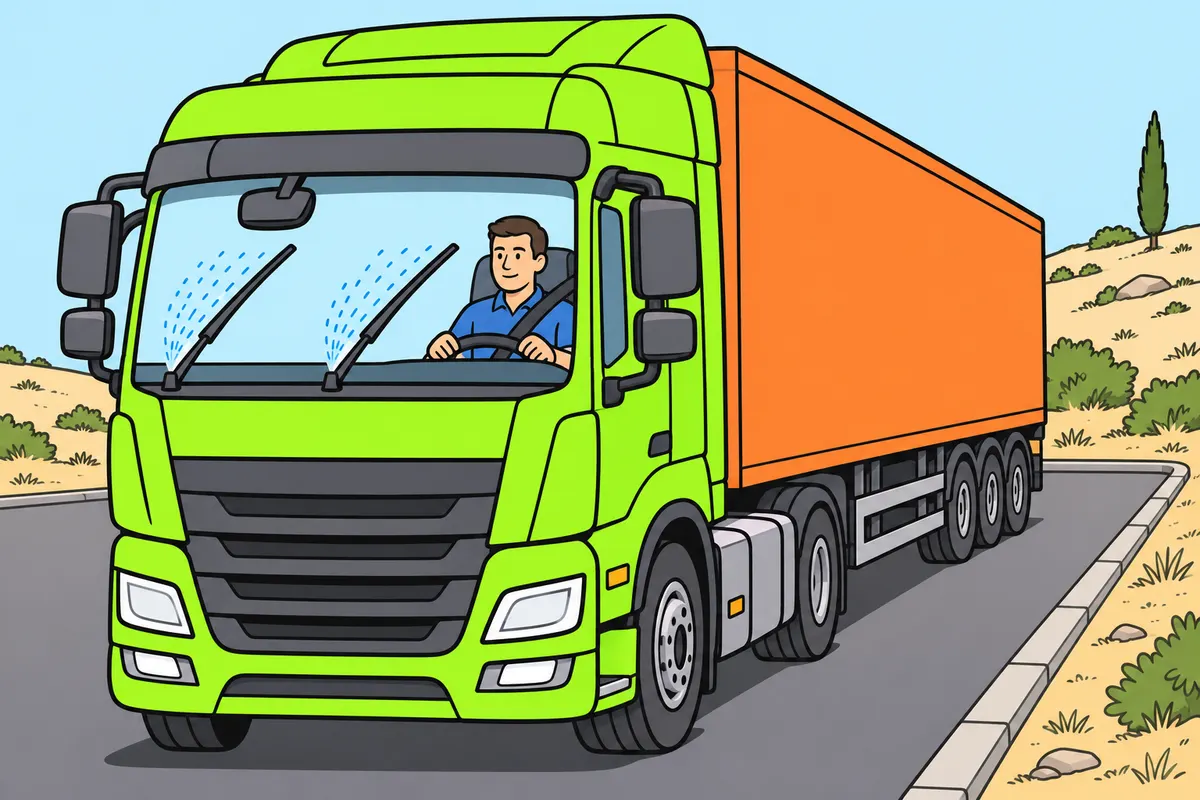
Prepare your mirrors and windows before driving, and keep a clear view.
Remember
- Adjust your seat first, then mirrors, with the vehicle stationary.
- Check security, cleanliness and your field of view.
- Check cameras and screens too, if fitted.
- Test washer jets and check fluid, pipes and wiper blades.
- Check demisting and do not operate wipers frozen to the glass.
- If you lose visibility, stop safely and restore it before continuing.
Exam trap: Wrong: carrying washer fluid guarantees a clean windscreen. Right: you also need working jets and sound blades.
Read the full explanation
- Adjust your seat and then your mirrors with the vehicle stationary. Check their mountings, cleanliness and field of view, including devices that let you monitor areas close to the cab and along the sides; a poorly adjusted mirror does not improve control of the trailer on bends.
- You must maintain a usable view through the windows and through indirect vision devices. The technical requirements for glazing, mirrors, windscreen wipers and washers are set out in [RGV, art. 11](https://www.boe.es/buscar/act.php?id=BOE-A-1999-1826#a11); also check cameras and screens where fitted.
- Operate the windscreen washer and check that the jets reach the area swept by the wipers. Check the fluid level, pipes and wiper blades: if they leave streaks, judder or spread dirt, they need cleaning or replacement; having washer fluid does not guarantee visibility if the rubber blades are damaged.
- Check demisting and remove ice or dirt without damaging the glass or rubber seals. Use fluid suitable for the ambient temperature and avoid operating wiper blades frozen to the windscreen; if you lose visibility while driving, you must find a safe place to stop and restore it before continuing.
14Steering, suspension and chassis
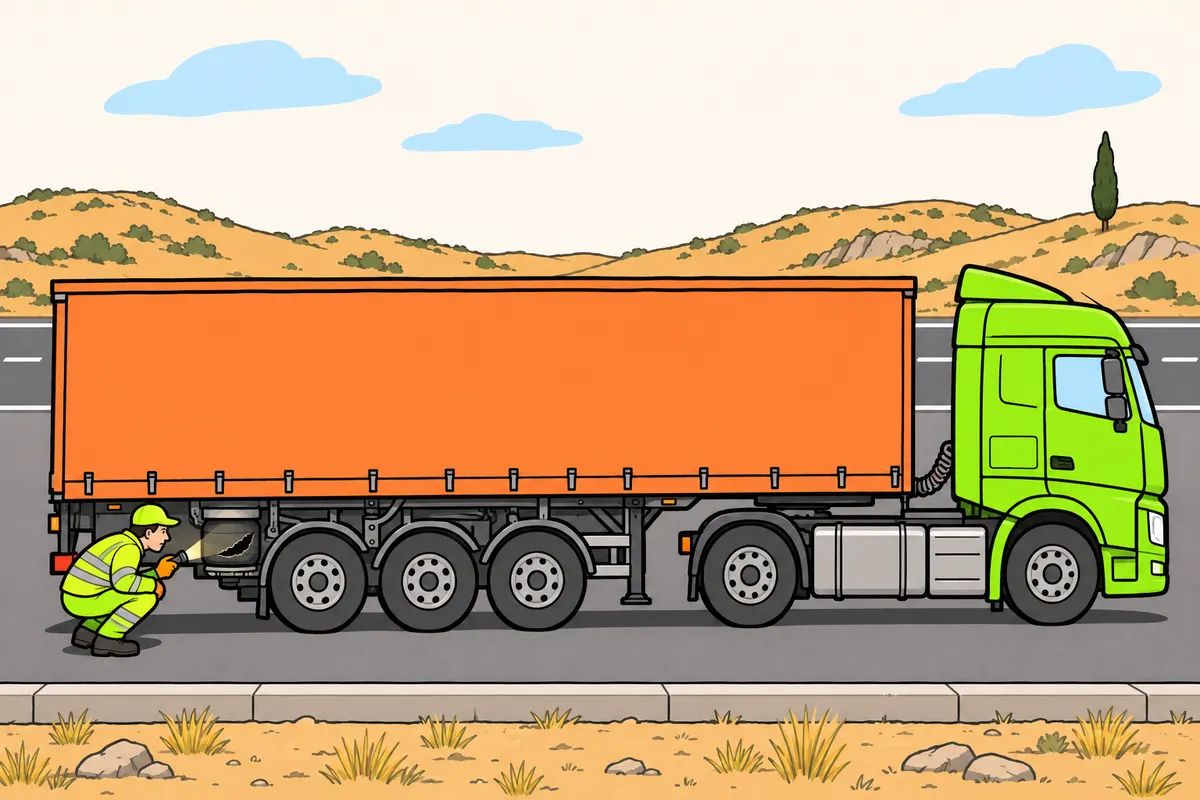
Check steering, suspension and structure to keep control of your combination.
Remember
- Investigate steering play, pulling, vibration or unusual resistance.
- Look for leaning, broken suspension parts and air leaks.
- Before setting off, check the air suspension’s driving height.
- Check before using the suspension position used for loading or coupling.
- Stop using the combination if a crack may affect strength or coupling.
- Ask for a technical assessment of structural damage.
Exam trap: Wrong: sound tyres compensate for damaged suspension. Right: resolve the suspension defect too.
Read the full explanation
- Check for play, abnormal resistance, pulling or vibration in the steering. You must not treat these as mere discomfort: the steering keeps you on course, and its failure can compromise control even when you drive slowly or on a road you know well.
- Check whether the combination leans to one side, whether any suspension components are broken or whether an air bellows leaks. Before moving off, check that the air suspension reaches the specified driving height; the setting used for loading or coupling may not be suitable for driving.
- The suspension and shock absorbers help keep the wheels in contact with the road. Their deterioration can impair stability and braking; a correctly inflated tyre does not compensate for damaged suspension, just as a sound tractor unit does not correct defects in the semi-trailer.
- Look for visible damage to the chassis, cross-members and coupling mountings, especially after an impact or a manoeuvre involving contact. Do not try to assess a structural crack by its apparent size; stop using the vehicle and seek a technical assessment whenever it may affect structural strength or the coupling.
15Coupling and supports: mechanical inspection
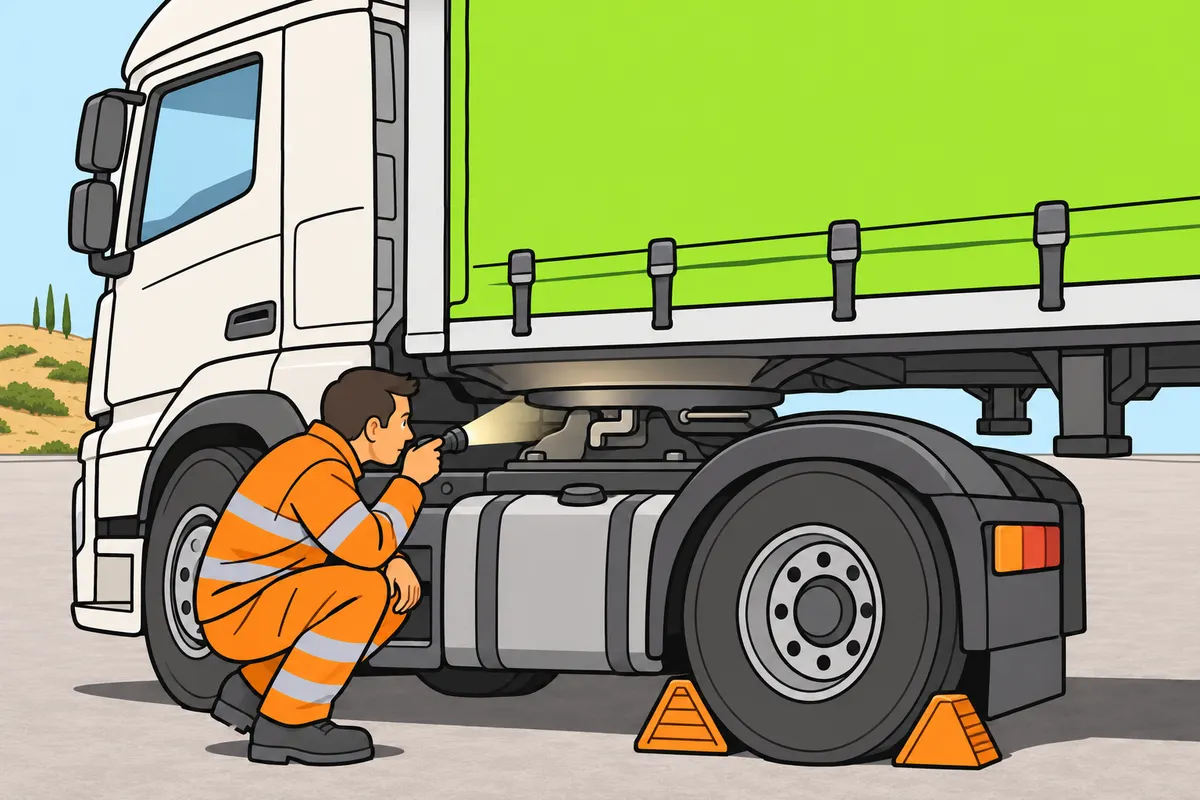
Check the coupling lock and secure supports before uncoupling your semi-trailer.
Remember
- Check connection compatibility and that the coupling is locked and secured.
- On the fifth wheel, check fastenings, lock, safety lock and kingpin engagement.
- If a tug test is required, follow instructions and visually check the lock.
- Lubricate only the points specified for your model.
- Before uncoupling, check landing legs, crank handle, locks and supports.
- Secure against movement and support on suitable ground before releasing the coupling.
Exam trap: Wrong: greasing every coupling surface always improves operation. Right: follow its instructions; some friction surfaces must stay free of grease.
Read the full explanation
- Check that the connections are compatible and the coupling is properly closed. The coupling must have a device that prevents it from opening unintentionally; bringing the parts together or assuming the mechanism is closed because you hear contact is not enough. [RGV, art. 13.1 and 13.3](https://www.boe.es/buscar/act.php?id=BOE-A-1999-1826#a13).
- On a fifth wheel, inspect the mountings, locking mechanism, safety lock and connection to the kingpin, using the inspection points specified by the manufacturer. Where a tug test is required, carry it out according to the procedure for the combination and check the lock visually; the test does not replace this visual check.
- Clean and lubricate only the points specified for your model. There is no universal greasing interval for every coupling head: some friction stabiliser surfaces must remain free of grease, while other couplings need lubrication; always follow the instructions for the mechanism actually fitted.
- Check the landing legs, winding handle, locks and supports before uncoupling a semi-trailer. You must immobilise it and ensure it is supported on suitable ground before releasing the coupling; a centrally positioned load alone does not prevent it from falling or moving when you pull the tractor unit away.
16Connections and breakaway devices
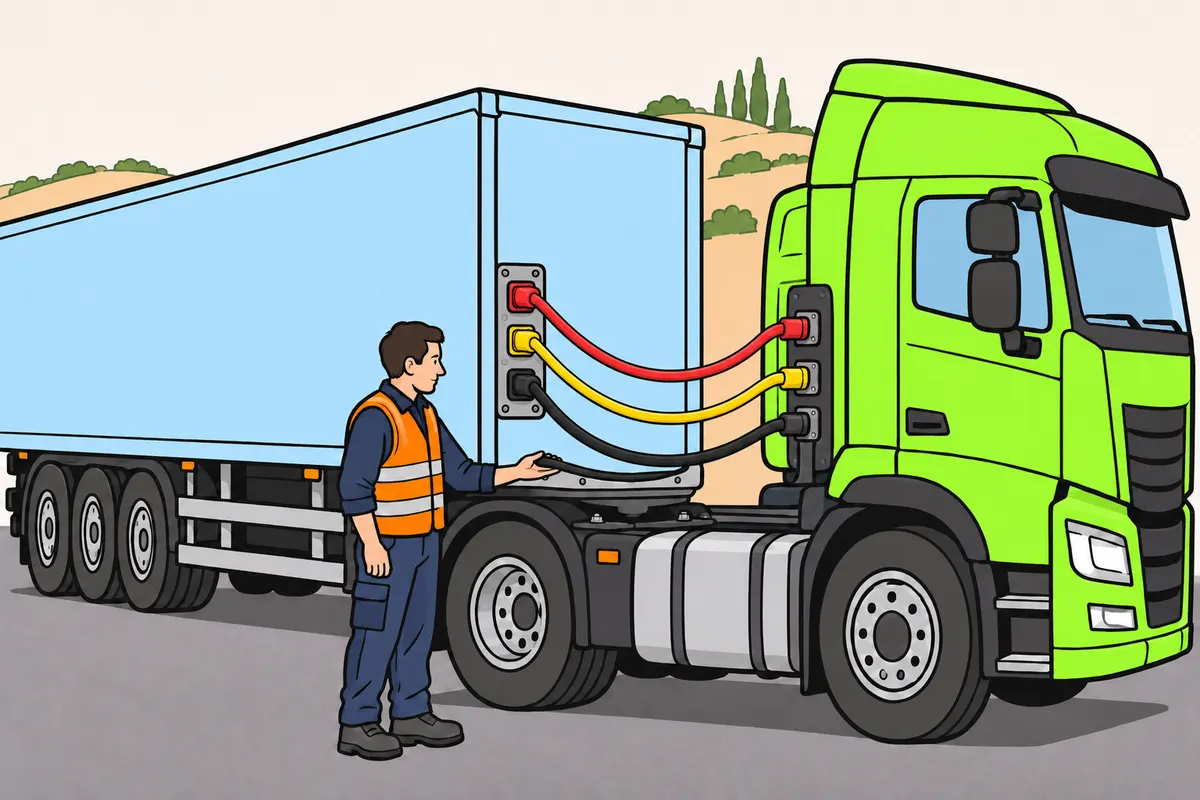
Check cables, hoses and safety devices for the towed vehicle you use.
| Usual two-line air connection | Function you must identify |
|---|---|
| Red | Supplies air |
| Yellow | Transmits the braking command |
Remember
- Look for chafing, cracks, unsafe joints and loose connectors.
- Allow movement at the joint without pulling, dragging or catching.
- Check markings, connections and absence of leaks.
- Also secure the electrical brake connection where fitted.
- Do not swap different devices because they look like cables or chains.
Exam trap: Wrong: secondary couplings and breakaway brakes are the same. Right: they have different functions; trailers up to 1,500 kg MMA need a secondary coupling if no brake activates when the coupling breaks.
Read the full explanation
- Inspect the air hoses and electrical cables throughout the accessible area. Look for chafing, cracks, insecure joints and poorly secured connectors; they must have enough freedom to articulate without becoming taut, dragging or catching on parts of the towing or towed vehicle.
- In the usual two-line air connection, the red line supplies air and the yellow line transmits the braking command. Also identify their markings and couplings, and check that they connect without leaks; the electrical connection for the braking system must also be secured where fitted to the combination.
- Distinguish between a device that applies the brakes on separation and a secondary coupling that retains some residual steering and prevents the drawbar from touching the ground. The latter is required on trailers with an MMA (maximum authorised mass) of up to 1,500 kg without a braking system activated by coupling breakage. [RGV, art. 13.4](https://www.boe.es/buscar/act.php?id=BOE-A-1999-1826#a13).
- Check the devices required for the particular towed vehicle and do not substitute one for another because it looks like a cable or chain. You study the complete connection and disconnection sequence in «Safe coupling and uncoupling»; during maintenance, you must identify damage, incompatibility and insecure locking.
17What you must check on the brakes
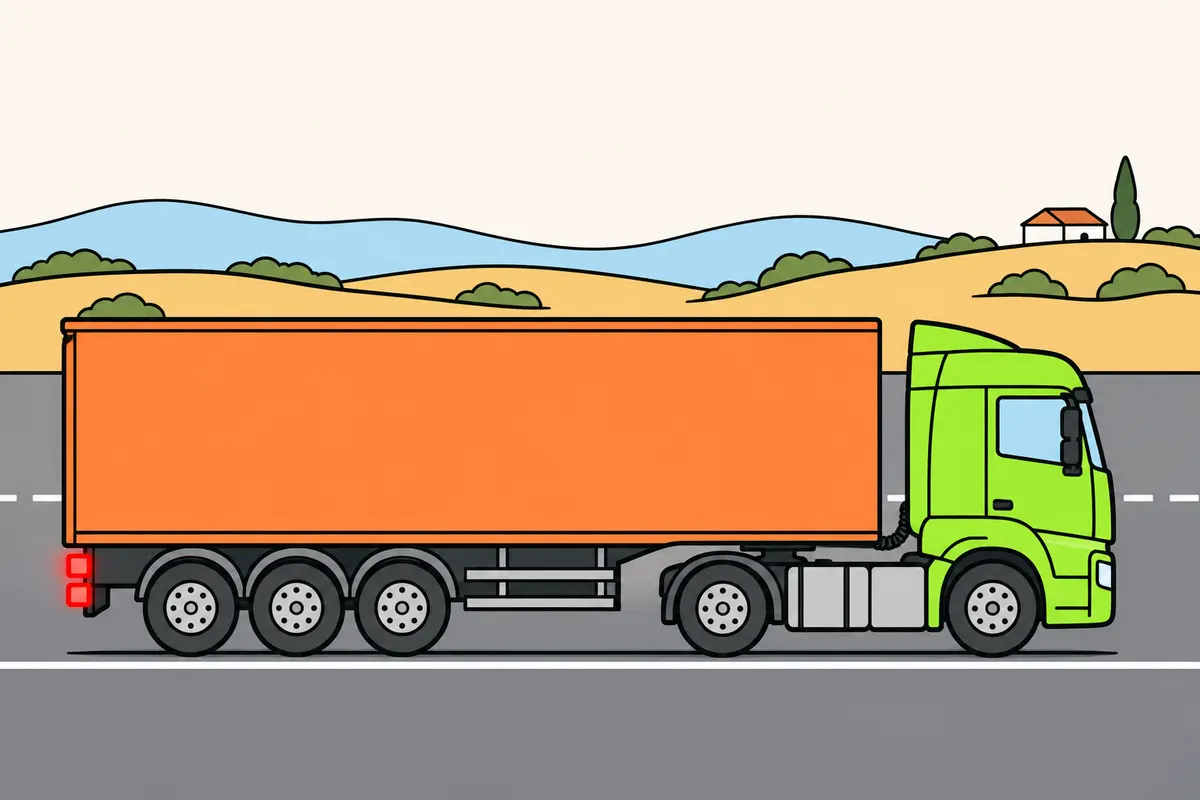
Check that your whole combination brakes and stays stationary correctly.
| Your combination’s brake | Function you must distinguish |
|---|---|
| Service | Slows or stops you while driving |
| Parking | Keeps you stationary |
| Secondary | Lets you stop if the service brake fails |
Remember
- Check your towed vehicle’s brakes too.
- Check visible wear, pipes and possible contamination on braking parts.
- Have adjustments and repairs carried out using the technical procedure.
- Test at very low speed in a safe area with clear space.
- If braking is delayed, pulls sideways or makes new noises, request inspection before driving.
- Check brakes on level ground and dry surfaces too.
Exam trap: Wrong: the retarder replaces brake functions. Right: distinguish service, parking and secondary brakes.
Read the full explanation
- You must check the response of the service brake and immobilisation by the parking brake, including on the towed vehicle. The secondary brake lets you stop the vehicle if the service brake fails; do not confuse these functions with the retarder. [RGV, Annex VIII.1.2](https://www.boe.es/buscar/act.php?id=BOE-A-1999-1826#anviii).
- Check accessible components for wear, inspect brake lines and look for possible contamination of friction components. Adjustments and repairs to discs, drums, pads, shoes or brake chambers require the appropriate technical procedure; you must not compensate for a defect by increasing tyre pressure or tightening parts by intuition.
- In a safe area with clear space, check at very low speed that the combination brakes progressively without pulling abnormally to either side. A delayed response, a wheel that remains braked, a new noise or an imbalance requires inspection before you join traffic.
- The brakes must also work on level, dry ground. Do not leave your checks until a descent: with a high mass, even a partial failure can affect stability and increase the space you need to stop, even if you can still feel the tractor unit braking.
18Building up and monitoring compressed air
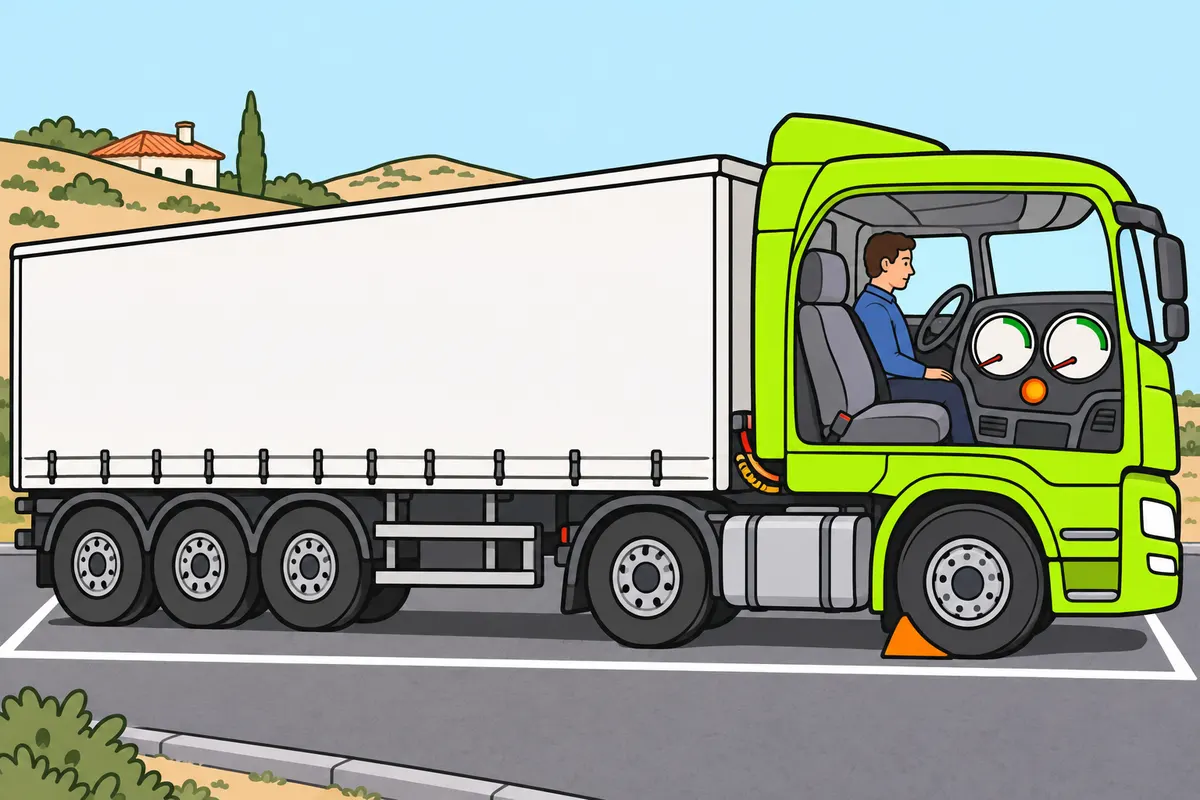
Wait for the specified air pressure and stop safely if a dangerous loss occurs.
Remember
- Watch your circuit pressure gauges.
- Before setting off, wait for your system’s specified operating range.
- Check that warnings clear as the manufacturer specifies.
- With the combination secured, listen for leaks and watch for abnormal pressure drops.
- If pressure drops and the warning activates while driving, find a safe stopping place.
- Do not silence warnings or rely on revving to continue with a fault.
Exam trap: Wrong: pumping the pedal restores lost air. Right: it uses air and does not repair the leak.
Read the full explanation
- In the air system, the compressor supplies air and the reservoirs store the energy needed to operate the brakes. You must monitor the circuit gauges and wait until they reach the specified operating range before releasing the brakes holding the vehicle stationary and moving off.
- Check that the low-pressure warnings clear as specified by the manufacturer. There is no single moving-off pressure valid for all lorries: use the reference values for the system fitted and do not treat another vehicle's reading as normal for yours.
- Listen for leaks with the combination secured and watch for an abnormal pressure drop. Insufficient pressure, audible leaks and defective pressure recovery are items checked during commercial vehicle inspections; silencing the warning does not correct them. [RD 563/2017, Annex II, section 1.1.3, points a), b) and d)](https://www.boe.es/buscar/act.php?id=BOE-A-2017-6512).
- If the pressure drops during your journey and the warning activates, find a safe place to stop before you lose braking capacity. Pumping the pedal uses air and does not repair a leak; you must not rely on increasing engine speed to make it acceptable to continue with a faulty circuit.
19Reservoirs, air dryer and spring brakes
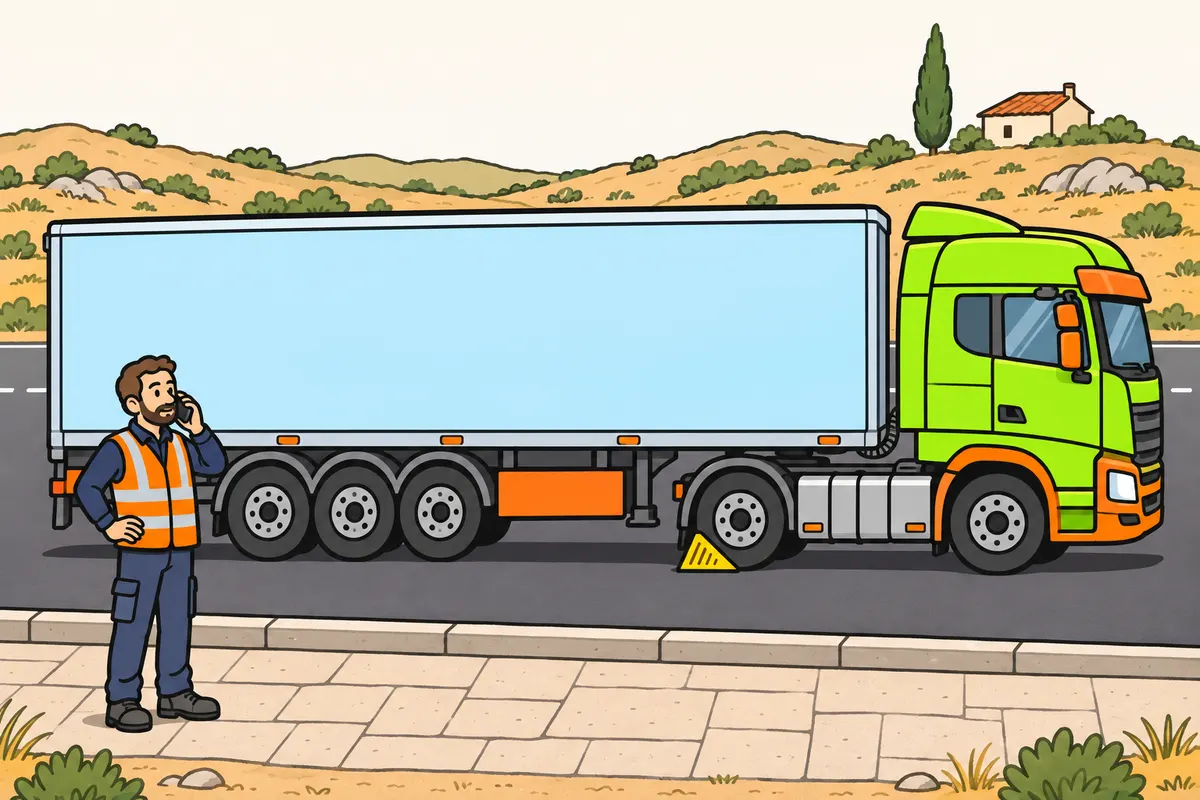
Maintain drains and the air dryer, and leave spring brakes to specialists.
Remember
- Check the dryer and drains according to your fitted equipment.
- If draining is automatic, check that it works.
- If draining is manual, secure the combination and follow its instructions.
- If unusual water or oil appears, request investigation of the cause.
- If lack of air leaves you braked, request assistance equipped for heavy vehicles.
- Do not dismantle spring brake chambers or handle their release mechanisms.
Exam trap: Wrong: a spring brake chamber is safe without air pressure. Right: it can retain dangerous mechanical energy.
Read the full explanation
- Moisture in the air can condense in the reservoirs and damage the system. Check maintenance of the air dryer and drains according to the equipment fitted; if draining is automatic, check that it works instead of assuming that it removes any need for inspection.
- If the system requires manual draining, carry it out with the combination immobilised and follow its instructions. Do not set a universal interval regardless of climate, air dryer or manufacturer; abnormal amounts of water or oil in the discharge require you to investigate the cause.
- In spring brake actuators, mechanical energy holds or applies the brake and air pressure allows it to release, depending on the design. If air is lost, you may find the vehicle held by its brakes; you must not drag it or override its mechanisms to finish the transport operation, but request assistance equipped for heavy vehicles.
- Do not dismantle spring brake chambers or operate their release components as part of a daily inspection. They can retain dangerous energy even without air pressure; recovery work requires competent personnel and measures to ensure that the towing and towed vehicles cannot move.
20ABS, EBS and electronic control
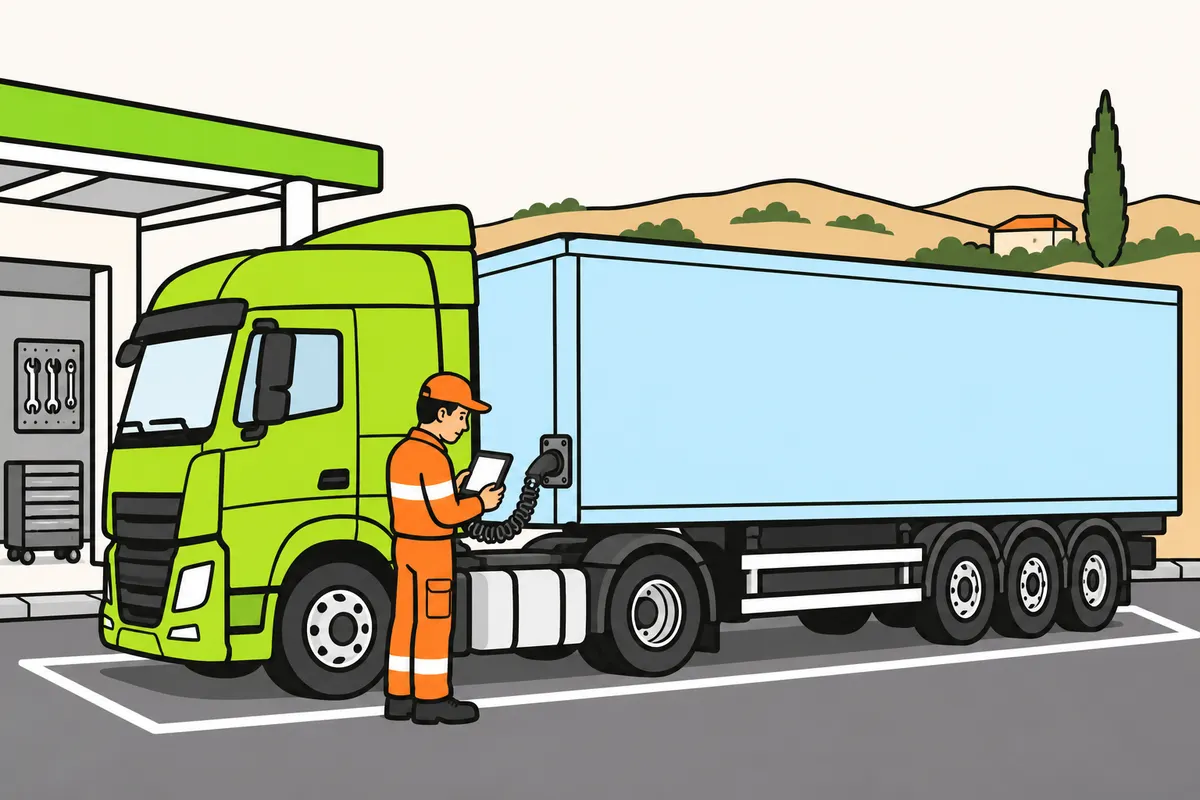
Understand electronic warnings and keep your whole braking system in good condition.
Remember
- Check the warning lamps’ starting checks according to your manual.
- Remember that some checks happen when you start moving.
- Keep tyres, sensors, cables and connections in good condition.
- ABS helps prevent wheel locking but does not create grip.
- With stop instructions, insufficient pressure or lost response, secure the combination and request assistance.
- Record warnings and tell the workshop without disconnecting the towed vehicle’s system.
Exam trap: Wrong: an ABS warning always means losing all brakes. Right: check the fault, message and other symptoms before deciding what to do.
Read the full explanation
- Check the self-diagnostic cycle of the ABS and electronic system warning lamps on the combination. Their behaviour depends on the model and may include checks as you start moving; consult the manual before interpreting an expected sequence as a fault or treating a persistent warning as normal.
- ABS helps prevent wheel lock during braking; electronic control does not create grip or correct a damaged tyre. You must keep tyres, sensors, wiring and connections in good condition, and maintain a safety margin even if your lorry has advanced braking and stability aids.
- An ABS warning does not necessarily mean that all service braking is lost, but it indicates that you must check the fault. If it is accompanied by an instruction to stop, insufficient pressure or loss of response, you must immobilise the vehicle safely and request assistance before continuing.
- Do not disconnect the towed vehicle's electronic system plug to turn off a warning. You must record the message, identify whether it relates to the towing vehicle or trailer and inform the workshop; diagnosis must check the affected combination, rather than simply clear the fault code.
21Interpret dashboard warnings
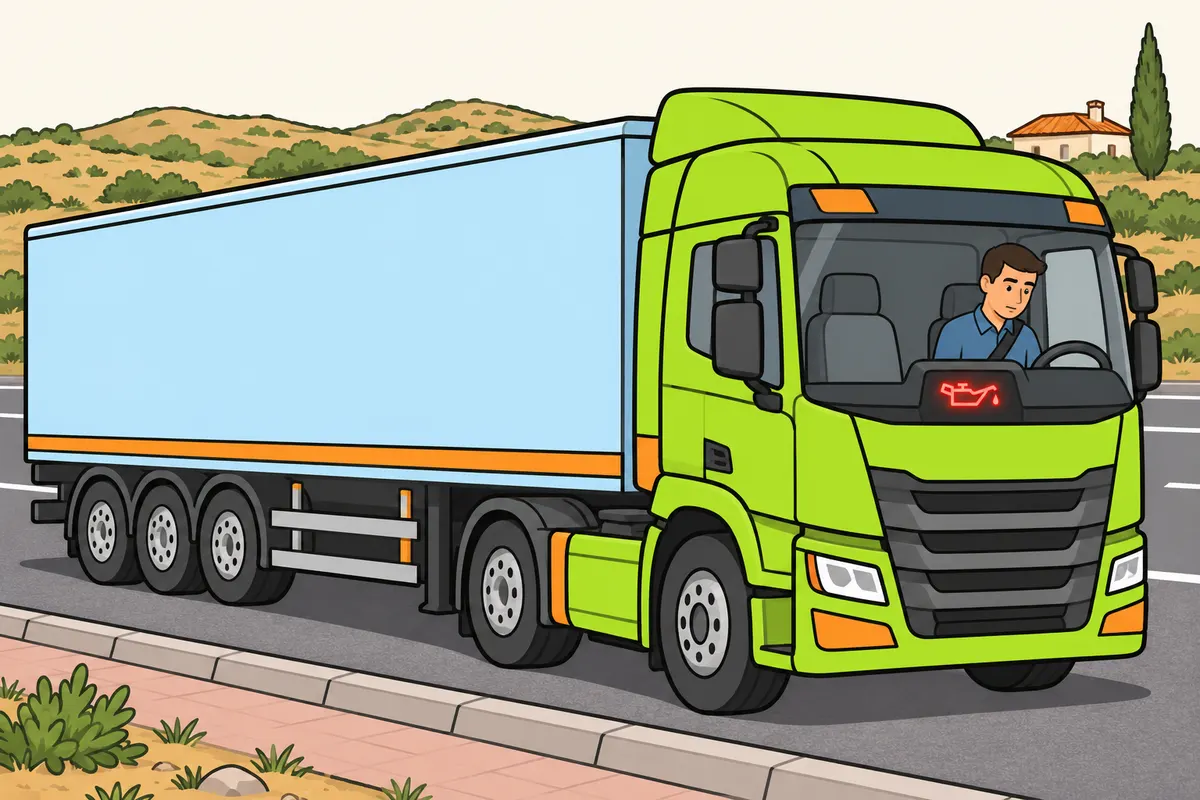
Read each dashboard warning and follow the action it requires.
Remember
- Check warning lamps and read screen messages.
- Do not decide from the warning’s colour alone.
- For serious oil, temperature or brake warnings, stop safely.
- With insufficient lubrication pressure, switch off the engine after stopping.
- With a brake air warning, also secure the combination against movement.
- Act on the charging warning even if your engine keeps running.
Exam trap: Wrong: every amber warning lets you finish the route. Right: check its meaning, symptoms and instructions without distracting yourself while driving.
Read the full explanation
- When you switch on the ignition, check that the warning lamps perform the expected check and that the relevant warnings go out when the system is ready. Read the display messages too: the colour gives an indication of urgency, but the specific warning determines its meaning and the action required.
- A serious oil, temperature or brake alarm requires you to stop safely and follow the relevant instruction. If the warning indicates insufficient lubrication pressure, you must switch off the engine after stopping the vehicle; if it concerns the braking air supply, you must also secure the combination against movement.
- An electrical charging warning lamp that stays on with the engine running may indicate a generation or power supply problem. You must attend to it and request an inspection: the engine continuing to run does not guarantee that you can keep the combination's lights, control units and other electrical systems working indefinitely.
- Do not treat every amber warning as permission to finish the route. Check its meaning, the symptoms and the manufacturer's instructions; note when it appears, whether it changes as you drive and what other warnings accompany it, without operating displays or carrying out distracting tests while driving.
22Noise, overheating and blowouts
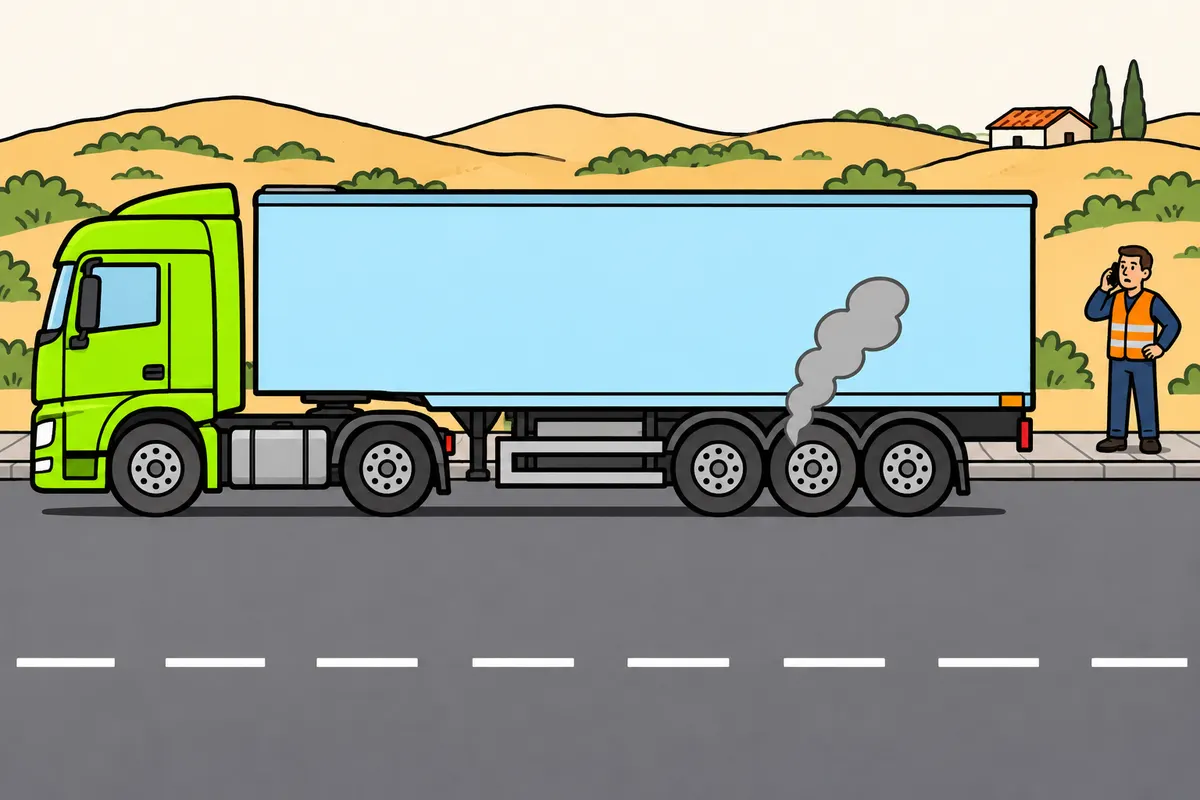
Keep control and find a safe stop for unusual noise, heat or a blowout.
Remember
- Investigate noises and vibration as soon as possible.
- If control may be affected, reduce demands and find a safe stopping place.
- Do not touch a hot wheel or keep driving to cool it.
- Keep people away if fire or tyre failure is possible.
- For a blowout, hold the steering firmly and slow down without sudden movements.
- If heat weakens your brakes, stop without creating a greater risk.
Exam trap: Wrong: brake harshly after a blowout. Right: slow down under control and check for associated damage.
Read the full explanation
- If abnormal noises or vibrations occur, you must investigate their cause as soon as possible. Reduce the demands on the vehicle and look for somewhere safe to stop when they may affect control; accelerating through the vibration range or waiting for it to disappear by itself leaves the defect unresolved.
- A strong smell of brakes, smoke or abnormal heating of a wheel may indicate a binding brake, a bearing problem or another fault. Do not touch hot parts or keep driving to cool them; request an inspection and keep people away if there is a risk of fire or tyre failure.
- If a tyre blows out, hold the steering firmly, avoid abrupt corrections and reduce speed in a controlled way until you stop somewhere safe. Harsh braking or a sudden turn can destabilise the combination; also check for possible damage to twin tyres, lines, bodywork and fastenings.
- If the brakes lose effectiveness through heat, you must treat this as a safety problem and stop where you can do so without creating a greater risk. The use of gears and engine braking on descents is covered in «Driving techniques for heavy vehicle combinations»; cooling the system does not replace finding out why it has overheated.
23Breakdown equipment and pre-departure inspection
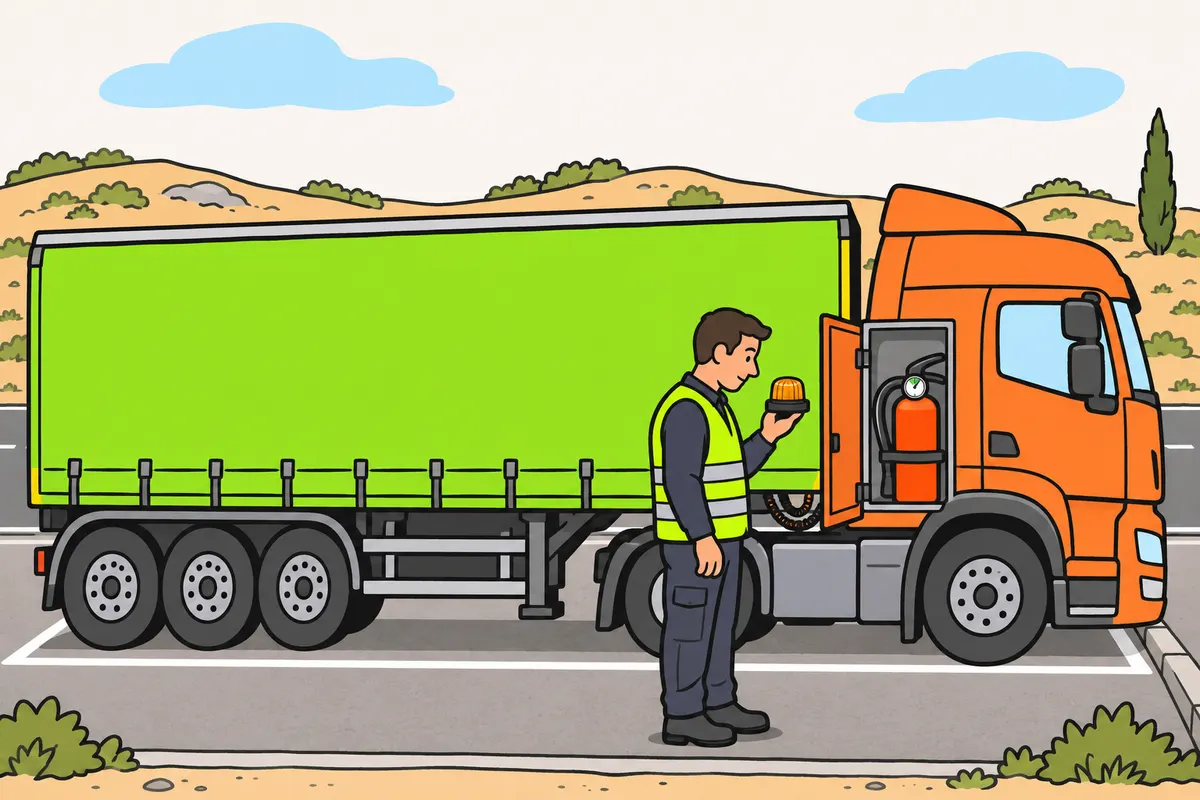
Check your compulsory equipment and its condition before setting off.
| Goods vehicle or combination | Equipment you must check |
|---|---|
| Goods vehicles above 3,500 kg MMA; non-special combinations | Certified connected V-16, high-visibility vest and fire extinguisher |
| Goods vehicles up to 3,500 kg MMA | Spare or temporary-use wheel with tools, or alternative mobility system |
| Your C+E combination | Spare wheel not required |
Remember
- In your non-special combination, carry a certified connected V-16 beacon.
- Also carry a high-visibility vest and an approved, suitable, working fire extinguisher.
- Your C+E combination does not need a spare wheel.
- If you carry one, check its pressure, condition and security.
- If a breakdown prevents safe driving, secure the combination and mark its presence.
Exam trap: Wrong: every C+E combination must carry a spare wheel. Right: it is not compulsory; check the other required equipment.
Read the full explanation
- Before setting off, check that you carry a connected, certified V-16 beacon, a high-visibility vest and an approved, suitable fire extinguisher in working order: this equipment is compulsory in goods vehicles with an MMA (maximum authorised mass) over 3,500 kg and in non-special vehicle combinations. [RGV, annex XII.1.a-b and 2](https://www.boe.es/buscar/act.php?id=BOE-A-1999-1826#anxii).
- For your C+E combination, annex XII does not require you to carry a spare wheel; if you carry one, check its pressure, condition and securing. For goods vehicles with an MMA up to 3,500 kg, it requires a spare or temporary-use wheel with tools, or an alternative system that ensures mobility. [RGV, annex XII.1.c and 2](https://www.boe.es/buscar/act.php?id=BOE-A-1999-1826#anxii).
- If a breakdown prevents you from continuing safely, you must immobilise the combination and mark it as a hazard in accordance with [RGC, art. 130](https://www.boe.es/buscar/act.php?id=BOE-A-2003-23514#a130). Consult «Responding to accidents and breakdowns», in «Stopping the combination without creating another danger», «Hazard warning lights, position lights and end-outline marker lamps», «Mandatory connected V-16 beacon», «Placing the beacon on a high cab», «High-visibility vest and leaving the cab» and «Requesting assistance for the combination and its load». For equipment, consult «Safety devices for the vehicle combination», in «Connected V-16 beacon and mandatory equipment», «High-visibility vest» and «Fire extinguishers for goods vehicle combinations».
24When you can resume driving
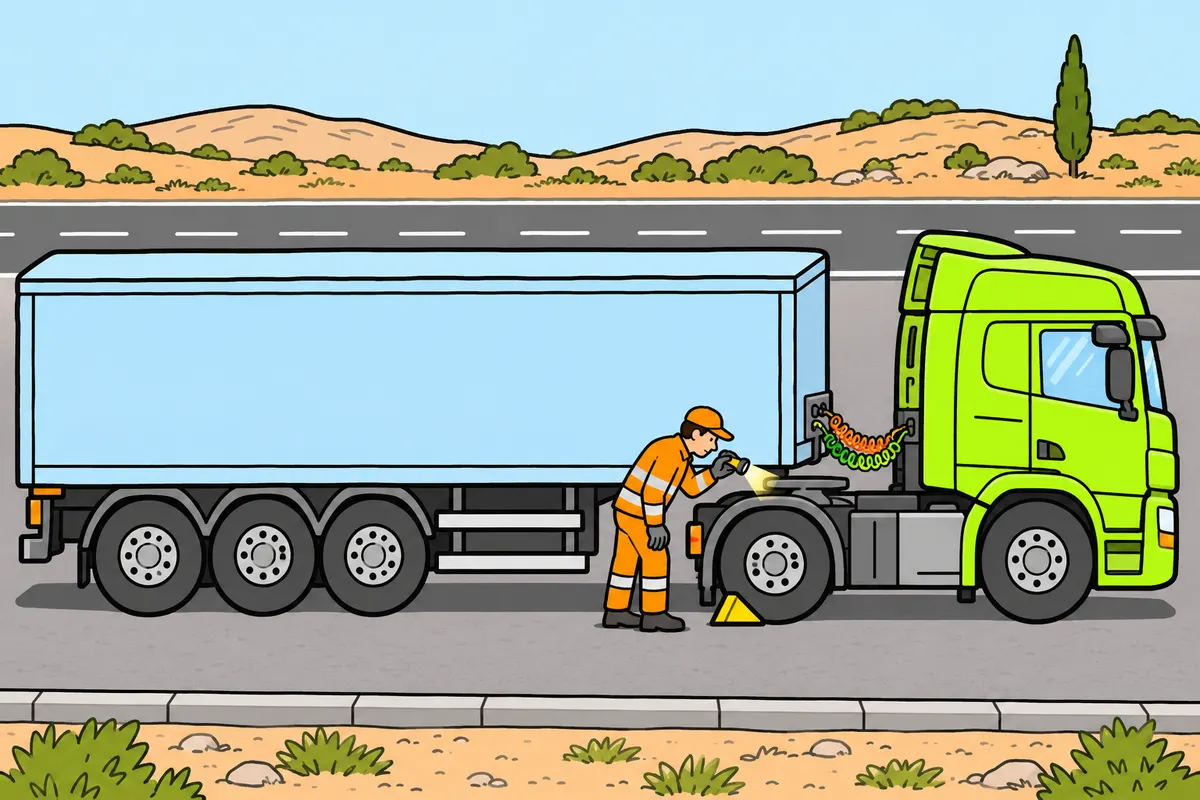
Resume driving only when you have restored safe conditions.
Remember
- Check that the cause is resolved and no associated damage remains.
- Recheck parts affected by the work.
- Keep stationary with major brake, steering, tyre or coupling defects.
- Request suitable assistance; do not improvise with chains or cables.
- If an unrepairable roadside fault forces you to use weaker lights, reduce speed.
- You must stop within the lit area and maintain safe conditions.
Exam trap: Wrong: a warning disappearing after restarting proves a repair. Right: check the cause and associated damage before continuing.
Read the full explanation
- Before continuing, you must check that the cause is resolved and that no associated damage remains. Recheck wheels, locking mechanisms, connections, supports and warnings if the work has affected them; a warning lamp going out after you restart the ignition does not by itself prove that a repair is complete.
- If a fault that cannot be repaired en route forces you to use less intense lighting, you must reduce speed so that you can stop within the illuminated area. This rule does not authorise you to drive without visibility or safe conditions. [RGC, art. 107](https://www.boe.es/buscar/act.php?id=BOE-A-2003-23514#a107).
- With serious defects in the brakes, steering, tyres or mechanical coupling, you must keep the combination immobilised and use suitable assistance. A towed vehicle without effective brakes does not become safe because the towing vehicle can pull it; you must not improvise recovery with makeshift chains or cables either.
- Report and record what happened so that follow-up action takes place. A temporary repair may require a later inspection, replacement parts or a technical check before another transport operation; keep the workshop's information and distinguish between resolving the symptom and restoring the combination's safe condition.
25ITV (vehicle roadworthiness test) and maintenance between inspections
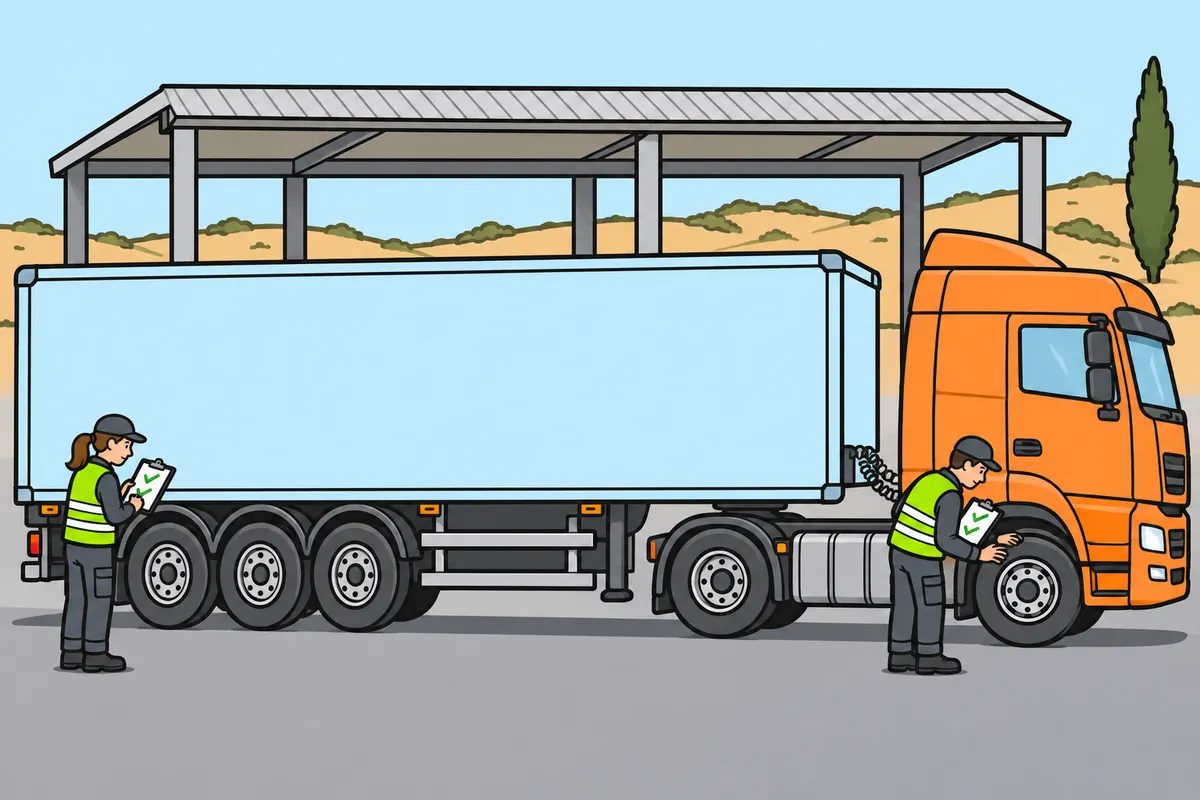
Check each vehicle’s ITV and keep your combination safe between inspections.
| ITV for N2 and N3 vehicles, and O2, O3 and O4 goods trailers | What you may do |
|---|---|
| Favourable | Drive if safe; repair minor defects |
| Unfavourable | Only permitted journeys to a workshop or for compliance corrections, then back to ITV |
| Negative | Transport using means other than the vehicle itself |
Remember
- Check your towing and towed vehicles’ ITV separately.
- For the listed categories: annual through ten years old, then every six months.
- After a favourable result, repair minor defects within two months.
- After unfavourable or negative results, get reinspection within two months.
- Put your towing vehicle’s V-19 inside the windscreen’s upper right-hand corner.
- If your towed vehicle has no windscreen, display its sticker somewhere clearly visible.
Exam trap: Wrong: an unfavourable ITV allows normal driving during the repair period. Right: only permitted journeys are allowed; a favourable result also requires you to address later faults.
Read the full explanation
- You must check the ITV of the towing vehicle and the towed vehicle separately. For N2, N3 and O2, O3 or O4 goods trailers, the routine inspection is annual up to ten years and every six months over ten years. [RD 920/2017, art. 6](https://www.boe.es/buscar/act.php?id=BOE-A-2017-12841#a6).
- With a favourable result, you may have minor defects: you must repair them within a maximum of two months. With an unfavourable result, you may only make the journeys permitted by the regulations to a workshop or to bring the vehicle into compliance and back to the ITV centre; with a negative result, you must use external means to transport the vehicle. You must have the vehicle reinspected within a maximum of two months. [RD 920/2017, arts. 9 and 11](https://www.boe.es/buscar/act.php?id=BOE-A-2017-12841#a1-3).
- Place the towing vehicle’s V-19 sticker inside, in the top right-hand corner of the windscreen; on a towed vehicle without a windscreen, place it somewhere clearly visible. Each sticker certifies its own vehicle. [RGV, Annex XI, V-19](https://www.boe.es/buscar/act.php?id=BOE-A-1999-1826#v-19). A favourable inspection does not replace your duty to keep the combination safe between inspections.
- Prepare for the inspection by checking known defects and keep the inspection report for maintenance purposes. You can find more detail on inspection intervals and documents in «Driver and vehicle combination documentation»; commercial vehicles may undergo roadside technical inspections that detect faults which develop even while your ITV remains valid. [RD 563/2017, arts. 1 and 2](https://www.boe.es/buscar/act.php?id=BOE-A-2017-6512).
Daily walk-round before moving off
Walk round the combination in a consistent order and finish with a functional check.
- Immobilise the combination and check the ground, surroundings and any leaks.
- Walk round both sides and the rear: tyres, inner twin tyres, rims, lights, reflectors and loose parts.
- Check that the coupling is locked, the hoses and connectors are in good condition and the supports are in their transport position.
- Check fluid levels as specified by the manufacturer, and clean windows, mirrors and lamp lenses.
- Adjust your seat and mirrors; check the windscreen wipers, washers and dashboard warnings.
- Wait for the correct air pressure and check the lights and brake response in a safe area.
- Rectify safety defects before joining traffic and report those requiring workshop attention.
Checking tyres and twin wheels
Combine measurement and observation; neither replaces the other.
- Identify the vehicle category, the permitted tyres and the pressure specified for the load and tyre configuration.
- With the tyres cold, measure all pressures, including the inner tyres, and inspect valves and valve extensions.
- Measure tread depth in the main grooves and examine the full circumference and sidewalls.
- On twin wheels, check that the tyres are correctly matched and spaced and that no objects are trapped between them.
- Inspect rims and fastenings; arrange safe repairs if you find damage, repeated pressure loss or signs of loosening.
Low air pressure warning
Maintain control and ensure the combination is securely immobilised.
- Before moving off, keep the combination immobilised until the system is within its operating range and completes its checks.
- If the warning appears while driving, find a safe place to stop without continuing to use up air through unnecessary brake applications.
- Immobilise the towing and towed vehicles and request assistance if there is a leak, pressure fails to recover or the warning persists.
- Do not disable warning devices, spring brake chambers or connections to allow you to continue.
- Resume driving only once the fault is rectified and the response of the whole combination is checked.
Reporting a breakdown to the assistance service
Provide useful details so the service can assist a heavy vehicle combination.
- Once you have made the scene safe as described in «Responding to accidents and breakdowns», give your location and direction of travel.
- State whether you are driving an articulated vehicle or a road train and which part has the fault.
- Report any warning lights, messages, noises, leaks or loss of response you observe.
- Request equipment suitable for the combination and avoid repairs alongside traffic.
Check what you know
Real questions from the bank on this topic. Pick an answer to see the explanation.
Finished this module?
Mark it as read and you will see your progress on the theory list.