
Theory · AM Licence - Moped · Module 15 of 18
Moped riding techniques
You learn how to position your body, operate the controls and coordinate moving off, braking, bends and slow manoeuvres on your moped. You learn to adapt your technique to a passenger, choose a lawful road position, assess overtaking and recognise the AM practical manoeuvres, including distinctions that may appear in the exam.
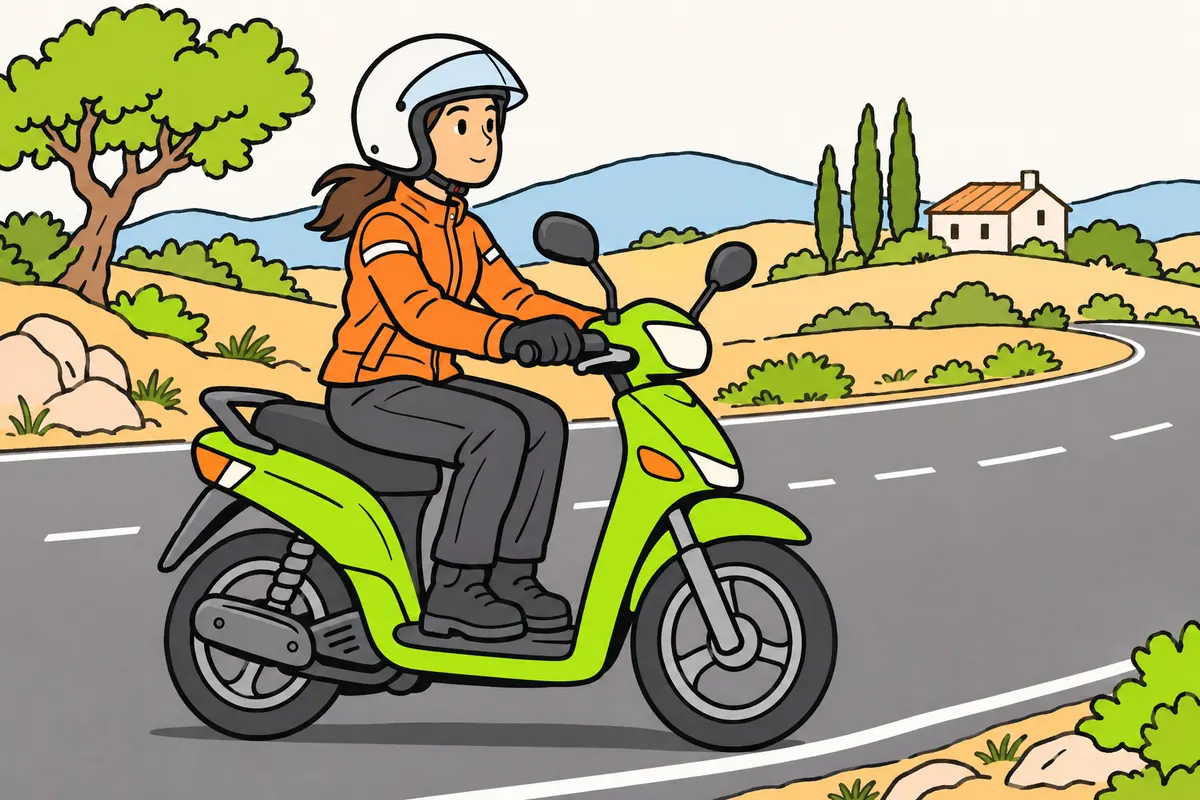
1A posture that gives you control
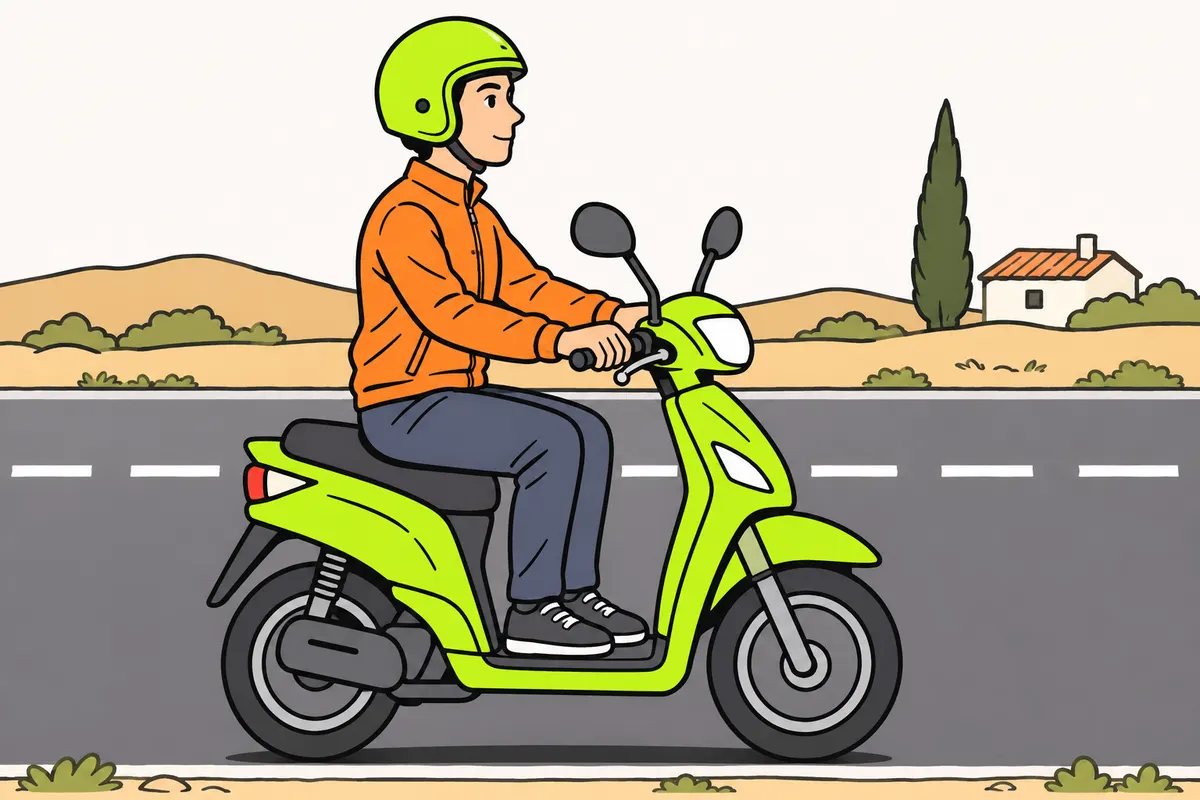
Position yourself to reach the controls and keep control.
Remember
- Sit steadily and keep your head up.
- Keep your arms slightly bent, without putting your weight on the handlebars.
- Hold the handlebars without becoming stiff.
- Keep your feet on the supports provided for your model.
- Stop somewhere suitable to adjust clothing, mirrors or objects.
Exam trap: Wrong: ride with rigid arms. Right: keep your arms slightly bent.
Read the full explanation
- You must maintain control, freedom of movement, the necessary view and attention to your riding. Choose a position from which you can reach the controls without moving your body each time you operate them; adapt your posture to the design of your moped. [RGC, art. 18](https://www.boe.es/buscar/act.php?id=BOE-A-2003-23514#a18).
- Sit in a stable position, with your head up and your arms slightly bent. Avoid locking your elbows or putting all your weight on the handlebars: you need a sensitive touch to steer and brake, as well as the ability to absorb small irregularities in the road surface.
- Hold both handlebar grips firmly without tensing up. Keep your wrists in a comfortable position that allows you to close the throttle and reach the levers; an awkward posture can make you accelerate unintentionally when you try to hold on.
- Keep your feet on the footrests or the platform provided, close to the controls you need to operate. On a model with a fuel tank between your legs, keep your knees close to it; on a scooter, adapt this advice to its platform and bodywork.
- Keep your hands on the handlebars while riding, except for a necessary and safe action, such as a prescribed arm signal. To adjust clothing, a mirror or an object, find a suitable place and stop; practising balance with your hands off the handlebars compromises your control. [RGC, art. 17](https://www.boe.es/buscar/act.php?id=BOE-A-2003-23514#a17).
2Observation, mirrors and your path
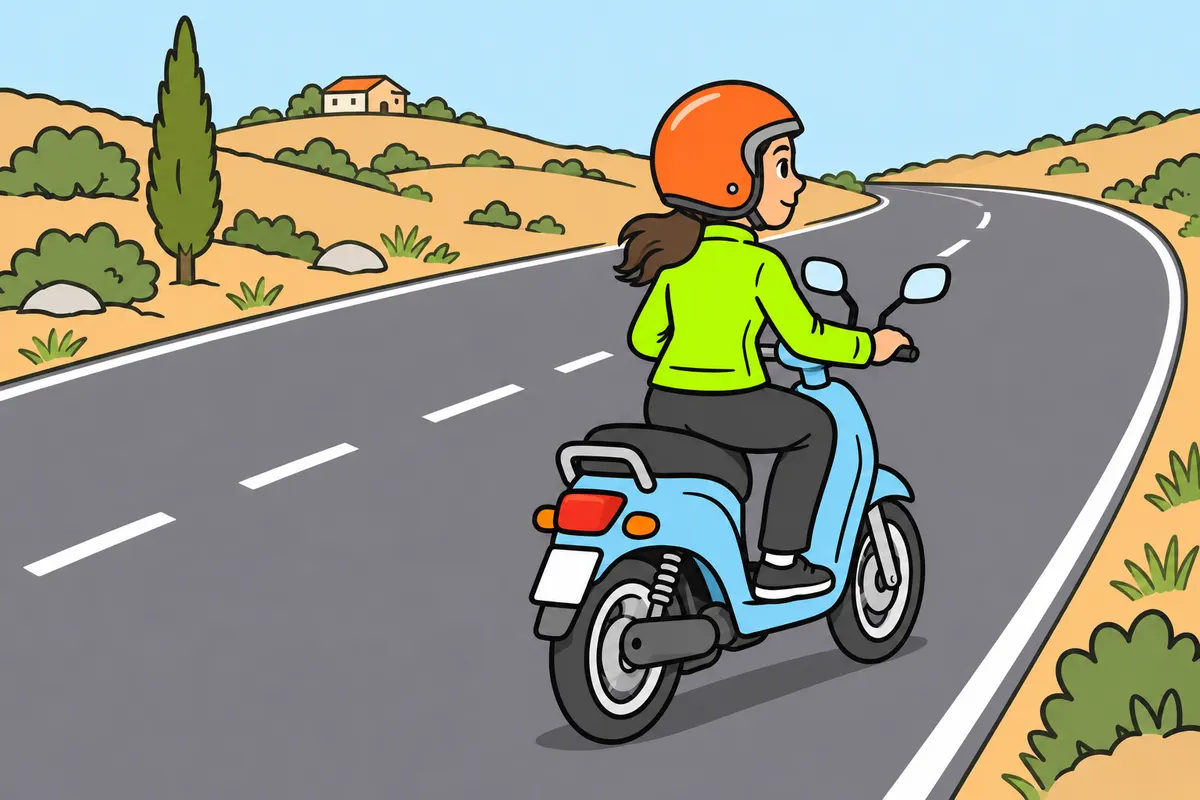
Look along your path and check what happens around you.
Remember
- Adjust your mirrors while stationary.
- Alternate between looking ahead and checking the nearby road surface.
- Check your mirrors frequently.
- Before moving sideways, check your blind spot directly when necessary.
- Keep your attention ahead too.
- Slow down if a vehicle blocks your view of a junction.
Exam trap: Wrong: stare at the obstacle. Right: look for a safe path.
Read the full explanation
- Adjust your mirrors with the vehicle stationary and yourself in your riding position. Check that you can see what is happening behind with brief glances, without continually changing position or adjusting the mirror while moving.
- Look towards the space you intend to ride through and alternate between looking well ahead and at the road surface nearby. If you look only at the front wheel, you detect changes of direction, obstacles and other road users’ decisions too late.
- Check your mirrors frequently, even when you are not yet about to manoeuvre. Before moving sideways, also check the blind spot with a brief direct glance when necessary, while keeping enough attention on what is ahead.
- Avoid staring continuously at a kerb, a marker pole or a vehicle you fear hitting. Look for the safe path and the space to exit; this habit helps both on a bend and during low-speed manoeuvres.
- Watch the wheels, indicators and position of nearby vehicles to anticipate movements. If a large vehicle hides a junction or crossing, slow down and keep a safety margin: you cannot replace visibility with confidence that others have seen you. [RGC, art. 45](https://www.boe.es/buscar/act.php?id=BOE-A-2003-23514#a45).
3Identify the controls on your model
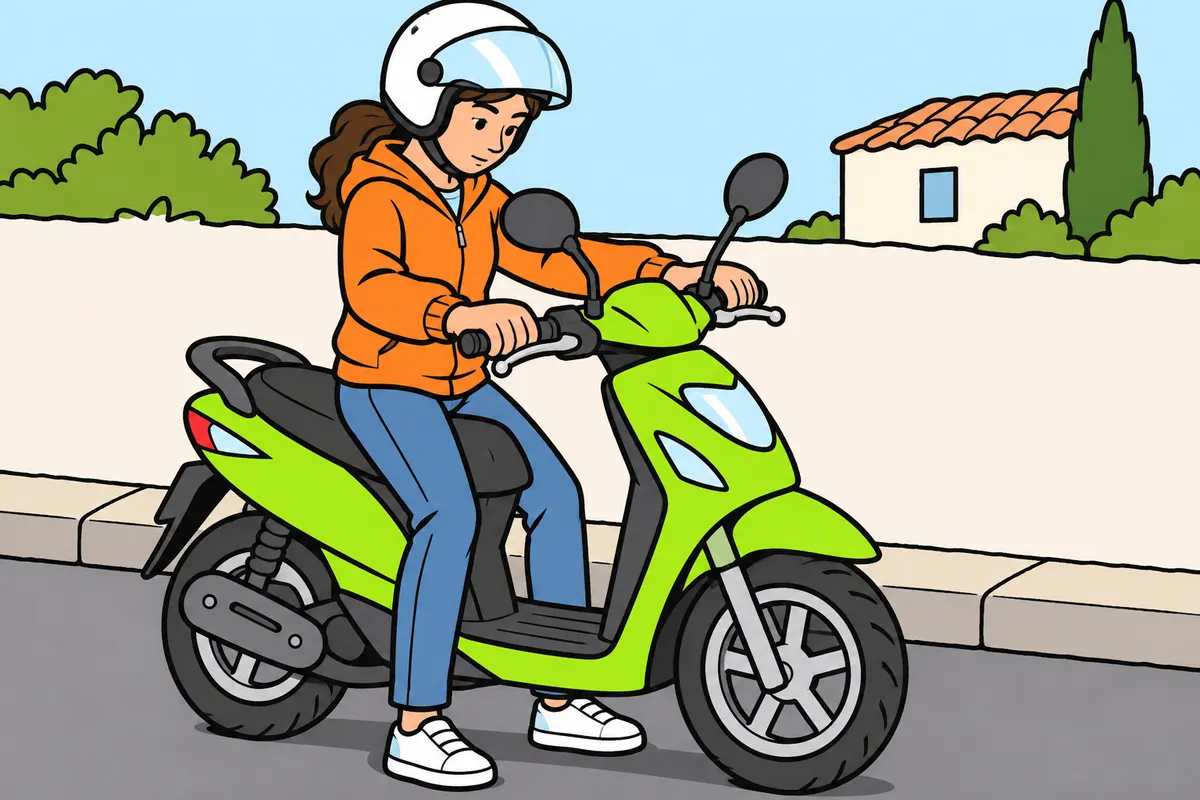
Learn what each control does on your own vehicle.
| Vehicle | Left lever | Rear brake |
|---|---|---|
| Many automatic scooters | Rear brake | Left lever |
| Conventional moped with manual clutch | Clutch | Right pedal |
Remember
- Check their positions while stationary.
- Follow the manual for your model.
- Close the throttle when braking.
- Check how your combined braking system shares braking force.
- Learn the quadricycle’s own controls if you drive one.
Exam trap: Wrong: always expect the left lever to operate the clutch. Right: check your model.
Read the full explanation
- Before starting, locate the throttle, brakes, starter, ignition, indicators and horn. If you have manual gears, also identify the clutch and gear selector; practise reaching them with the vehicle stationary and follow the manufacturer’s manual.
- With a conventional two-wheeled layout, you operate the throttle by twisting the right-hand grip and the front brake with the right-hand lever. You must be able to close the throttle while braking without confusing the two actions or continuing to accelerate because of poor wrist position.
- On many automatic scooters, the left-hand lever operates the rear brake. On a conventional moped with a manual clutch, the left-hand lever operates the clutch, the right-hand pedal operates the rear brake and the gear selector is usually on the left: check your particular vehicle.
- A combined braking system can distribute the action of one control between both wheels. Identify what each control does and how you must use it; the system’s distribution does not entitle you to apply instructions for another model as though all models were the same.
- If you drive a light quadricycle with a steering wheel and pedals, learn its layout and its particular transmission. Do not automatically apply instructions for scooter levers to that vehicle or assume that all AM vehicles have a manual clutch.
4Preparation before setting off
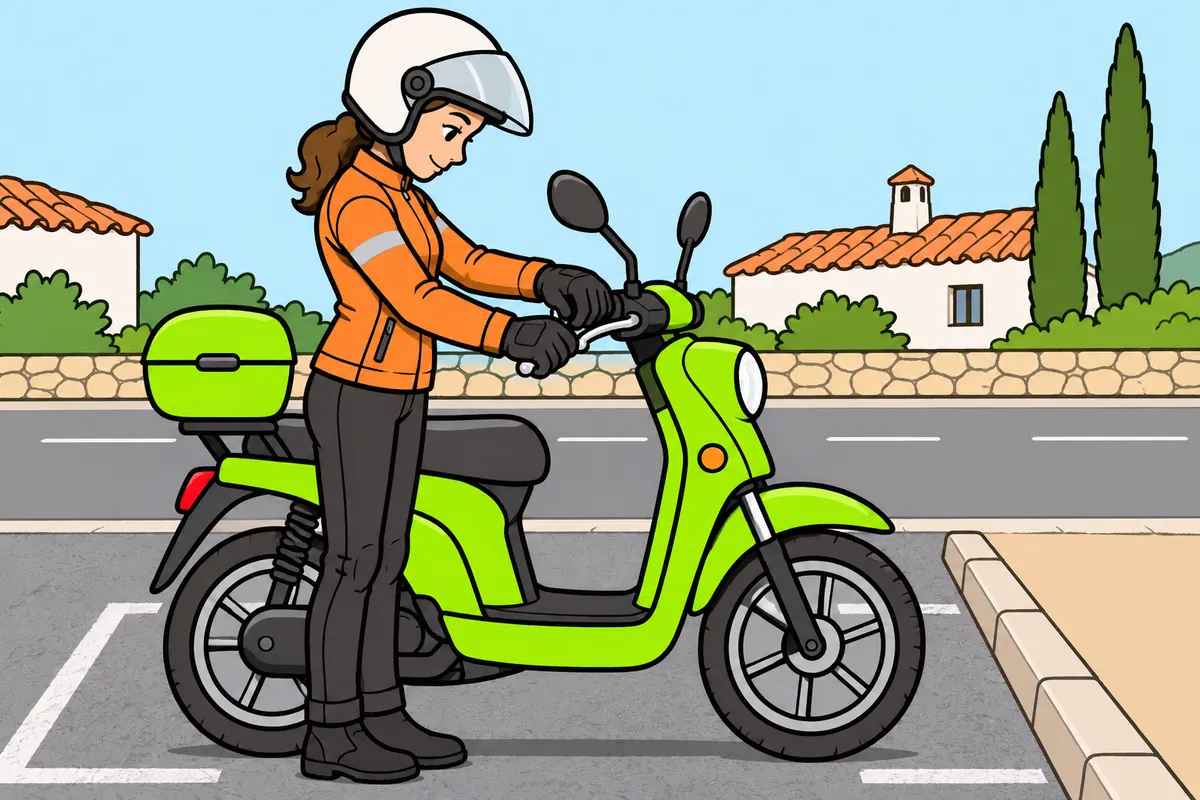
Check your vehicle and plan a permitted route before setting off.
Remember
- Do not enter autopistas or autovías on your moped.
- Check tyres, brakes, steering, mirrors and controls.
- Secure objects in the spaces provided.
- Retract the stand and keep loose clothing away from the wheels.
- Adjust your protective equipment before starting.
- Practise under supervision to adapt to another model.
Exam trap: Wrong: hang a bag from the handlebars. Right: use the storage spaces without obstructing controls.
Read the full explanation
- Plan a route suitable for your moped, even on familiar journeys. You cannot use autopistas (motorways) or autovías (dual carriageway motorways) on it; planning your route prevents you from reaching a prohibited entrance and having to improvise a dangerous manoeuvre. [RGC, art. 38](https://www.boe.es/buscar/act.php?id=BOE-A-2003-23514#a38).
- Before setting off, carry out practical checks of the tyres, brakes, steering, mirrors and response of the controls. A fault in any of these can prevent you from controlling the vehicle even at low speed; detailed mechanical checks are covered in the “The moped and its equipment” module.
- Position and secure objects without obstructing the controls or restricting your view or movements. A bag hanging from the handlebars can interfere with turning; use the storage spaces provided and respect your vehicle’s permitted load. [RGC, art. 18](https://www.boe.es/buscar/act.php?id=BOE-A-2003-23514#a18).
- Check that the stand is retracted before moving and that no loose clothing or straps are near the wheels or transmission. Adjust your protective equipment before starting; do not wait until you are riding to discover that a glove prevents you from reaching a lever properly.
- Familiarise yourself with the feel of the throttle and brakes during supervised practice in a suitable place. Changing mopeds requires adaptation even if both are automatic: the weight, turning radius and initial response may differ.
5Starting and moving off smoothly
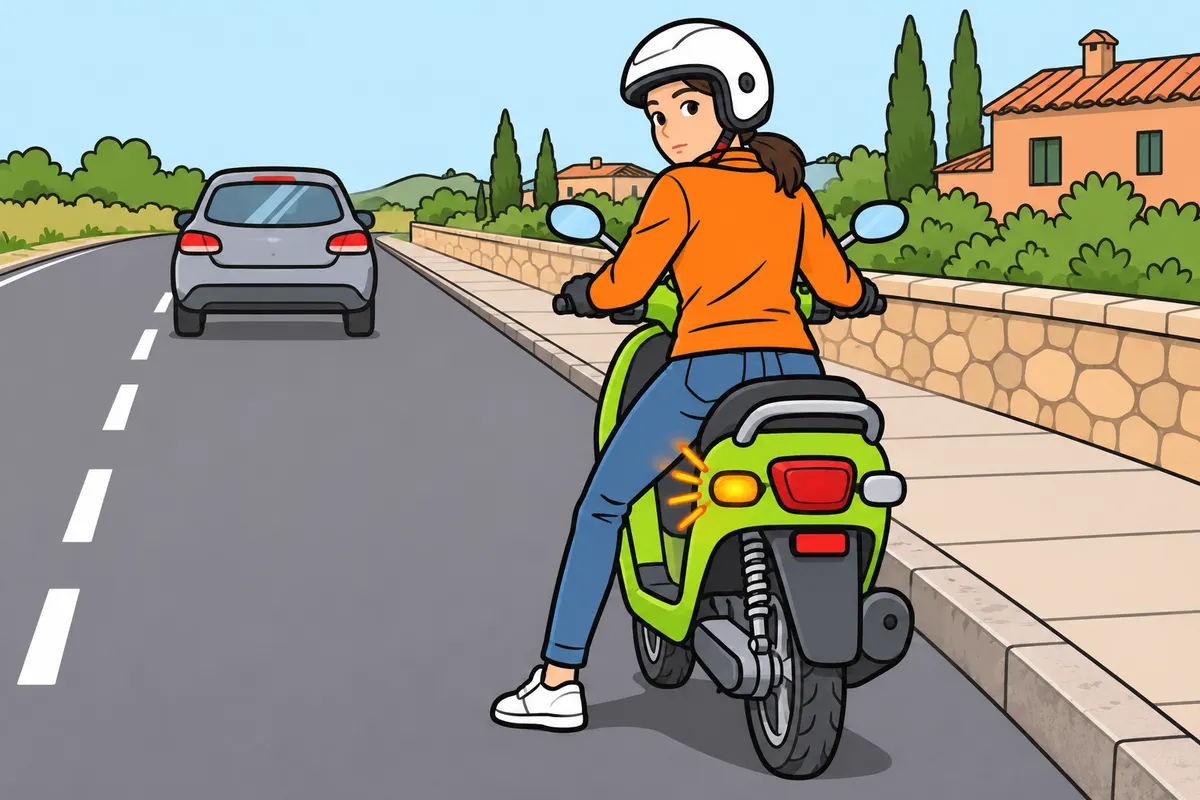
Move off smoothly and give way before joining traffic.
| Moped type | How you move off |
|---|---|
| Automatic | Prepare with the throttle closed, then accelerate gradually |
| With manual clutch | Coordinate moderate throttle with gradually releasing the clutch |
Remember
- Follow the starting instructions for your model.
- Do not disable its safety devices.
- Look behind and to both sides before moving off.
- Check the space, signal and give way.
- If you lose balance, regain a safe position before trying again.
Exam trap: Wrong: pull out because your engine is ready. Right: look, signal and give way.
Read the full explanation
- To start the engine, follow the manufacturer’s sequence and keep the vehicle stable. Depending on the model, you need to apply a brake, select neutral or meet another starting condition; do not disable safety devices.
- On an automatic, keep the throttle closed while preparing and accelerate progressively to move off. Twisting the grip too far can cause a sudden start; aim for enough initial drive to place your feet on their supports without dragging them.
- With a manual clutch, select the appropriate gear for moving off and coordinate moderate acceleration with progressively releasing the clutch. Learn to recognise the point where it begins to transmit drive; releasing it suddenly can stall the engine or cause a jerk.
- Before joining traffic from the edge of the road, look behind and to both sides, check the space and give way. Signal your intention to join and move when you can do so safely; having the engine ready does not give you priority to pull out. [RGC, art. 72](https://www.boe.es/buscar/act.php?id=BOE-A-2003-23514#a72).
- If the engine stalls or you lose stability while moving off, regain a safe position before trying again. Do not try to solve it by accelerating suddenly while looking down at the controls and moving without checking what is happening around you.
6Gear changes and gradients
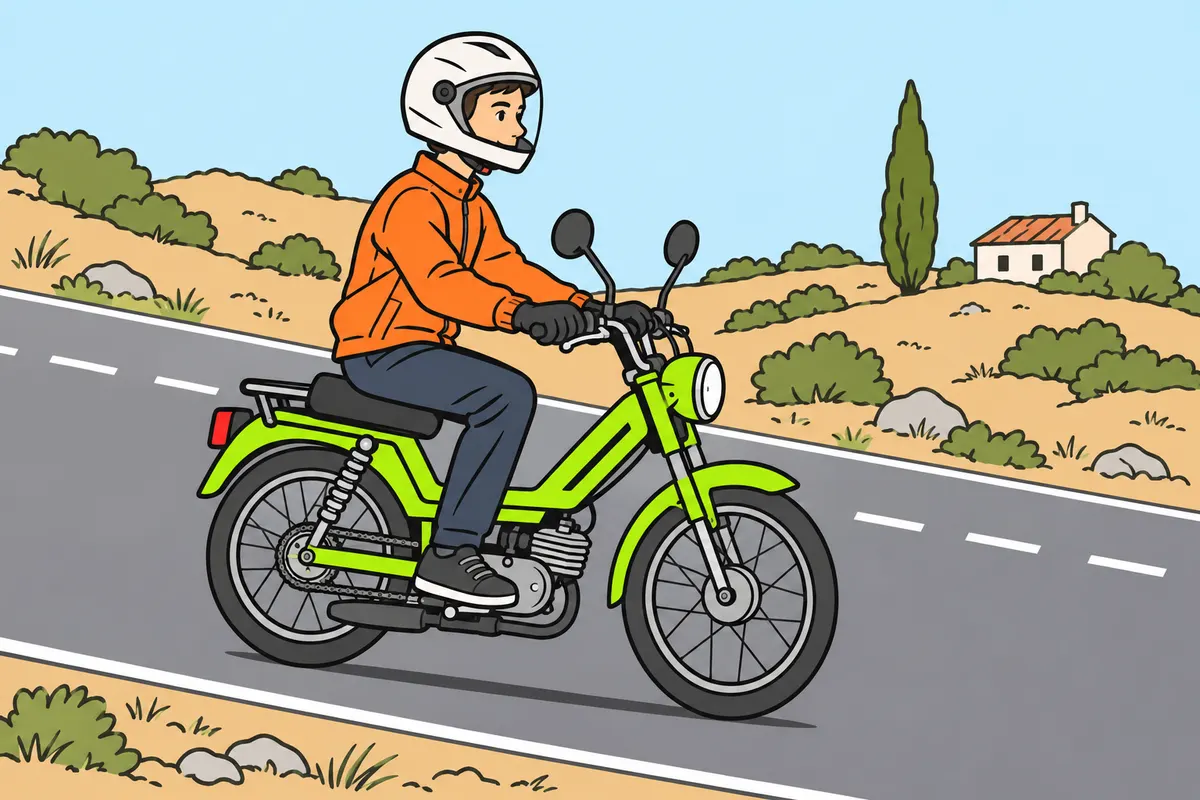
Adapt your transmission and braking to each slope.
| Your moped transmission | What you do |
|---|---|
| Manual | Choose a suitable gear and coordinate throttle and clutch |
| Automatic with variator | Use engine braking and controls as your manual instructs |
Remember
- Change gear smoothly and keep looking at the road.
- Avoid sudden downshifts, especially with poor grip.
- Use engine braking when your transmission allows it.
- Do not descend in neutral or hold the clutch in unnecessarily.
- Do not switch off the engine to go downhill.
- When starting uphill, coordinate releasing the brake with moving off.
Exam trap: Wrong: coast downhill in neutral. Right: use available engine braking and manage your brakes.
Read the full explanation
- With manual gears, coordinate the throttle, clutch and selector to change smoothly, and reapply drive progressively. Look at the road instead of looking for the pedal; you must learn to locate it with your foot without changing your posture or path.
- Choose a gear that allows a smooth response. Too high a gear at very low speed can cause jerking; a sudden downshift can upset your balance, especially if grip is poor or you are beginning a turn.
- On long descents, use engine braking in an appropriate gear when your transmission allows it. Avoid descending in neutral or holding the clutch in unnecessarily: you lose engine braking and place all the slowing effort on the brakes.
- On an automatic with a variator, use engine braking and the controls as instructed in the manual. You cannot select a gear that does not exist, and you must not switch off the engine to descend; manage the brakes and slow down before the descent forces you to use them continuously.
- When moving off on a slope, use the brake to prevent the moped from rolling backwards and coordinate its release with the start of drive. Practise this coordination under supervision: holding yourself in place with strong bursts of acceleration or pushing with your feet reduces precision.
7Normal stopping and putting a foot down
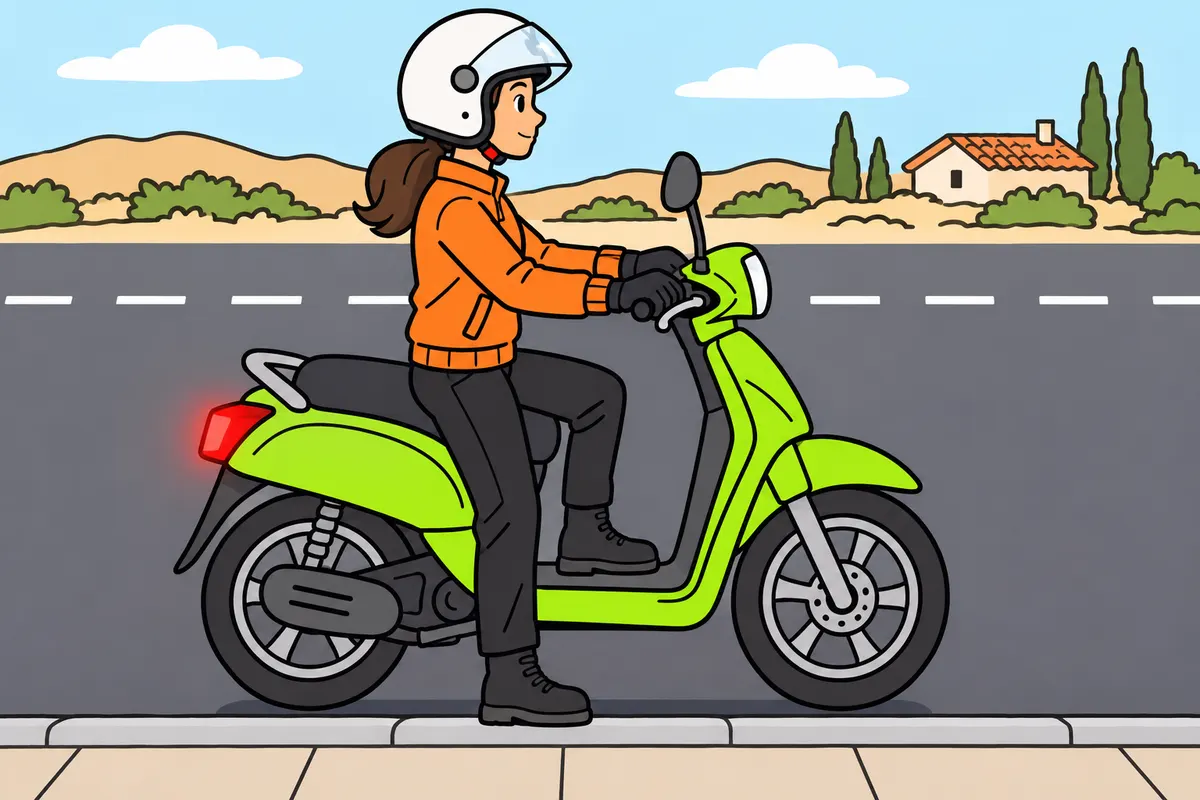
Prepare your stop and put your foot down as you finish stopping.
Remember
- Close the throttle and brake progressively.
- Check behind when you can do so safely.
- Warn before stopping or slowing considerably whenever possible.
- In immediate danger, brake without delaying to warn others.
- Keep your feet supported while moving.
- Finish with the handlebars nearly straight and find firm footing.
Exam trap: Wrong: drag your feet to stop. Right: brake and put a foot down when stopped.
Read the full explanation
- For a planned stop, close the throttle, check traffic behind when you can do so safely and apply the brakes progressively. Plan your slowing in advance so that you reach the stopping point with the moped stable and pointing forwards.
- Whenever possible, you must warn that you are about to stop or slow down considerably by repeatedly operating the brake lights or giving the prescribed arm signal. If there is immediate danger, prioritise the necessary braking: do not delay it to give a warning. [RGC, art. 109](https://www.boe.es/buscar/act.php?id=BOE-A-2003-23514#a109).
- With a manual clutch, operate it at the appropriate time to prevent the engine from stalling as you come to a stop. Do not disengage the transmission well in advance as a substitute for controlling your speed; follow the technique for your model.
- Keep your feet on their supports while you are still moving and prepare a stable footing as you complete the stop. Dragging your feet along the ground does not replace braking and can catch them or make you lose balance beside a kerb.
- Aim to finish with the handlebars close to straight ahead and assess the slope and surface irregularities before putting a foot down. Heavy braking with the steering turned sharply at low speed can unbalance you, even when you seem to be moving very little.
8Front brake and rear brake
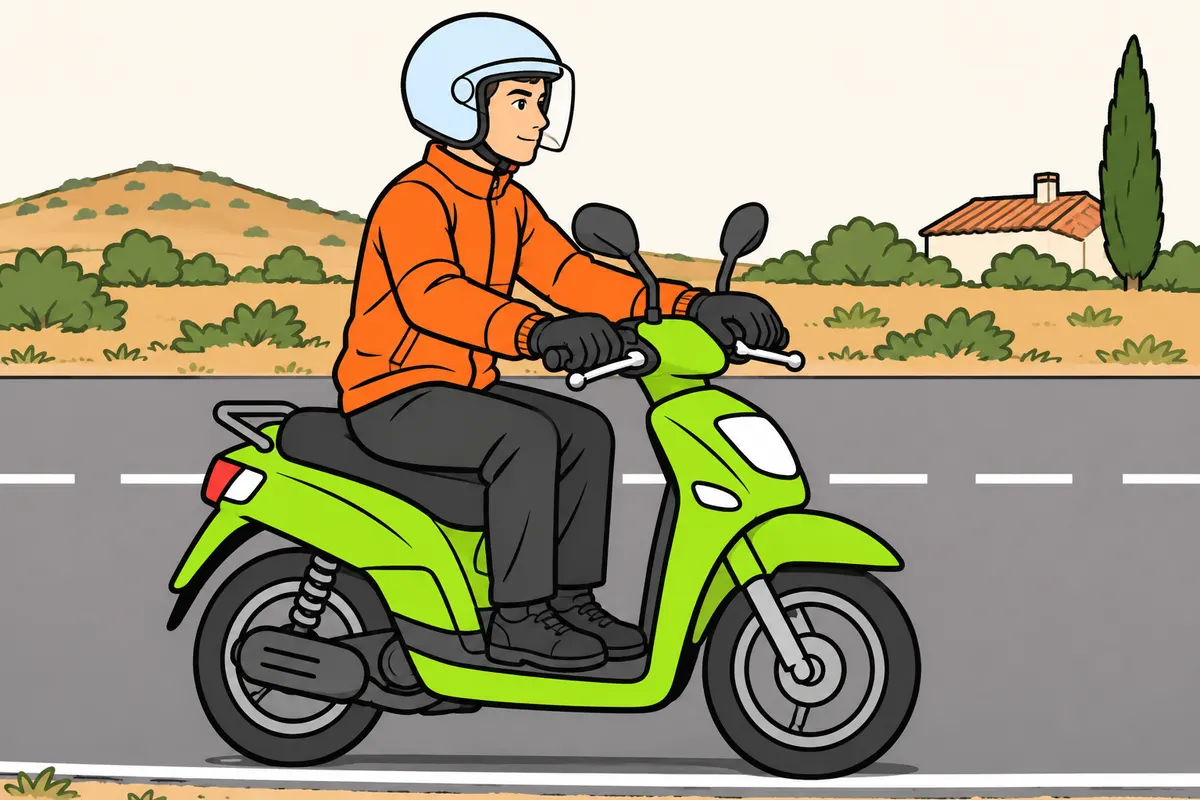
Coordinate both brakes according to grip and your moped’s response.
| Moped brake | Usual role when braking straight |
|---|---|
| Front | Usually provides most braking force |
| Rear | Helps stability; can lock as weight shifts forwards |
Remember
- Increase pressure in a controlled way.
- Avoid squeezing the controls suddenly.
- Do not pause between applying the brakes.
- Practise with an instructor on your own model.
Exam trap: Wrong: use only the rear brake through fear. Right: coordinate both for your vehicle and surface.
Read the full explanation
- In normal straight-line braking, use both brakes together and adjust pressure to the available grip. The front usually provides most of the deceleration and the rear helps stability; there is no universal percentage to apply to every moped and surface.
- Braking transfers more load onto the front wheel and unloads the rear. This means that squeezing the rear brake harder and harder does not guarantee better braking: if the wheel loses enough load, it can lock and slide even while the front still allows controlled braking.
- For normal braking on a good surface, you can gently begin applying the rear brake and immediately coordinate the front, without delaying the necessary slowing. Adapt this coordination to the vehicle’s system; do not turn the learning sequence into a pause between brakes.
- Increase pressure in a controlled way to use the available grip. A sudden application can lock a wheel, while insufficient pressure lengthens the braking distance; adapt the force to the response of the vehicle and the road surface.
- Practise the feel and coordination in controlled conditions with an instructor. Your reference is the actual response of the moped, its braking system and the surface, rather than the lever travel on someone else’s vehicle. [DGT, braking technique](https://www.dgt.es/muevete-con-seguridad/viaja-seguro/en-moto/).
9Emergency braking
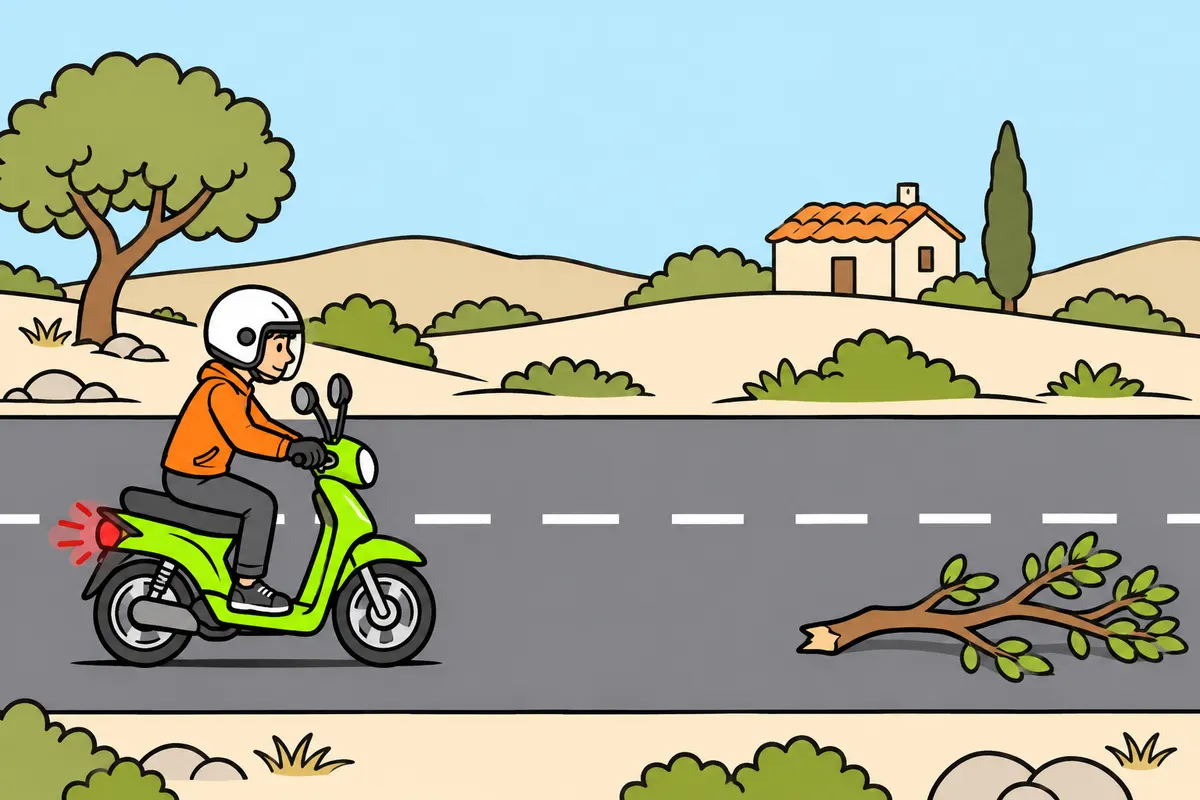
In danger, brake firmly with controlled pressure.
| Moped braking system | What you remember |
|---|---|
| Without ABS | Avoid locking the wheels |
| With ABS | Maintain necessary pressure without pumping; follow your manual |
| Combined braking | Shares braking between wheels; does not necessarily prevent locking |
Remember
- Close the throttle and look towards safe space.
- Keep your path as straight as possible.
- If a wheel locks, adjust pressure to let it turn again.
- Learn this response through practical training.
- In bends, adapt braking to grip and available space.
- Do not suddenly straighten up into oncoming traffic.
Exam trap: Wrong: think progressive braking means weak braking. Right: increase pressure firmly and with control.
Read the full explanation
- When a danger requires you to stop, close the throttle and apply the brakes decisively to use the available grip. Progressive braking means increasing pressure in a controlled way, rather than braking weakly or deliberately leaving the controls only partly applied.
- On a moped without ABS, avoid locking the wheels: this can make you lose steering control and cause a fall. Keep looking towards safe space, hold the handlebars without stiffness and keep your path as straight as possible.
- If you lock a wheel, you need to restore its rotation and adjust the pressure rather than continuing to increase a force that has already exceeded the available grip. Your response depends on the wheel affected and your stability; learn this response through practical training, without practising it in traffic.
- With ABS, follow the manufacturer’s instructions and maintain the necessary braking pressure without instinctively pumping when you feel it operating. The system prevents locking under the conditions for which it is designed, but does not guarantee unlimited turning or braking on every surface.
- Do not confuse ABS with combined braking: distributing the action between wheels does not mean preventing them from locking. You must also not copy, without adaptation, the instruction to press a car pedal fully down onto a two-wheeled moped with independent controls.
- If danger appears while you are leaning, brake in a controlled way according to the available grip and space. Returning upright can help if the safe path allows it; do not suddenly straighten up into oncoming traffic or give up braking because of a supposed absolute ban on braking in bends.
10Slippery surfaces and wet brakes
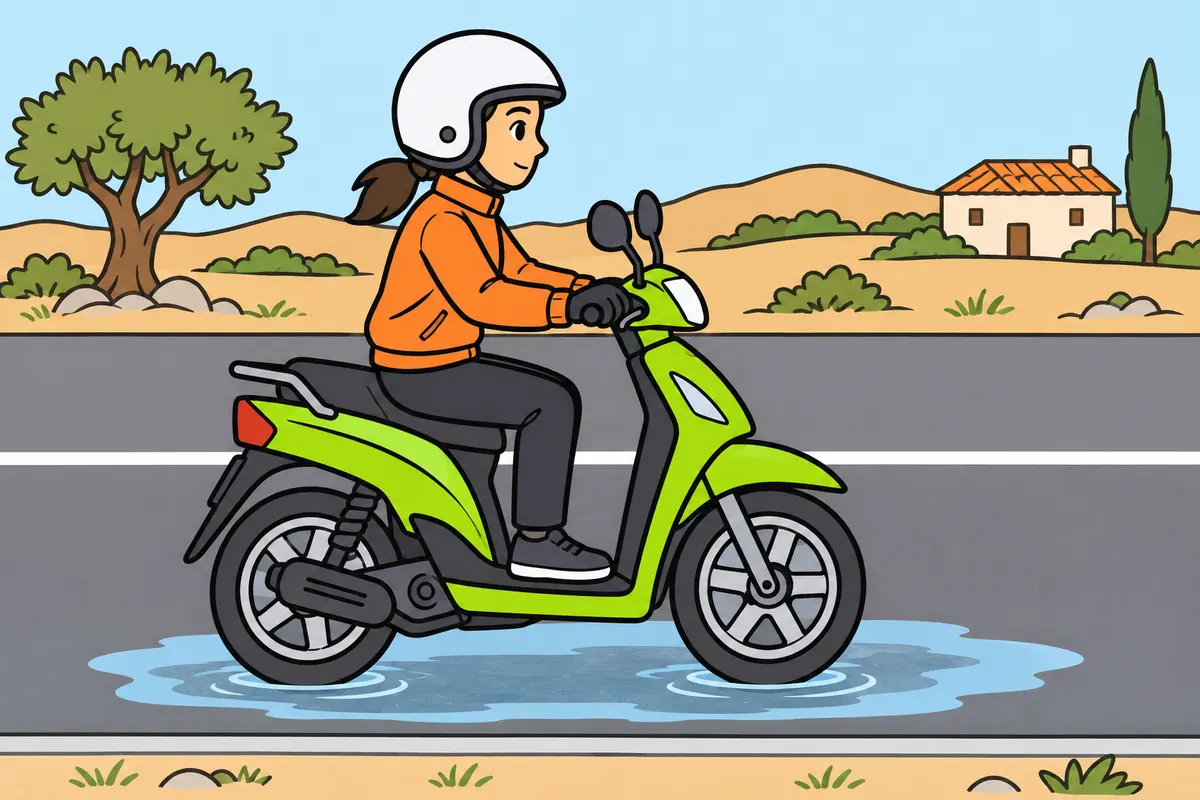
With poor grip, slow down beforehand and use the controls gently.
Remember
- Slow down before leaning your moped.
- Cross slippery areas as upright as possible.
- Before uneven surfaces, slow down and keep your arms and legs flexible.
- Cross only safe puddles, with a steady throttle and your feet supported.
- Afterwards, gently test the brakes at low speed without endangering others.
- If braking remains poor, stop and ask for assistance.
Exam trap: Wrong: assume brakes work the same after a puddle. Right: check their response as instructed by the manufacturer.
Read the full explanation
- With reduced grip, slow down before leaning and coordinate steering, throttle and brakes with smooth movements; cross the area with the moped as upright as possible and on a stable path.
- Before an uneven patch, moderate your speed and keep your arms and legs flexible to absorb it without transmitting sudden movements to the handlebars.
- If you need to cross a puddle that is safe to pass through, slow down beforehand and keep a steady throttle and your feet on their supports. Afterwards, check the brakes’ response at low speed with gentle applications, following the manufacturer’s instructions and without endangering others; if their effectiveness does not return, stop and request assistance. Consult the Risk factors when riding a moped module for the risks of road surfaces, rain and puddles.
11Preparing to enter a bend
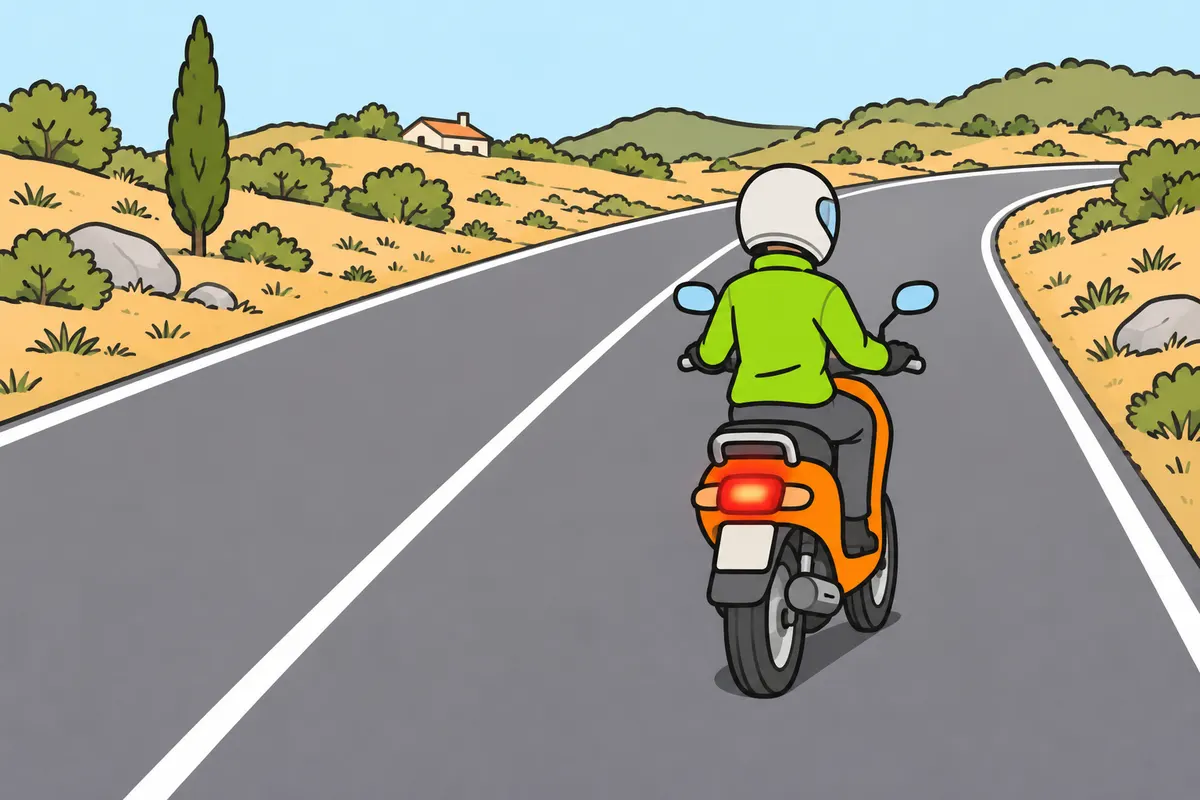
Prepare your speed and path before leaning into a bend.
Remember
- Assess the bend, surface, visibility and traffic.
- Choose a speed allowing you to stop for foreseeable obstacles within visible road.
- Do most slowing before leaning.
- Look along the bend and towards its visible exit.
- Leave space from the edge and oncoming traffic.
Exam trap: Wrong: assume riding below the limit is enough. Right: adapt your speed to the bend and visibility.
Read the full explanation
- Before a bend, assess its radius, visibility, surface and traffic. You must choose a speed that allows you to control the vehicle and stop for a foreseeable obstacle within the stretch of road you can see; being below the limit does not guarantee a safe entry. [RGC, art. 45](https://www.boe.es/buscar/act.php?id=BOE-A-2003-23514#a45).
- Do most of your slowing before leaning, with the moped as straight as possible. Coordinate the brakes and, where applicable, an appropriate gear to negotiate the bend smoothly; entering too fast leaves less margin to deal with anything that appears in it.
- Look along the bend and towards its visible exit, updating your observations as you move. Do not look towards a point you cannot see or assume a bend ends because it disappears from your field of view.
- Choose a path within the space you are legally entitled to use and leave a margin from the edge and oncoming traffic. Do not take a racing line that cuts across another lane; your aim is to retain visibility and spare grip.
- If a fast straight precedes the bend, avoid keeping the throttle open until the last moment. On a moped, stability and available space matter more than trying to maintain a speed that then forces you to brake sharply while leaning.
12Riding through and exiting a bend
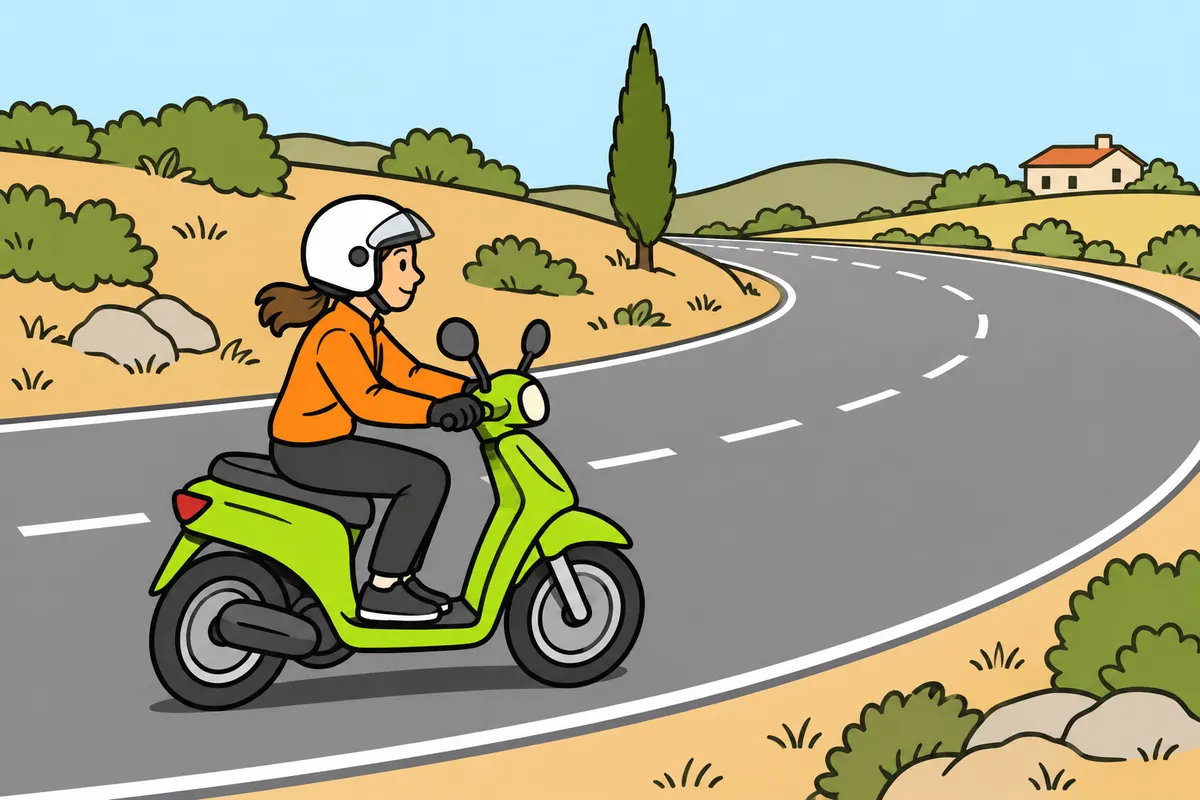
Ride through bends smoothly and accelerate when you confirm a safe exit.
Remember
- Lean gently and keep your feet supported.
- Keep the throttle steady or adjust it gently.
- If you need to brake while leaning, adapt force to grip.
- Avoid sudden braking or steering.
- Return upright gradually as you complete the exit.
Exam trap: Wrong: think you can never brake in bends. Right: brake sensitively if needed.
Read the full explanation
- Lean yourself and the moped smoothly according to the bend and speed, without violent handlebar movements. Keep a relaxed posture and your feet supported; routinely putting a foot out onto the road does not increase tyre grip.
- Keep the throttle steady or adjust it gently through the bend, avoiding sudden closing and opening. If you have a passenger, sudden movements can affect balance even more because they shift the combined mass of the vehicle and its occupants.
- The tyres need grip both to change direction and to brake. The more lateral demand you place on them, the less margin remains for another forceful action; sudden braking while leaning can therefore destabilise even a vehicle whose brakes work correctly.
- If you need to slow down within the bend, do so sensitively, adapting force to grip without sudden pressure on the front brake. Look towards the safe path and avoid correcting with a sharp turn; ABS does not remove the limitations of braking while leaning.
- As you see and complete the exit, progressively return upright and increase the throttle gently when safe. Do not accelerate hard simply because you have passed the point you imagined as the middle of the bend; it may tighten again or an obstacle may appear.
13Balance and low-speed turns
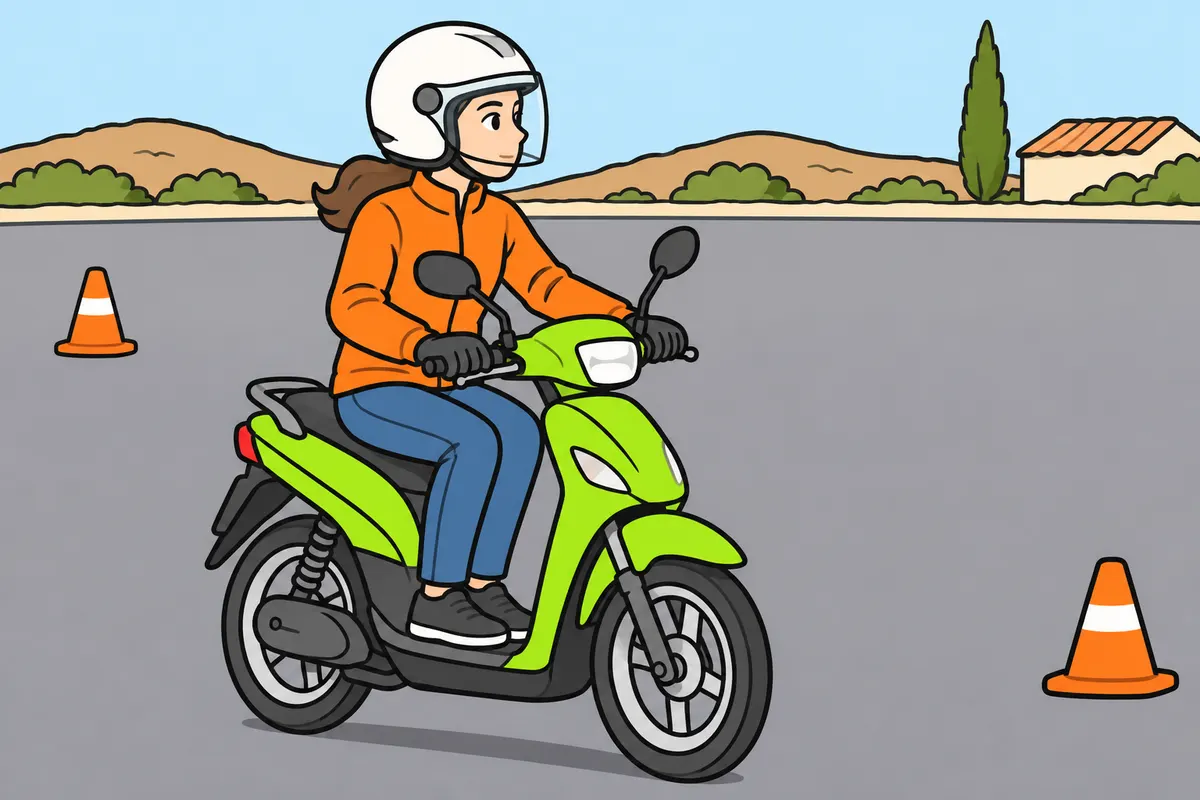
At low speed, look towards the exit and keep moving steadily.
| Moped transmission | Your low-speed control |
|---|---|
| Manual | Coordinate clutch, moderate throttle and rear brake when appropriate |
| Automatic | Use small throttle inputs and the brakes specified by your manufacturer |
Remember
- Keep a low, steady speed.
- Relax your body and let the handlebars turn.
- Avoid sharp front braking with the steering turned far to either side.
- Check you have enough space and a safety margin to go around obstacles.
- Stop if you cannot keep your balance and a safety margin.
Exam trap: Wrong: use any gap because you are slow. Right: allow enough space and maintain balance.
Read the full explanation
- To ride very slowly, look along your route and keep your body relaxed. Staring at the ground beside the wheel encourages late corrections; a low, steady speed usually allows greater precision than alternating strong bursts of drive and sharp braking.
- With a manual clutch, regulate drive through its friction zone and moderate throttle, coordinating the rear brake when appropriate. Practise under supervision and follow the manual: excessive, unnecessary slipping can overheat the clutch.
- On an automatic, control the start of drive with small throttle inputs and the brakes specified by the manufacturer. Do not look for a non-existent clutch lever or hold high engine revs against the brakes as a solution for every turn.
- In a tight turn, point your head and eyes towards the exit and allow the handlebars to move without locking your arms. Avoid sharp front braking with the steering turned far to one side, as you can easily lose balance.
- To go around an obstacle, first check that the space for passing is usable and sufficient. If you cannot maintain balance and a safety margin, stop and reconsider; passing between closely spaced objects does not become safe simply because you do it slowly.
14Lawful road position and lateral clearance
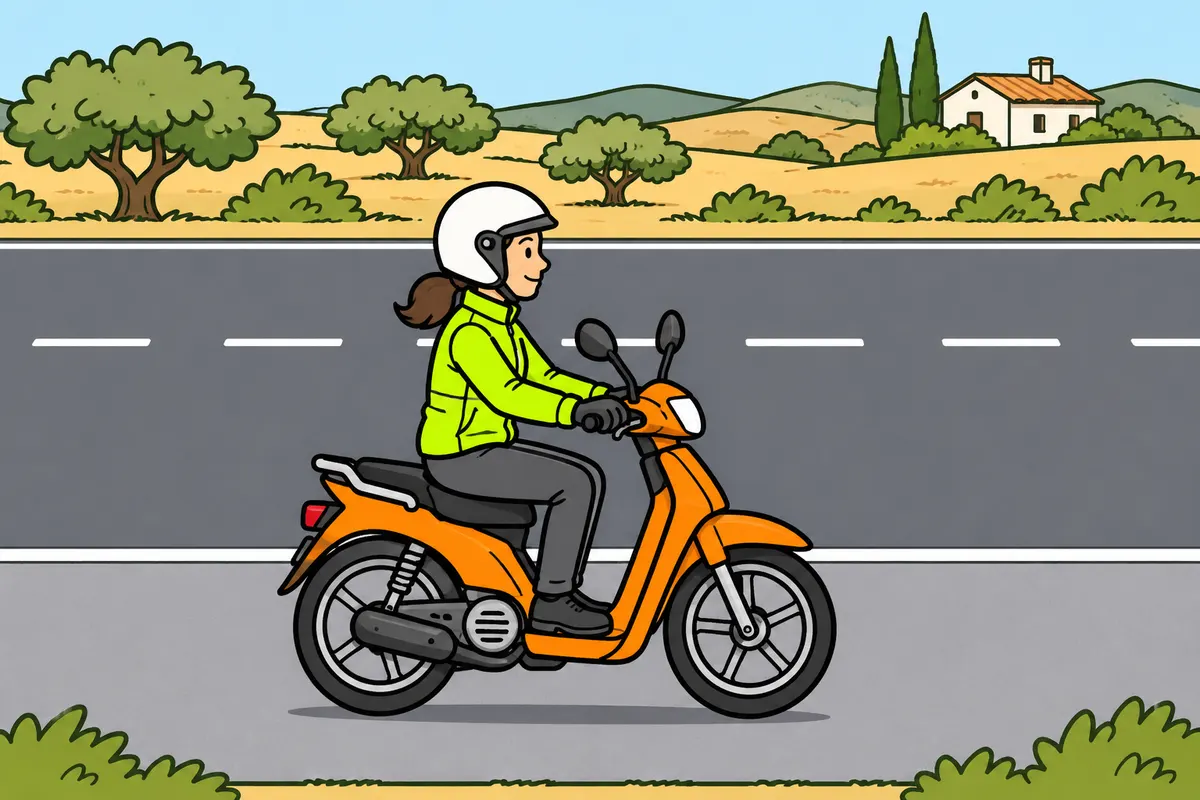
Use the right-hand hard shoulder when required and safe to ride on.
| Available space without a special moped route | Where you ride |
|---|---|
| Usable, sufficiently wide right-hand hard shoulder | Use that shoulder |
| Right-hand hard shoulder unusable or too narrow | Use only the necessary part of the carriageway |
Remember
- Without a special moped route, use the usable, sufficiently wide right-hand hard shoulder.
- If unsuitable, use only the necessary part of the carriageway.
- On the carriageway, keep right and leave a safety margin.
- Watch for opening doors and people beside parked vehicles.
- Do not ride alongside another moped.
Exam trap: Wrong: use the bicycle exception for winding descents. Right: that exception does not apply to your moped.
Read the full explanation
- If there is no road or part of the road specifically intended for your moped, you must use the right-hand arcén (hard shoulder) when it is usable and sufficient. If it is not, use only the strictly necessary part of the carriageway; do not force your way over gravel or damage that prevents safe riding. [RGC, art. 36](https://www.boe.es/buscar/act.php?id=BOE-A-2003-23514#a36).
- When using the carriageway, keep to the right and maintain the necessary separation from edges and other road users. Do not interpret advice to make yourself visible as permission to ride routinely in the centre or encroach on another lane. [RGC, art. 29](https://www.boe.es/buscar/act.php?id=BOE-A-2003-23514#a29).
- Beside parked vehicles, anticipate doors opening and people emerging between them. Adjust your speed and clearance within the permitted space; if you cannot pass safely, wait rather than squeezing between a vehicle and the kerb.
- Do not continue riding alongside another moped. The permission for certain bicycles to ride two abreast does not apply to you; permitted overtaking is a specific manoeuvre and must meet its own conditions. [RGC, art. 36](https://www.boe.es/buscar/act.php?id=BOE-A-2003-23514#a36).
- On a descent with bends, do not apply to your moped the exception that allows bicycles to leave the hard shoulder under certain conditions. Adapt your riding to the space you can use and its condition, even if other vehicles travel faster. [RGC, art. 36](https://www.boe.es/buscar/act.php?id=BOE-A-2003-23514#a36).
15Joining traffic, moving sideways and turning
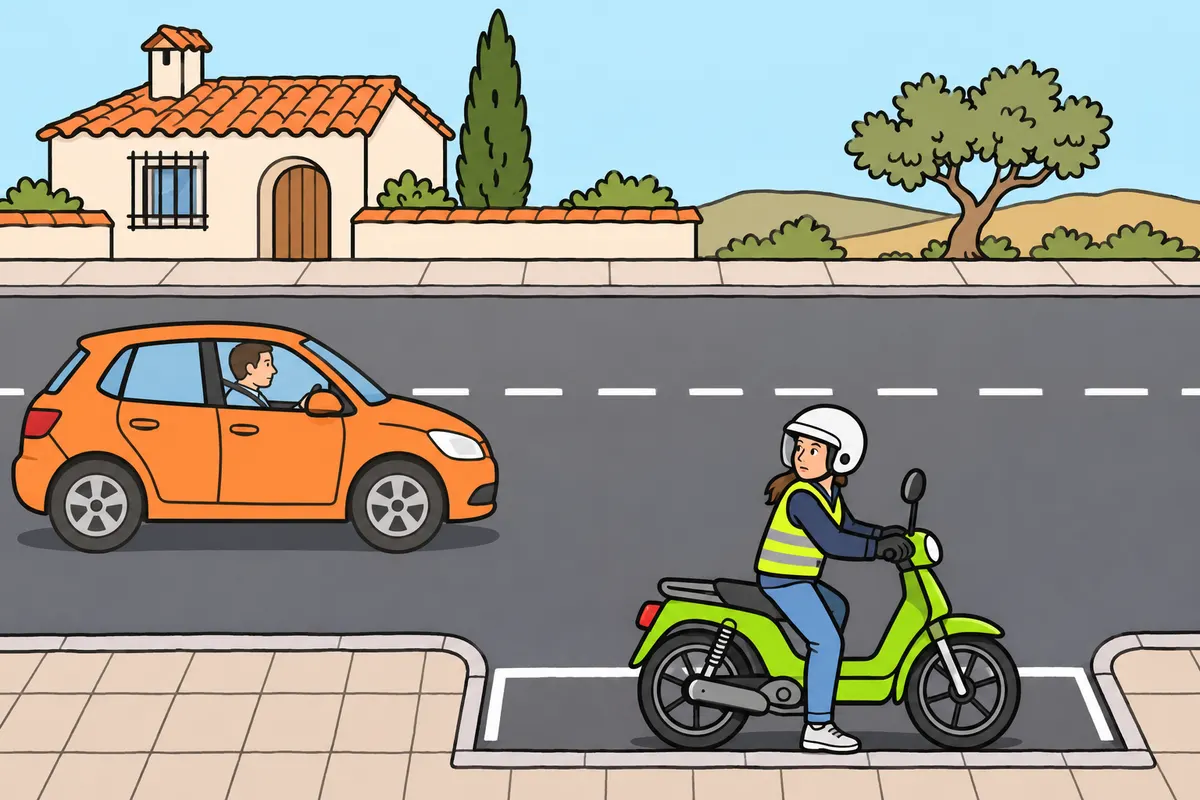
Look, signal and respect priority before changing your path.
| Turn: road and vehicle | Your starting position, unless directed otherwise |
|---|---|
| Right turn | Near the right edge |
| Left turn: one-way carriageway | Near the left edge |
| Left turn: two-way road: general rule | Beside the dividing line, without entering the opposite side |
| Left turn: two-wheeled moped: interurban road without a special turning lane | On the right, off the carriageway if possible |
Remember
- Give way to anyone already in the lane you want to enter.
- Signal early and cancel your signal afterwards.
- Slow down before turning.
- At roundabouts, do not cut across another road user to exit.
- To signal left, hold your left arm horizontal, palm down.
- To signal right, bend your left arm upwards, with your palm extended.
Exam trap: Wrong: your indicator makes others let you in. Right: give way to traffic occupying the lane.
Read the full explanation
- Before any change of position, observe, check the space, signal and carry it out only if you can do so safely. Give way to anyone occupying the destination lane; an indicator announces your intention and does not oblige others to let you in. [RGC, art. 74](https://www.boe.es/buscar/act.php?id=BOE-A-2003-23514#a74).
- Signal lateral movements in advance and cancel the signal once you take up your new path. With your left arm horizontal and palm down, you signal a move to the left; with it bent upwards and your palm extended, you signal a move to the right. [RGC, art. 109](https://www.boe.es/buscar/act.php?id=BOE-A-2003-23514#a109).
- To turn right, position yourself near the right-hand edge beforehand; to turn left on a one-way carriageway, position yourself near the left-hand edge, unless the road layout or signs provide otherwise. Slow down before turning and retain control without looking only at the indicator. [RGC, art. 75](https://www.boe.es/buscar/act.php?id=BOE-A-2003-23514#a75).
- On a two-way road, the general position for turning left is beside the line separating opposing directions, without entering the opposite side. On a two-wheeled moped on an interurban road without a special lane for this turn, you must position yourself on the right, off the carriageway whenever possible, and begin the turn from there. [RGC, art. 76](https://www.boe.es/buscar/act.php?id=BOE-A-2003-23514#a76).
- At a roundabout, prepare your exit in good time and respect the priority of anyone occupying the lane you need to move into. Do not cross from an inner lane cutting across another road user’s path; if you cannot exit safely, maintain a permitted path and reorganise the manoeuvre. [RGC, art. 74](https://www.boe.es/buscar/act.php?id=BOE-A-2003-23514#a74).
16Deciding on and carrying out overtaking
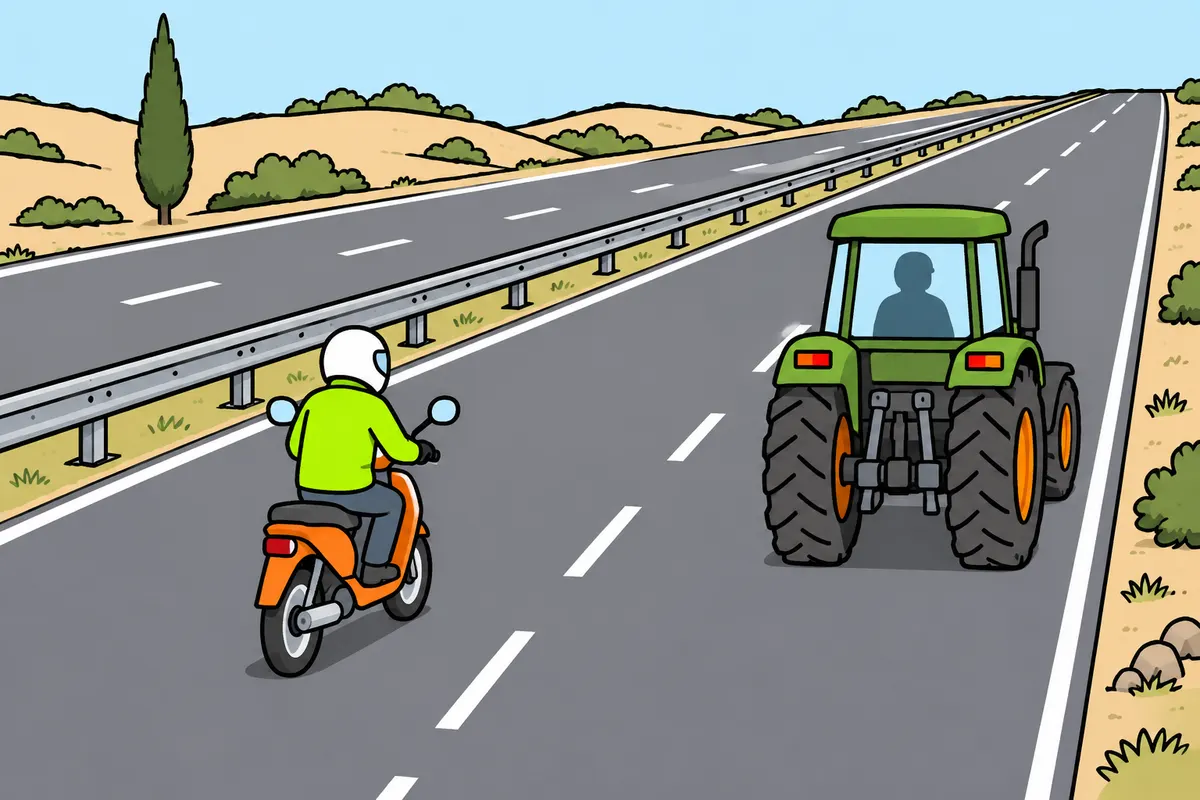
Overtake only with visibility, space, enough speed and a safe way back.
| Overtaking situation and vehicle | Condition |
|---|---|
| Two-wheeled moped overtaking outside built-up areas | Leave at least 1.50 m from any vehicle |
| Vehicle ahead clearly signals turning or stopping left | Pass on the right, with enough space and utmost caution |
| Tram in the centre of a two-way road | Pass on the right, with enough space and utmost caution |
| Built-up area: several marked lanes in the same direction | You may pass on the right if safe |
Remember
- Check nobody is overtaking you or signalling a move towards the same side.
- As a general rule, overtake on the left.
- Respect your speed limits, even though you need to travel faster than the vehicle.
- If danger appears, slow and return safely, warning those behind you.
- After overtaking, return gradually without cutting off the other vehicle.
Exam trap: Wrong: meet only one article 36.5 maximum. Right: respect both 15 seconds and 200 metres.
Read the full explanation
- Before overtaking, check visibility, clear space, relative speed and your ability to return to your position. Make sure nobody has begun overtaking your moped and the vehicle ahead has not signalled a move towards the same side. [RGC, art. 84](https://www.boe.es/buscar/act.php?id=BOE-A-2003-23514#a84).
- As a general rule, overtake on the left. With sufficient space and the utmost caution, you must pass on the right if the vehicle ahead clearly indicates that it is turning or stopping to the left; this also applies to trams travelling in the centre of two-way roads. [RGC, art. 82](https://www.boe.es/buscar/act.php?id=BOE-A-2003-23514#a82).
- In built-up areas, you may overtake on the right on carriageways with at least two marked lanes in the same direction, if you can do so safely. This exception does not allow you to choose either side freely on a road or replace the rules on road use. [RGC, art. 82](https://www.boe.es/buscar/act.php?id=BOE-A-2003-23514#a82).
- You need a noticeably higher speed than the vehicle you are overtaking, while respecting your limits. On a two-wheeled moped, when overtaking any vehicle outside built-up areas, you must leave at least 1.50 metres from its outermost parts; if there is no room for this clearance, wait. [RGC, art. 85](https://www.boe.es/buscar/act.php?id=BOE-A-2003-23514#a85).
- Overtaking with your moped subject to article 36.5 cannot keep the vehicles alongside each other for more than 15 seconds or for more than 200 metres. You must respect both maximums simultaneously: having space does not allow you to prolong the manoeuvre indefinitely. [RGC, art. 36](https://www.boe.es/buscar/act.php?id=BOE-A-2003-23514#a36).
- If a risk makes completion difficult, slow down and return safely to your position, warning those behind you. When you complete overtaking, return gradually, without cutting off the overtaken vehicle or forcing it to brake or change course. [RGC, art. 85](https://www.boe.es/buscar/act.php?id=BOE-A-2003-23514#a85).
17Overtaking vulnerable road users
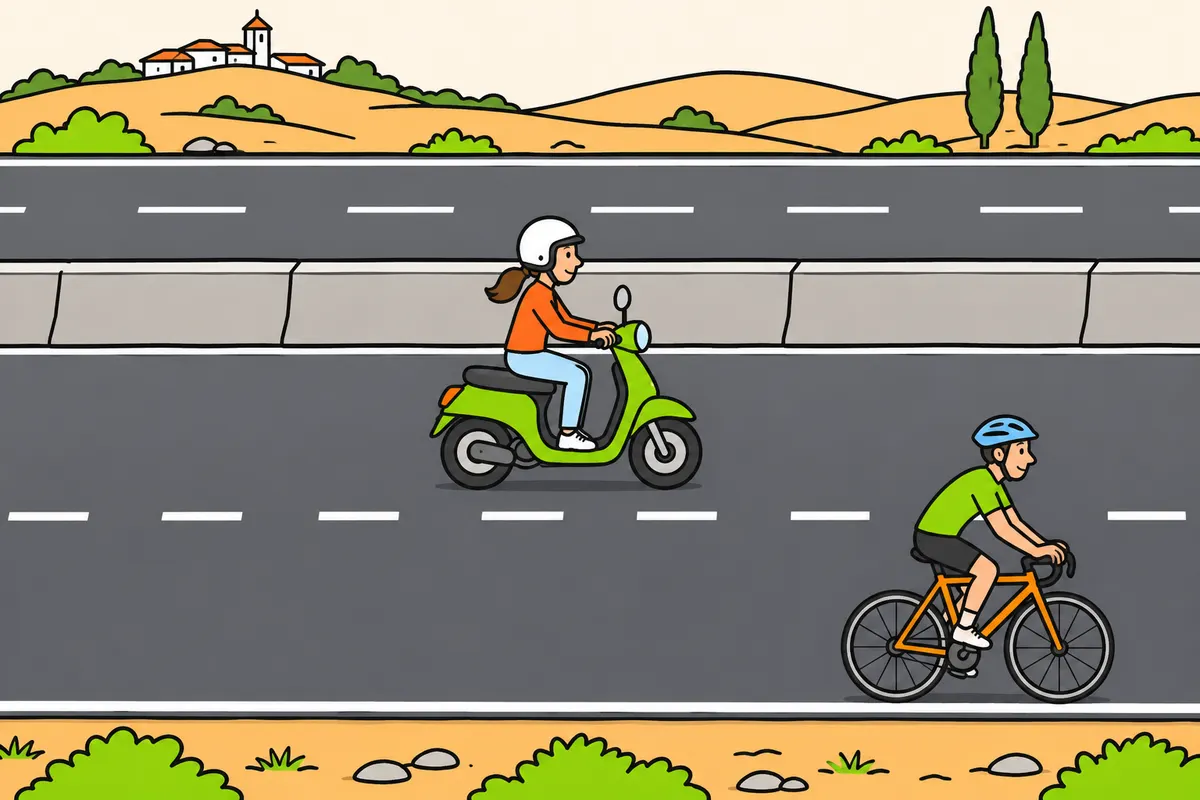
When overtaking vulnerable road users, leave space and make the required speed reduction.
| Situation outside built-up areas | What you must do |
|---|---|
| Overtaking these users | Travel at least 20 km/h below the road limit |
| Road limit 50 km/h | Do not exceed 30 km/h when overtaking them |
| Someone overtakes your two-wheeled moped at a junction | The exception covers the two-wheeled vehicle being overtaken |
| You overtake at a junction | Respect overtaking restrictions; your size gives you no general exception |
Remember
- Apply these rules to pedestrians, animals, animal-drawn vehicles, mopeds, personal mobility vehicles and cyclists.
- Use part or all of the adjacent or opposing lane.
- With several lanes per direction, change lanes completely.
- Outside built-up areas, slow down before starting and throughout overtaking.
- Also respect your vehicle’s maximum; slow further if needed.
- Do not endanger or obstruct anyone coming towards you.
Exam trap: Wrong: add 20 km/h to overtake. Right: outside built-up areas, stay at least 20 km/h below the road limit from before starting throughout overtaking.
Read the full explanation
- When overtaking pedestrians, animals, animal-drawn vehicles, mopeds, personal mobility vehicles or cyclists, you must use part or all of the adjacent or opposing lane and leave at least 1.5 metres of lateral safety clearance. If there is more than one lane in each direction, you must change lanes completely. [RGC, art. 85](https://www.boe.es/buscar/act.php?id=BOE-A-2003-23514#a85).
- Outside built-up areas, for these overtakes you must travel at least 20 km/h below the road’s speed limit from before you begin and throughout the manoeuvre. If you overtake a cyclist on a road limited to 50 km/h, you may do so at a maximum of 30 km/h. You must also respect the 45 km/h maximum for your moped or light quadricycle and slow down further when conditions require. [RGC, art. 85.4](https://www.boe.es/buscar/act.php?id=BOE-A-2003-23514#a85). [RGC, art. 48.1.e](https://www.boe.es/buscar/act.php?id=BOE-A-2003-23514#a48).
- Do not overtake in a way that endangers or obstructs an oncoming road user, even if they are on the hard shoulder. If conditions do not allow you to maintain the clearances and complete the manoeuvre, stay behind at a sufficient distance until you find a safe opportunity. [RGC, art. 85](https://www.boe.es/buscar/act.php?id=BOE-A-2003-23514#a85).
- Do not overtake at marked pedestrian crossings, intersections with cycle routes, level crossings or their approaches. You must also respect prohibitions due to poor visibility and the specific conditions for junctions and tunnels. Your size does not create a general exception allowing you to overtake. A road user following you may overtake you at a junction, because the exception in art. 87.1.c.4.º refers to the two-wheeled vehicles being overtaken; consult “Moped manoeuvres”. [RGC, art. 87](https://www.boe.es/buscar/act.php?id=BOE-A-2003-23514#a87).
- If you are being overtaken, do not increase your speed or hinder the manoeuvre. In danger, slow down to help it finish, except in the case specified by the regulations where the other driver clearly abandons the manoeuvre and your slowing would compromise safety; always maintain a predictable path. [RGC, art. 86](https://www.boe.es/buscar/act.php?id=BOE-A-2003-23514#a86).
18Filtering between queues and passing obstacles
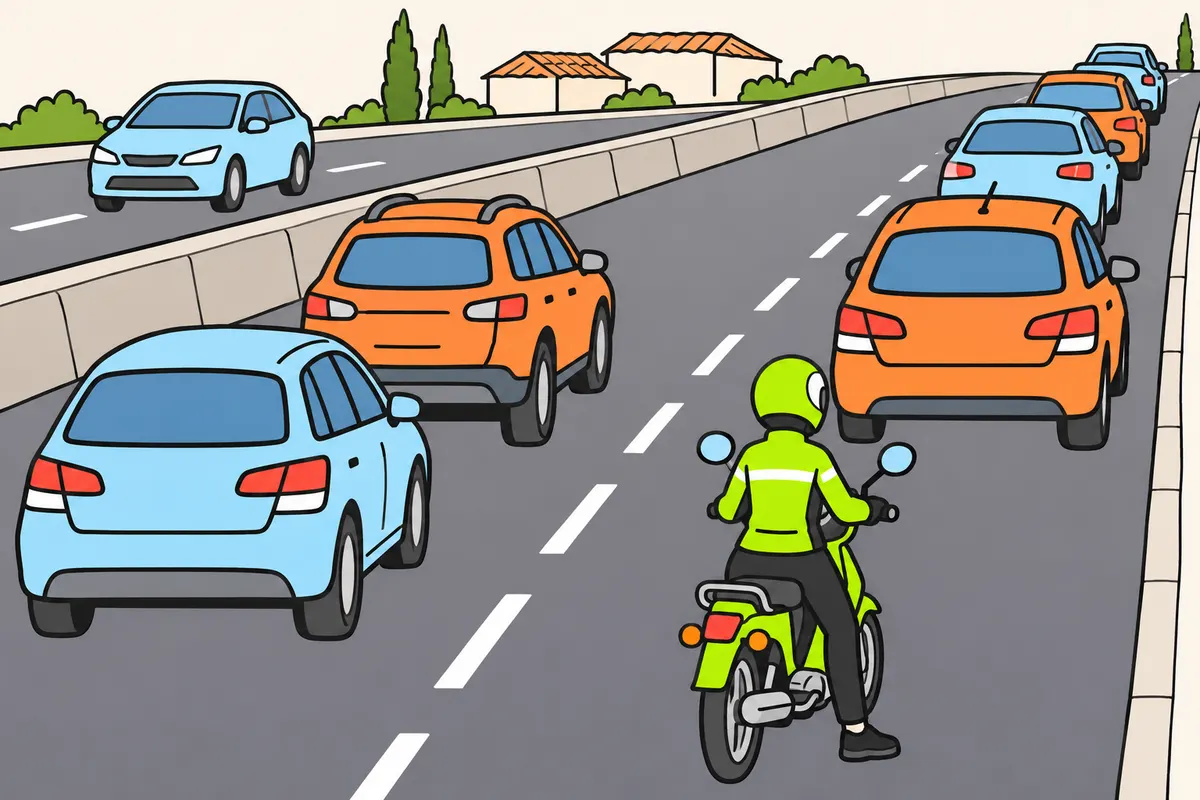
A gap between queues does not let you ignore the rules.
| Situation | Rule you apply |
|---|---|
| All lanes full: each queue moves at its own pace | Moving faster in your queue does not count as overtaking |
| Queue stopped by traffic | Does not allow entering the opposite side where overtaking is prohibited |
| Breakdown, accident or emergency, assistance or maintenance service occupying your lane | Leave at least 1.5 m; travel at least 20 km/h below the road limit |
Remember
- Respect markings, lateral clearance and overtaking rules.
- With all lanes full, do not change lanes to overtake.
- You may change lanes to turn, leave or take a particular direction.
- Check you can use the opposite side safely when necessary.
- On your moped, follow the rules for its right-hand hard shoulder.
Exam trap: Wrong: treat a traffic queue as a breakdown. Right: the immobilised-vehicle exception excludes stops required by traffic.
Read the full explanation
- The moped’s size does not give you a general right to move between queues. Every movement must comply with overtaking conditions, lateral clearance, road markings and safety; your mirrors fitting through a gap is not enough to justify passing. [RGC, art. 85](https://www.boe.es/buscar/act.php?id=BOE-A-2003-23514#a85).
- When traffic occupies the full available width and each lane moves at the pace of its queue, one queue moving faster is not considered overtaking. In this situation, you must not change lanes to overtake; you may do so to prepare to turn, leave the carriageway or take a particular direction. [RGC, art. 83](https://www.boe.es/buscar/act.php?id=BOE-A-2003-23514#a83).
- A queue stopped by traffic is not equivalent to a vehicle immobilised by a breakdown. You cannot enter the opposite side in a no-overtaking area by claiming the exception for immobilised vehicles when the stop is required by traffic conditions. [RGC, art. 88](https://www.boe.es/buscar/act.php?id=BOE-A-2003-23514#a88).
- When passing vehicles immobilised by a breakdown, accident or the services listed in article 88.1 that occupy your lane, leave at least 1.5 metres and reduce your speed to at least 20 km/h below the road’s speed limit. Check that any use of the opposite side is safe. [RGC, art. 88](https://www.boe.es/buscar/act.php?id=BOE-A-2003-23514#a88).
- The exceptional use of certain signed hard shoulders by motorcycles in congestion has its own conditions. For your moped, apply the obligation to use a usable and sufficient right-hand hard shoulder under article 36.1; do not infer permission to enter autopistas or autovías from a rule for motorcycles. [RGC, art. 36](https://www.boe.es/buscar/act.php?id=BOE-A-2003-23514#a36).
19Preparing to ride with a passenger
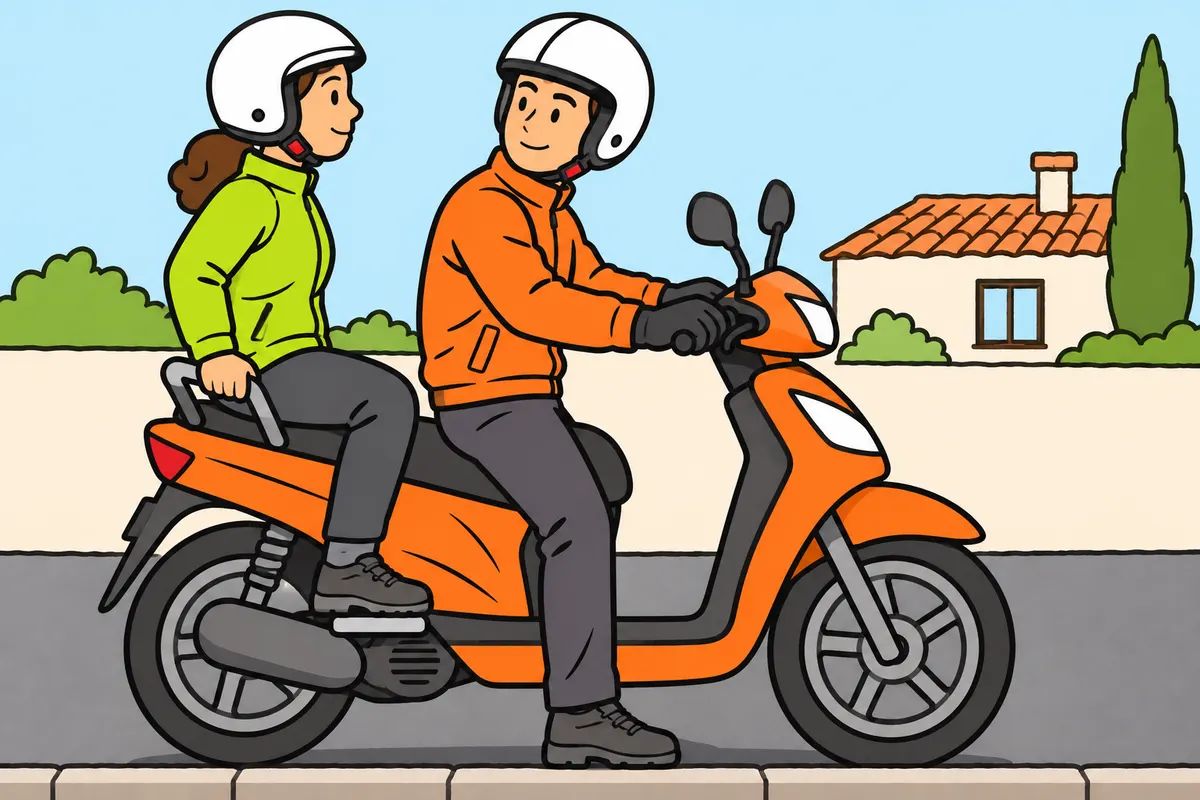
Prepare your passenger and wait until they are seated before moving off.
| Vehicle and conditions | Protection you check |
|---|---|
| Moped with a passenger required to wear a helmet | Correctly fastened regulation helmet |
| Quadricycle with protective structure and belts, as stated in technical documents | Use the seat belt under its specific rules |
Remember
- Check your passenger’s required protective equipment.
- Do not let them restrict your view or movement.
- Explain how to hold on and move with the vehicle.
- Explain when to get on and off.
- Wait until they are seated properly before moving off.
Exam trap: Wrong: move off while your passenger settles. Right: wait with the vehicle stable.
Read the full explanation
- Check that your passenger wears the required helmet correctly fastened and any other required protective equipment, without restricting your view or movements. In a quadricycle with a protective structure and seat belts, where this is stated in the technical documentation, you must use the seat belt in accordance with its specific rules; do not apply the astride seating position of a two-wheeled moped. Consult the passenger age and seating conditions in the Passengers and loads on a moped module. [RGC, arts. 18 and 118](https://www.boe.es/buscar/act.php?id=BOE-A-2003-23514#a118).
- Before setting off, explain how to hold on, when to get on and off and how to move with the vehicle. Keep the vehicle stable during these actions and wait until your passenger is seated properly; moving off while they are still settling into position can unbalance you both.
20Adapting your technique to a passenger and load
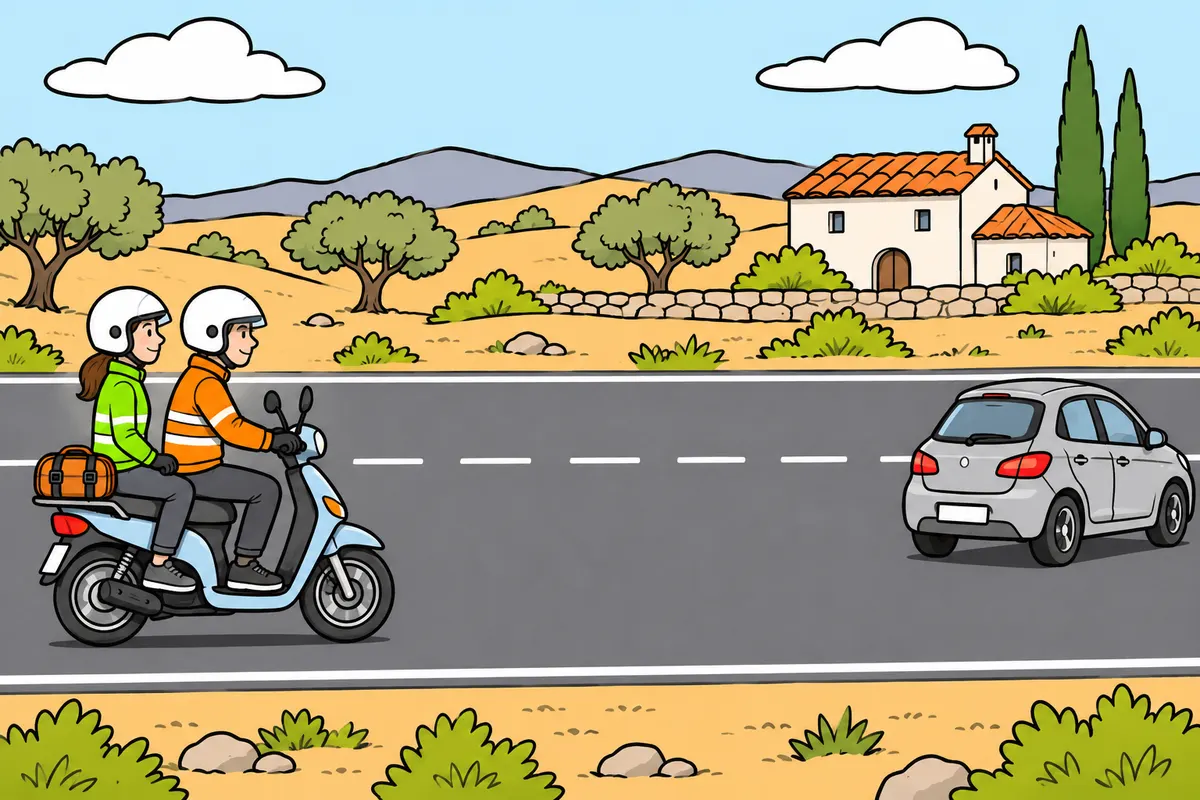
With a passenger or load, adjust your vehicle and allow more space.
Remember
- Check tyres, suspension and lights for your load, following the manufacturer’s instructions.
- Reassess the space you need to join traffic, overtake and brake.
- Move off, change gear and brake especially smoothly.
- Coordinate both brakes, including the front brake.
- Ask your passenger to keep feet supported and move smoothly with the moped.
- Secure luggage without hiding lights or the number plate, or obstructing controls.
Exam trap: Wrong: always add the same tyre pressure. Right: follow the manufacturer’s instructions for your load.
Read the full explanation
- With a passenger, mass increases and its distribution changes, altering the moped’s response. You need to reassess the space for joining traffic, overtaking and braking; do not expect the same acceleration or feel as when riding alone.
- Check tyre pressures, suspension adjustment and light alignment according to the manufacturer’s instructions for the load carried. Do not improvise a fixed extra pressure: the correct adjustment depends on the vehicle and its authorised load.
- Move off, change gear and brake especially smoothly, leaving more margin for stopping. Use both brakes together, adapting their balance to the greater rear-wheel load, without forgetting the front or turning this adaptation into a universal ratio.
- Ask your passenger to keep their feet supported, maintain a relaxed posture and make smooth movements that follow the moped. They must not suddenly resist leaning in a bend or try to put their feet on the ground during a normal stop.
- Distribute and secure luggage in the spaces provided, without impairing stability, obstructing controls or hiding lights and the number plate. Even within the authorised mass, a high or off-centre item can make a bend or braking harder to control. [RGC, art. 14](https://www.boe.es/buscar/act.php?id=BOE-A-2003-23514#a14).
21Wind, descents and room to react
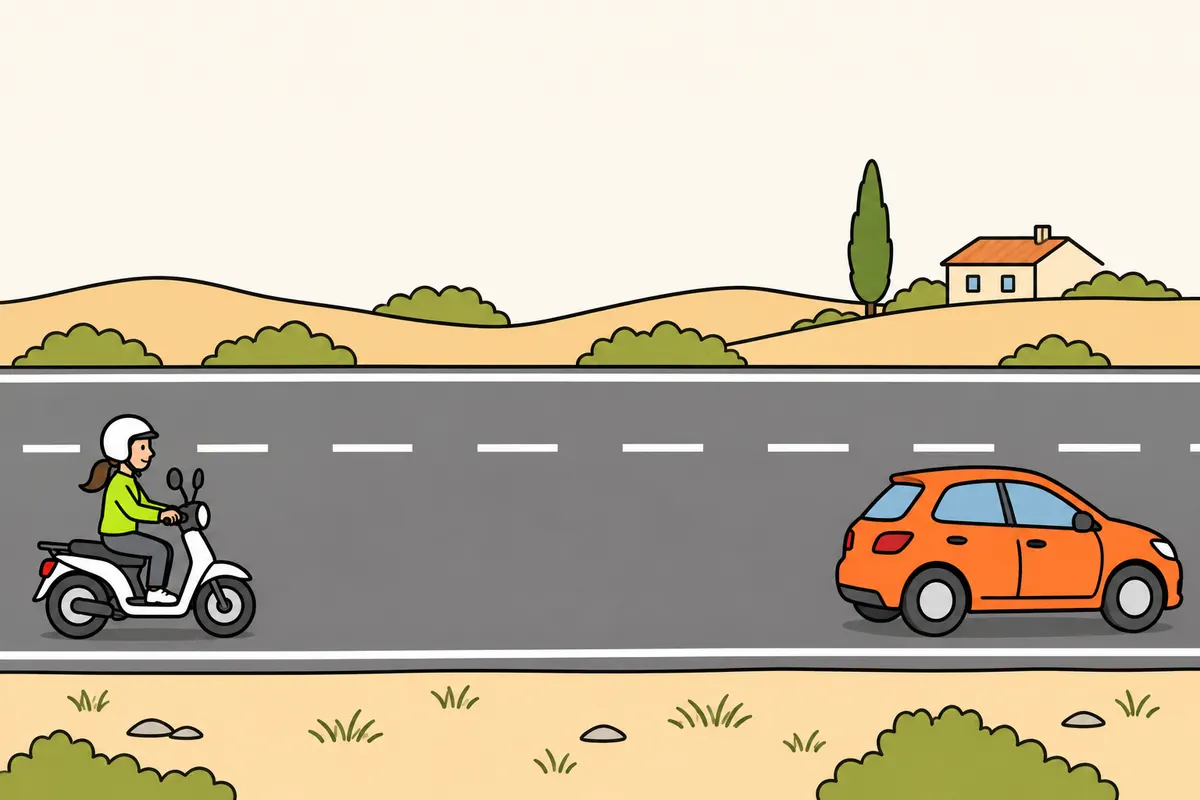
Adapt your speed and leave room to react and stop.
Remember
- In crosswinds, slow down and correct your path gently.
- If you cannot control your vehicle, stop somewhere safe.
- On long descents, use available engine braking and avoid continuous braking.
- If braking becomes less effective, stop safely to resolve the problem.
- Increase your separation with poor grip, loads or poor visibility.
- Slow near children, junctions with poor visibility and narrow passages.
Exam trap: Wrong: use your horn to demand priority. Right: use it to avoid accidents or, outside built-up areas, warn of overtaking.
Read the full explanation
- In a crosswind, moderate your speed, hold the handlebars firmly without stiffness and correct your path smoothly. If you cannot maintain control, stop in a safe place; consult the Risk factors when riding a moped module for situations involving exposure to wind.
- On a long descent, avoid continuously overusing the brakes, which can lose effectiveness through overheating. Slow down before bends and use the available engine braking; if you notice reduced braking, act cautiously and stop safely to resolve the fault.
- Keep enough separation to stop without a collision if the vehicle ahead brakes suddenly. Increase your margin with poor grip, a load or reduced visibility; anticipating danger helps, but does not eliminate the time you need to react. [RGC, art. 54](https://www.boe.es/buscar/act.php?id=BOE-A-2003-23514#a54).
- Near children, junctions with poor visibility or narrow passages, slow down and prepare a controlled response. The horn does not give you priority: you may use it to avoid a possible accident and, outside built-up areas, to warn of overtaking, avoiding unjustified or excessive use. [RGC, art. 110](https://www.boe.es/buscar/act.php?id=BOE-A-2003-23514#a110).
22Securing the vehicle and moving it on foot
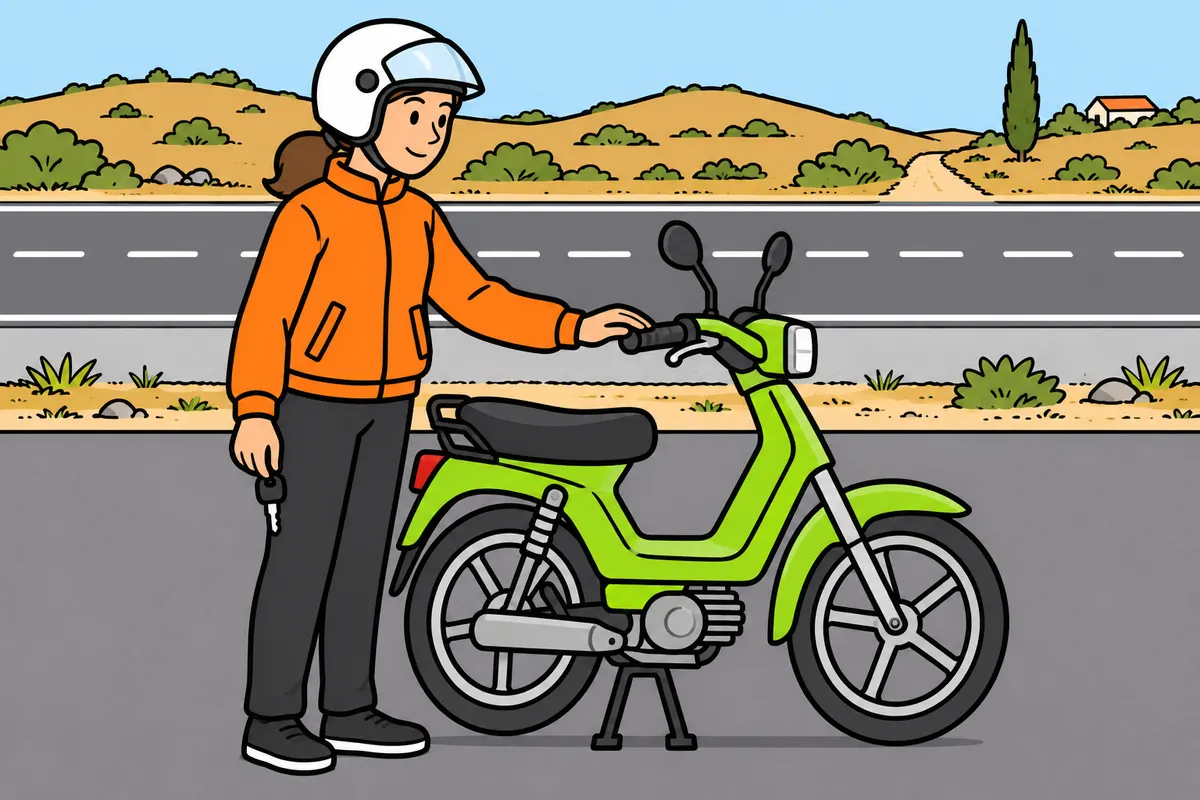
Park somewhere permitted and control your vehicle when moving it by hand.
| Vehicle and reversing situation | How you move backwards |
|---|---|
| Two-wheeled moped | Get off and move it by hand, controlling its weight |
| Light quadricycle: reversing as part of stopping, parking or joining traffic | Only as far as essential; maximum 15 metres; do not enter junctions |
| Light quadricycle: reversing outside stopping, parking or joining traffic | Only if you cannot move forwards, turn or turn around; minimum necessary distance |
Remember
- Outside built-up areas, stop or park off the carriageway, on the right.
- Leave the usable hard shoulder clear.
- When leaving your driving position, switch off the engine and ignition.
- Prevent unwanted movement and unauthorised use.
- Check the stand rests on firm ground and the vehicle stays stable.
- When pushing, control its weight and ask for help if needed.
Exam trap: Wrong: extend your seat-belt exemption when reversing or parking to your passenger. Right: it does not automatically apply to them.
Read the full explanation
- When you finish, choose a permitted, stable place where the moped does not obstruct others. Outside built-up areas, you must stop or park off the carriageway, on the right, leaving the usable part of the hard shoulder clear; the need to use it when riding does not authorise parking on it. [RGC, art. 90](https://www.boe.es/buscar/act.php?id=BOE-A-2003-23514#a90).
- If you leave your driving position, switch off the engine, switch off the ignition and take the applicable measures to prevent movement and unauthorised use. Use the stand on a firm base and check that the vehicle remains stable before letting go. [RGC, art. 92](https://www.boe.es/buscar/act.php?id=BOE-A-2003-23514#a92).
- To move it on foot, control its weight and avoid surfaces where your footing could slip. Turned handlebars or a slope can unbalance you; if space is tight, check the whole route before pushing and ask for help when necessary.
- On a two-wheeled moped, you have no reverse gear: to move backwards, get off and move it by hand, controlling its weight as in the previous point. With a light quadricycle, reversing as part of stopping, parking or joining traffic must not exceed 15 metres or enter a junction; you must limit it to the essential distance. You must not travel along a road in reverse as a way of driving. Outside these accompanying manoeuvres, you may reverse only when you cannot move forwards, turn or turn around, and only for the minimum distance necessary. [RGC, art. 80.1 and 80.2](https://www.boe.es/buscar/act.php?id=BOE-A-2003-23514#a80).
- If you drive a vehicle with a seat belt, the driver’s exemption while reversing or parking does not automatically extend to the passenger. Your observation and manoeuvring technique must keep all occupants safe. [RGC, art. 119](https://www.boe.es/buscar/act.php?id=BOE-A-2003-23514#a119).
23What the AM practical test checks
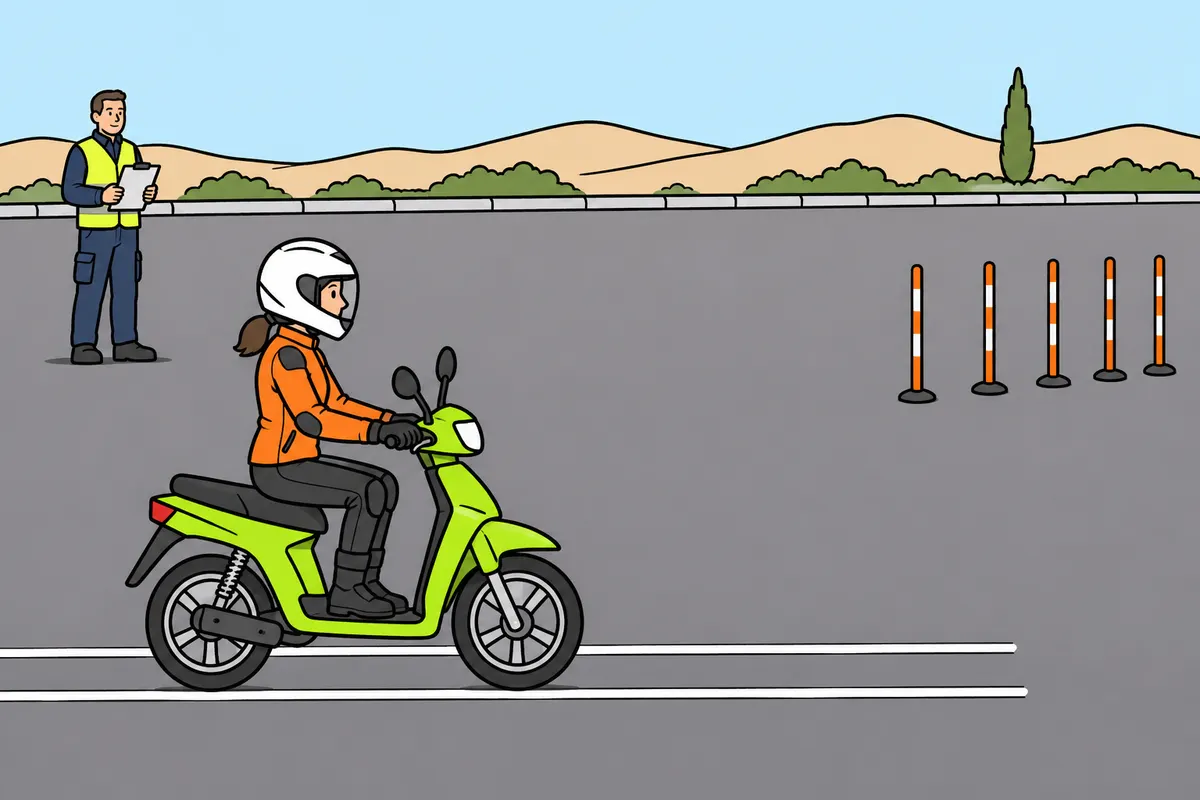
In your AM practical test, show balance, control and preparation of your vehicle.
| Two-wheeled AM manoeuvre | What you do |
|---|---|
| B | Limited-width strip; first in the published circuit |
| A | Slow zigzag between marker poles; follows the strip |
Remember
- Learn your vehicle’s controls and safety checks.
- Adjust your helmet correctly.
- Wear an approved helmet and gloves.
- Wear a jacket with back, shoulder and elbow protection.
- Wear trousers with knee protection and boots that protect your ankles.
- Wear clothing designed for motorcycling.
Exam trap: Wrong: apply the 25-second limit from other licences. Right: it does not apply to the AM strip and zigzag.
Read the full explanation
- For AM, you must demonstrate skills and behaviour on a closed circuit. The Regulations identify A as a slow zigzag between marker poles and B as a limited-width strip. The order B → A comes from the circuit layout published by the DGT: you begin with the strip and continue with the zigzag. [RGCond, annex VI.C.4](https://www.boe.es/buscar/act.php?id=BOE-A-2009-9481#anvi). [DGT, AM circuit layout](https://www.dgt.es/export/sites/web-DGT/.galleries/Images/home/AM_ciclomotor_A_y_B.pdf).
- The examiner assesses control operation, balance, observation and the position of your body, arms, legs, hands and feet. Simply following the marked layout is not enough: you must demonstrate that you steer with control and can reach the controls without losing your position.
- The examiner may check that you know how to put on and adjust your helmet and carry out safety checks, such as tyres, brakes, steering, transmission, oil, lights, indicators and horn. Learn to identify these items on the vehicle you practise with. [RGCond, annex V](https://www.boe.es/buscar/act.php?id=BOE-A-2009-9481#anv).
- The specific AM test equipment includes an approved helmet, gloves, a jacket with protection at least on the back, shoulders and elbows, trousers with knee protection and boots of leather or similar material that protect the ankle. You must wear clothing designed for motorcycling. [RGCond, annex VI](https://www.boe.es/buscar/act.php?id=BOE-A-2009-9481#anvi).
- The examiner may check the vehicle, facilities and equipment before or during the test. If they do not work properly or meet the requirements, the examiner may decline to start or interrupt the test without using up an attempt; also bring any corrective aids or adaptations that apply to you. [RGCond, annex VI](https://www.boe.es/buscar/act.php?id=BOE-A-2009-9481#anvi).
- The two-wheeled AM test is based on slow manoeuvres; do not apply the 25-second time for the combined C, D and F manoeuvres of other licences to its strip and zigzag. Your practical priority is precision, balance and continuity, without inventing a race against that stopwatch. [RGCond, annex VI](https://www.boe.es/buscar/act.php?id=BOE-A-2009-9481#anvi).
24Moped strip and zigzag
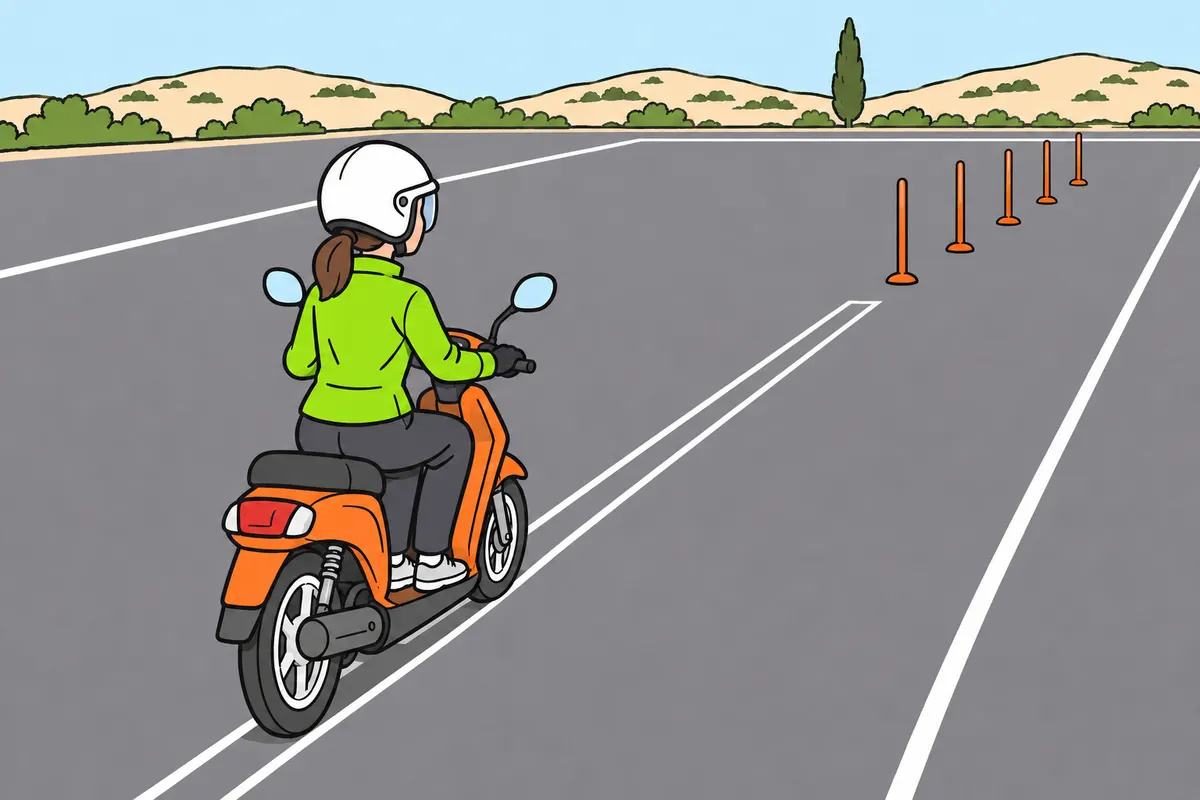
Balance along the strip, then link the zigzag turns smoothly.
| Two-wheeled AM manoeuvre | Route details |
|---|---|
| B: strip | Start approximately 8 m before the strip |
| A: zigzag | Continue with alternating turns around five poles |
Remember
- Line up your moped before entering and look towards the exit.
- Cross the strip slowly at a steady speed.
- If you have manual gears, use first gear.
- In the zigzag, pass to the right of the first pole.
- Alternate turns without touching, moving or knocking down the poles.
- Stay within the area without sudden acceleration or braking.
Exam trap: Wrong: start with the zigzag. Right: the DGT layout links strip B followed by zigzag A.
Read the full explanation
- In manoeuvre B, you ride along a strip 0.25 metres wide and 6 metres long. The starting position is approximately 8 metres before its beginning; you must cross it at a low, uniform speed, in first gear where you have manual gears. [RGCond, annex VI](https://www.boe.es/buscar/act.php?id=BOE-A-2009-9481#anvi).
- You must maintain balance and stay within the strip, whose boundaries allow departures to be detected. As a technique, align the vehicle before entering, look towards the exit and avoid trying to correct every small movement by looking directly at the wheel.
- According to the DGT circuit layout, after finishing the strip you continue towards A. In this zigzag, you weave around five marker poles with alternating turns; you pass to the right of the first, at low speed and without running over, moving or knocking down any of them. [DGT, AM circuit layout](https://www.dgt.es/export/sites/web-DGT/.galleries/Images/home/AM_ciclomotor_A_y_B.pdf). [RGCond, annex VI.C.4](https://www.boe.es/buscar/act.php?id=BOE-A-2009-9481#anvi).
- For AM, the marked zigzag area is 3.50 metres wide and the marker poles are 3.75 metres apart. You must stay within the area; learning its dimensions helps you understand why you need to prepare each turn and look beyond the next pole. [RGCond, annex VI](https://www.boe.es/buscar/act.php?id=BOE-A-2009-9481#anvi).
- Practise the transition from the narrow straight to turns without bursts of acceleration, sharp braking or putting a foot down to compensate for lost balance. The layout requires control of your body and the controls at low speed; memorising the order of the poles does not replace this learning.
25Restricted AM manoeuvres
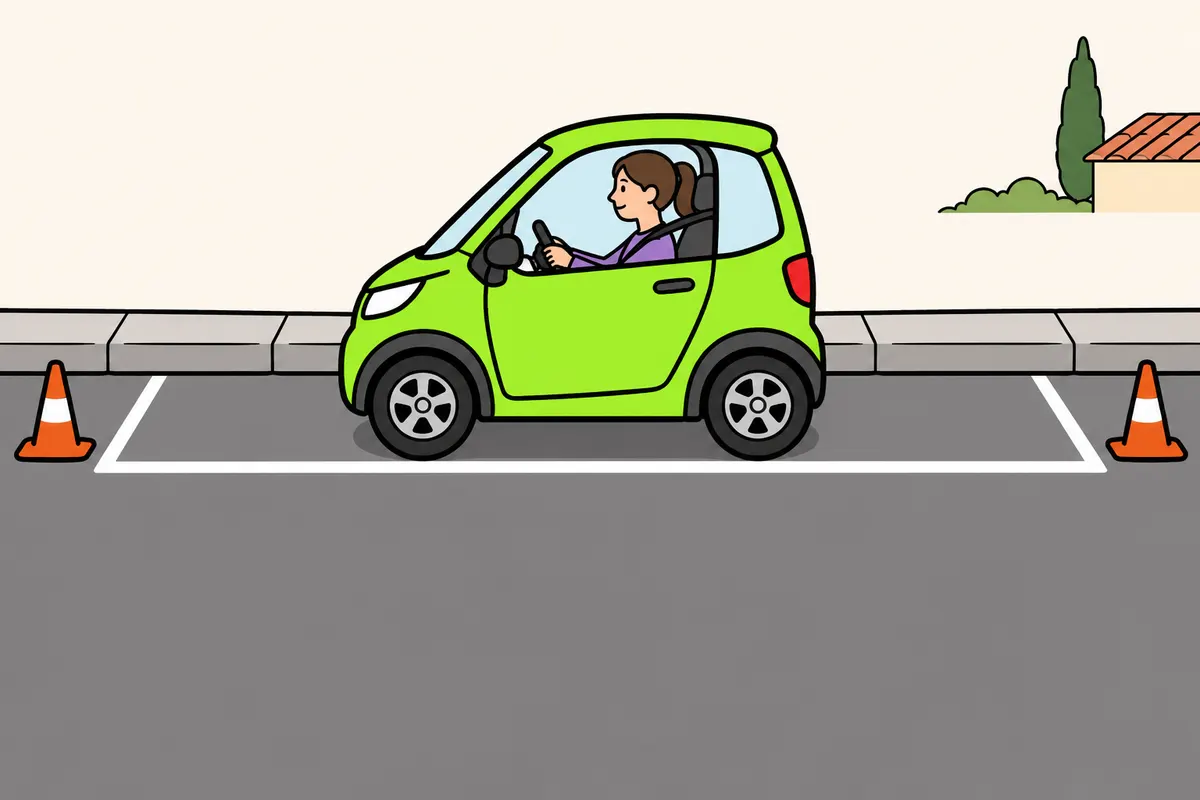
For restricted AM, you turn around and parallel park.
| Restricted AM: three-wheeled mopeds and light quadricycles | Measurements or movements |
|---|---|
| H: turning around | Cone on the centre line, 2 m from the entrance |
| I: parking and moving out | Maximum three movements to park and another three to leave |
| I: parking space | 5 m long and 2 m wide |
| I: space from fixed kerb | At least 1 m |
Remember
- Perform H and I for three-wheeled mopeds and light quadricycles.
- In H, enter on the right, turn left and reverse once.
- Then move forwards to leave on the right in the opposite direction.
- Do not touch the cone or mount or push against the kerb.
- In I, pass the space and reverse into it gently.
- During the test, do not turn the wheels while stationary.
Exam trap: Wrong: replace these tests with strip and zigzag. Right: restricted AM requires H and I.
Read the full explanation
- If you take the AM test restricted to three-wheeled mopeds and light quadricycles, you must perform H, turning around using forward and reverse gears in a limited space, and I, parallel parking and moving out. The strip and zigzag do not replace these manoeuvres. [RGCond, annex V](https://www.boe.es/buscar/act.php?id=BOE-A-2009-9481#anv).
- In H, you enter a simulated dead-end street on the right, turn left, reverse once and move forwards to leave on the right in the opposite direction. You must not mount or push against the kerb or touch the cone; you must monitor your surroundings throughout reversing. [RGCond, annex VI](https://www.boe.es/buscar/act.php?id=BOE-A-2009-9481#anvi).
- For AM, the street in H is 7 metres long and 5 metres wide, with the cone on the centre line 2 metres from the entrance. These dimensions are specific to the test and do not authorise you to perform the same turn in any real street. [RGCond, annex VI](https://www.boe.es/buscar/act.php?id=BOE-A-2009-9481#anvi).
- In I, you pass the space, position yourself parallel to the kerb and reverse into the space smoothly. You have a maximum of three movements to park and another three to move out; each change of direction of travel counts as a movement. [RGCond, annex VI](https://www.boe.es/buscar/act.php?id=BOE-A-2009-9481#anvi).
- When parallel parked, you must be parallel to the kerb, with the outer edge of the tyre tread on the nearer side no more than 0.30 metres away. The AM reference space is 5 metres long and 2 metres wide; you must not touch boundary markers, mount kerbs or cross the markings. [RGCond, annex VI](https://www.boe.es/buscar/act.php?id=BOE-A-2009-9481#anvi).
- The carriageway for the parallel parking test is at least 6 metres wide and, from the fixed kerb, there is a space of at least 1 metre. You must coordinate observation, steering and slow speed without turning the wheels while the vehicle is stationary during the prescribed manoeuvre. [RGCond, annex VI](https://www.boe.es/buscar/act.php?id=BOE-A-2009-9481#anvi).
Preparing and moving off
Coordinate preparation, observation and controls before taking up your space.
- Adjust your posture, protective equipment and mirrors; identify the controls and check their response.
- Stabilise the vehicle and start it following the manual, with the throttle closed.
- Check traffic and blind spots, signal your intention to join and give way.
- Apply drive progressively with the throttle and, if fitted, the clutch; place your feet on their supports.
- Complete joining traffic without forcing others to alter their progress and cancel the signal once you take up your path.
Handling emergency braking
Achieve the necessary slowing while retaining control, according to your moped’s system.
- Identify the danger, close the throttle and look towards a safe path.
- Apply the brakes decisively with controlled pressure, according to the manual and available grip.
- Maintain stability and as straight a path as possible without entering occupied spaces.
- Without ABS, avoid locking; with ABS, maintain the necessary pressure without instinctively pumping.
- Complete the stop with stable footing; do not turn advice on smoothness into insufficient braking.
Entering, negotiating and exiting a bend
Prepare your speed and path before demanding lateral grip.
- Observe the radius, visibility, surface, traffic and legally available space.
- Close the throttle and slow down progressively with the moped as straight as possible.
- Select an appropriate gear, where applicable, before leaning.
- Look along the bend and follow your path with smooth movements, within your space.
- Once you confirm the exit, return upright and accelerate progressively when safe.
Linking the two-wheeled practical manoeuvres
The circuit layout published by the DGT links B followed by A.
- Prepare in a stable starting position, approximately 8 metres from the strip.
- Enter B aligned and cover its 6 metres of length and 0.25 metres of width with balance and a low, uniform speed.
- Continue towards A and pass to the right of the first marker pole.
- Weave around the five marker poles with alternating turns, without touching them or leaving the area.
- Maintain observation, posture and coordination until you finish as instructed for the test.
Check what you know
Real questions from the bank on this topic. Pick an answer to see the explanation.
Finished this module?
Mark it as read and you will see your progress on the theory list.